
Bookshelf Layout with Legendary | Paige Evans
12 Mar 2026
0 Comments
Hi Pinkfresh Studio fans! Today we’re excited to welcome the wonderful Paige Evans to the blog. She’s sharing a beautiful layout created with the Legendary collection. Paige is well known for her signature style—mixing and matching patterned papers, incorporating detailed fussy cutting, and adding plenty of hand stitching to her pages. Let’s take a look at what she has created for us today!
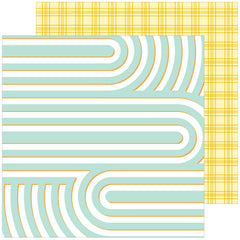
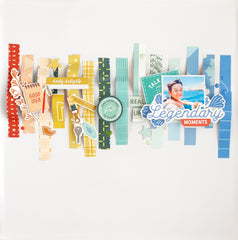
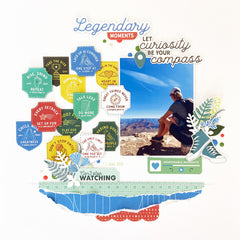
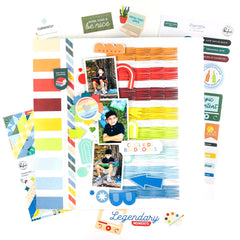
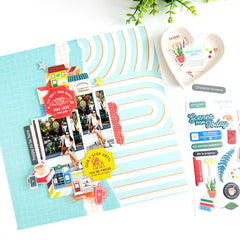
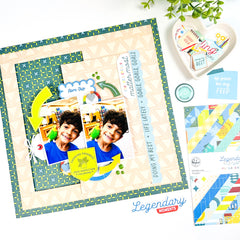
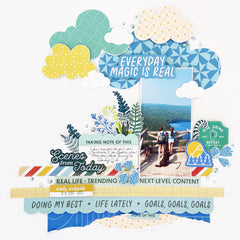
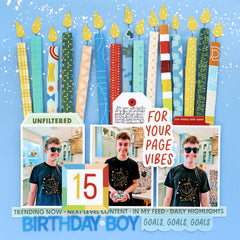
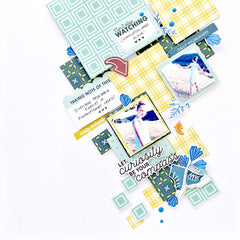
Hello crafty friends! Paige Evans here on the Pinkfresh Studio scrapbook blog with a new 12x12 layout created using my Legendary collection! I love creating shelf scene layouts and was inspired by the rounded stripes of the Next Level Content paper to begin a bookshelf scene!

Step-by-Step Instructions
1. Trim off the barcode strip of a new sheet of the orange squares side of Doing My Best paper to use as the background.
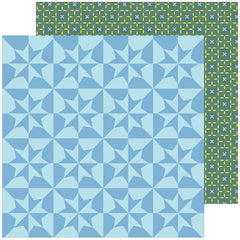
2. Fussy cut (5) rounded stripes to become “shelves” from the Next Level Content paper then attach the pieces onto the patterned paper background using ¼” foam tape.
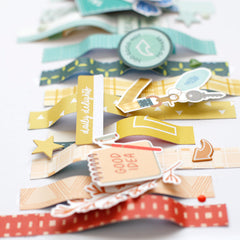
3. Cut about (39) “books” from 6x8 papers, varying them in length and width from about 3/16x1” to ½x1¾”. From the rainbow striped paper in the 6x8 paper pad, trim off a 1¾” strip then trim (2) ¼x1¾” pieces of each color of stripe.
4. Arrange the “books” onto the “shelves”, making them a little crooked, gaps between them, leaning on each other, and a couple piles of “stacked books”. This makes the papers look more like real books! Once you’re happy with the placement, glue the books in place.
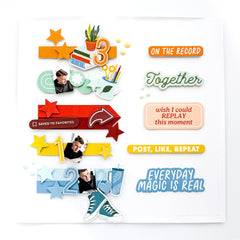
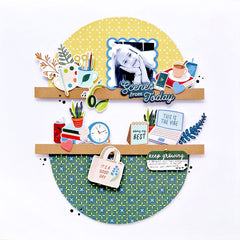
5. Tuck a 4x3” photo into the middle shelf on the right side. Fussy cut a potted plant from a “MAKING THINGS HAPPEN” laptop die cut and add it to the right side of the photo, resting on the shelf.
6. Use a “COOL KIDS READ BOOKS” colorful fabric border as the title, placed in the open gap on the upper left side.
7. Trim a “LIFE LATELY” sentiment from a mint scalloped fabric border and tuck it under the 2nd to bottom shelf under the left side.
8. Cut a die cut with shelves of jars of paints into the two separate shelves and adhere them below the photo.
9. Trim typed and printed journaling into strips then glue them on the bottom left corner.
2. Fussy cut (5) rounded stripes to become “shelves” from the Next Level Content paper then attach the pieces onto the patterned paper background using ¼” foam tape.
3. Cut about (39) “books” from 6x8 papers, varying them in length and width from about 3/16x1” to ½x1¾”. From the rainbow striped paper in the 6x8 paper pad, trim off a 1¾” strip then trim (2) ¼x1¾” pieces of each color of stripe.
4. Arrange the “books” onto the “shelves”, making them a little crooked, gaps between them, leaning on each other, and a couple piles of “stacked books”. This makes the papers look more like real books! Once you’re happy with the placement, glue the books in place.
5. Tuck a 4x3” photo into the middle shelf on the right side. Fussy cut a potted plant from a “MAKING THINGS HAPPEN” laptop die cut and add it to the right side of the photo, resting on the shelf.
6. Use a “COOL KIDS READ BOOKS” colorful fabric border as the title, placed in the open gap on the upper left side.
7. Trim a “LIFE LATELY” sentiment from a mint scalloped fabric border and tuck it under the 2nd to bottom shelf under the left side.
8. Cut a die cut with shelves of jars of paints into the two separate shelves and adhere them below the photo.
9. Trim typed and printed journaling into strips then glue them on the bottom left corner.


A big thank you to Paige for joining us on the blog today and sharing this wonderful project with us! We always love seeing the creativity she brings to her designs. Be sure to take a closer look at all the beautiful details in her layout, and stay tuned—we’ll have Paige back on the blog again soon with more inspiration!
-
![Legendary: 12x12 Paper Pack]()
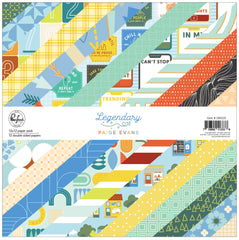


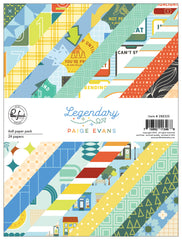
Legendary: 12x12 Paper Pack
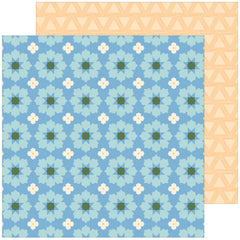
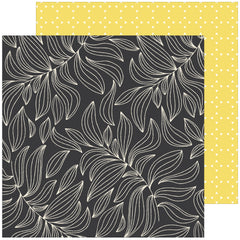
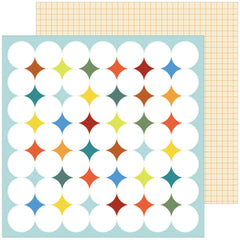
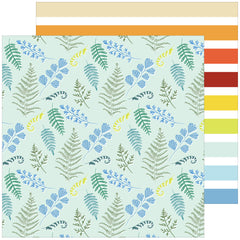
This paper pack contains 12 double-sided 12” x 12” patterned papers featuring a unique design on each side. Printed on 80-lb smooth cardstock with a matte finish. Archival quality, acid-free. Printed in the USA.- $13.00
- $13.00
- Unit price
- per
-
![Legendary: 6x8 Paper Pack]()


Legendary: 6x8 Paper Pack
This paper pack contains 24 double-sided 6” x 8” patterned papers (2 each of 12 designs) featuring a unique design on each side. Printed on 80-lb smooth cardstock with a matte finish. Archival quality, acid-free. Printed in the USA.- $11.00
- $11.00
- Unit price
- per
-
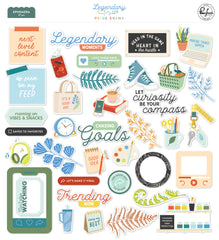
![Legendary: Cardstock Stickers]()
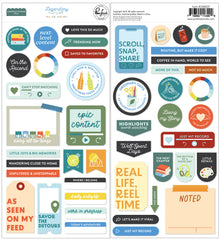
Legendary: Cardstock Stickers
(2) 5 ½” x 11” sheets of cardstock stickers/46 pieces. Archival quality, acid-free.- $6.00
- $6.00
- Unit price
- per
-
![Legendary: Ephemera]()
Legendary: Ephemera
37 pieces of cardstock ephemera per pack. Archival quality, acid-free.- $6.00
- $6.00
- Unit price
- per
-
![Legendary: Fabric Border Stickers]()
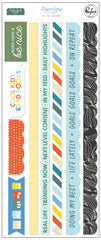
Legendary: Fabric Border Stickers
(1) 5 ½” x 12” sheet of fabric border stickers/9 pieces. Archival quality, acid-free.- $5.00
- $5.00
- Unit price
- per
-
![Legendary: Puffy Stickers]()

Legendary: Puffy Stickers
(1) 5” x 7” sheet of puffy stickers/18 pieces. Archival quality, acid-free.- $5.00
- $5.00
- Unit price
- per


