
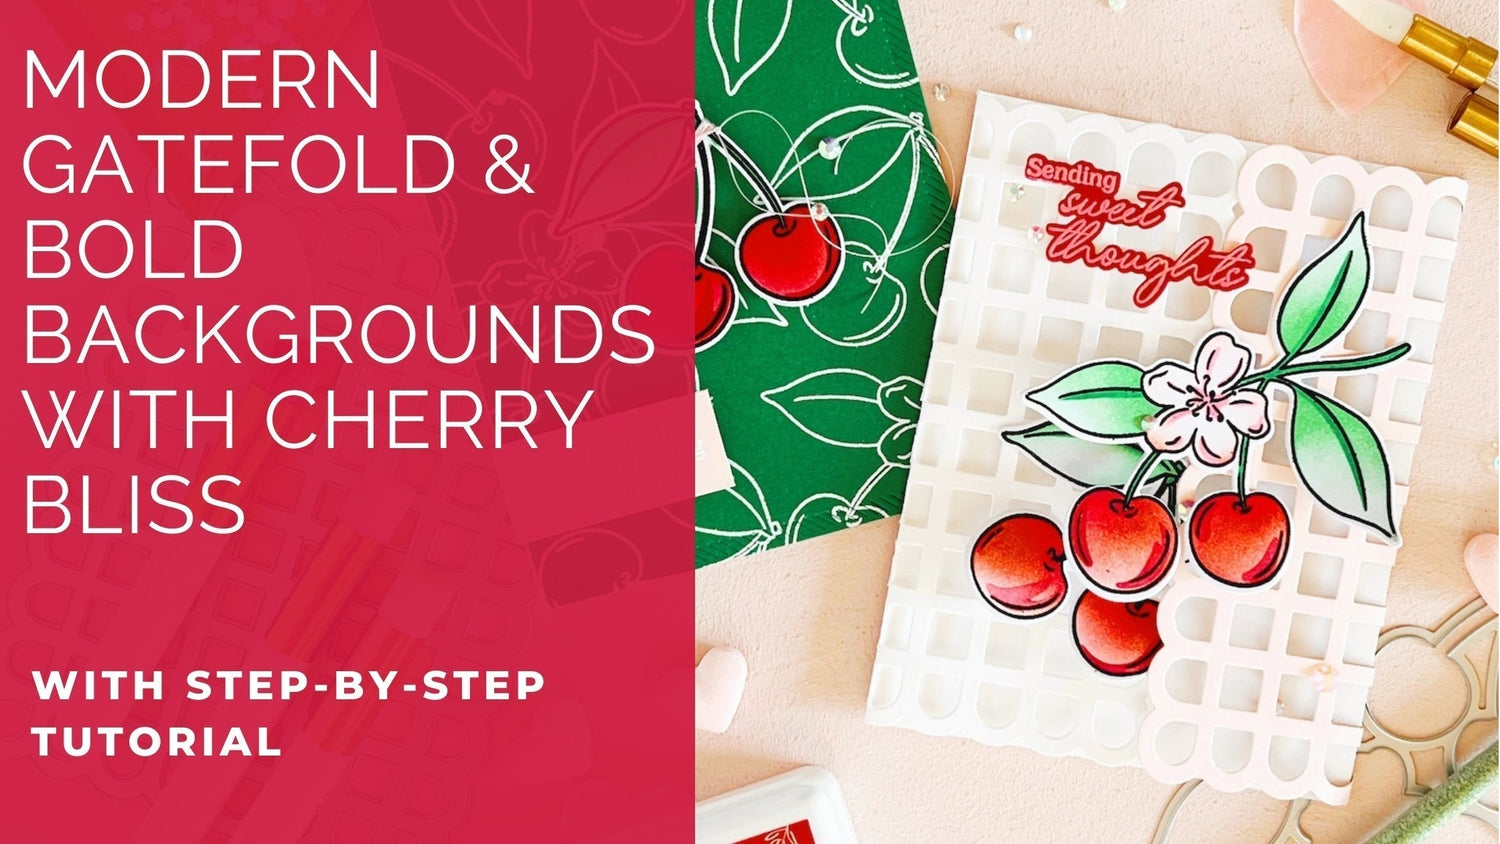
Hi there, Pinkfresh Studio fans! It's Kathleen back on the blog, and today I have not just one, but two cards (with full tutorials!) to share with you.
The Cherry Bliss suite has been around since February last year, but I thought it would be fun to share some fresh, springy card ideas now. I love revisiting older products you may already have in your stash—sometimes a little creative twist can make them feel brand new, don't you think?
*Disclaimer: All products used are linked below as clickable images. If a product isn’t listed, it’s been discontinued.


So, let's take a look at how you can recreate the first card (gatefold):
- Preparation: Cut (3) A2 panels, (1) 3 1/4" x 5 3/4" panel, and (1) 2 3/4" x 5 3/4" panel from white cardstock. Ink blend the smallest panel on the front & back with Cherry Blossom (or cut it from light pink cardstock).
-
Gatefold Elements:
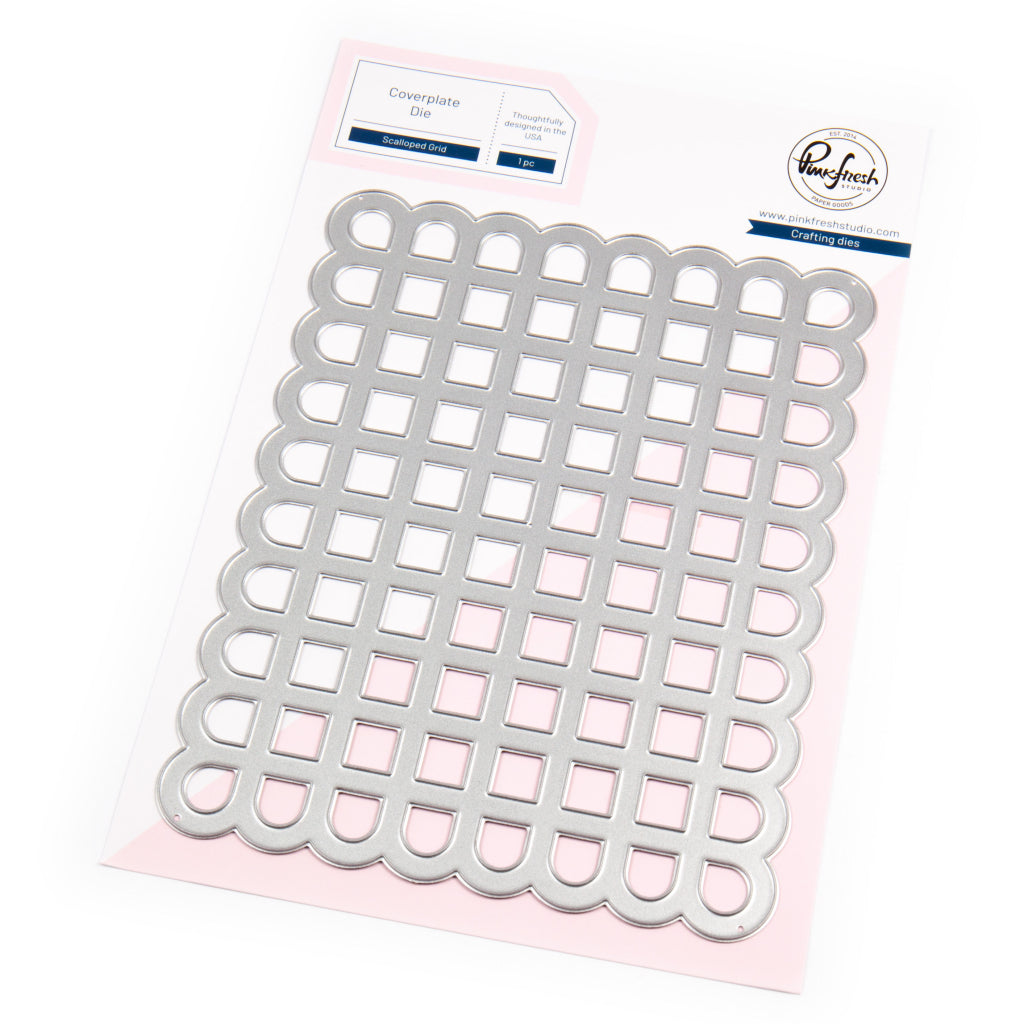
- Die cut the two smaller panels with the Scalloped Grid coverplate die. Score the larger panel vertically after the 5th column in the grid (counting from the scalloped edge) and the smaller panel after the 4th column.
-
Adhere the short flaps of both pieces to the back of an A2 panel to create a gatefold.
- Adhere another A2 panel to the back to conceal the glued flaps. Alternative: adhere the gatefold panel to a top-folding A2 card base to create additional space for writing a message.
-
Cherry Bliss:
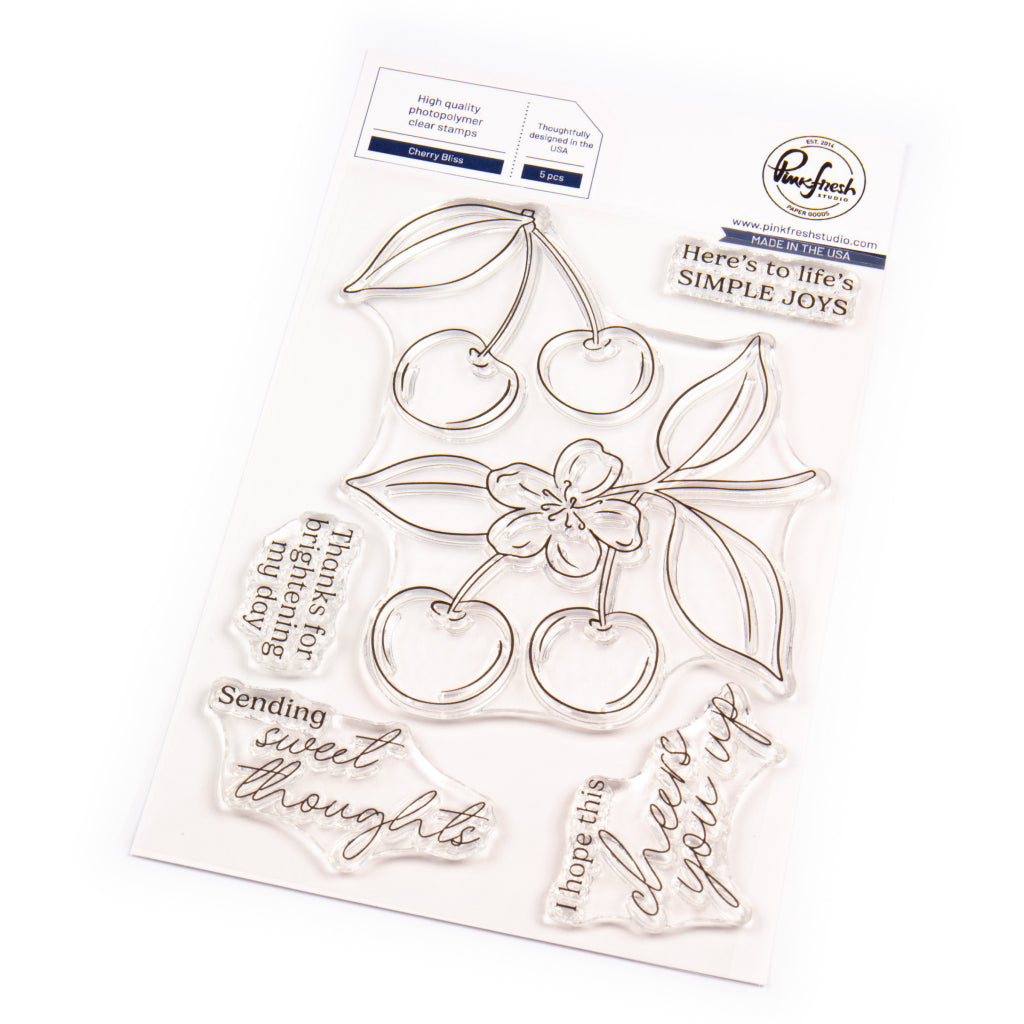
- Stamp the Cherry Bliss image in Detail Black on the remaining A2 panel. Heat set before ink blending.
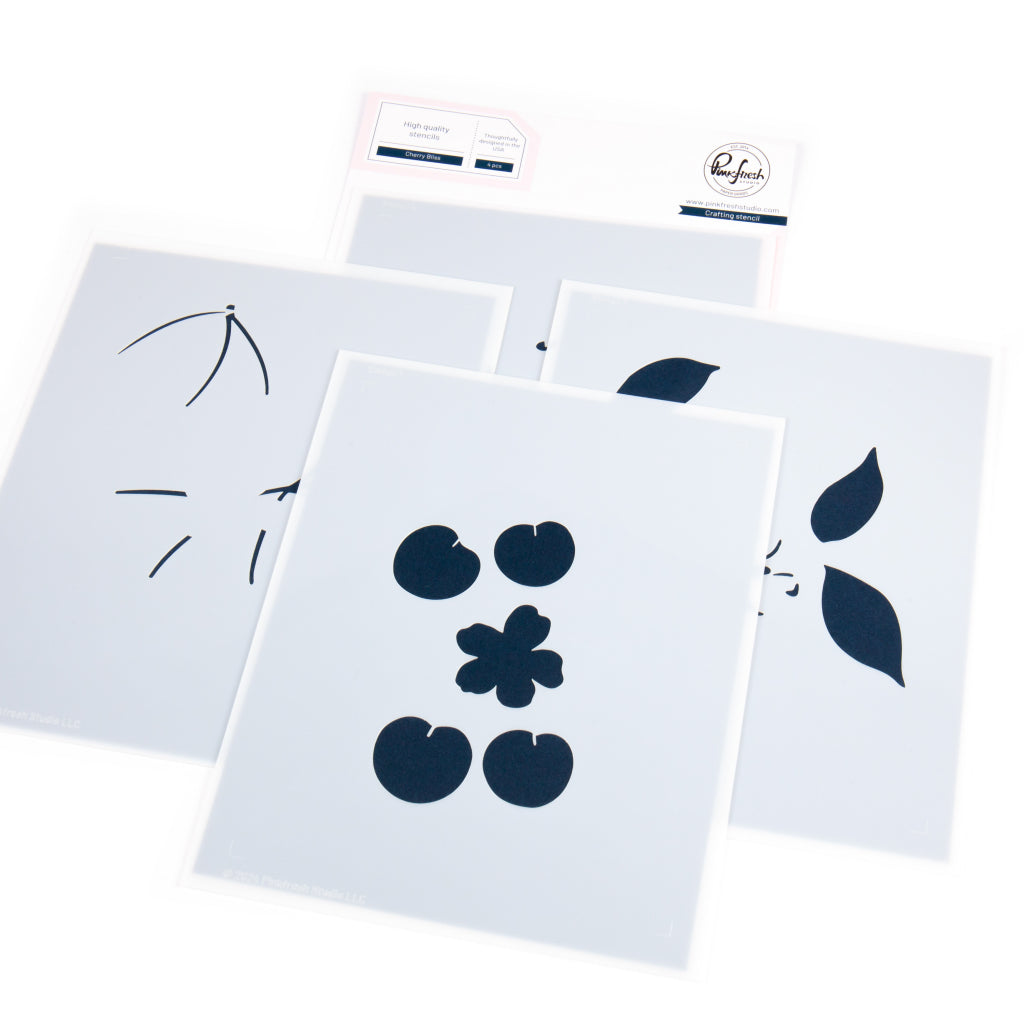
- Ink blend using the coordinating layering stencils:
- Stencil 1: Fruit Punch (cherries); Ballet Slipper (blossom)
- Stencils 2+3: Meadow (leaves); Sparkling Rose (blossom details)
- Stencil 4: Candy Apple (cherries); Sparkling Rose (blossom details)
-
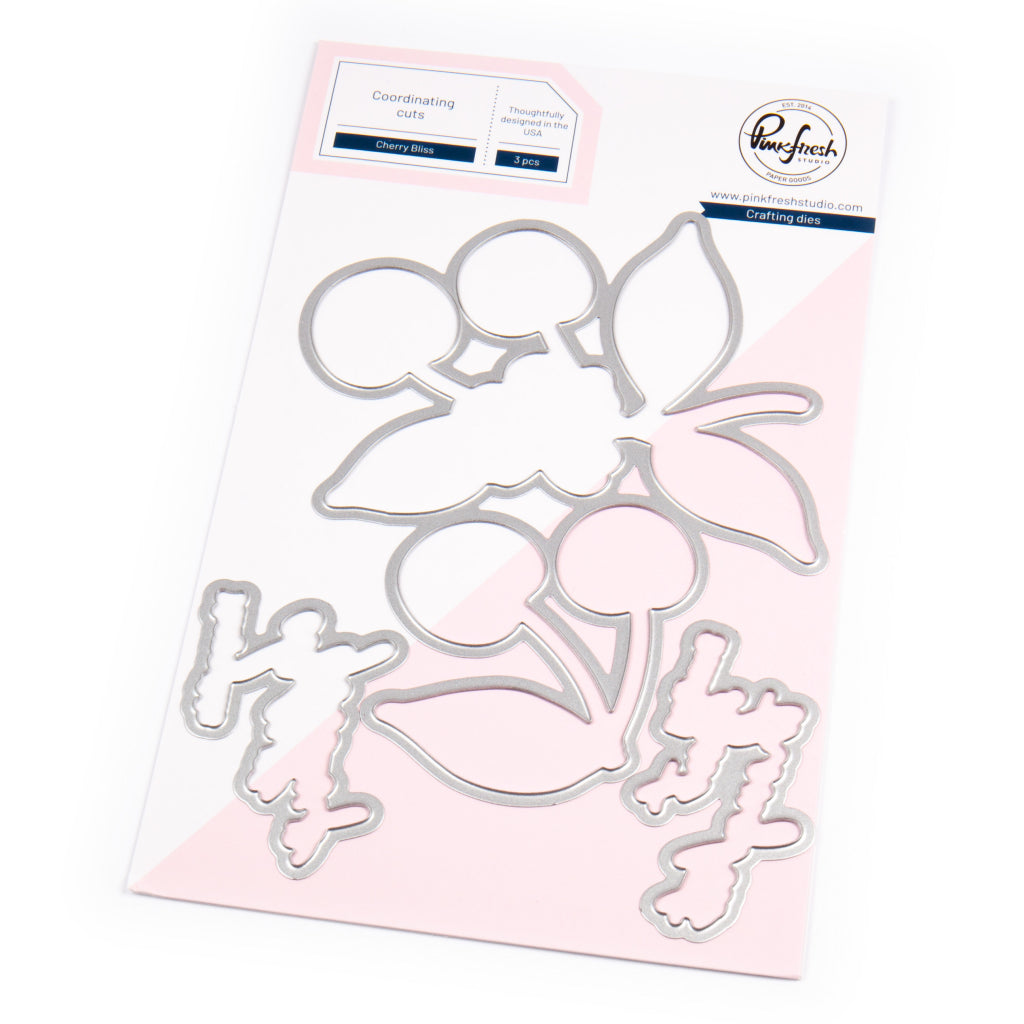
Die cut using the coordinating die. Adhere the die cuts to the gatefold elements (one on each side) placing the adhesive on the grid panels rather than on the die cuts themselves.
-
Sentiments:
- Stamp "Here's to life's..." in Detail Black inside the card (hiding it behind the cherry die cuts when the card is closed).
- Heat emboss "Sending sweet thoughts" in white on white cardstock & die cut. Ink blend with Candy Apple & adhere to the upper left side of the card front.
- Embellish to your liking using Jewels in Glacier & Ballet Slipper, or clear drops/gems/metallic pearls of your choice.
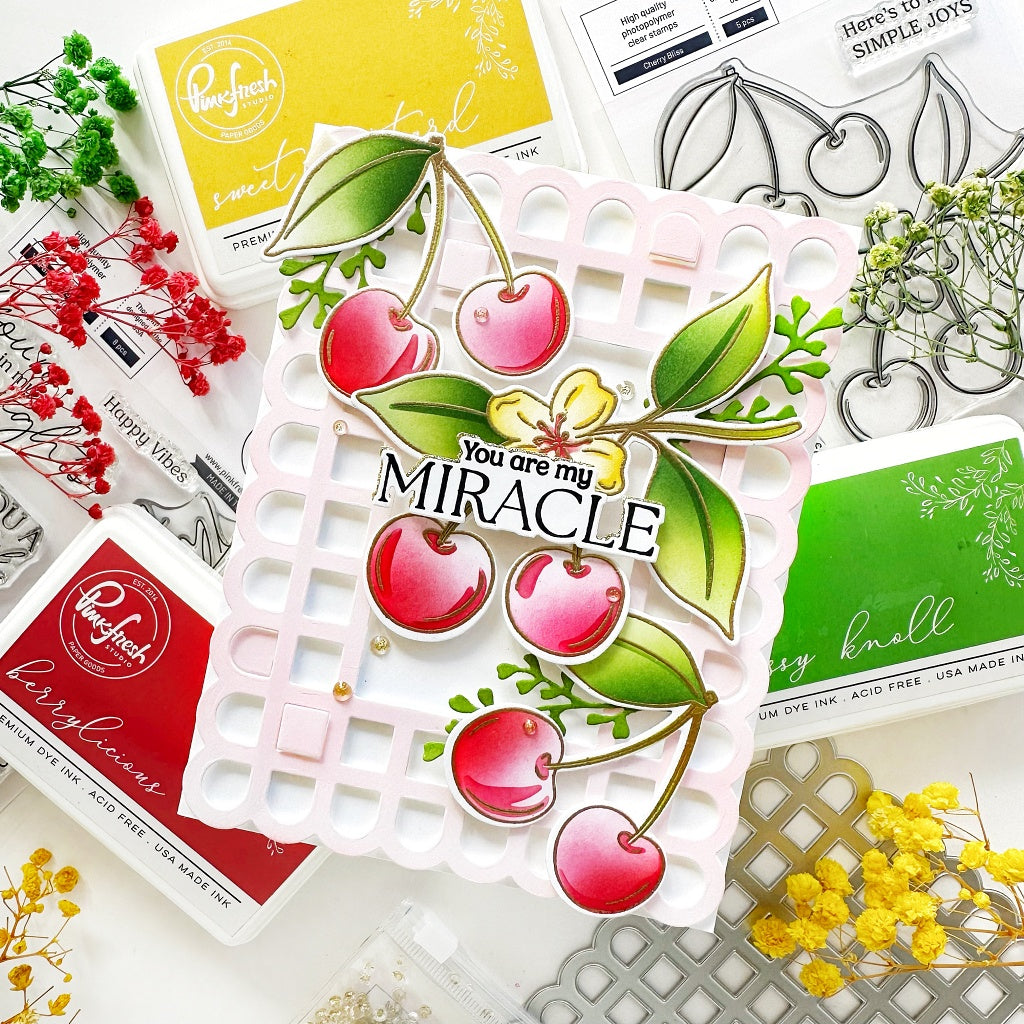
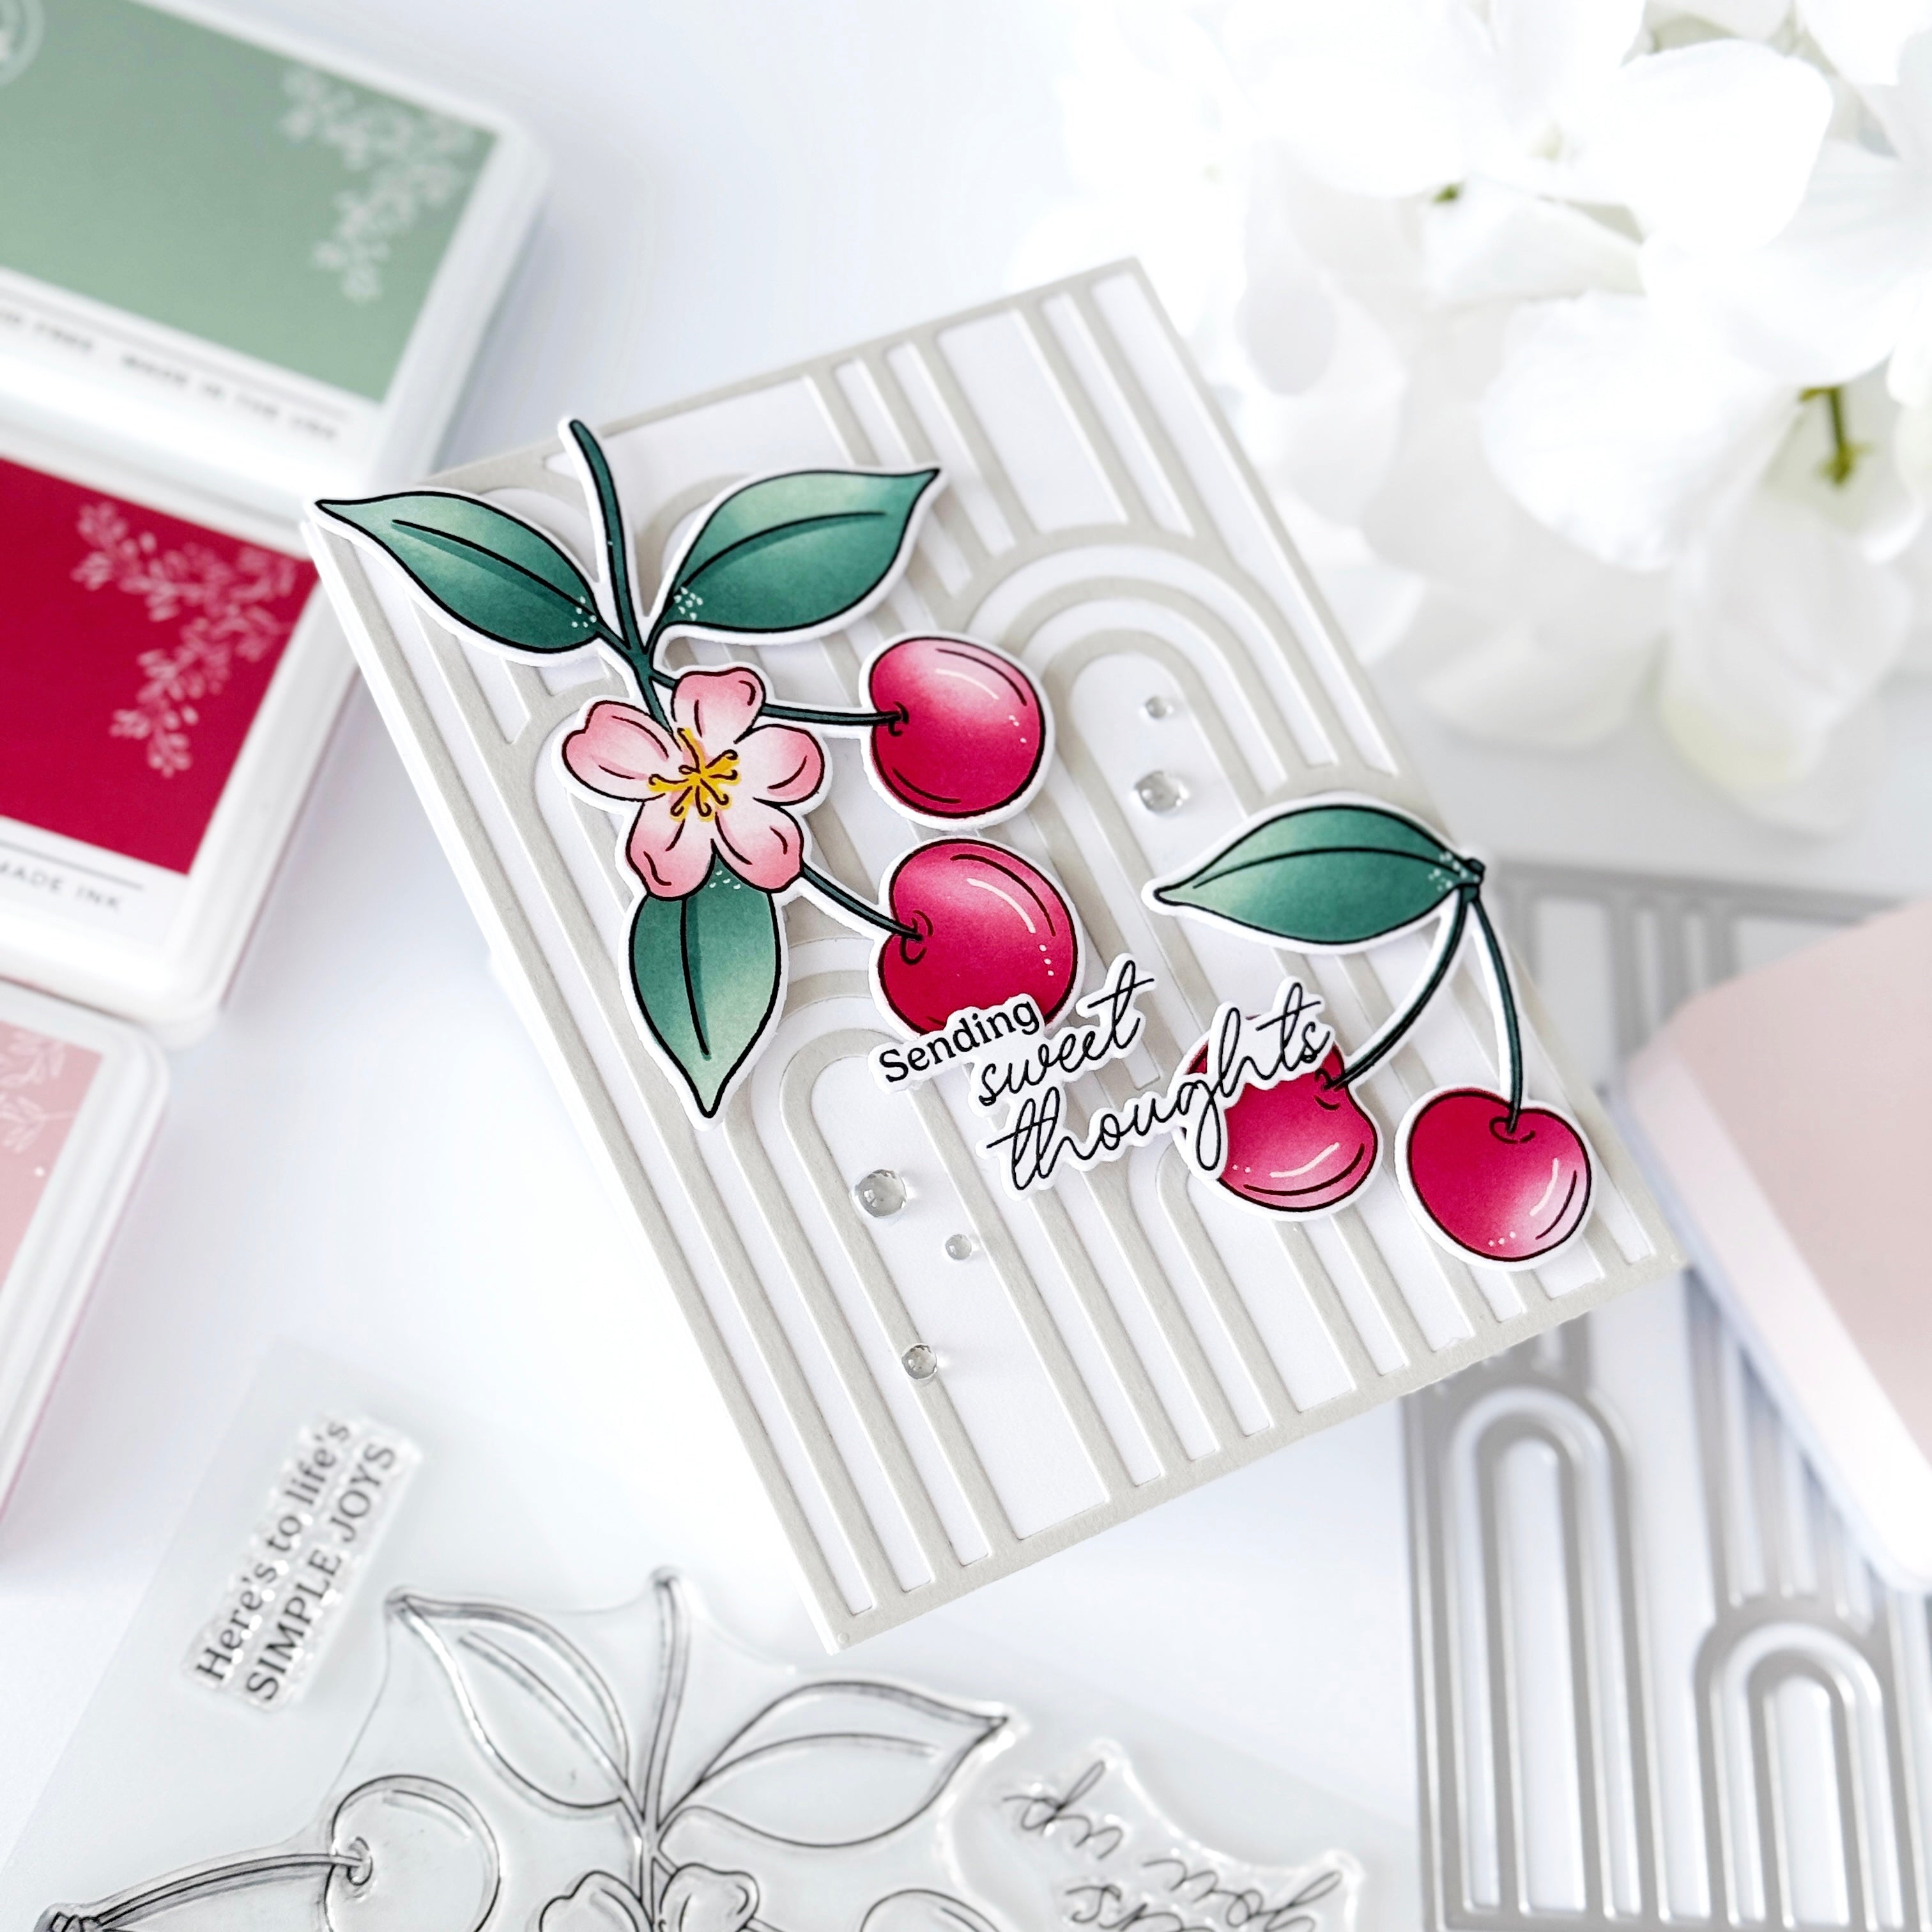
I love how the Scalloped Grid gives this gatefold design an airy, fresh feel with a modern twist, and how the inside sentiment peeks through just a little.

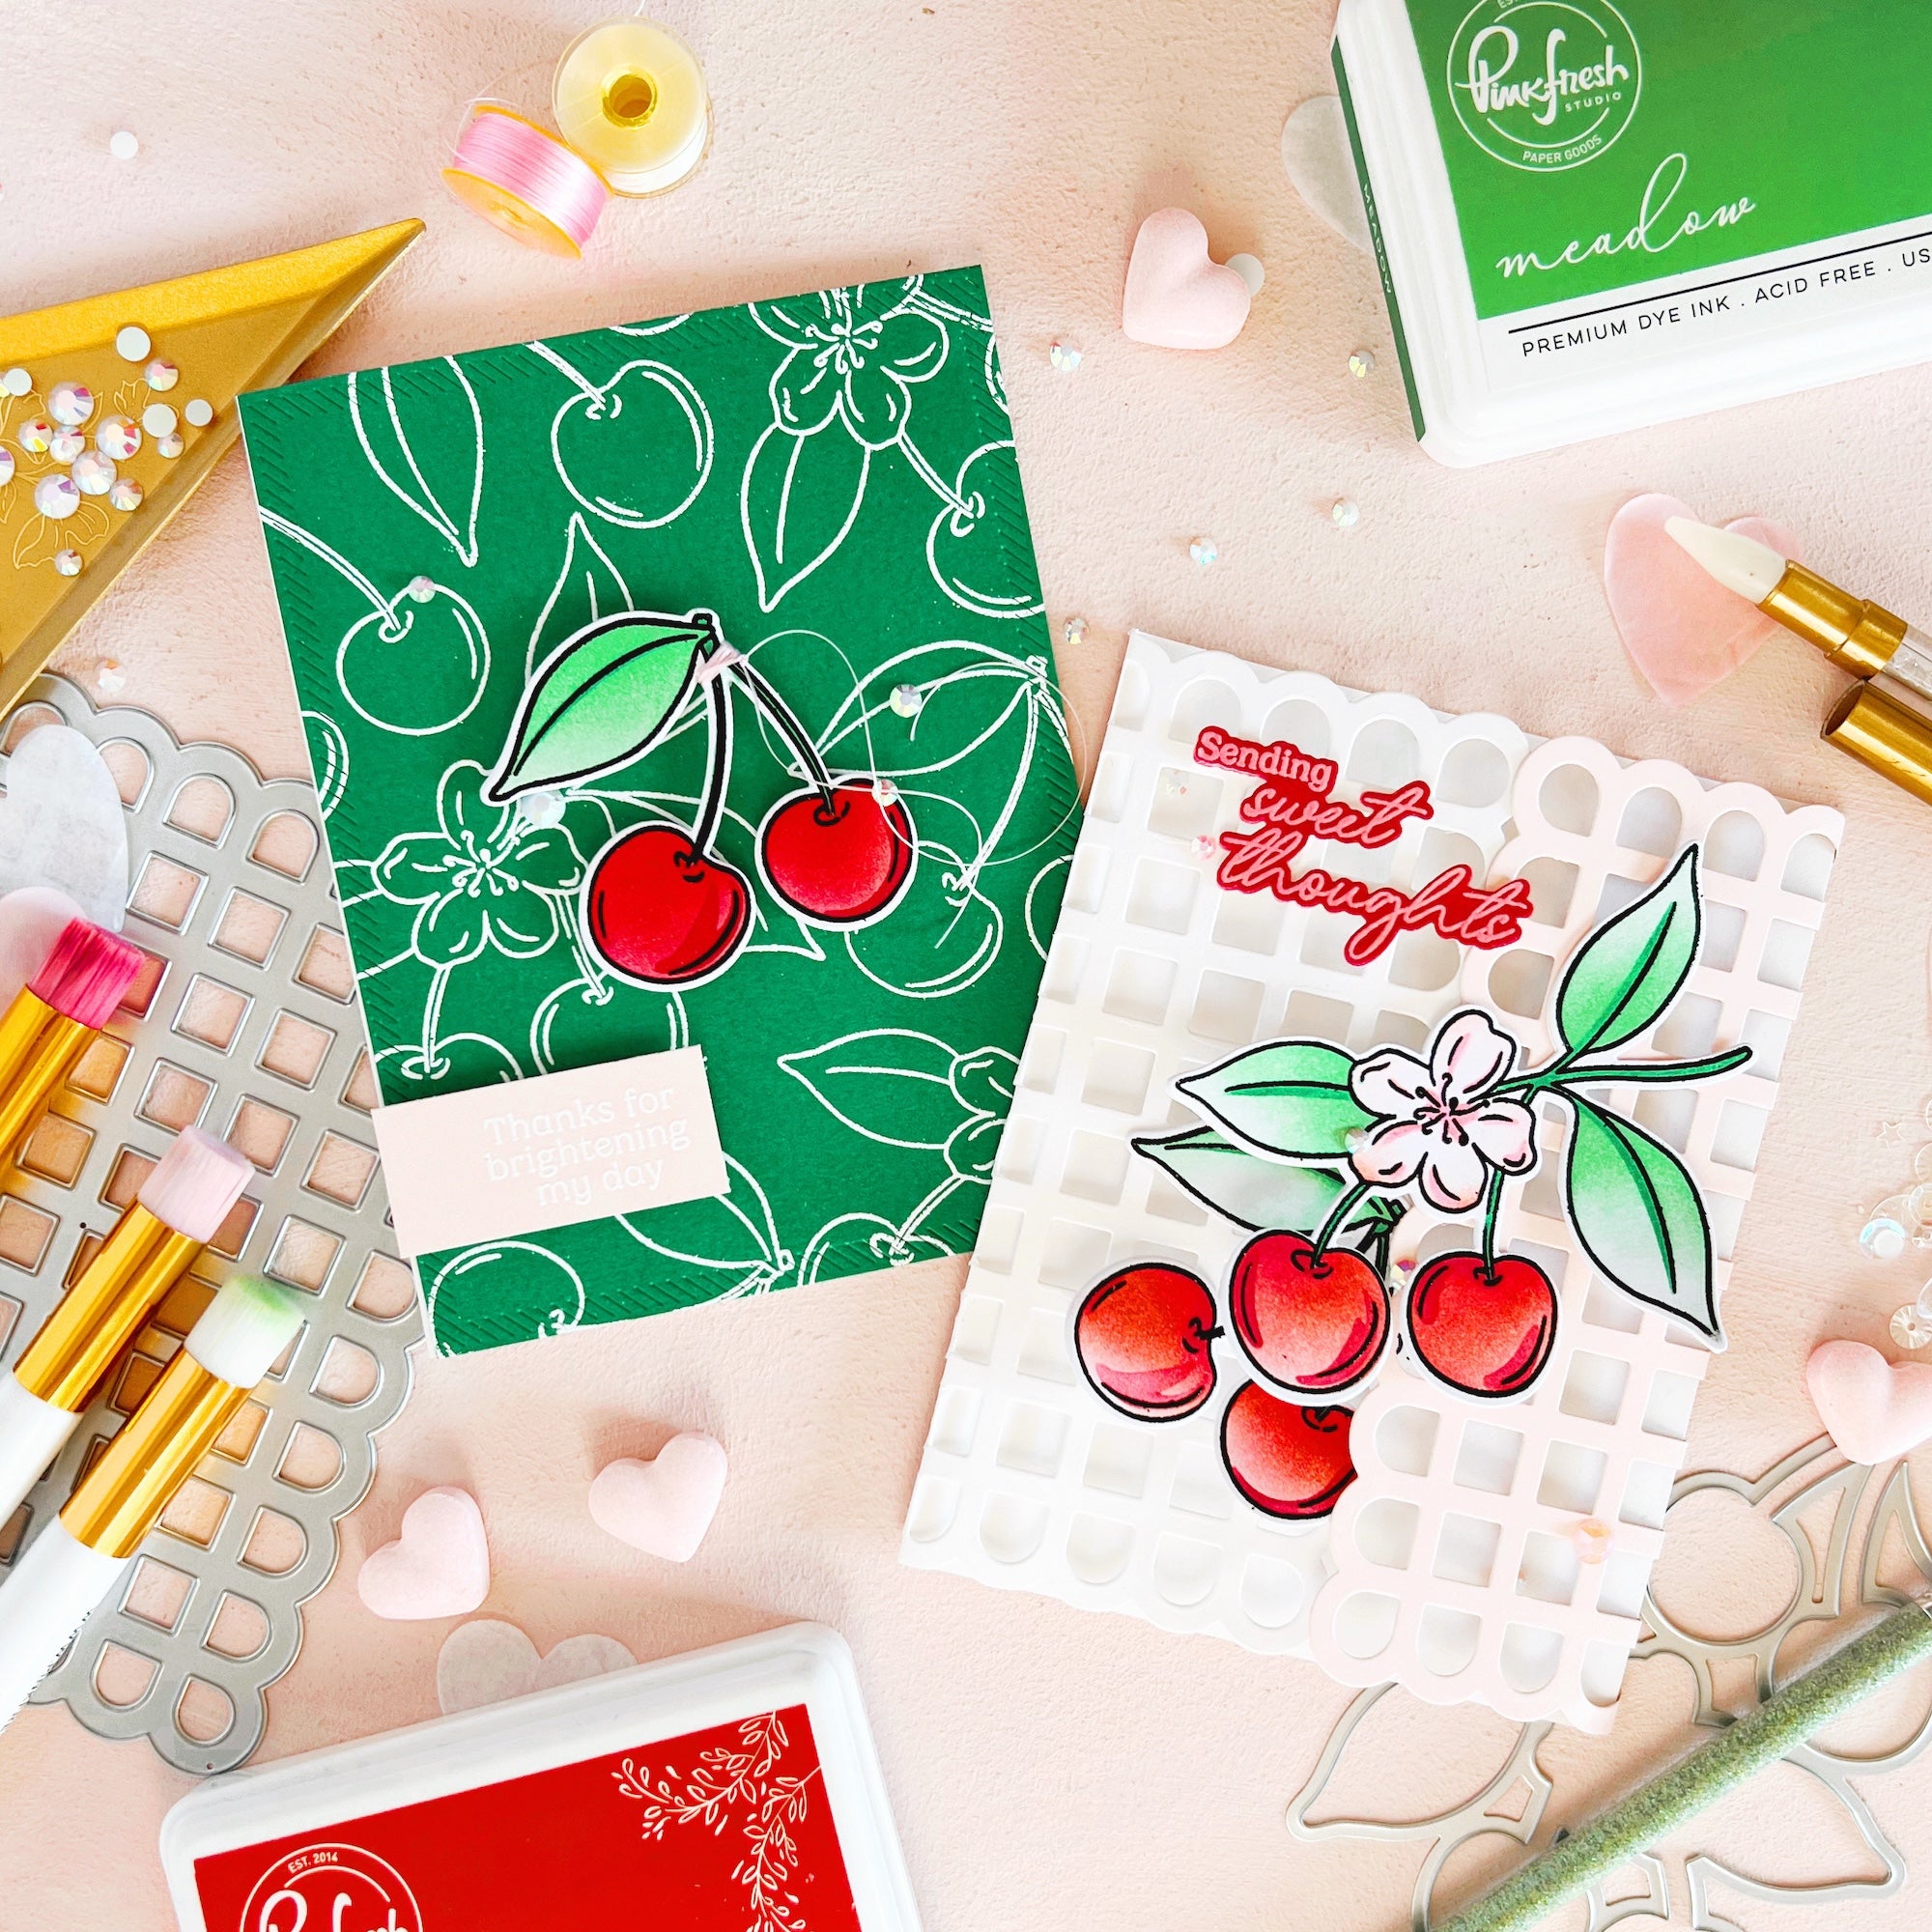
For the second card, I wanted to try something different by using the stamp to create a background design. It’s easy to forget these simpler techniques, so it’s always nice to revisit them. I was also very much inspired by THIS beautiful card by my fellow DT member Karin.
I shared another repeat stamping background in this blogpost HERE.

To maintain a modern, fresh feel, I chose a bright color scheme and a graphic style, using white outlines against the green background.
And here's how to make the second card:
-
Preparation:
- Cut an A2 card base from white cardstock (side-folding or top-folding).
- Cut (1) A2 panel from emerald green cardstock (or ink blend white cardstock with Emerald City instead).
-
Background Panel:
- Treat the panel with an anti-static powder tool & repeatedly stamp with the Cherry Bliss image in embossing ink. Heat emboss with white embossing powder.
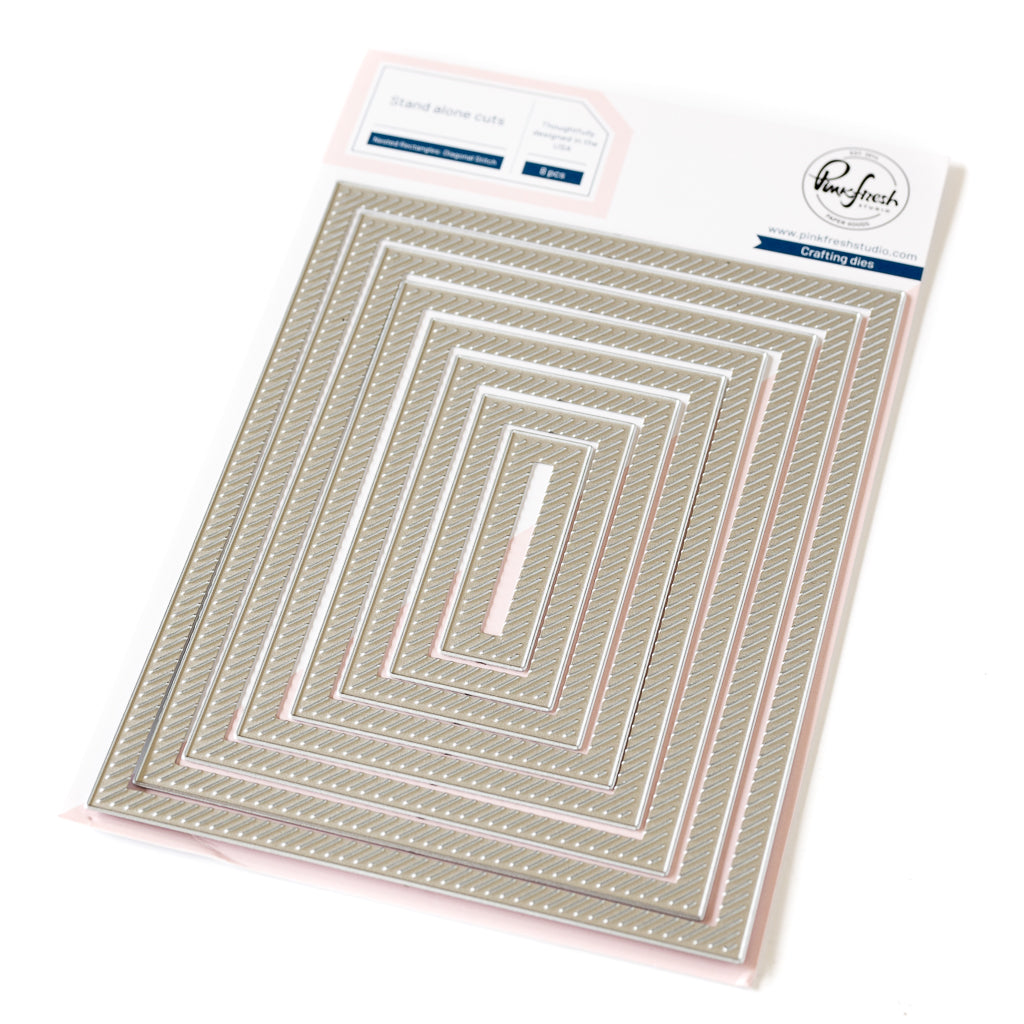
- Die cut the heat-embossed panel with the largest Nested Rectangles Diagonal Stitch die & adhere to the card base.
-
Focal Point:
- Stamp the Cherry Bliss image in Detail Black onto a piece of white cardstock (only the smaller cherry will be needed). Heat set before ink blending.
-
Ink blend using the coordinating layering stencils:
- Stencil 1: Fruit Punch
- Stencils 2+3: Meadow
- Stencil 4: Candy Apple
-
Die cut using the coordinating die & adhere it centered onto the card front using foam adhesive. Optional: tie some string or twine around the top of the cherries for added texture.
-
Sentiment: Heat emboss "thanks for..." with white embossing powder on a piece of light pink cardstock (or ink blend a piece of white cardstock with Ballet Slipper or Cherry Blossom). Adhere to the lower left of the card front using foam adhesive.
- Embellish to your liking using Jewels in Ballet Slipper, or use clear drops/gems/metallic pearls of your choice.

I hope these ideas inspire you to play with layering, gatefolds, and repeat stamping in your own projects. Whether you go bold with color or soft and delicate, the possibilities are endless!
And as always, we’d love to see what you create—don’t forget to tag us on social media (@pinkfreshstudio and @cardsandconfetti) so we can admire your amazing work. Thanks so much for stopping by, and happy crafting! ✨
Recommended Products





































1 comment
Sue Crease
Both are fabulous. The green one is particularly cute. I really must give it a try. X
Leave a comment
All comments are moderated before being published.
This site is protected by hCaptcha and the hCaptcha Privacy Policy and Terms of Service apply.