
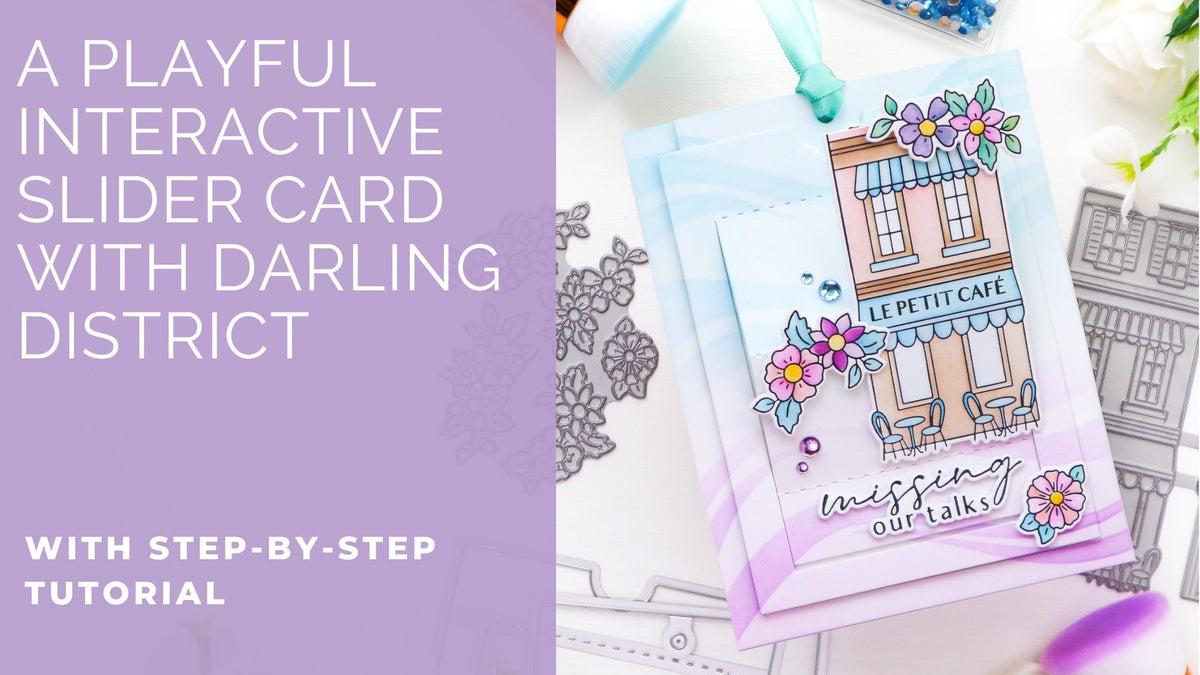
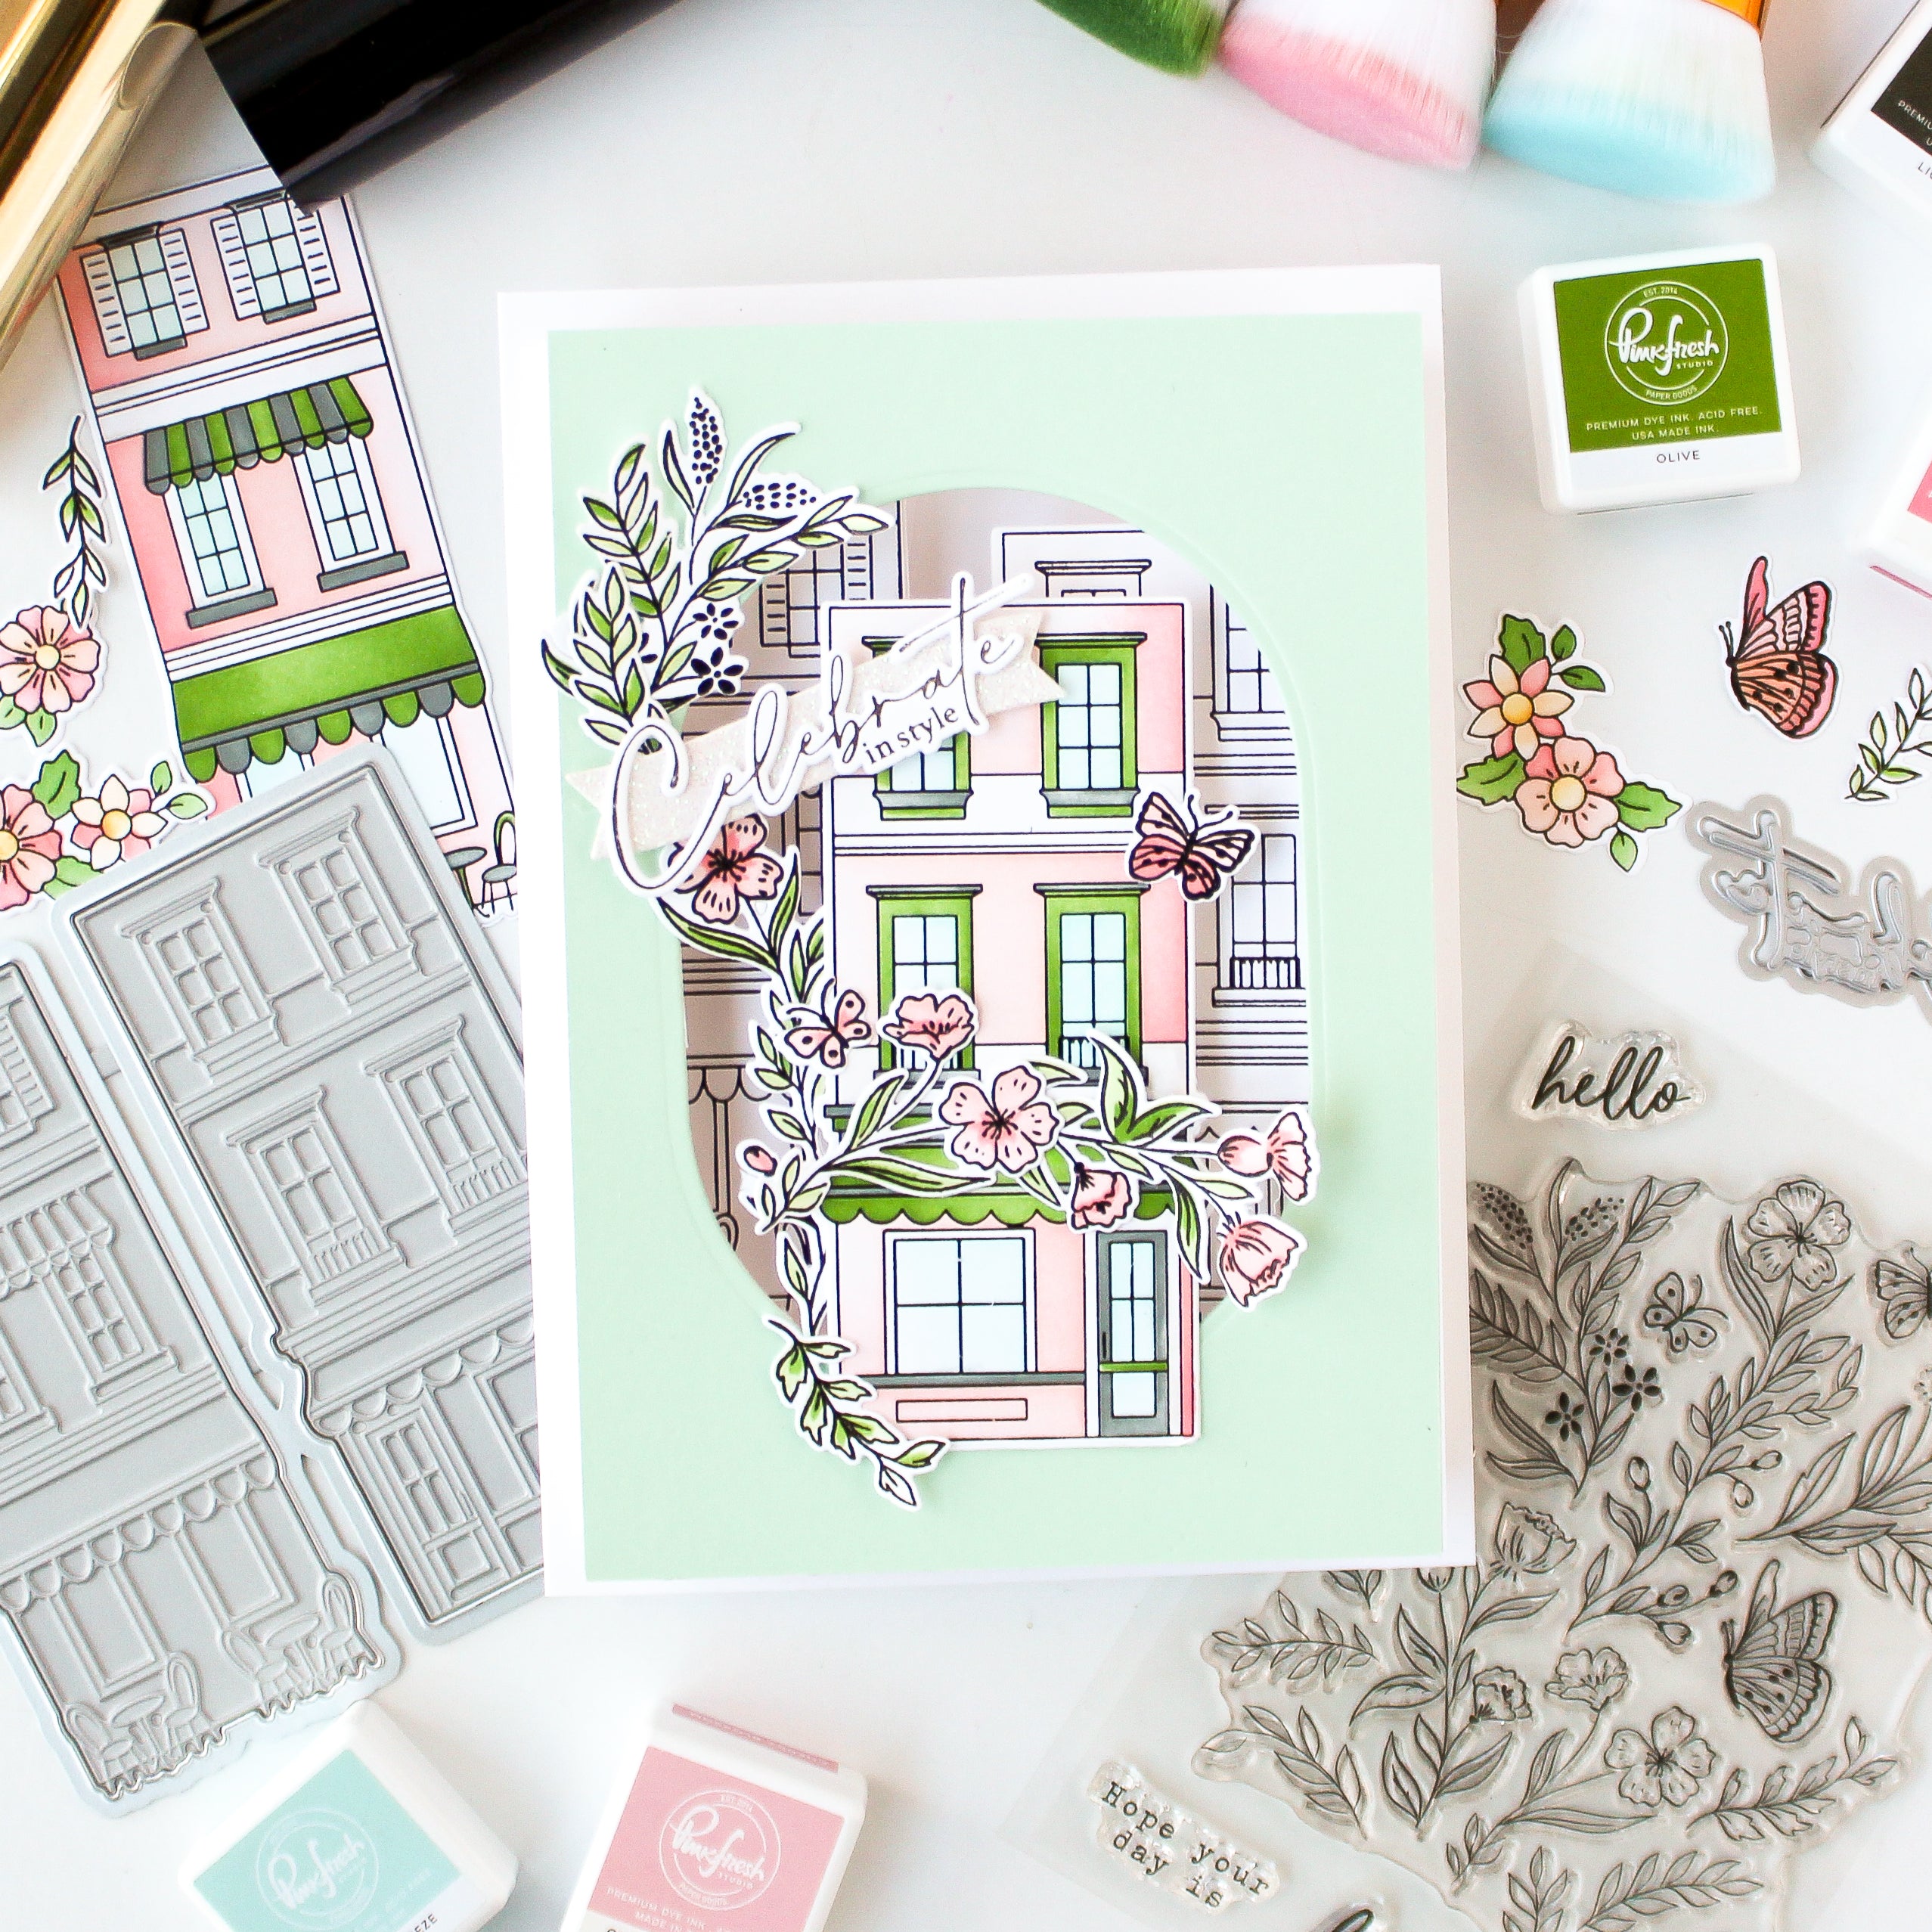
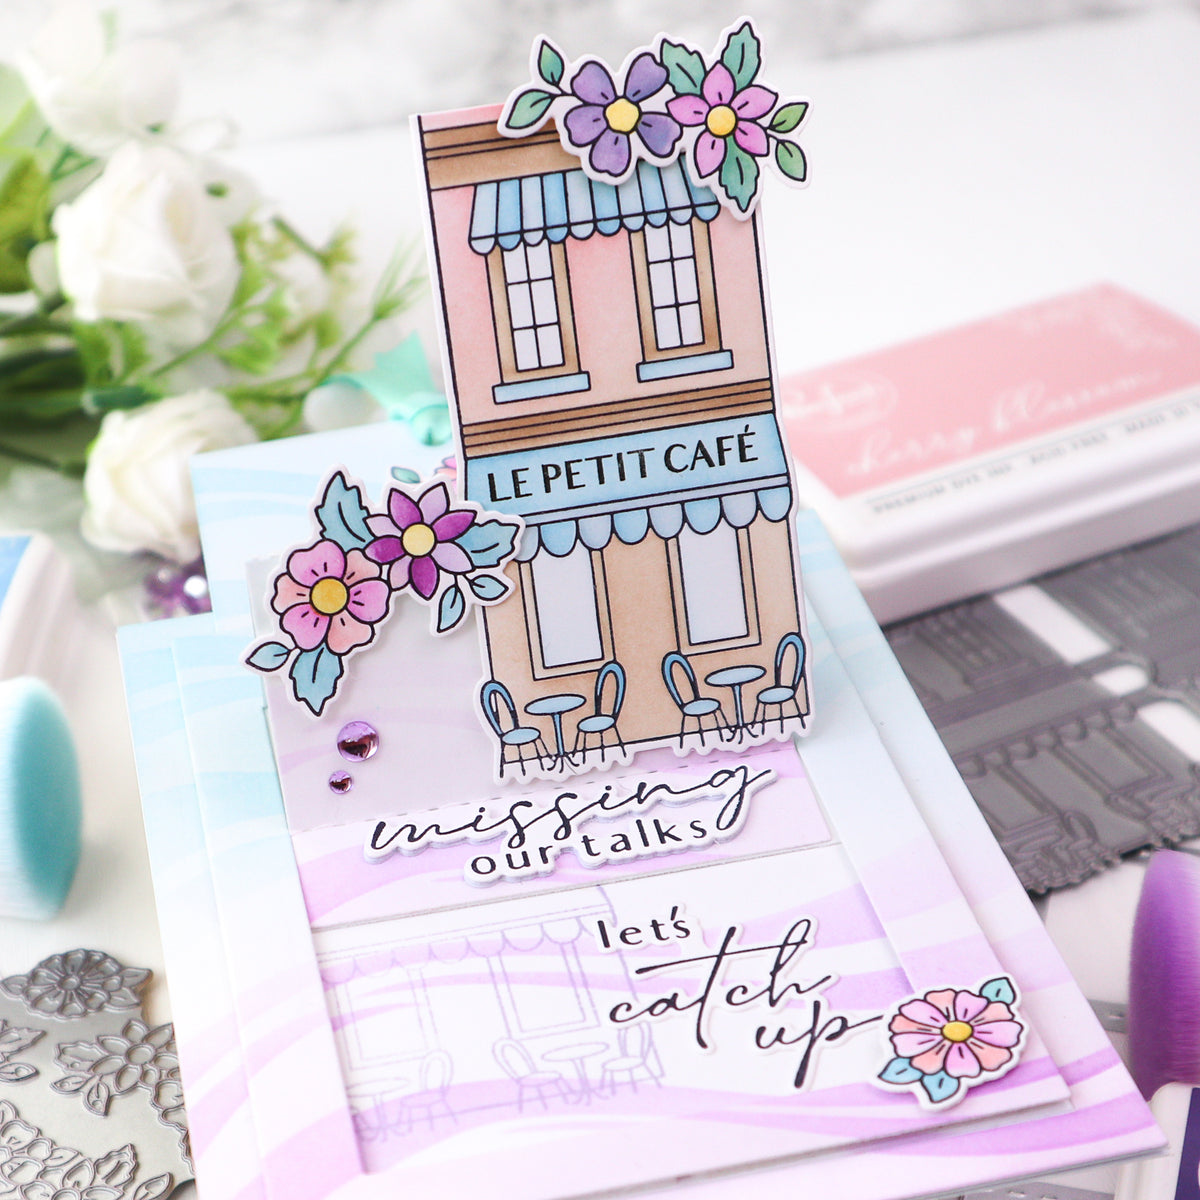
Hello everyone! I hope your week is off to a great start ! It’s TaeEun here today, sharing a fun interactive slider card featuring the Darling District and Fragrance Notes product suites.
For this card, I used again one of my favorite color palettes - blue and purple to create a fresh and delicate café scene. The interactive slider element adds a playful touch to my card. As the slider is pulled, the building gently rises to reveal a cozy space that feels like a place where you can sit back, relax, and enjoy a heartfelt conversation with your friends. The Darling District suite also includes a variety of sentiments that perfectly complement this warm and welcoming atmosphere.
*Disclaimer: All products used are linked below as clickable images. If a product isn’t listed, it’s been discontinued.

Here is how I made the card.
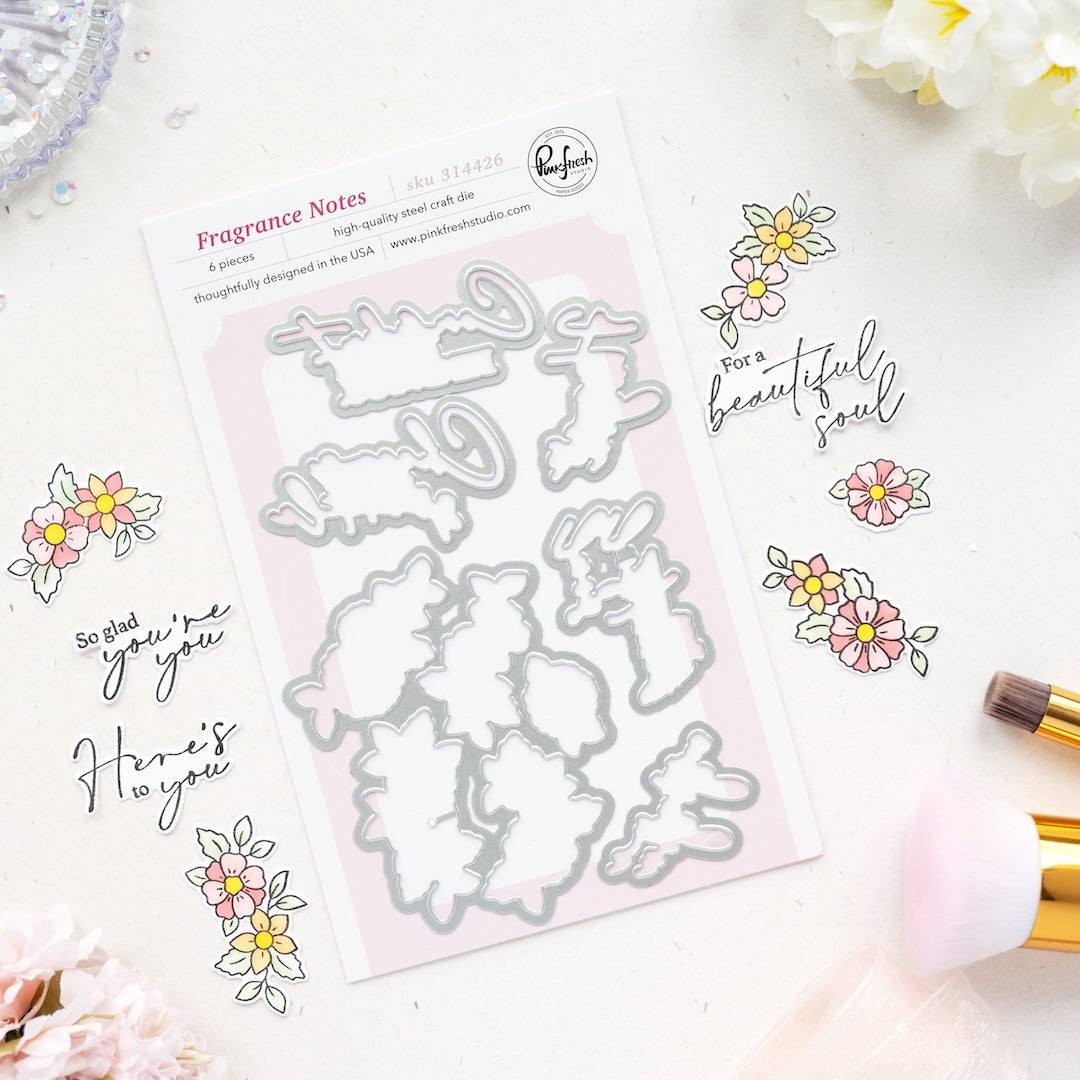
- Press the building image from the Darling District Press Plate and the floral images from the Fragrance Notes Press Plate sets in black on white cardstock.
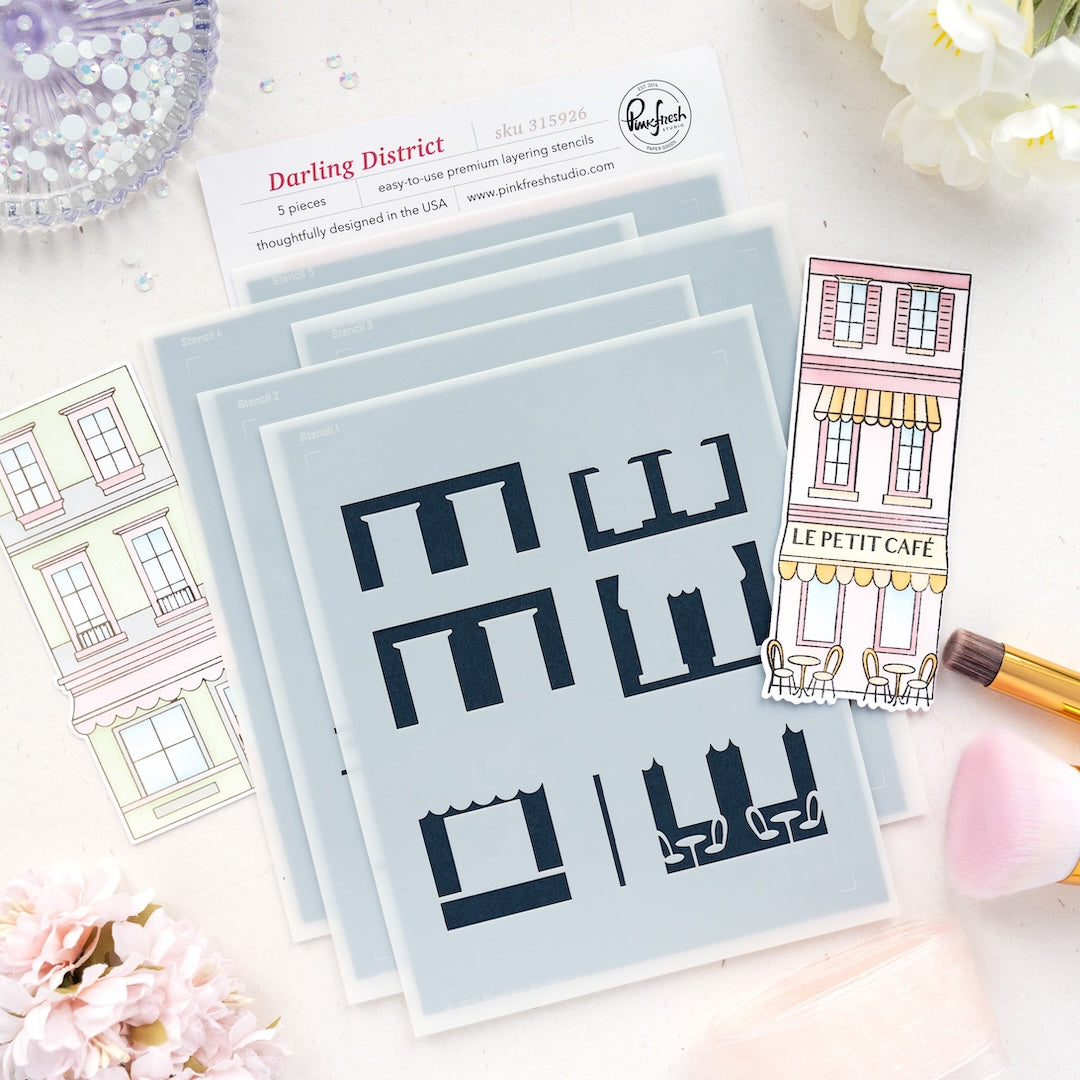
- Color the images using the coordinating stencil sets.
- Darling District:
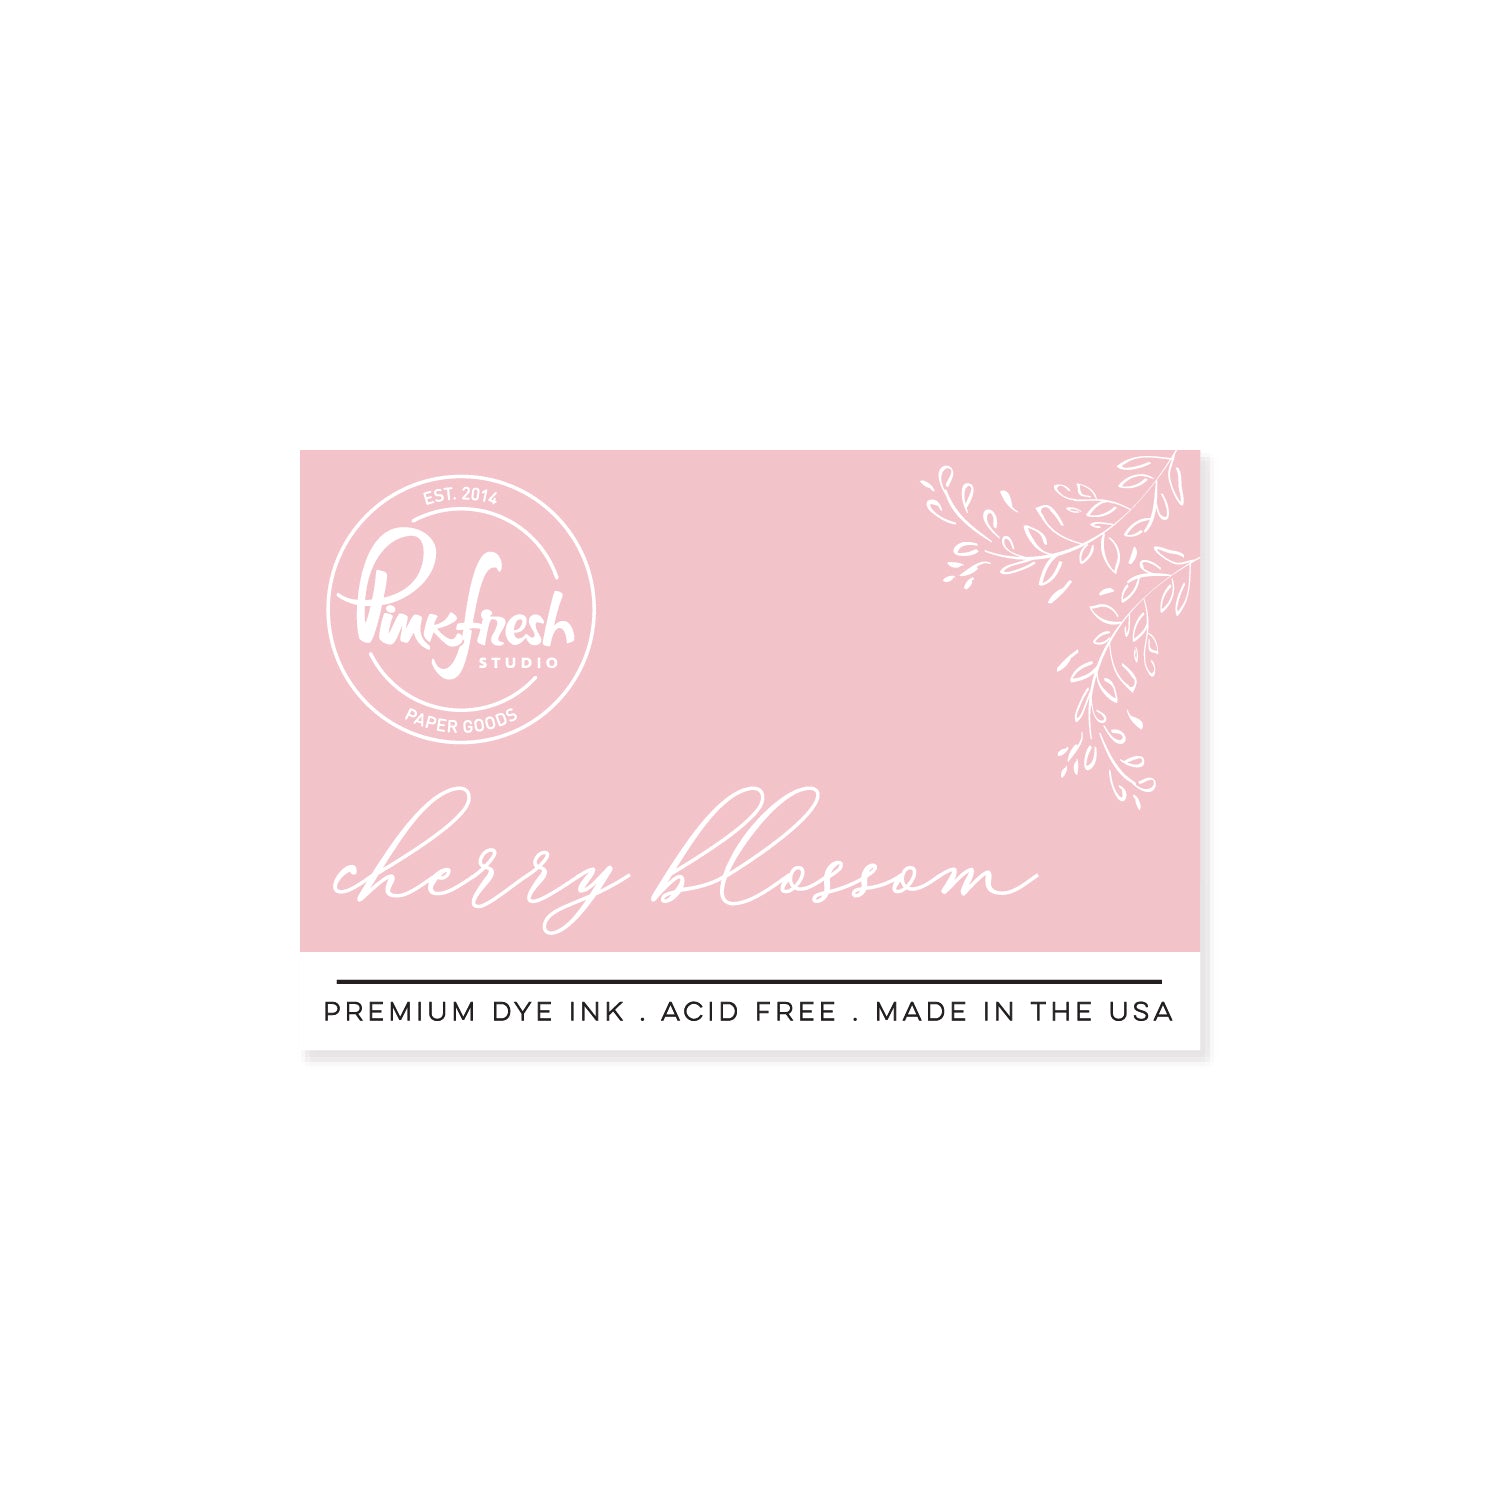
- Facade: top with Cherry Blossom, bottom with Warm Buff
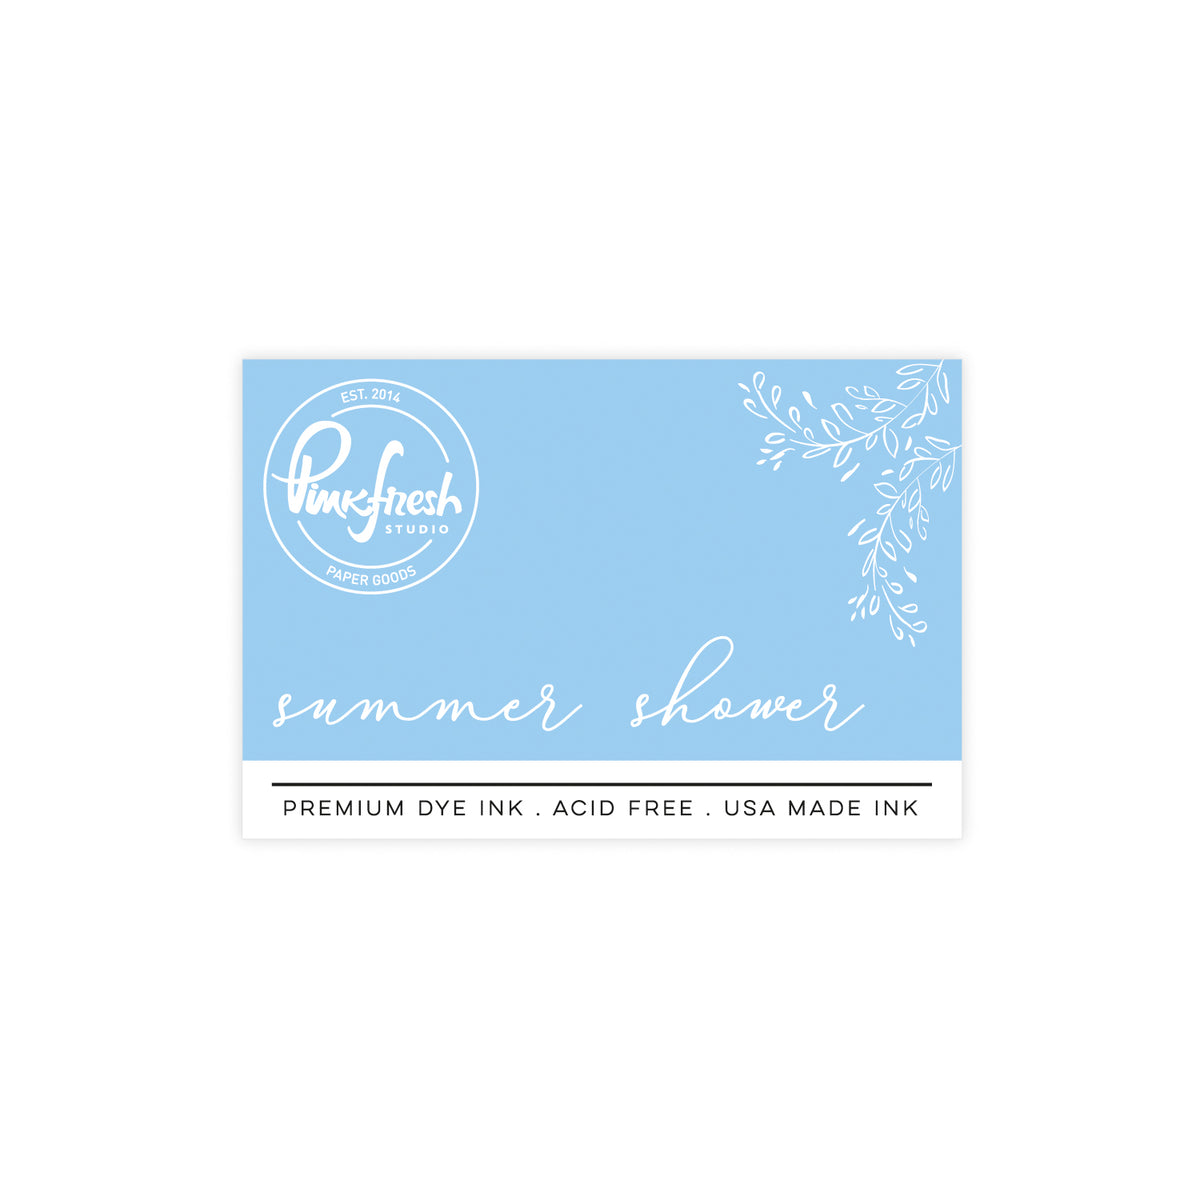
- Awning, tables, and chairs: Sky Blue, Summer Shower - Fragrance Notes:
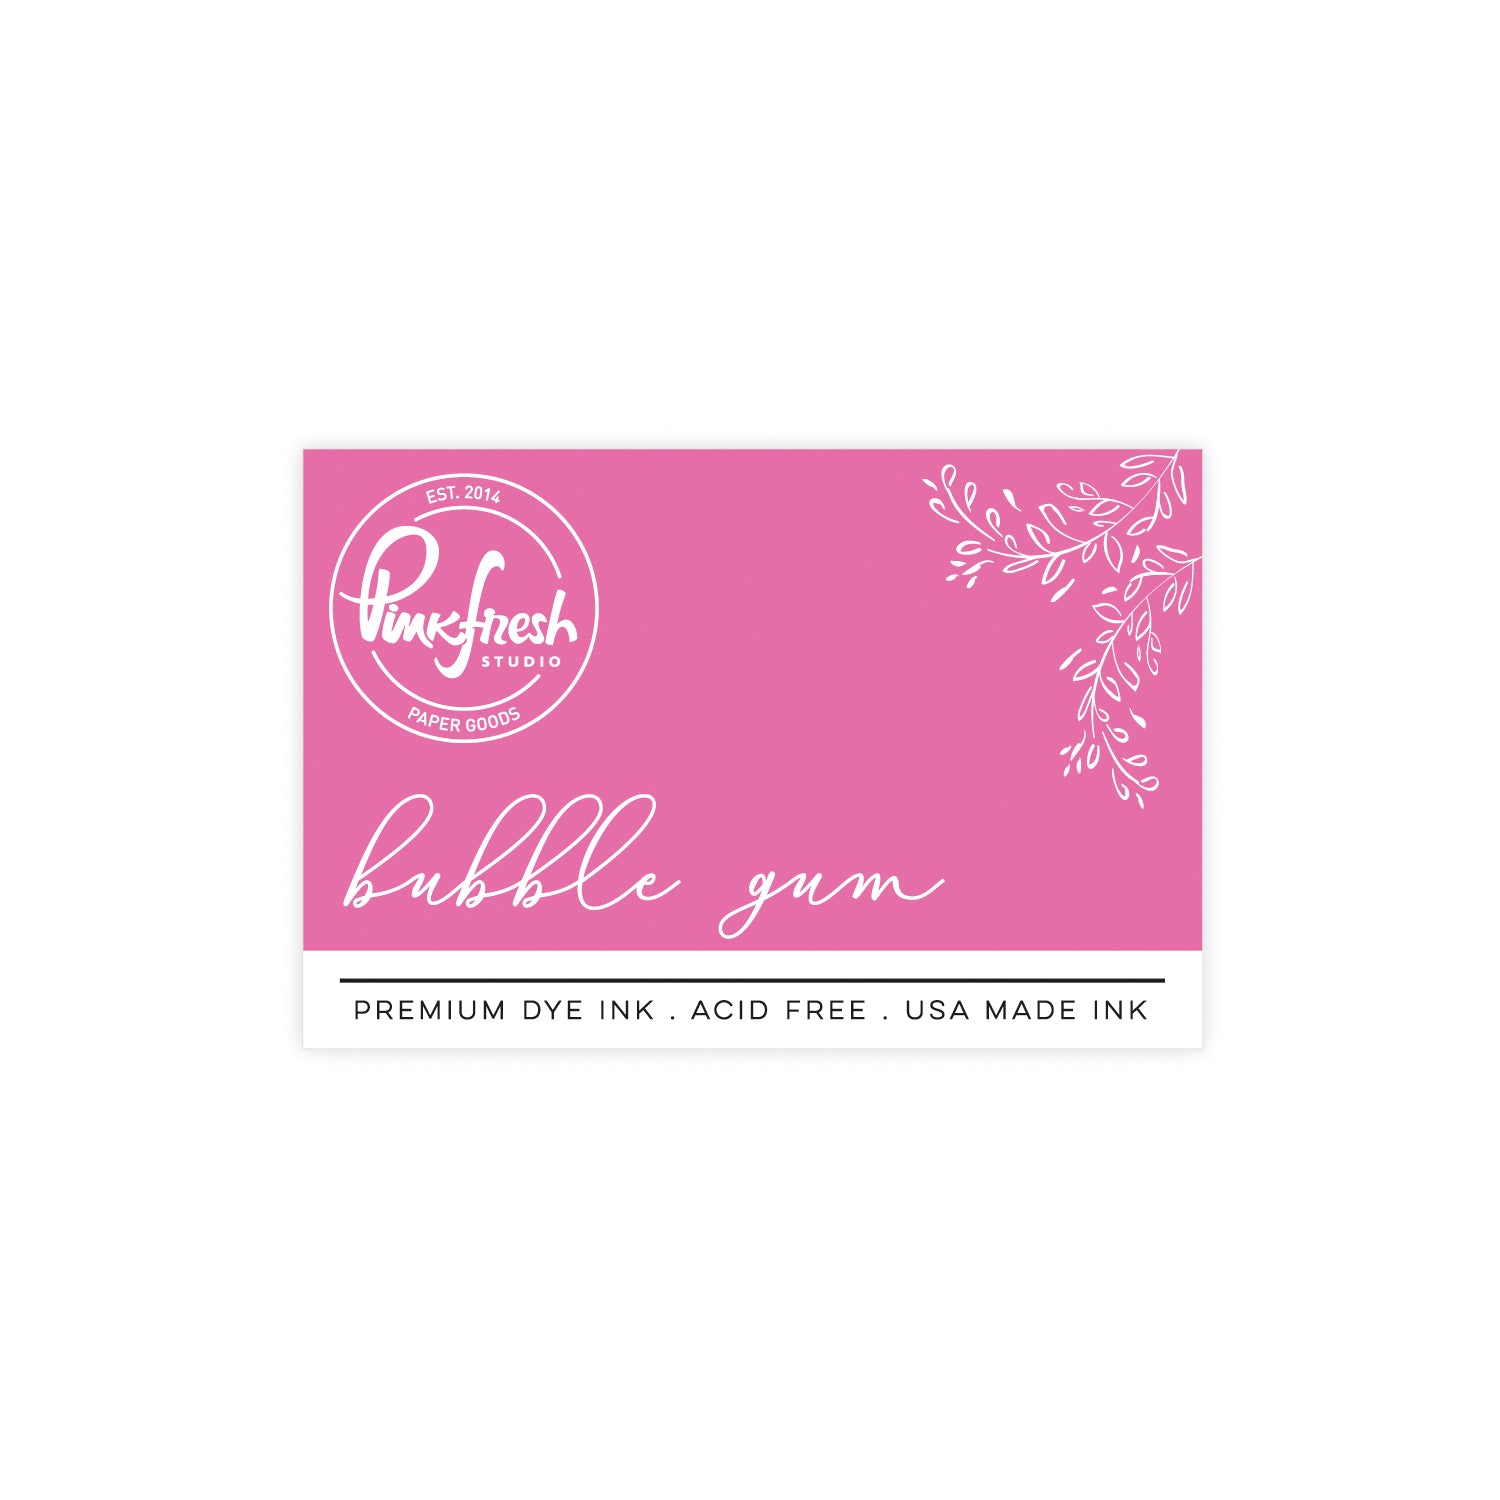
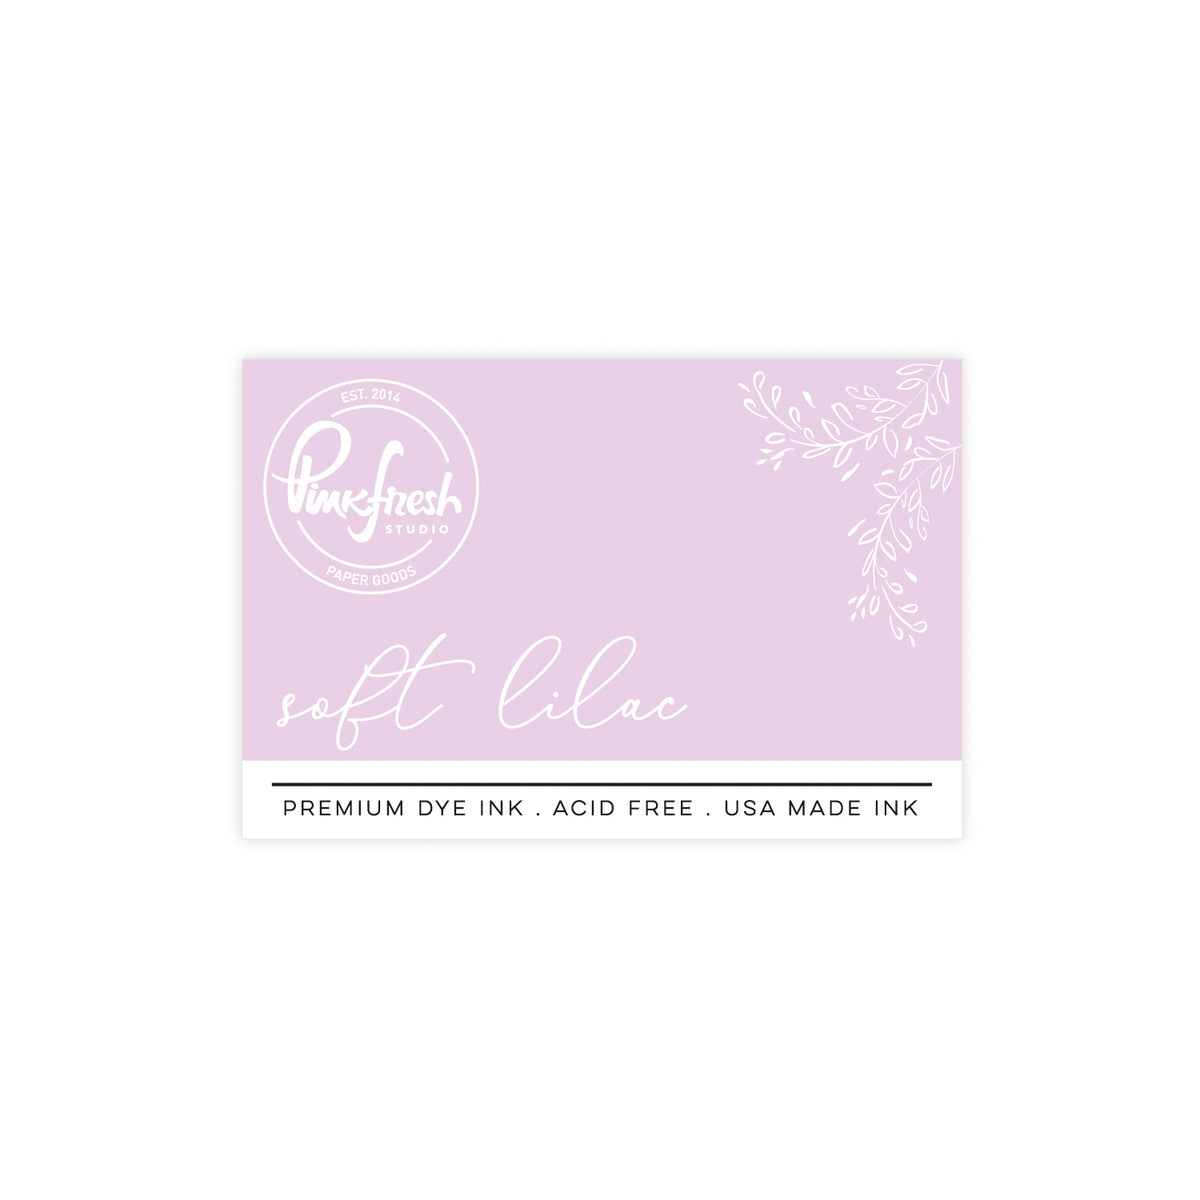
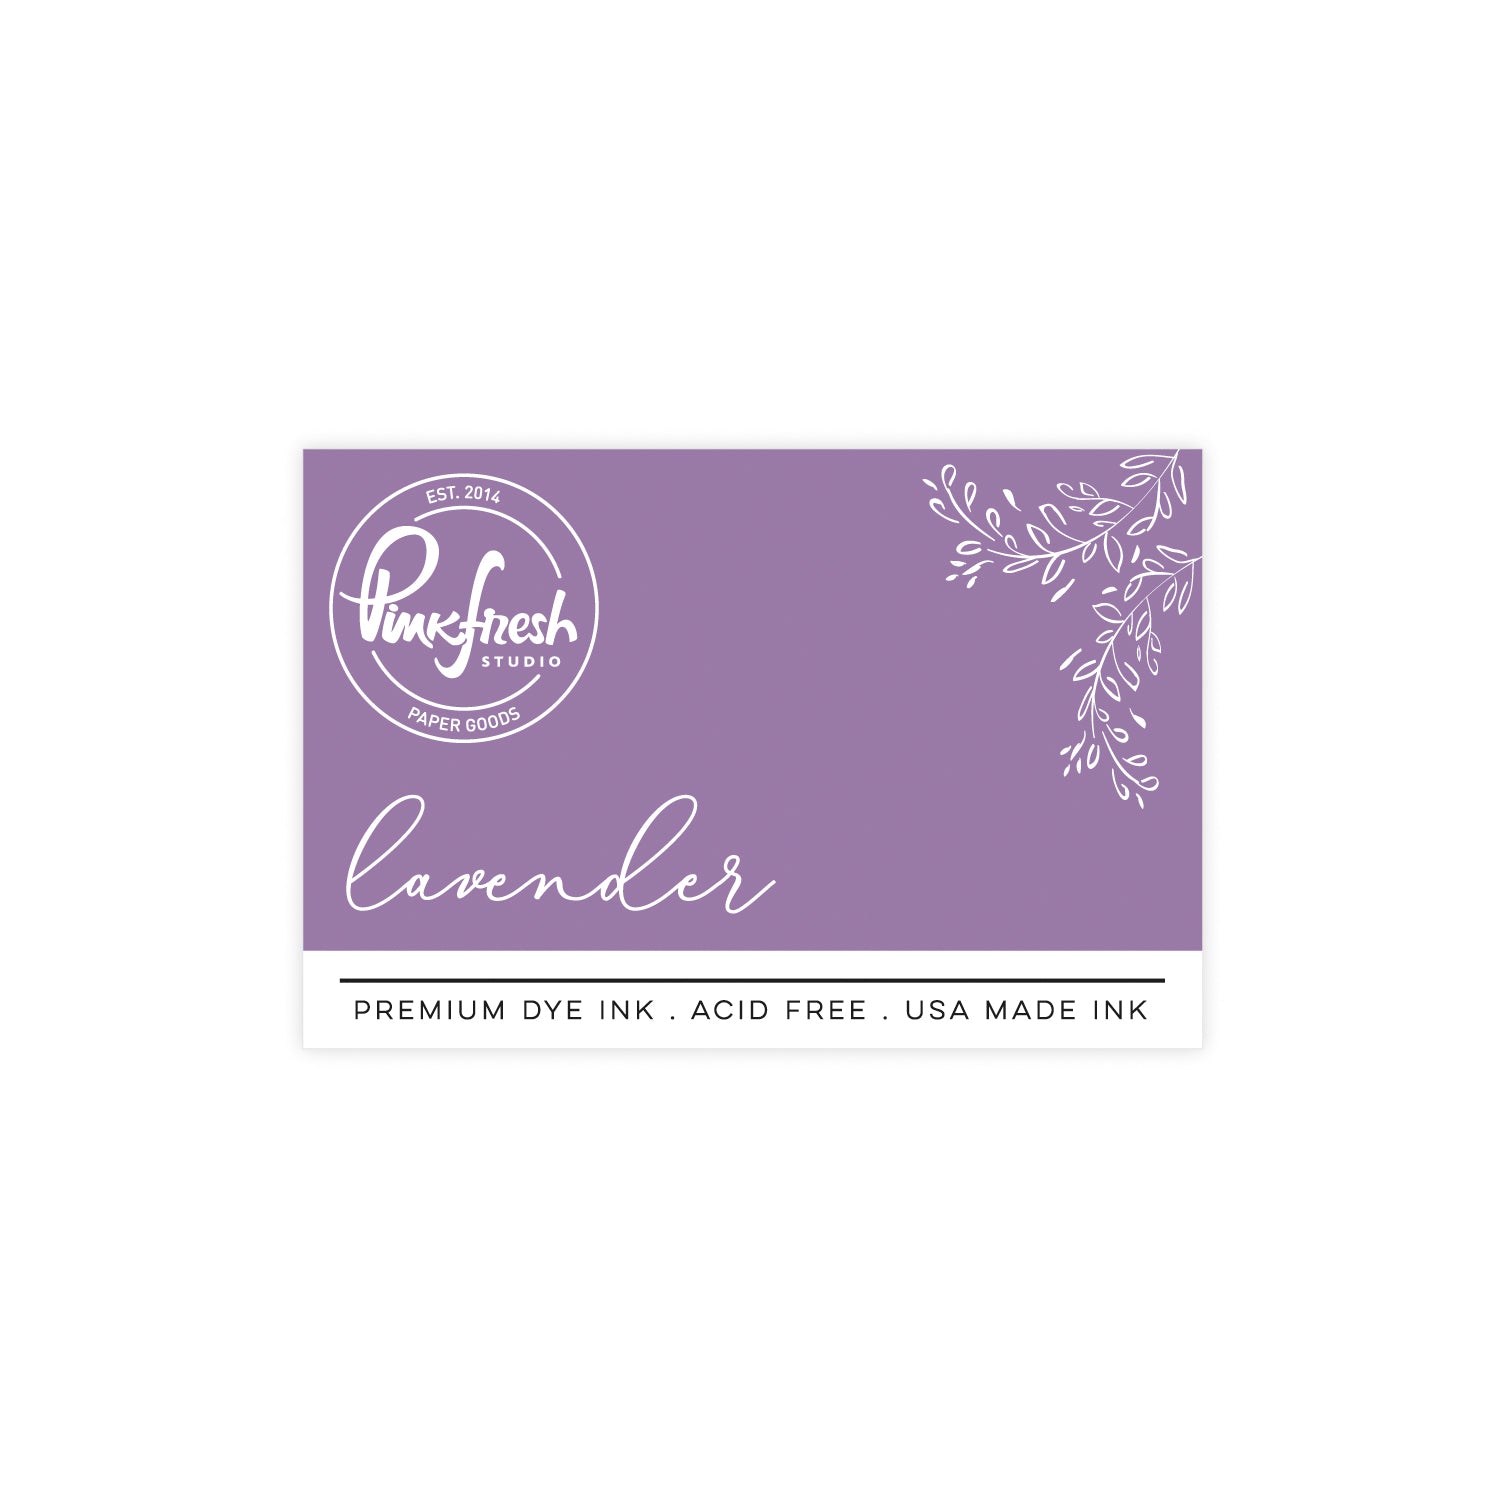
- Petals: Cherry Blossom, Bubble Gum, Soft Lilac, and Lavender, with a hint of Summer Shower on some purple flowers
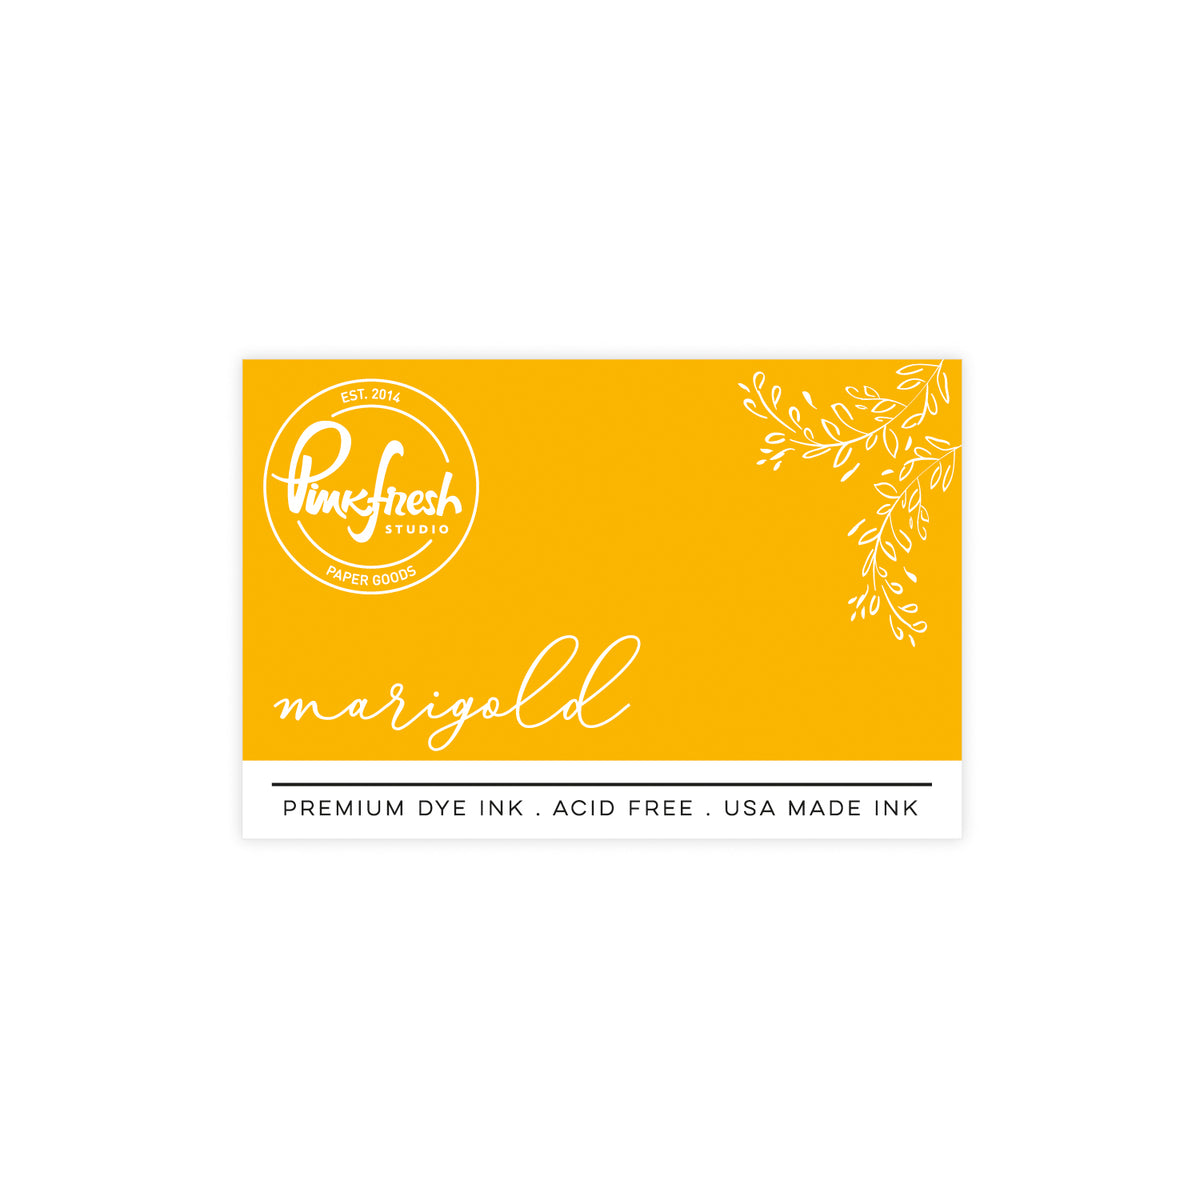
- Flower centers: Marigold
- Leaves: Summer Shower, partially mixed with Marigold
- Darling District:
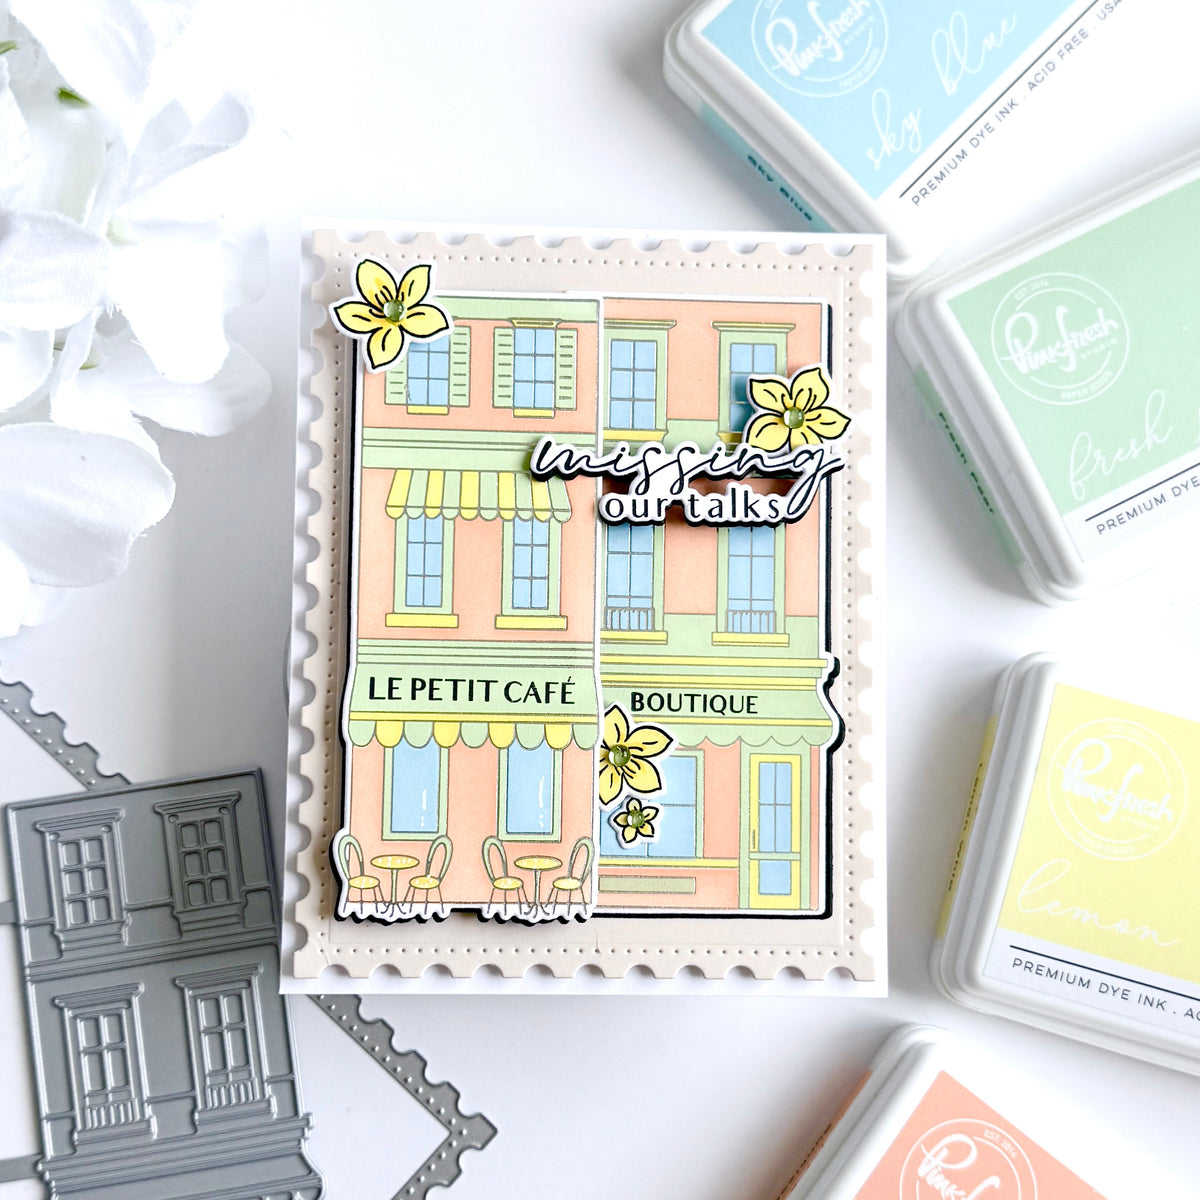
- Stamp “Le Petit Café” onto the awning and die cut the building and floral images using the coordinating dies.
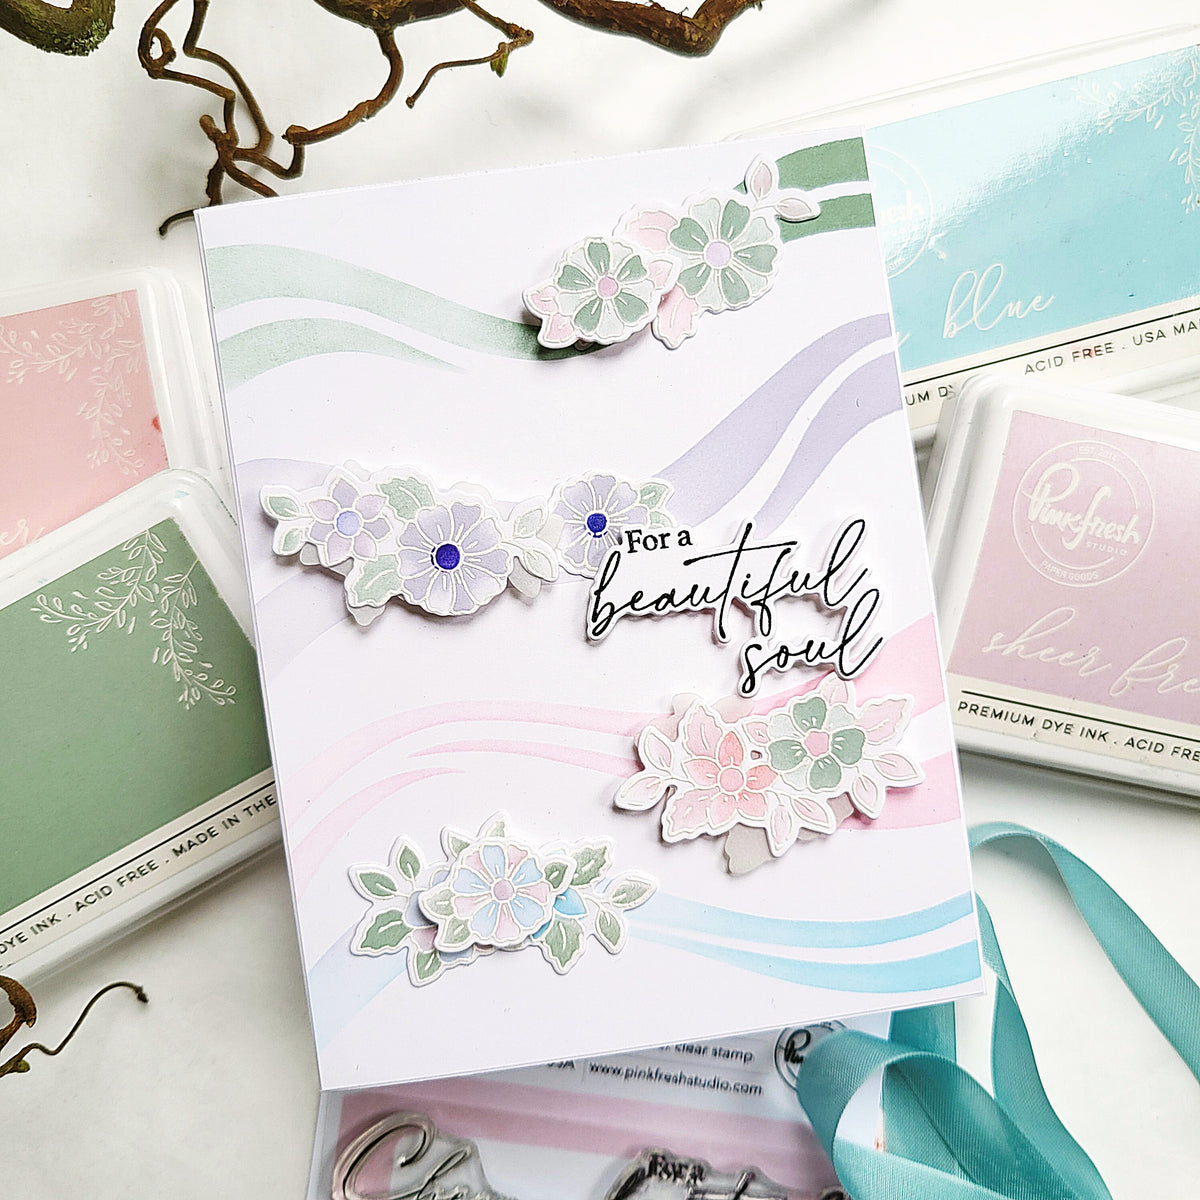
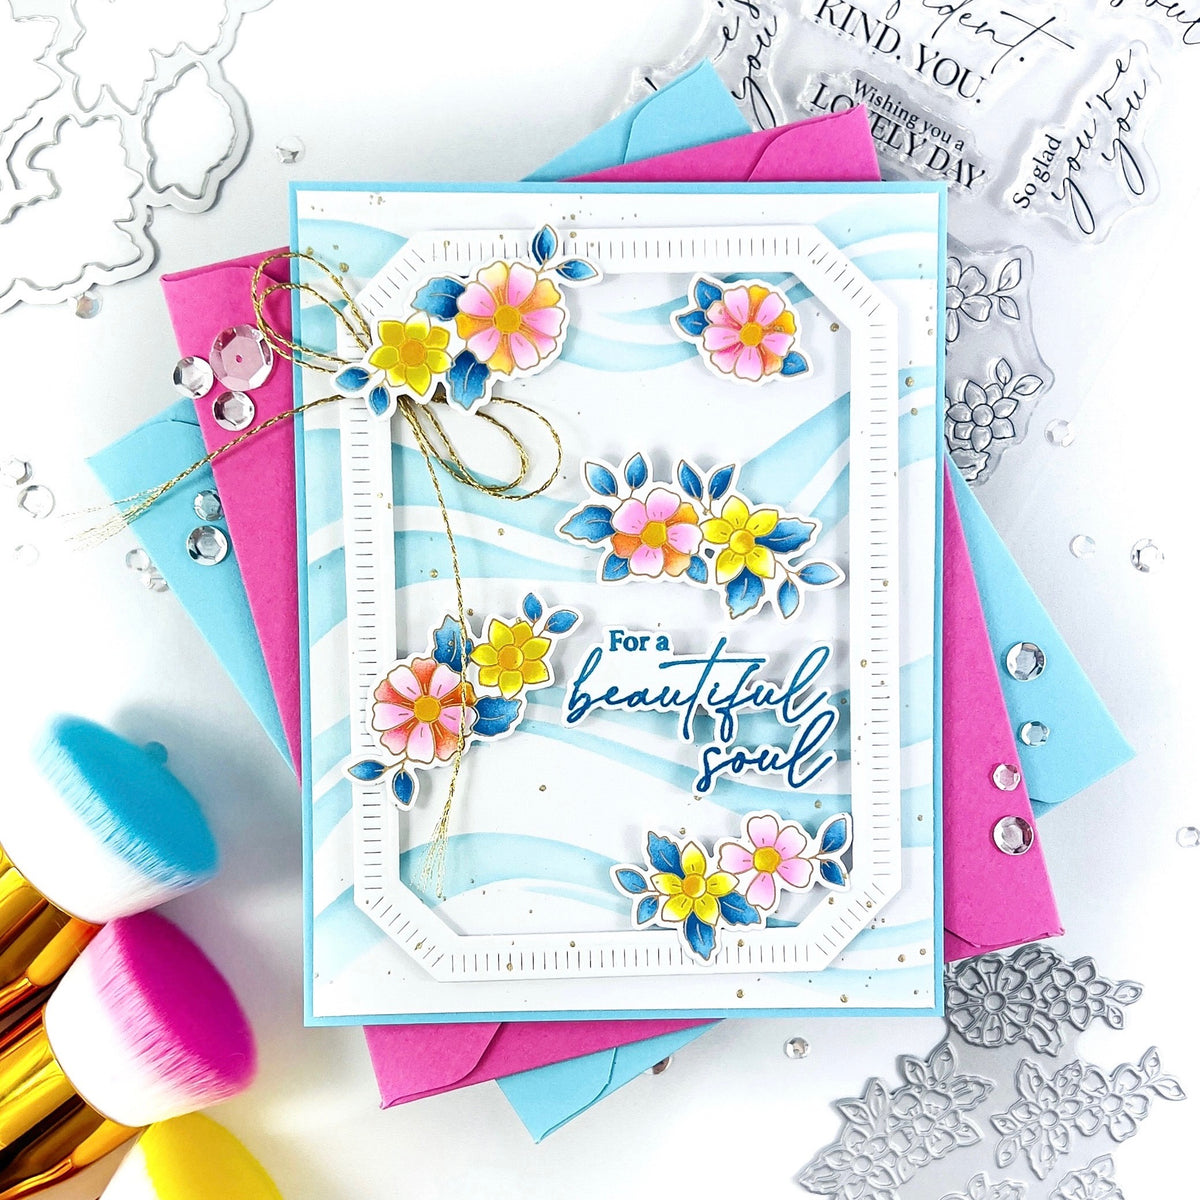
- Create a background panel using the wavy pattern stencil from the Fragrance Notes stencil set: lightly ink blend a white A2 panel with Soft Lilac (bottom) and Sky Blue (top), then stencil the pattern in Lavender and Summer Shower over the corresponding color areas.
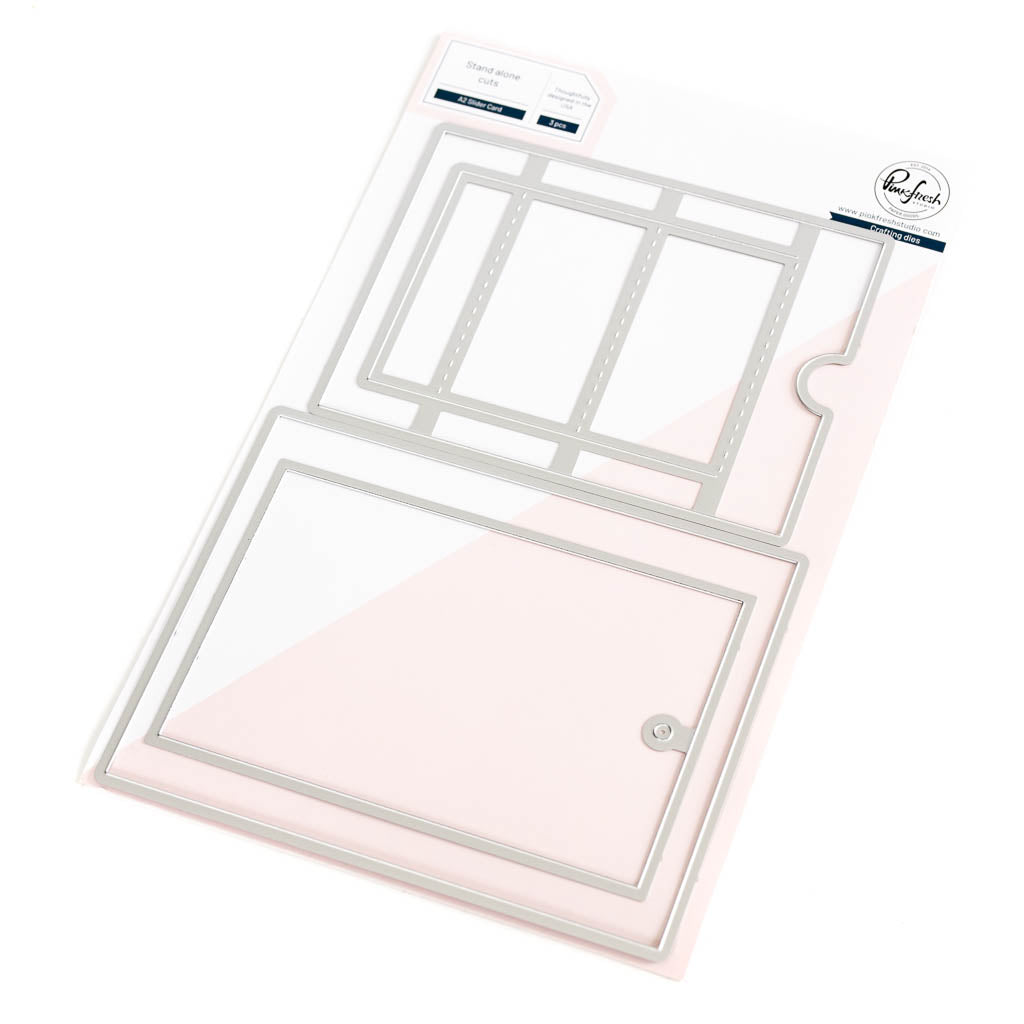
- Die cut the stenciled background panel using the A2 Slider Die.
- Create a second background panel with the same wavy stencil pattern in Lavender.
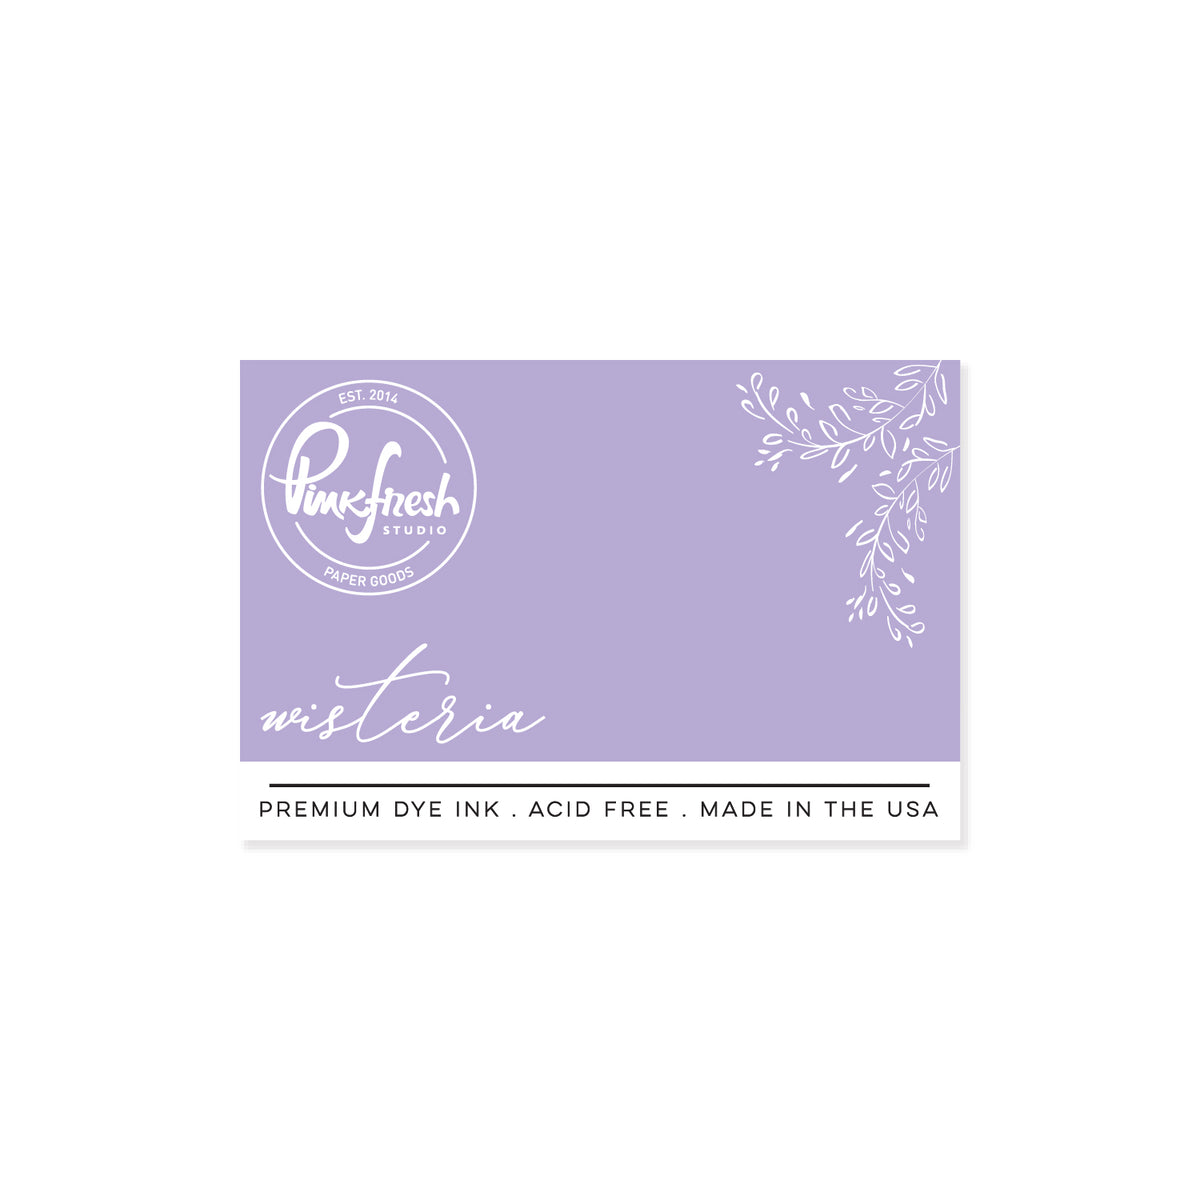
- Stamp the Darling District image on the left side of the background panel in Wisteria so it will be revealed when the slider opens.
- Adhere the background panel to a white card base.
- To create the pull tag, stencil the wavy pattern onto a white panel using the same blue tones as the front slider, then die cut the tag using the A2 Slider die.
- Assemble the slider card:
- Attach the outer frame flat to the card.
- Fold the slider piece along the crease lines and adhere the bottom of the tag to the back of the slider so it moves upward when the tag is pulled.
- Add foam adhesive along the outer edges and secure the slider to the card.
- Foam mount the building onto the front of the folded slider after trimming off the third floor so it fits the card.
- Adhere the floral images to the top of the building, the left side of the slider, the top of the tag, and a small flower to the bottom right corner of the frame.
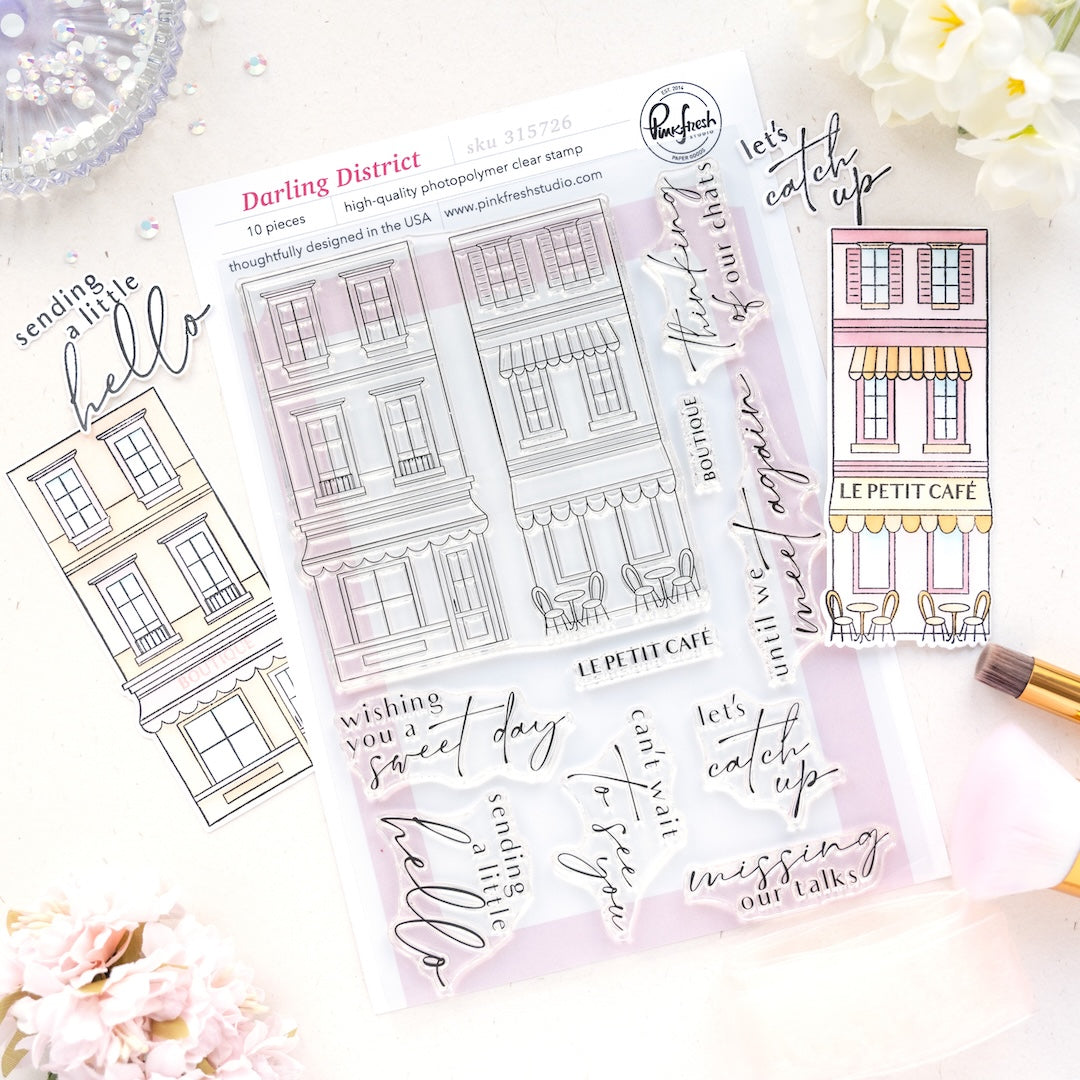
- Press the sentiments from the Darling District Press Plate set in Detail Black, die cut them with the coordinating dies, and adhere them as shown.
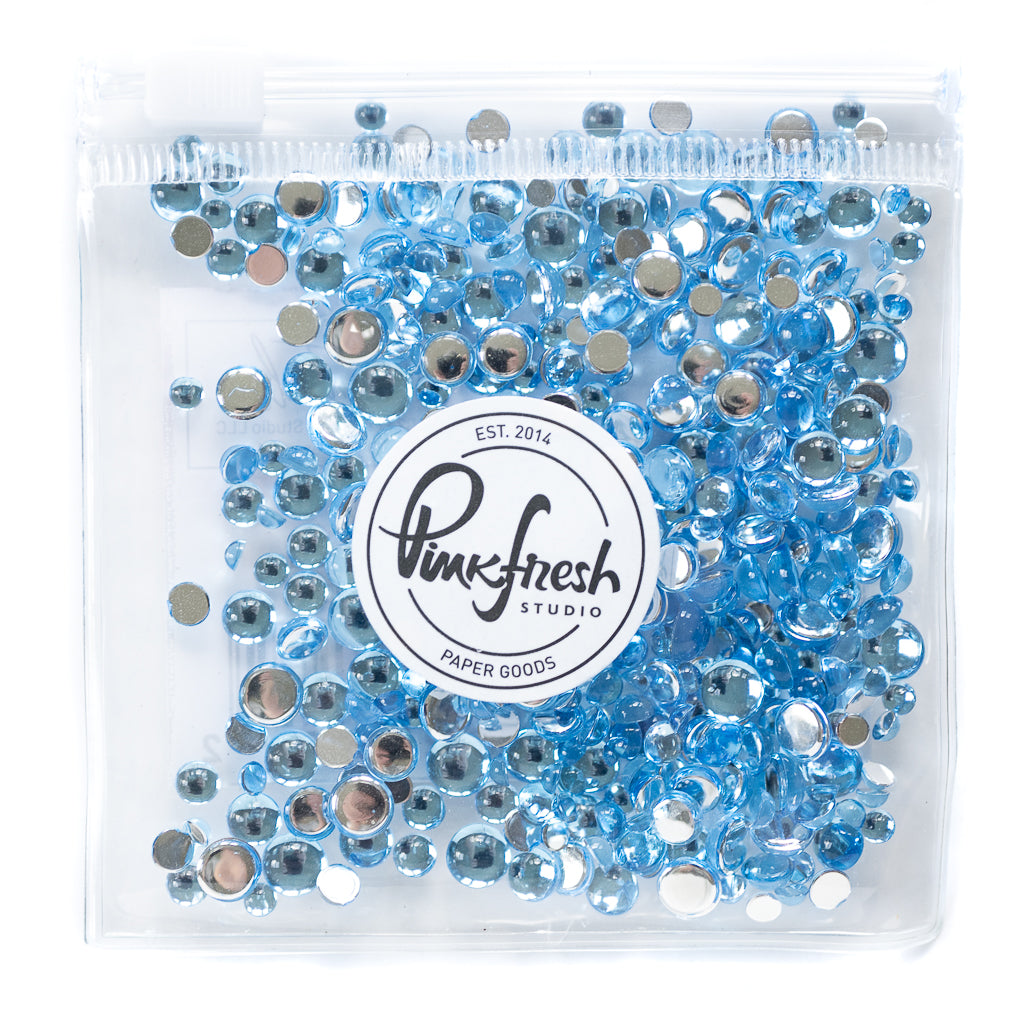
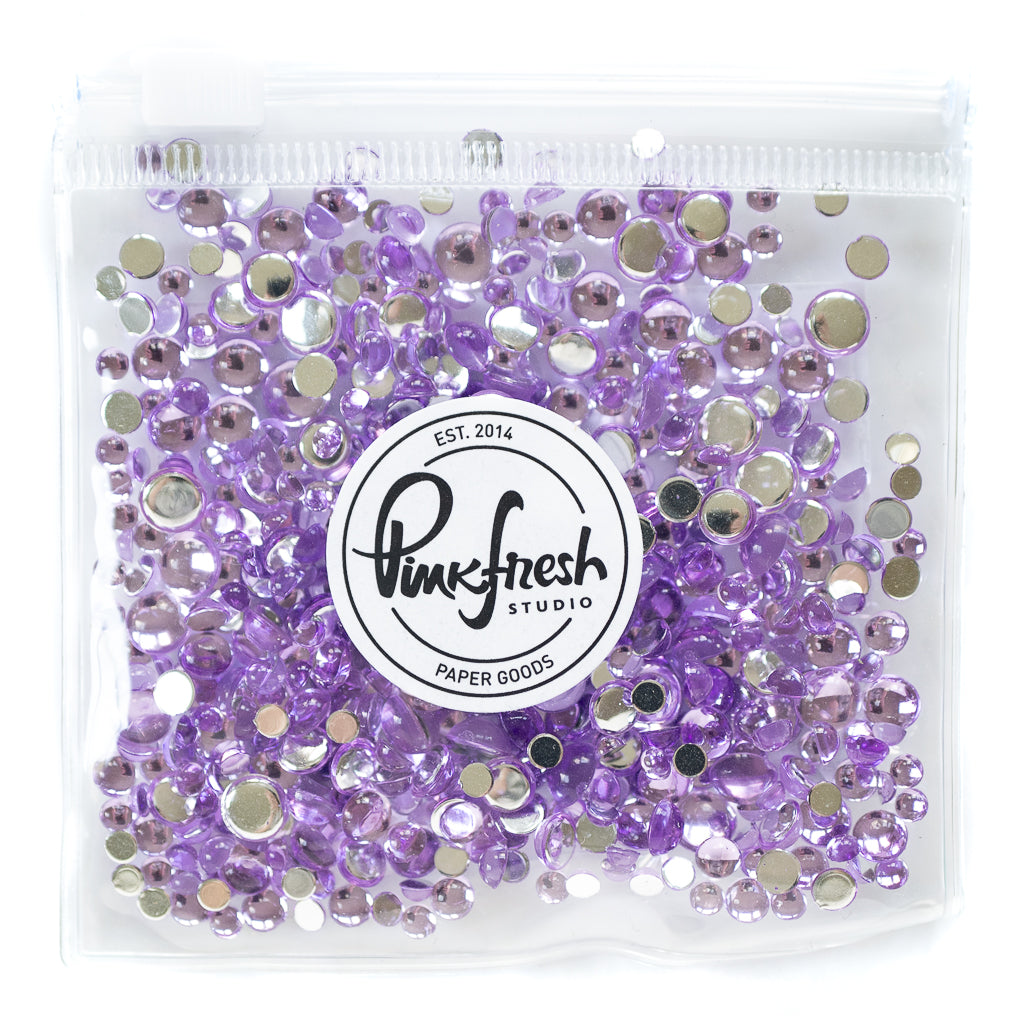
- Finish the card by tying an aqua ribbon to the tag and adding two Sky Blue and two Lilac Clear Drops to the front.


TIP: When creating an interactive card, I like to plan the mechanism first so everything has its place and nothing blocks the movement. It’s also a good idea to test the slider before final assembly to make sure it moves smoothly.
I hope you feel inspired to give this slider design a try! It’s so much fun and adds a special touch to your projects!
Thanks so much for stopping by, and happy crafting!
TaeEun
Recommended Products
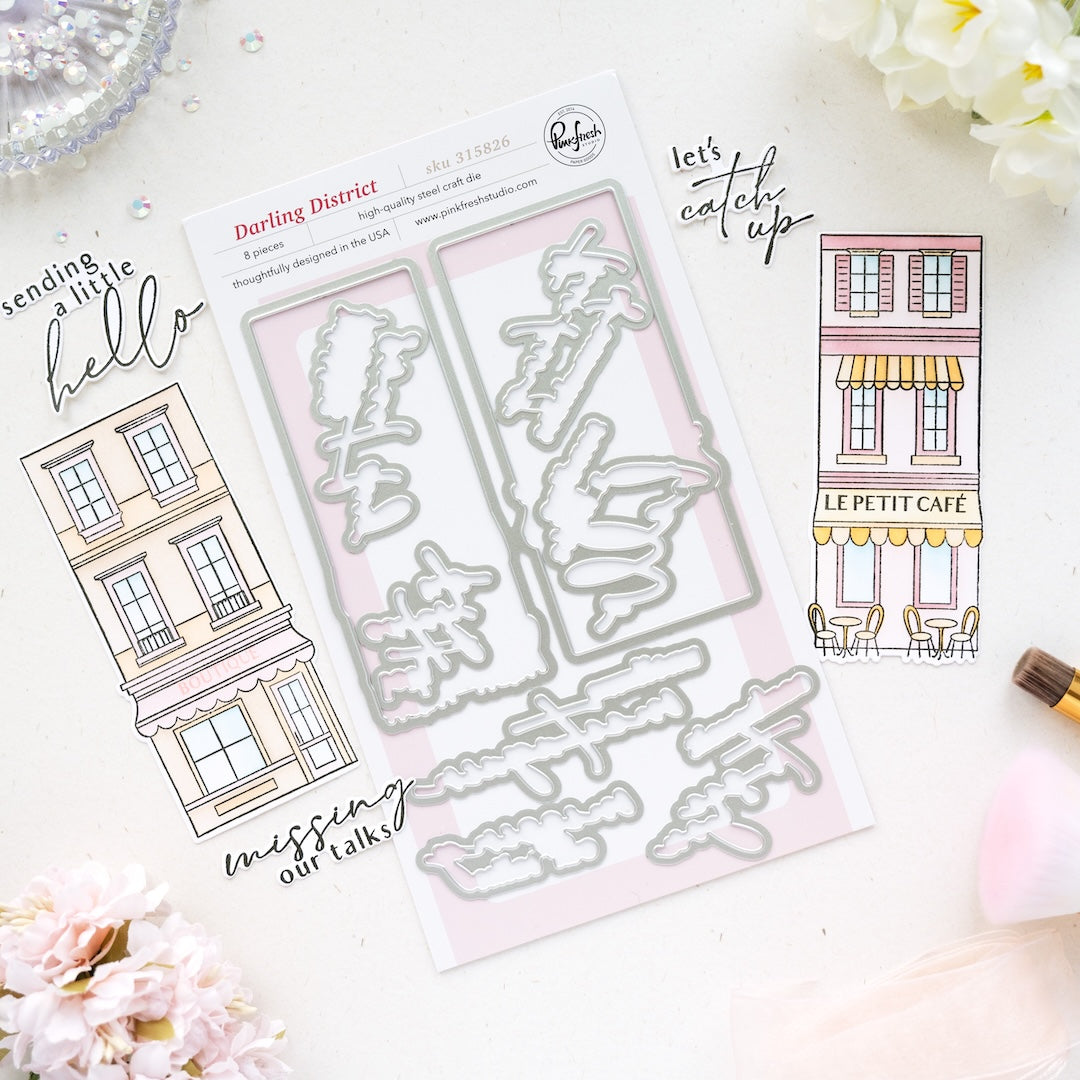
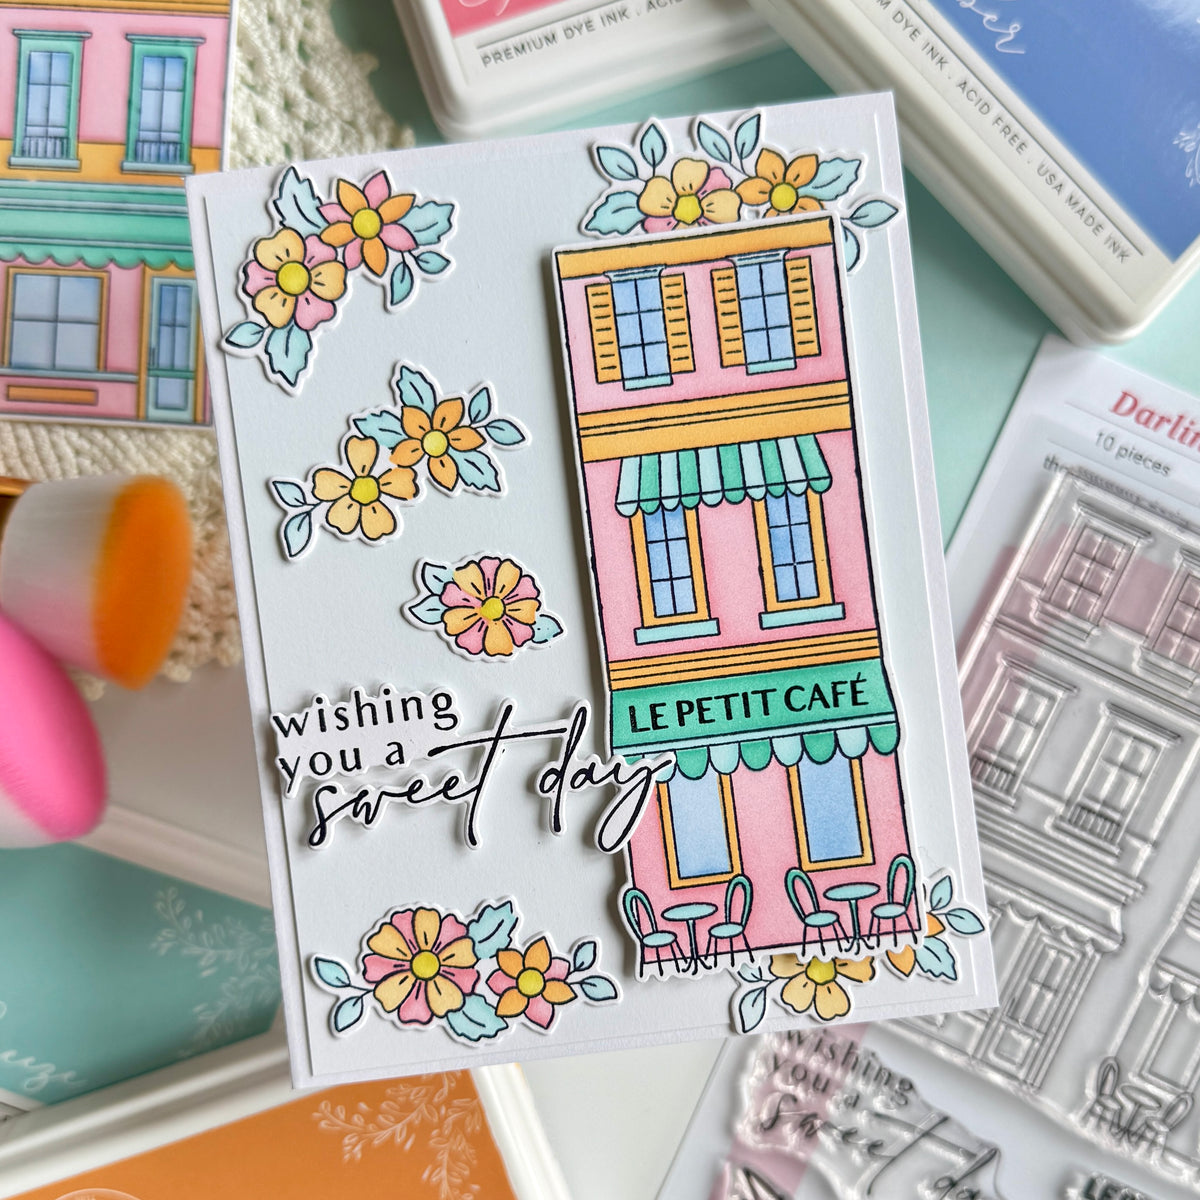


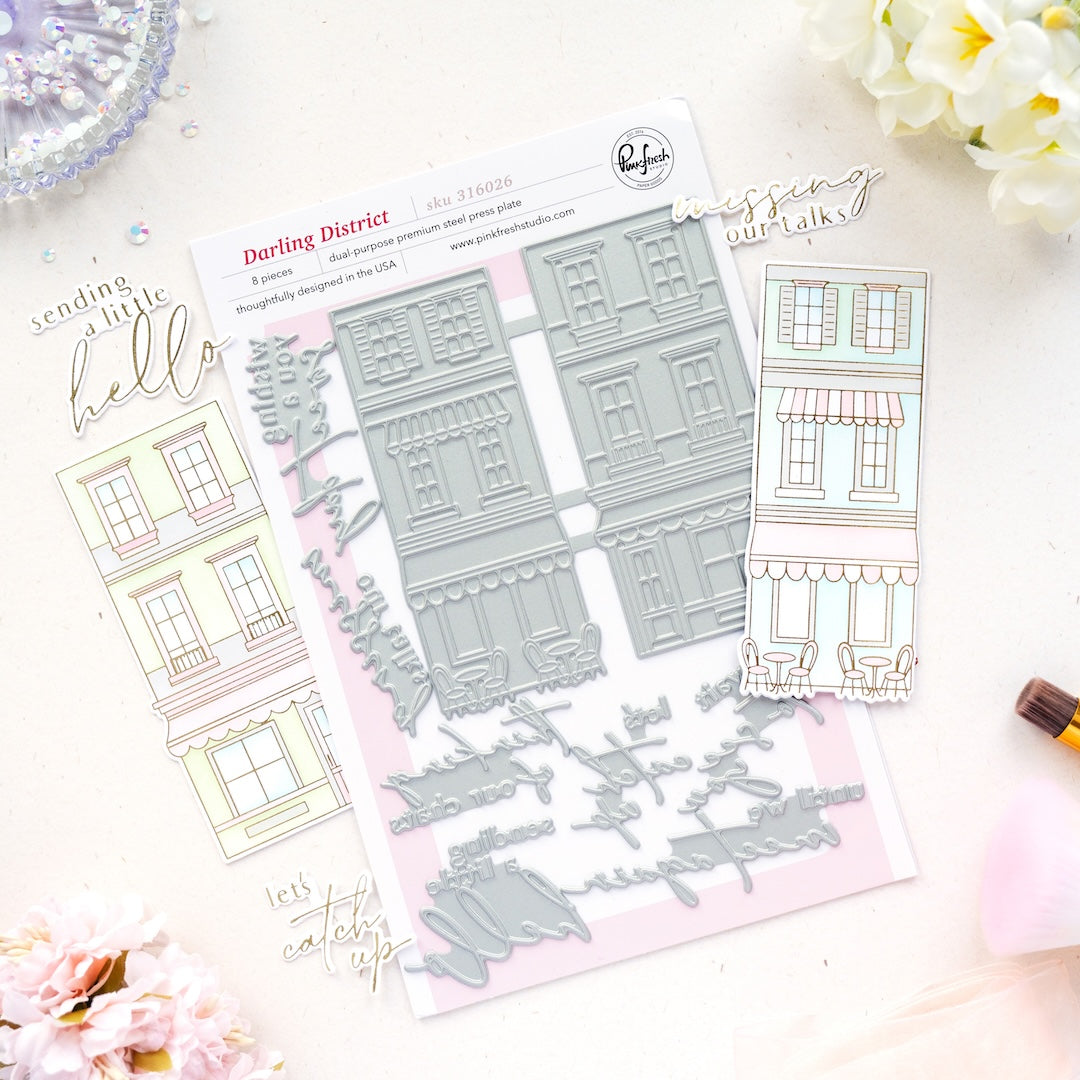












































Leave a comment
All comments are moderated before being published.
This site is protected by hCaptcha and the hCaptcha Privacy Policy and Terms of Service apply.