
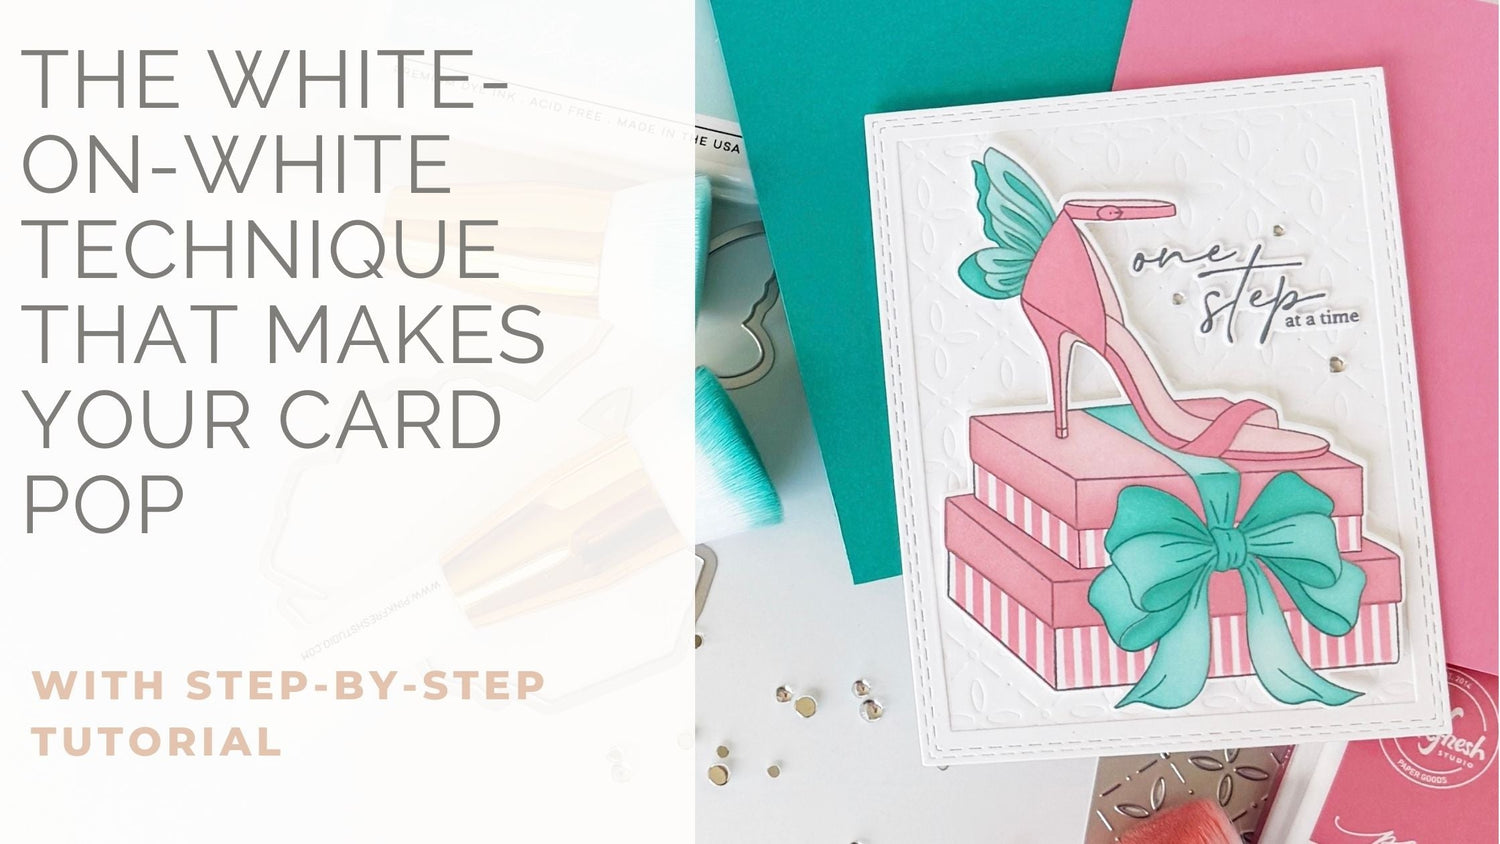
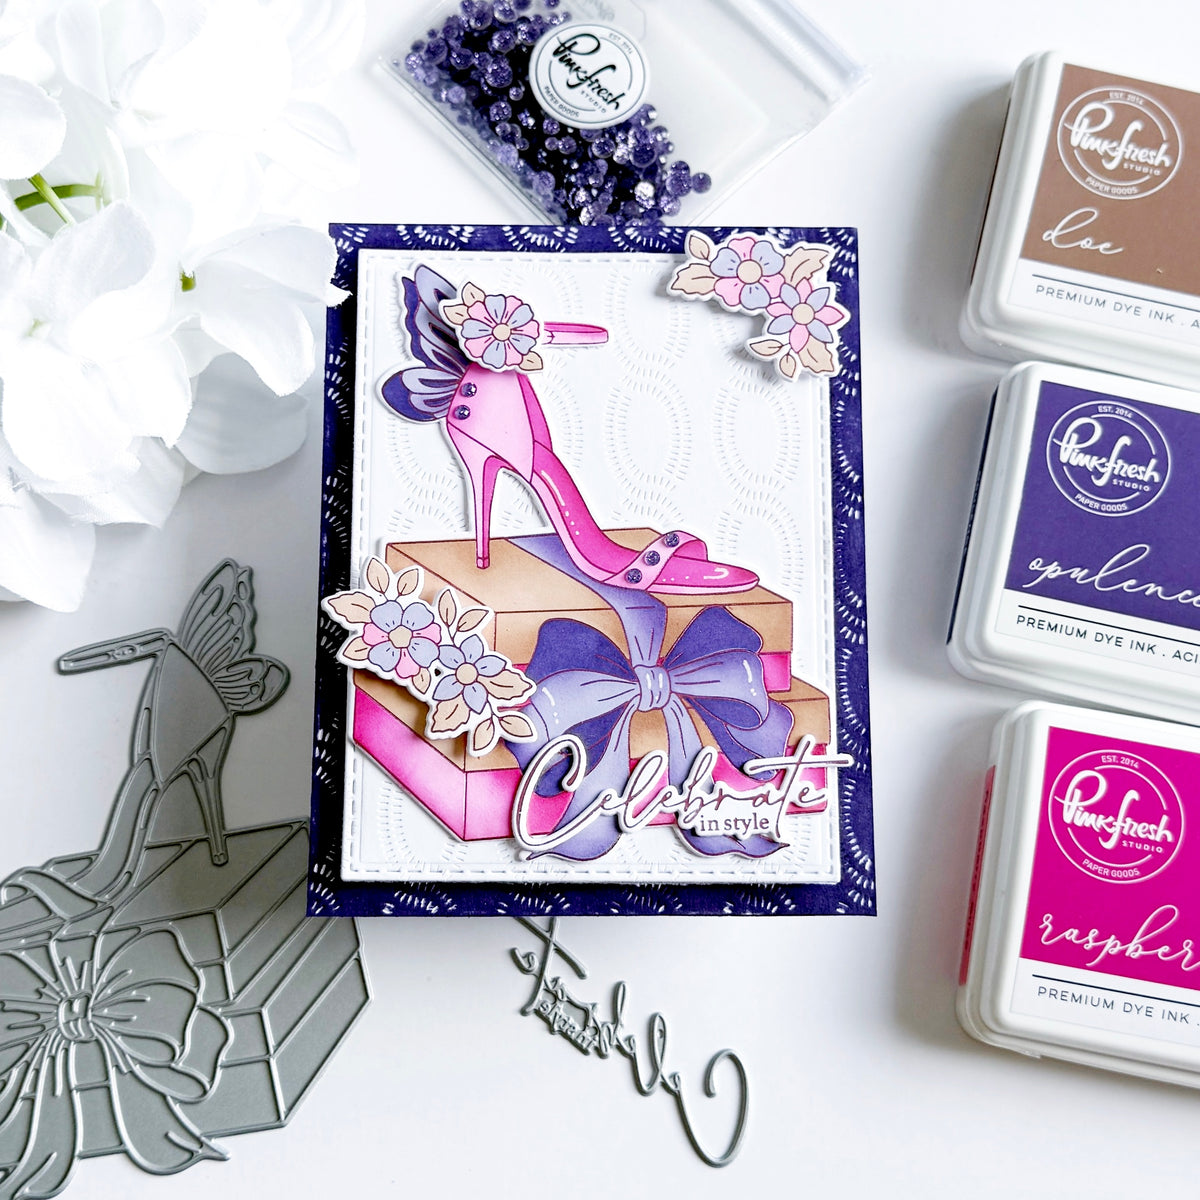
If you love clean card designs but still want them to feel detailed and dimensional, dry embossing is one of the easiest ways to make that happen. In this handmade card tutorial, I’m sharing how to build a white-on-white background that feels rich in texture without adding visual clutter.
This design combines dry embossing, stitched framing, and soft ink blending to create contrast while keeping everything cohesive and polished. The Petal Grid coverplate adds subtle pattern through embossing, while the stitched rectangle frame helps define the space and draw your eye inward to the focal point.
I’ll also show how adding small details—like striped ink blending on the boxes and layered die cuts—can elevate a simple design and give it that finished, boutique feel. If you enjoy clean and simple cardmaking with thoughtful texture and dimension, this is a great technique to add to your toolkit.
Let’s take a closer look at how this card comes together.
*Disclaimer: All products used are linked below as clickable images. If a product isn't listed, it's been discontinued.

How to re-create this card:
- Create a white, top-folding A2 card base.
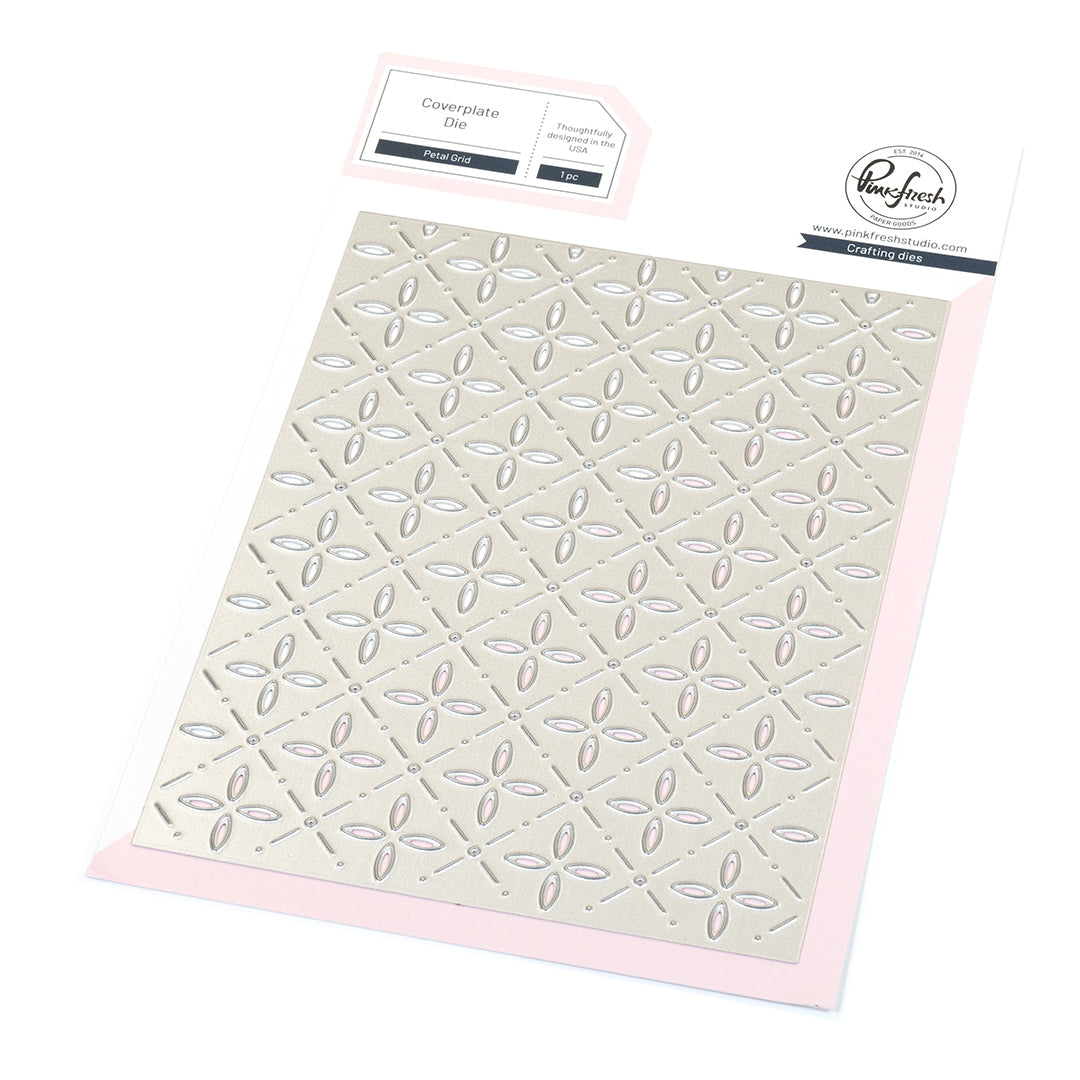
- Dry emboss an A2 panel of white cardstock using the Petal Grid coverplate die.
- Adhere the embossed panel to the card base using liquid glue.
- Die cut the two largest Double Stitch Rectangles from white cardstock to create a frame.
- Adhere the frame around the perimeter of the card front.
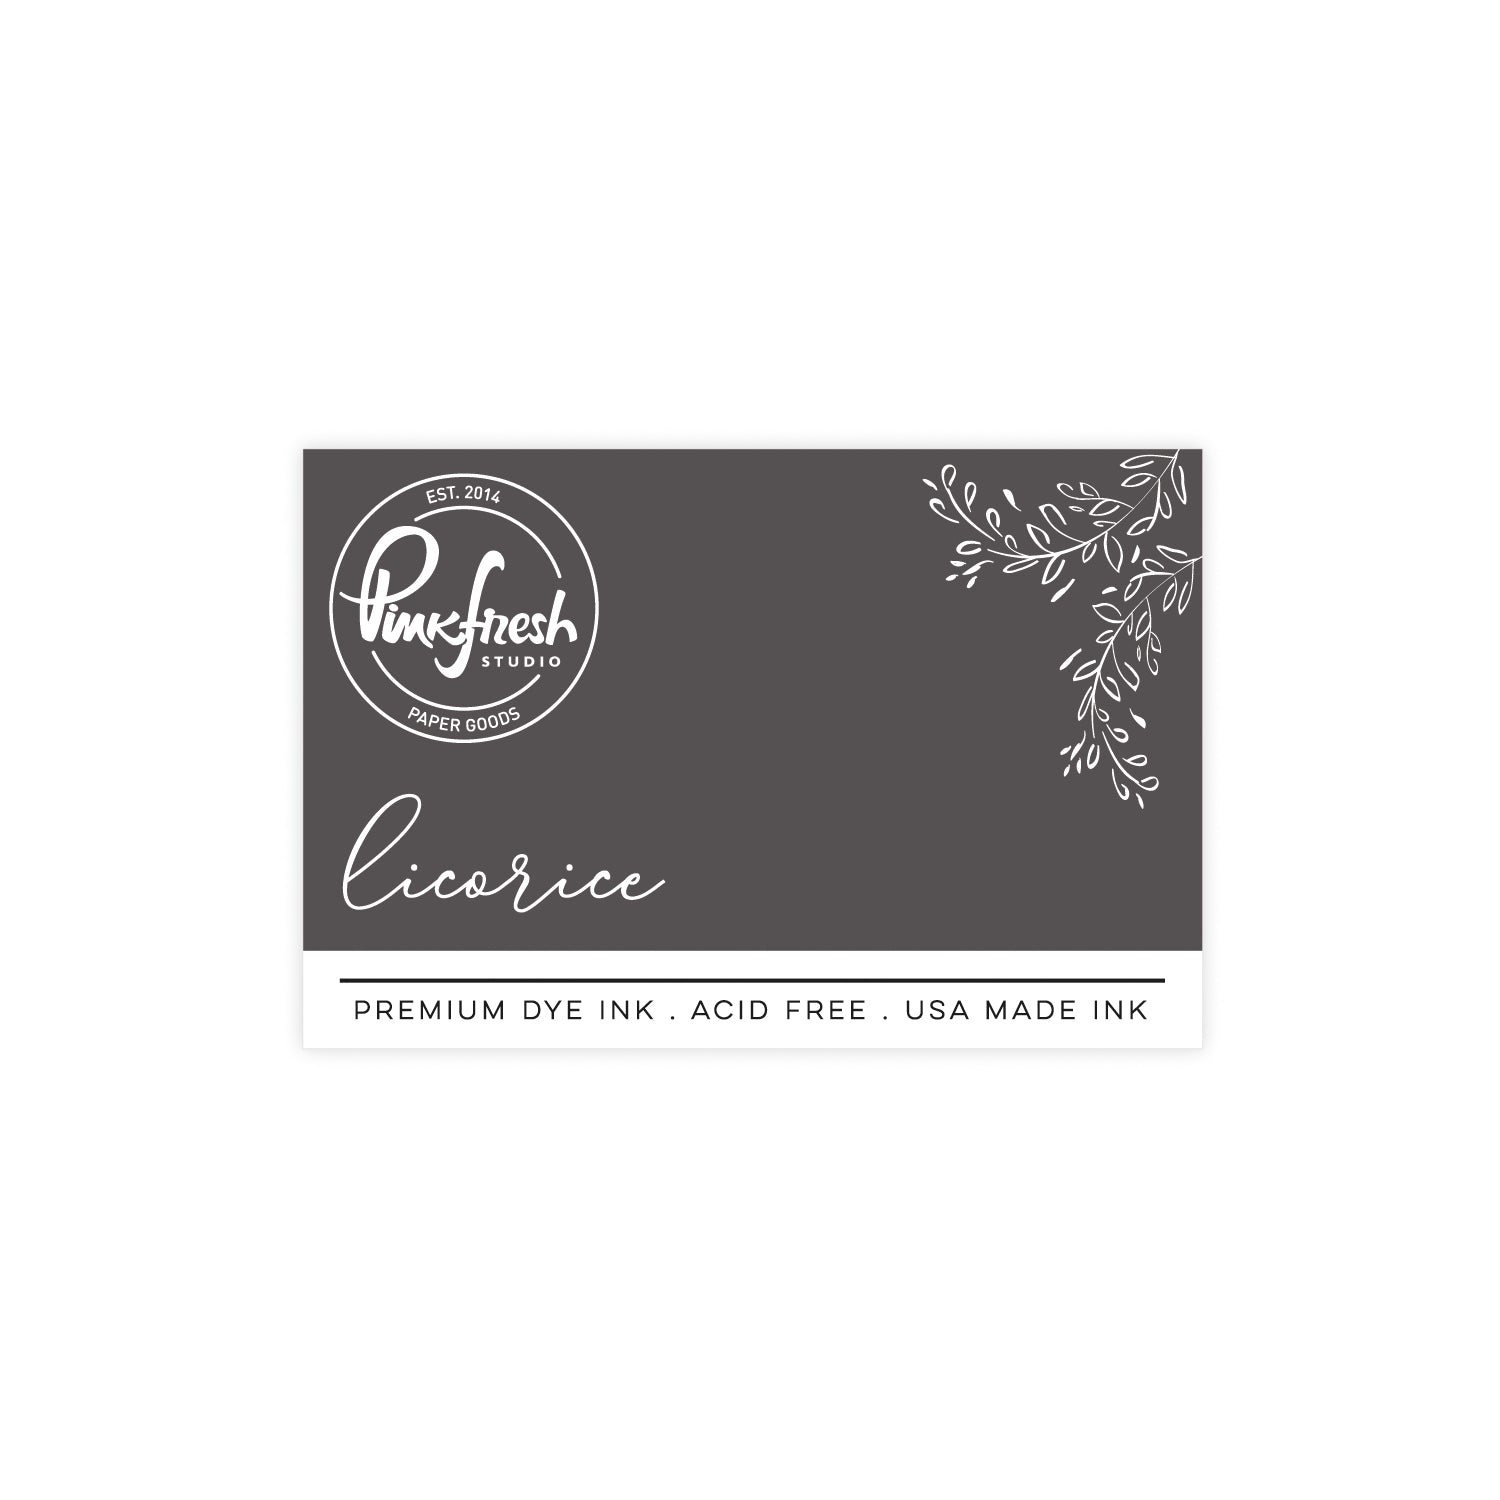
- Stamp the image and sentiment using Licorice ink.
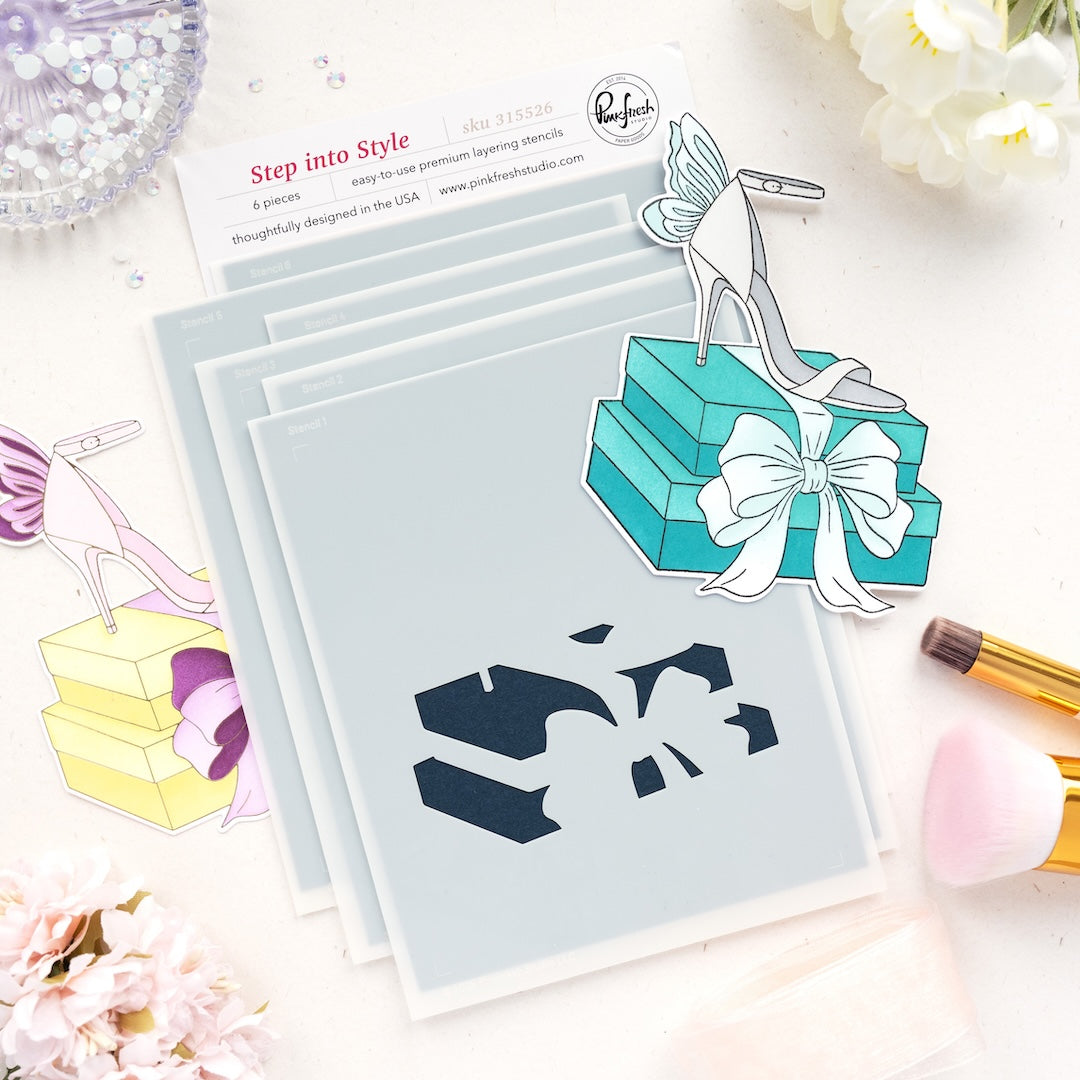
- Ink blend the image using the coordinating stencils:
- Stencil 1: Cherry Blossom, Peony
- Stencil 2: Peony (mask off sections and use the Borders stencil to stencil on the stripes. This will be done in 4 separate sections. Top left of the box, bottom left of the box, top front of the box, and then bottom front of the box. Align the stencil horizontal to the bottom of the box tops.)
- Stencil 3: Ocean Breeze, Aquamarine
- Stencil 4: heavy Aquamarine
- Stencil 5: Peony
- Stencil 6: Cherry Blossom
- Die cut the image and sentiment using the coordinating dies.
- Adhere one blank die cut behind each piece for added stability and dimension.
- Adhere the image to the card using thick foam tape.
- Adhere the sentiment using liquid glue.
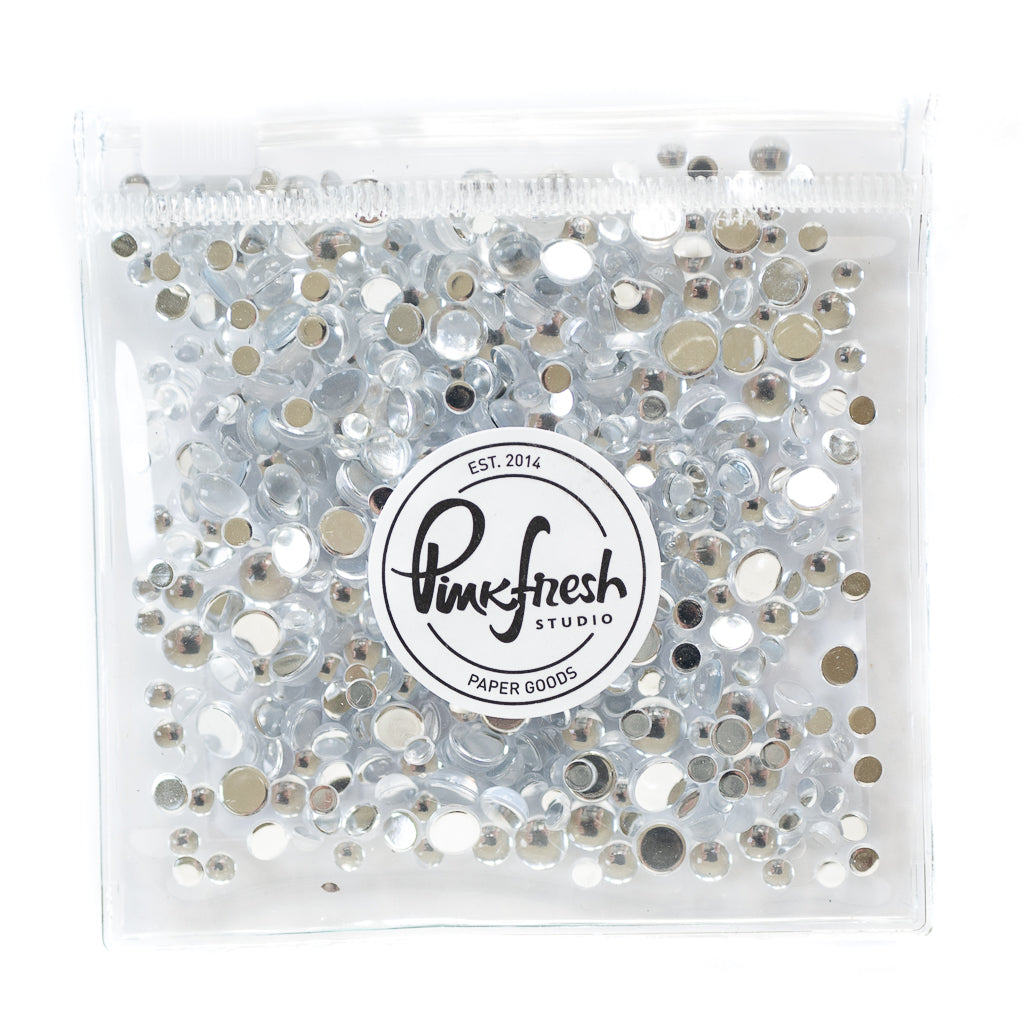
- Finish the card by adding three Clear Drops as embellishments.


I love how this card shows that you don’t need a lot of color or embellishment to create something that feels detailed and complete. The combination of dry embossing, stitched framing, and subtle ink blending adds just enough texture to keep the design interesting while still feeling clean and refined.
The white-on-white background allows the focal image to stand out, while the added striped detail on the boxes brings in a bit of personality without overwhelming the design. It’s a great balance between simple and elevated.
This is one of those techniques you can come back to again and again when you want a polished look with minimal supplies and maximum impact.
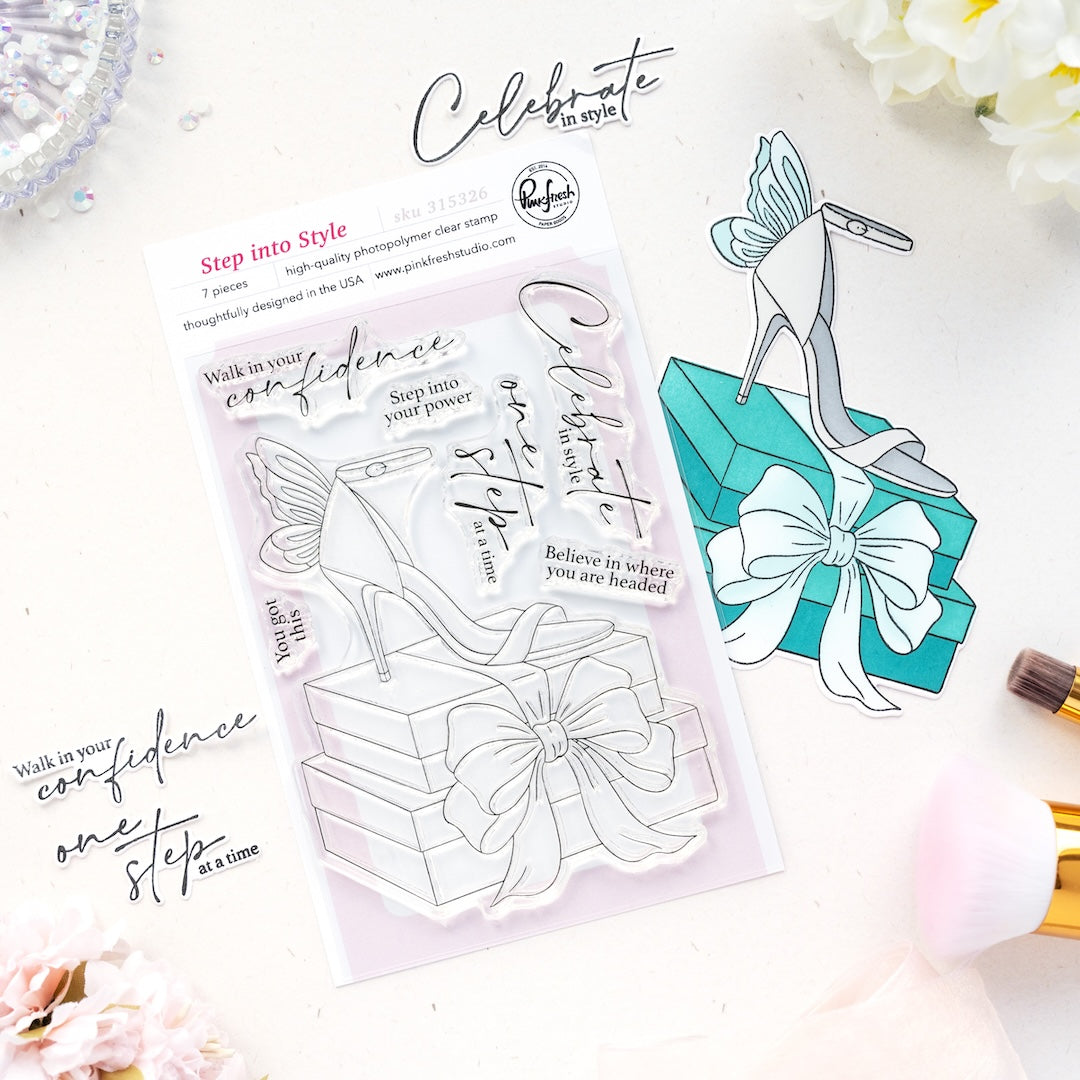
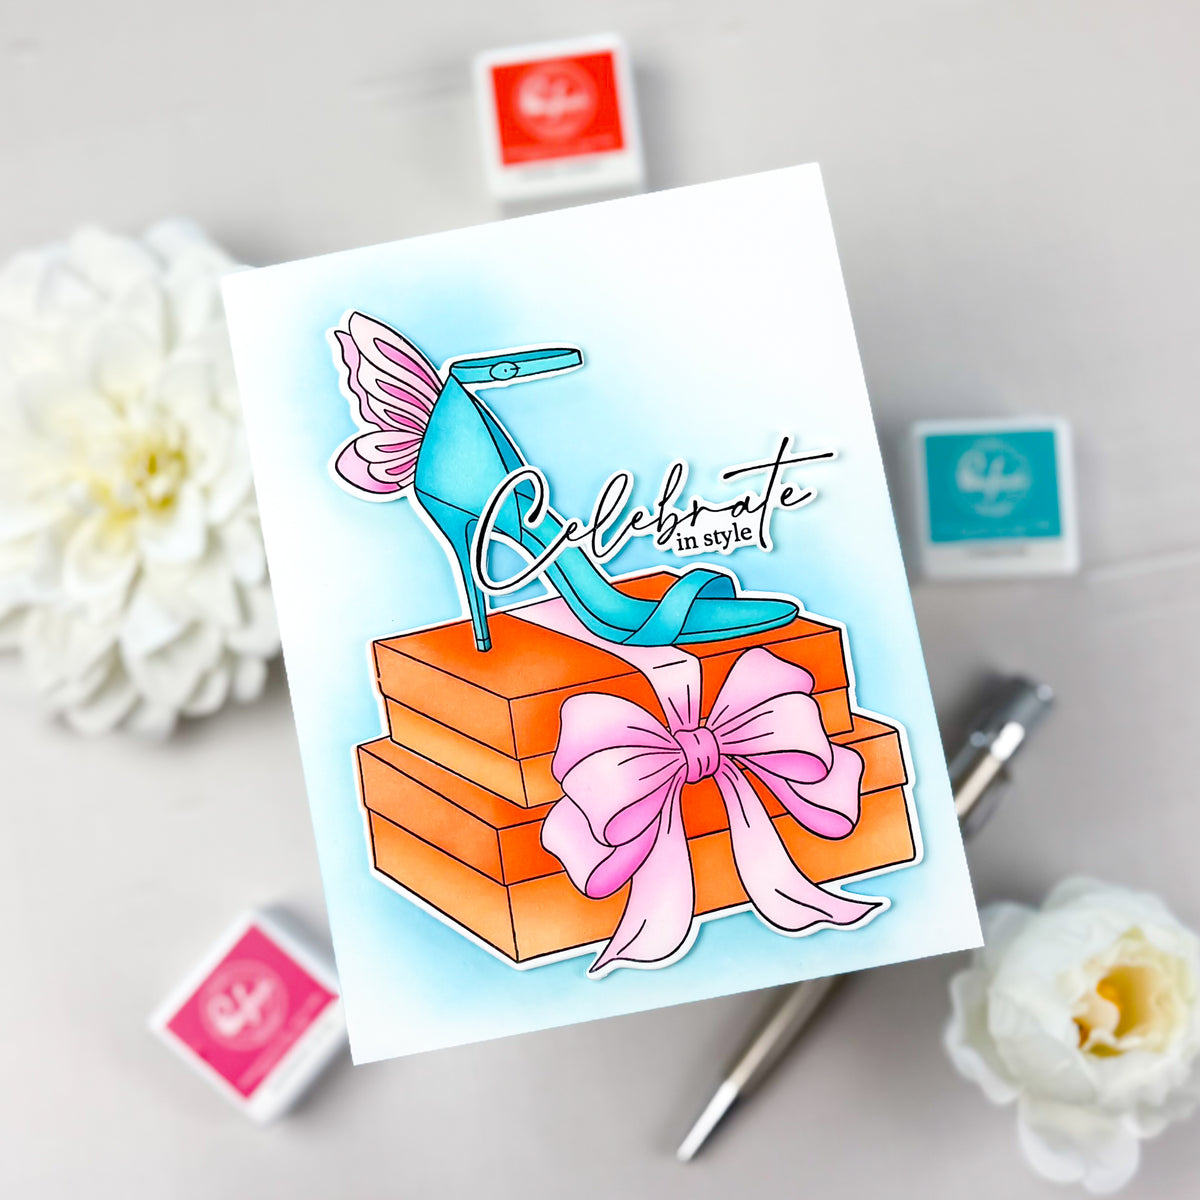
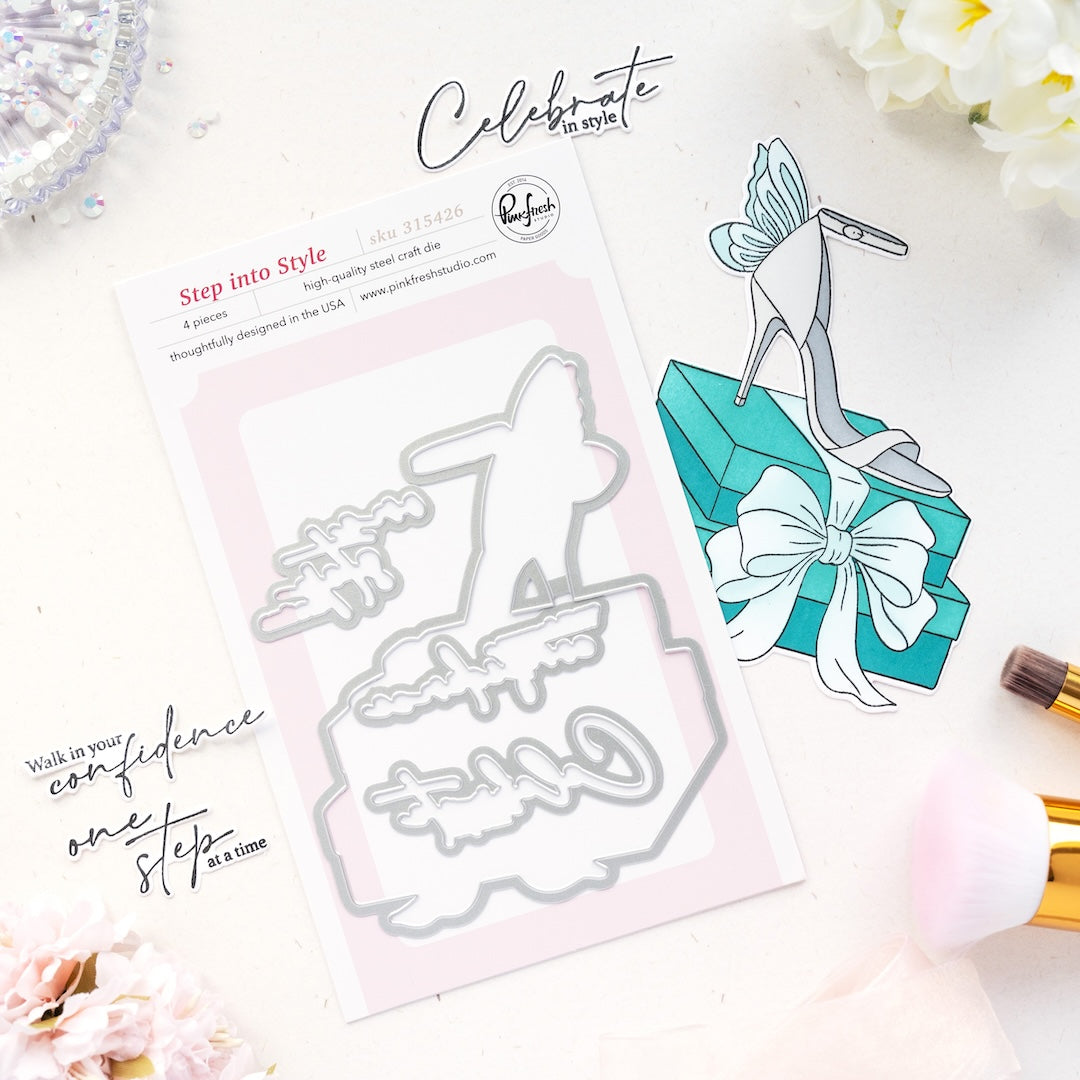
Recommended Products































Leave a comment
All comments are moderated before being published.
This site is protected by hCaptcha and the hCaptcha Privacy Policy and Terms of Service apply.