
Postage-Perfect Precision | Jody Morrow
Hello, Friends! Well, this is it—the end of the year is upon us, and I couldn't be more grateful to be signing off 2025 with the last blog post of the year. It's been a beautiful year, thanks to Pinkfresh products, and I can't wait to see (and use) all of the new goodies coming in 2026.
Now, onto today's card!
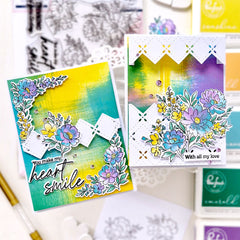
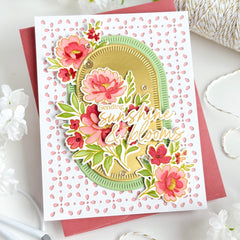
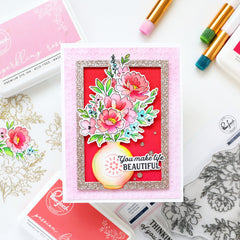
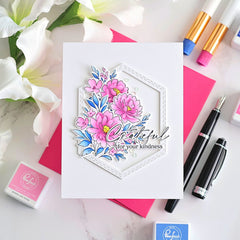
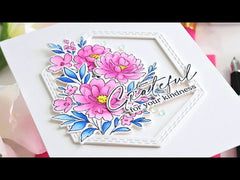
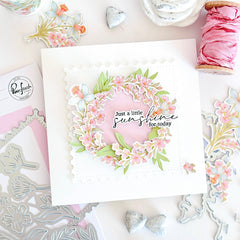
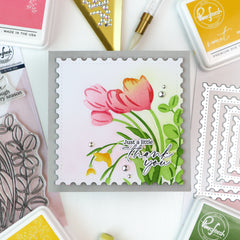
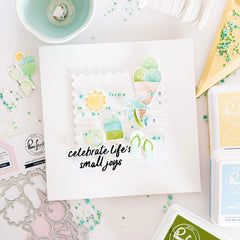
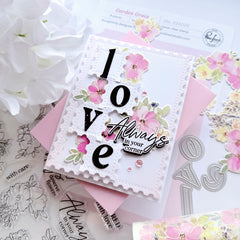
There is something incredibly satisfying about turning Peony Glow washi tape into a perfectly seamless collage—especially when you introduce postage-edge dies and thoughtful precision. In today’s project, I’m walking you through how to transform a single washi-covered panel into a four-quadrant postage layout that feels intentional, cohesive, and beautifully dimensional. Gold accents and strategically placed foam tape elevate the design while maintaining the soft, watercolor look that makes washi magic so special.
This technique gives you maximum impact with minimal supplies—and once you try it, you’ll want to apply it to every floral washi in your stash.
*Disclaimer: All products used are linked below as clickable images. If a product isn’t listed, it’s been discontinued.

How to recreate this card:
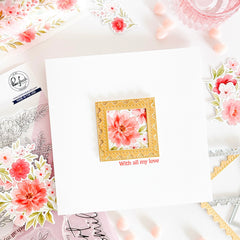
- Create a 5" x 5" square card base from kraft cardstock (mine is top-folding).
-
Cover a piece of white cardstock with Peony Glow washi tape and burnish firmly.
-
Die cut the entire panel using the coordinating Peony Glow die.
-
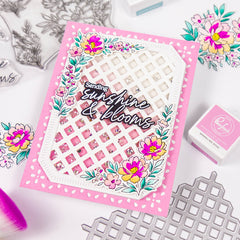
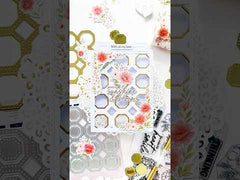
Die cut four small postage squares. Arrange the die-cut washi on three of the squares in an aesthetically pleasing way (do not adhere). Once you have an idea of the placement, temporarily tape the postage die over the die cut, then die cut the segment. Adhere to the postage squares, ensuring they are perfectly aligned along the edges.
-
Arrange the four postage squares into a quadrant formation on a 5 1/4" x 5 1/4" white cardstock panel, leaving the top-right square blank for the sentiment.
-
Adhere each postage square to the card base using foam tape for dimension and natural shadowing.
-
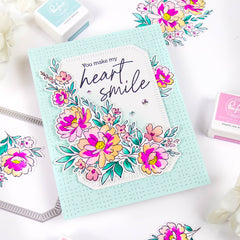
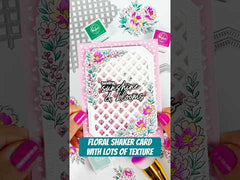
Gold-heat-emboss the sentiment, then die-cut it.
-
Cut a second sentiment layer from champagne glitter cardstock and adhere behind the sentiment slightly offset.
-
Attach the finished sentiment to the blank postage square using foam tape.
-
Embellish the card with clear drops with gold dust to echo the gold foiling in the washi tape.

I hope this project inspires you to look at your floral washi tapes in a new way. The postage-edge die adds such a charming, graphic touch—and when paired with precise alignment and a touch of gold, it turns a simple washi panel into something truly special.
If you give this technique a try, I’d love to see your version! Tag us on Instagram so we can share your beautiful work with the Pinkfresh Studio community. And tell me in the comments: What’s your favorite way to use washi tape on your cards? Or if you have any questions about this project, feel free to ask below—I'm always happy to help.
-
![Peony Glow stamp]()
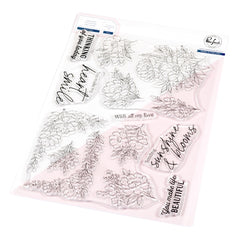


Peony Glow stamp
Bring elegance to your projects with the Peony Glow stamp set, designed by Kinnari Zaveri. It features gorgeous peonies in graceful sprays, accented with buds and leafy branches. Coordinating products for purchase separately: Peony Glow die Peony Glow stencil Peony Glow washi The innovative...- $24.00
- $24.00
- Unit price
- per
-
![Peony Glow washi]()
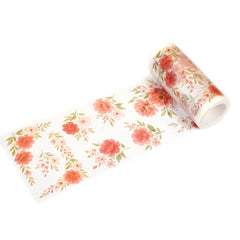
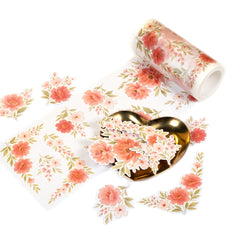


Peony Glow washi
Bring elegance to your projects with the Peony Glow washi, designed by Kinnari Zaveri. It features gorgeous peonies in graceful sprays, accented with buds and leafy branches. Coordinating products for purchase separately: Peony Glow stamp Peony Glow die Peony Glow stencil Key Features: The...- $16.00
- $16.00
- Unit price
- per
-
![Peony Glow die]()
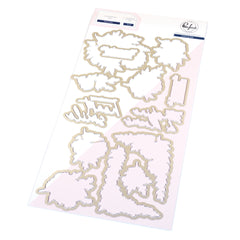

Peony Glow die
Use our innovative, one-piece dies to cut every design in one pass, giving you more time to create! The stamp set contains two stamps with all the various floral images. The washi tape contains all images in a single panel—simply align both dies on the...- $25.00
- $25.00
- Unit price
- per
-
![Essentials: Dotted Postage Square die]()
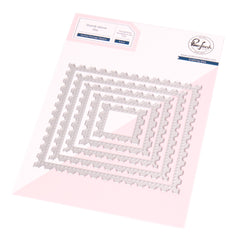


Essentials: Dotted Postage Square die
Create polished cards with this die set featuring postage squares with a line of dots/pierce points around the outer edges. The nested sizes allow for endless combinations. Details: 5 pieces, approximate measurements: largest 4” X 4” Made of high-quality steel Packaging includes a full-color...- $15.00
- $15.00
- Unit price
- per
-
![Gems: Clear with gold dust]()
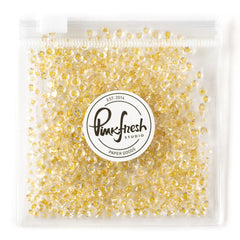
Gems: Clear with gold dust
1 pack of gems with gold dust in mixed sizes. (3mm, 2mm). Each Gem is flat backed, and can be easily adhered to a papercrafting project using liquid glue and a jewel pick or tweezers.- $5.00
- $5.00
- Unit price
- per
-
![Essentials Glitter Cardstock: Champagne]()
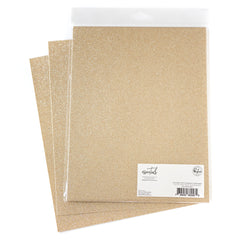
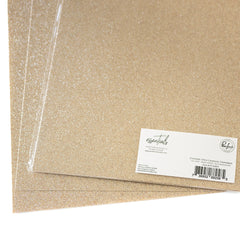
Essentials Glitter Cardstock: Champagne
Your paper crafting creations will sparkle & shine with our Champagne glitter cardstock pack! Our high quality 8.5” x 11” glitter cardstock is 250 gsm, non-shedding and easy to diecut. For more intricate dies, you may need to use a metal shim or the...- $6.00
$7.50- $6.00
- Unit price
- per


2 Comments
Such a great idea!! I have a mostly-full roll of washi tape that this would be perfect with.
Just gorgeous