
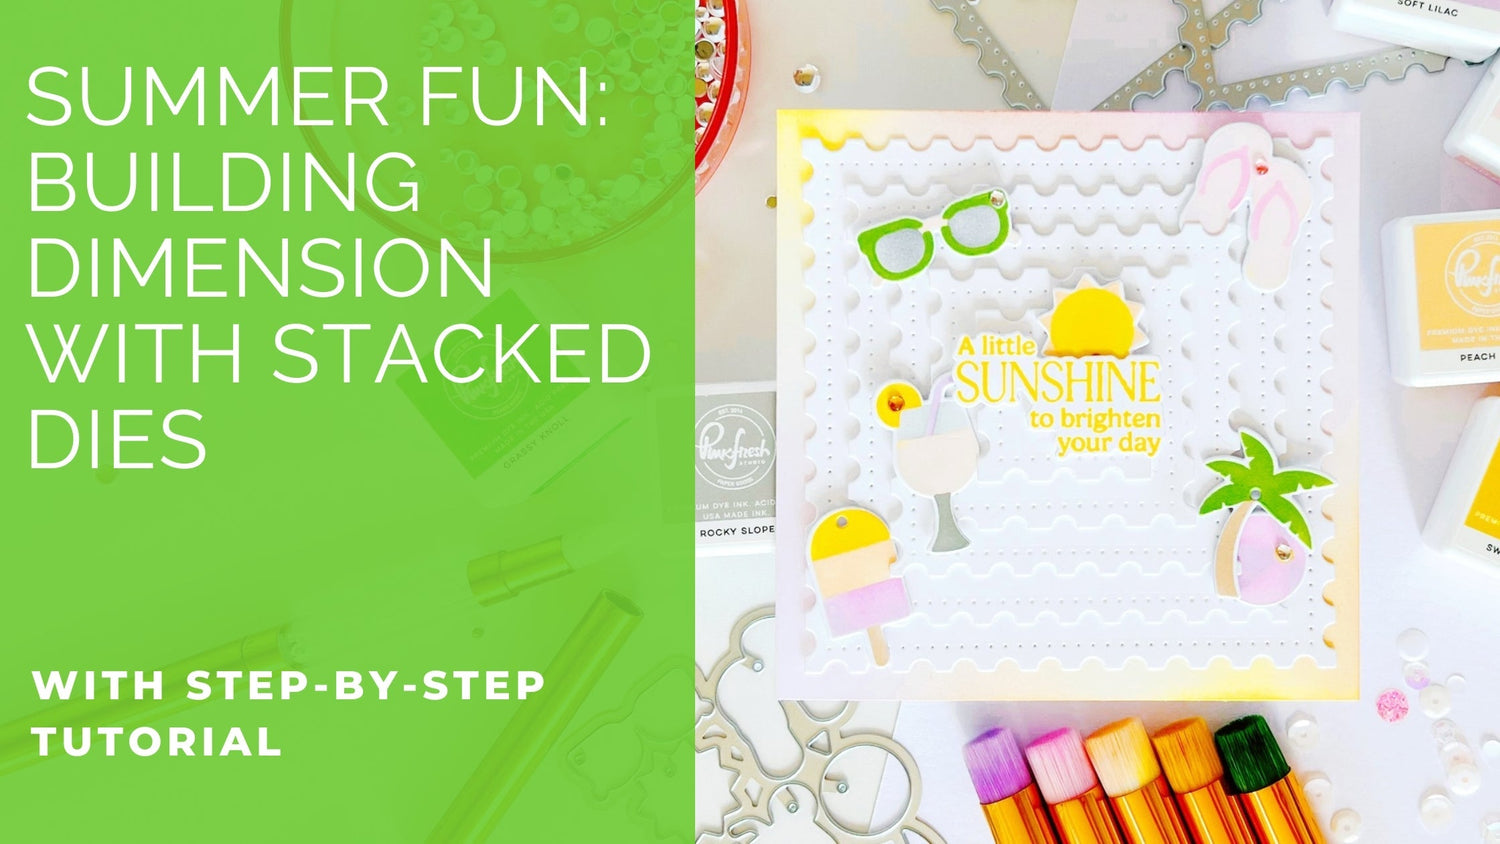
Happy Wednesday, Pinkfresh Studio fans! It's Kathleen back on the blog, and today I have a pretty quick and easy card that is still fun and packs some punch!
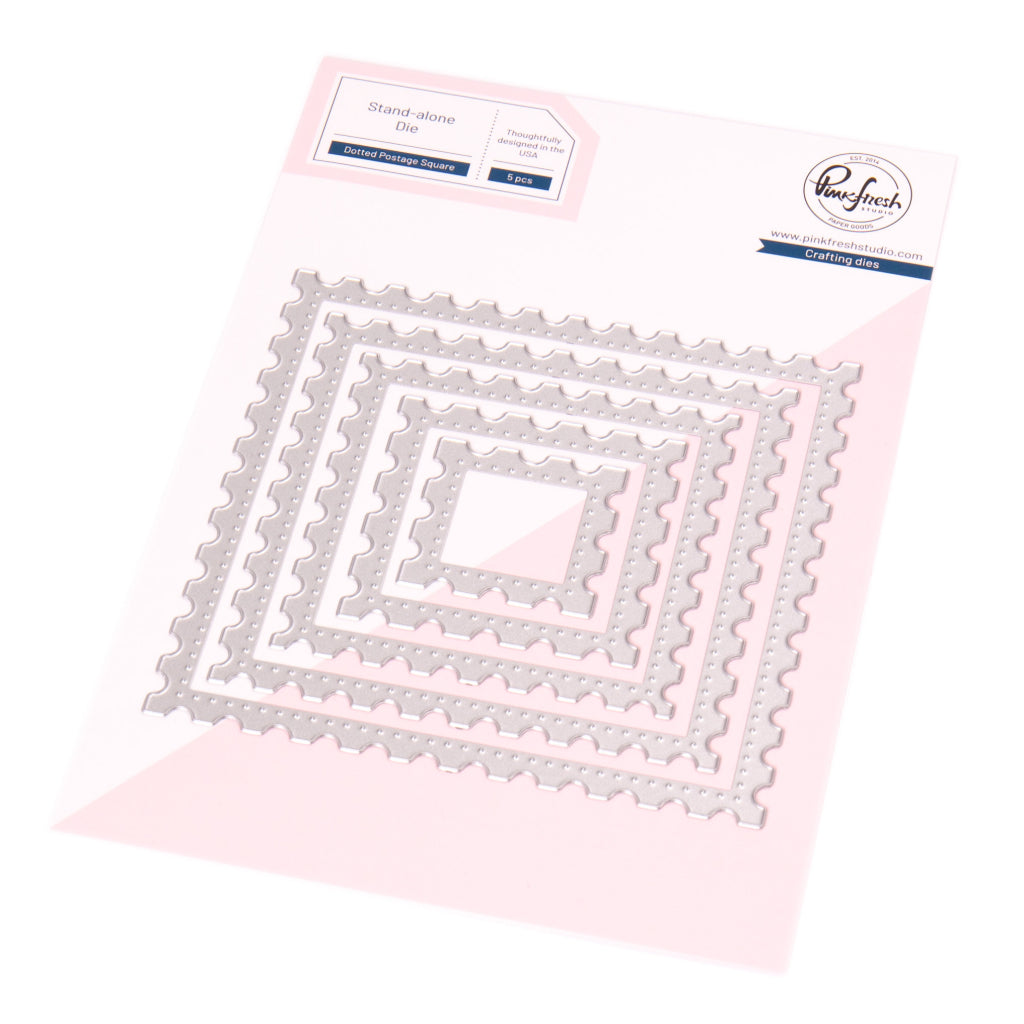
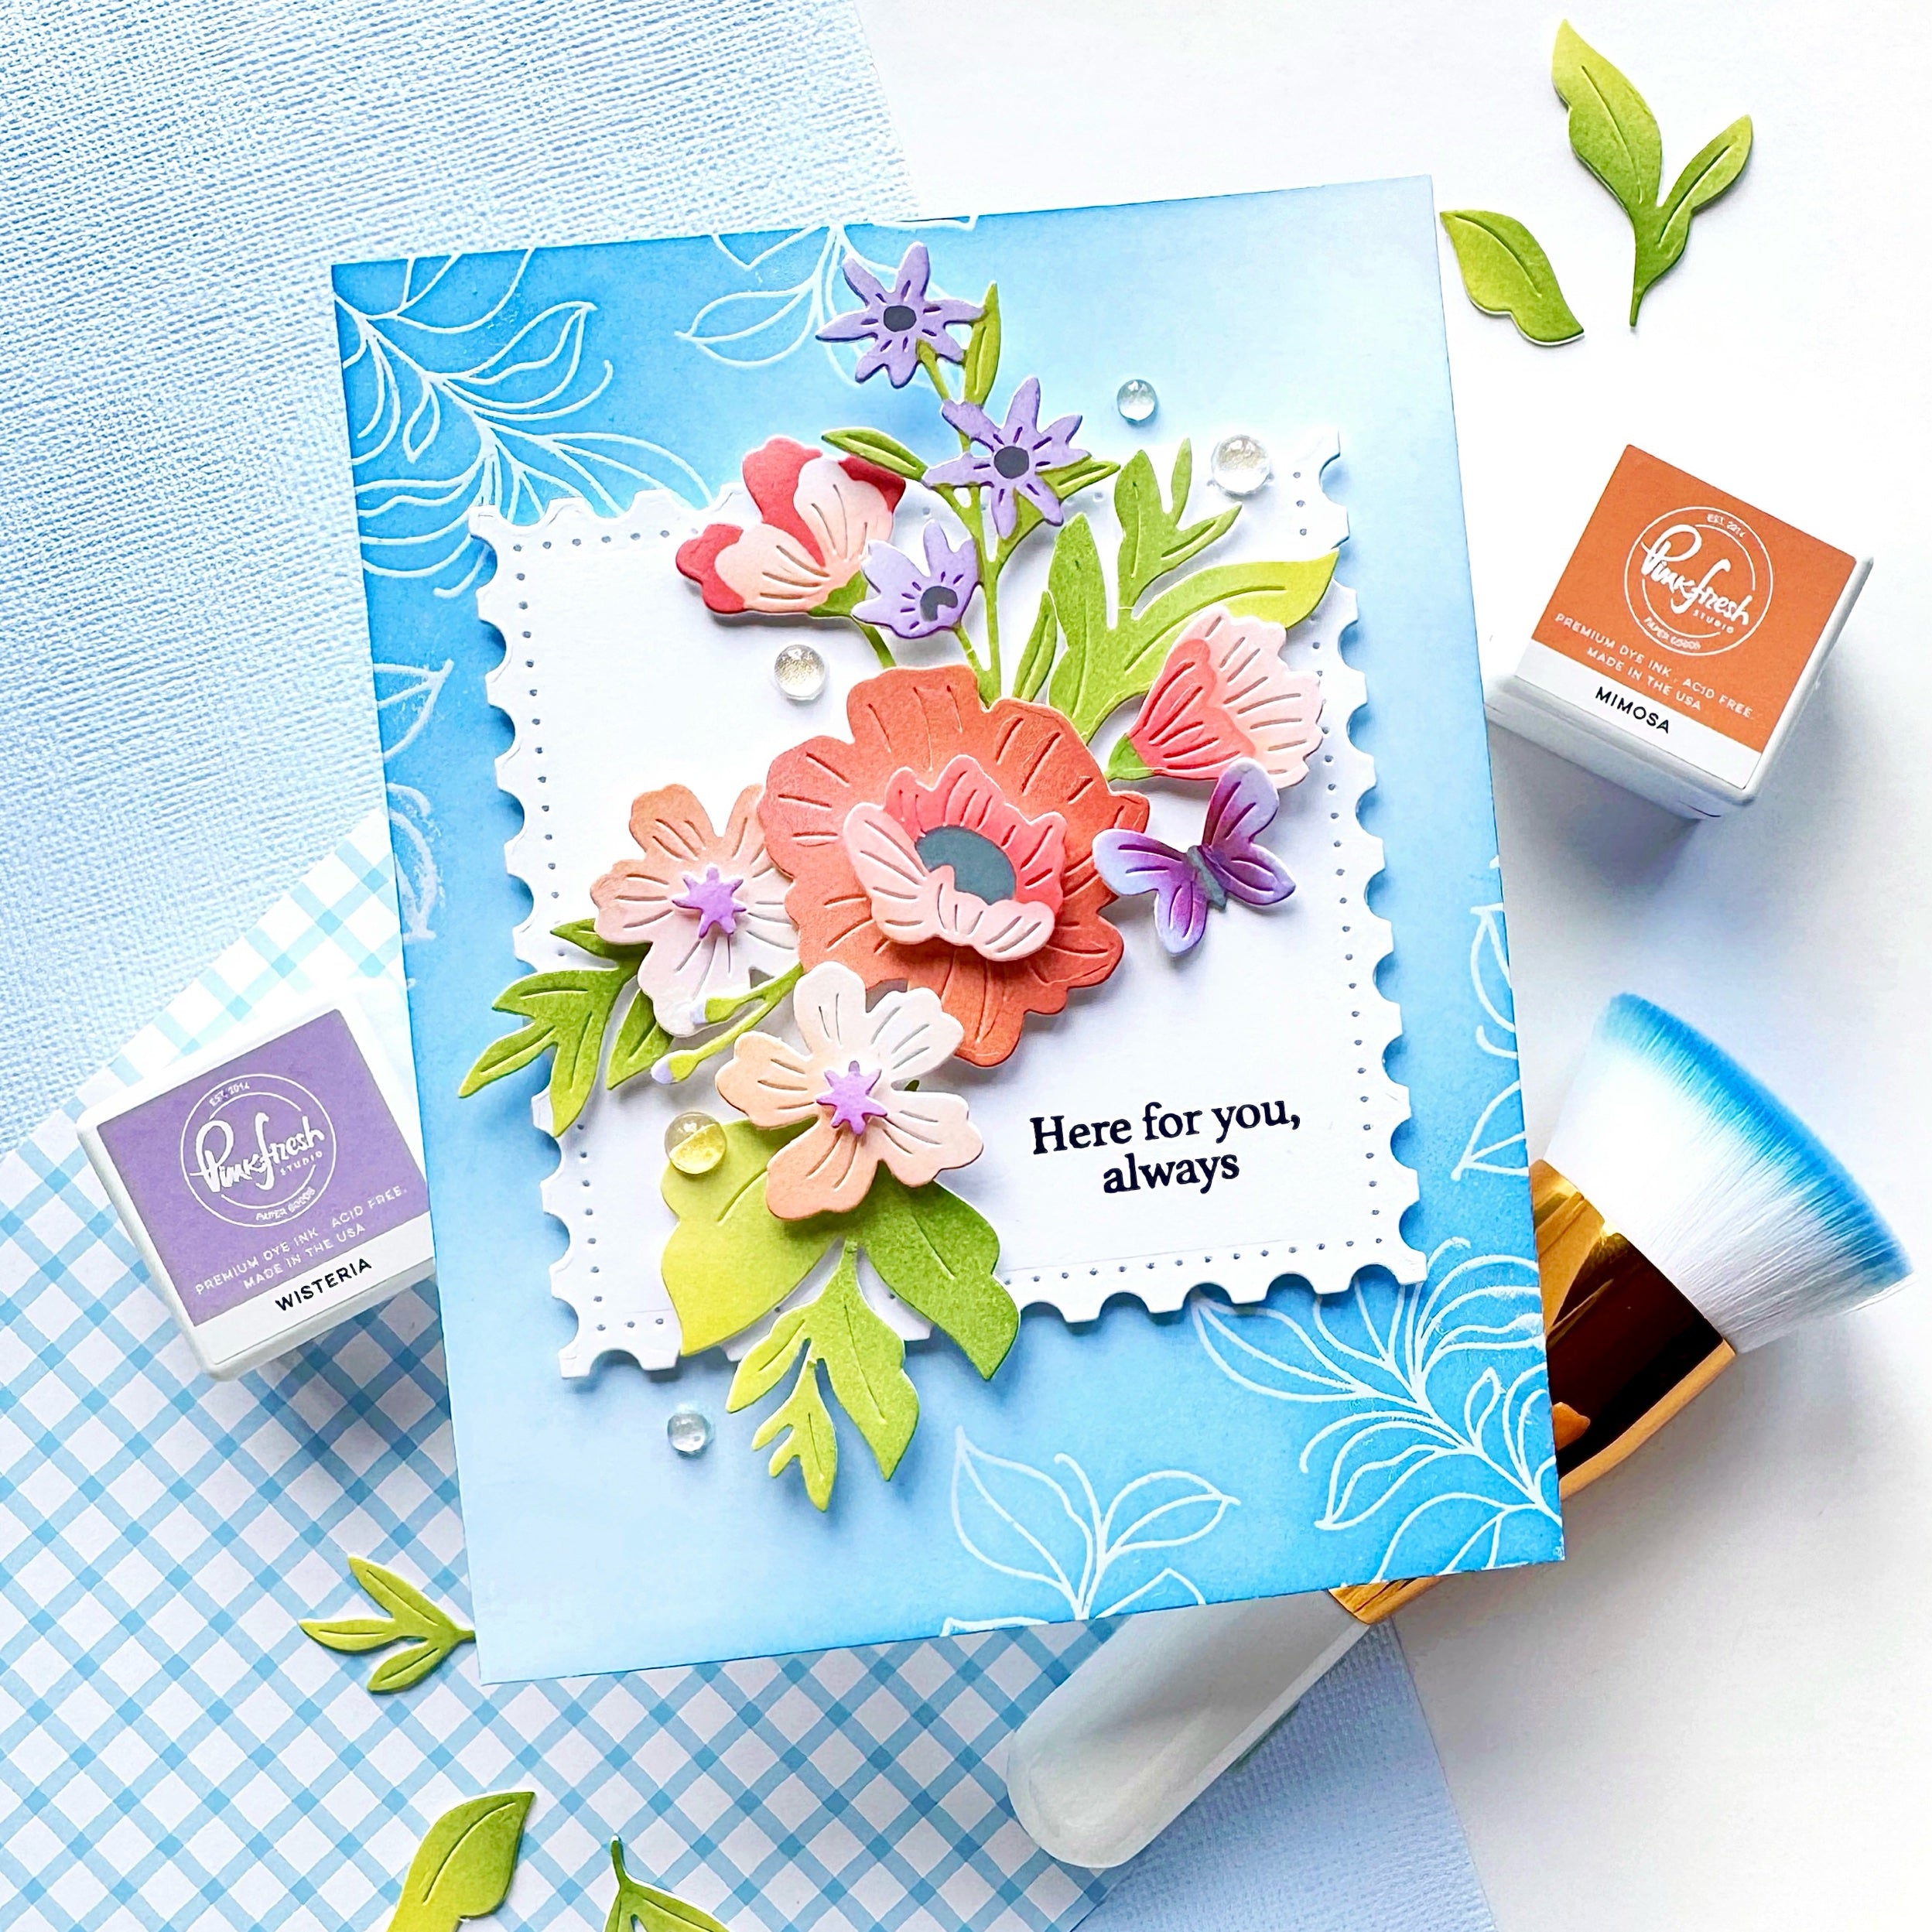
One of my favorite products from our Sunshine & Smiles release is the Dotted Postage Square die set (I already used it for this card HERE). When I first played around with it, I die cut each die from white cardstock once. As I started layering them up, I got the idea for this card!
*Disclaimer: All products used are linked below as clickable images. If a product isn’t listed, it’s been discontinued.

So, let's see how you can recreate this card:
- Cut a square card base from white cardstock, measuring 4.5"x4.5".
- Die cut each of the Dotted Postage Square dies once from white cardstock.
- Using a 1" blending brush, ink blend Lemon Whip, Peach Fuzz, Ballet Slipper, and Soft Lilac around the outside of the card base.
- Stack the die cut pieces on the card base, with a layer of foam adhesive between each layer for dimension.
- On a 2 3/4"x 4 1/4" piece of white cardstock, color the Summer Fun stencils (note that there are two layers on each stencil; use the alignment triangles for lining up the stencils):
- Stencil 1: Ballet Slipper (flip-flops), Sweet Mustard (sun, popsicle, lemon slice on drink), Peach Fuzz (drink, sunglasses)
- Stencil 2: Peach Rocky Slope (sun, lemon slice, popsicle center), Warm Buff (popsicle stick, palm stem)
- Stencil 3: Rocky Slope (sunglasses, drink), Sparkling Rose (popsicle, beach ball; light hand)
- Stencil 4: Grassy Knoll (sunglasses, palm), Sparkling Rose (flip-flops), Soft Lilac (straw, beach ball), Rocky Slope (drink stem; heavier hand)
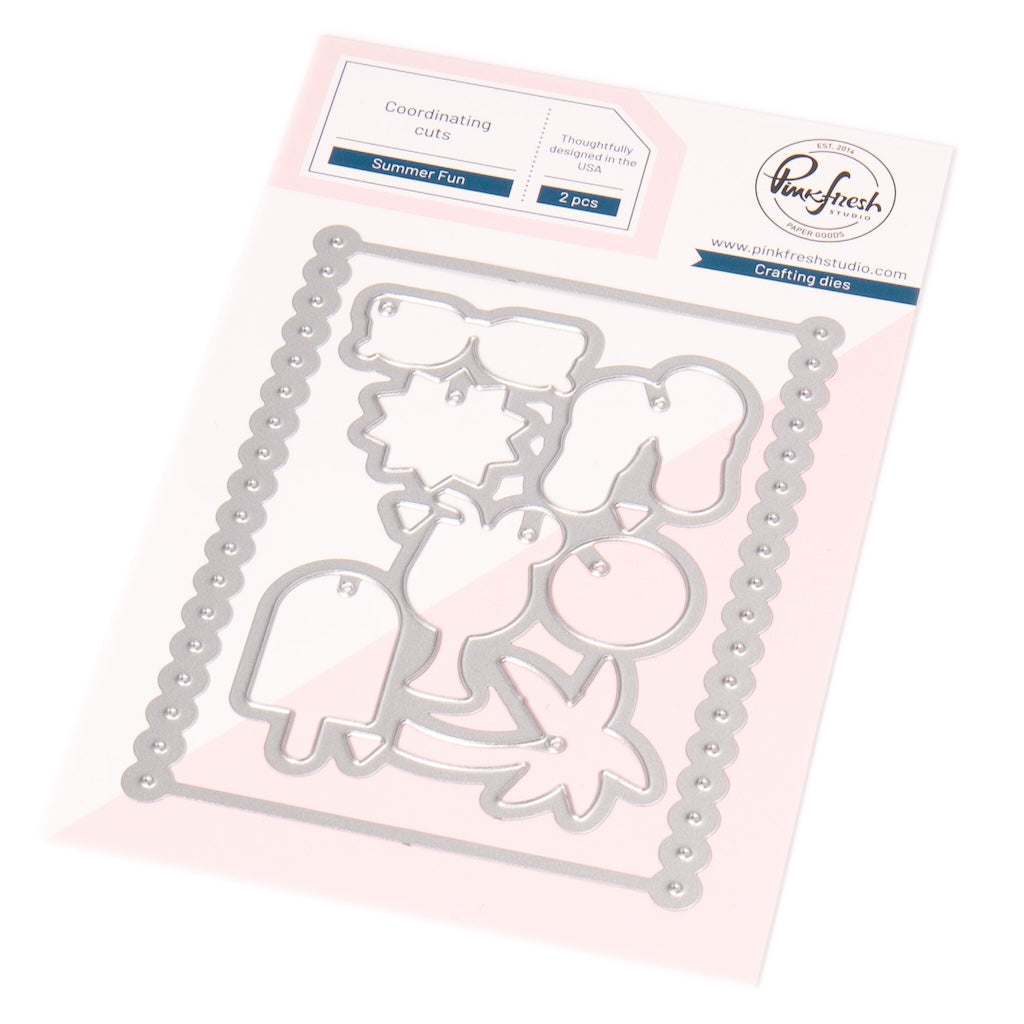
- Die cut using the coordinating die. Use the ink-blended triangles to line it up.
- Adhere the die cuts to the card base, layering them on top and in between the postage die cut layers.
- Stamp a sentiment of your choice in Sweet Mustard (I used "A little Sunshine..." from the Sunshine & Smiles stamp set). Die cut using the coordinating die.
- Adhere with foam adhesive in the center of the card.
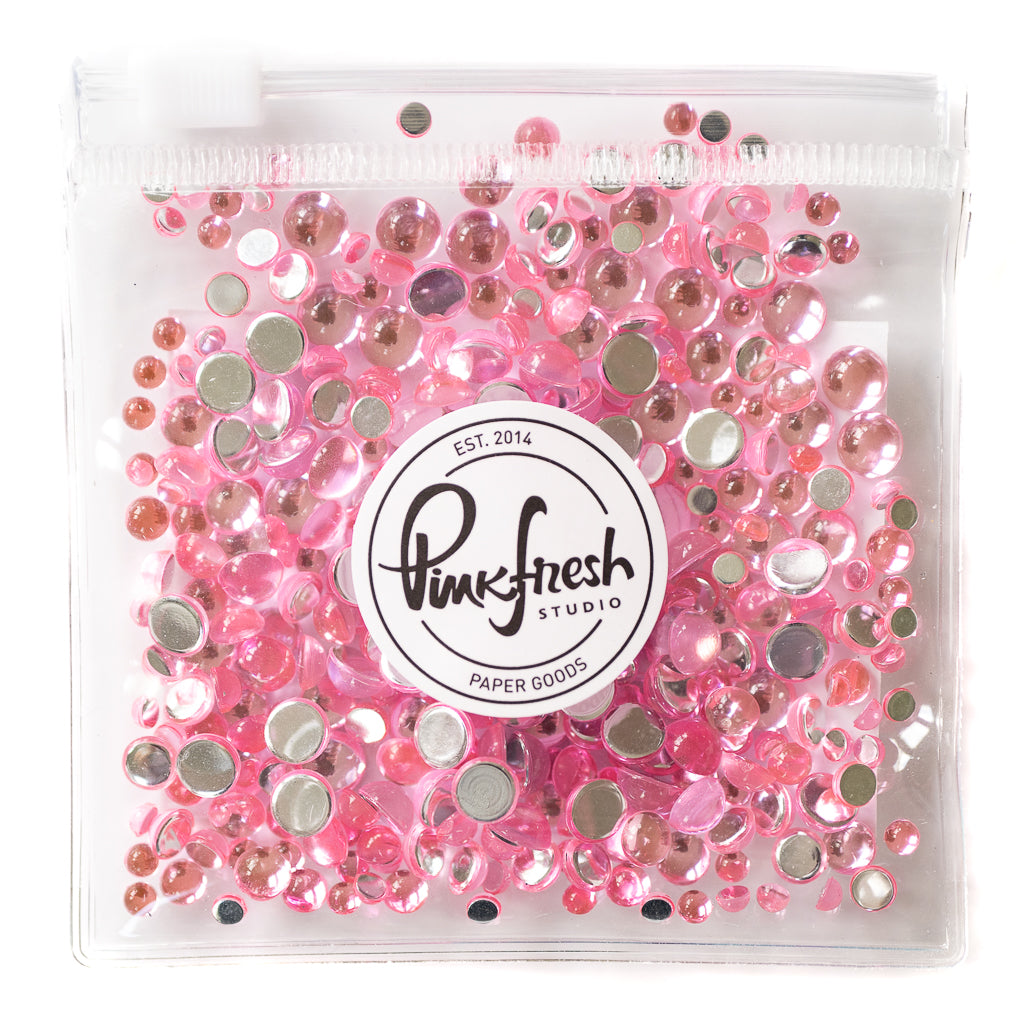
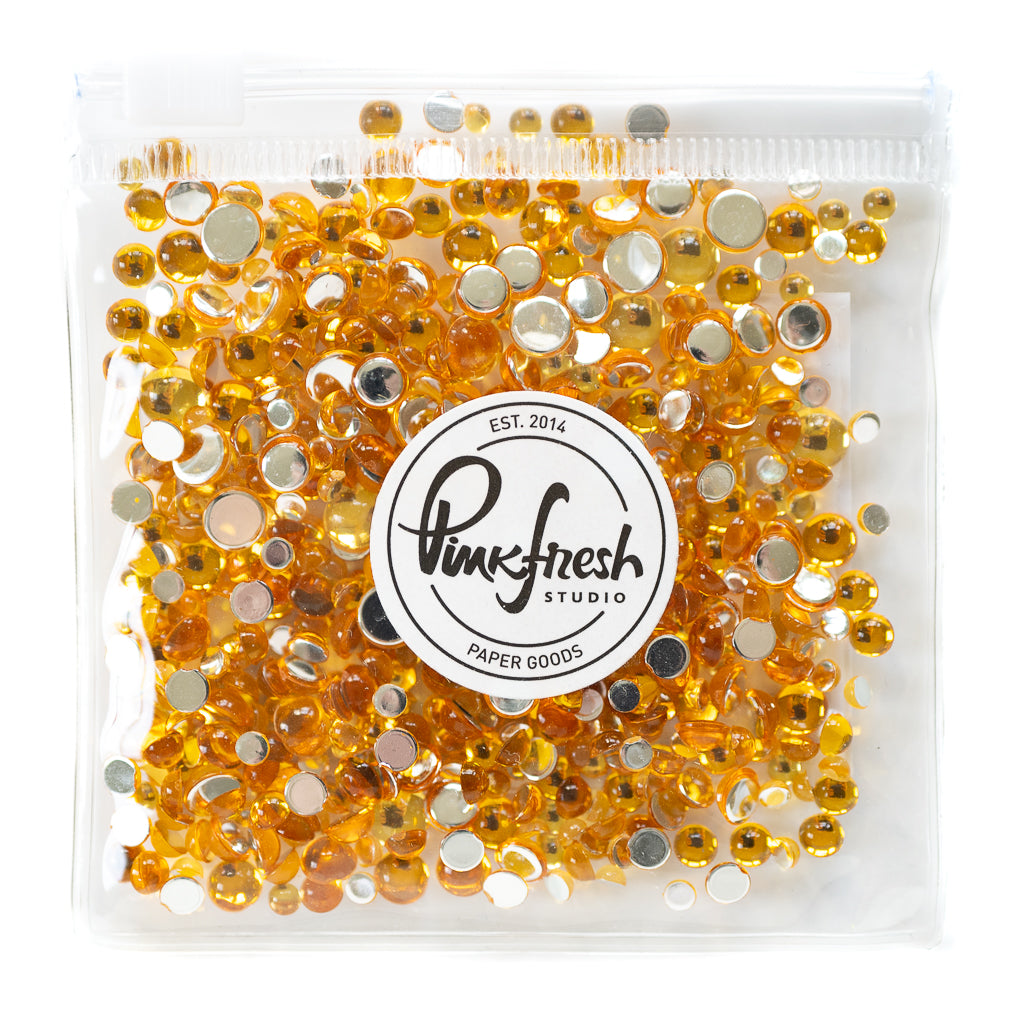
- Embellish to your liking using Clear Drops in Blush, Ice, and Amber.

I hope this card inspires you to experiment with layering up your die cuts and having a closer look at your Essentials dies!
We’d love to see what you create—don’t forget to tag us on social media so we can admire your amazing work.Thanks so much for stopping by, and happy crafting! ✨
Recommended Products








































Leave a comment
All comments are moderated before being published.
This site is protected by hCaptcha and the hCaptcha Privacy Policy and Terms of Service apply.