
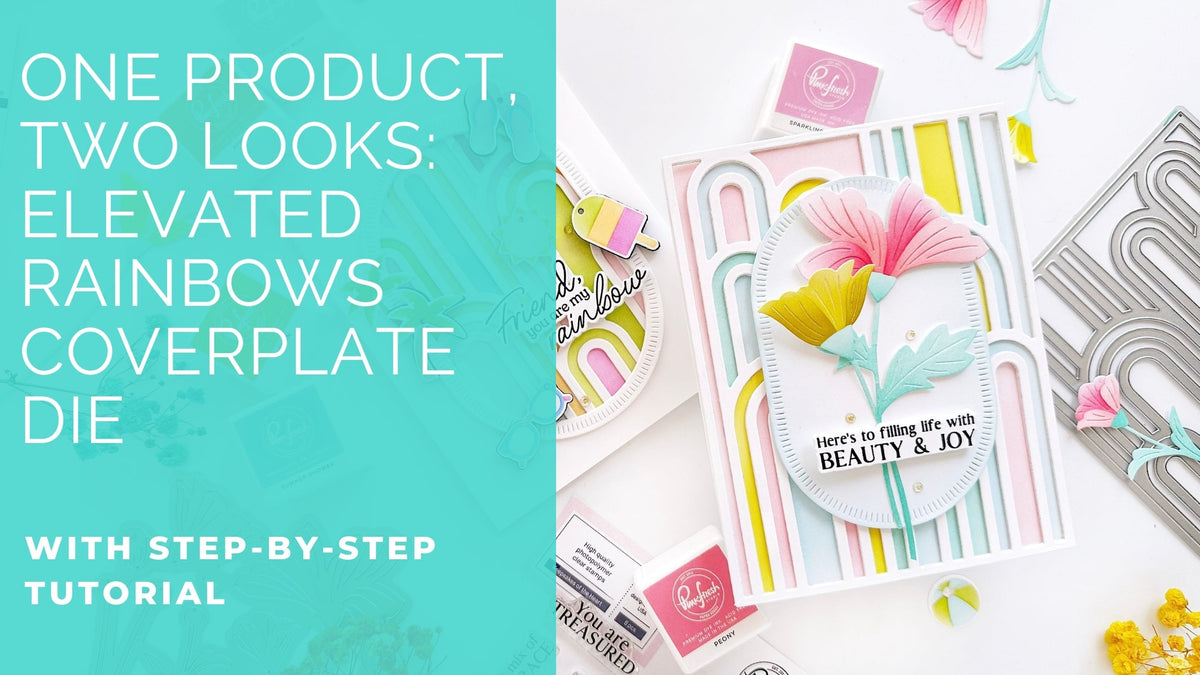
Hello again friends!
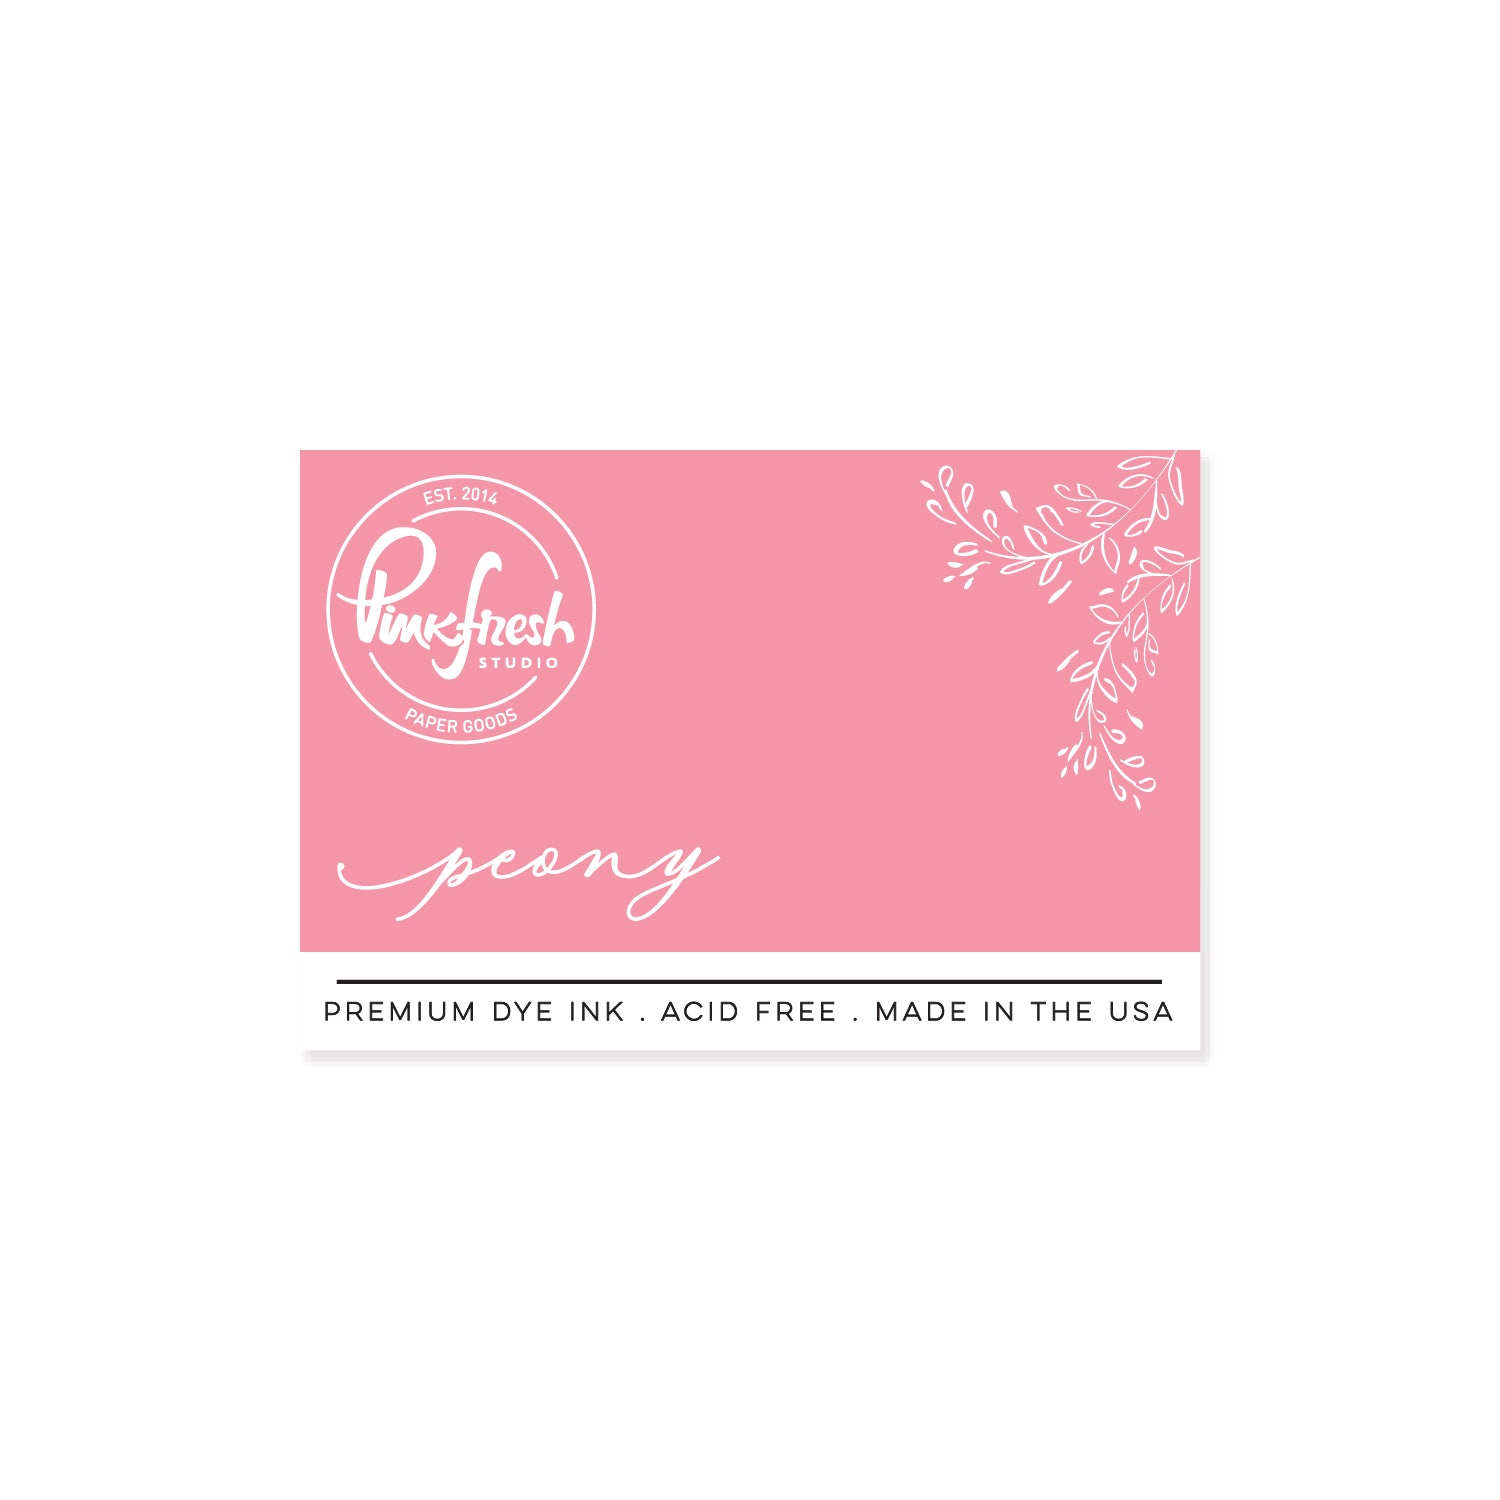
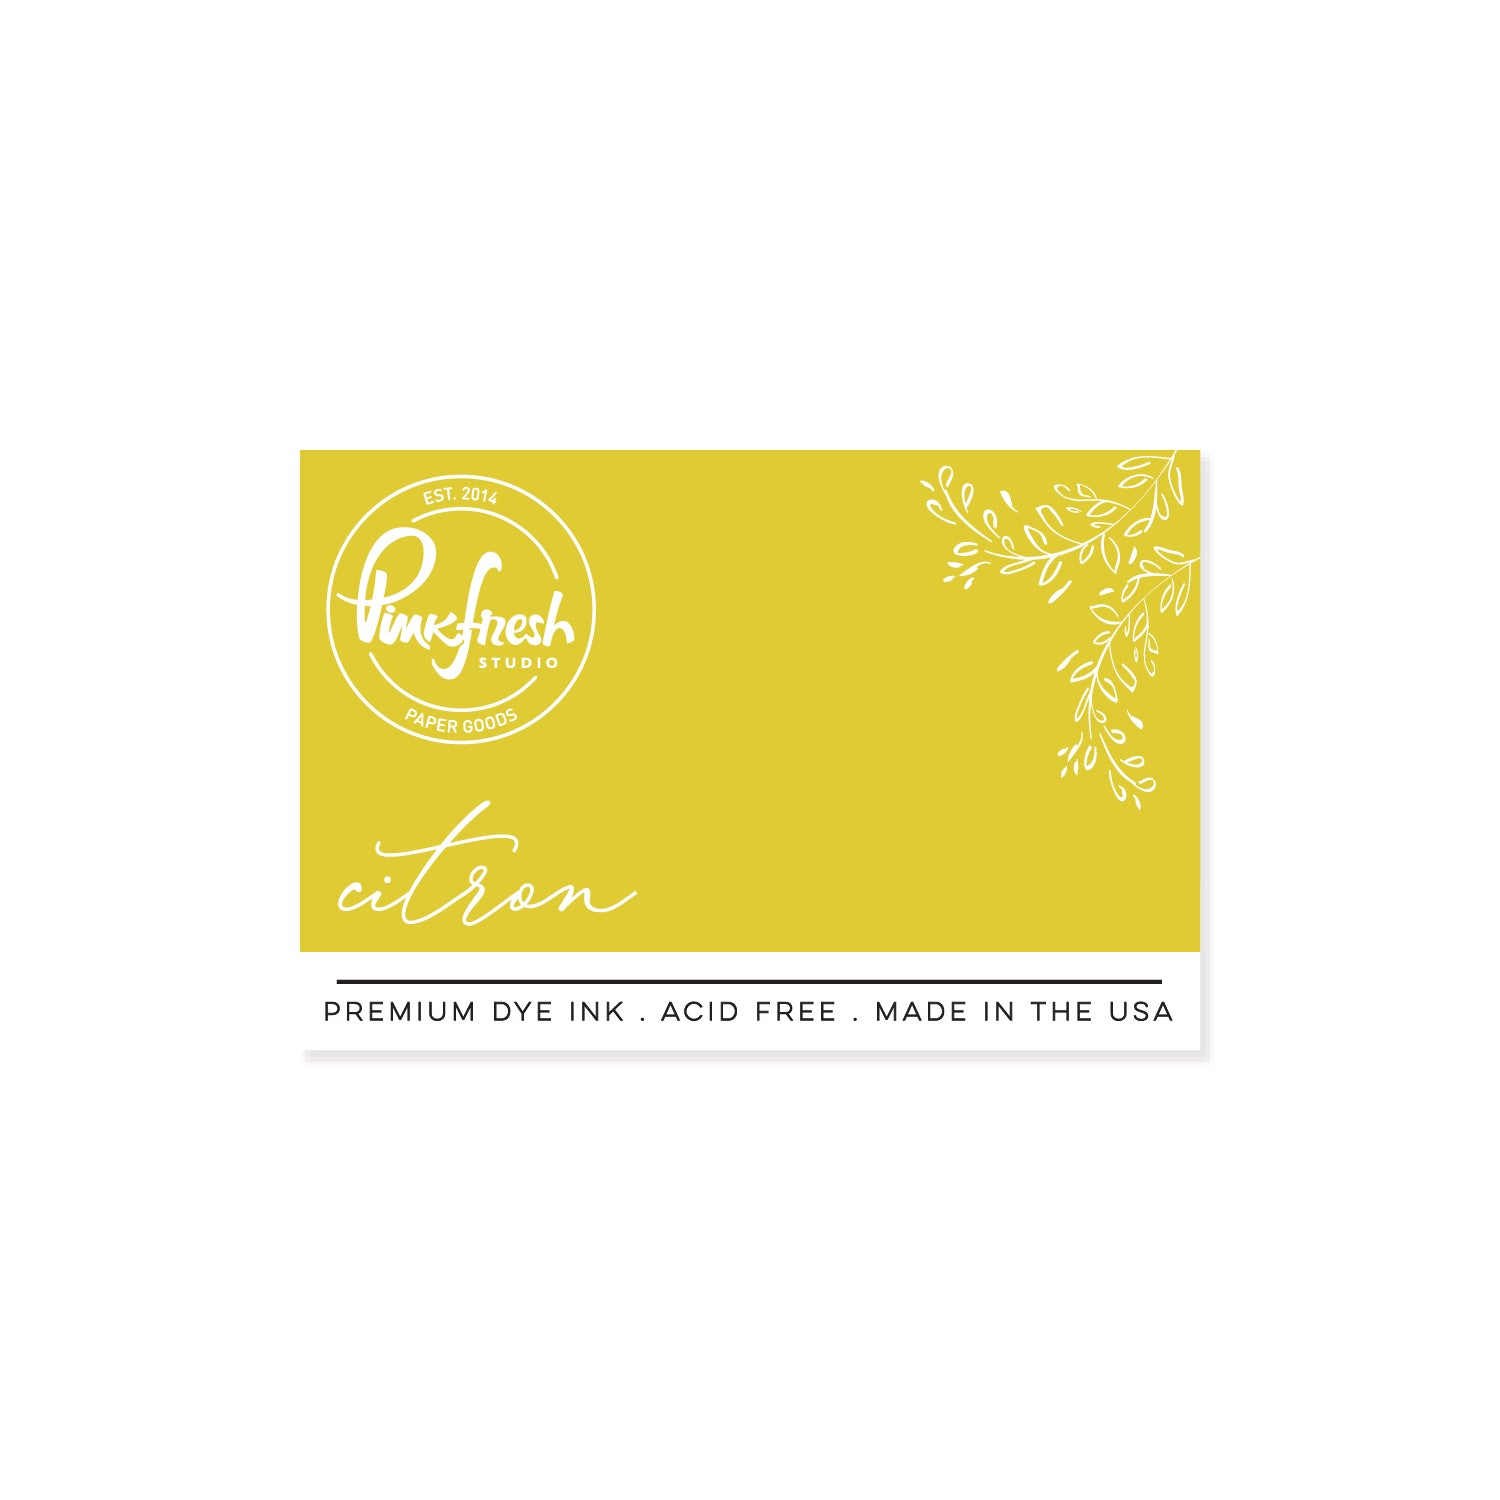
It's Raquel here. I'm back on the blog with some colorful designs using both the theme and some color combos inspiration from the June challenge, Rainbow Reverie: Sparkling Rose, Peony, Citron, Aquamarine, and Blue Jay. And I used some additional colors along the way.

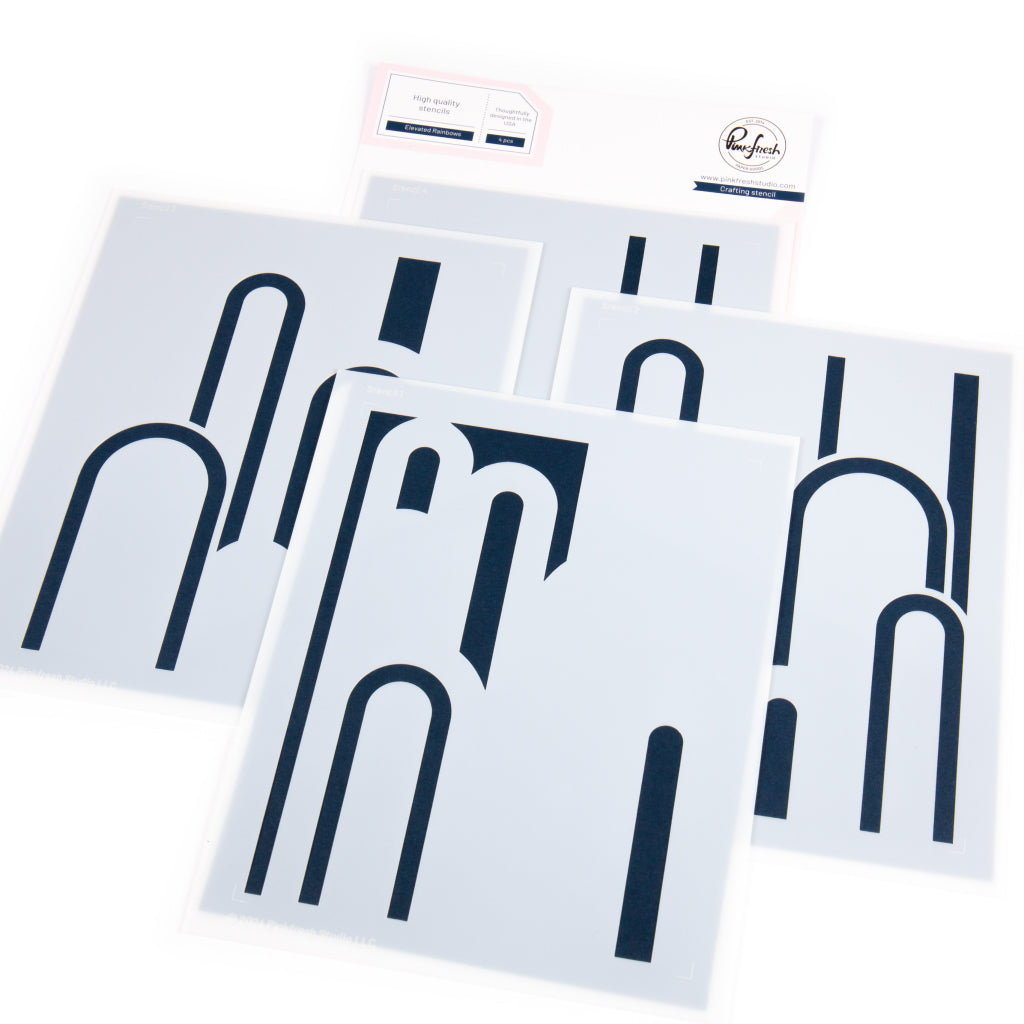
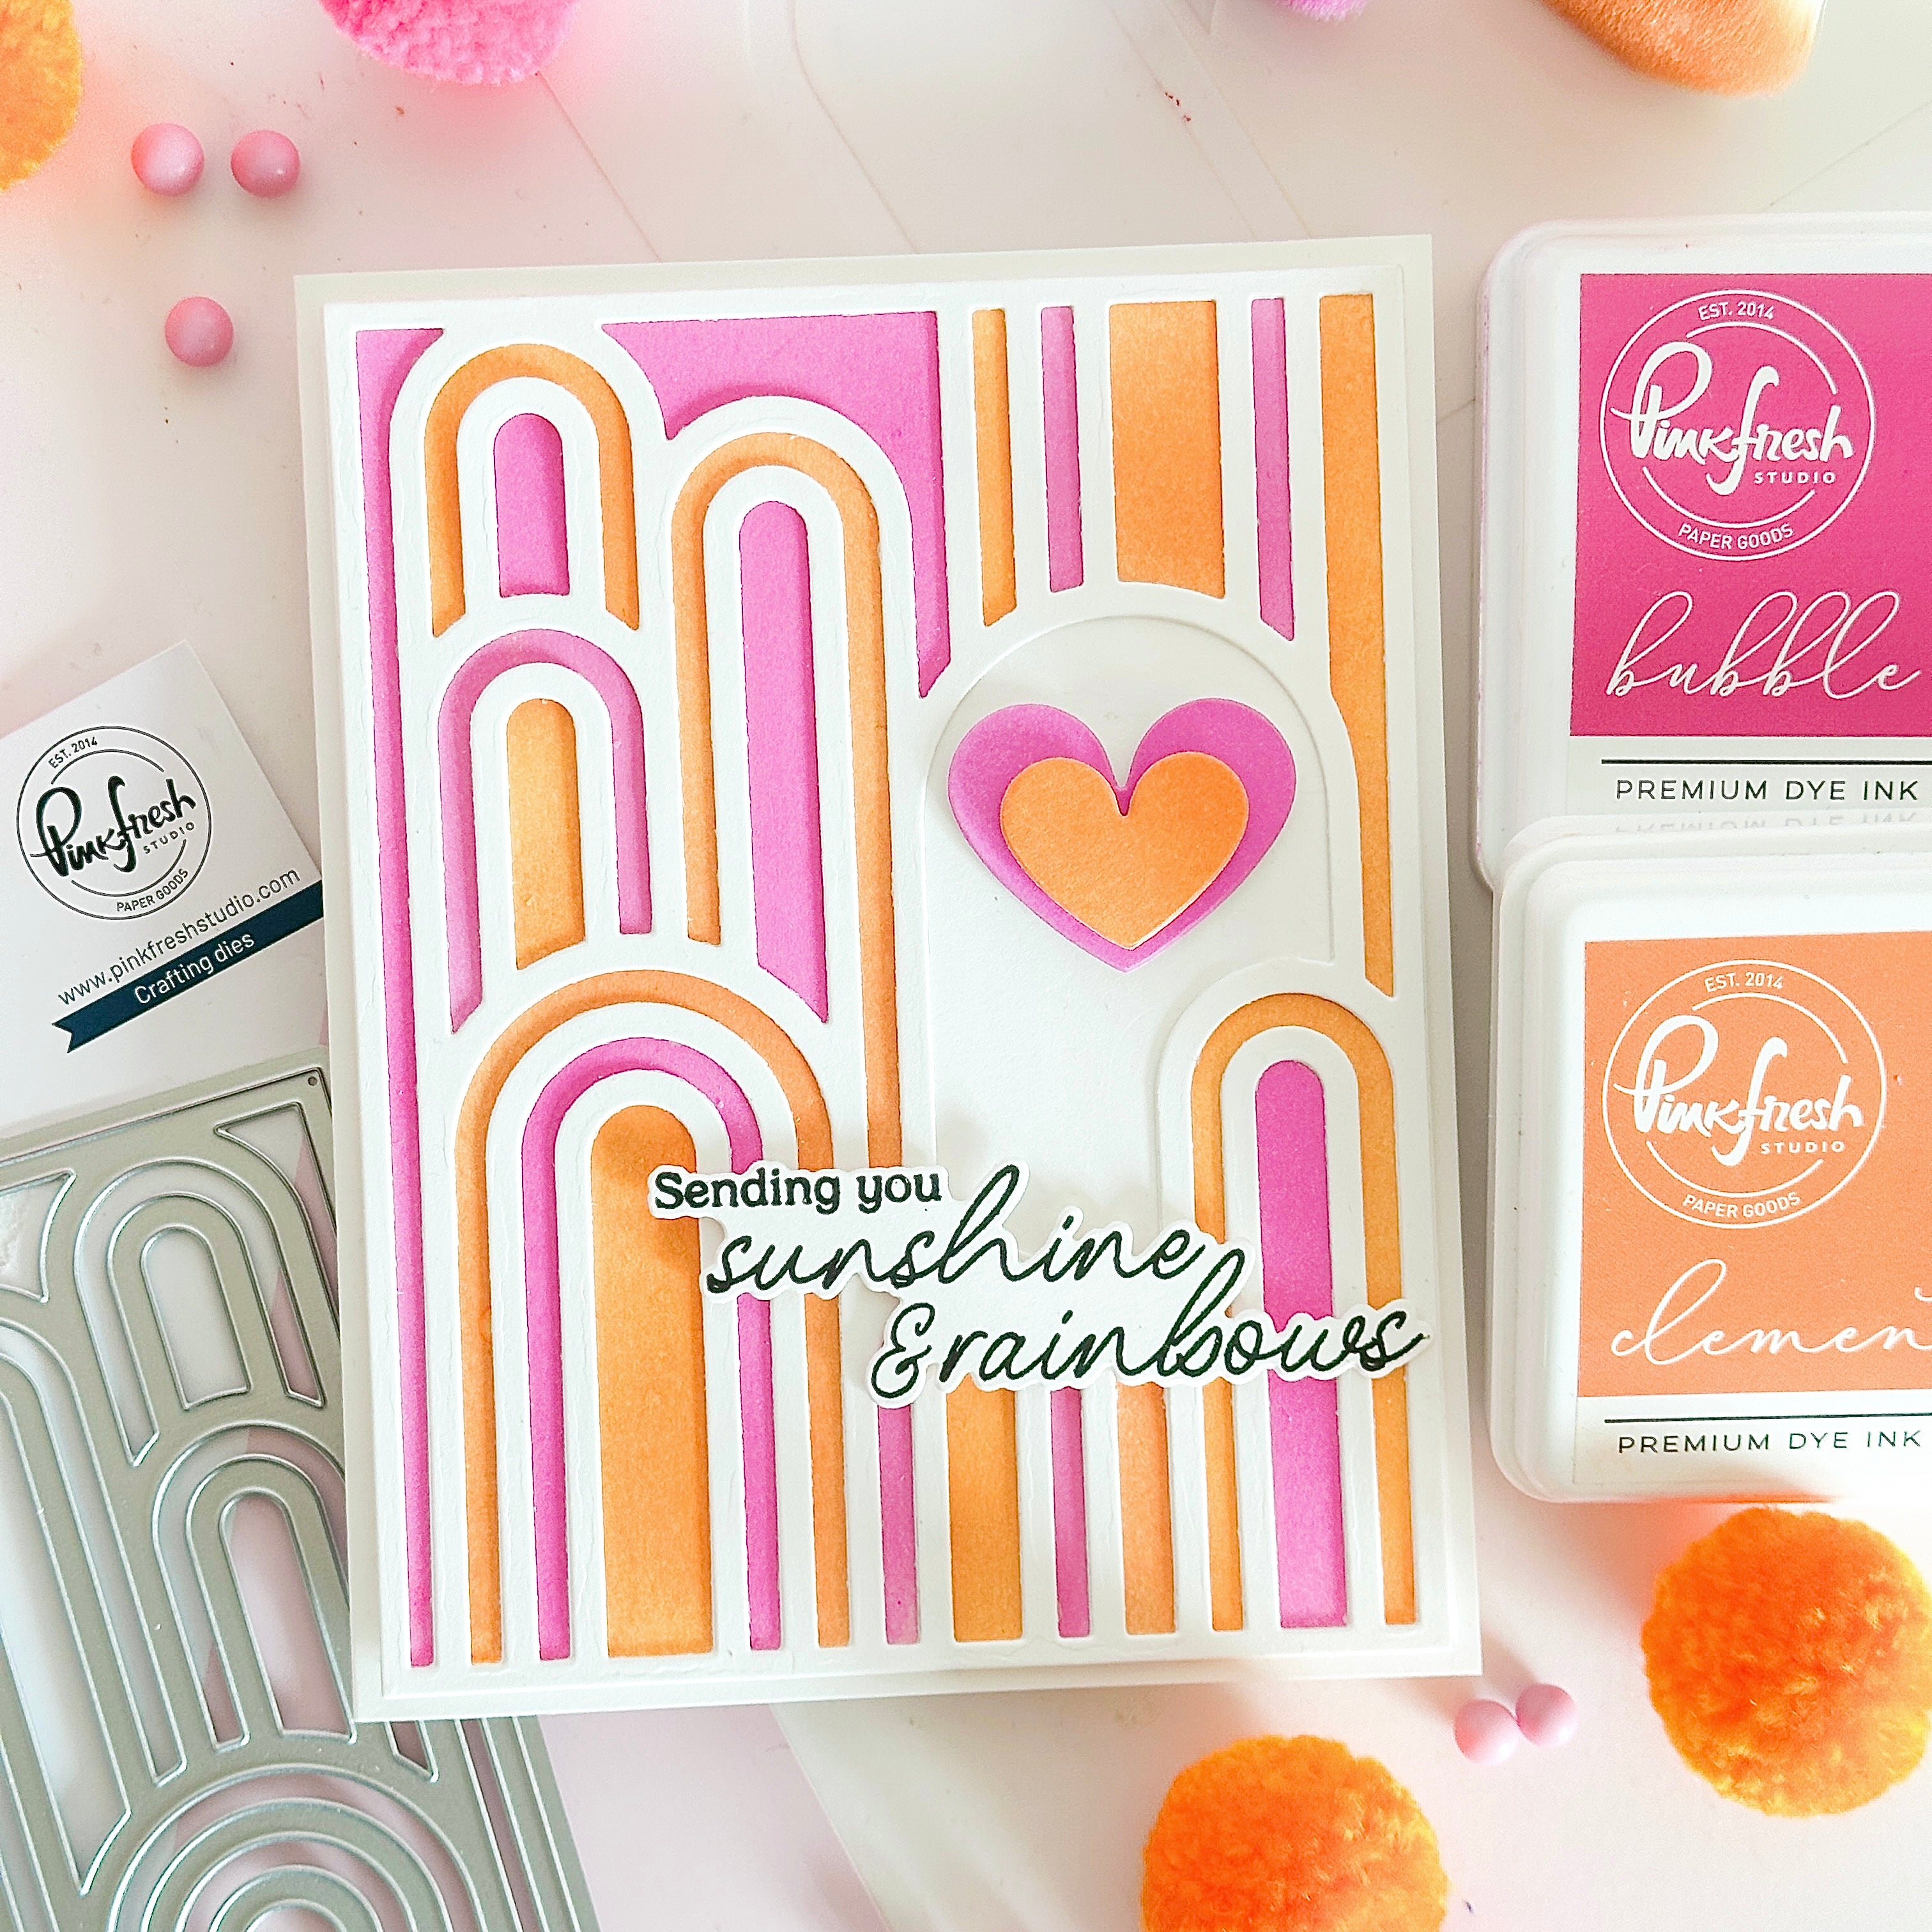
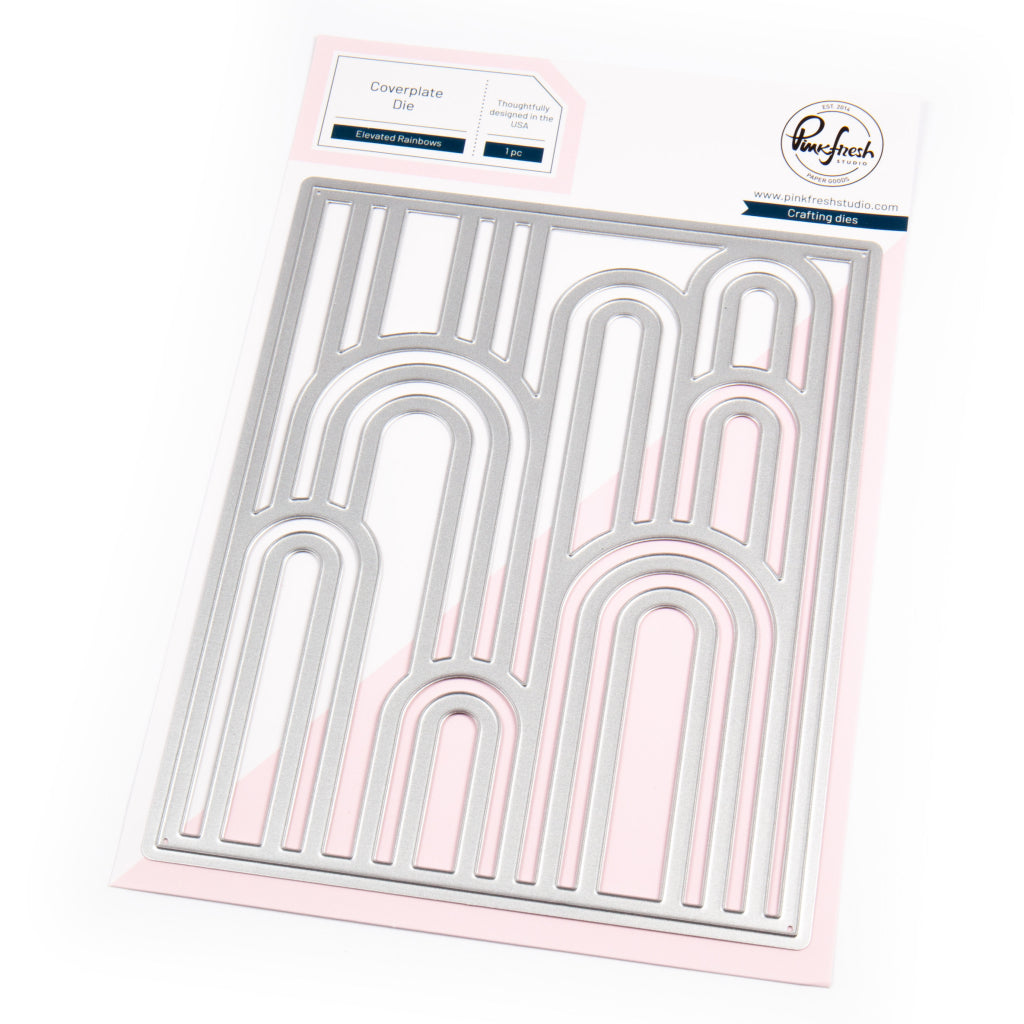
For today's post I'll be using the Elevated Rainbows stencil and die set as I thought they'll be perfect for some rainbow theme designs.
The idea behind these cards is creating a rainbow for your background and then use other elements to step it up.
*Disclaimer: All products used are linked below as clickable images. If a product isn’t listed, it’s been discontinued.

Let's dive right in and see how to recreate these cards:
- Use the Elevated Rainbows layering stencils to add color to an A2 panel with Sky Blue, Sparkling Rose, Aquamarine, and Citron. I went very light handed with aquamarine, as I didn't want this color to stand out too much. We are going for a soft pastel background.
- Cut (2) pieces of the elevated rainbows from white cardstock and glue them together.
- Adhere this piece onto your rainbow stenciled background.
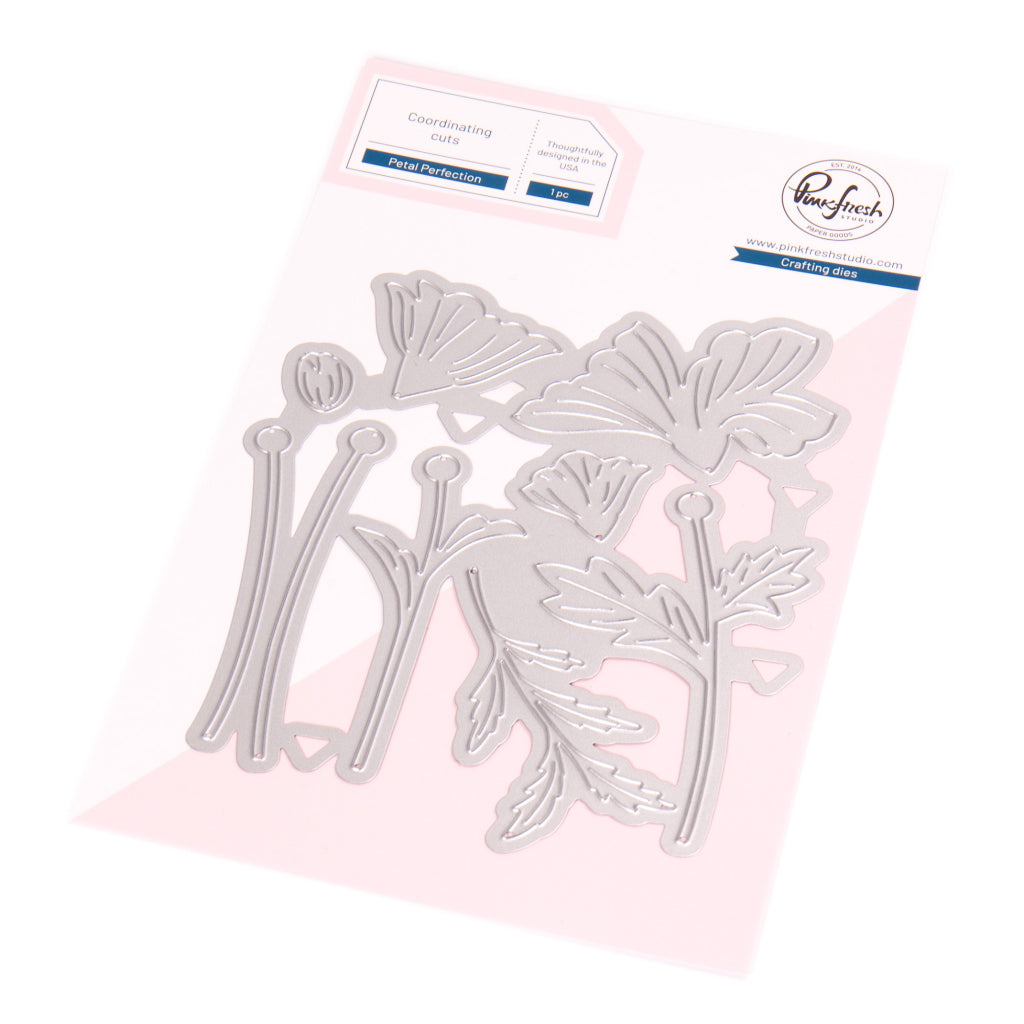
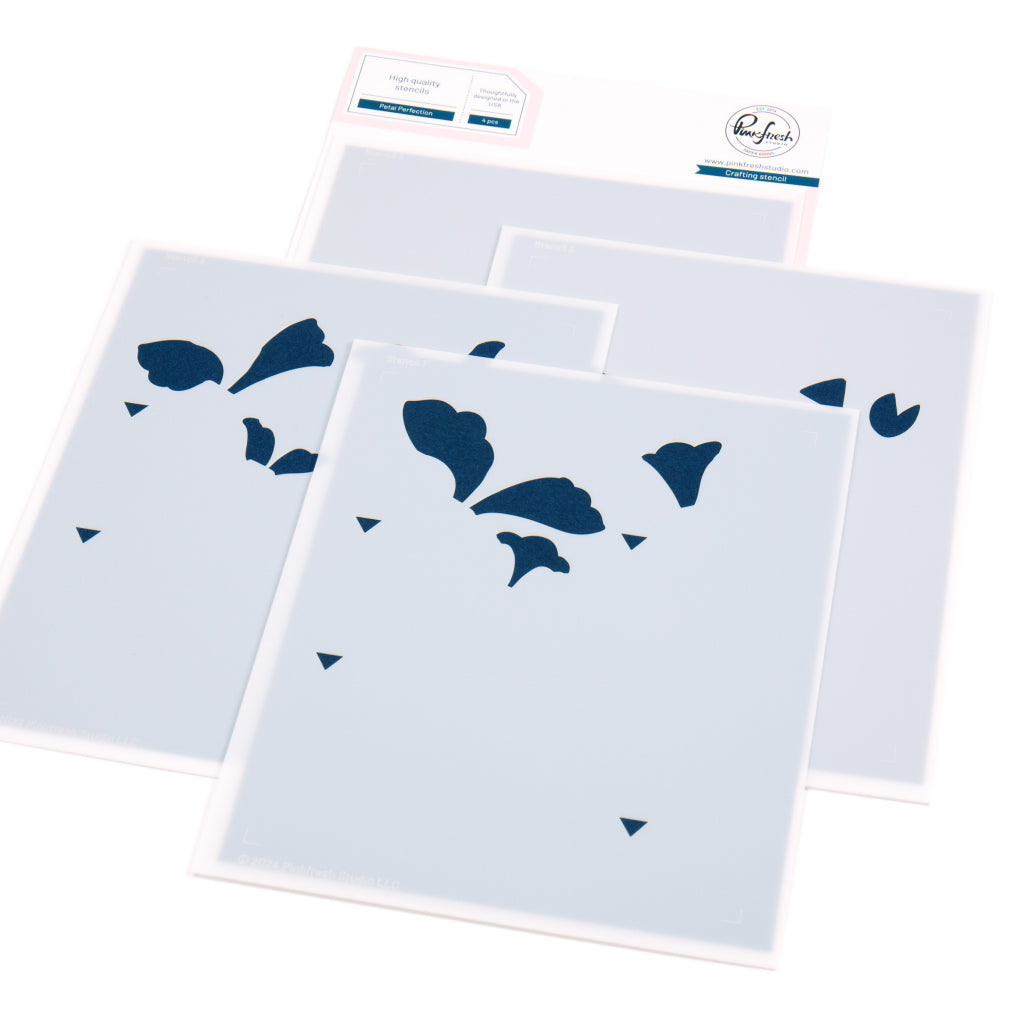
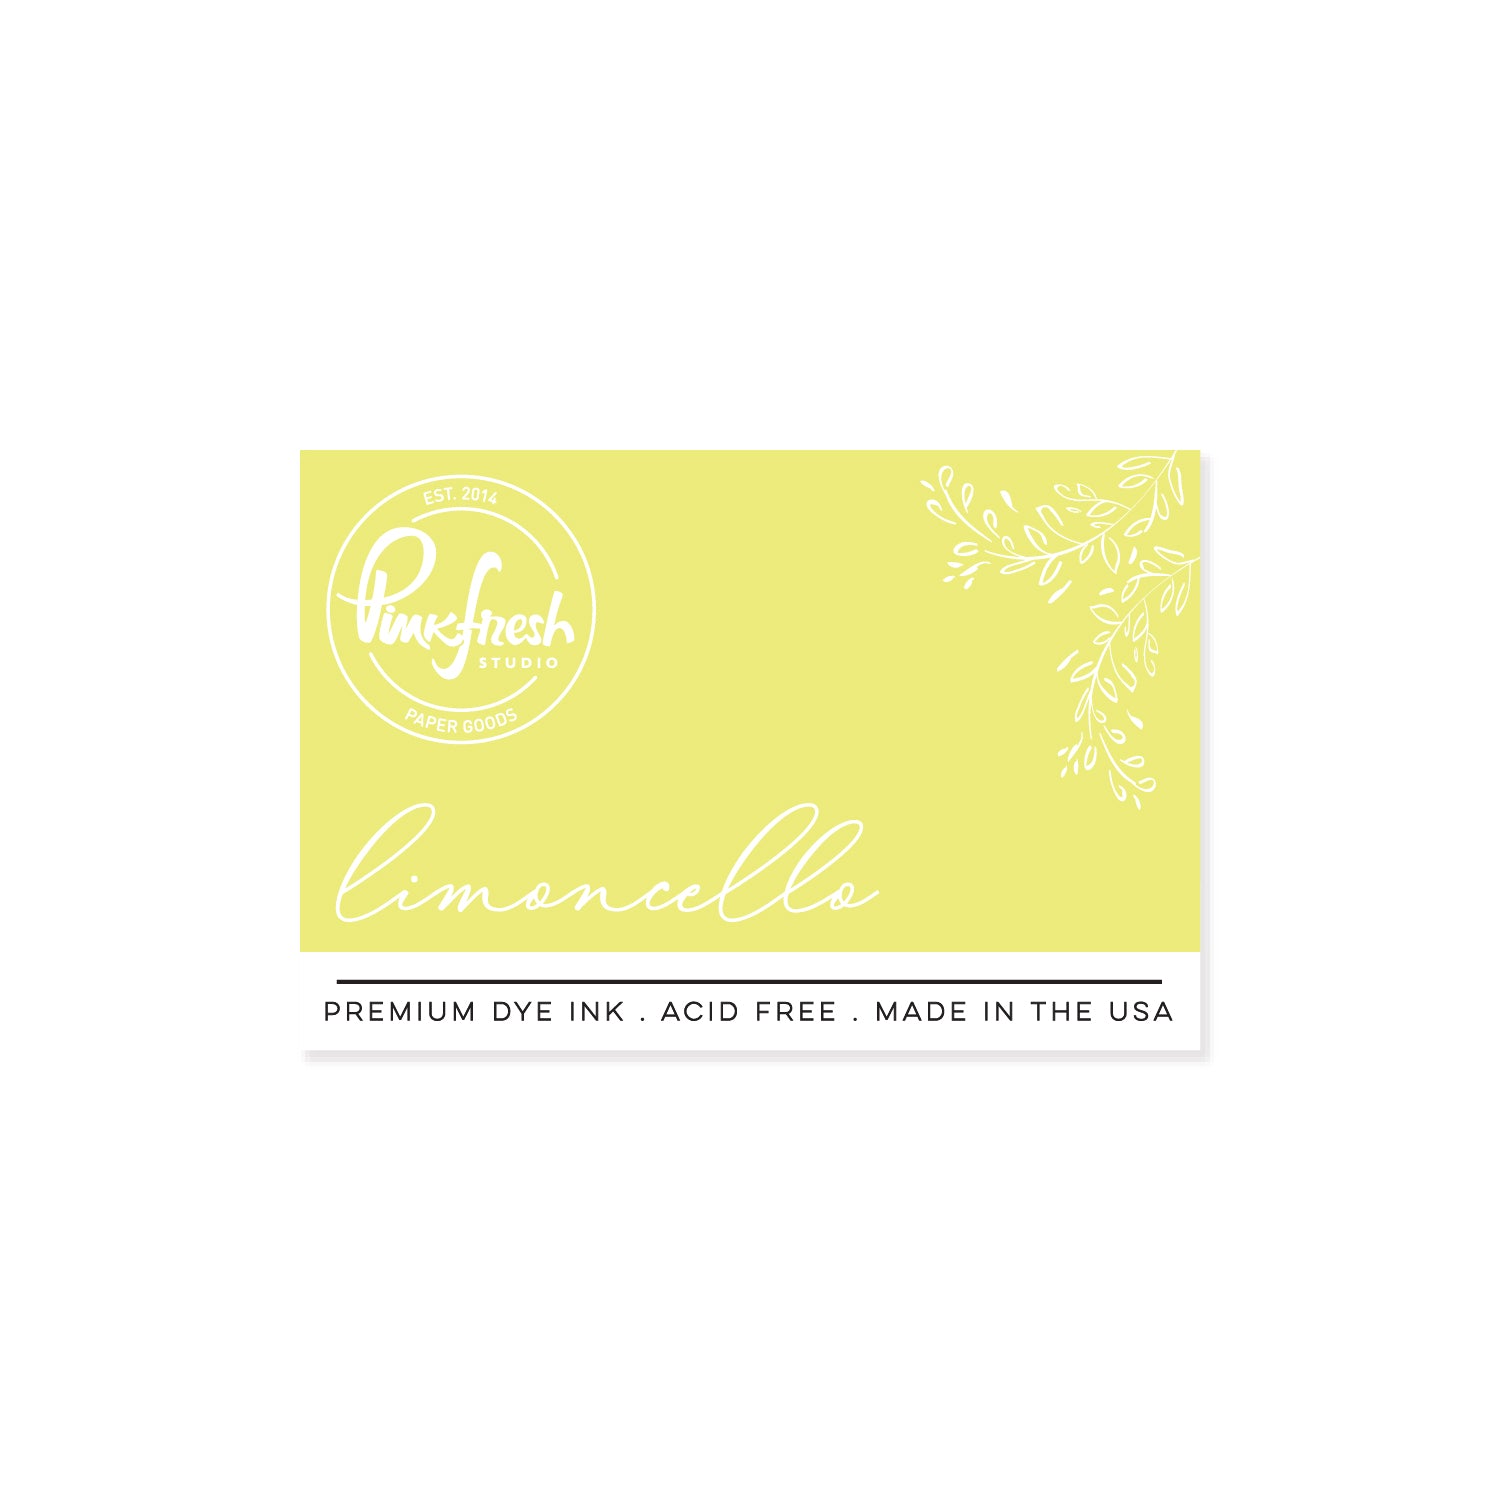
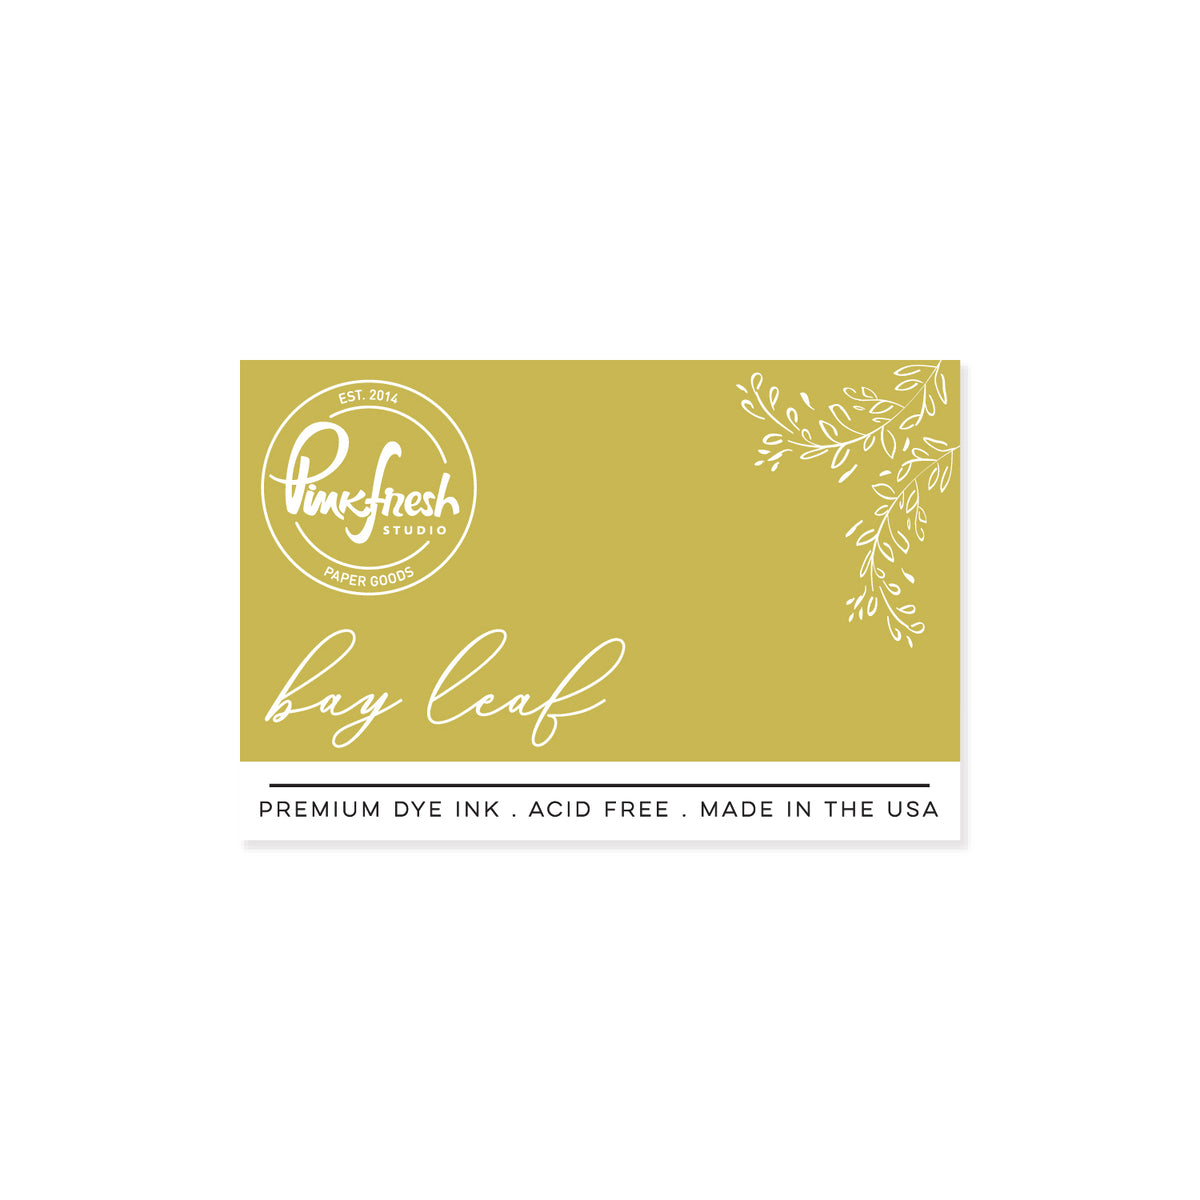
- Create some tulips with the Petal Perfection layering stencil set and die set using Peony, Aquamarine, and a little bit of Candy Apple for the biggest tulip and Limoncello, Citron, and Bay Leaf for the yellow green tulip. Die cut with the coordinating die.
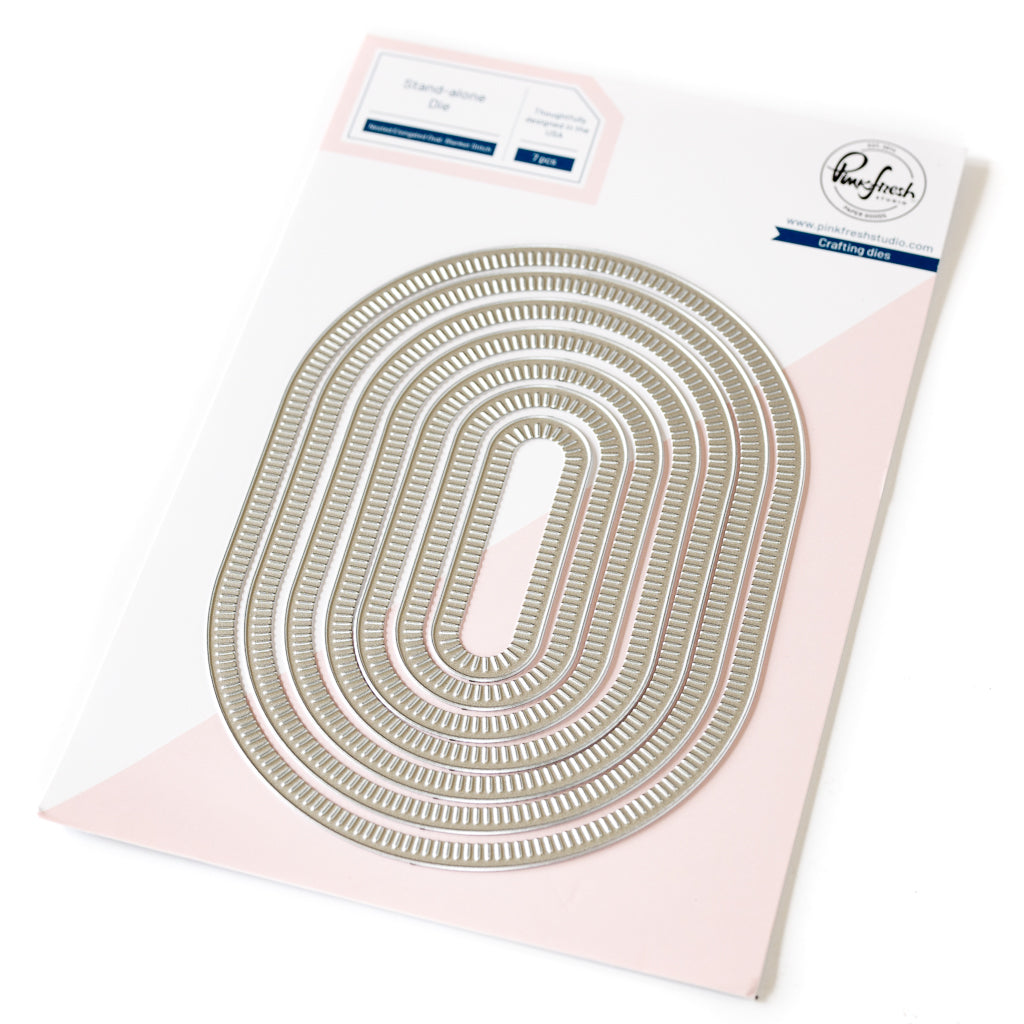
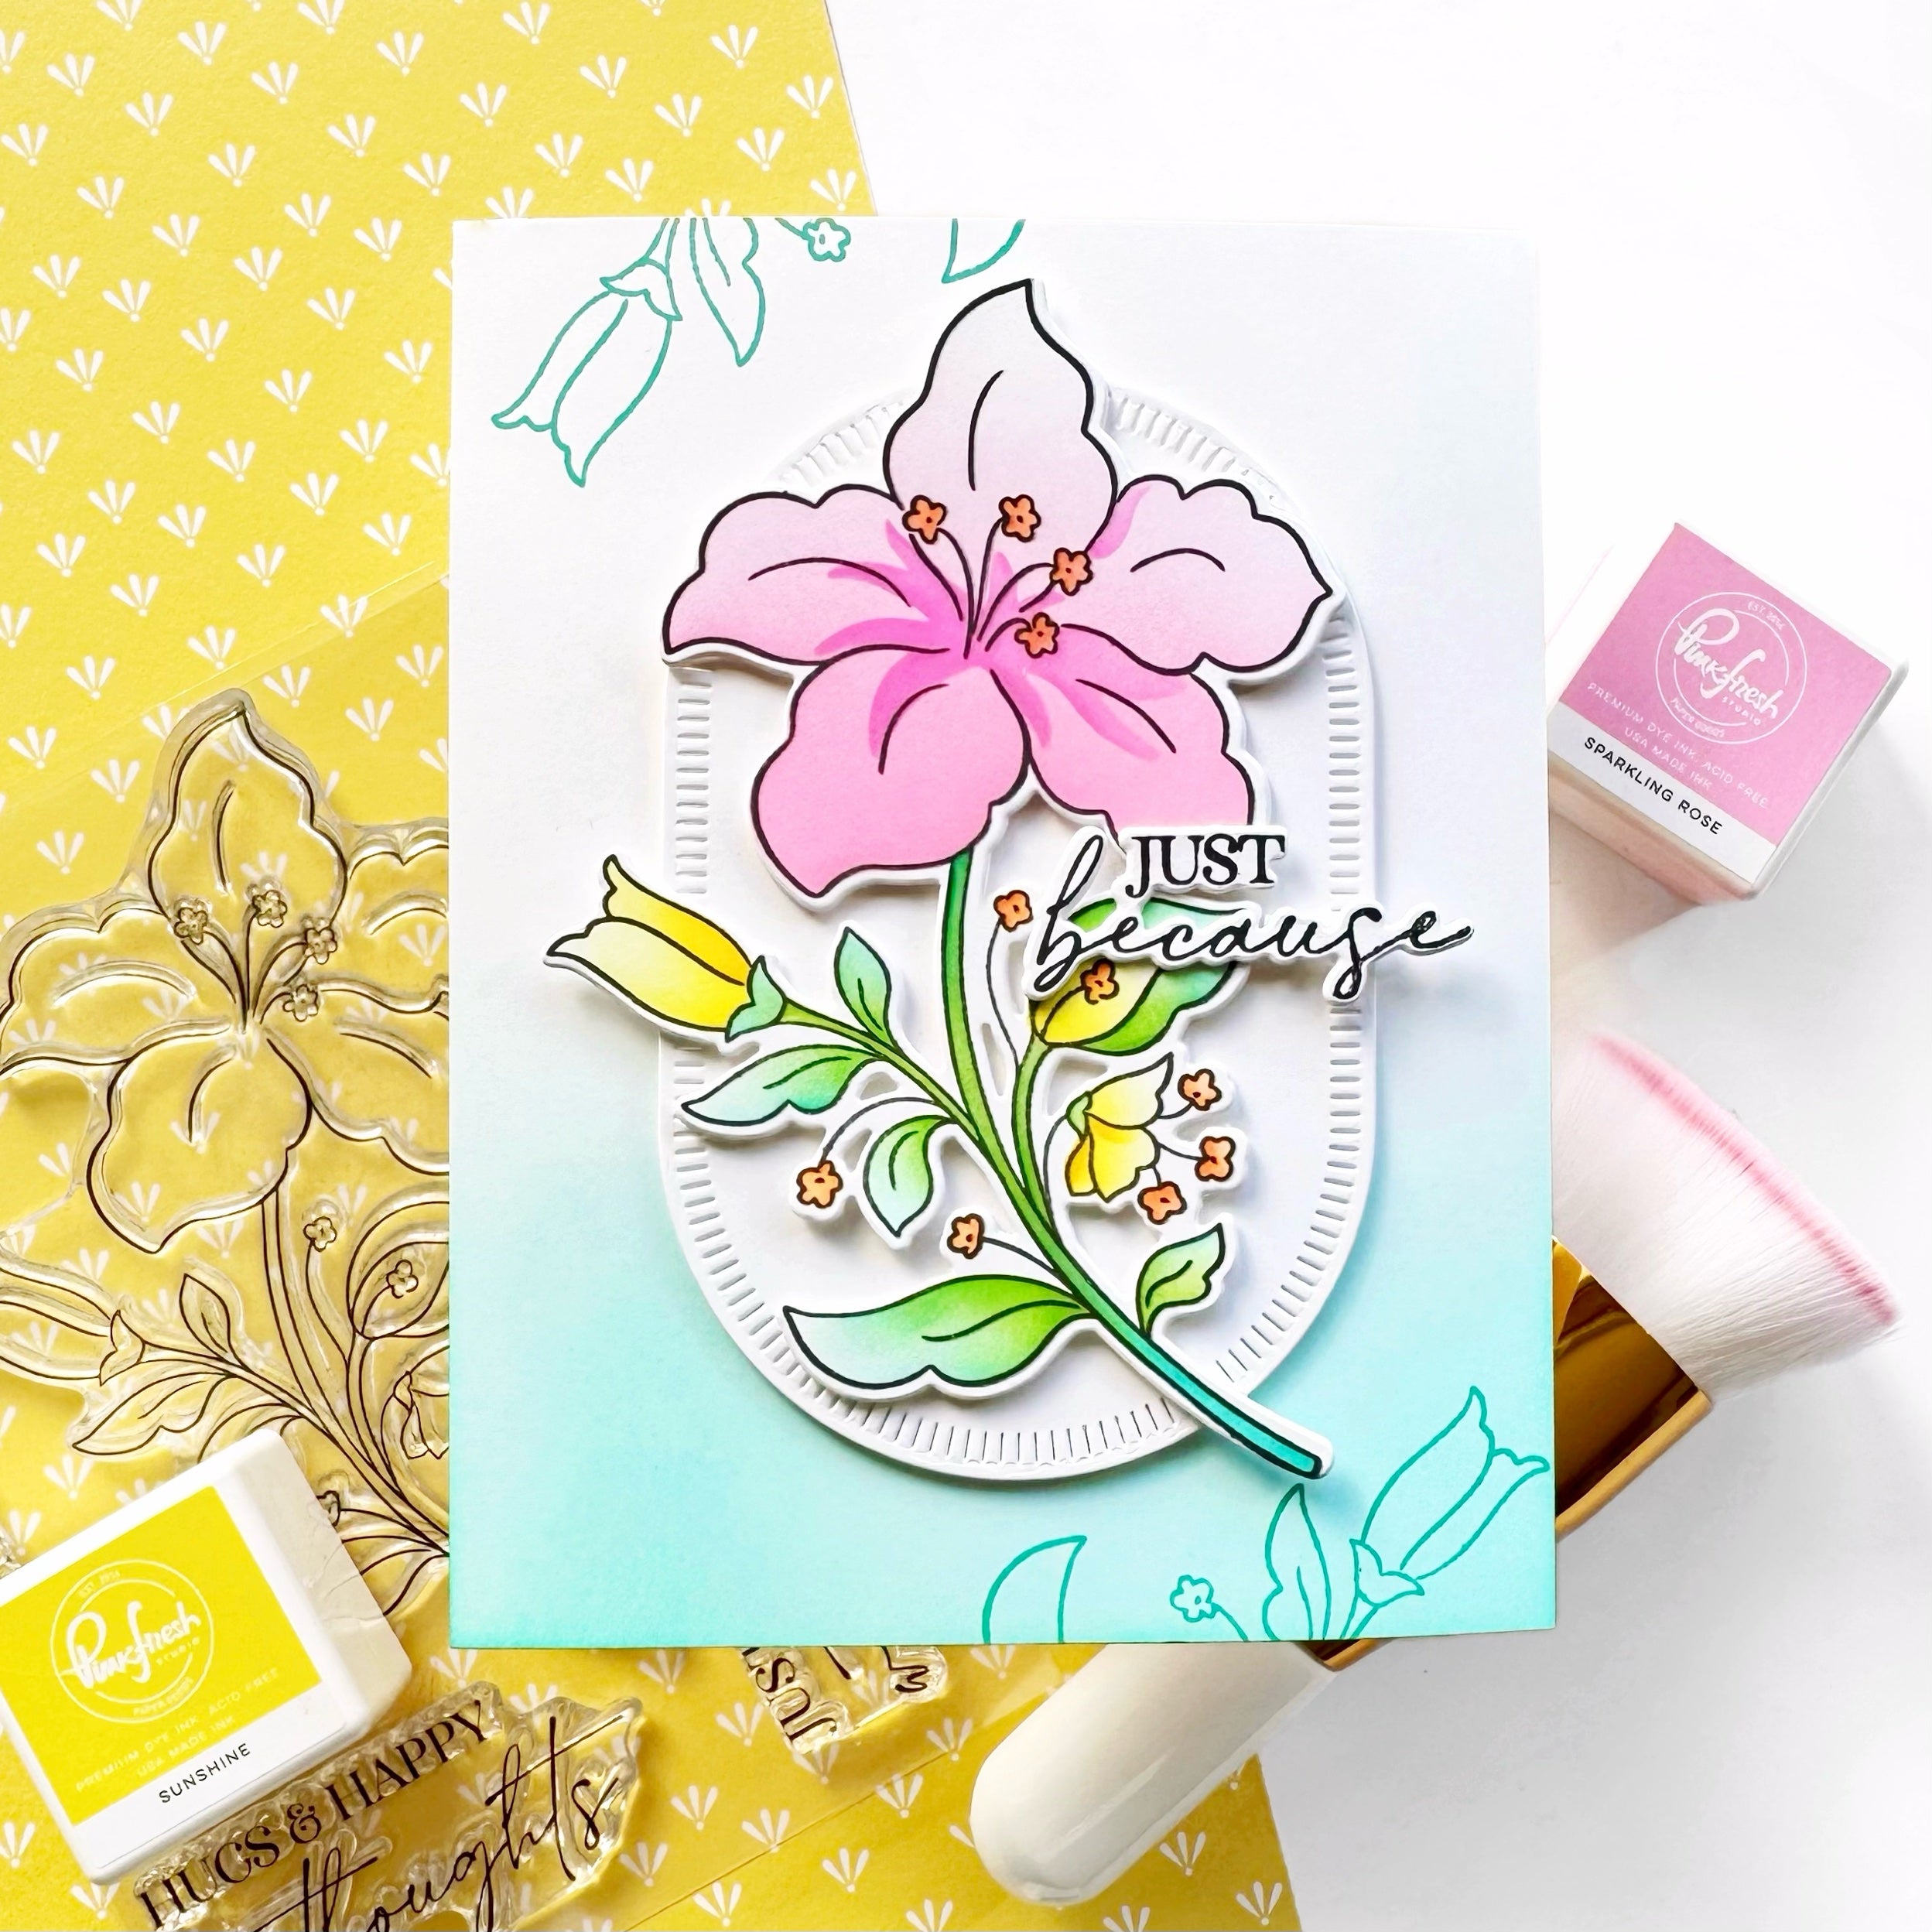
- Die cut an oval from white cardstock with the Nested Elongated Oval die set and ink up the edges with Sky Blue.
- Adhere this oval onto your Elevated Rainbows background with double sided adhesive and arrange your tulips on top.
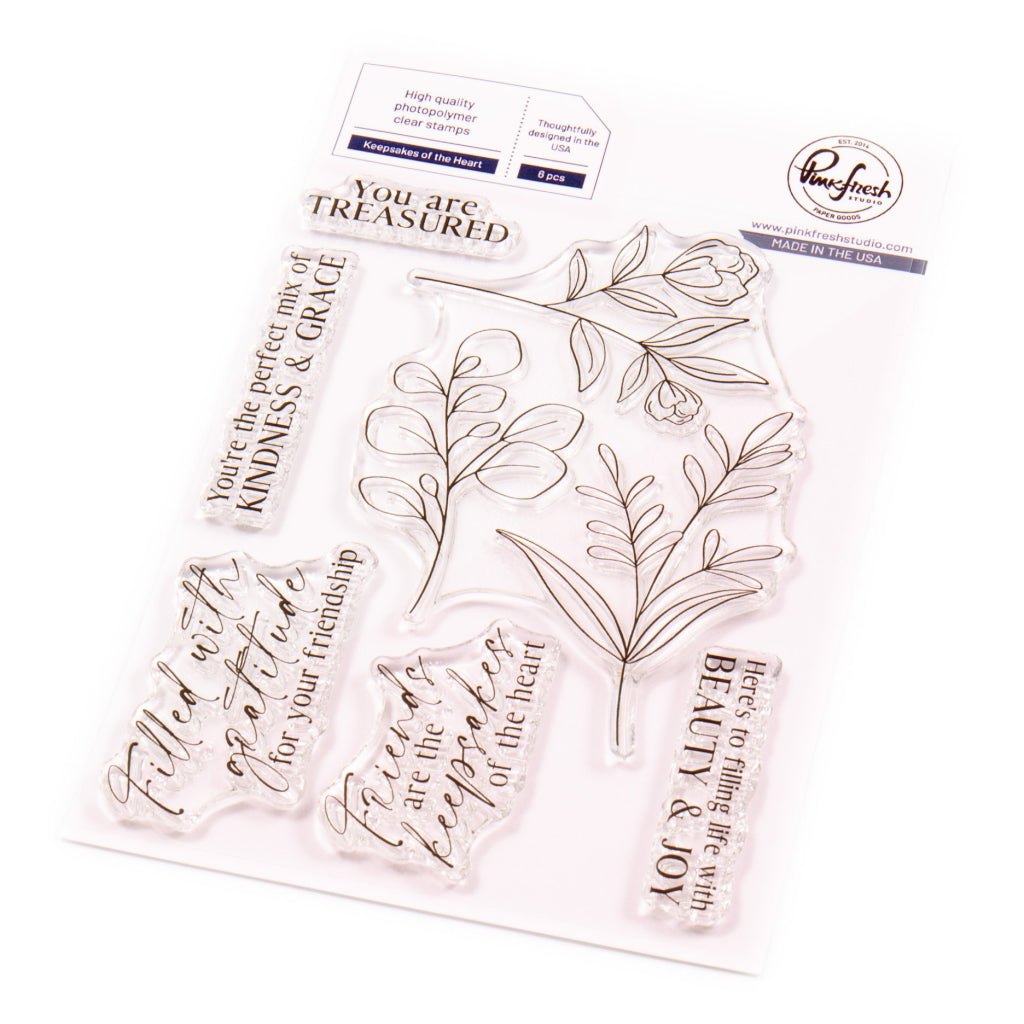
- For the sentiment, I used the Keepsakes of the Heart stamp set.
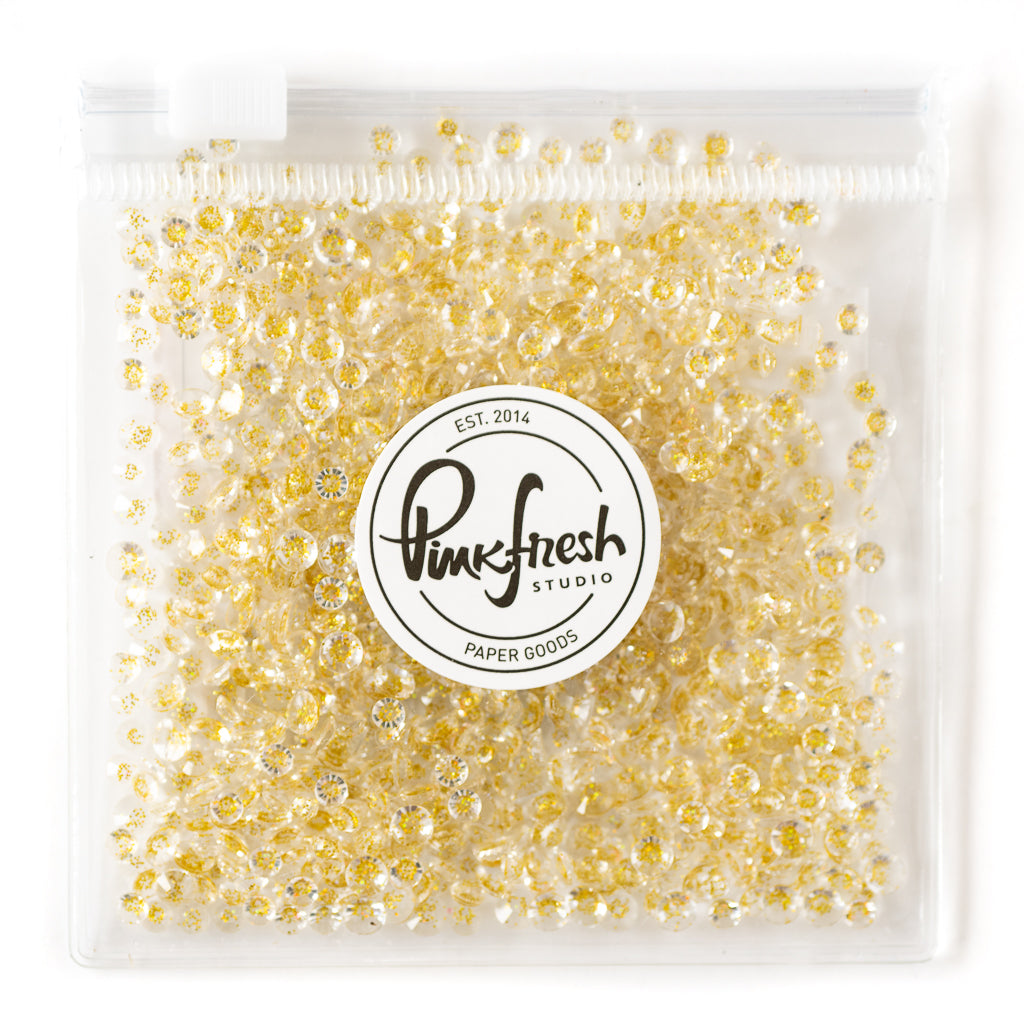
- Add some bling. I used the Clear with gold dust gems.

For my second card, I created a similar design changing up some elements of the design:

This is the step by step process:
- Follow steps 1, 2 and 3 from the previous card using the following colors: Sparkling Rose, Raspberry Bliss, Apricot, Grassy Knoll, and Blue Jay.
- Die cut an oval from a white A2 notecard with the Nested Elongated Oval die set.
- Adhere this oval die cut onto your Elevated Rainbow panel and cut an oval frame using the same Nested Elongated Oval die set.
- Foam mount this frame onto your front panel.
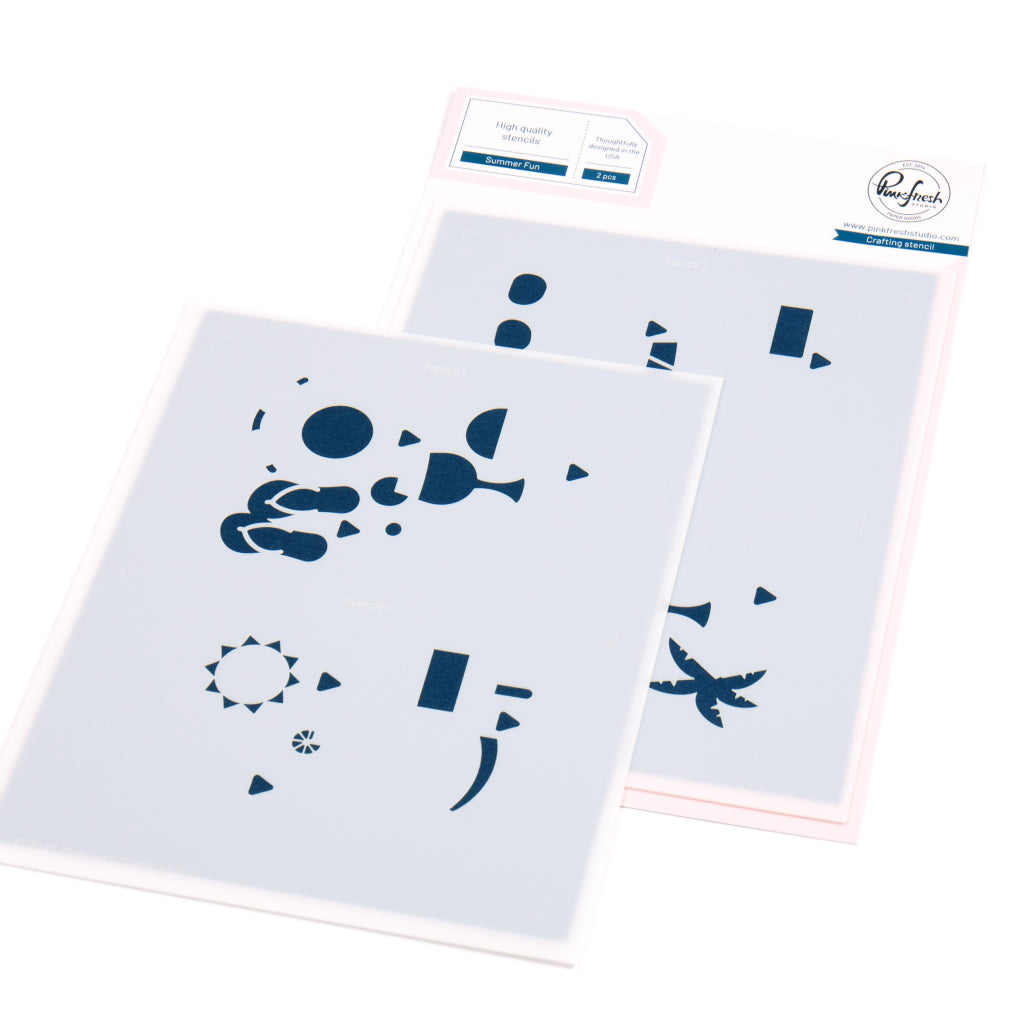
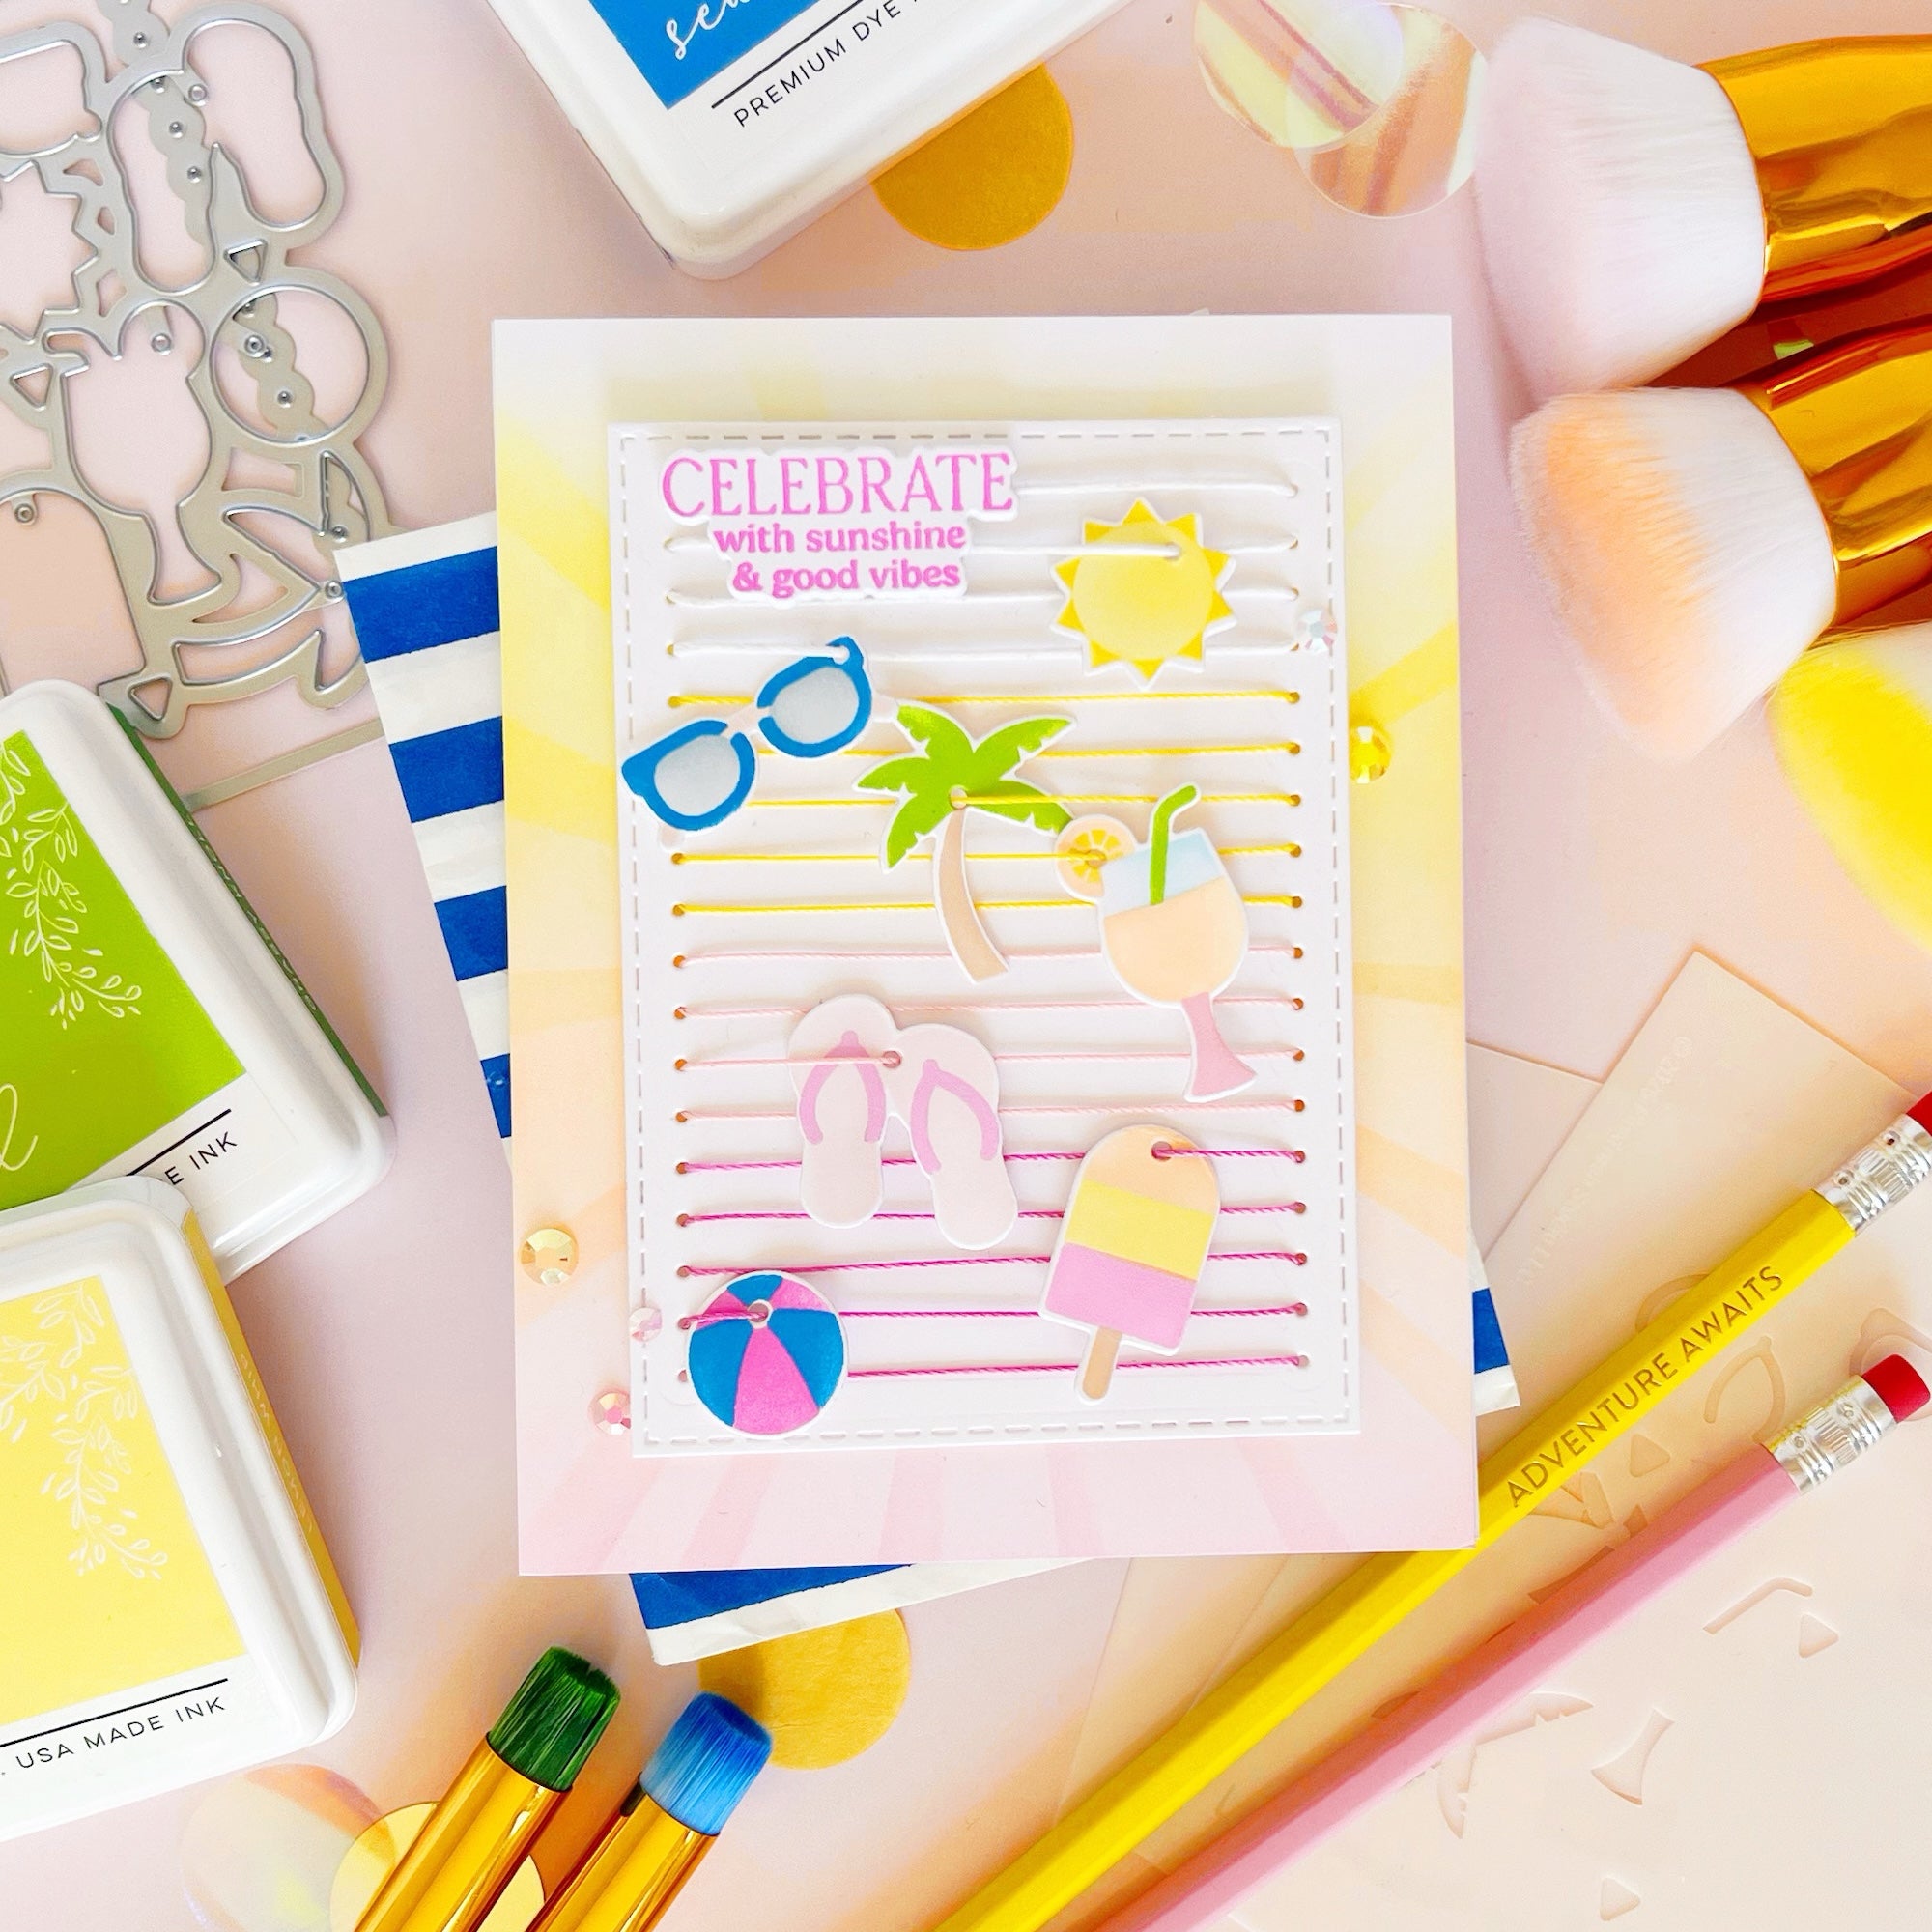
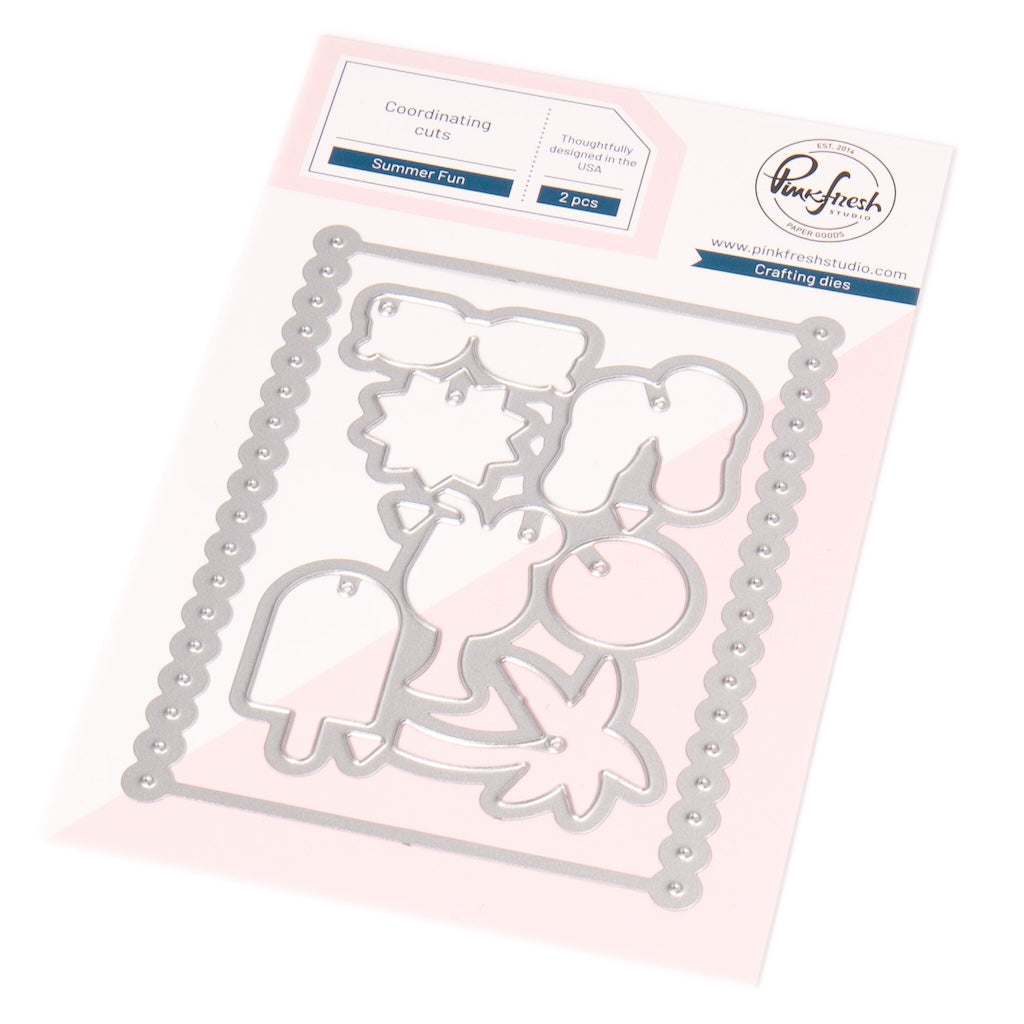
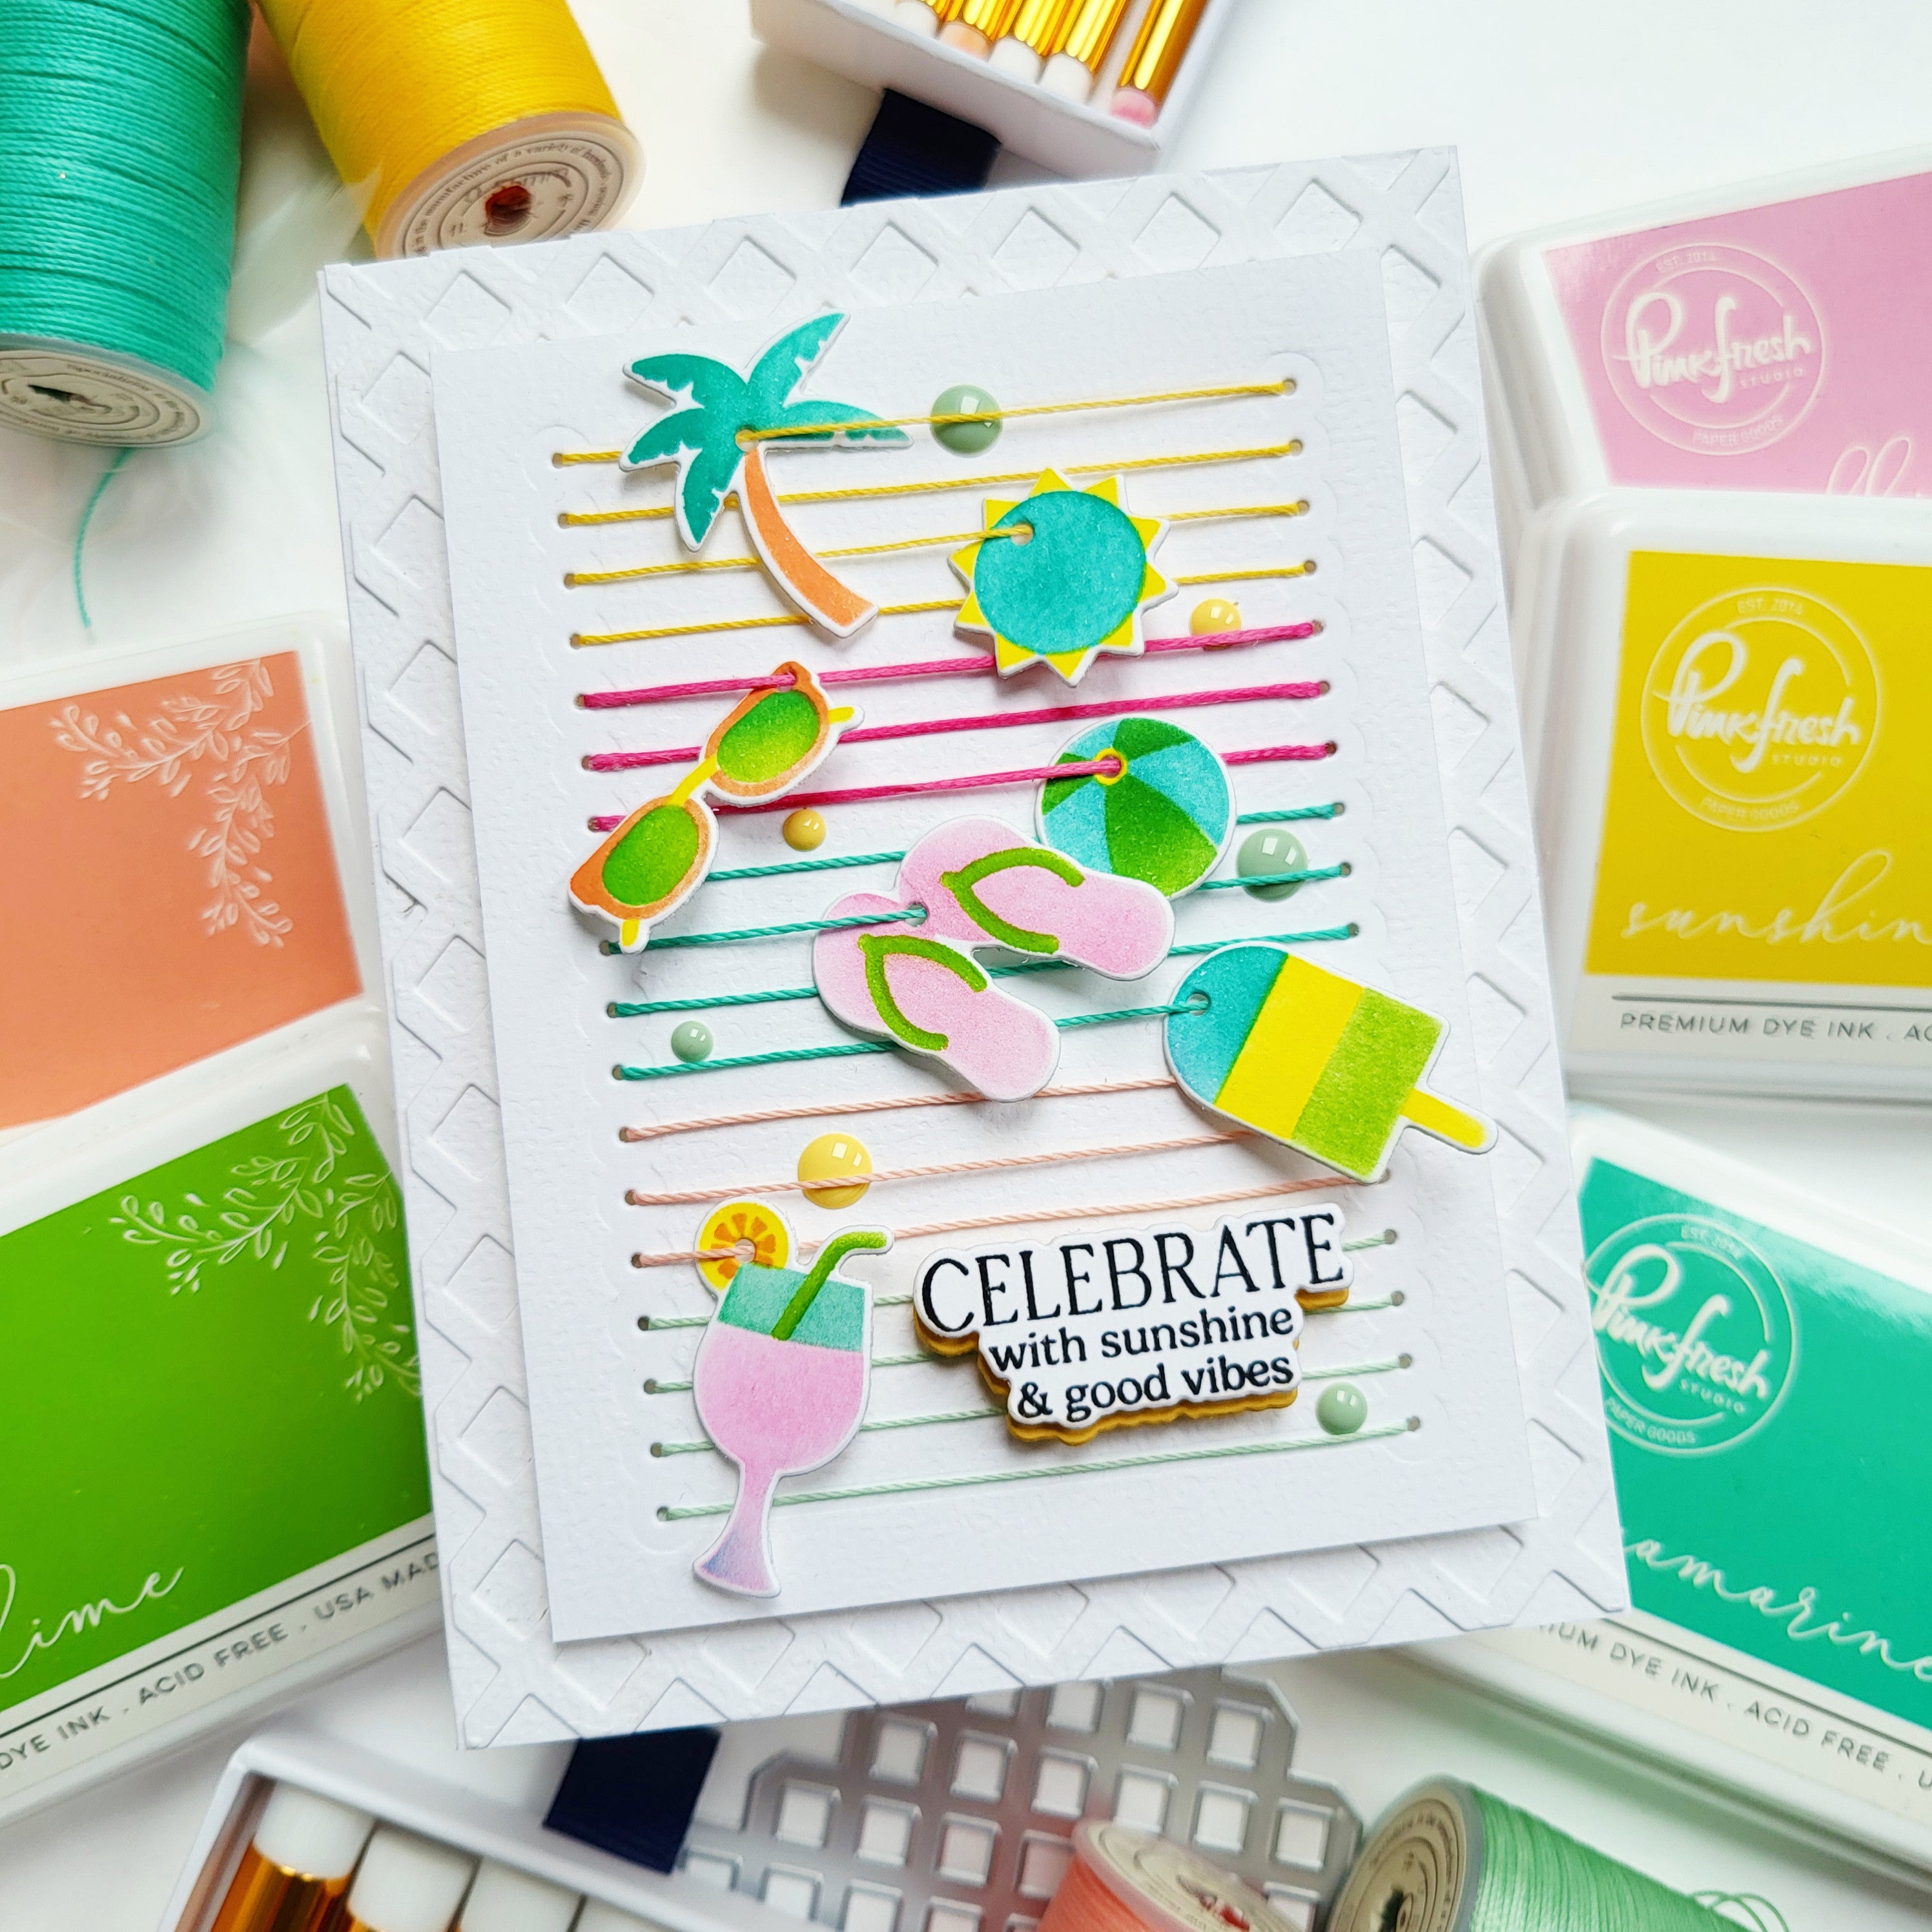
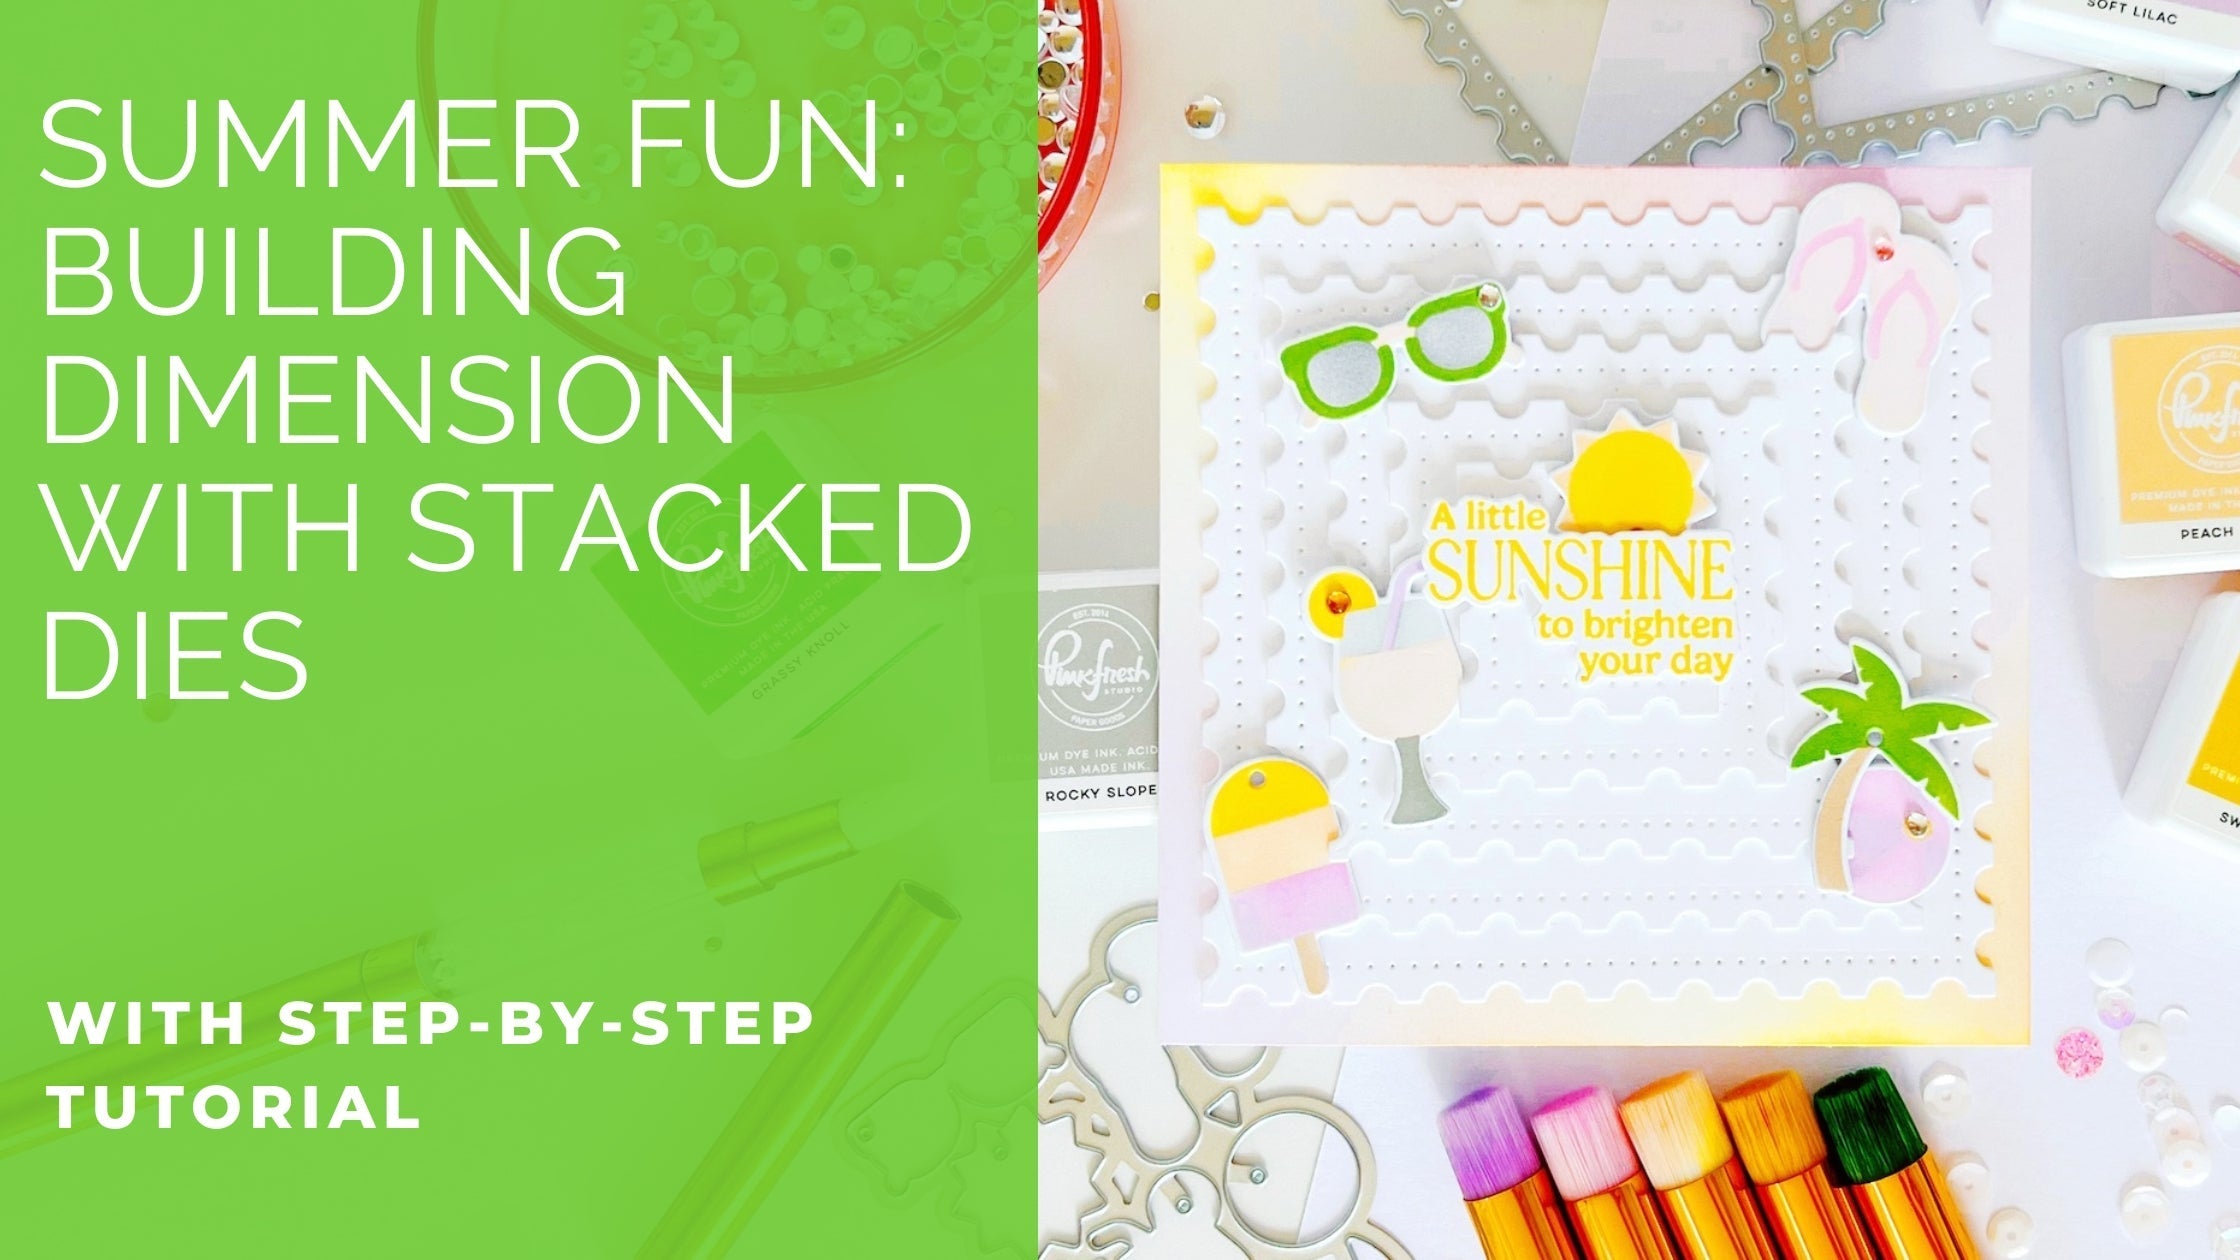
- Use the Summer Fun layering stencils and die set to color and cut out these super fun images. To create a cohesive look I used the same colors of my background.
- Use black craft foam to cut out additional die cut pieces of these images and adhere them to your images. For the sun, I used Gold Glitter Cardstock.
- Adhere these images to your background around the frame.
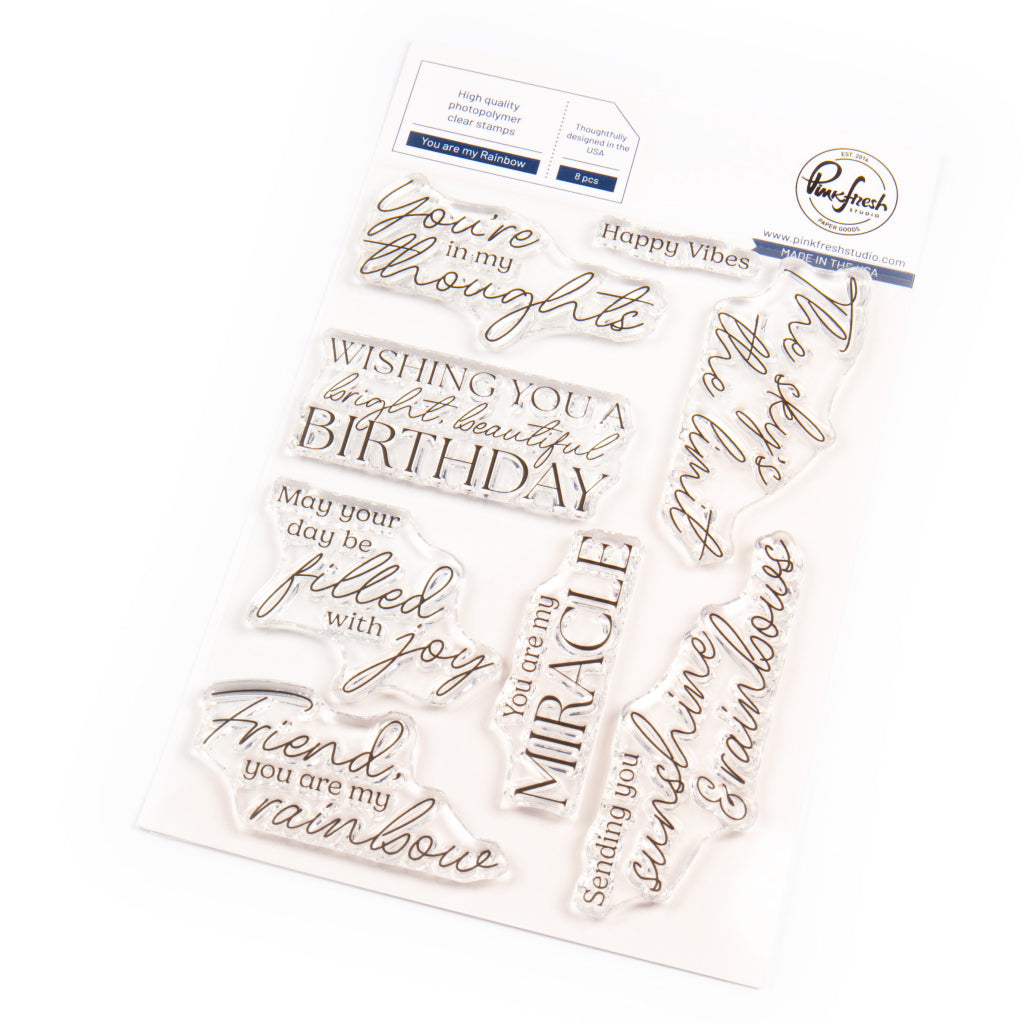
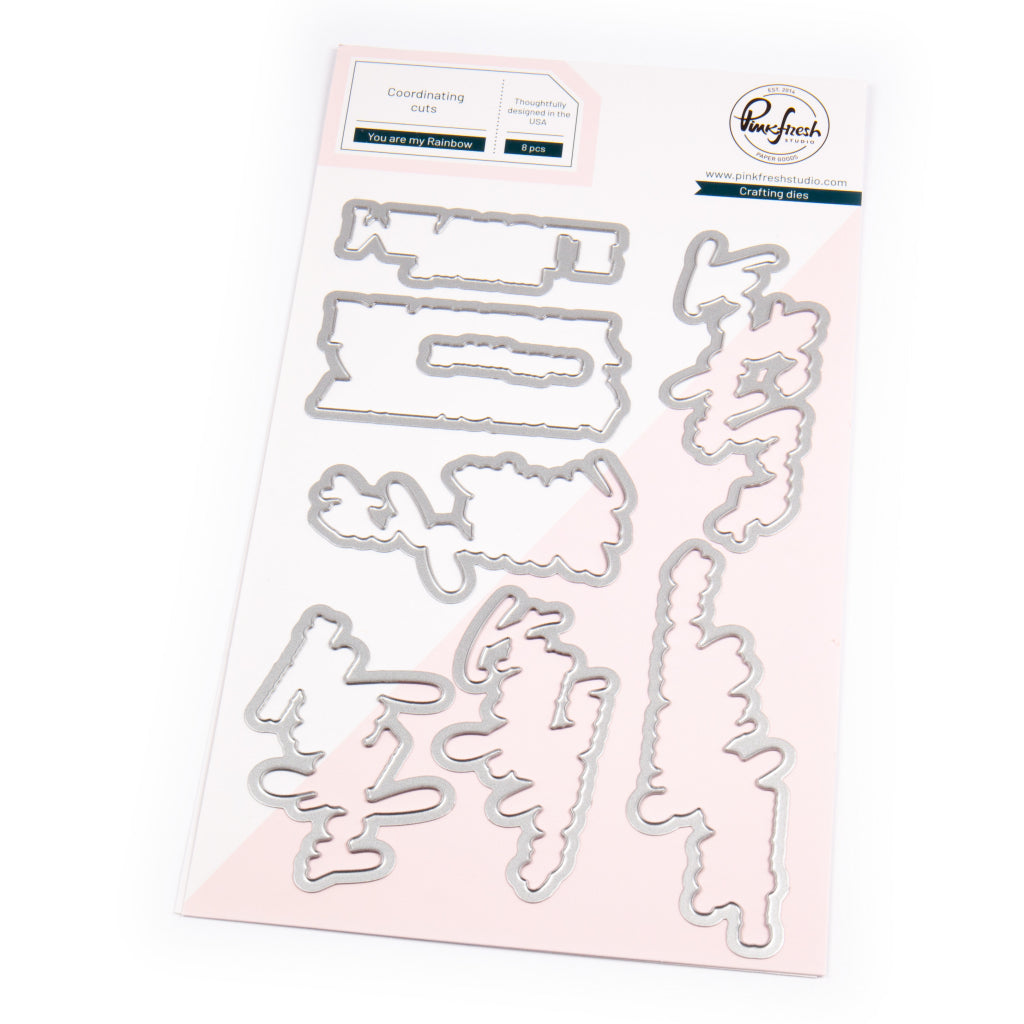
- Finally, add your sentiment. I used this sentiment from the You are my rainbow stamp set.

I hope you feel inspired and have the opportunity to recreate these designs. They are super easy to make and I'm sure you'll have as much fun as I had while creating them.
Thank you so much for stopping by and happy crafting!
Hugs,
Raquel
Recommended Products








































Leave a comment
All comments are moderated before being published.
This site is protected by hCaptcha and the hCaptcha Privacy Policy and Terms of Service apply.