Blooming Branch w/Alcohol Markers on Vellum | Anne Fiene
Hi everybody! It's Anne here up on the blog today with a simply stamped and colored flowery card. This is my second project with the Blooming Branch design, I just adore those pretty little blossoms and how the branch curls and flicks... Okay, sorry, let's get to card making!
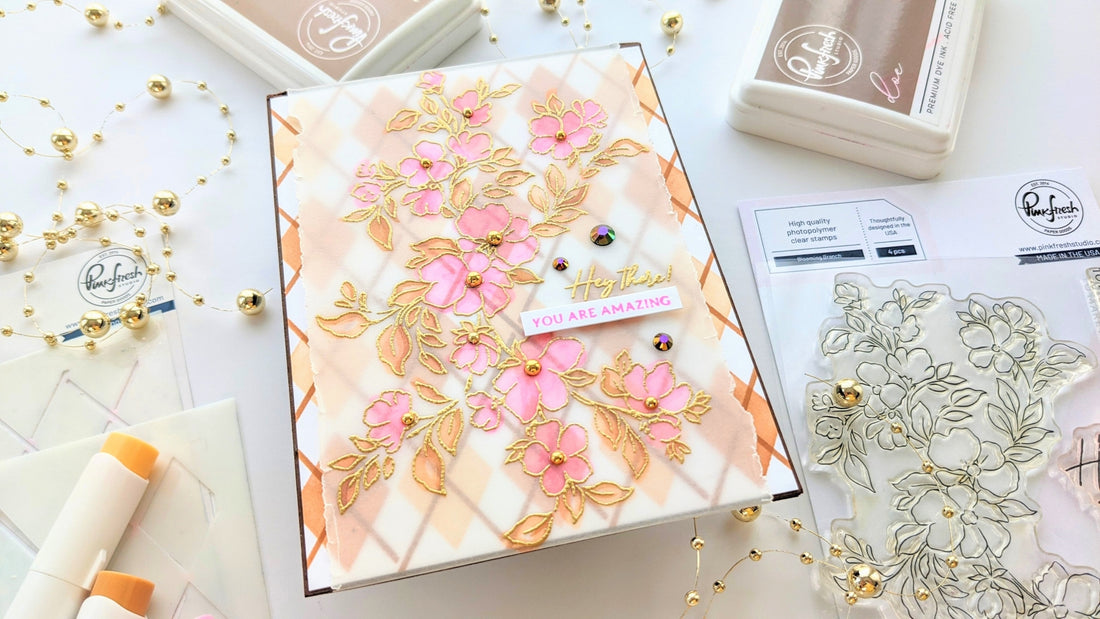
I grabbed an A2 sized panel of Neenah solar white 110 lb. card stock and pulled out my Argyle stencil and Pinkfresh inks, Warm Buff and Doe.

Quick side note: I was in Las Vegas recently on a trip with my 3 sisters and we were at a restaurant where they had a glass wall that was etched with the argyle design overlaid with an angel. I thought it was beautiful, and yes, I took a picture for use as inspiration for when I could get back to cardmaking. Other people do this, right?
I used the soft brown colors alternately with the first Argyle stencil. With the second layer I used Doe again. Then I put the Blooming Branch stamp in the MISTI and gold heat embossed the image on a wide strip of vellum.

I flipped the image over and used my alcohol markers on the backside of the embossed design. I thought I would get arty and make the coloring really loose so that it sort of looked like a watercolor painting with a gold overlay. But I'm on the fence as to whether it worked out like I planned... anyway, it still ended up pretty and was super easy and quick to color in, I alternated between 2 colors for the leaves and 1 for the blooms.

I put my vellum design back in the MISTI so that I could gold heat emboss a sentiment. The stamped sentiment and the added secondary sentiment are both from the Lush Peonies stamp set. I think with a sentiment like this it could be used for many different occasions. A birthday or a congratulations card. It just depends on what you put on the inside.
I trimmed down my base piece, with the argyle design, just a smidge and adhered it to dark brown card stock. Then I realized that I wanted to fold the edges of the vellum over the top and bottom of the card and had to cut the brown paper at the fold.
To get that straight torn line on my vellum panel, I used a ruler placed on the paper and pulled the paper against the edge of the ruler. This time I thought it was too straight and tried to distress it more with my fingernails.

Then I folded the top and bottom of the vellum piece over the now matted argyle design, and adhered them down on the backside with double sided tape. Then I once again glued it to a piece of dark brown card stock, A2 sized.
I added Pinkfresh's Gold Pearls in the center of the flowers and a few Jewels in Espresso brown around the sentiment and was done.
I hope that some of these design choices have inspired you to make something new today. Thank you so much for coming by!
4 Comments
such a gorgeous card. love the vellum layering
I love this. It is so my style!!! Beautiful
Love this and the story behind the inspiration!
Absolutely stunning!