My Happy Life Project: The Mini Album | Celes Gonzalo
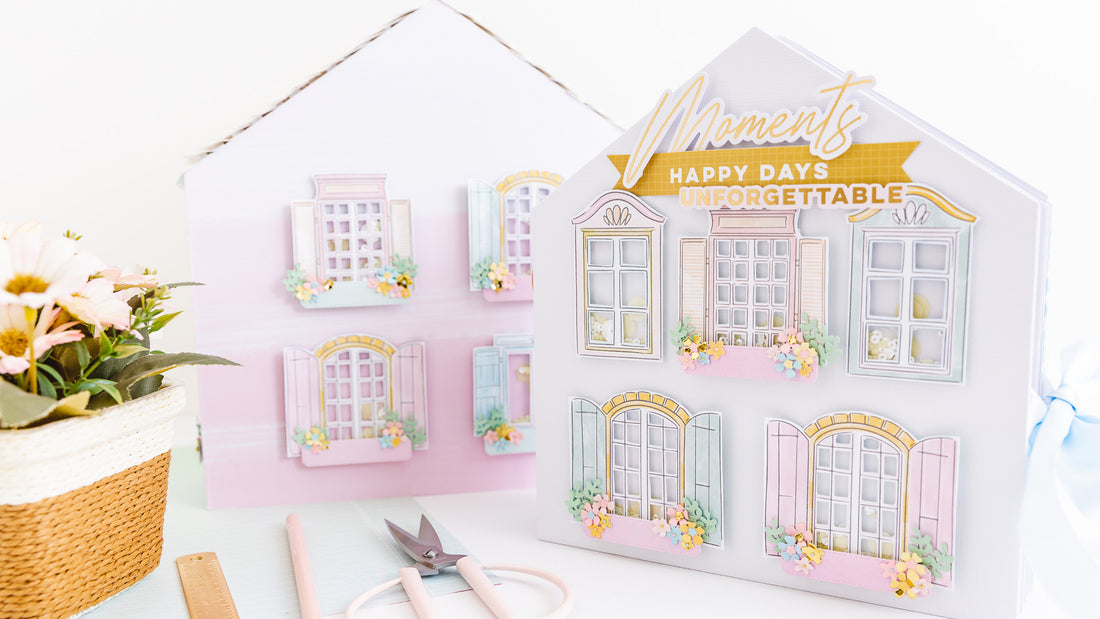
Hi everyone! It's Celes here. It's so good to be back! Because we are going to finish our project ;) My Happy Life Project has two parts. We made the first part: The House last month. And today we are going to make the inner mini album. As you can see at first glance... there is new decoration in the house too... lots and lots of mini flowers! Let's get started!

As in the firt part, I'll be using the Happy Heart Collection . Also I combined it with some papers from Holiday Magic, The Best Day and Happy Blooms Collection. That's something I love about Pinkfresh Studio collections! ;)

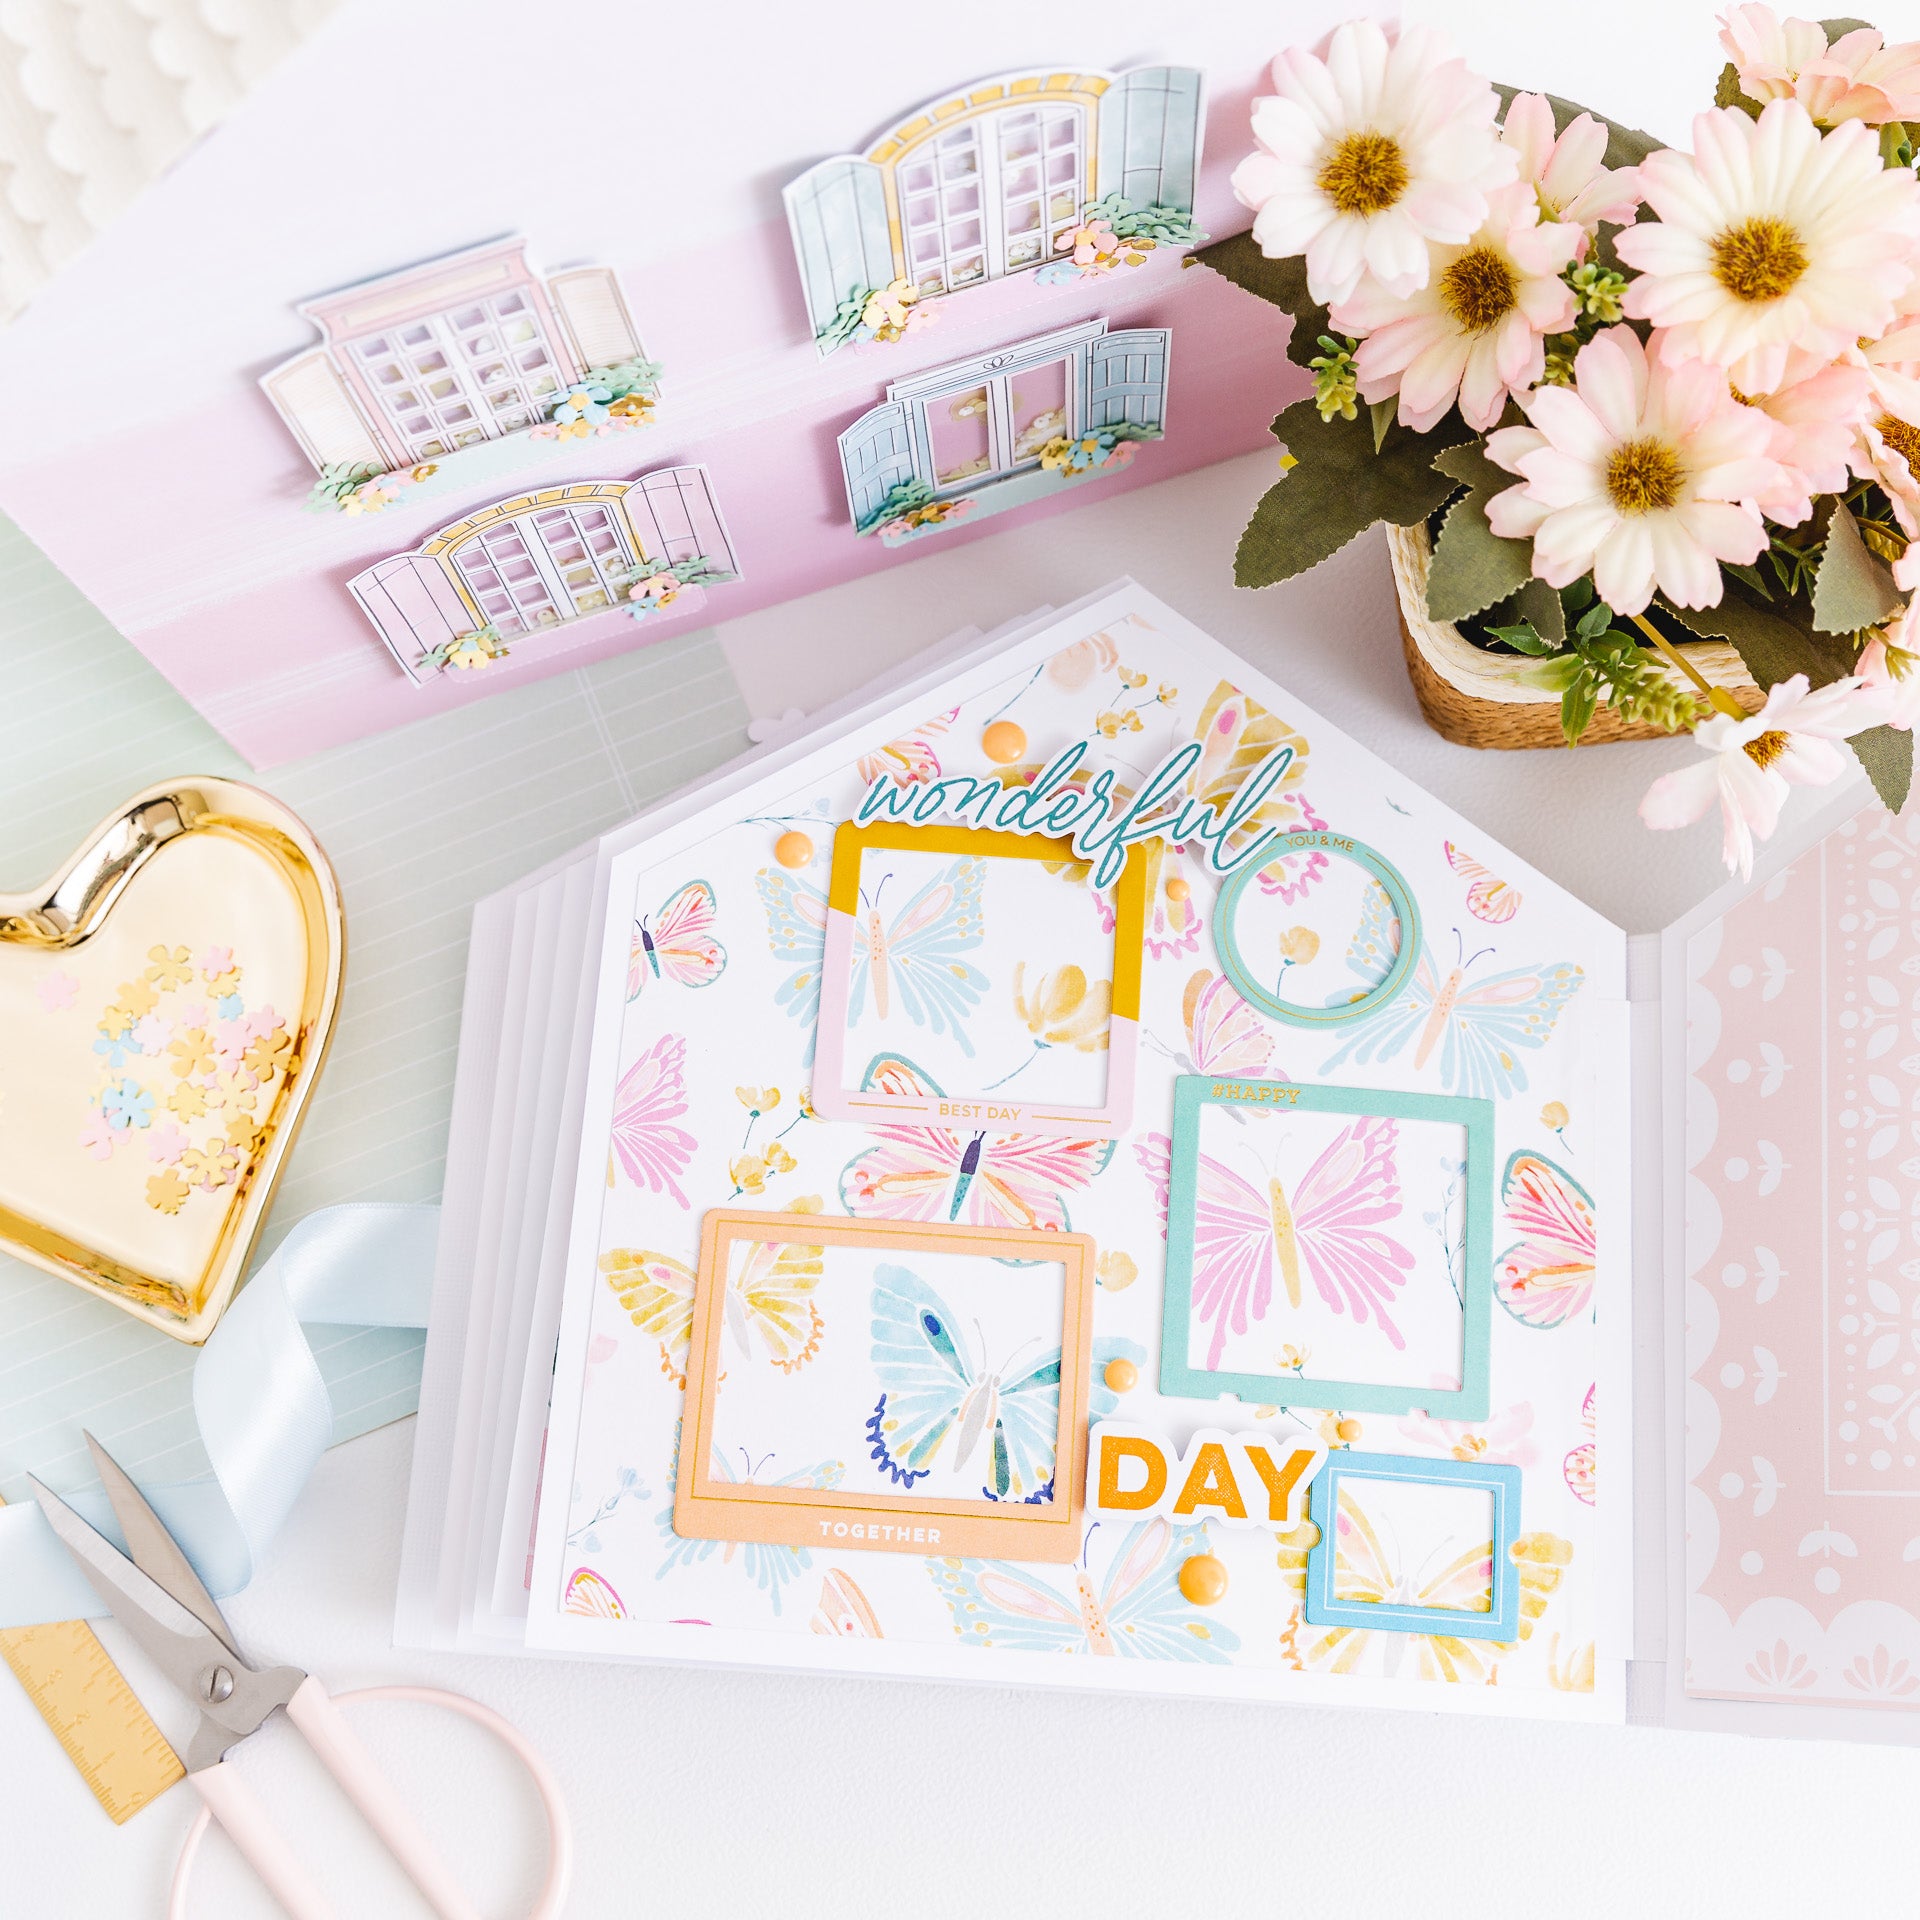
To make the inner mini album from my house, I used the same pattern of the house that I made for the first part. I scanned it and reduced it so that the final size would allow me to place the mini album in the house. The final size of my mini album is 8" w x 8 3/4" h. This size will depend on the size of your house.

For the structure: you need 3 pieces of cardboard and two types of paper: 1- one design paper, 2- one/two white cardstock. Use the same pattern to cut the inner papers for the structure. Remember to add the ribbon for the closure before glueing them.
Shaker windows: I followed the same steps to make them as for the windows in the first part. You can check it here.

The new detail I added for the windons are the flower pots. To prepare the flowers I used the Garden Wreath Die Set with metallic and colored papers. They look amazing! It's such a lovely detail! :)

Details for the cover: to complete the decoration of my cover I added some elements from the Title Ephemera Pack and the Journaling Bits.


For the spine: I added an extra detail to my spine. I cut another piece of cardboard (smaller that the spine) and cover it with the same paper I used for the back cover. It looks amazing! And choose one of the pieces of the Wood Accents to give the final touch ;)
I prepared a inner spine with the "U" design. Cut 3 pieces of papers leaving 1/4" between every hinge.


For the pages: to prepare the pages I cut 6 pieces of white cardstock using the same size of the covers. Also I cut 12 different pieces in a smaller size (reduce the design of the house a little more) combining the Happy Heart 12x12 Paper Pack and some papers from Holiday Magic, The Best Day and Happy Blooms Collection.


Glue the design paper pieces onto the white paper pieces. Then you will glue everything to the spine of the mini album. To decorate every page I used different items from the Happy Heart Collection. I mixed pieces from the Ephemera Pack with Enamel Dots, Puffy Sticker and Chipboard Frames. You can also add more items if you like.


Once everything is ready... The only thing missing is the photos :) You can add them in different sizes and also cut them in the shape of a house ;)

Do you like this idea? I hope you find it inspiring :)
Thanks for stopping by!
Have a great weekend!


2 Comments
Wow.
No other words.
Just….wow.
Beautiful. Xx
Belleza por donde se lo mire!!! Creatividad en cada detalle!!! Te superas con cada proyecto!! Love them all!!! @guiademanualidades 🥰