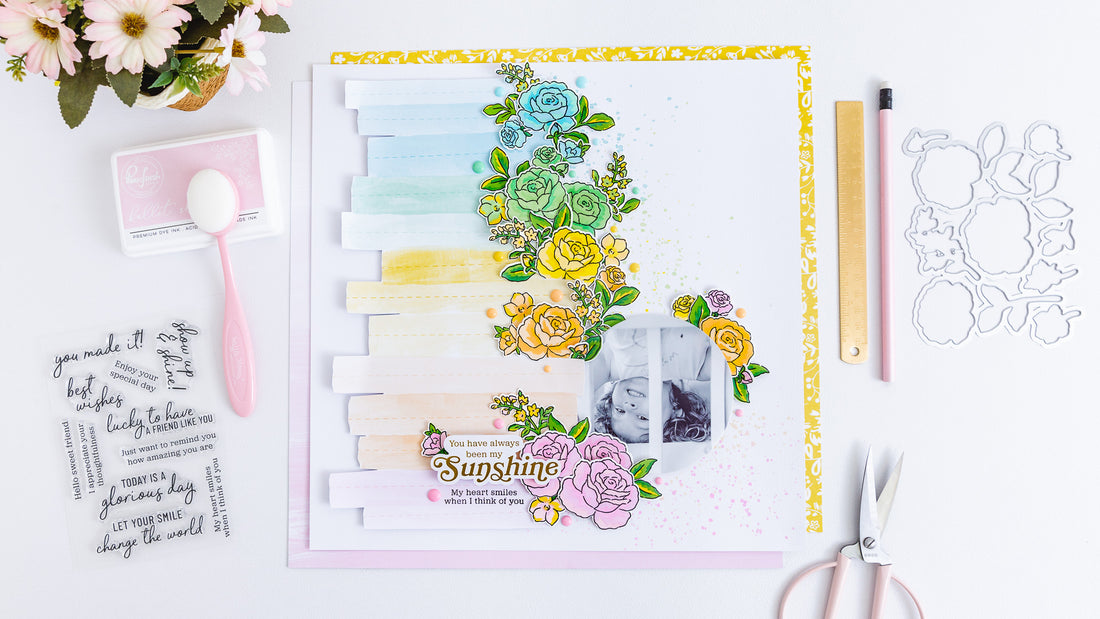
My beloved little girl layout | Celes Gonzalo
Hello Pinkfresh Studio fans! I'm Celes! Happy to here on the PinkFresh Studio blog today! Have you seen latest releases? They have so lovely things. I love flowers... so for today's inspiration idea I will use one of the last sets: Grant Yourself Grace Set.

I'll be making a layout with of the most special photos of my goddaughter, Federica. She is a lovely little girl... I love her so much :) Are you ready?

First thing to do is to prepare all our flowers. Now is when we will use the Grant Yourself Grace Set (Grant Yourself Grace Stamp, Grant Yourself Grace Die, Grant Yourself Grace Layering Stencil Set ). We have to stamp the flowers sing the Premium Dye Ink Detail Black and the we are going to color them using the Grant Yourself Grace Layering Stencil Set and some inks.

In my case, I decided to combine the stamps with one of the paper from the Happy Heart 12x12 Paper Pack. So, my flowers must be colored in that range of colors. I chose these colors: Ballet Slipper, Sparkling Rose, Soft Lilac, Lemon Whip, Sunshine, Sweet Mustard, Peach Fuzz, Apricot, Marigold, Sky Blue, Ocean Breeze, Summer Shower, Fresh Pear, Mint, Meadow, Olive, Evergreen.


Once we finish coloring all the flowers, we must cut them using the Grant Yourself Grace Die.
Also, I chose the five colors of the Happy Heart paper from my inks. I will apply them on a textured white paper as if they were watercolors. Remember to follow the order of the colors. While that dries, we can cut the rainbow piece out of our paper.

Using 3d foam, we stick the rainbow piece to the left side of the paper. Also, I will cut out my little girl's photo using the largest die from Nested Circles Die Set. The measurements of my photo are: 4"x4".

We add the photo using 3d foam and begin to decorate with the flowers. It's a lovely rainbow full of flowers. Layering the flowers is a lovely idea because it will make our layout come to life.

To continue with its decoration, I chose a phrase from the new Foiled Sentiments 3 set and one phrase from the Heart Smiles Stamp. I have to say that I LOVE the new foiled sentiments set... It has beautiful phrases with a glossy finish that I love.

The final detail of my layout will be using the Happy Heart Enamel Dots to combine them with the flowers (always following the rainbow pattern). Doesn't it look wonderful? It is an explosion of color and joy. I see it and I can't stop smiling :)
Thank you for taking the time to see this project. I hope you liked it and it inspires you! See you next time!


3 Comments
Muy dulce y elegante como todo lo que inspiras!!!!
It is so lovely, that’s why I am inspired to do scrapbooking but don’t have enough materials. I’m going to tag you soon if I can do something like this.😌
Lovely layout. Very eye catching. Pink Fresh makes such lovely products.