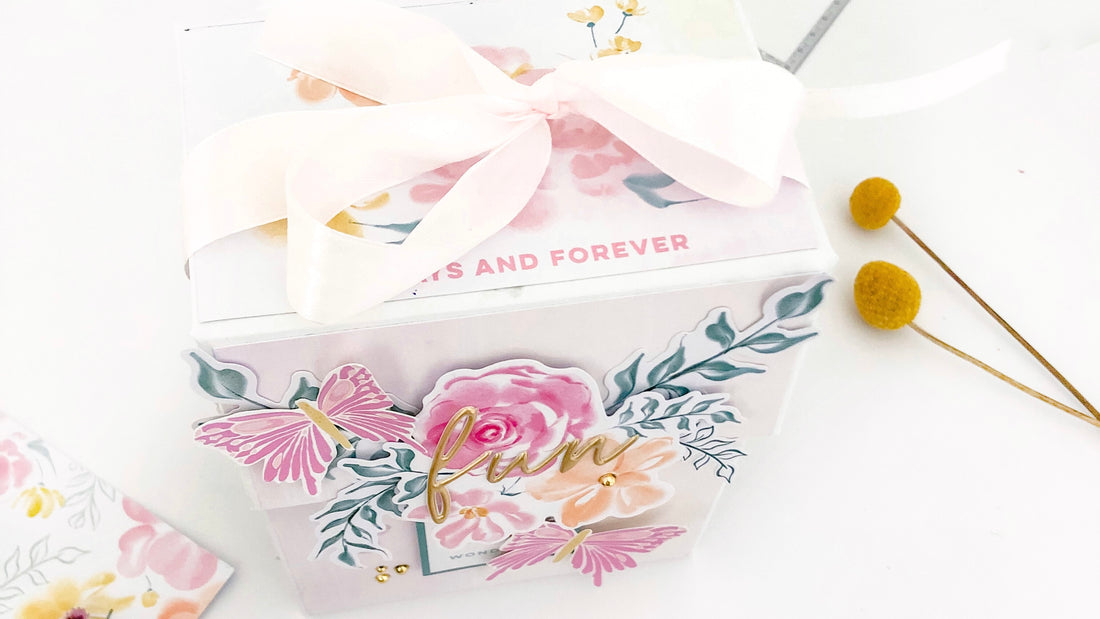
Mini albun with Pop-Up frames | Susi Becerra
Hello Pinkfresh Studio friends! It's Susi here today and I'm excited to share with you a new project which I made using the amazing "Happy Heart" collection. Are you ready to create a fun mini album? It's filled with pop-up frames!
Let's started!

The first thing we're going to do is the FRAMES of our photos. We're going to need:
- 4 pieces of white cardstock of 4 1/2" w x 6 1/2" h. Score at 6"
- 4 pieces of patterned paper from the Happy Heart collection of 4 1/2" w x 7" h. Score at 1/2", 1", 6 1/2".
For the front of the frames I chose the following papers from the collection: Keep Growing, Sunny and Bright, B-side Small Joys and Happy Heart.

To create the frame I used the Essentials: Folk Edge Rectangles and Ornate Oval Frame Die sets. You can use your favorite shapes (circles, stars, hearts, squares...) to create them.
Assembling the pieces: To do it , on pieces of white cardstock we'll fold the 6" score mark . On pieces of patterned paper we'll fold the 1/2" score mark in the opposite direction as the 1" score mark. Next, we'll join the pieces as follows:
Attach the bottom half inch of both pieces. Next, add glue on the top 1/2" of paper patterned and attach it to the top of white cardstock.
TIP: Before assembling the pieces, stick the photo on the base of white cardstock.

Now, It's time to decorate your frames with flowers, butterflies and the beautiful elements fromm the collection. I used Puffy Stickers, Cardstock Stickers, Floral Ephemera, Title Ephemera, Ephemera Pack and Enamel Dots.


For the STRUCTURE we are going to cut 5 pieces of cardboard with the following measures:
-cover. 4 3/4"w x 5 1/2" h
-spine 1 : 4 3/4" w x 3" h
-back cover: 4 3/4" w x 6 3/8" h
-spine 2 : 4 3/4" w x 3" h
-overlap: 4 3/4" w x 2 1/4" h
Assemble all the pieces joining them on the 4 3/4" side. I used white cardstock to do it.
Cover the inside with the Fresh Flower patterned paper. To decorate the cover I used the soft pink paper from the collection and cut out butterflies from my favorite paper "Beautiful moments". I also added flowers, leaves and the tiny hearts . I used the Puffy Alpha Stickers to do the word Fun. The Metallic Pearls: gold to give the cover a bright touch.


To close the mini I used velcro dot. To finish, join all the frames to the spine1 of the mini album using doble-side tape. It's done! Enjoy this fun mini album!
I hope you liked it! Thanks for stopping by and have a great day!
See you next time!


