A Travel Album & Notebook Tutorial
I am so excited to share a really neat album with you today, and a look at how I make my own traveler's notebook inserts. It is really easy to do, and when you have your own custom notebook, you will love how easy it is to control what goes into it. The documenting process is so easy this way!

First, a look at my notebook. I wanted to make a notebook to document a trip my husband and I took to Seattle last spring, so I first gathered my photos so I could see what would work well and how it might flow from the beginning to the end.

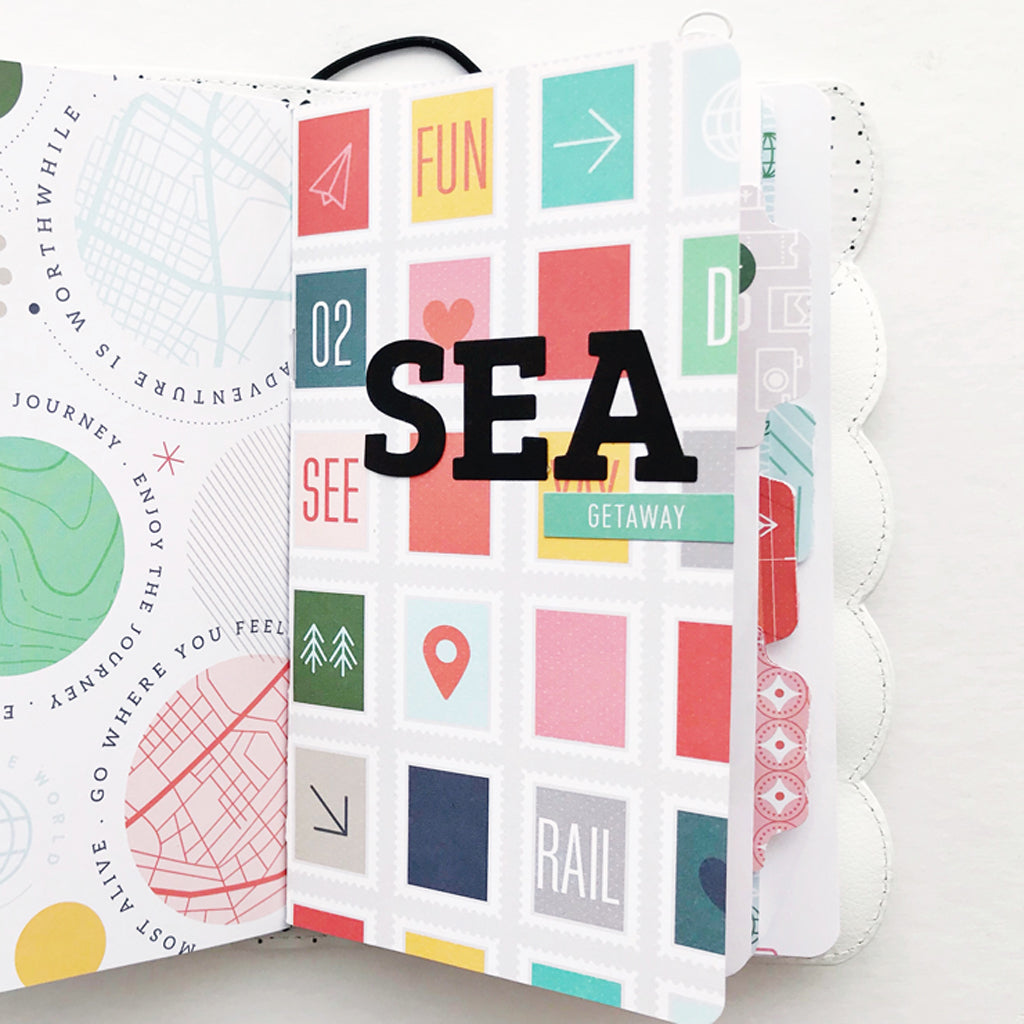
I built my custom notebook with the photo pages in mind, and alternated a page from the Out & About collection with a page of photos to get a nice mix of embellishments and photos.

The collection is so well coordinated that it was easy to choose pieces to go together as I started to document the trip.

I tried to use a mix of photo sizes and some pages have journaling while others don't so that the album as a whole is really fun to flip through.

The little stitched frames might be my absolute favourite embellishment! They easily add dimension and just the right amount of color!

This is the center of the book, so it was a perfect place to have a photo that was larger than just one side (and a great place to add an embellishment cluster!).

To add my journaling without it going through to the other side of the paper, I would often use an extra piece, like one of the tags from the collection, or as I did on this page, I added a piece of white cardstock on top of the arrow page to have a place to hold my words.

This ended up probably being my favourite page of the notebook. All those colorful little photos bring me right back to the trip and are a great way to remind me of the path our little walk took that day. The tabs you see on the side were made with an old McGill punch (that is long discontinued) but you could easily get the same look with a die or a cut file.

What is a trip to Seattle without Starbucks? I saved it for the last page because we actually drank so much coffee it would be a little embarrassing to include all the coffee photos, and because I have visited the first Starbucks before, but we skipped it on this trip (there are several starbucks in the area of Pike Place that aren't as busy as the original one, and since I've been there before I didn't need to brave the crowd again).
Now, if you are wondering about my notebook, I'd like to empower you to make your own! It is very easy to do and doesn't take long at all.
Supplies needed:
- Patterned Paper from Out & About collection
- Plain white cardstock (I pre-printed my photos on the cardstock before assembling this notebook)
- Stapler
- Bone folder (or similar hard object that you can crease the fold with)
- Rotary trimmer (not 100% necessary, but nice to have)
Step #1:
Decide what size you want your notebook to be (mine is 4.25x8) and double the width so you can cut your papers to size (for example, I cut 8.5x8 size pieces of paper)
Once they are the right size put them in the order you want (I did patterned/plain/patterned/plain)

Step #2:
Staple the papers together in the middle either with a long arm stapler or with a small stapler on a stack of dishtowels. If you don't have a long arm stapler, I say dishtowels, but it can really be anything you don't mind a small hole in that will prevent the staple from closing. Open your stapler and push down on the top, the staple will shoot through your page and then you will have to use your bone folder to close the staple in the center of the notebook.

Step #3:
Once it is stapled, use a straight edge and your bone folder to put a crease in the middle before folding so that you get a very even fold.

Step #4:
Gently fold over the notebook on the crease you just made until you are sure that the fold is at the center the whole way down. Then use your bone folder to put the crease in as strongly as you can.

Step #5: (Optional)
I like to put the edges of my notebook in my paper trimmer and trim off the small bits that stick out on all three open sides. This is sometimes just a little (if my fold is really good) and sometimes a lot (if I've folded poorly) the longest side will have the most to trim because of the fold, the papers nest and you will have the innermost paper sticking out the furthest. I like to have a neat edge like storebought notebooks, so I use my rotary trimmer until I've gone through all the layers. If you like, this is when you can round the corners as well!

Then you are done! Repeat as many times as you like to get a glorious collection of notebooks that no one else will have!

I hope that you feel inspired to make something like this out of this fantastic collection!
- Amy Jo


