
Hi crafters,
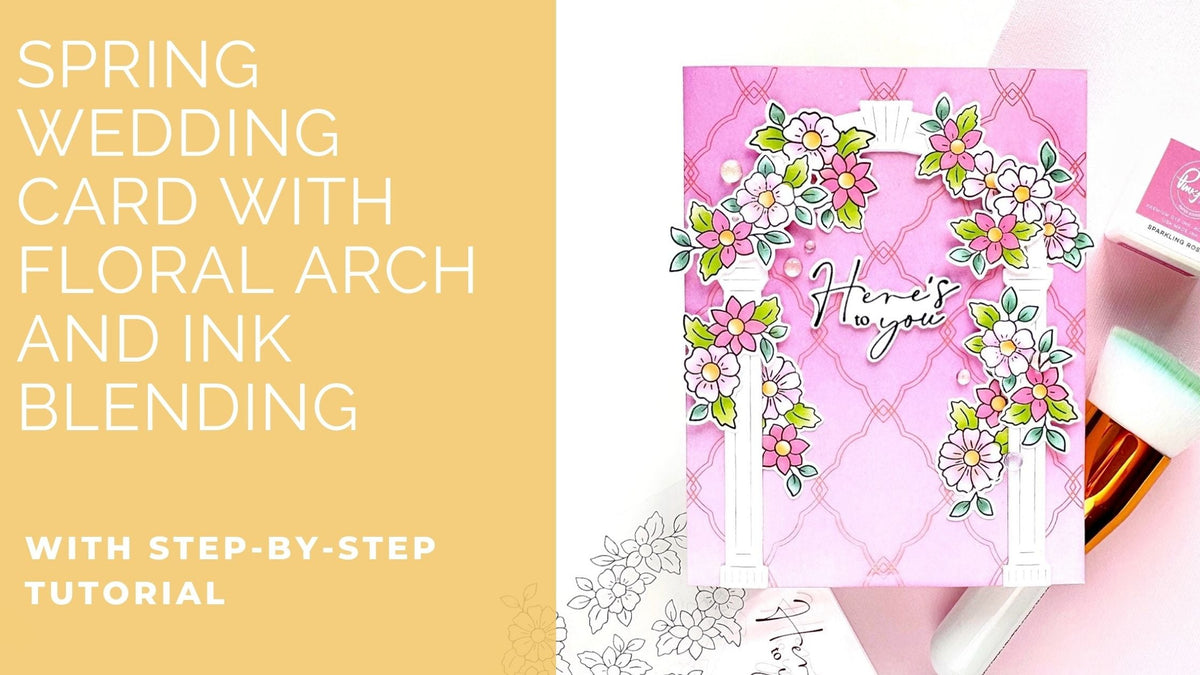
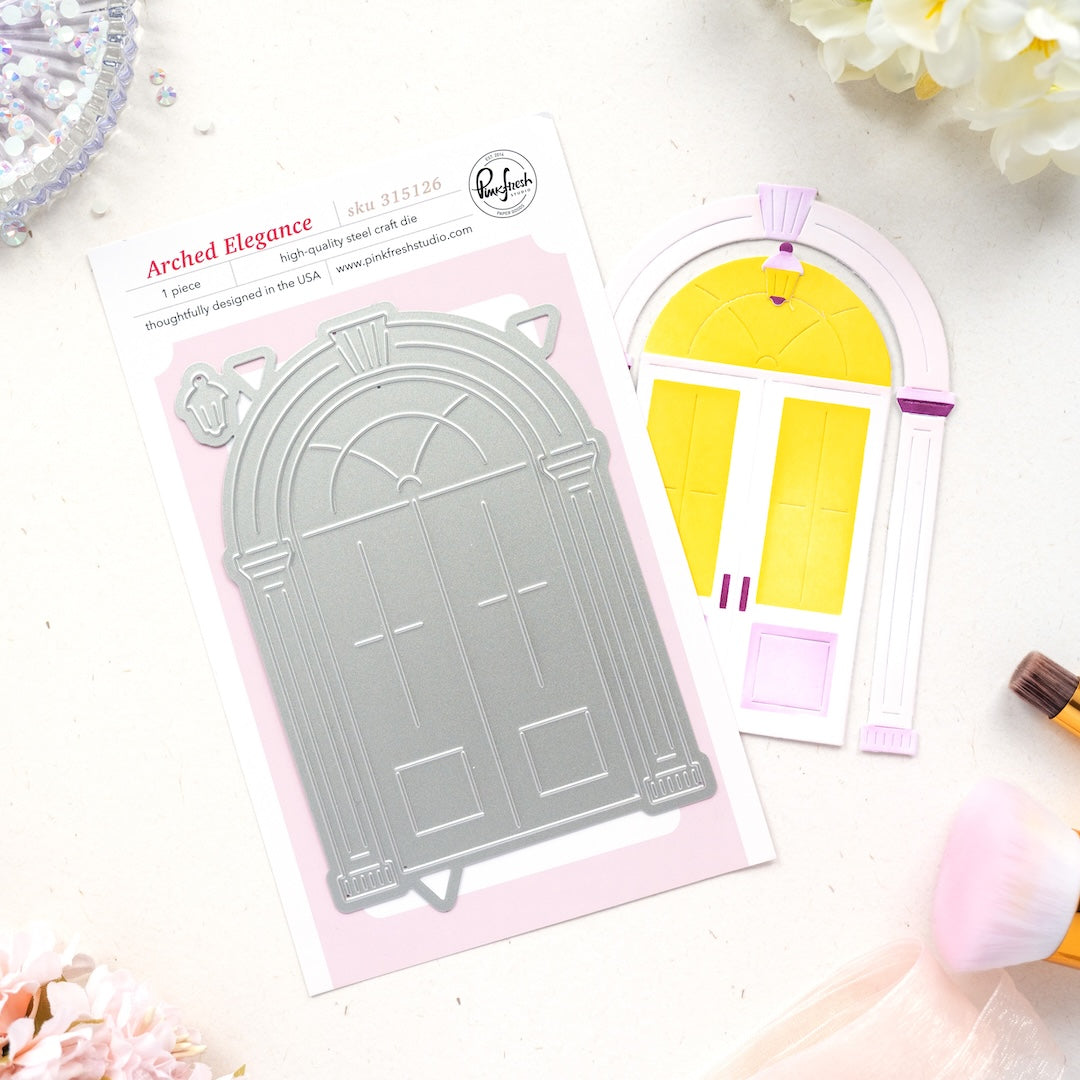
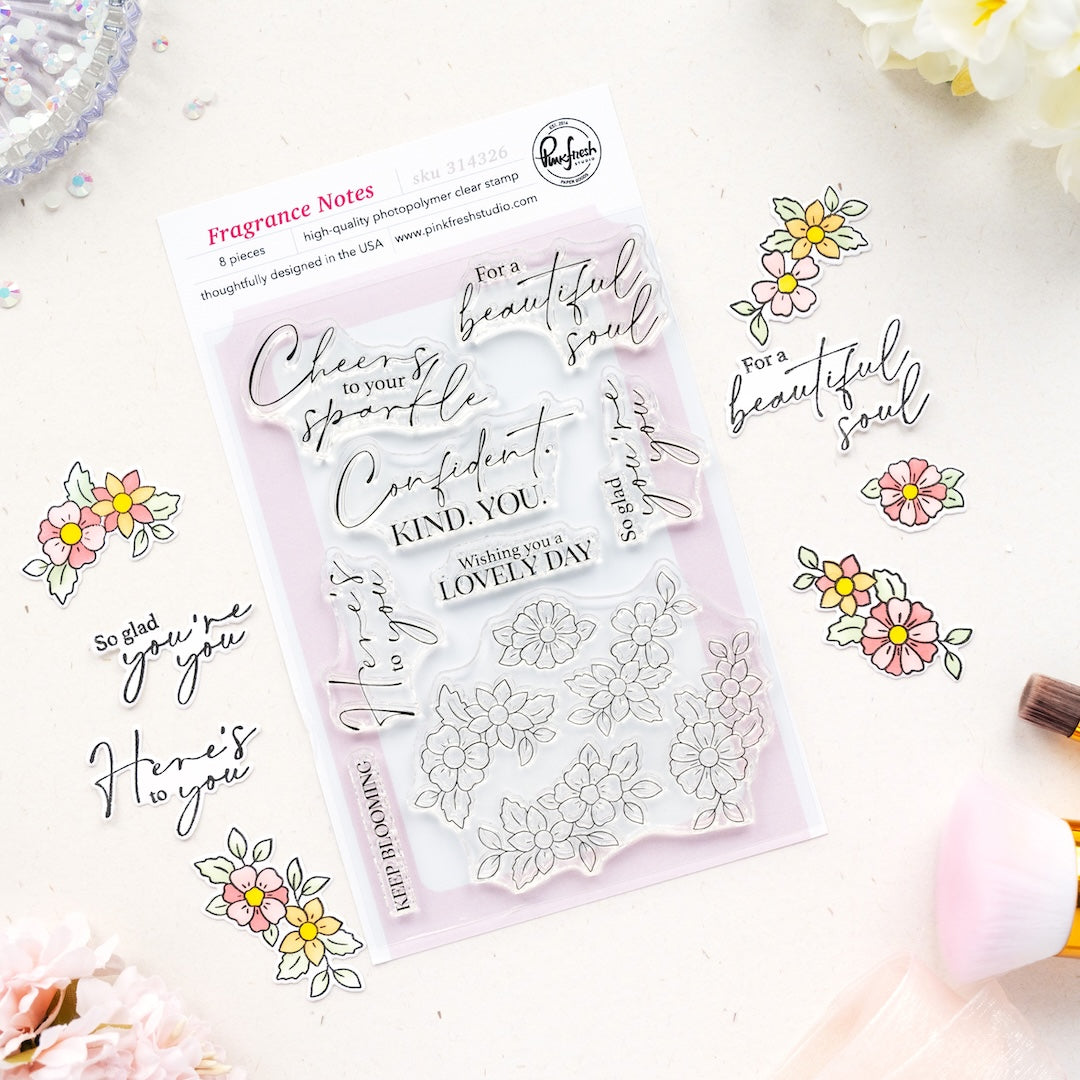
It's Steph here! I've got another card project I can't wait to show you. There's something so fun about looking at your supplies in a new way, and today's card is the perfect example of that! I was inspired to transform the arch from the “Arched Elegance” die set—originally designed as a doorway—into a beautiful wedding arch. Of course, no wedding arch is complete without flowers, so I reached for the florals from the Fragrance Notes and used them in a fresh, creative way to bring everything to life. With bright pink tones and a cheerful, feminine feel, this card is full of springtime charm and perfect for the happy couple!
*Disclaimer: All products used are linked below as clickable images. If a product isn't listed, it's been discontinued.

How to create this card:
-
Cut and fold an A2 side-folding card base from white cardstock.
-
Cut an A2 panel of white cardstock.
-
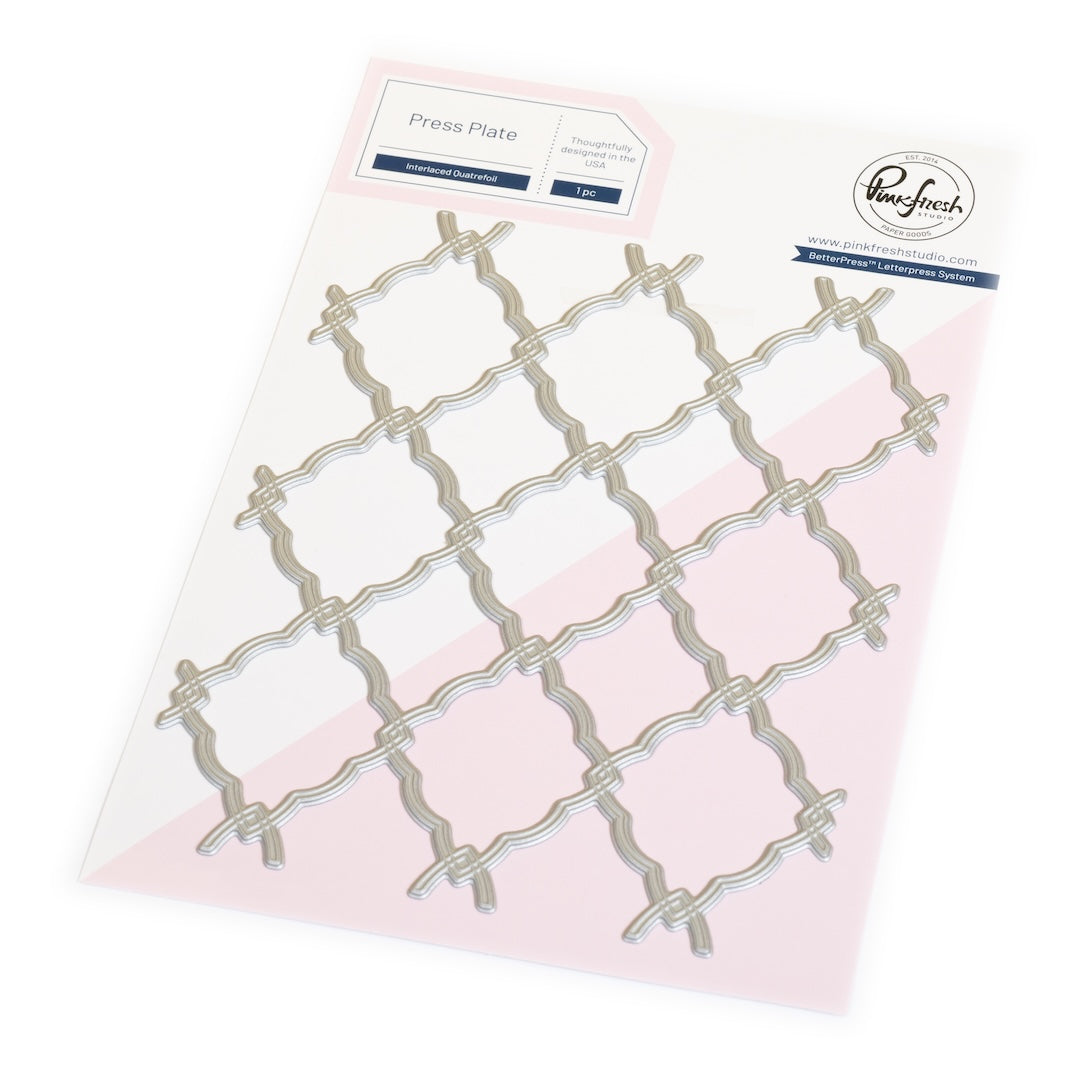
Hot foil the Interlaced Quatrefoil Press Plate onto the white cardstock panel using Pastel Pink foil.
-
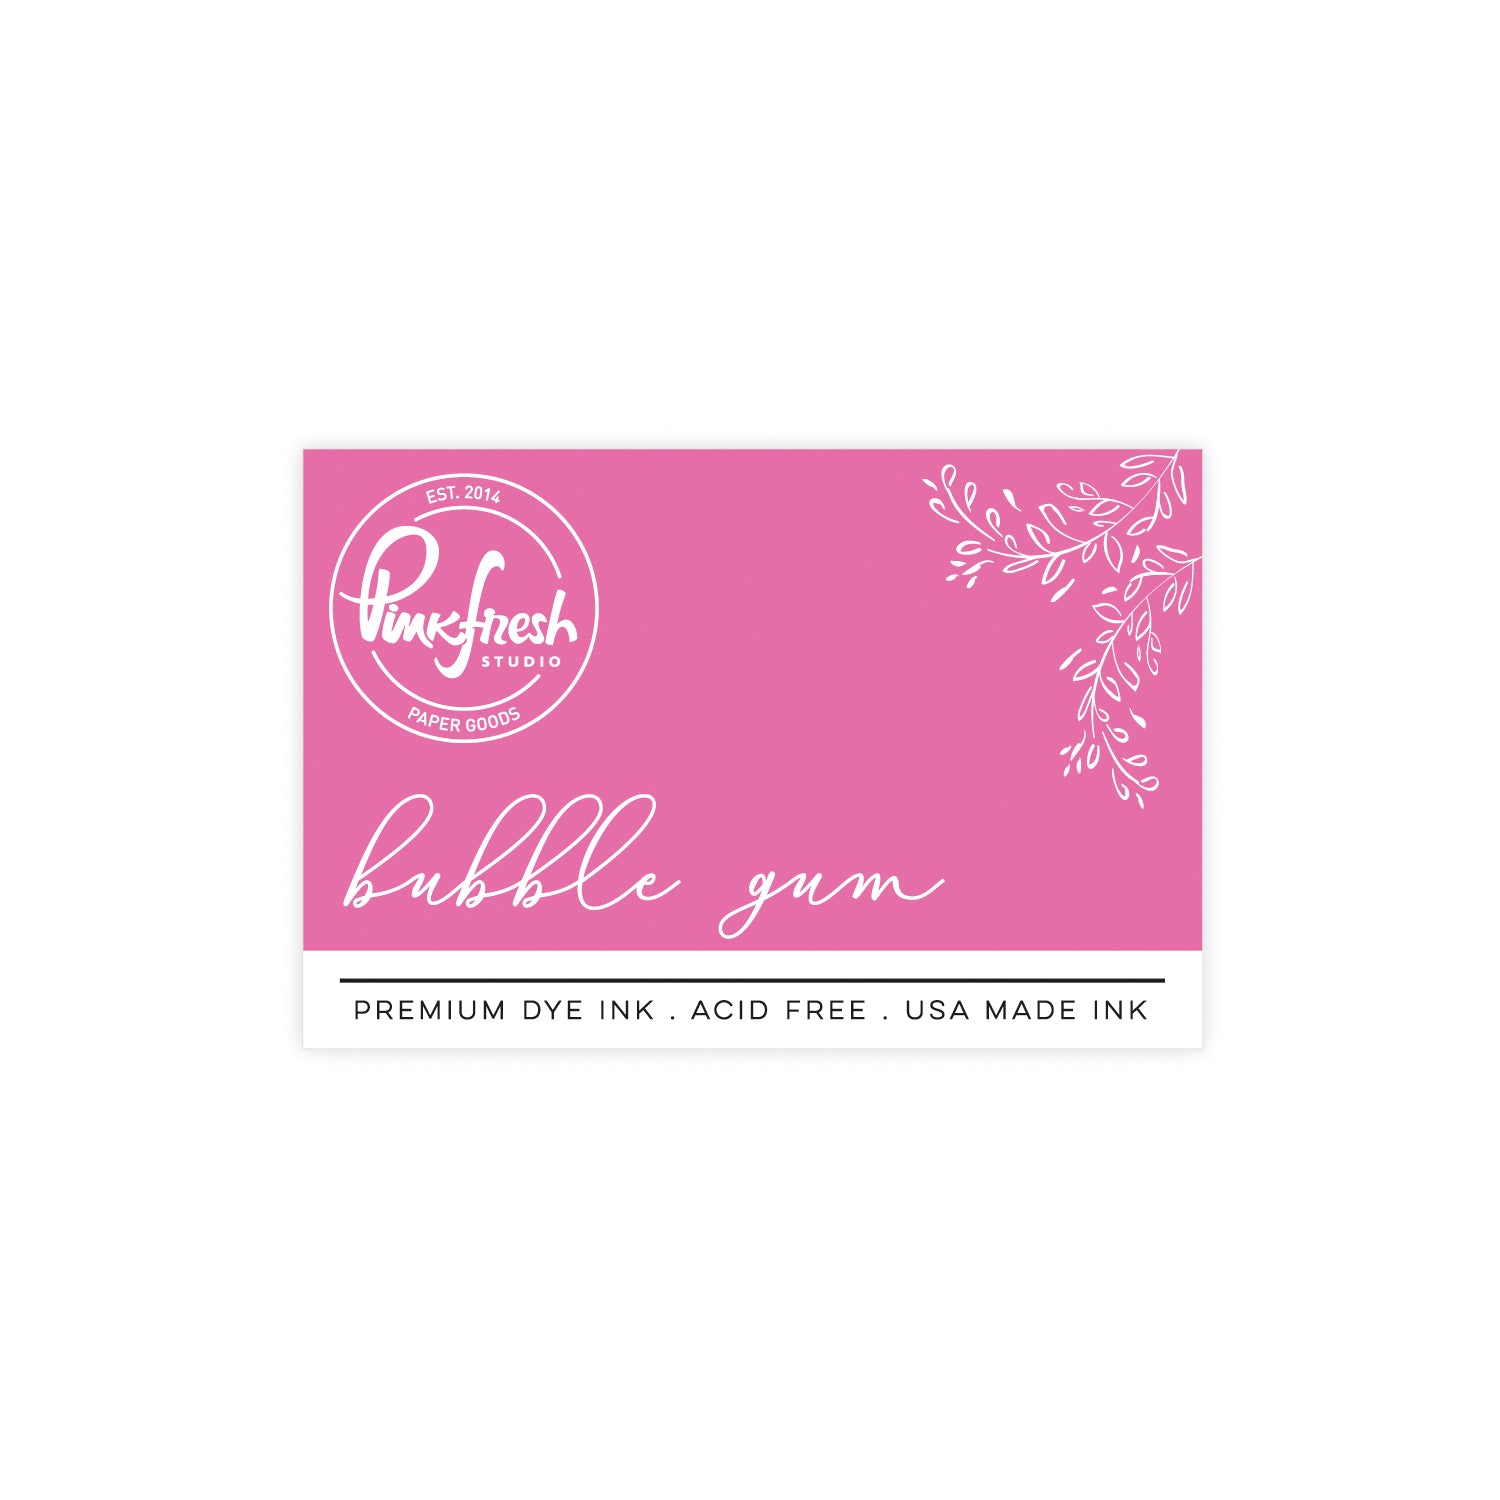
Inkblend the entire panel using Bubble Gum ink, gradually fading out the colour.
-
Stamp two sets of the florals from the Fragrance Notes with Detail Black ink on white cardstock.
-
Use the coordinating stencils to ink-blend the following:
-
Stencil 1 Apricot (top) Sparkling Rose (bottom)
-
Stencil 2 Sparkling Rose, Bubble Gum (top) Bubble Gum (bottom)
-
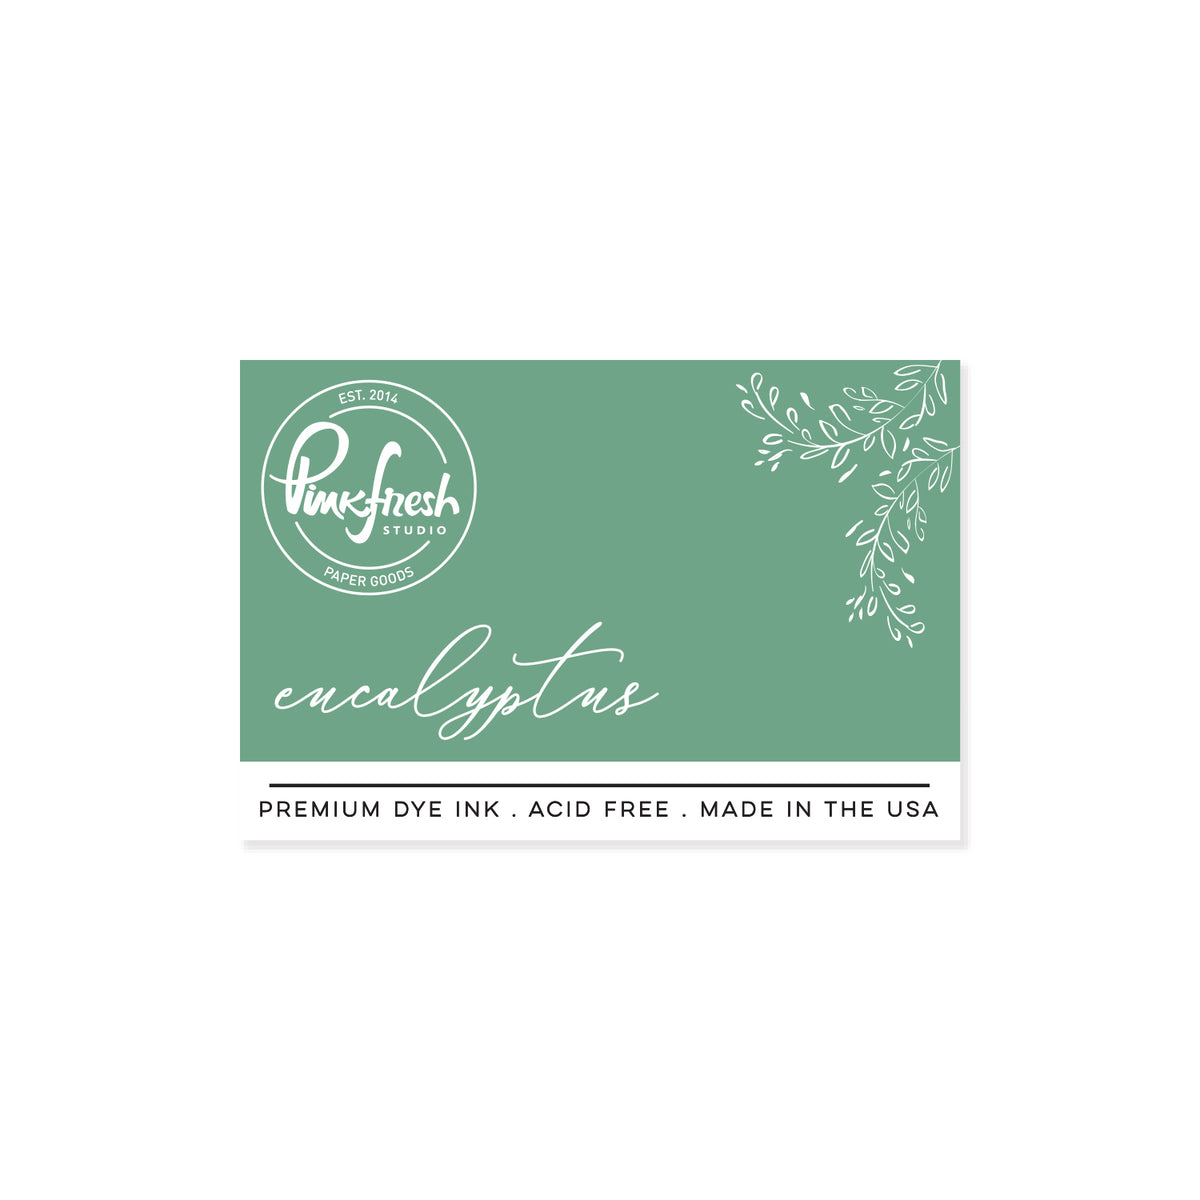
Stencil 3 Grassy Knoll (big leaves) Eucalyptus (small leaves)
-
Die cut both sets of florals with the coordinating dies.
-
Die cut the Arched Elegance die from white cardstock. Use the arch only and reserve the door and light for a different card.
-
Die cut two additional Arched Elegance arches from white cardstock, stack and adhere for added dimension.
-
Stamp the “Here’s to you” sentiment from the Fragrance Notes stamp set using Detail Black ink on white cardstock.
-
Die cut the sentiment using the coordinating die.
-
Adhere the die-cut flowers to the arch die cut as shown on the finished card, using both liquid and foam adhesive.
-
Adhere the floral arch to the center of the Bubble Gum ink-blended panel.
-
Adhere the sentiment in the center of the arch on the Bubble Gum ink-blended panel with liquid adhesive.
-
Adhere Clear Drop: Iridescent to add shine and complete the card.

I hope this project inspires you to look at your supplies with fresh eyes and try something a little unexpected! If you give this idea a try, we’d love to see what you create—be sure to share your card and tag us so we can cheer you on! Don’t forget to leave a comment below and let us know how you’d reimagine these products. If you enjoyed this tutorial, be sure to share it with a crafty friend.
I really appreciate you taking the time to visit—wishing you lots of joy with your crafting!
Steph
Recommended Products
























1 comment
Joan Bardee
Leave a comment
All comments are moderated before being published.
This site is protected by hCaptcha and the hCaptcha Privacy Policy and Terms of Service apply.