
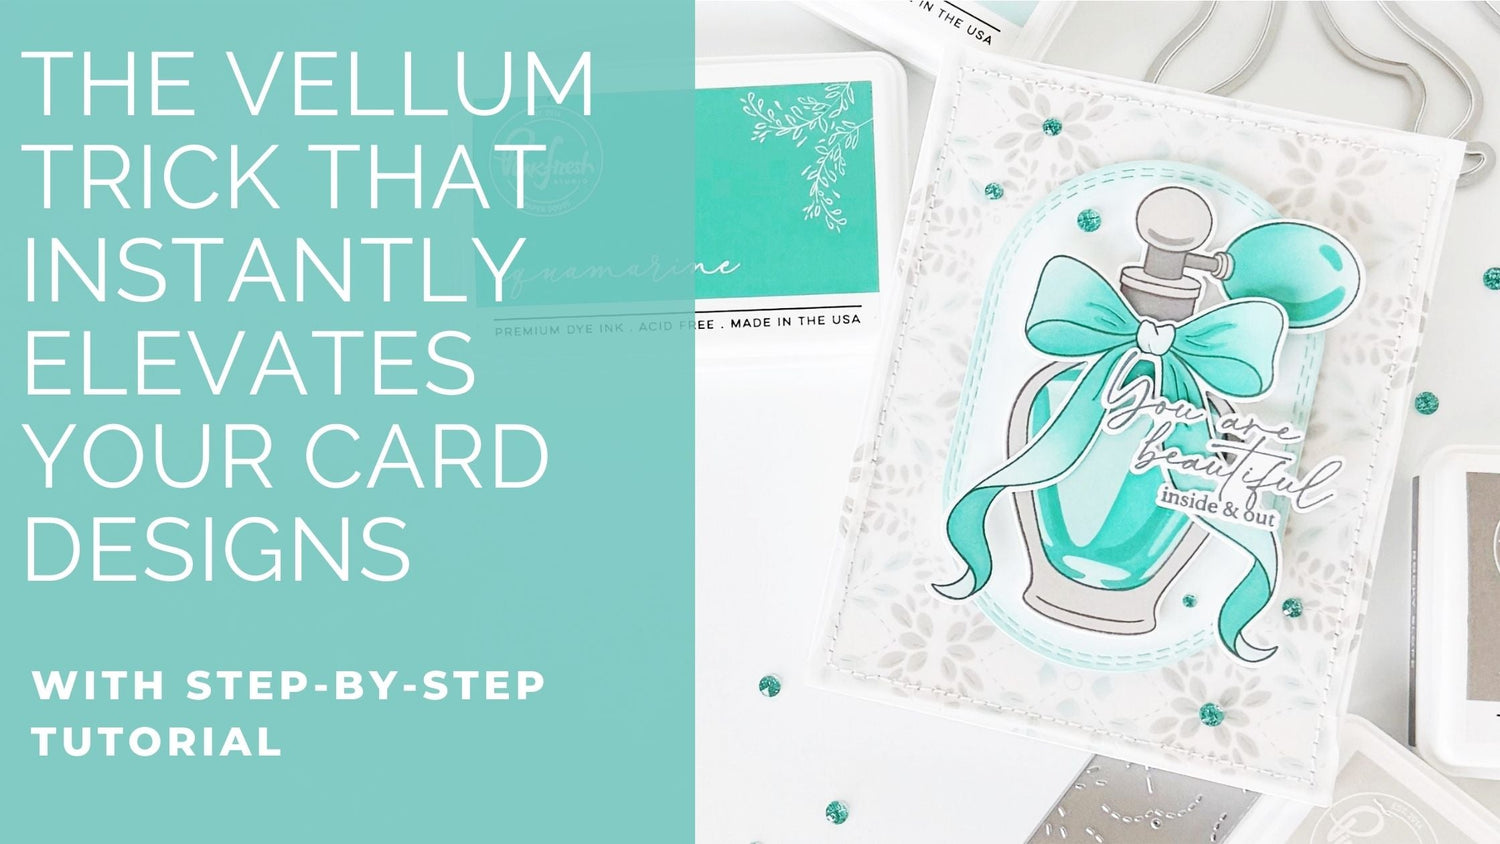
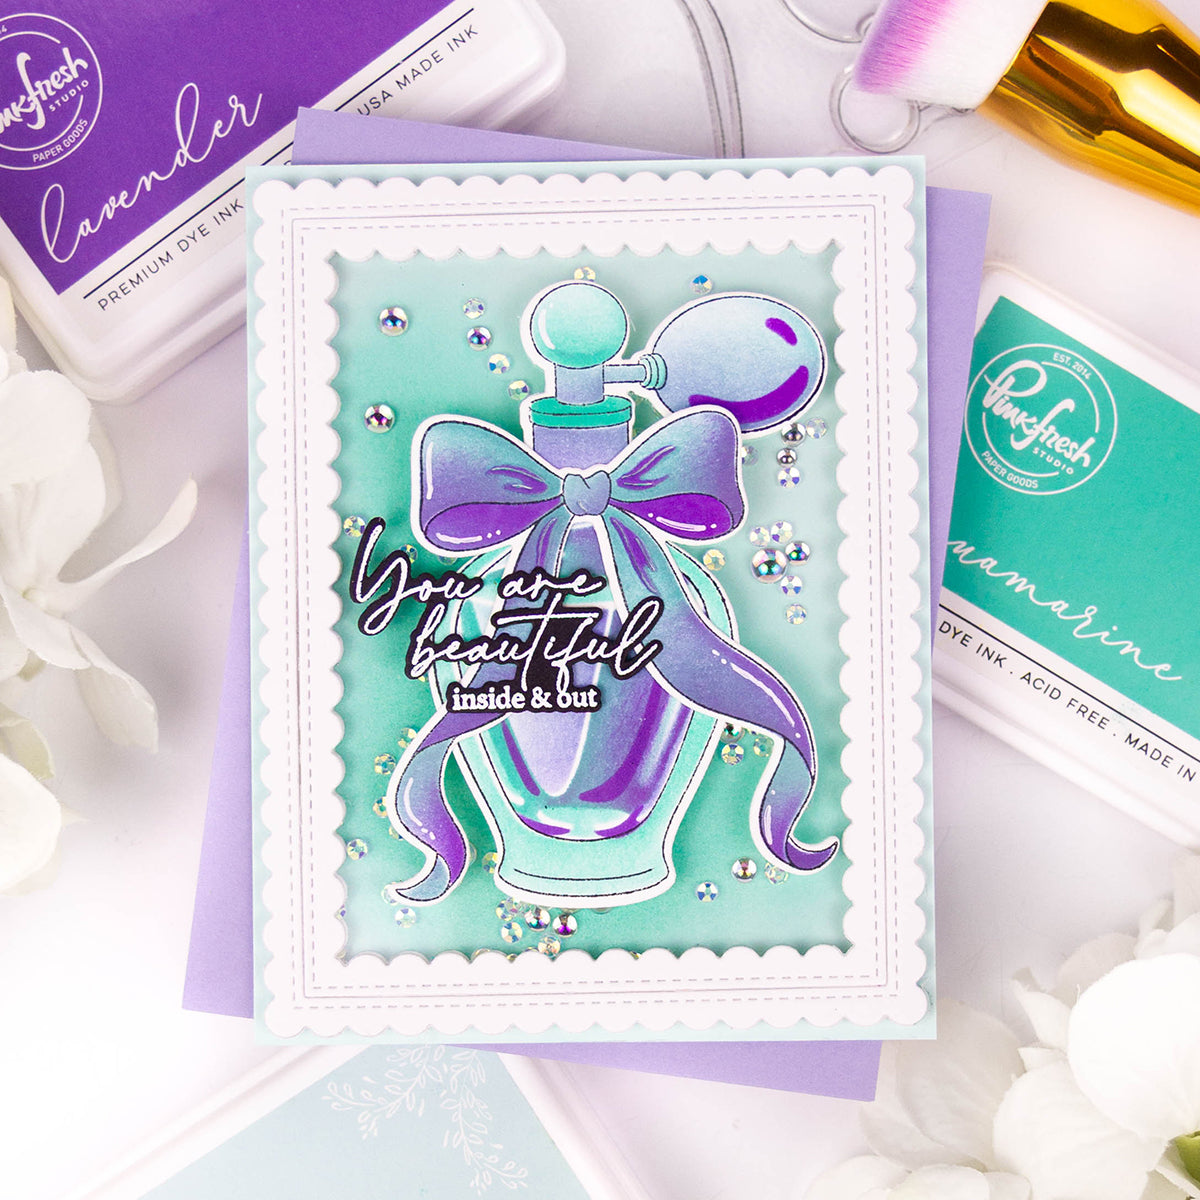
If you’ve ever created a detailed background and then struggled to keep it from competing with your focal image, today’s card is all about the solution. This handmade card tutorial shows how to use cardstock vellum to soften and diffuse a patterned background while still letting that beautiful texture shine through.
In this project, I’m combining stenciling, die cutting, vellum layering, and dimension to create a soft, elegant design that keeps the focus exactly where you want it. The Petal Mosaic coverplate adds subtle pattern, while the vellum overlay gently mutes it so the Elegant Essence perfume bottle becomes the star of the card.
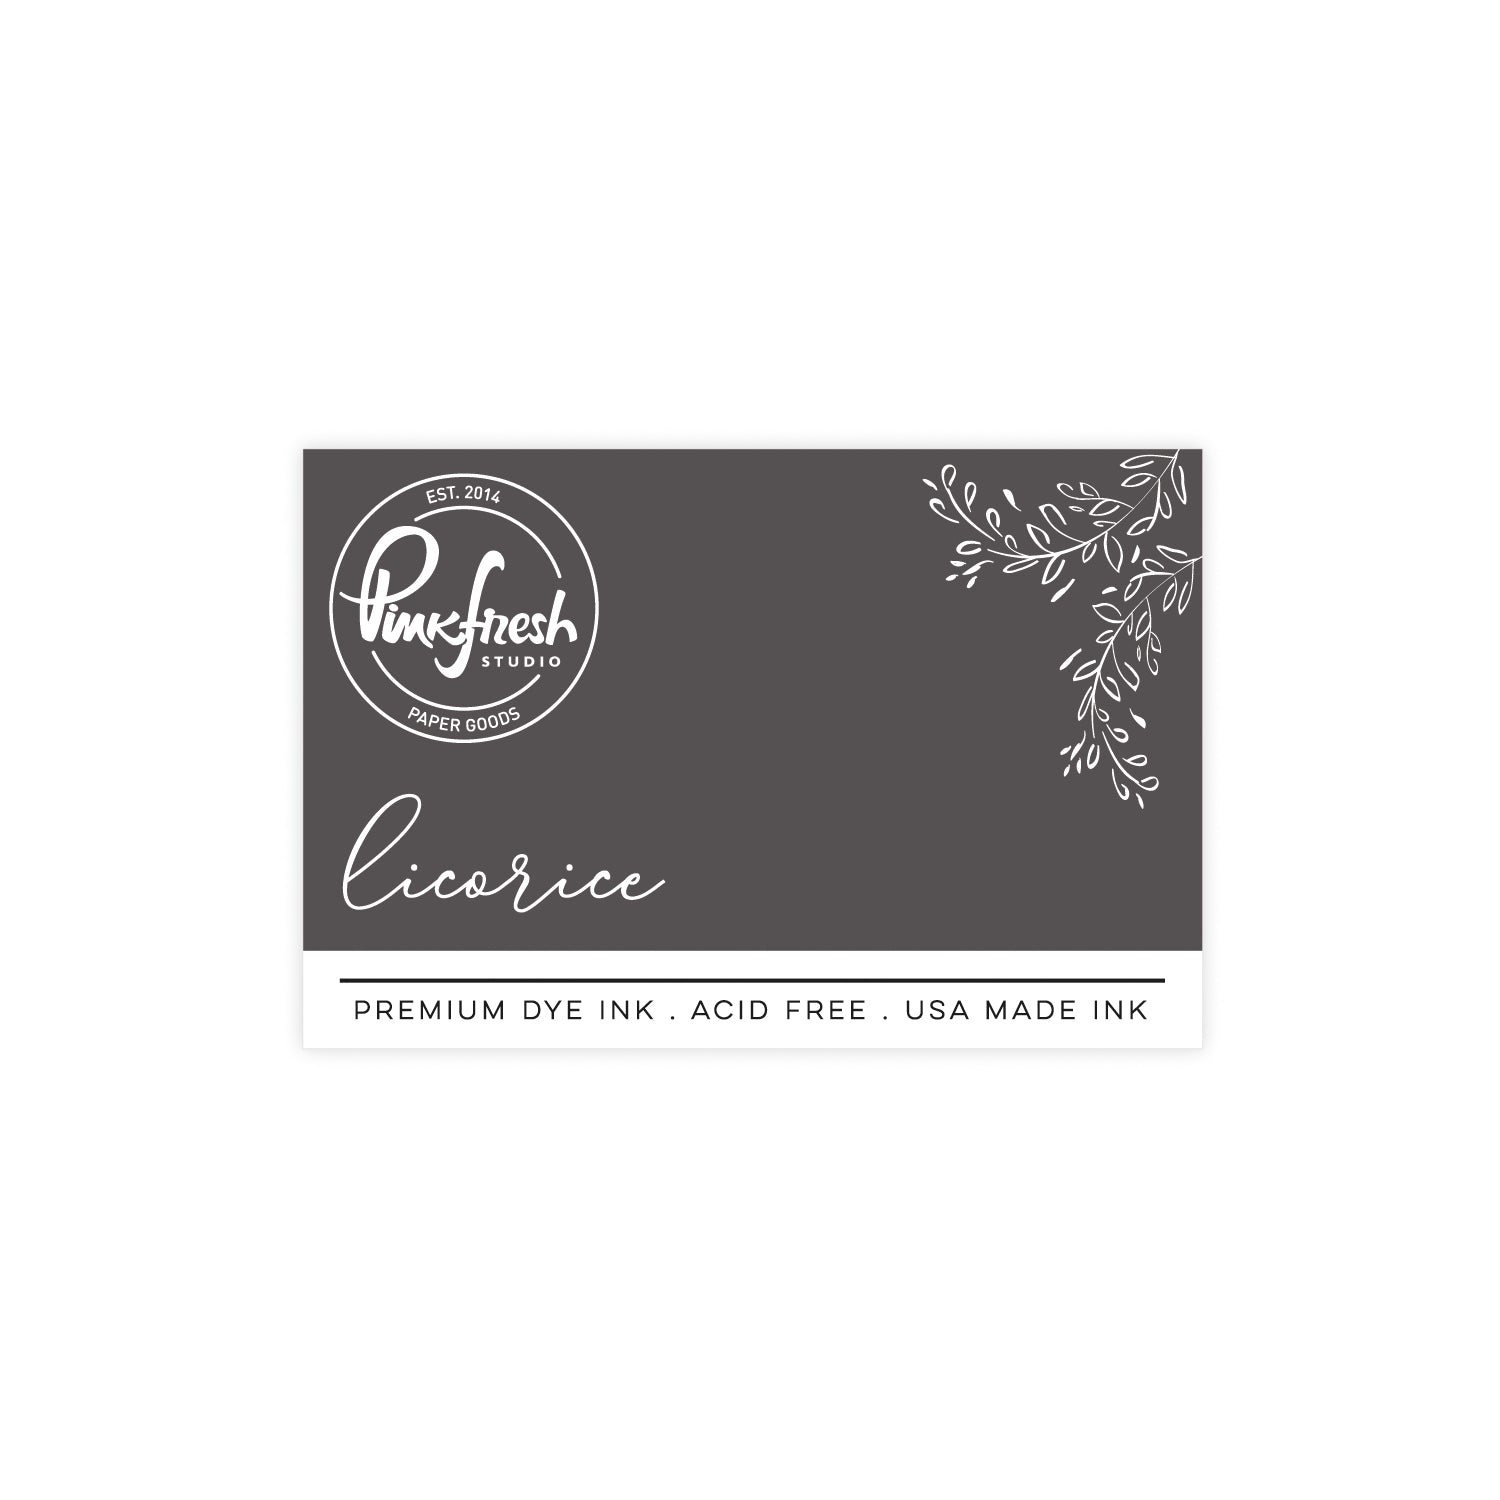
I’ll also walk through how to build dimension with layered die cuts, use Licorice ink for a softer stamped outline, and incorporate delicate embellishments without overwhelming the design.
If you love elegant cardmaking techniques, vellum layering ideas, and soft ink-blended designs, this is a fun one to try. Let’s take a closer look at how it all comes together.
*Disclaimer: All products used are linked below as clickable images. If a product isn't listed, it's been discontinued.

How to re-create this card:
- Create a white, top-folding A2 card base.
- Die cut the Petal Mosaic coverplate from white cardstock.
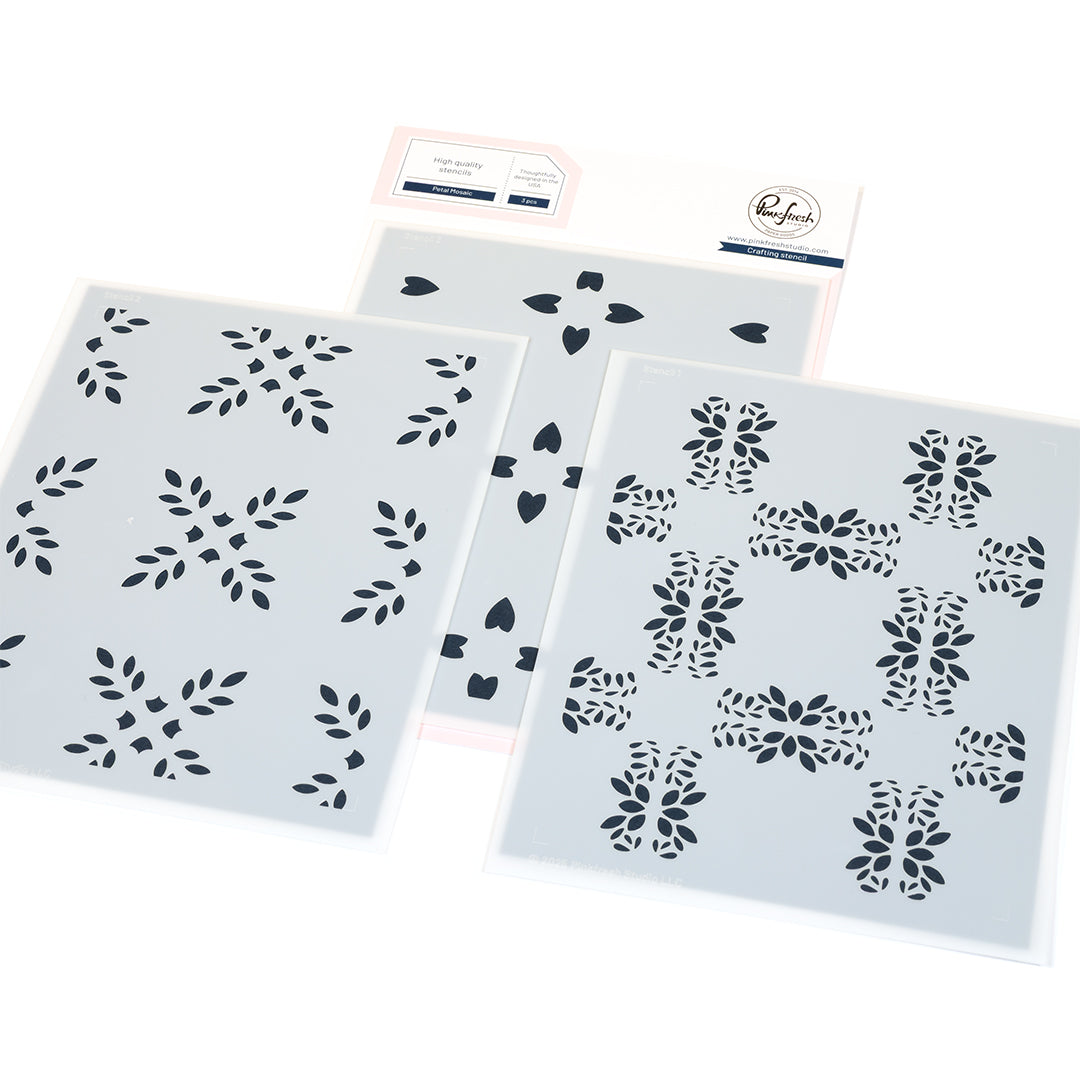
- Stencil the coverplate using the coordinating stencils:
- Stencil 1: Misty Coast
- Stencil 2: Ocean Breeze
- Cut a piece of cardstock vellum to A2 size.
- Layer the vellum over the stenciled panel, then stitch around the edges with a sewing machine using white thread.
- Lightly curl and rough up the edges of the vellum for added texture.
- Adhere the completed panel to the card base.
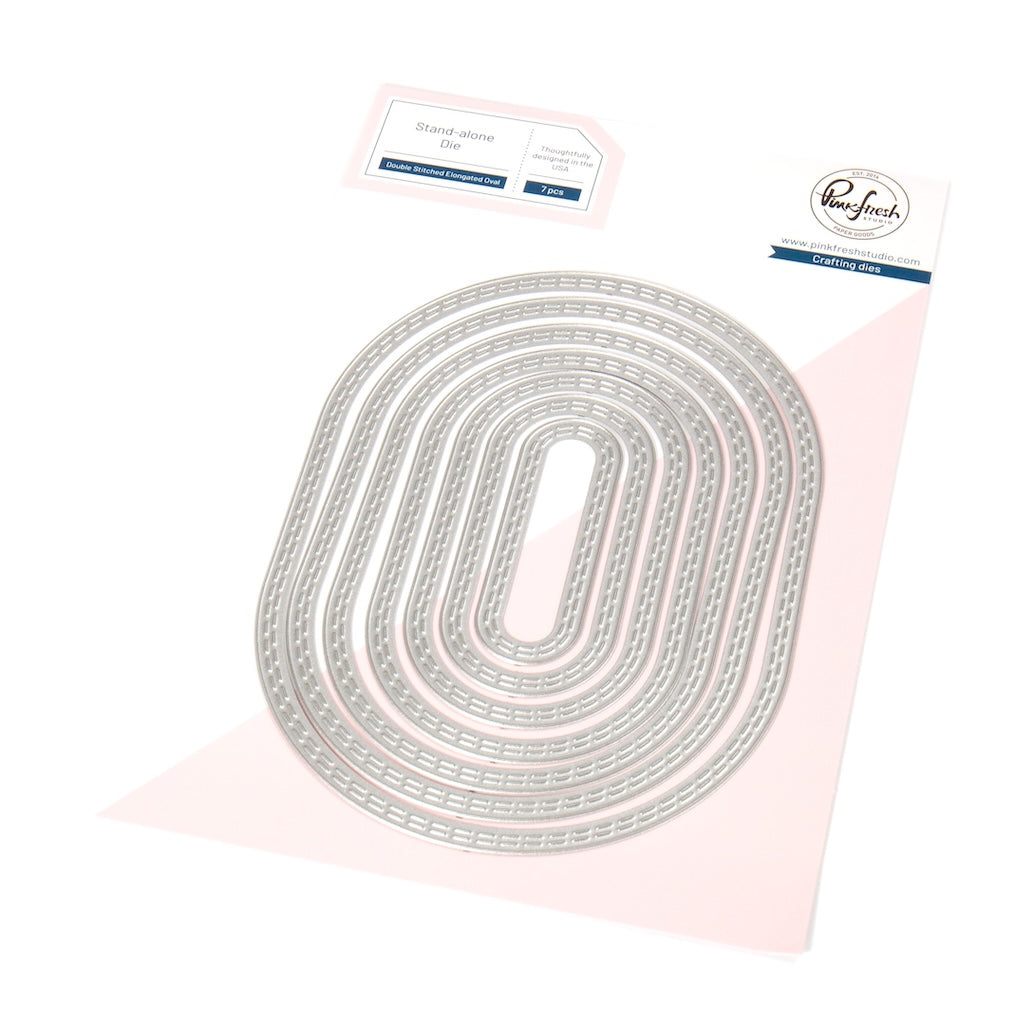
- Die cut the third largest Double-Stitched Elongated Oval from white cardstock.
- Lightly ink-blend the edges of the oval using Ocean Breeze ink.
- Adhere the oval to the center of the card using foam tape.
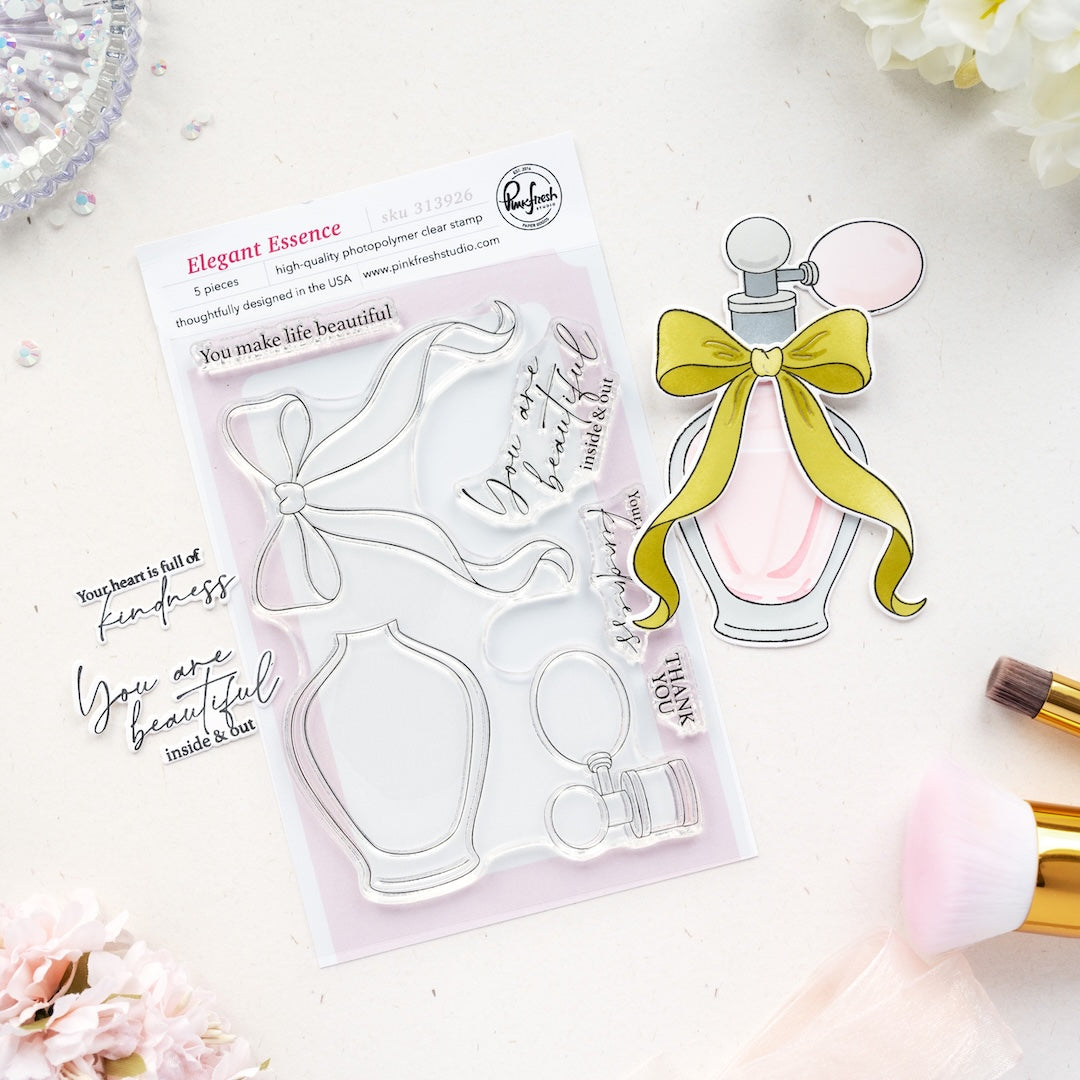
- Stamp the Elegant Essence images and sentiment using Licorice ink.
- Stencil the images using the coordinating stencils:
- Stencil 1: Misty Coast
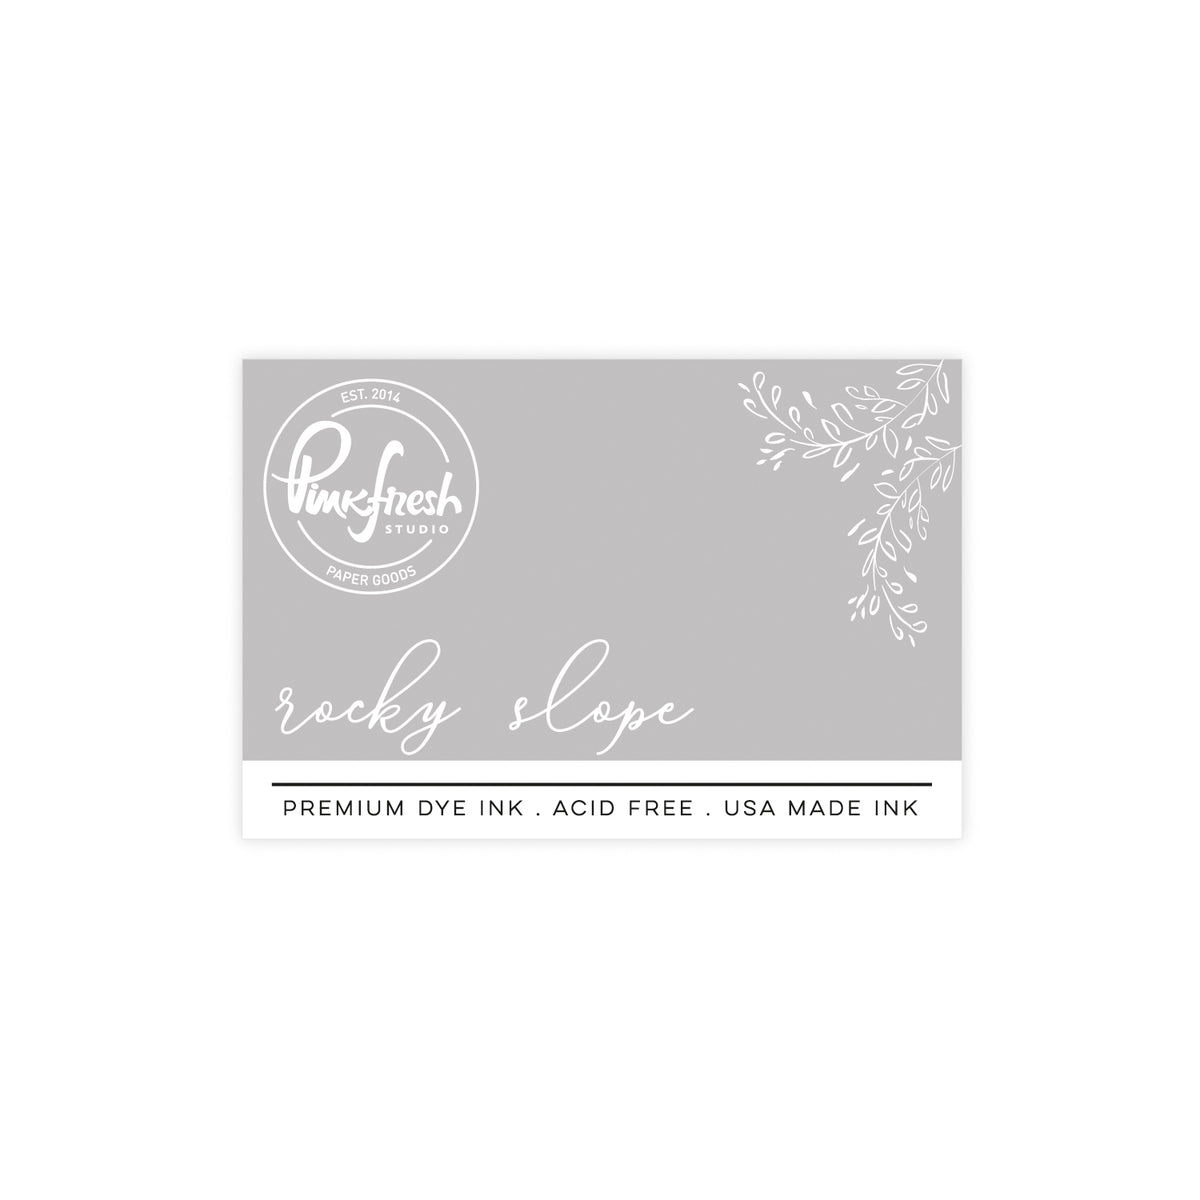
- Stencil 2: Rocky Slope (bottle top), light Ocean Breeze (bottle)
- Stencil 3: heavy Ocean Breeze
- Stencil 4: light Aquamarine
- Stencil 5: heavy Aquamarine
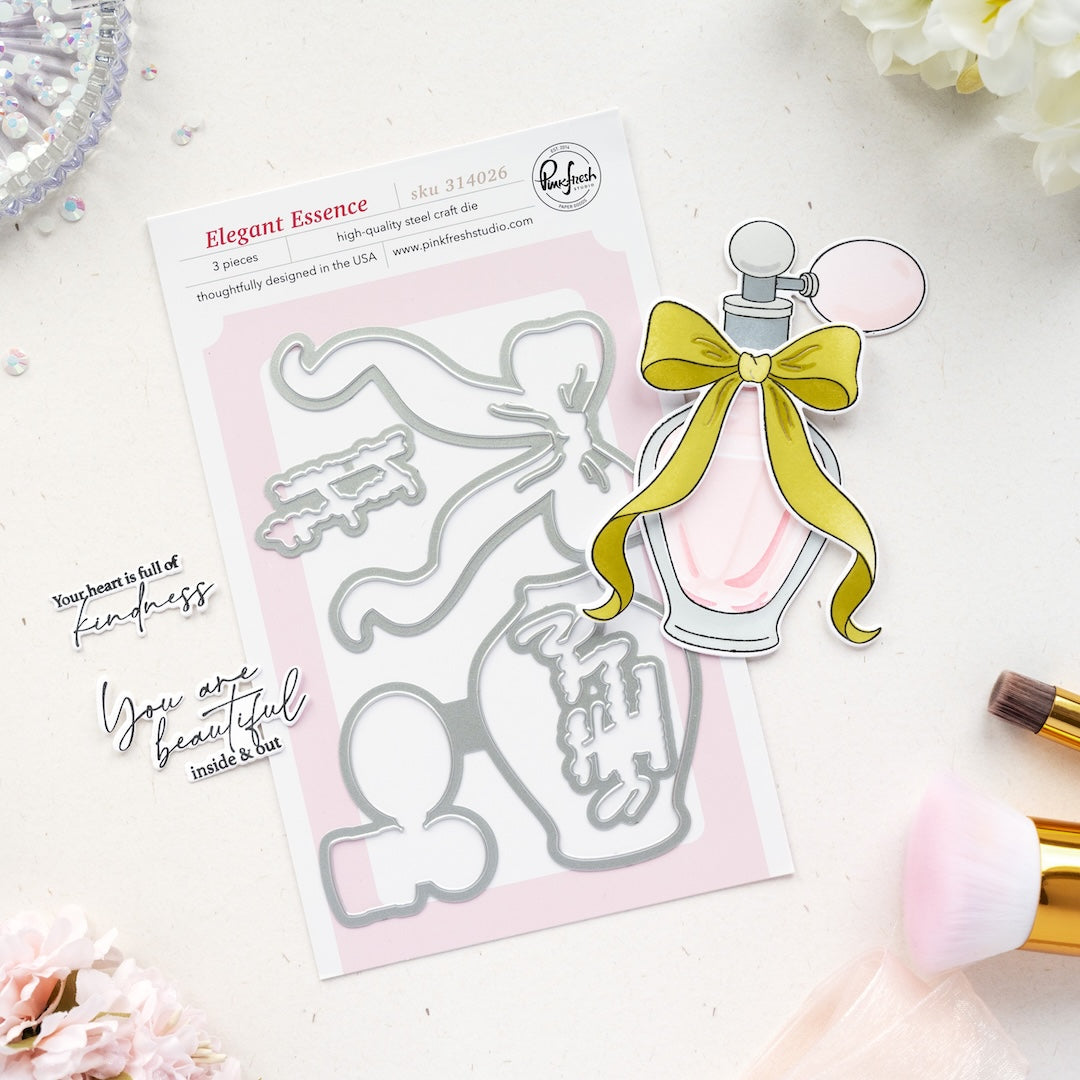
- Die cut the images and sentiment using the coordinating dies.
- Stack each die cut with one blank layer for dimension.
- Assemble the perfume bottle and adhere it to the oval using thick foam tape.
- Adhere the sentiment on the image using precision liquid glue.
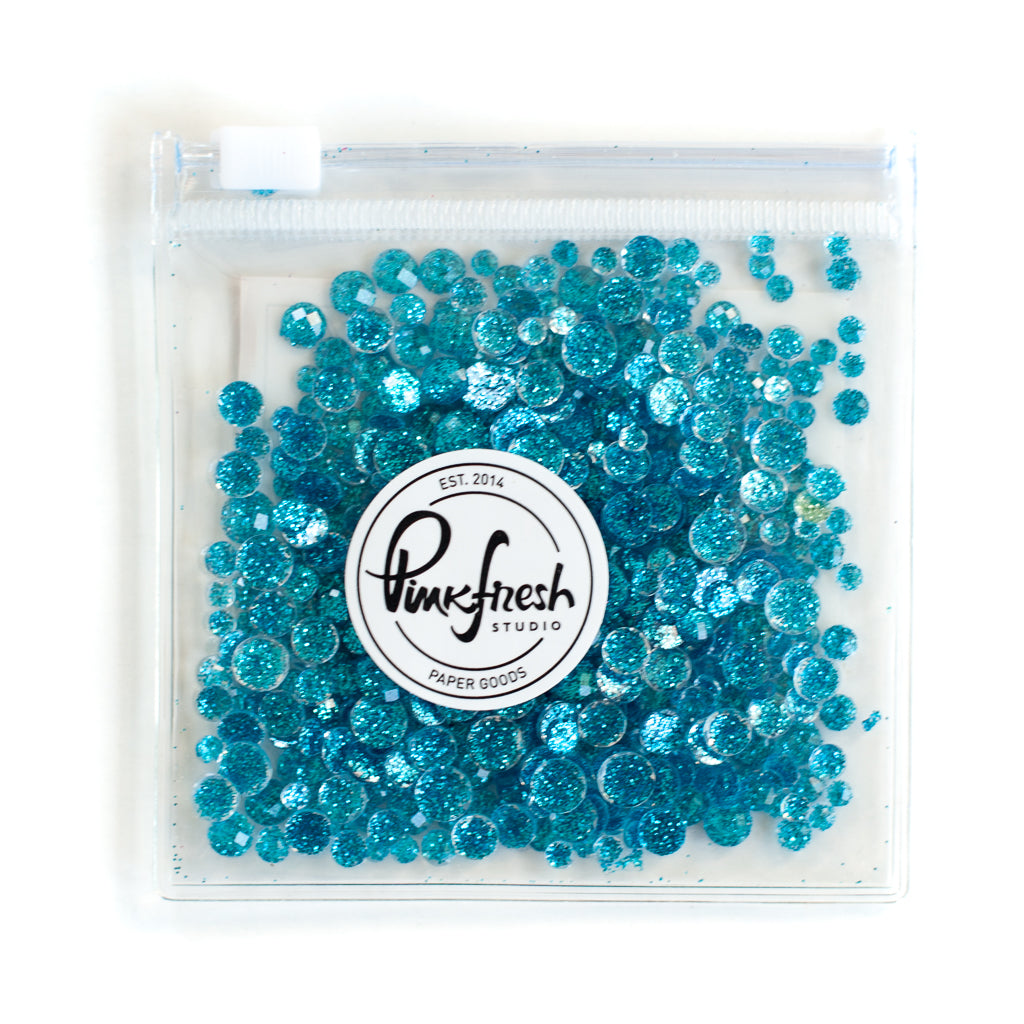
- Finish the card by adding Lagoon glitter dots as embellishments.

I love how this card shows that you don’t have to give up a detailed background to keep your design clean and elegant. The cardstock vellum layer softens everything just enough, allowing the pattern to add interest without competing with the focal image.
Combining vellum with layered die cuts, soft ink blending, and dimension creates a polished, elevated look that still feels approachable and easy to recreate. And that pop of aqua paired with the delicate stitching and shimmer from the glitter dots adds just the right finishing touch.
This is such a great technique to keep in your back pocket whenever your background feels a little too bold—it’s an instant fix that looks intentional and refined.
I hope this inspires you to experiment with vellum in your own cardmaking projects!
Recommended Products

































1 comment
Tracy
I really love the stitching you did on the vellum- that’s a great touch and not one I would have thought to do.
Leave a comment
All comments are moderated before being published.
This site is protected by hCaptcha and the hCaptcha Privacy Policy and Terms of Service apply.