
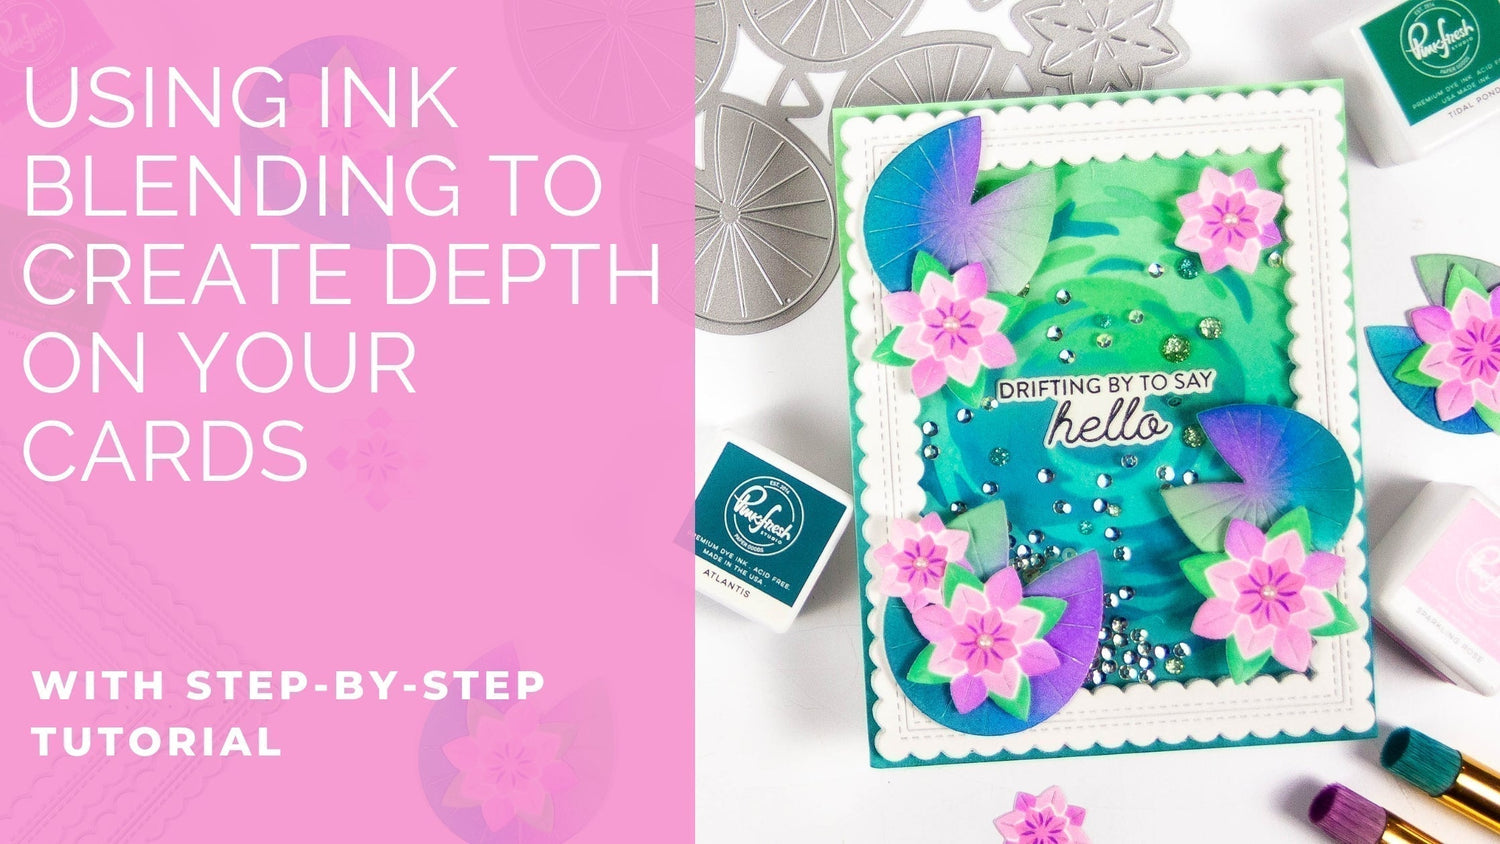
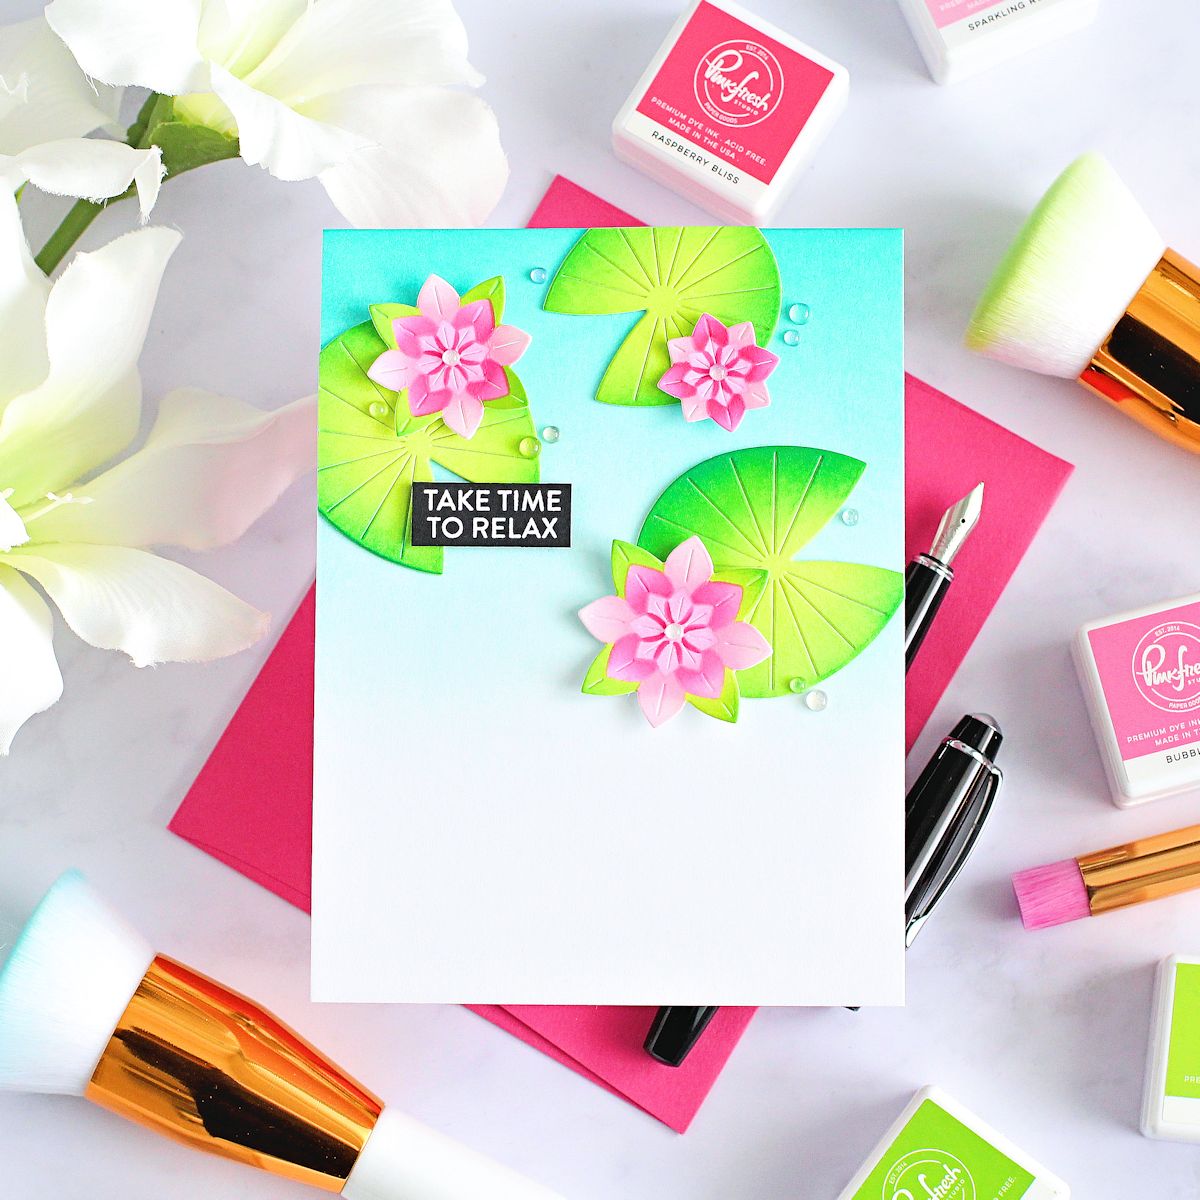
Hello everyone! It's Rachel here with a shaker card that features some beautiful products from the new Whispering Views release.
I used some basic ink-blending with the amazing Pinkfresh Studio ink blending brushes to create shading and depth in my card today as well as lots of color. By creating a dark-to-light ombre effect in both my card background as well as the lily pads, I was able to give my project more depth and dimension.
*Disclaimer: All products used are linked below as clickable images. If a product isn’t listed, it’s been discontinued

How to recreate this card:
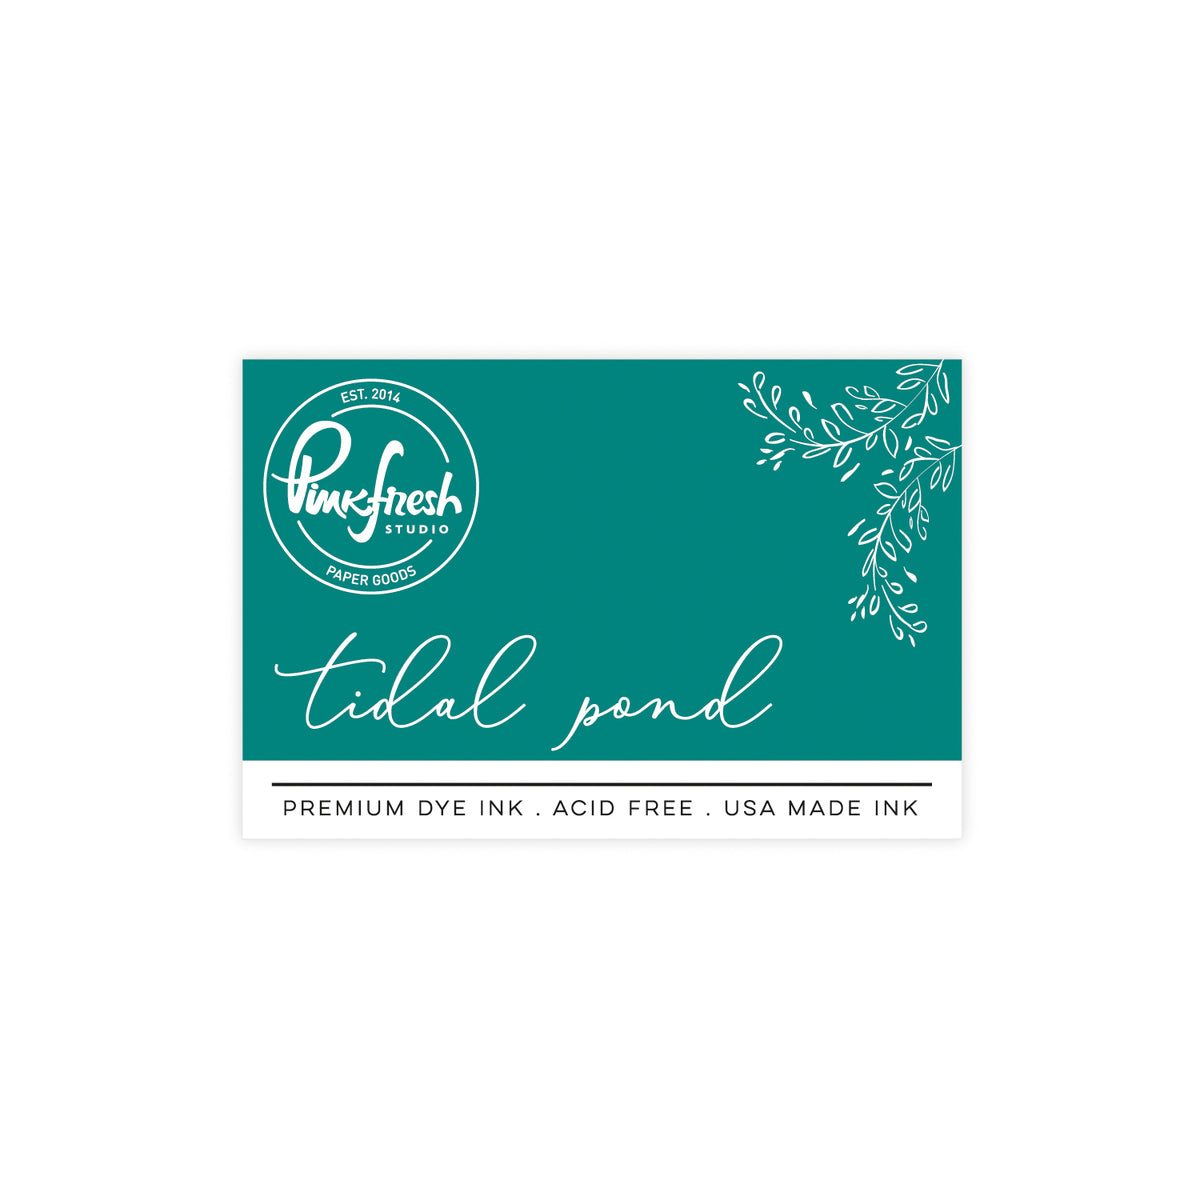
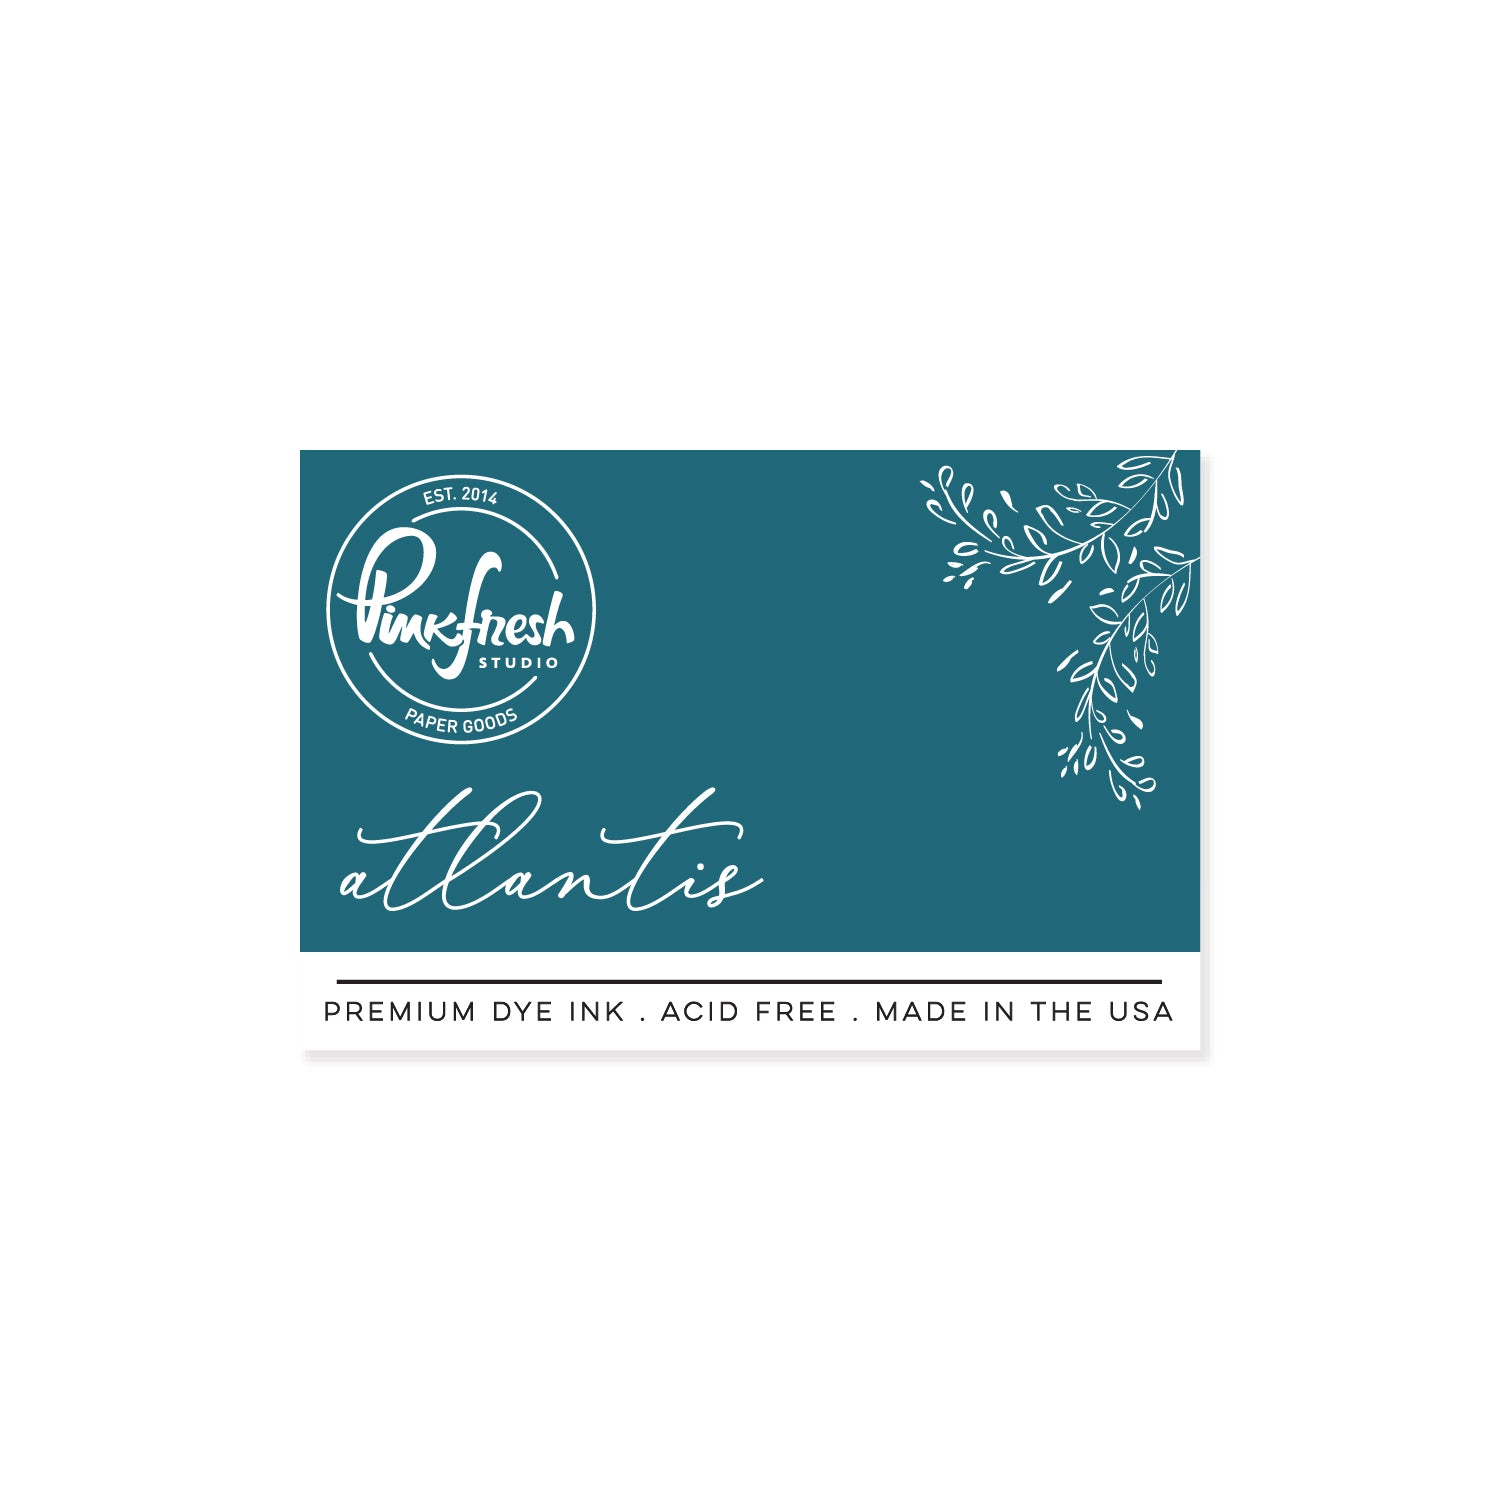
1. Trim a piece of smooth white card stock (I used Neenah Classic Crest Solar White 110lb) to slightly larger than 4.25" x 5.5" and blend it with Tidal Pond, Waterfall, and Mint Inks starting at the bottom of the card stock with your darkest color and working your way to the top with the lightest color.
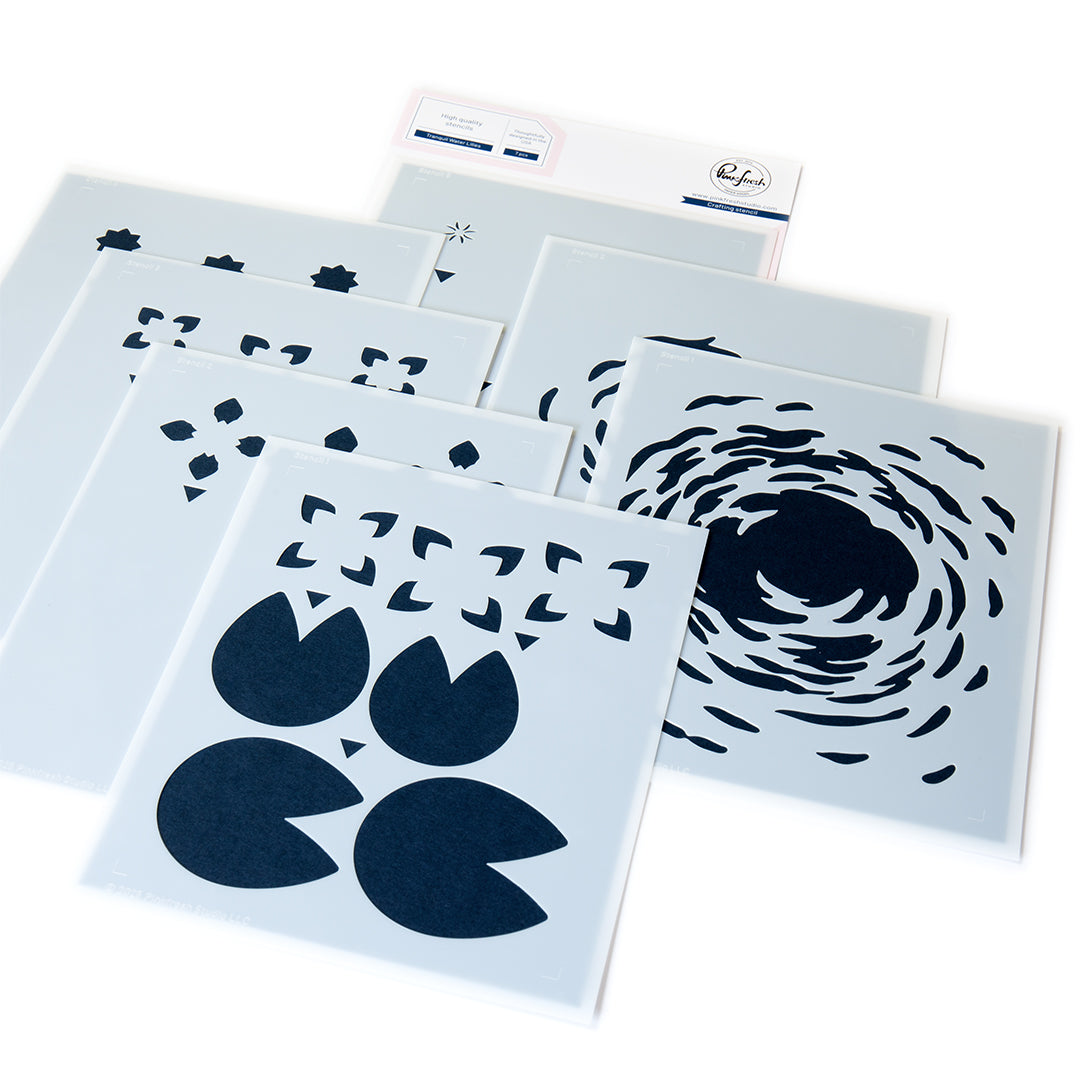
2. Trim the card stock piece from step one to exactly 4.25" x 5.5" (to get rid of any ink blotches on the sides of your card stock) and then use the two background stencils from the new Tranquil Water Lilies product suite to add some ripples.
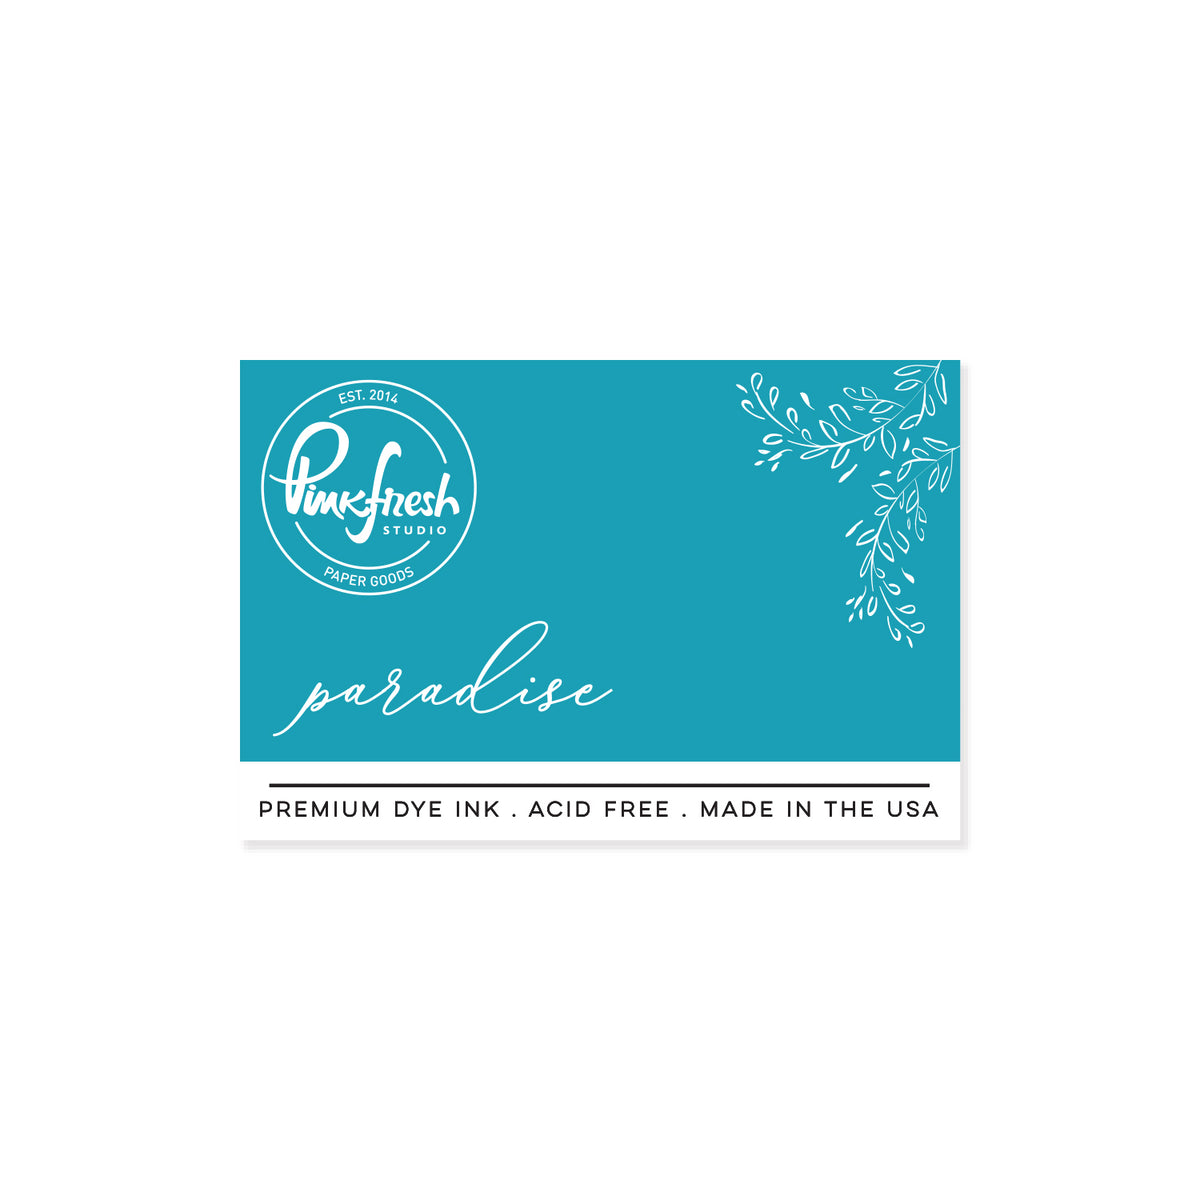
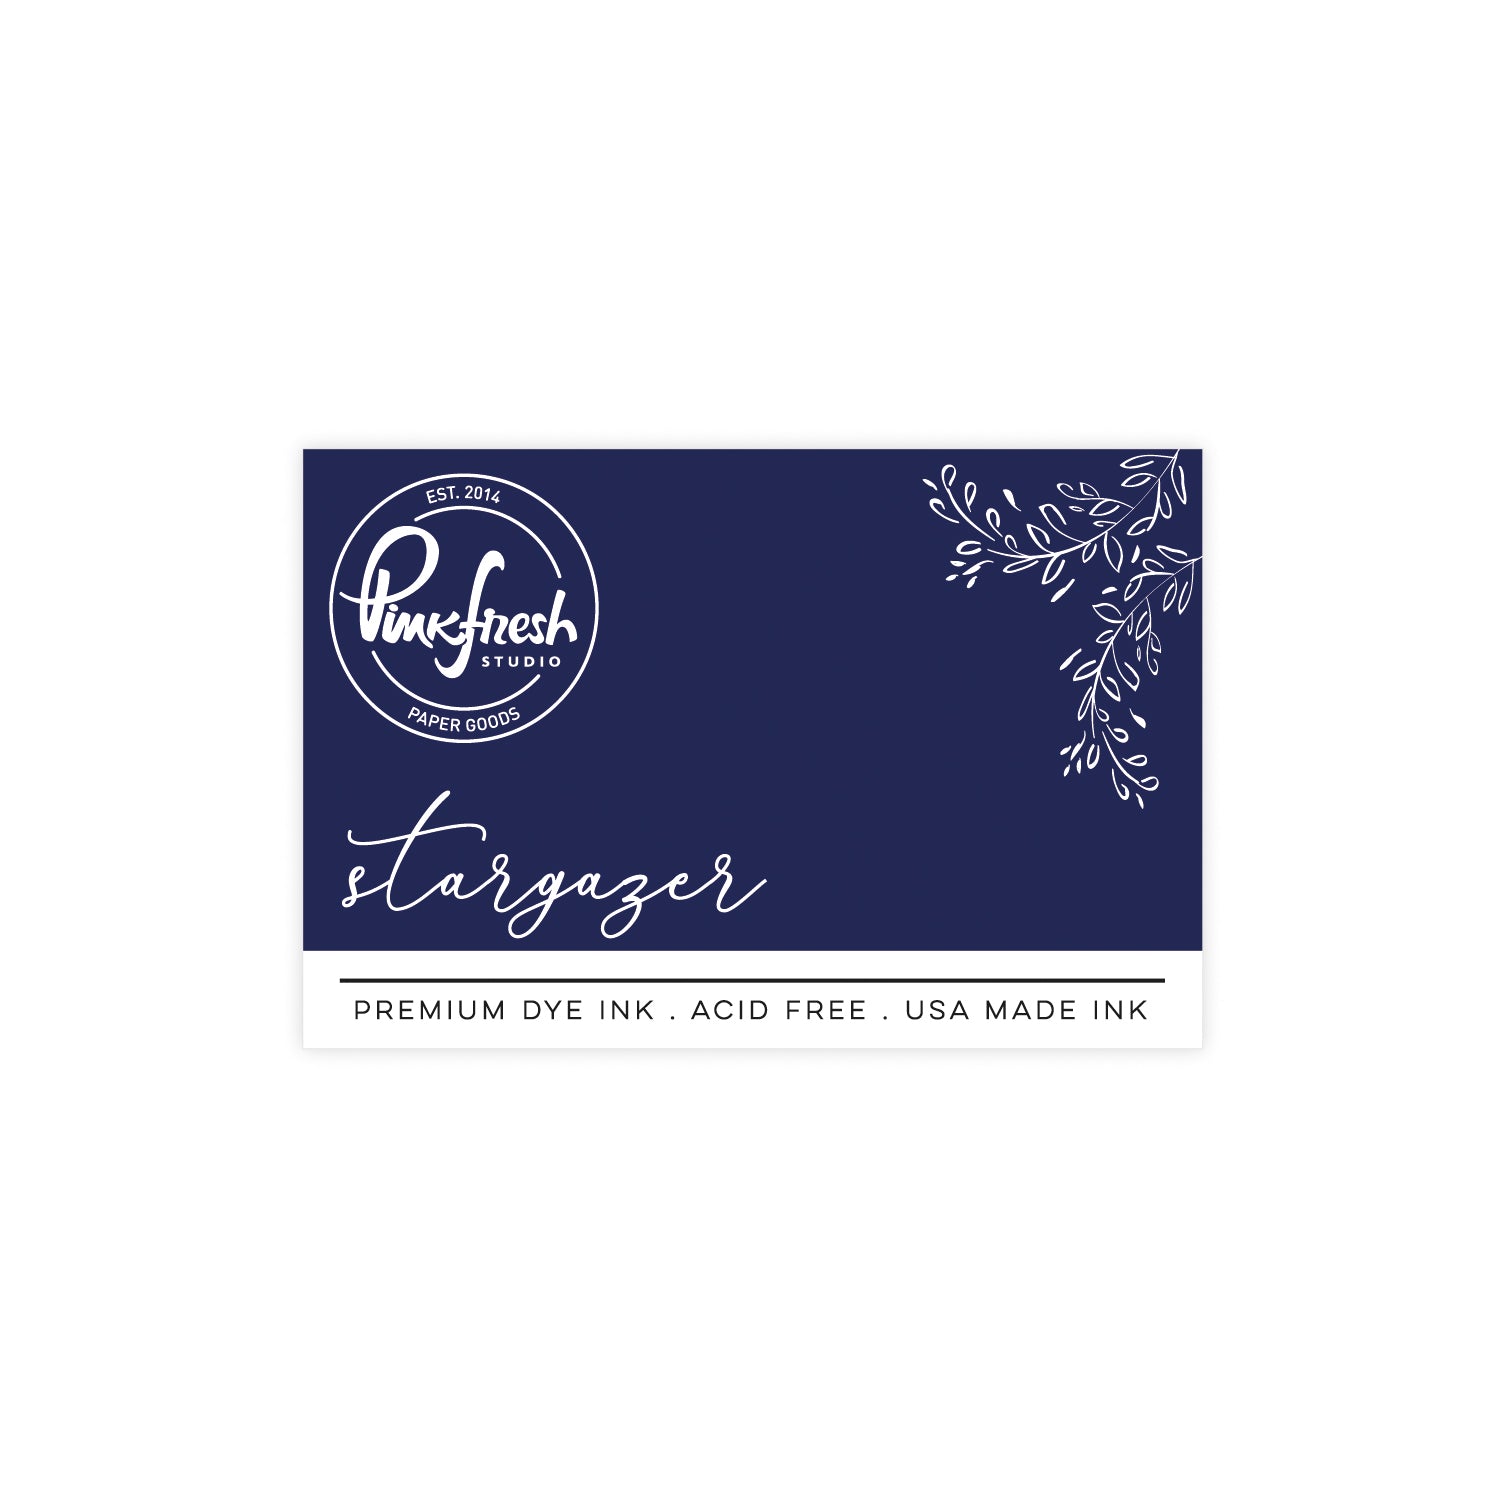
- Stencil 1: Stargazer, Paradise, Meadow (darkest to lightest once again starting at the bottom and working your way toward the top using lighter colored inks as you go)
- Stencil 2: Calico White
3. Set aside your base piece from the two steps above and trim another 4.25" x 5.5" piece of smooth white card stock. Use the other stencils from the Tranquil Water Lilies product suite as well as the following Pinkfresh Studio ink colors to achieve the same look as my card or use whatever colors you desire to get a different look.
- Stencil 1: Atlantis, Candy Violet, Mint (for the large lily pads) and Meadow for the leaves on the water lilies
- Stencil 2: Sparkling Rose, Candy Violet
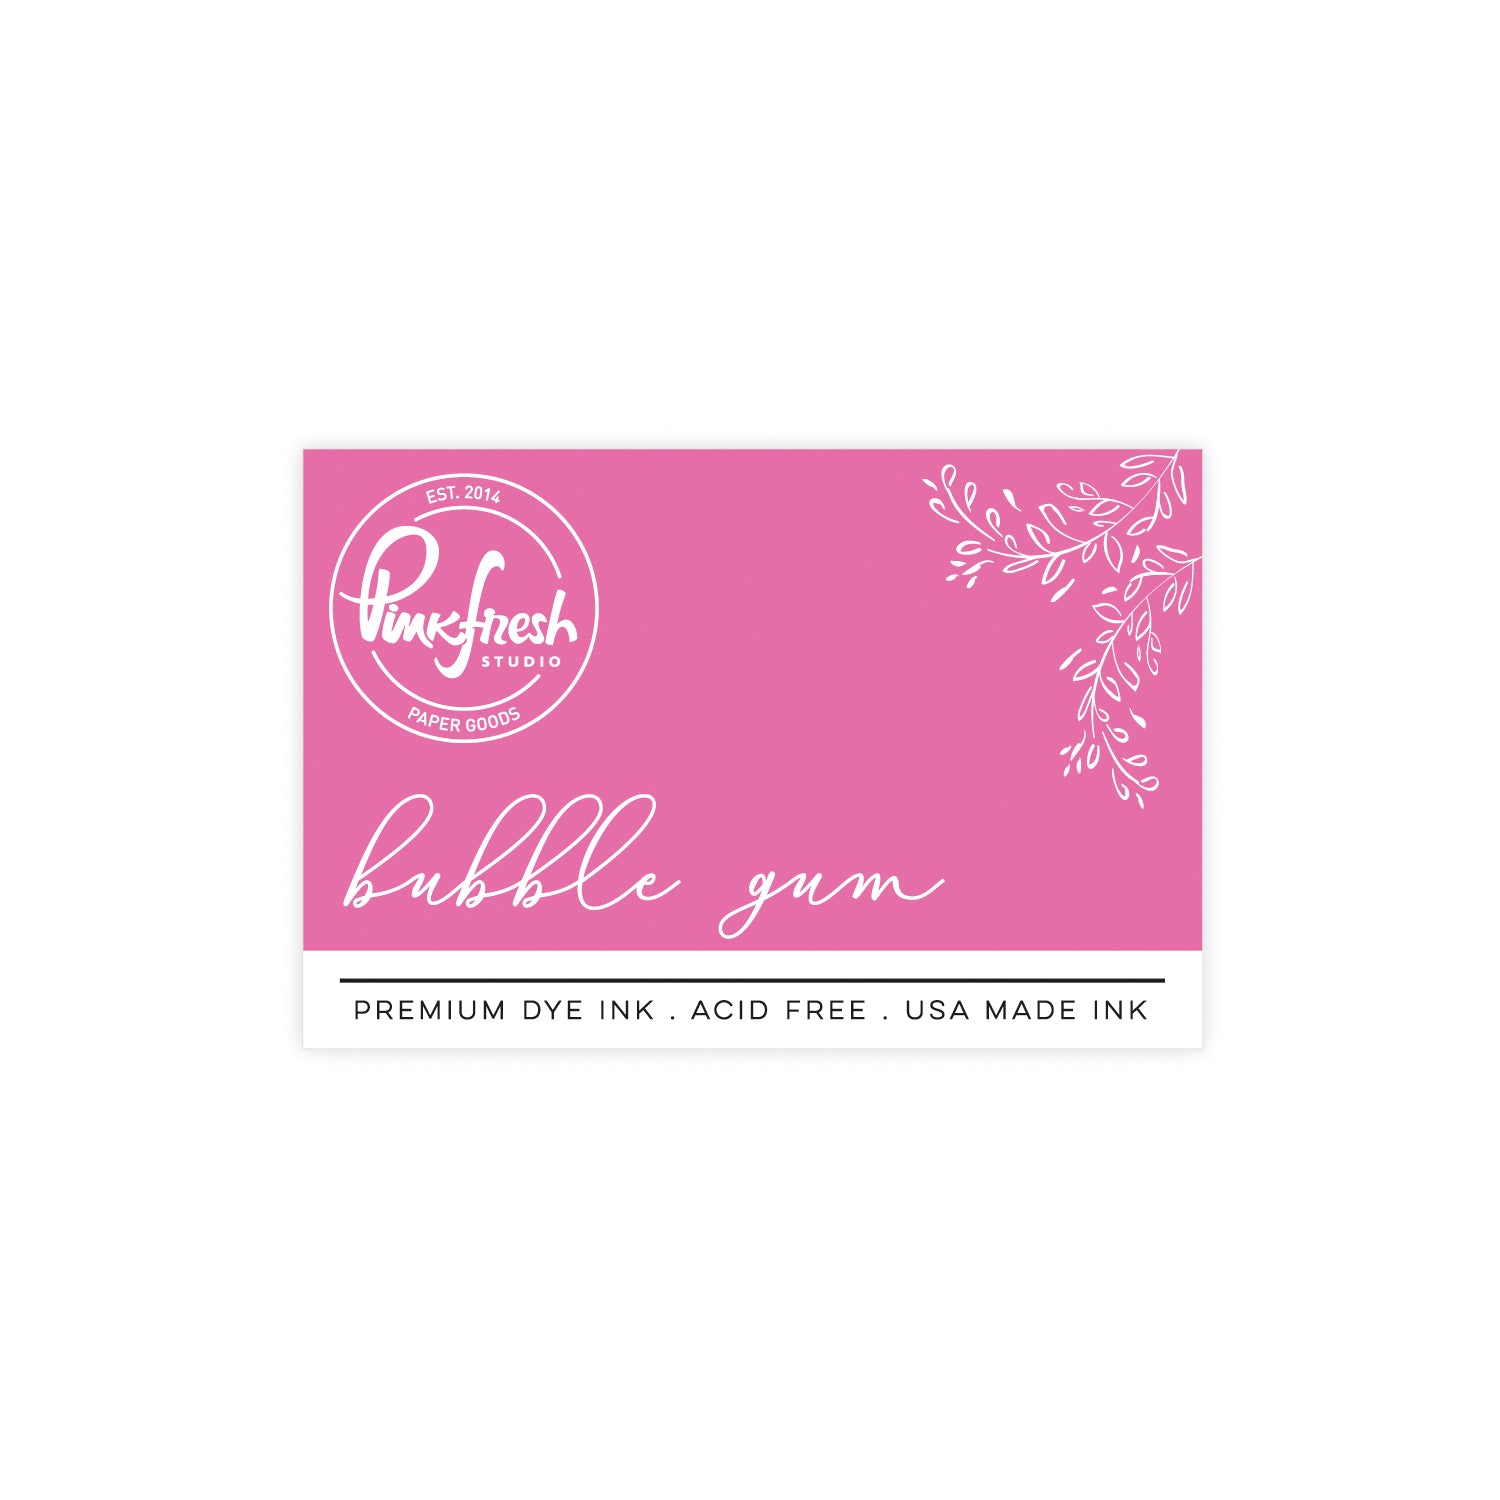
- Stencil 3: Bubble Gum
- Stencil 4: Sparkling Rose
- Stencil 5: Candy Violet
TIP: In order to get some beautiful shading, make sure to use at least one dark-colored ink, a medium colored ink, and light colored ink on the lily pads to show a decent amount of contrast while still be able to blend the colors smoothly.
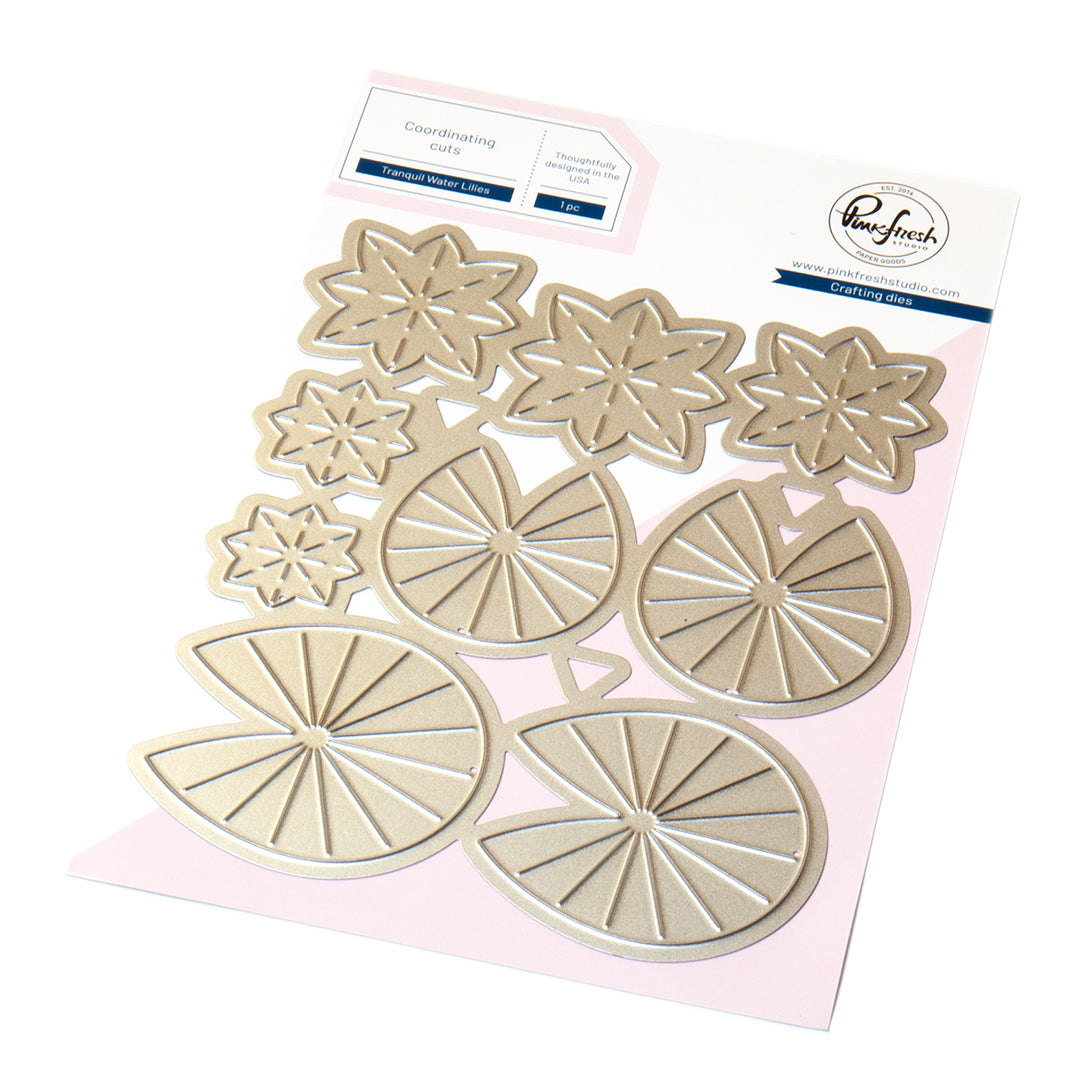
4. Die cut your ink blended images using the coordinating Tranquil Water Lilies Die Set.
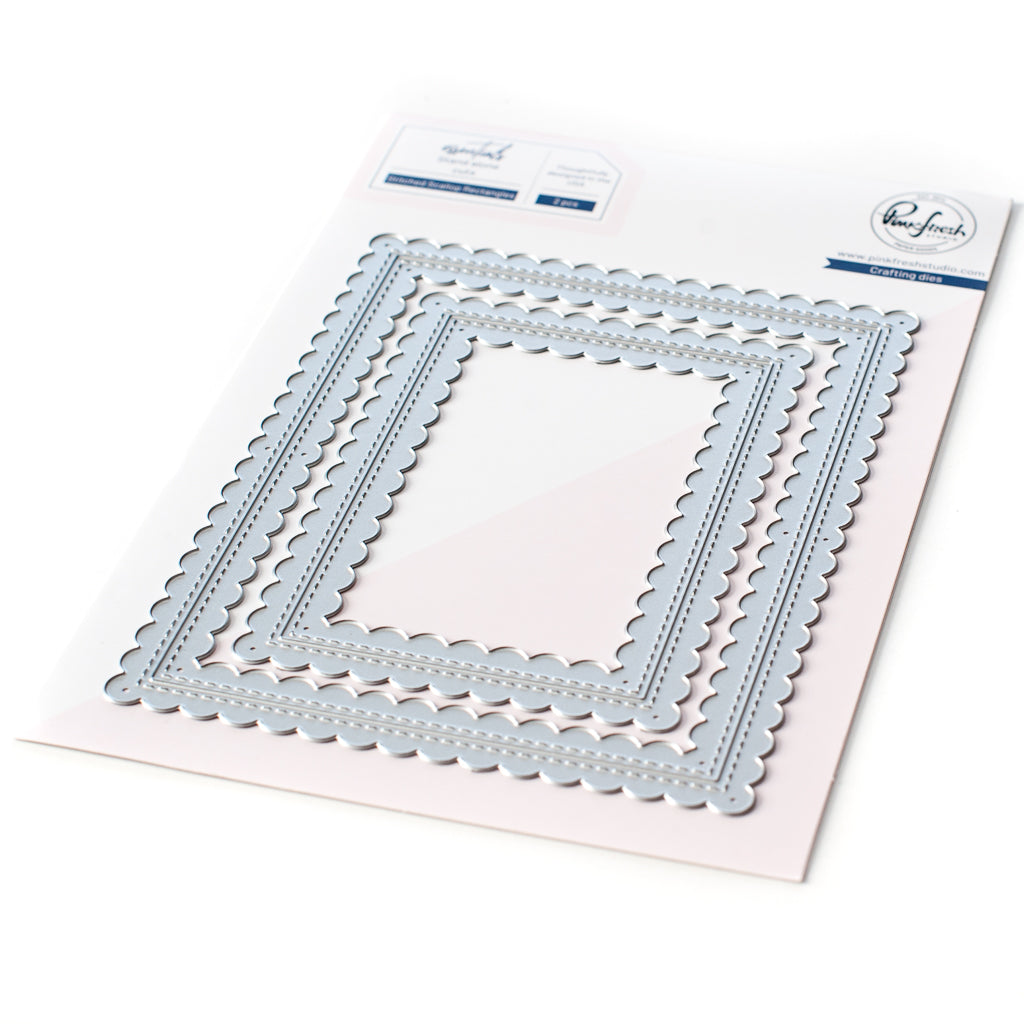
5. Using the larger die from the "Essentials: Stitched Scallop Rectangles Die Set", die cut six rectangles from white card stock and glue five of them together with liquid adhesive. Set one frame aside for the top of the card.
5. Adhere this dimensional frame to the top of your ink blended piece from the first two steps (I once again used liquid adhesive for a secure hold.)
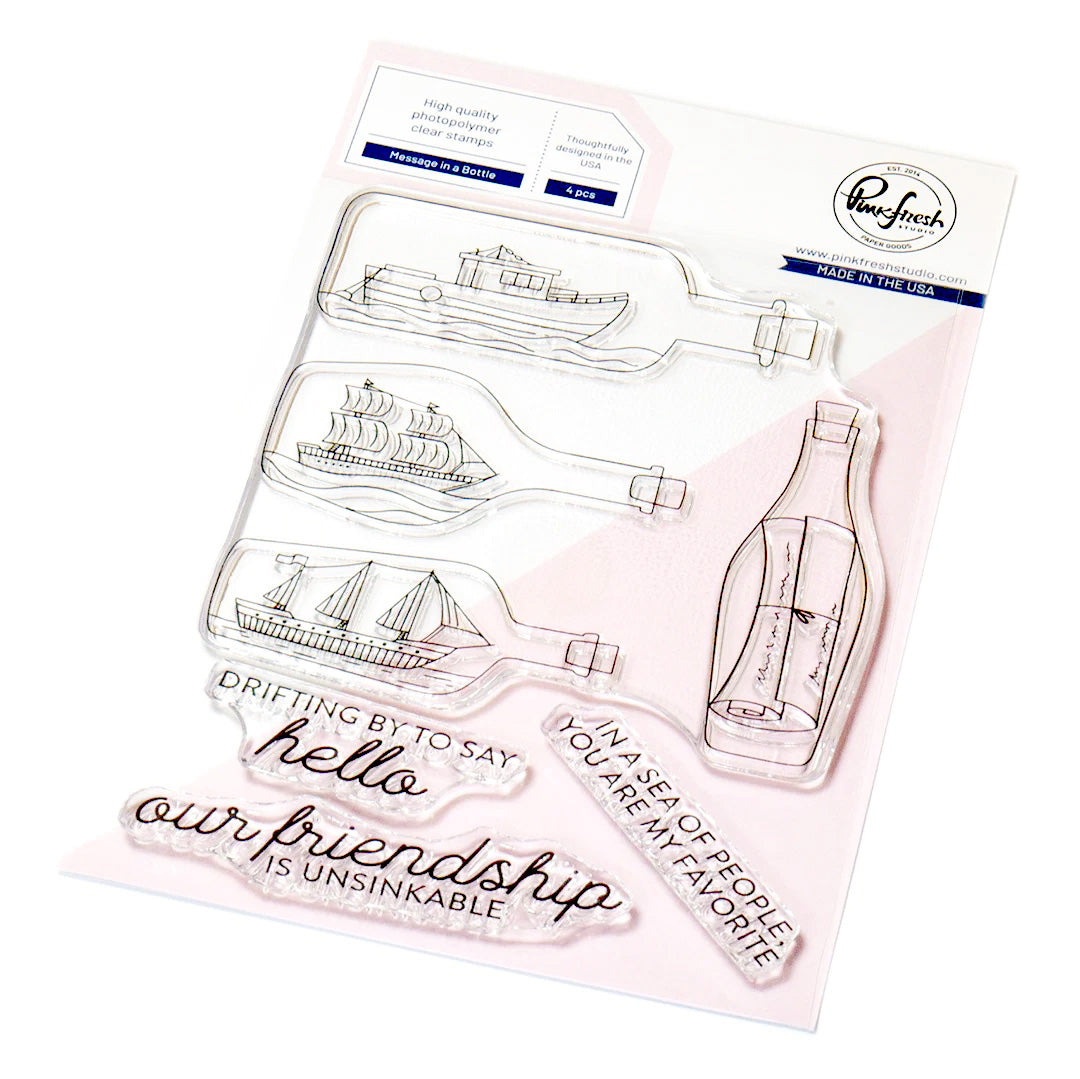
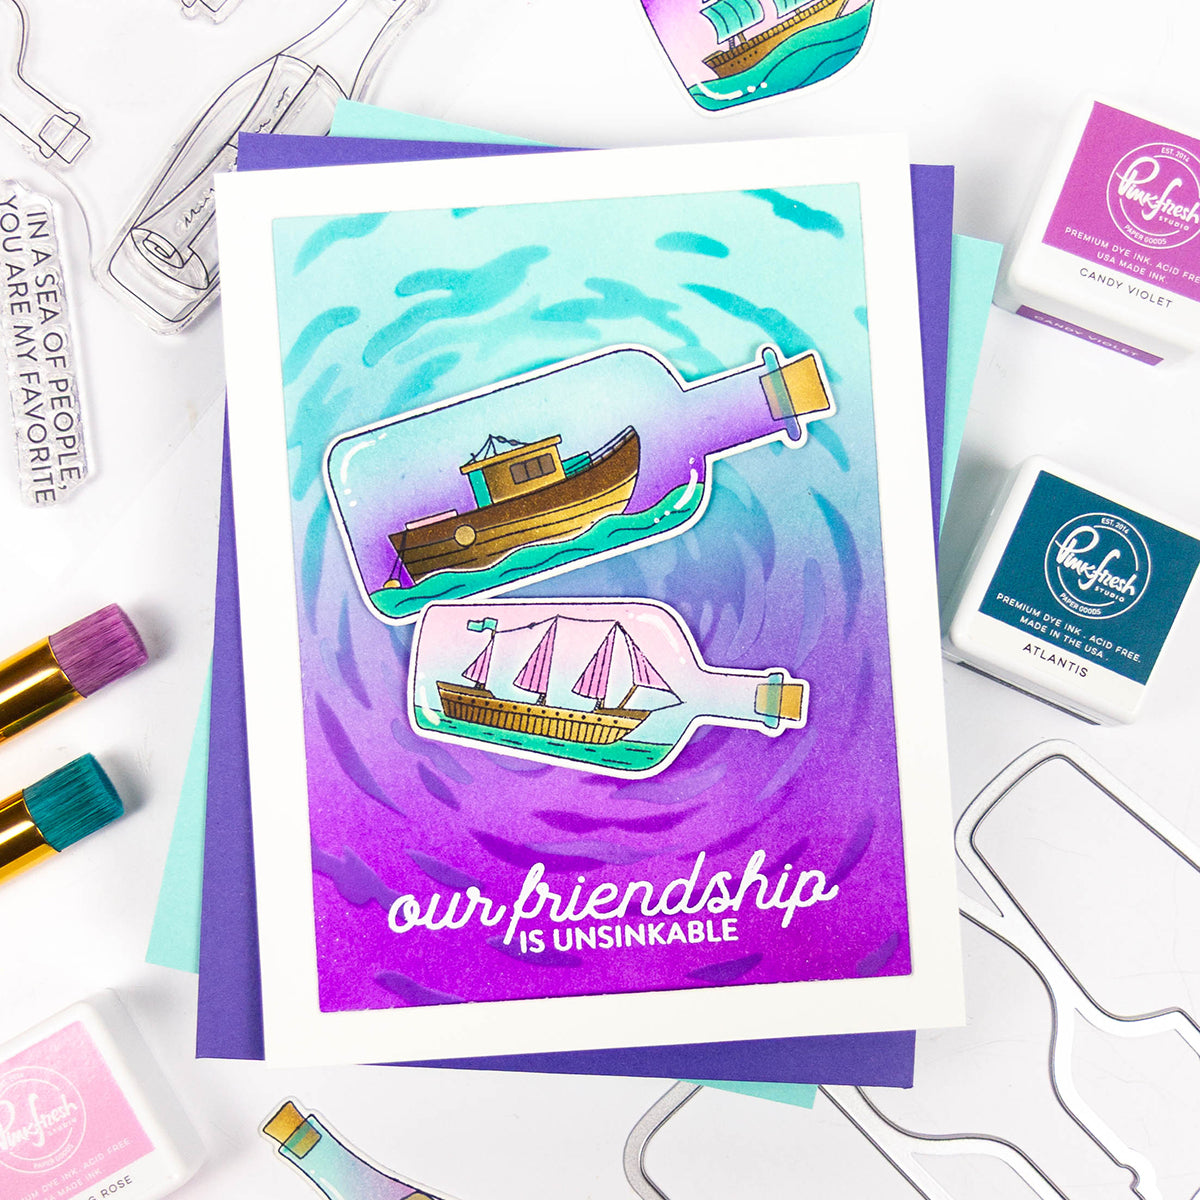
6. Stamp your sentiment (I used one from the Message in a Bottle Stamp Set) and adhere it to the center of your card.
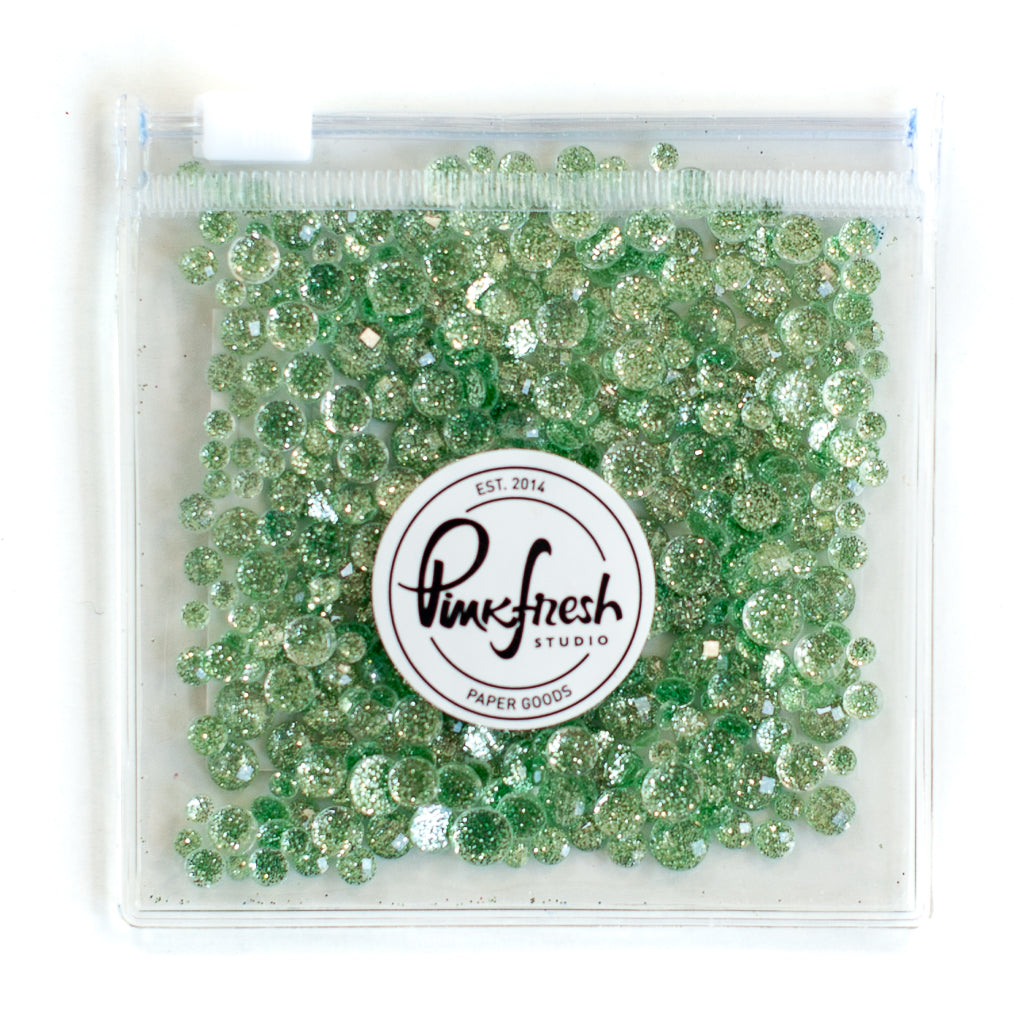
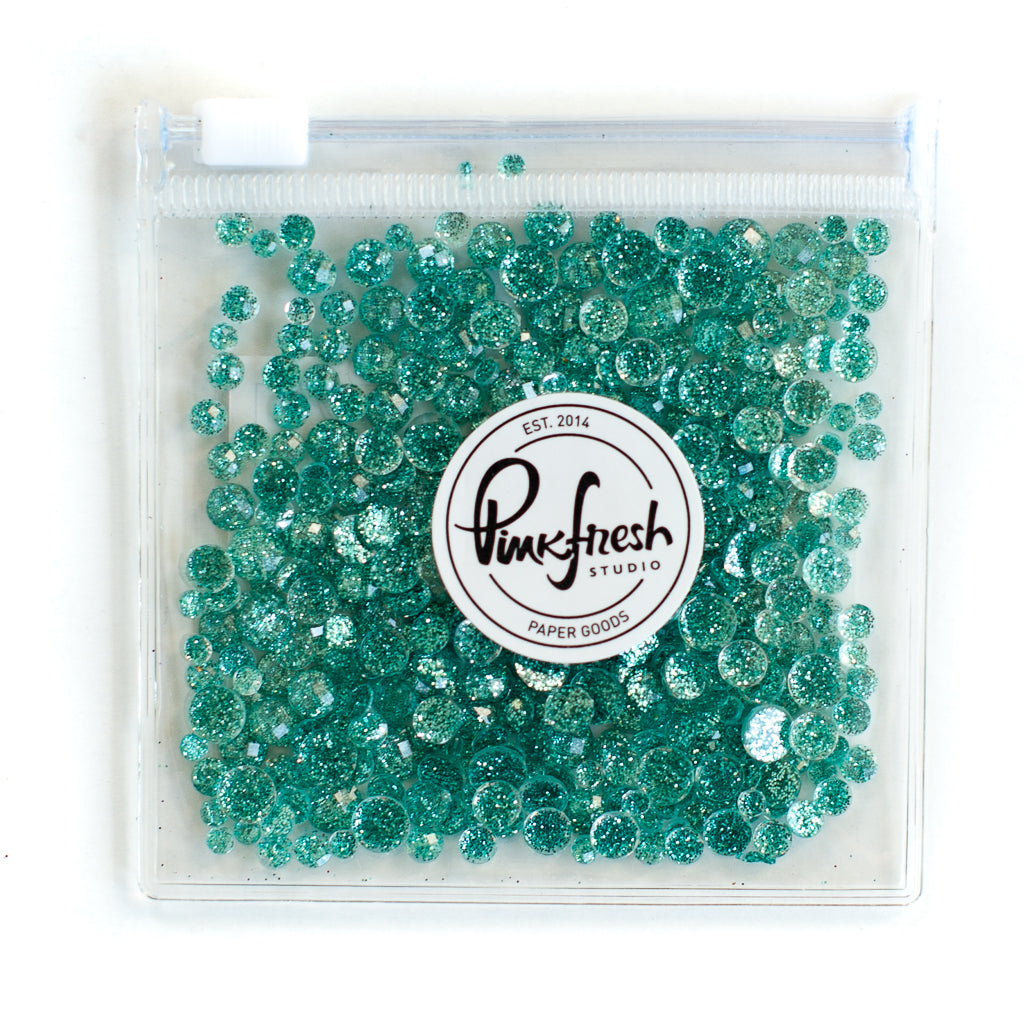
7. Add your shaker embellishments (I used Pinkfresh Studio Leaf and Aqua Glitter Drops as well as generic 3mm sequins) to the middle of your card. Glue a 3.75" x 5" piece of clear acetate on top of your scalloped frame to hold in the shaker embellishments.
8. Glue your last scalloped frame on top of the acetate, directly on top of the 5-pieced frame below.
9. Add your water lilies with 3D foam adhesive tape for a pop of dimension.

I hope you enjoyed my card today! I absolutely love this gorgeous product suite and I think that you will too!
I would love to see what you create! Make sure to tag us on Instagram with your own creations using these products!
Please feel free to leave a comment below as well as any questions you may have.
- Rachel
Recommended Products
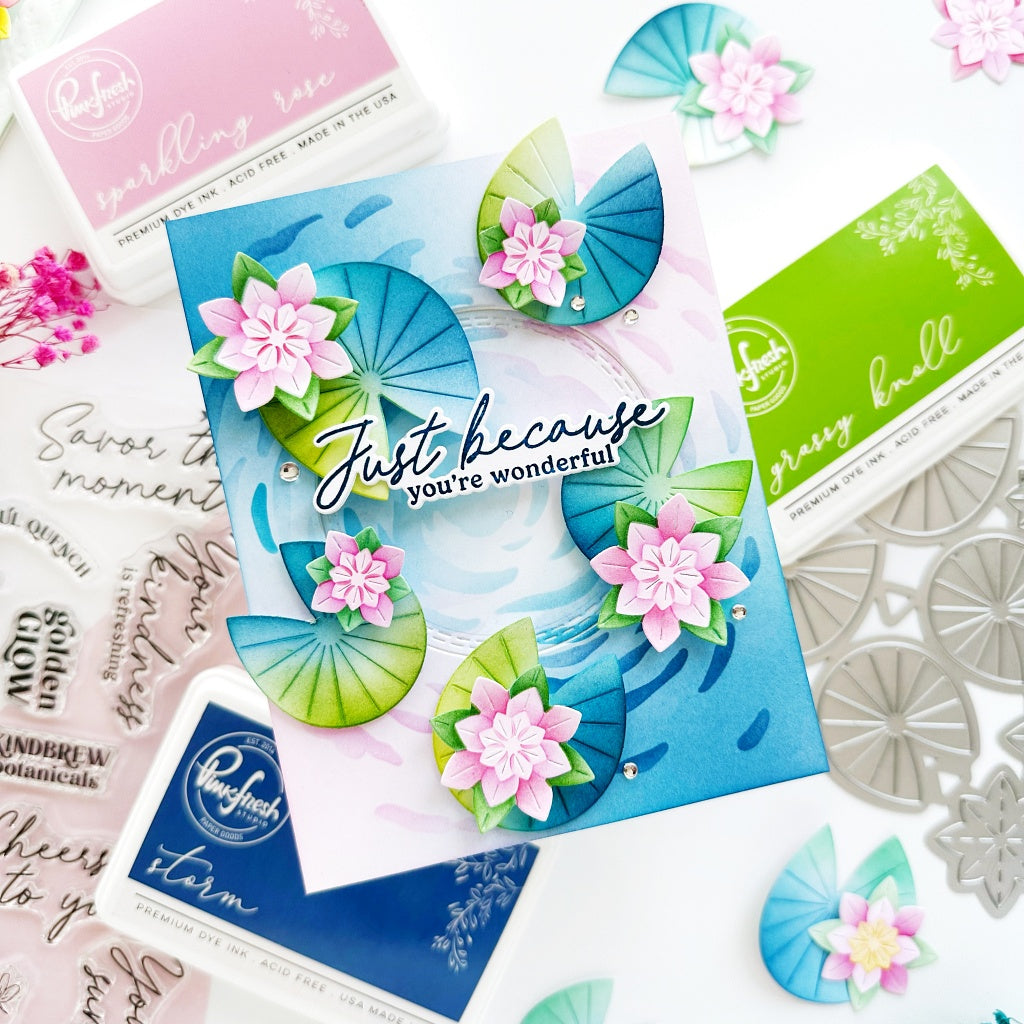





























2 comments
Lisa Vice
Mariette
Leave a comment
All comments are moderated before being published.
This site is protected by hCaptcha and the hCaptcha Privacy Policy and Terms of Service apply.