
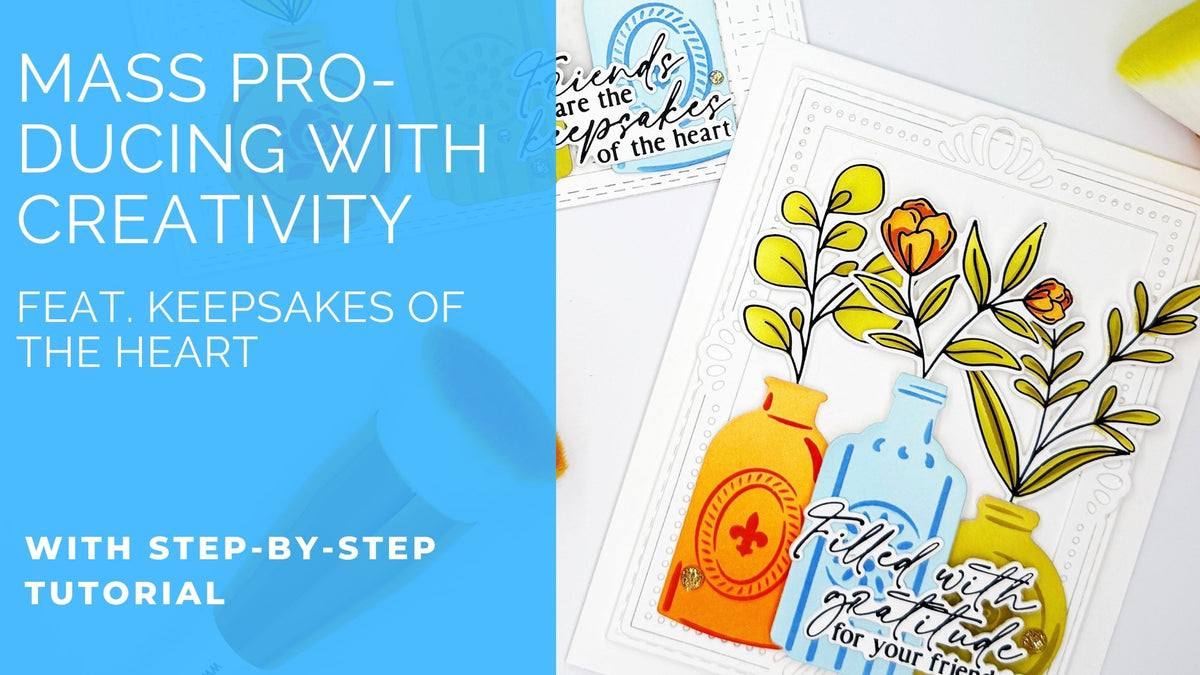
As an avid cardmaker, I’m always looking for ways to create efficiently, without sacrificing creativity or getting stuck in repetitive routines. Today, I’m sharing a method that allows you to mass-produce cards while keeping the process fun, engaging, and full of possibilities for variation.
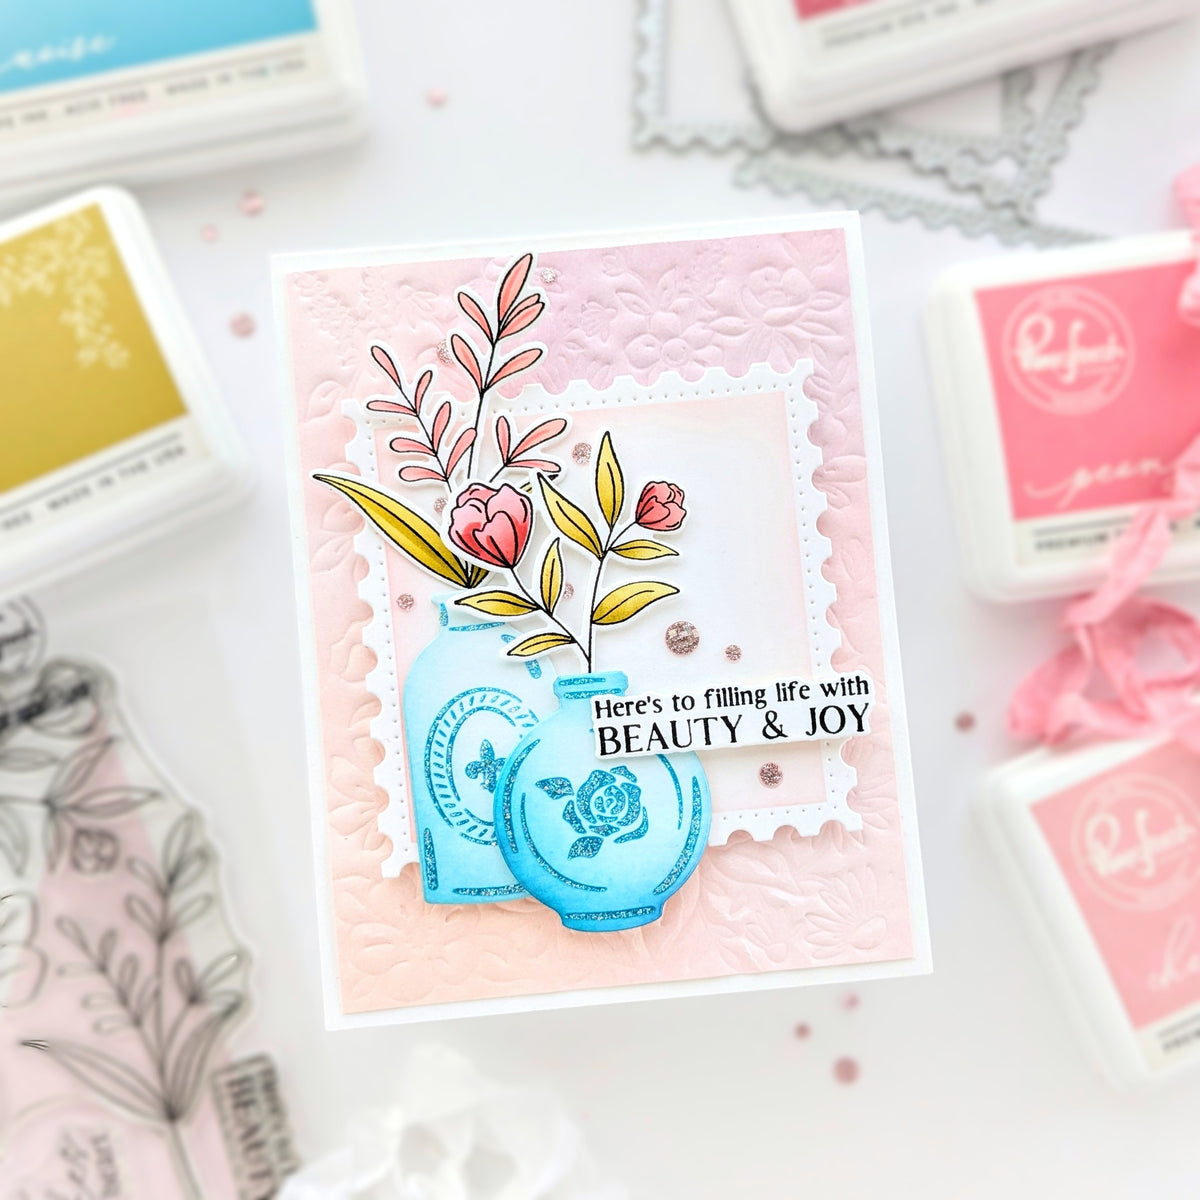
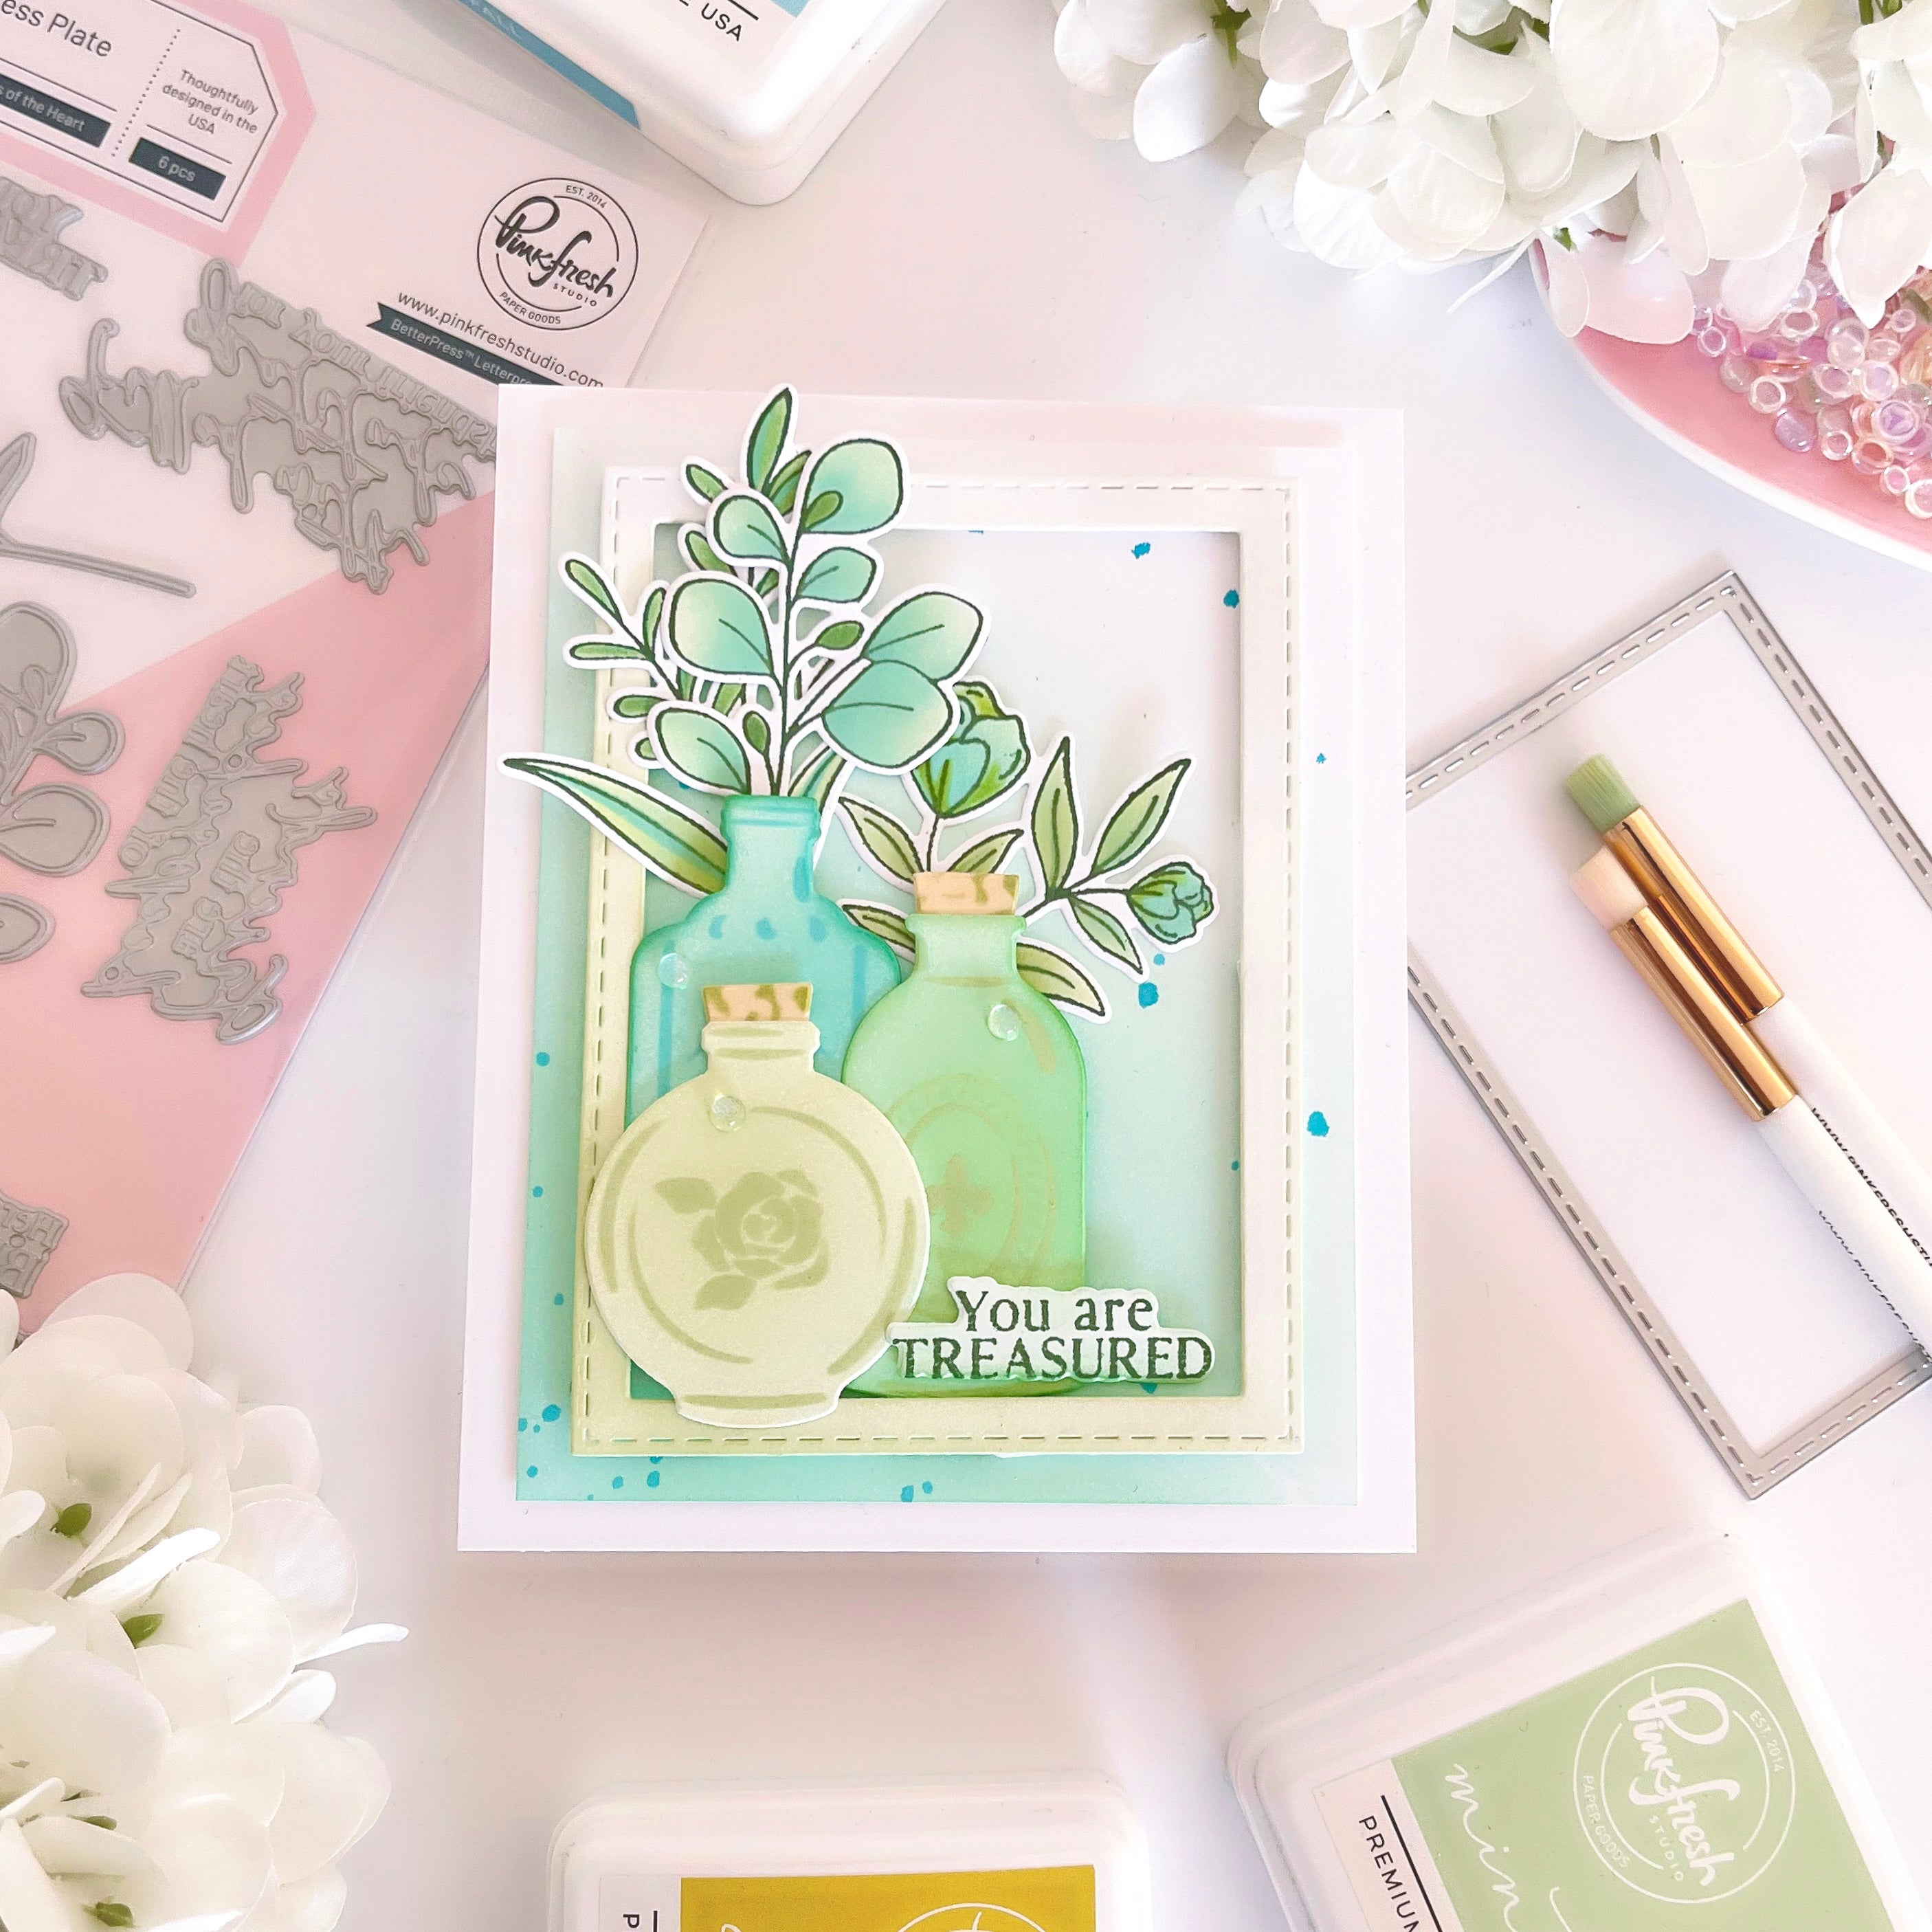
I focused on a cohesive color palette and used the same set of elements to create two distinct friendship cards. Each design highlights the same supplies but with small changes in layout, framing, and accents to keep things interesting.
*Disclaimer: All products used are linked below as clickable images. If a product isn’t listed, it’s been discontinued.

How to recreate this card:
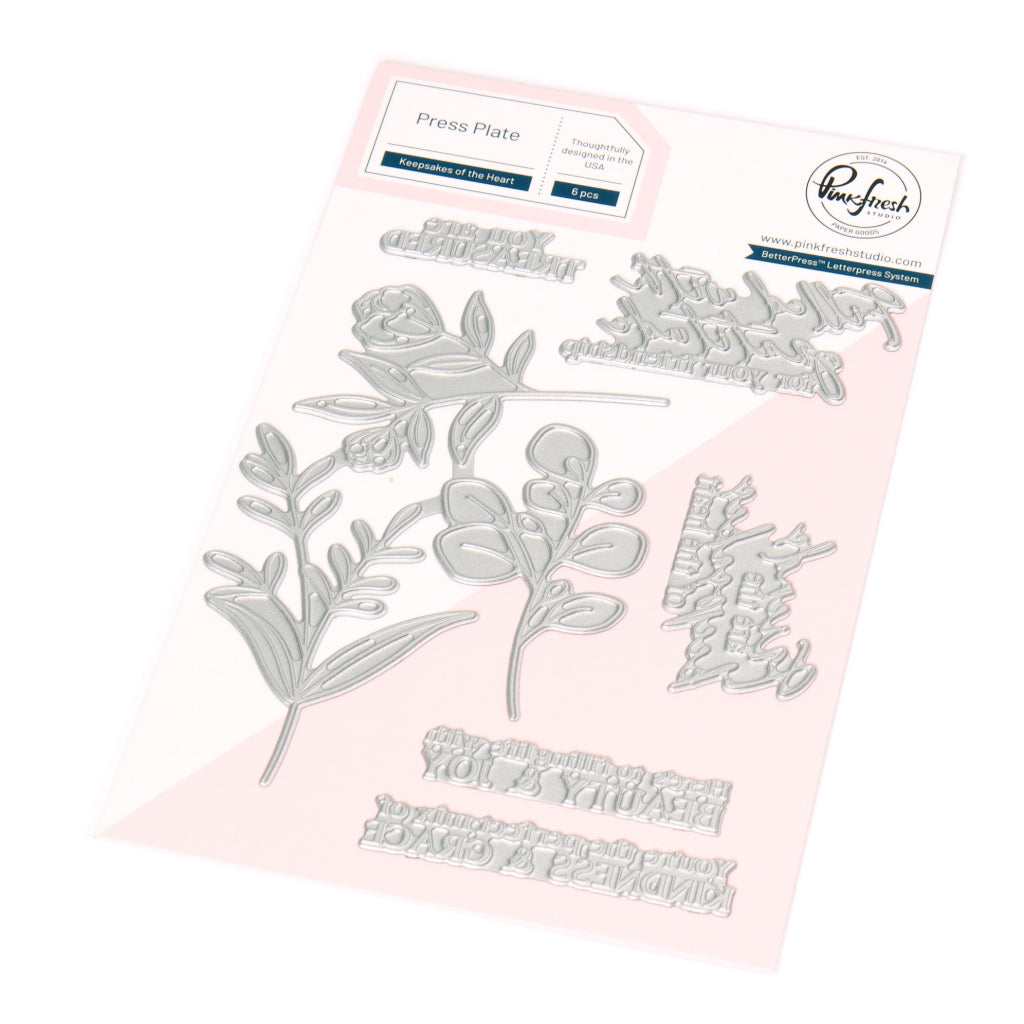
- Hot foil the floral and leaf images, as well as the sentiment, in black (3 times if you plan to mass-produce). Add color using the coordinating stencils:
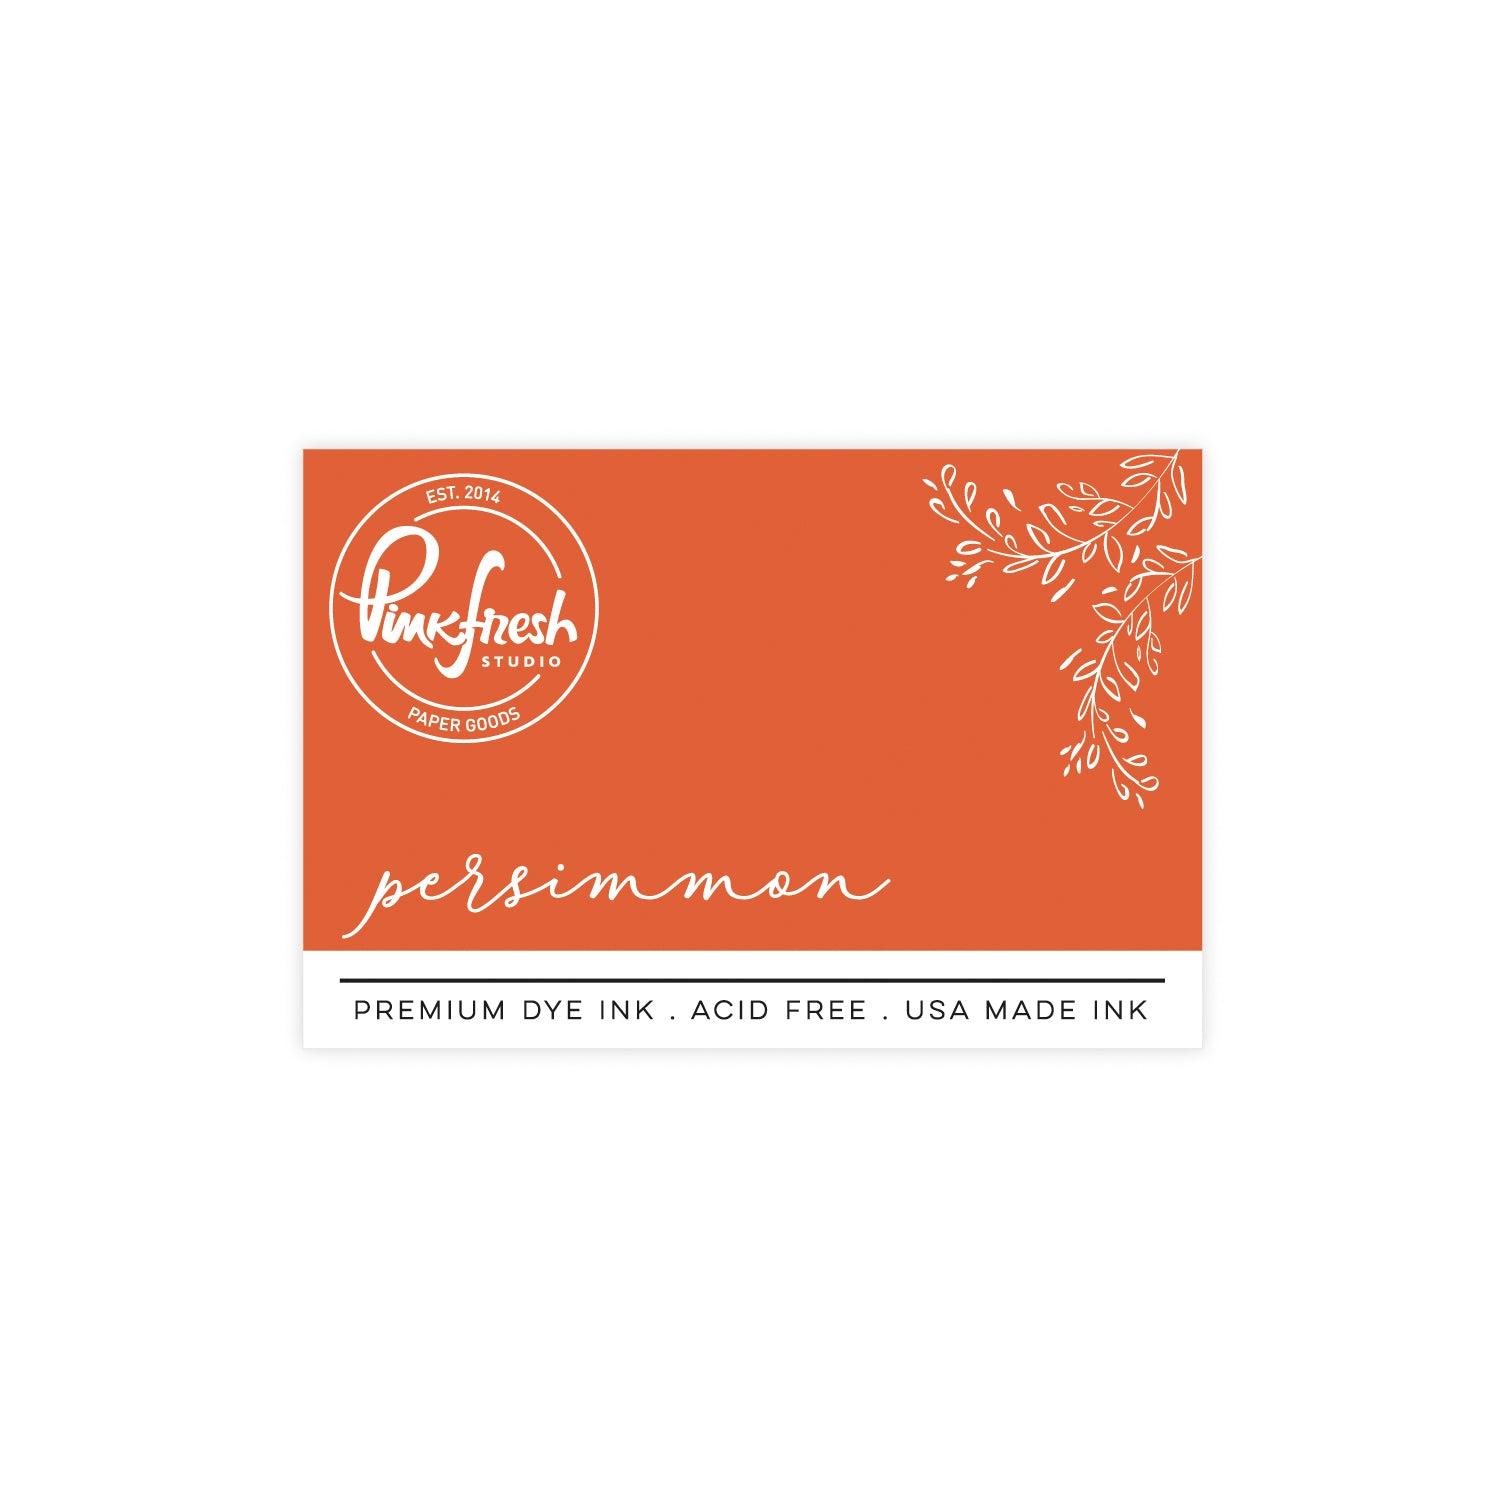
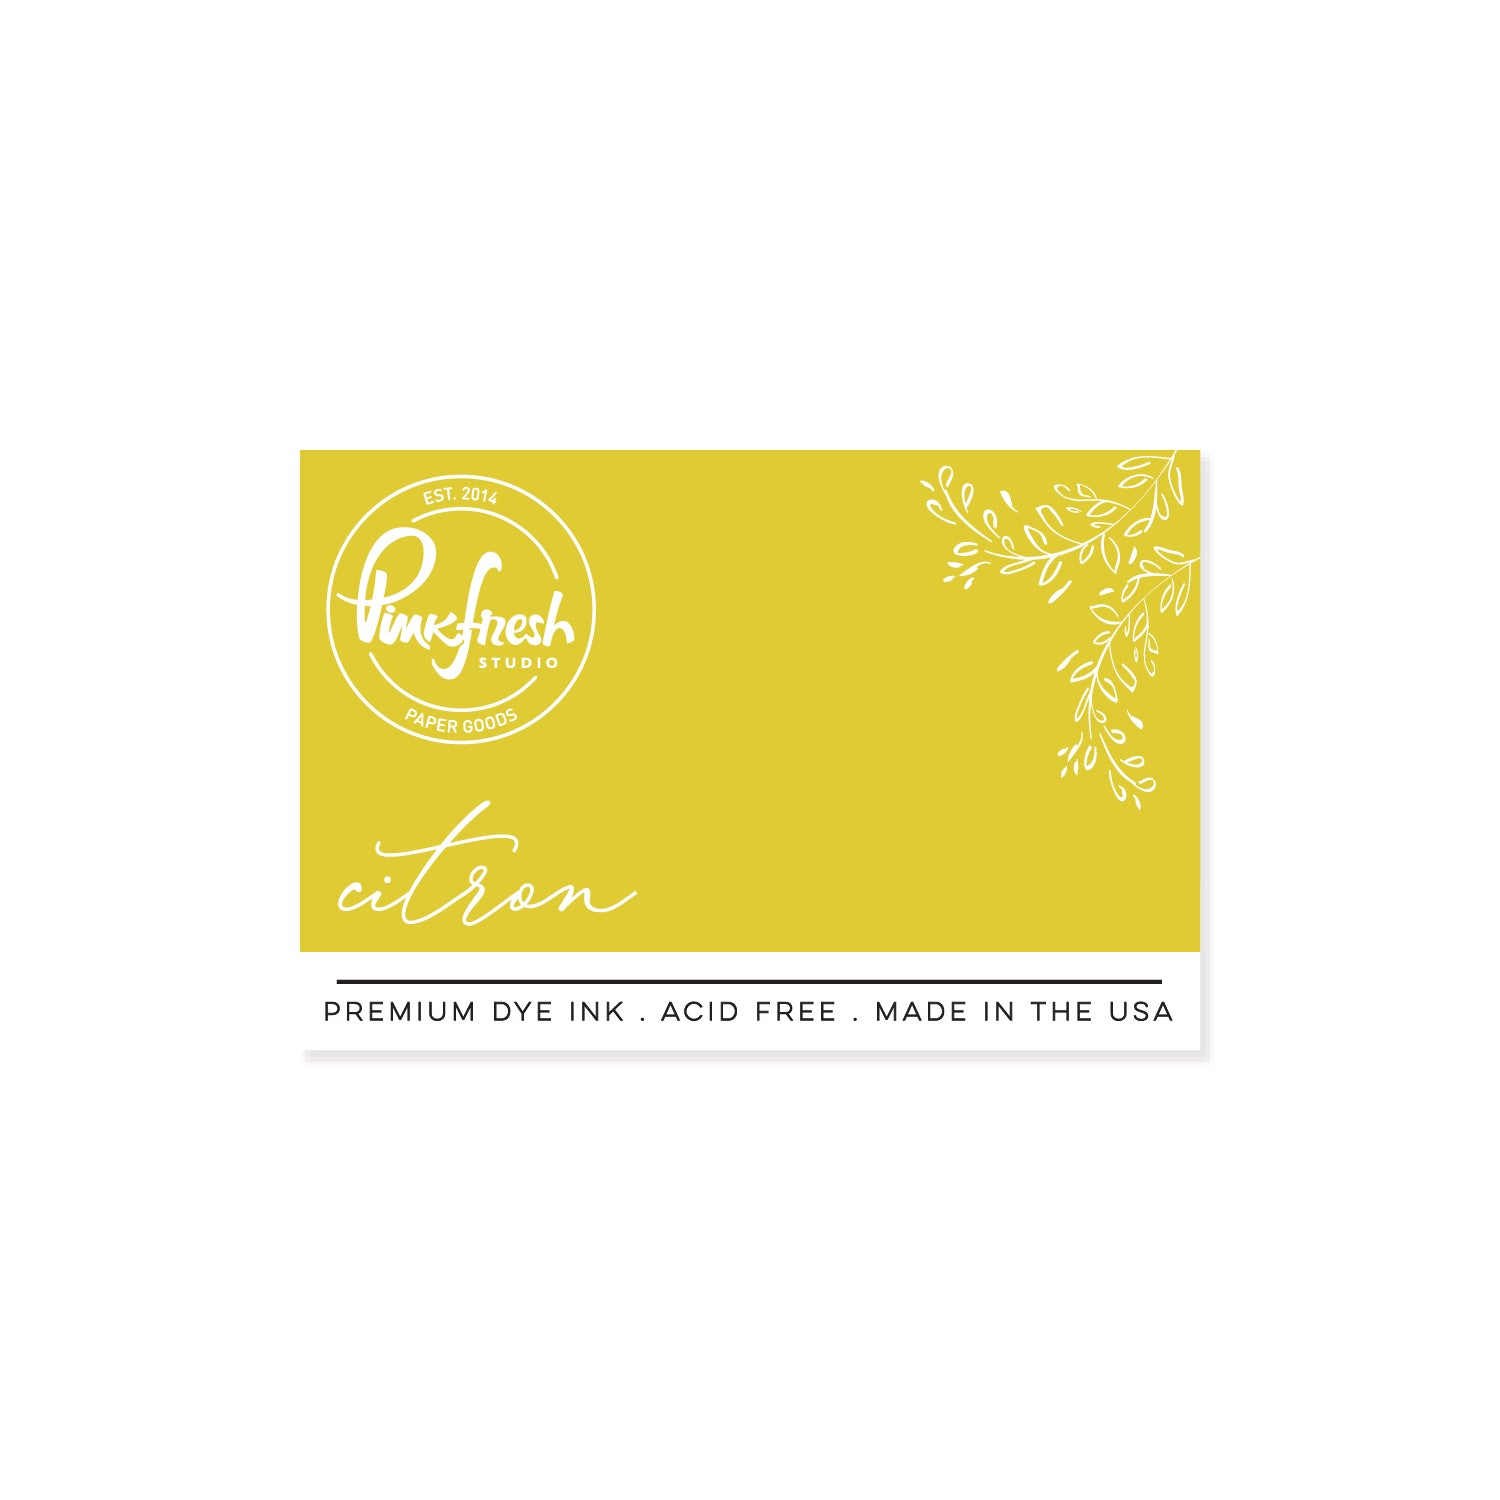
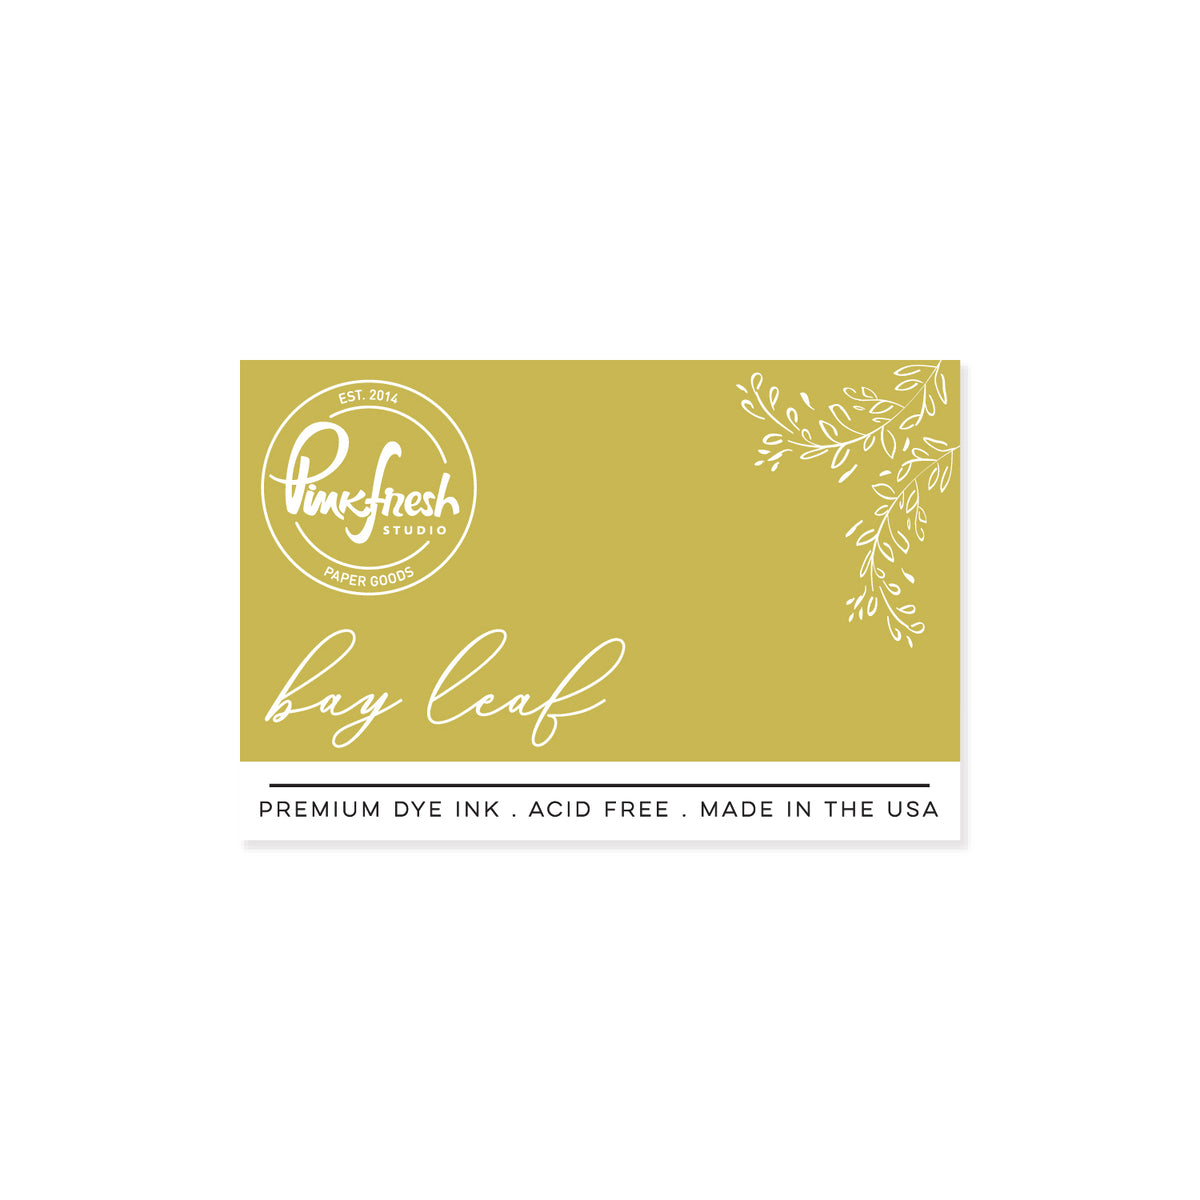
- Stencil 3: (leaves) Citron, Bay Leaf, (flowers) Apricot
- Stencil 4: (leaves) Citron, Bay Leaf, (flowers) Clementine
- Stencil 5: (leaves) Bay Leaf, (flowers) Persimmon
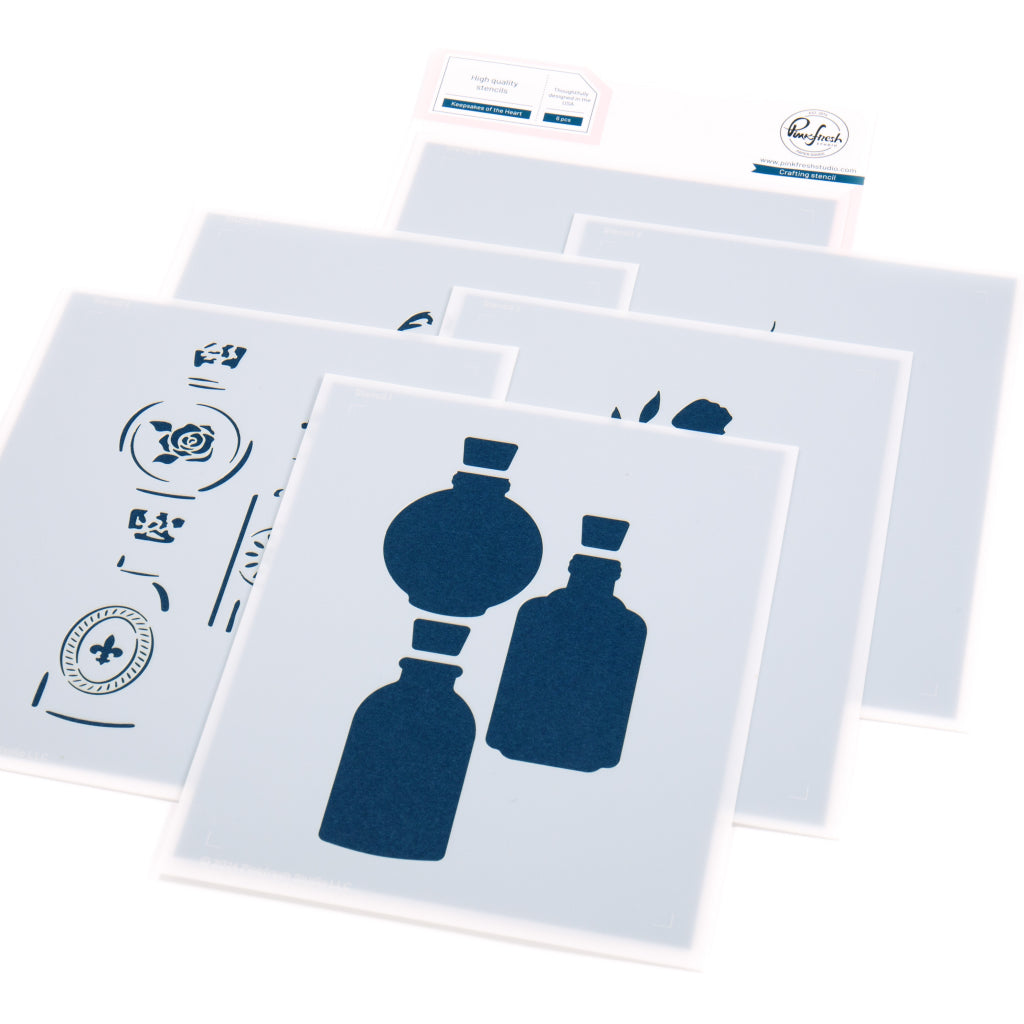
- On three A2-sized panels, stencil the bottles, once in each color combo. When you are done, you will have three sets of bottles.
- Stencil 1: Apricot, Clementine
- Stencil 2: Persimmon
- Stencil 1: Citron, Bay Leaf (light)
- Stencil 2: Bay Leaf (heavy)
- Stencil 1: Sky Blue, Slumber (light)
- Stencil 2: Slumber (heavy)
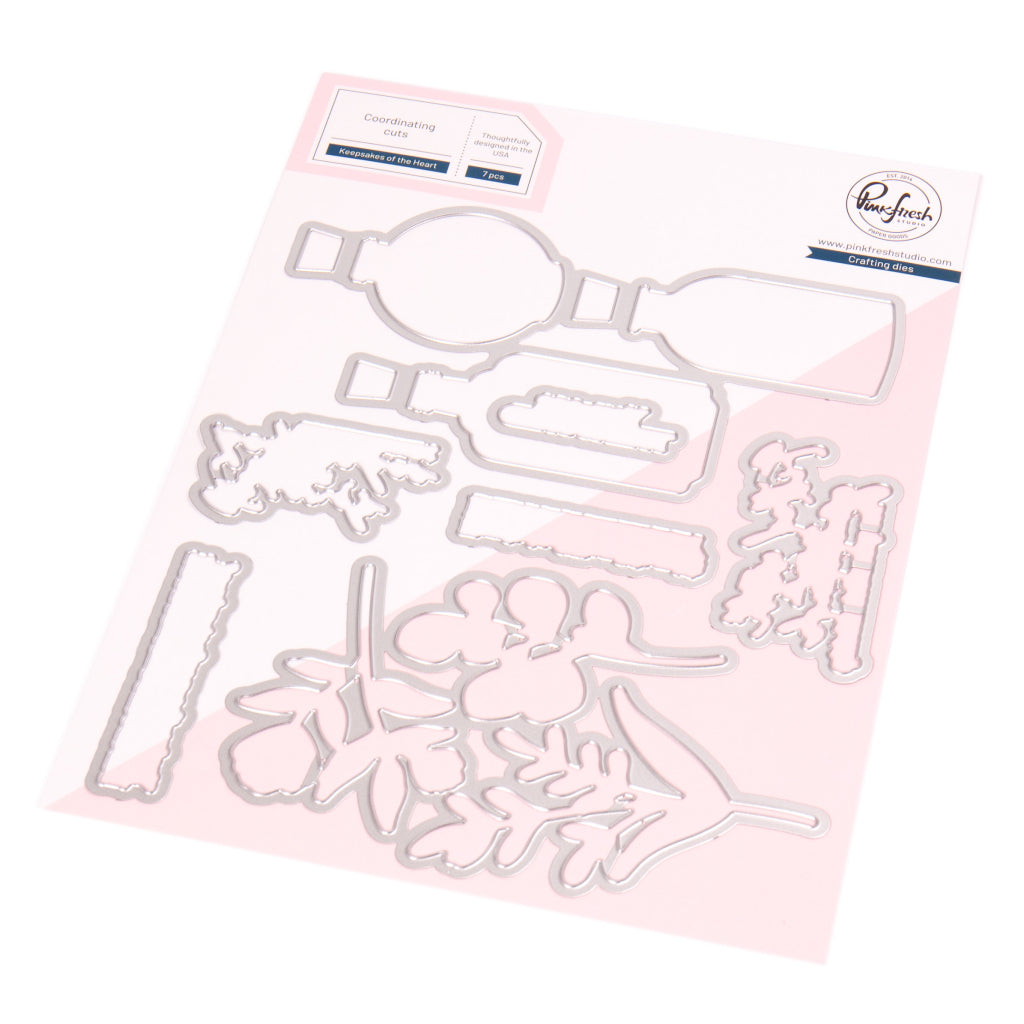
- Die cut all of the greenery and bottles
- Assemble the flowers and vases by adhering the greenery behind the bottles as desired.
- Cut and fold an A2 top-folding card base from white cardstock
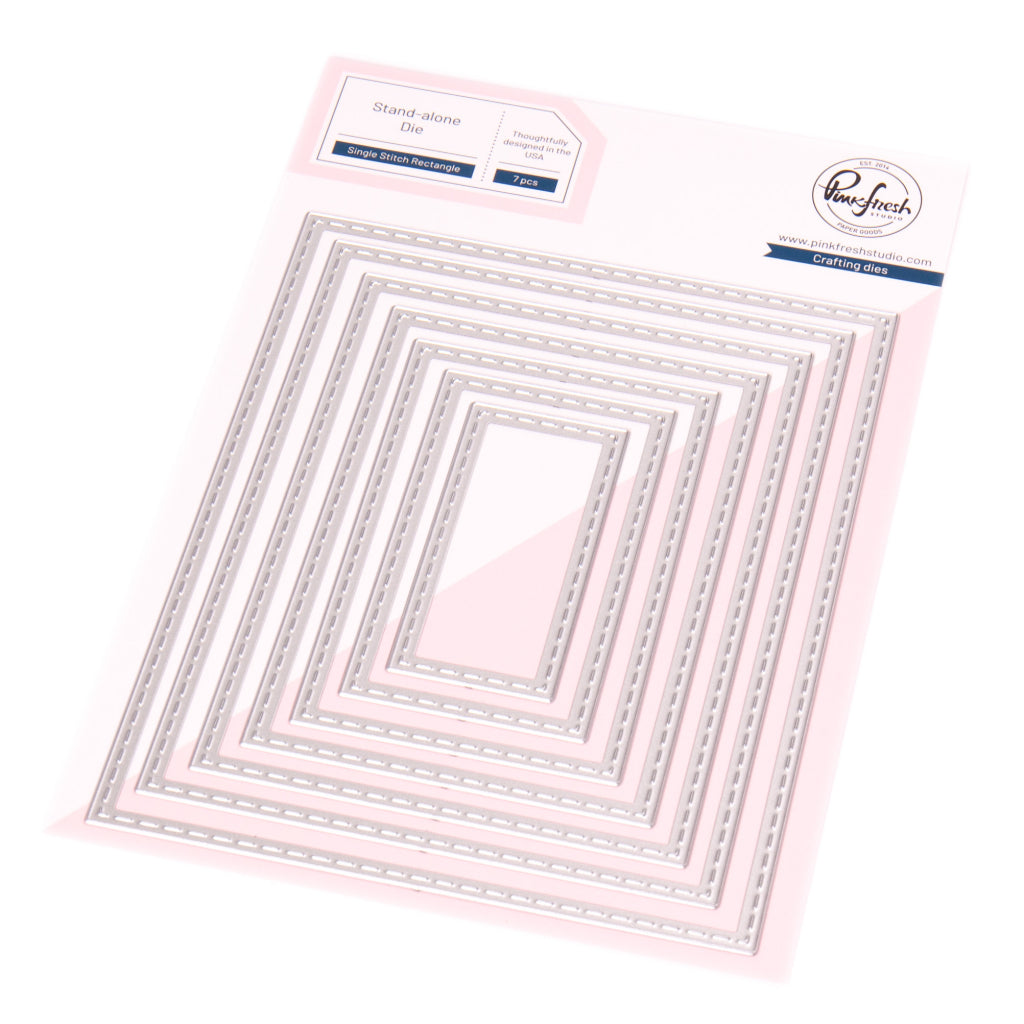
- Die cut a white panel with the second-largest die in the Essentials: Single Stitched Rectangles die.
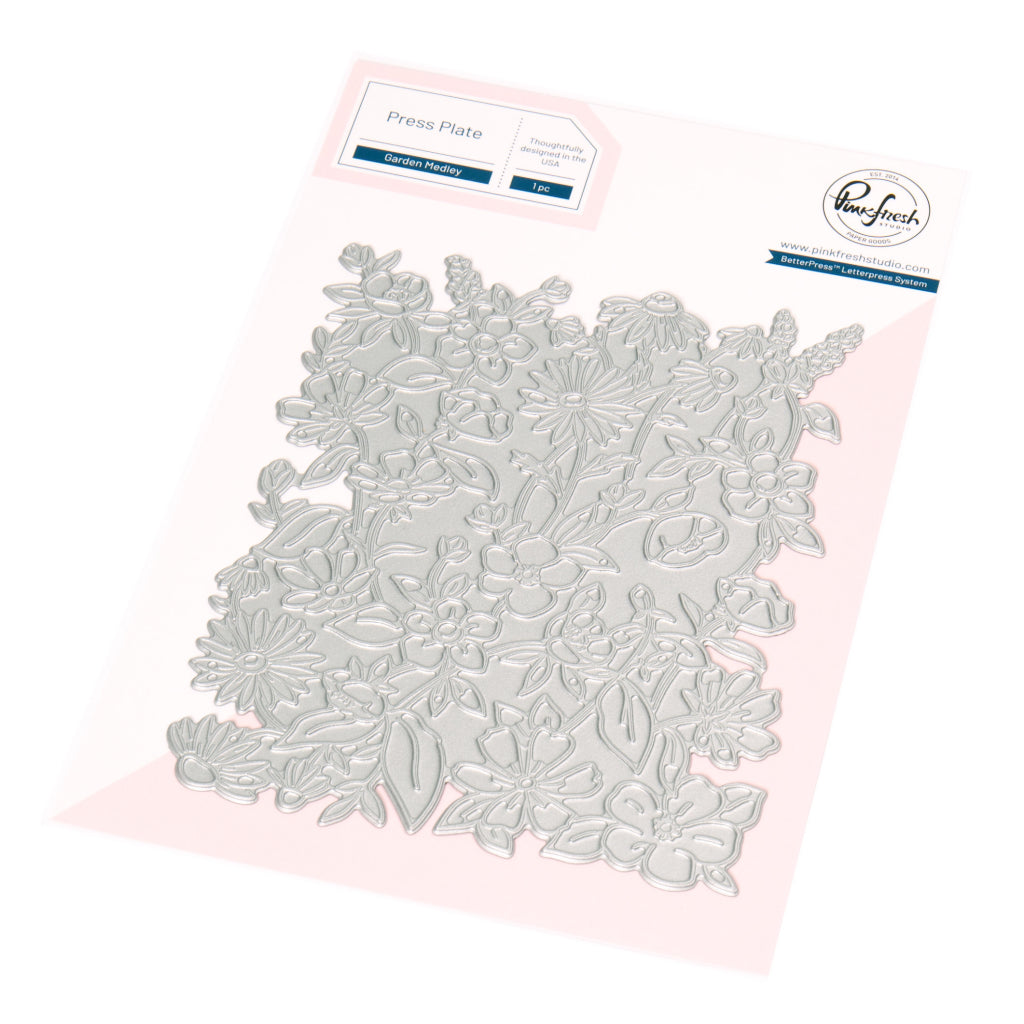
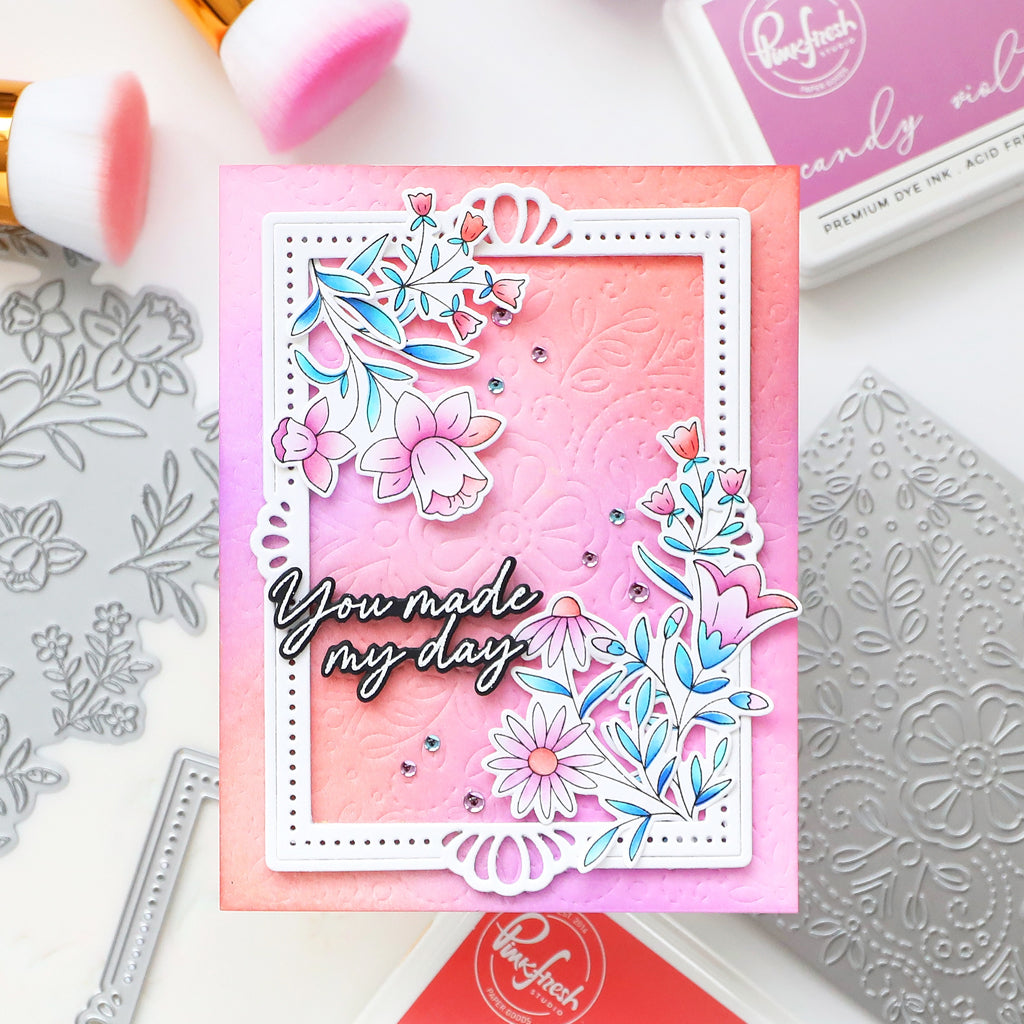
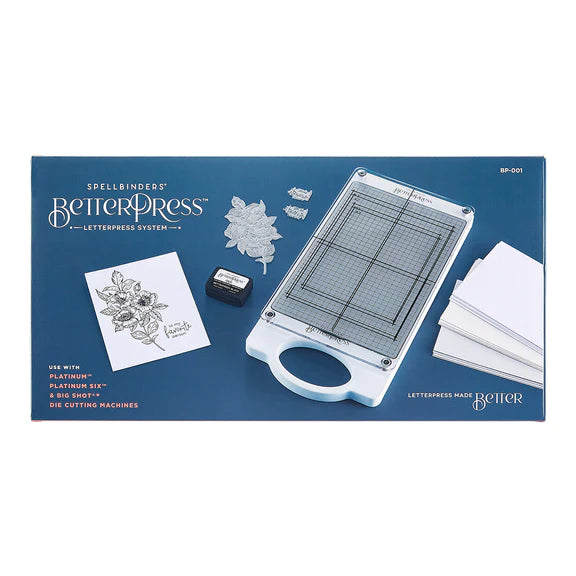
- Letterpress with the Garden Medley press plate using the BetterPress System.
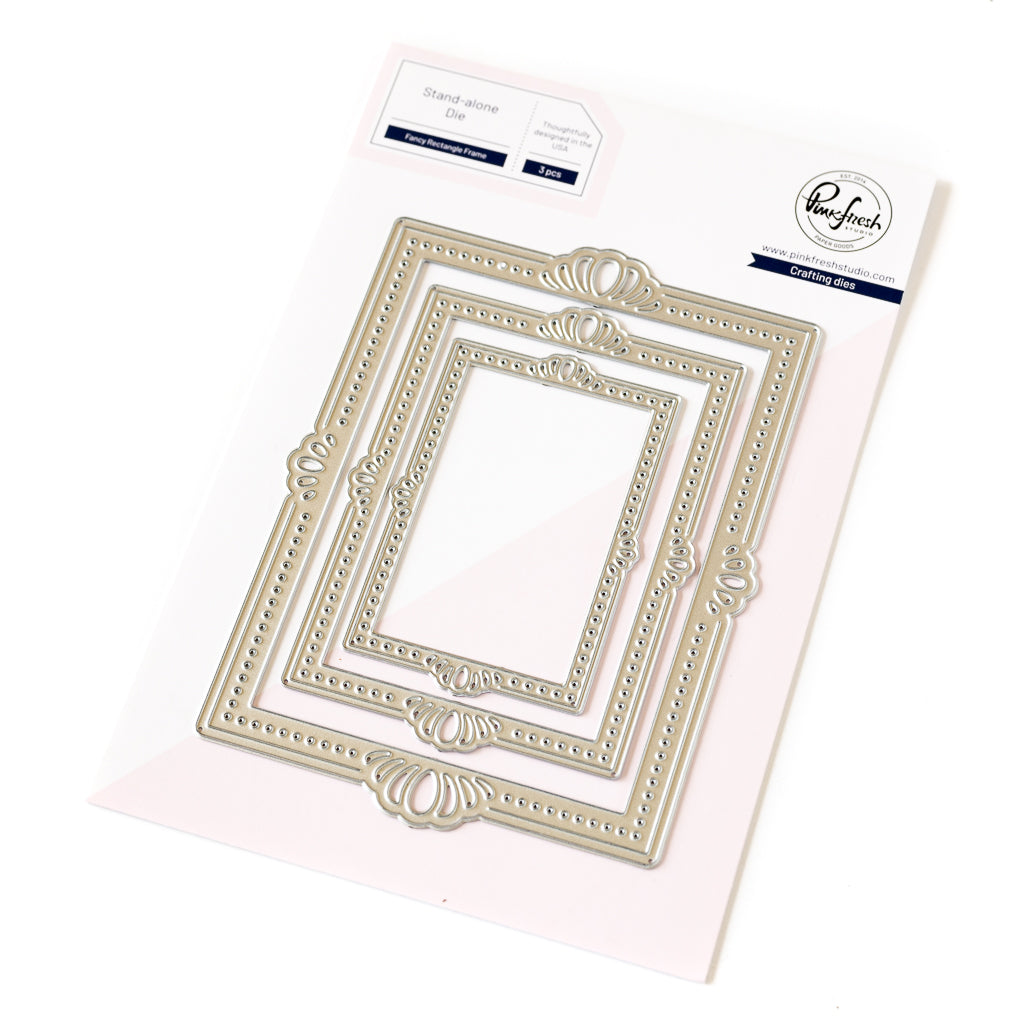
- Die cut 2 Fancy Rectangle Frames from white cardstock; stack; adhere to letterpressed panel.
- Adhere the flowers to the lower area of the rectangle frame with foam tape. Use a double layer for the center vase.
- Adhere the sentiment to the flowers with liquid glue.
- Adhere the panel to the card base using foam tape.
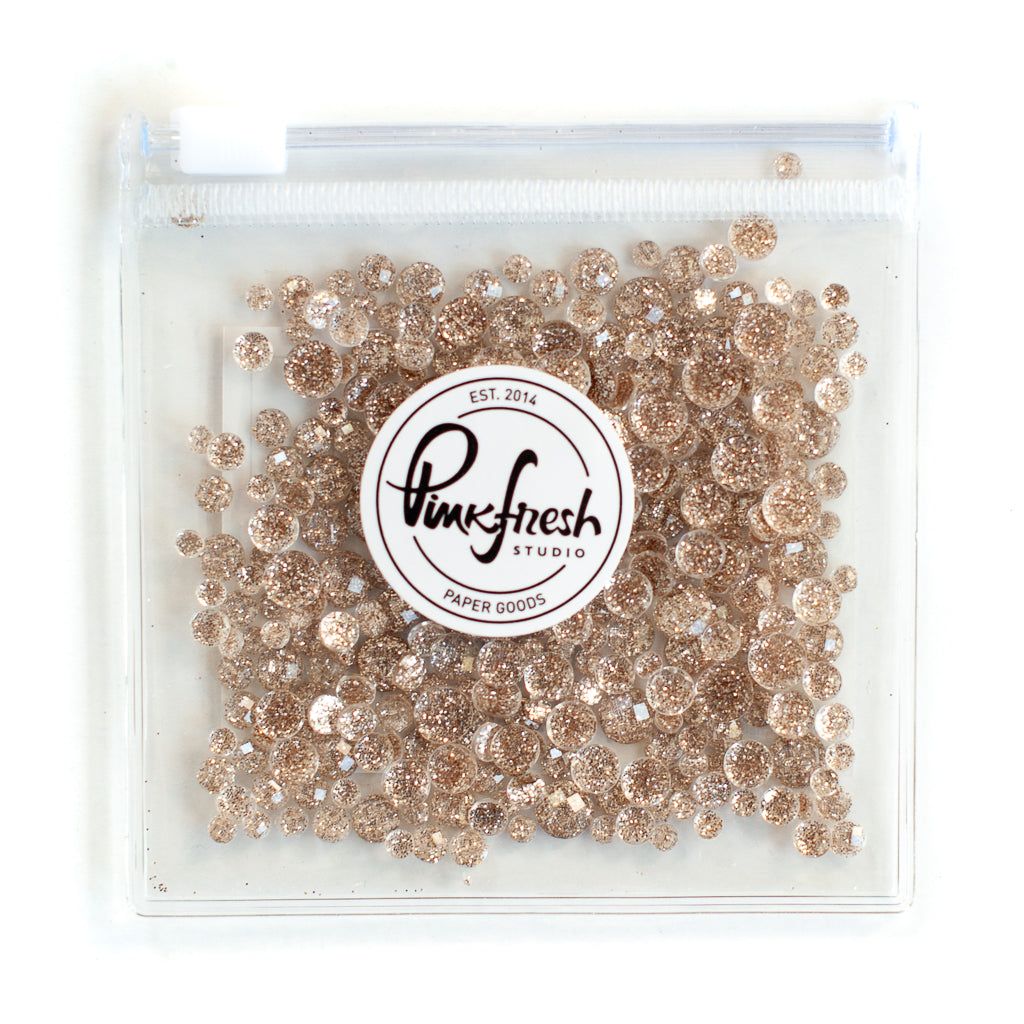
- Embellish with Champagne Glitter Drops.
- Now switch up your frames, panels, and accents, and make two more cards!
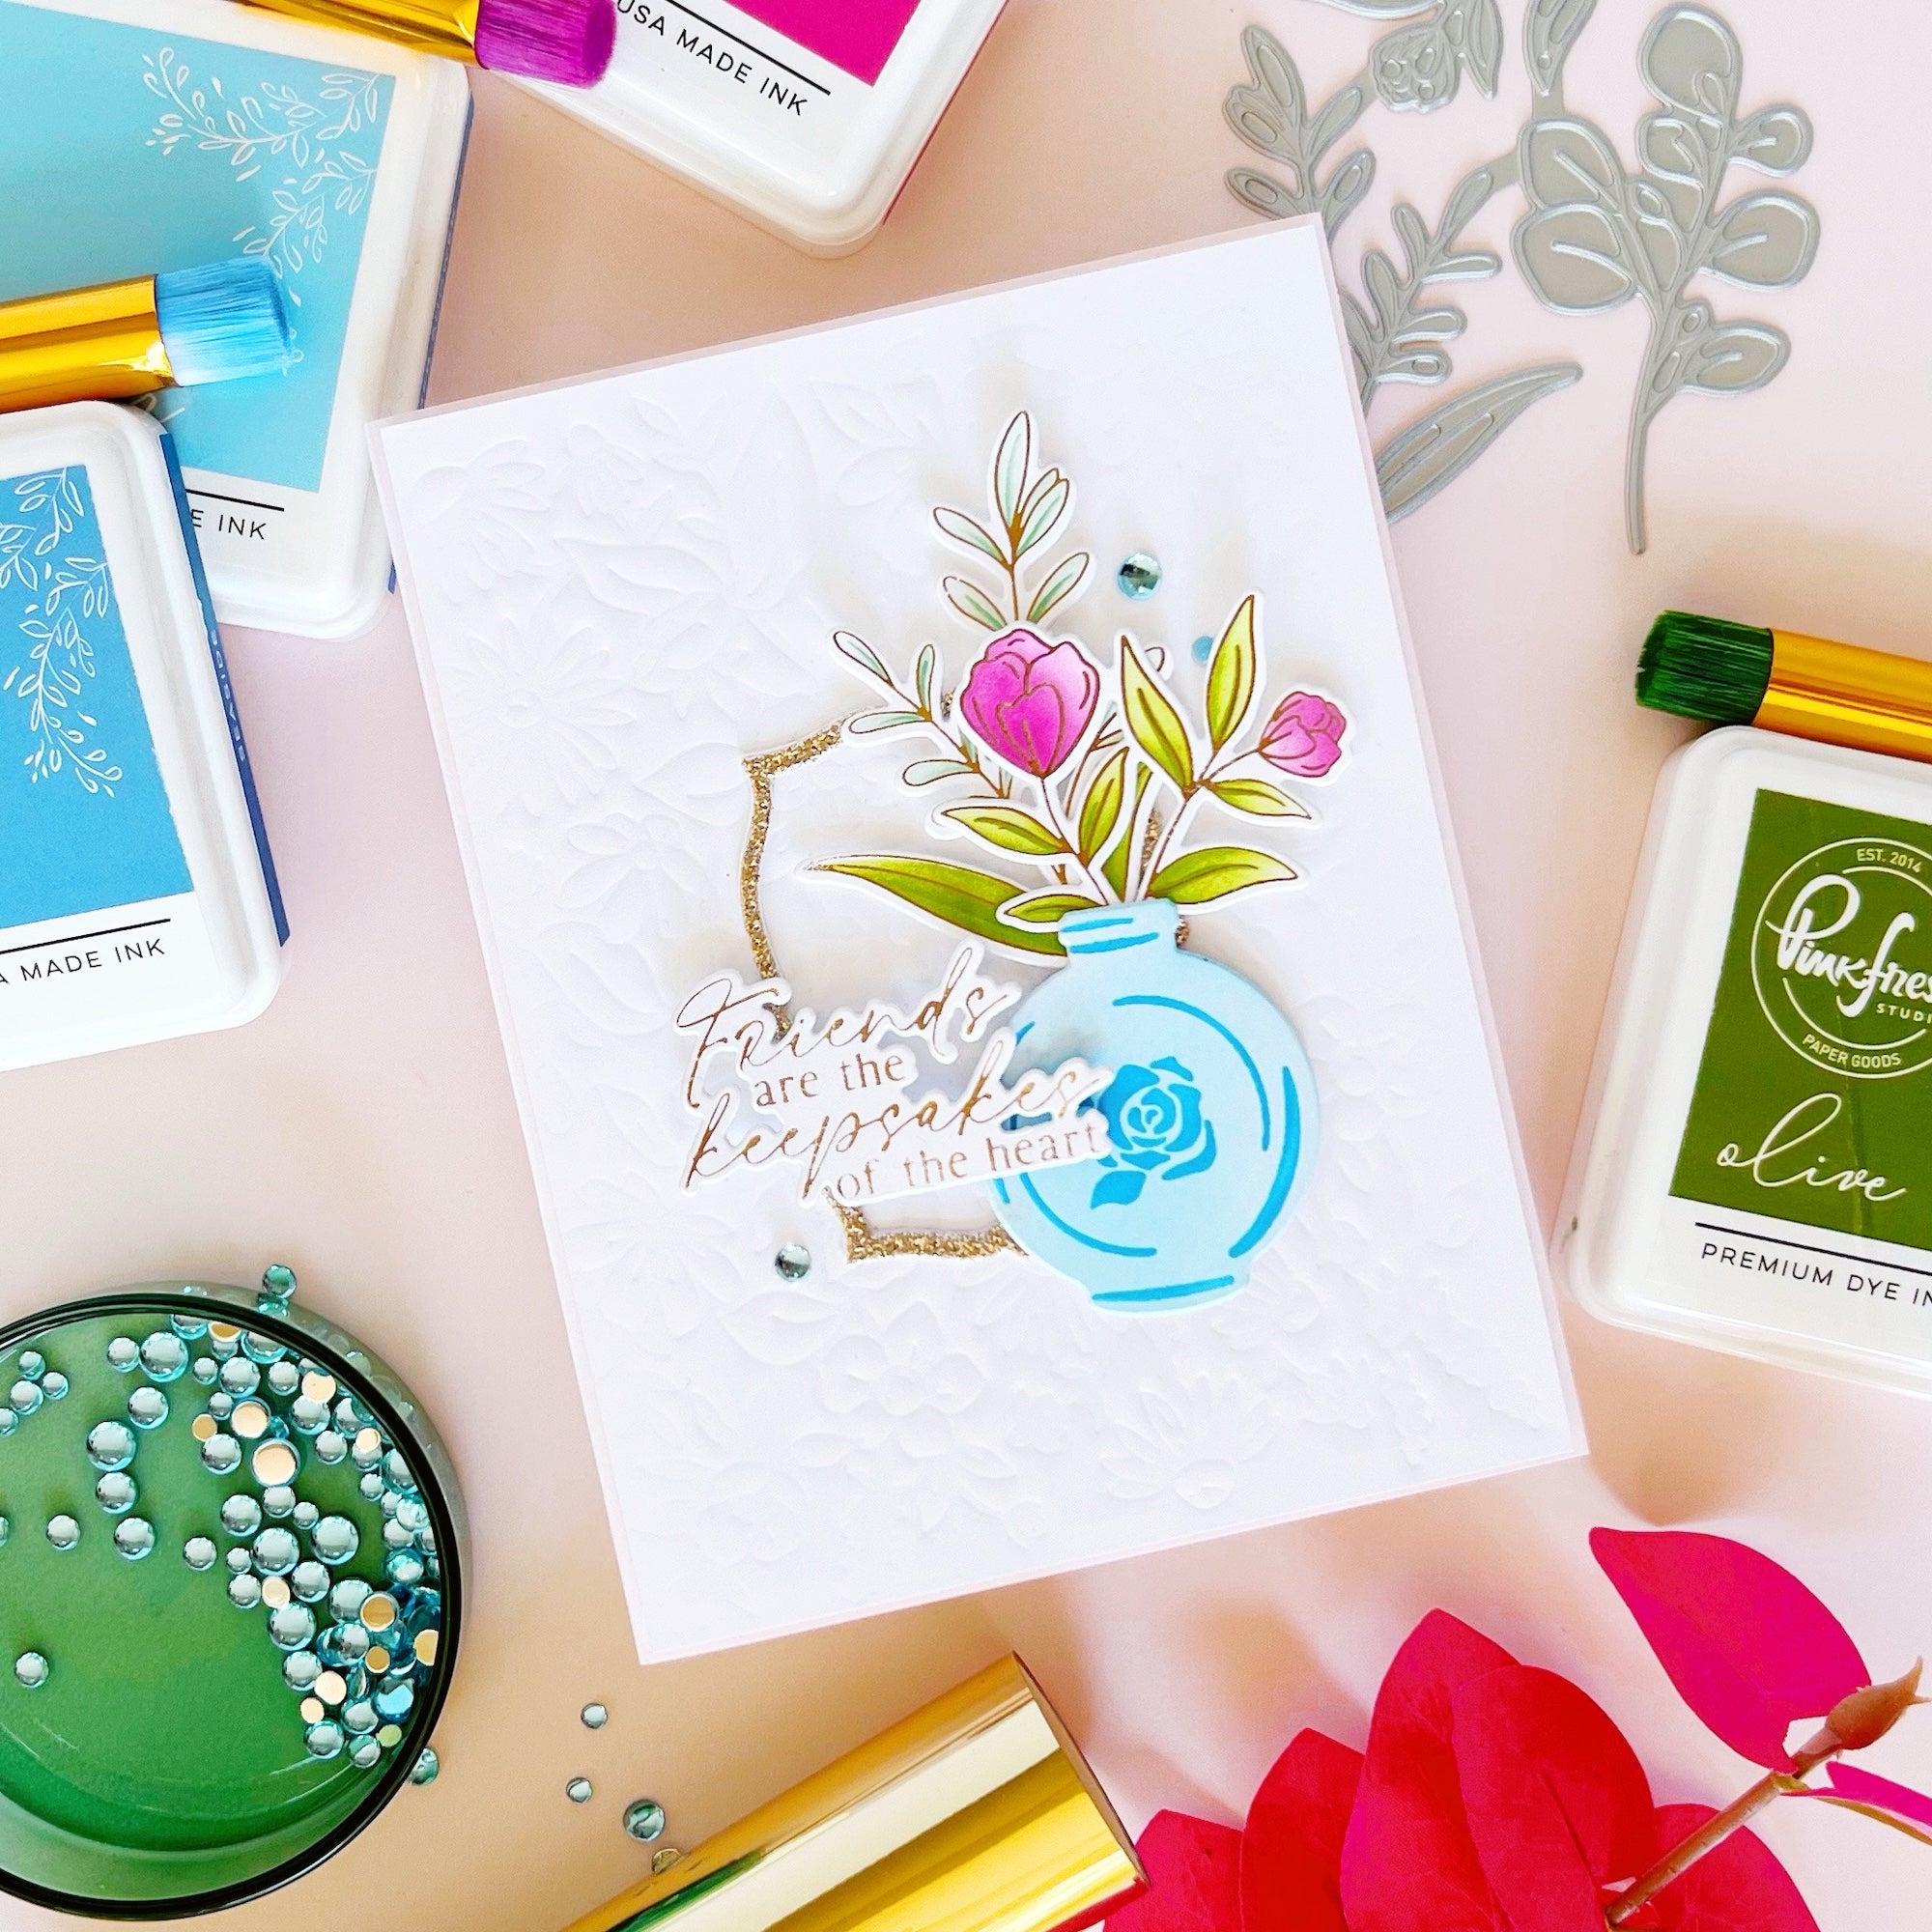
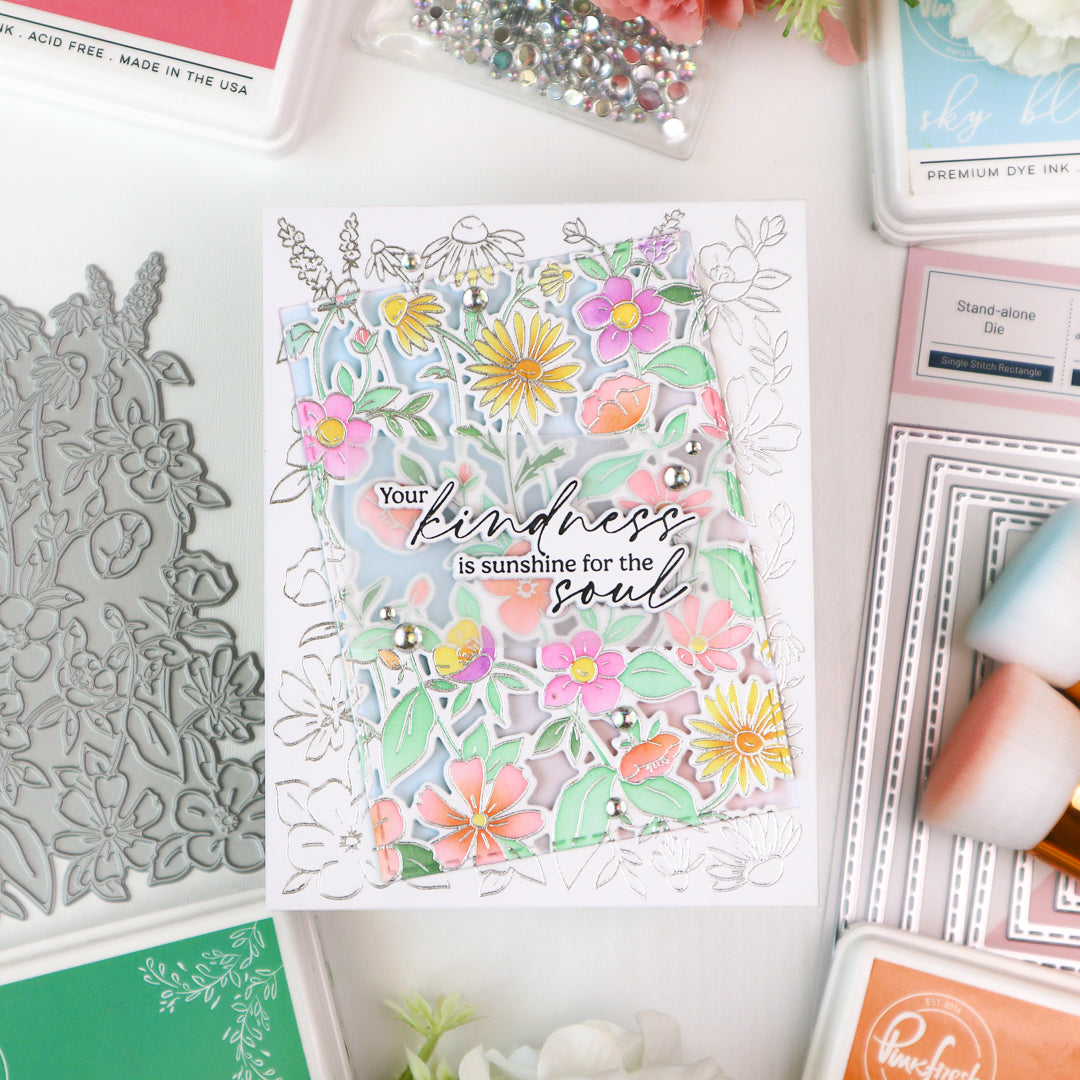
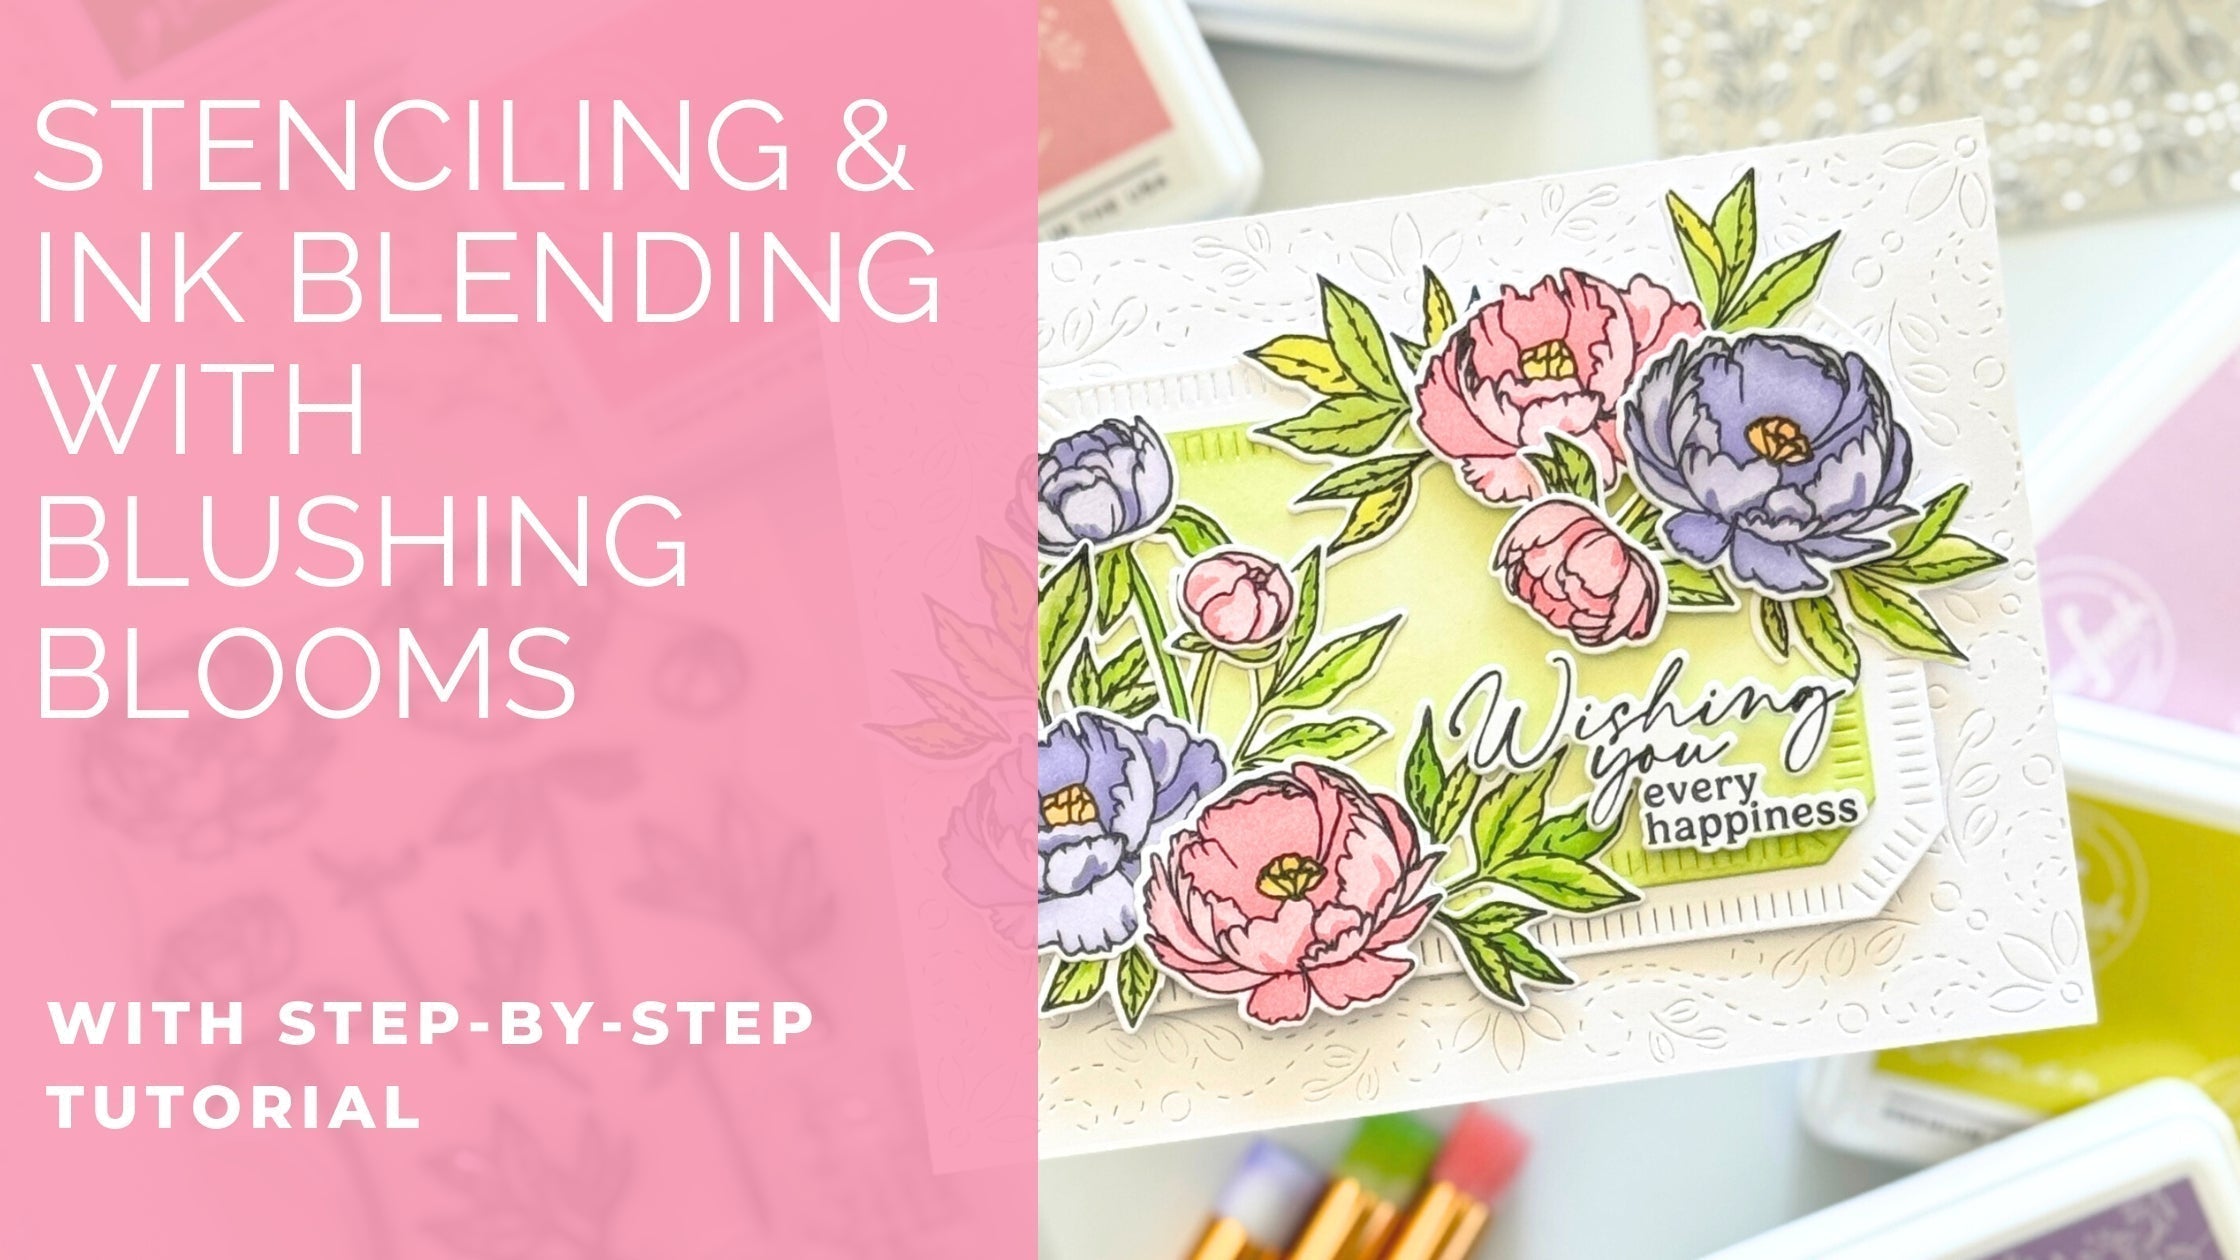
I show you the second card below. I switched to a horizontal format, changed up the frame, and added texture with a coverplate die. Same colors, same sentiment, same embellishments.

I’d love to see how you bring this idea to life! Share your creations on Instagram and tag us so we can cheer you on. Which of the two card designs is your favorite? Leave a comment below to let me know.
Quick Tip: Try switching up the color palette for a whole new look—think soft pastels for spring or bold jewel tones for a more dramatic effect. You can also swap the sentiments to create birthday, thank you, or holiday cards using the exact same layout!
Recommended Products

































Leave a comment
All comments are moderated before being published.
This site is protected by hCaptcha and the hCaptcha Privacy Policy and Terms of Service apply.