
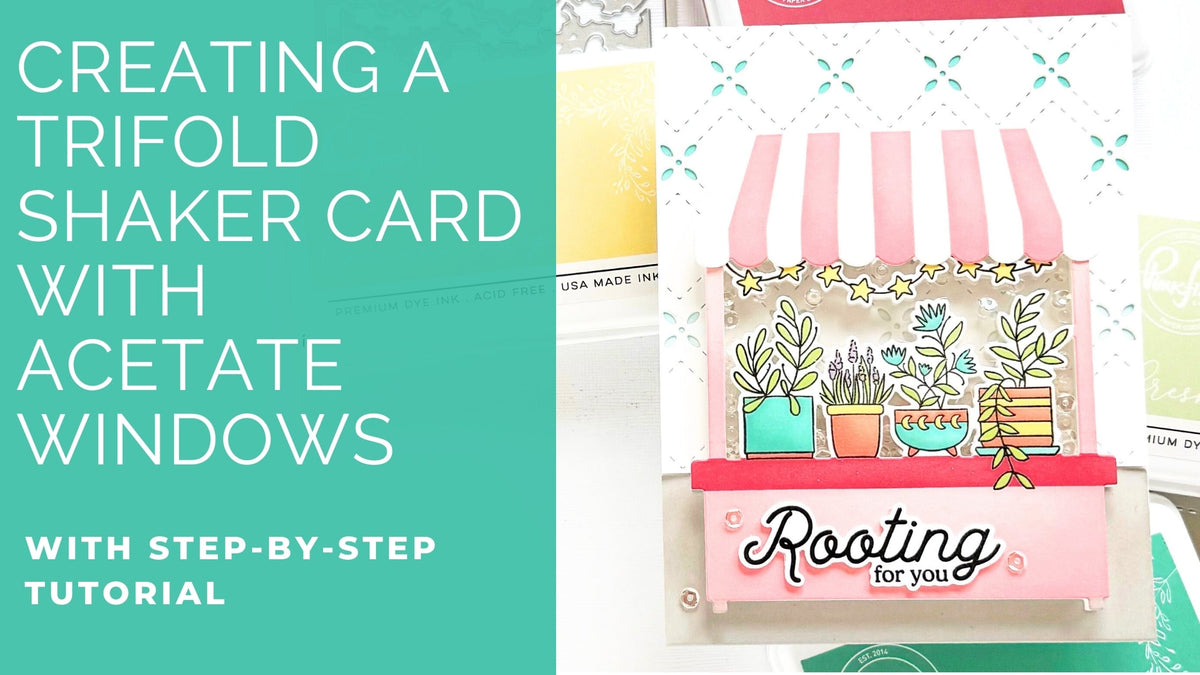
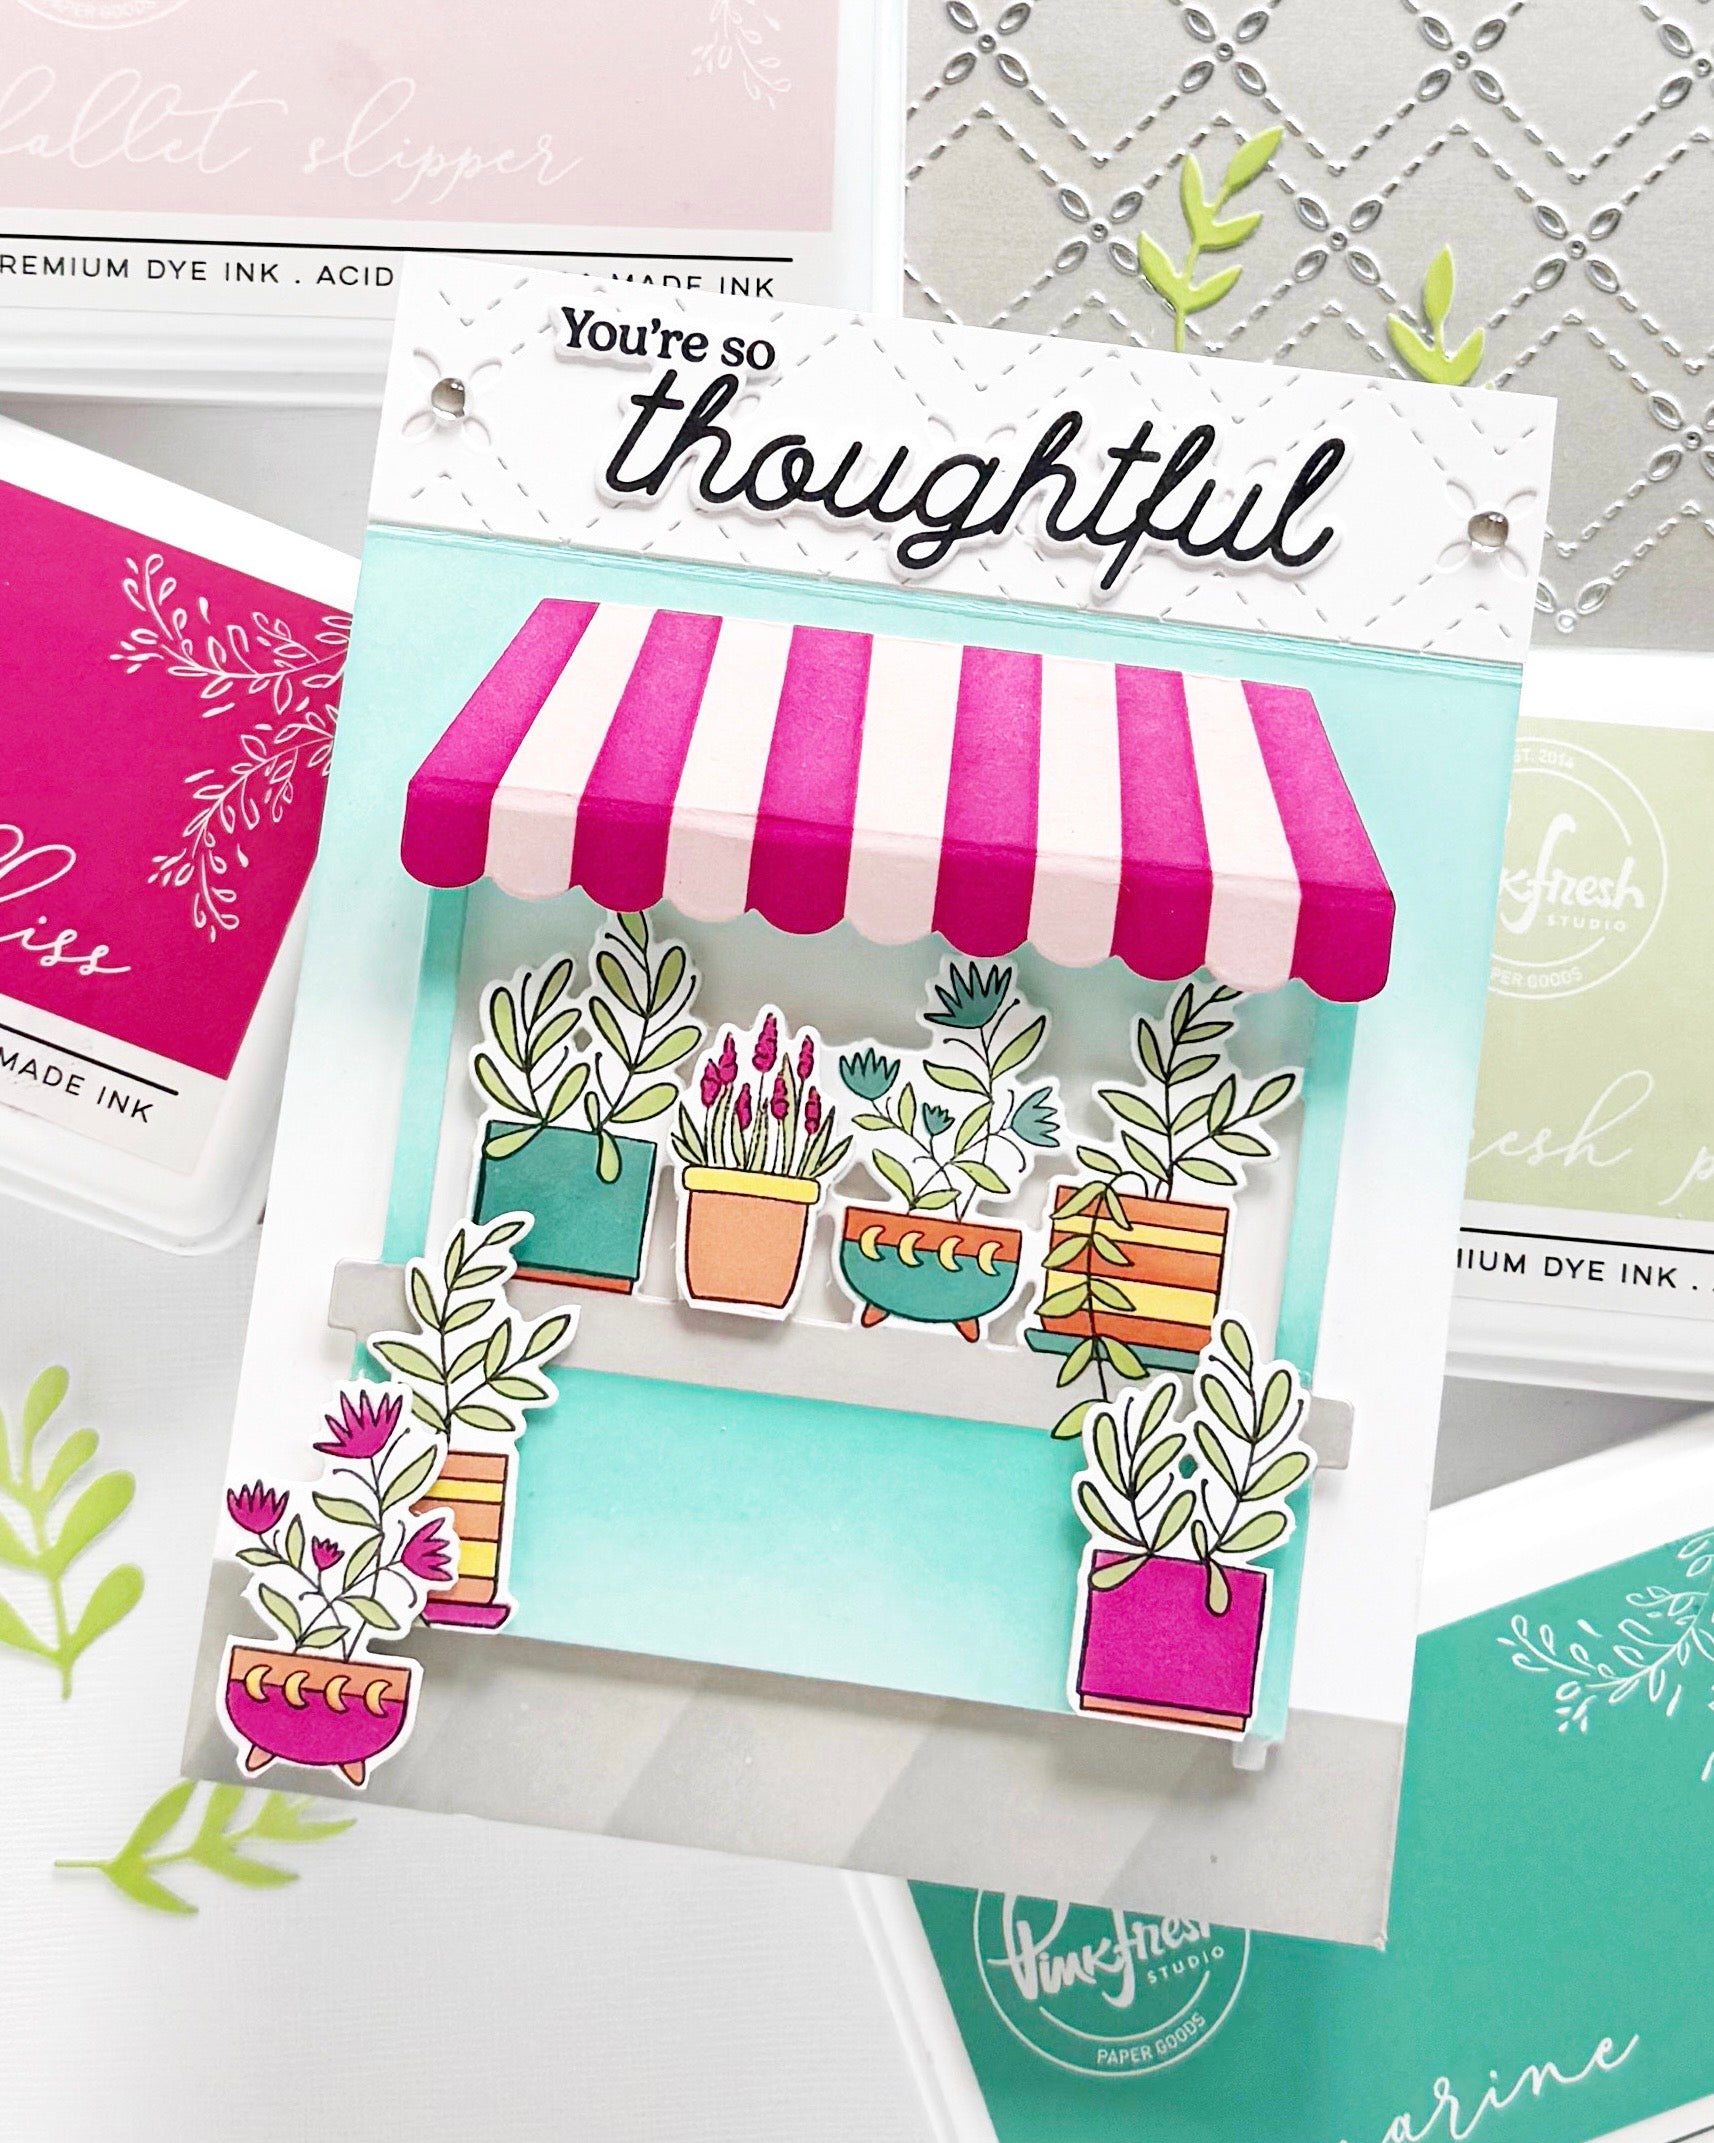
If you’re ready to take your cardmaking to the next level, this project is for you. Today I’m sharing how I created a trifold shaker card featuring the Flower Market suite and our new heat-resistant acetate. This design opens in an unexpected way, with a shaker element visible from both the front and back. It’s a clever construction that’s surprisingly approachable, and it makes for a card that is as fun to make as it is to receive.
*Disclaimer: All products used are linked below as clickable images. If a product isn’t listed, it’s been discontinued.

How to recreate this card:
- Score a piece of 4 1/4" x 11" cardstock at 1 1/2" and 7" to create the trifold card base.
- Mask and ink-blend the 1 1/2" section with Misty Coast and Rocky Slope to create the ground for your flower stand.
- Mask and ink blend the 4" section along the top with Ocean Breeze and Aquamarine.
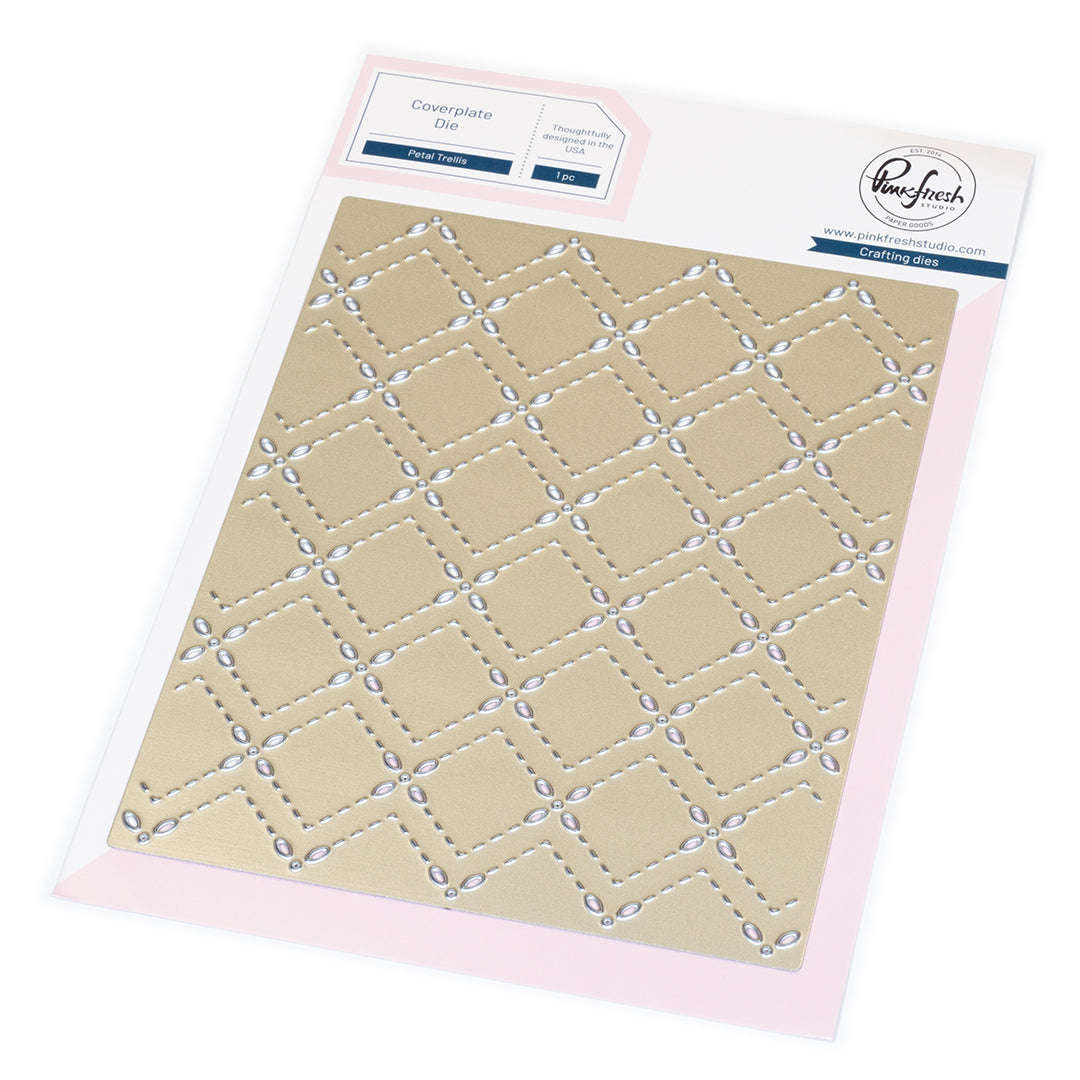
- Die cut an A2 white panel with the Petal Trellis coverplate die. Cut off 1 1/2" inches strategically to have a symmetrical design remaining. Adhere over the ink-blended portion of the card base. Set aside.
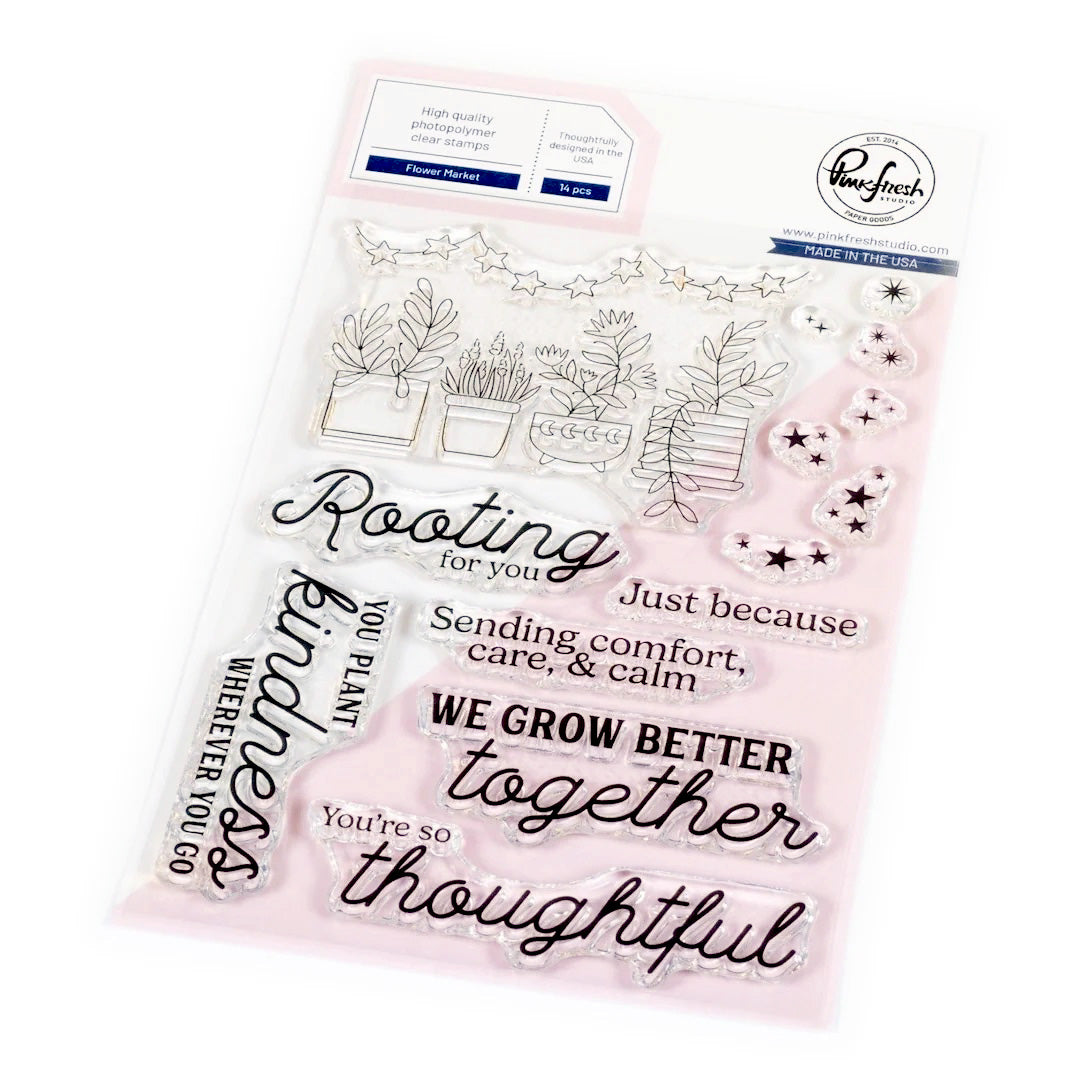
- Stamp the image in Detail Black on a piece of 4 1/2" x 6" cardstock, making sure you have room to stencil the stand and additional greenery (refer to the stencil and/or die for proper stamp placement). Stamp again using Versamark and heat emboss using clear embossing powder. Use the same technique for the sentiment.
-
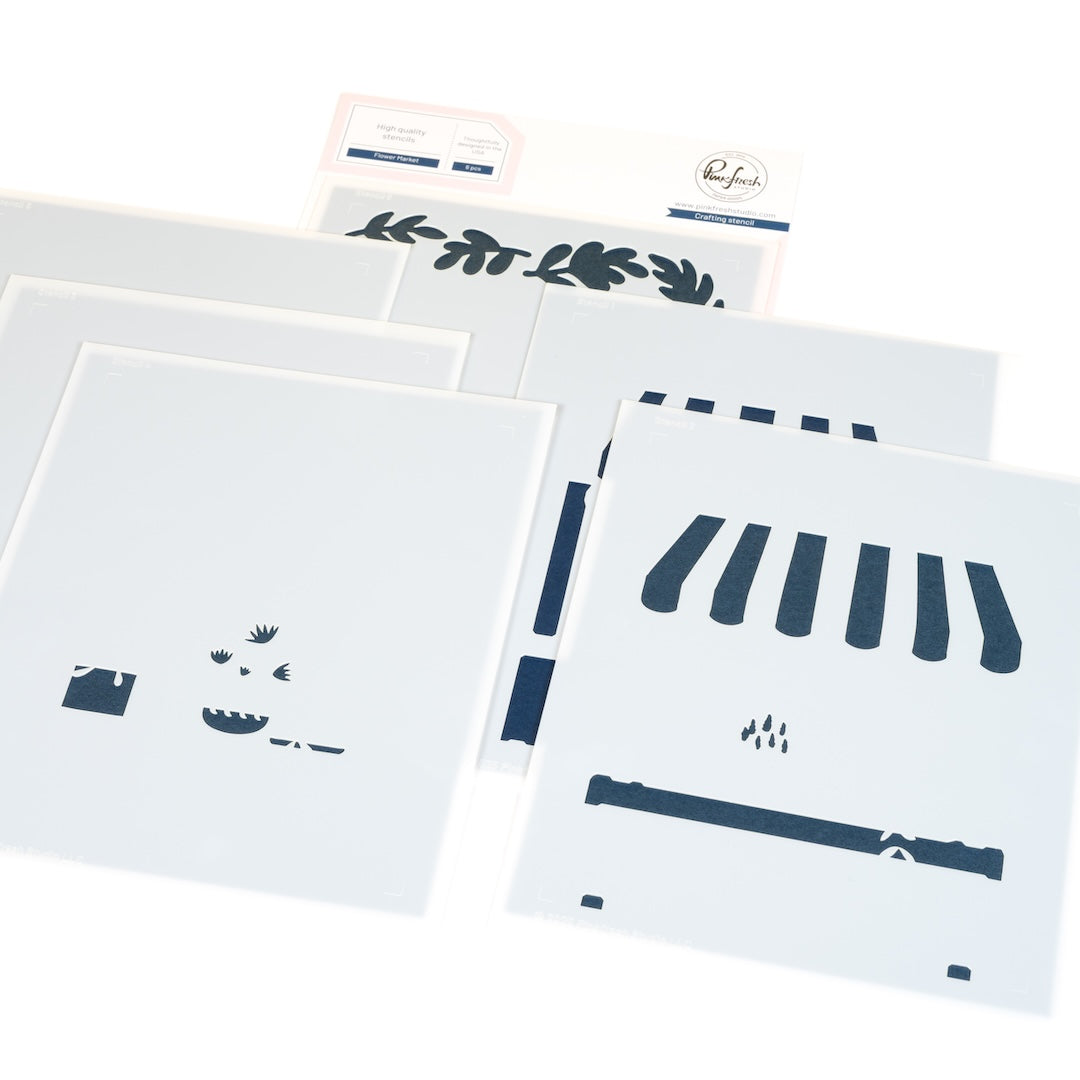
Use the coordinating stencils to add color to your scene.
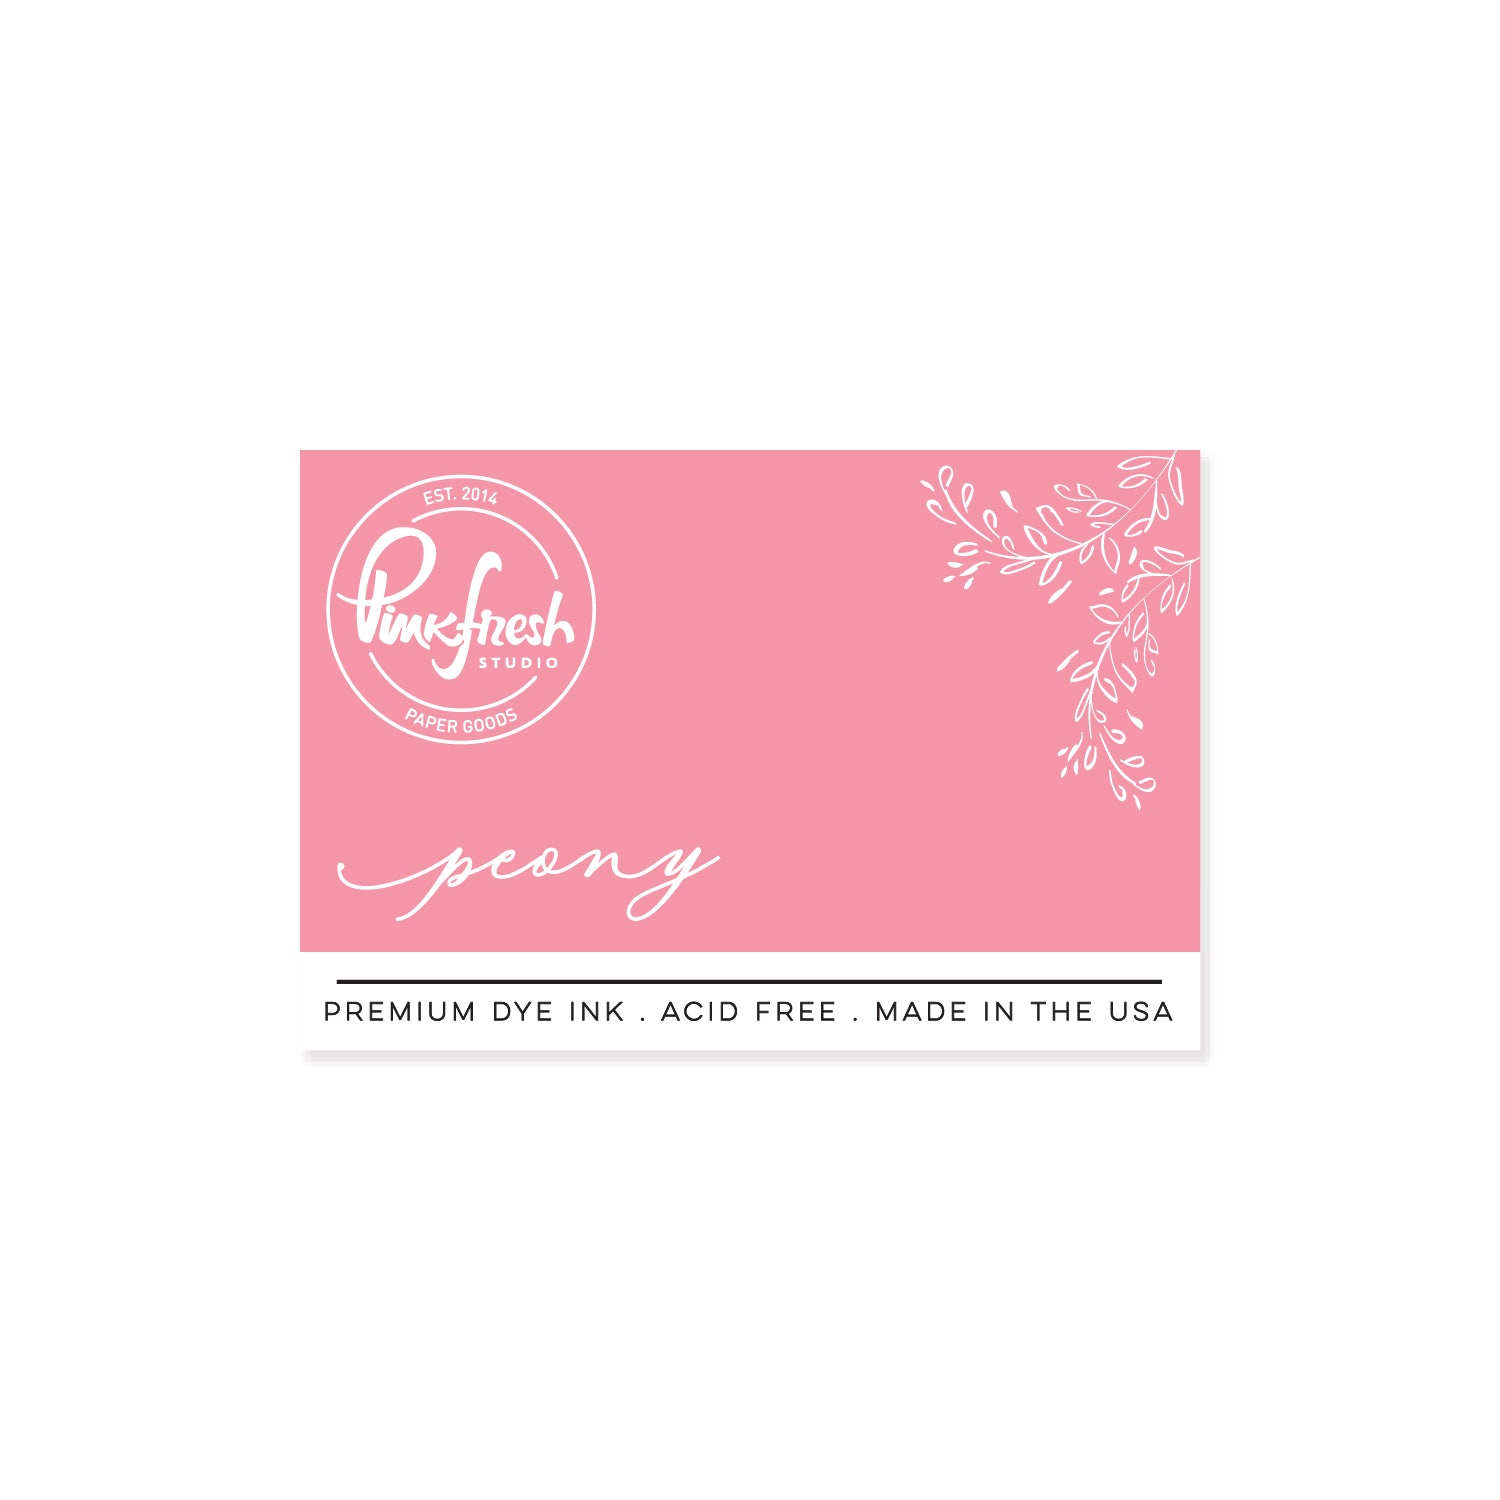
- Stencil 1: Skip canopy, Cherry Blossom + Peony (rest)
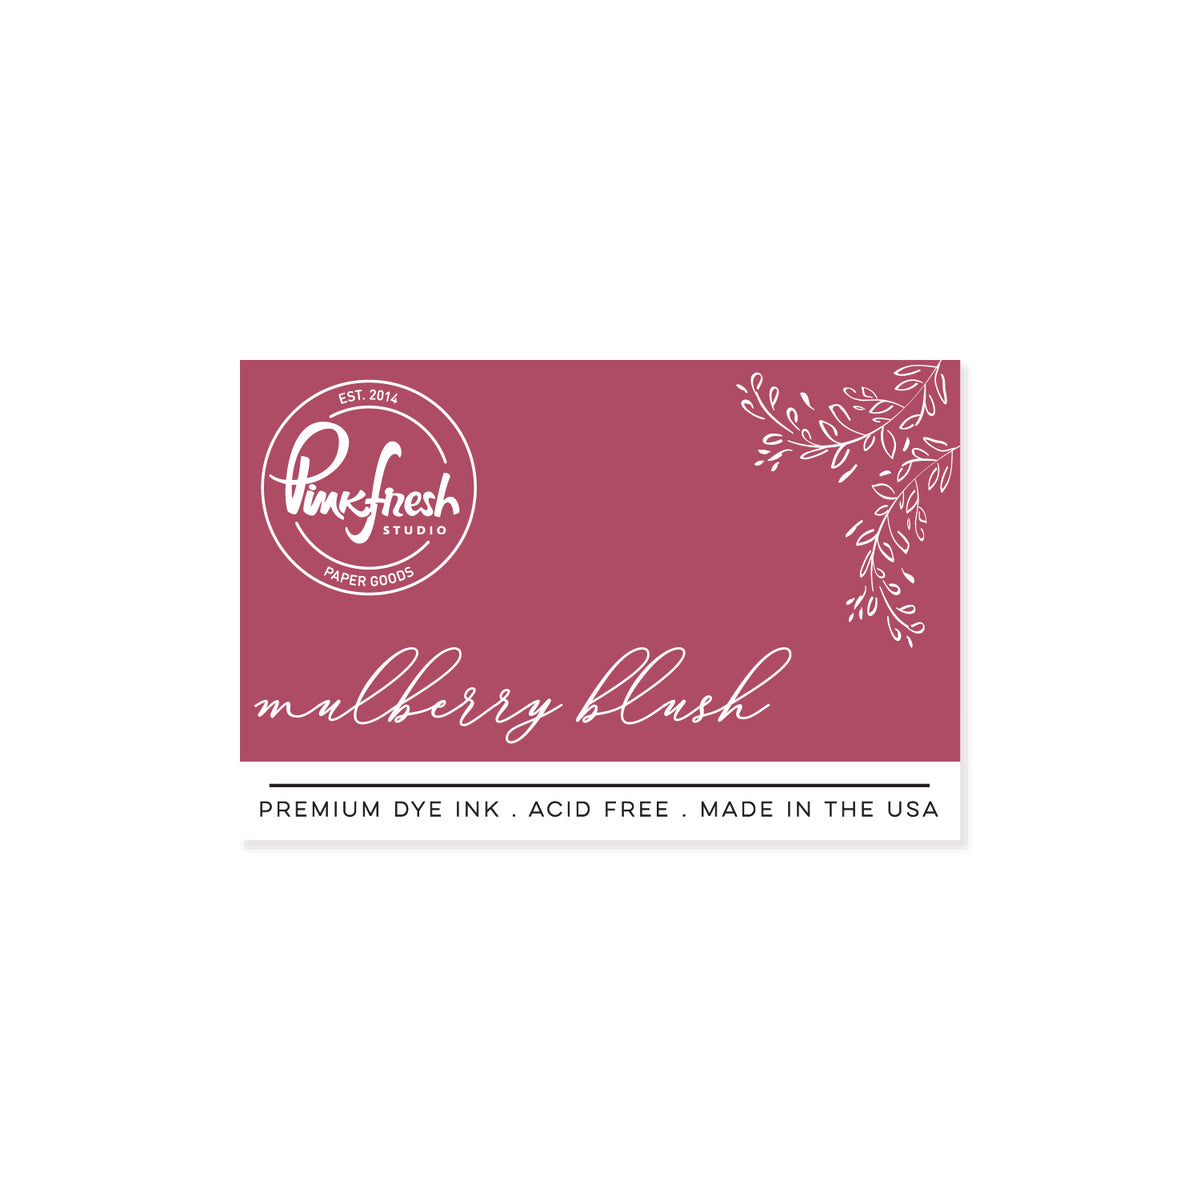
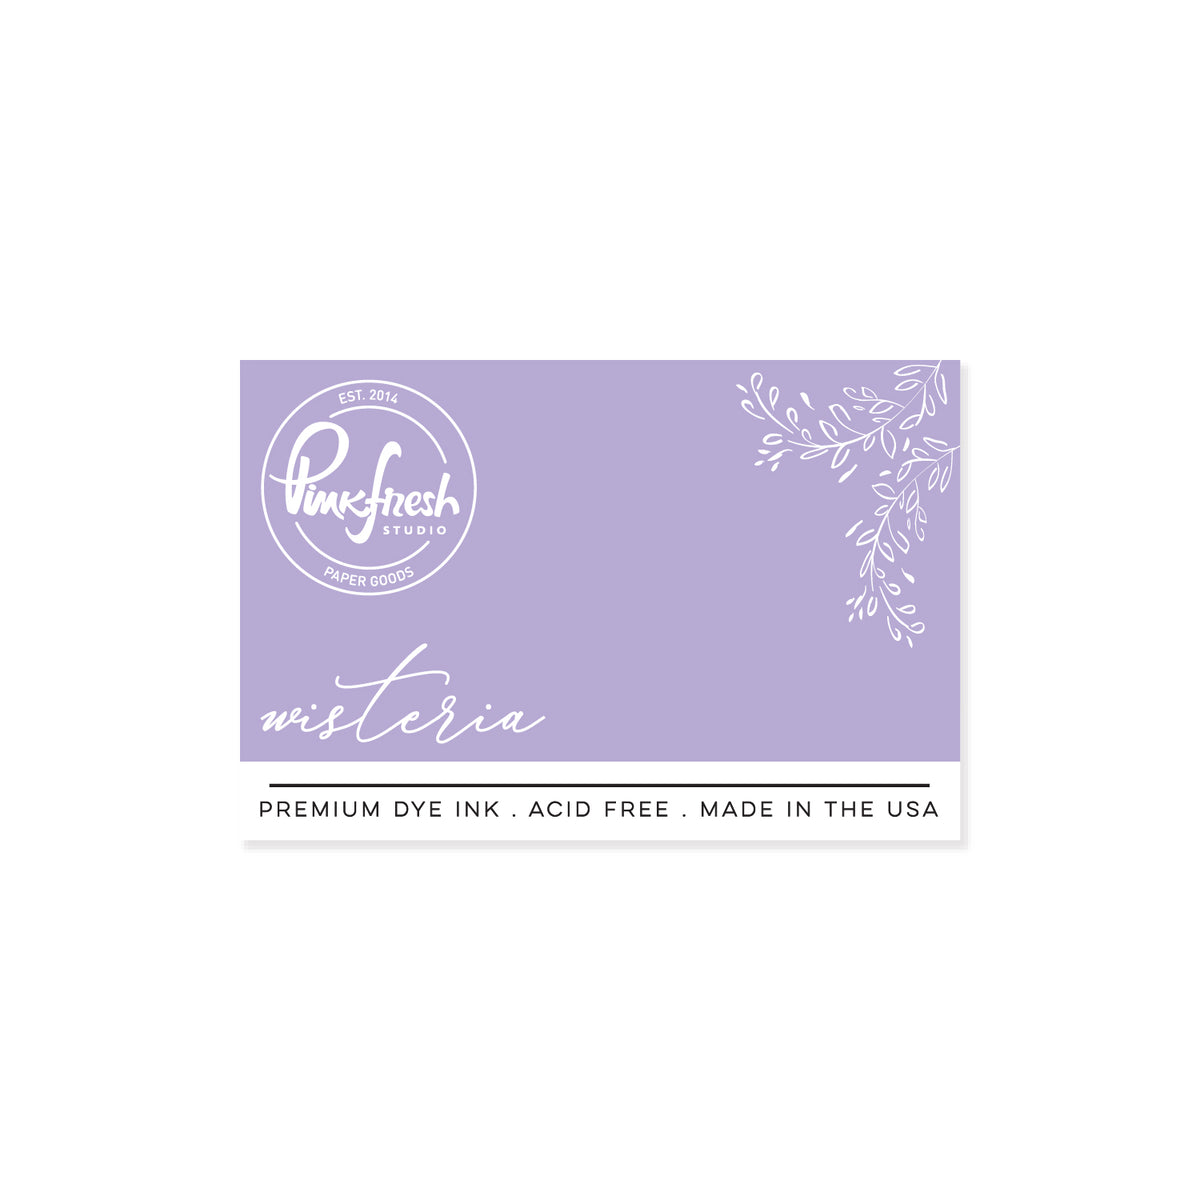
- Stencil 2: Cherry Blossom + Peony (canopy), Wisteria (flowers), Mulberry Blush (counter), Misty Coast (stand legs)
- Stencil 3: Peach Fuzz + Persimmon
- Stencil 4: Ocean Breeze + Aquamarine
- Stencil 5: Lemon Whip
- Stencil 6: Fresh Pear + Grassy Knoll
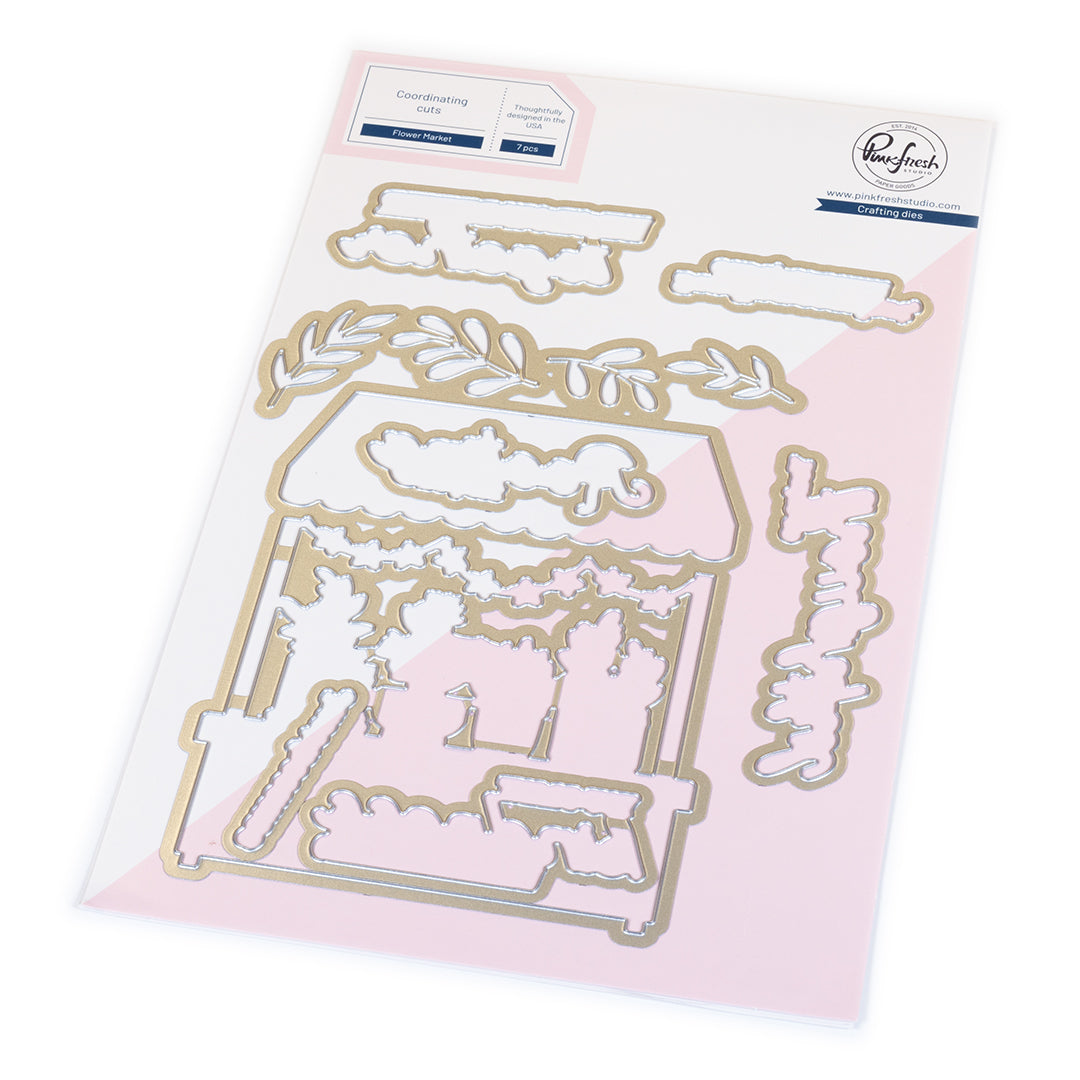
- Die cut the scene elements and sentiment with the coordinating dies; cut 2 white blanks for each element. Stack the images with one white blank, and the sentiment with two white blanks.
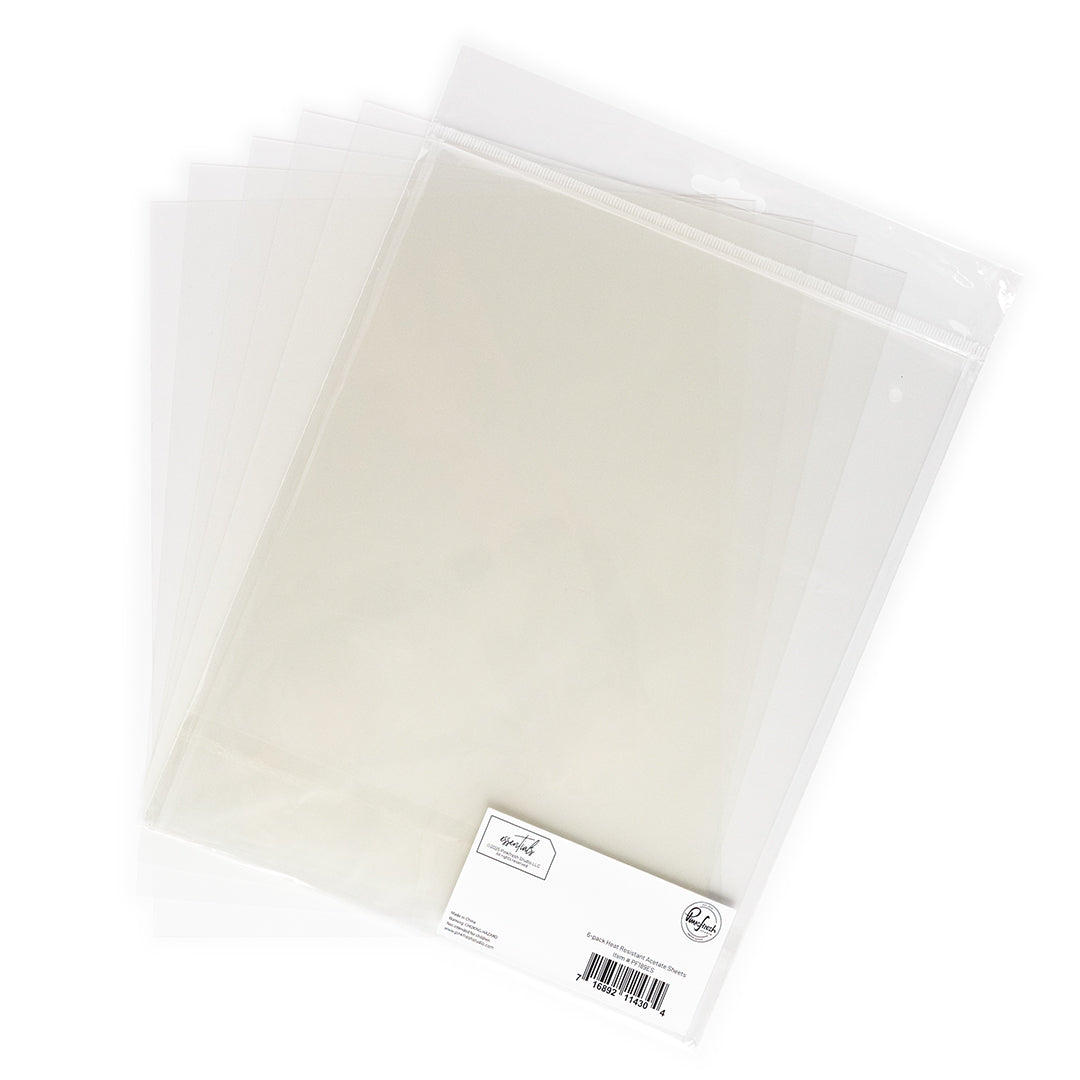
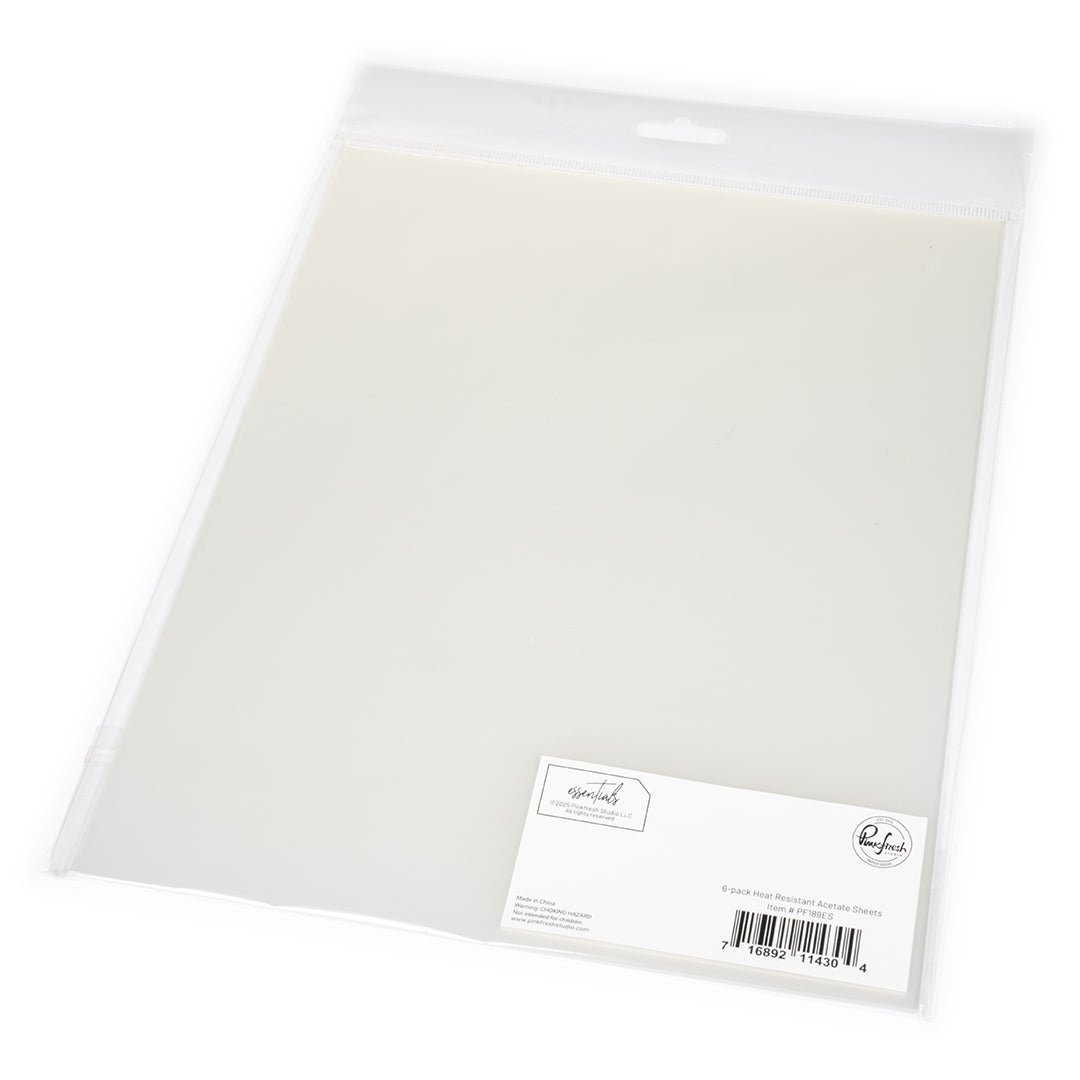
- Adhere a piece of 3 1/4" x 2" acetate to the backside of the flower stand. Add thin foam tape around the perimeter of the acetate. Fill with clear drops and sequins. Close with another piece of 3 1/4" x 2" acetate. Line up and adhere a white blank die cut to conceal all adhesive. You'll need to have the "ugly side" of the die cut showing on the stand, but you can have the pretty side of the canopy showing, as it is symmetrical.
- Adhere the completed stand only to the bottom flap of the card base.
- Adhere the sentiment to the stand.
- Embellish with sequins or drops.
- Shake, shake, shake!


I hope this trifold shaker tutorial inspires you to experiment with interactive card designs! I’d love to see your take on it—share your creations on Instagram and tag us, or leave a comment below with your favorite detail or question.
To mix things up, try filling the shaker with different materials like microbeads, die cut confetti, or glitter. If you’re looking for an easier version, try a single-fold base with a flat acetate window. No matter which way you go, this design is sure to surprise and delight anyone who opens it.
Recommended Products





































2 comments
Sue Crease
Gorgeous, love your soft colour palette.
Tracy
What an adorable card!!!
Leave a comment
All comments are moderated before being published.
This site is protected by hCaptcha and the hCaptcha Privacy Policy and Terms of Service apply.