
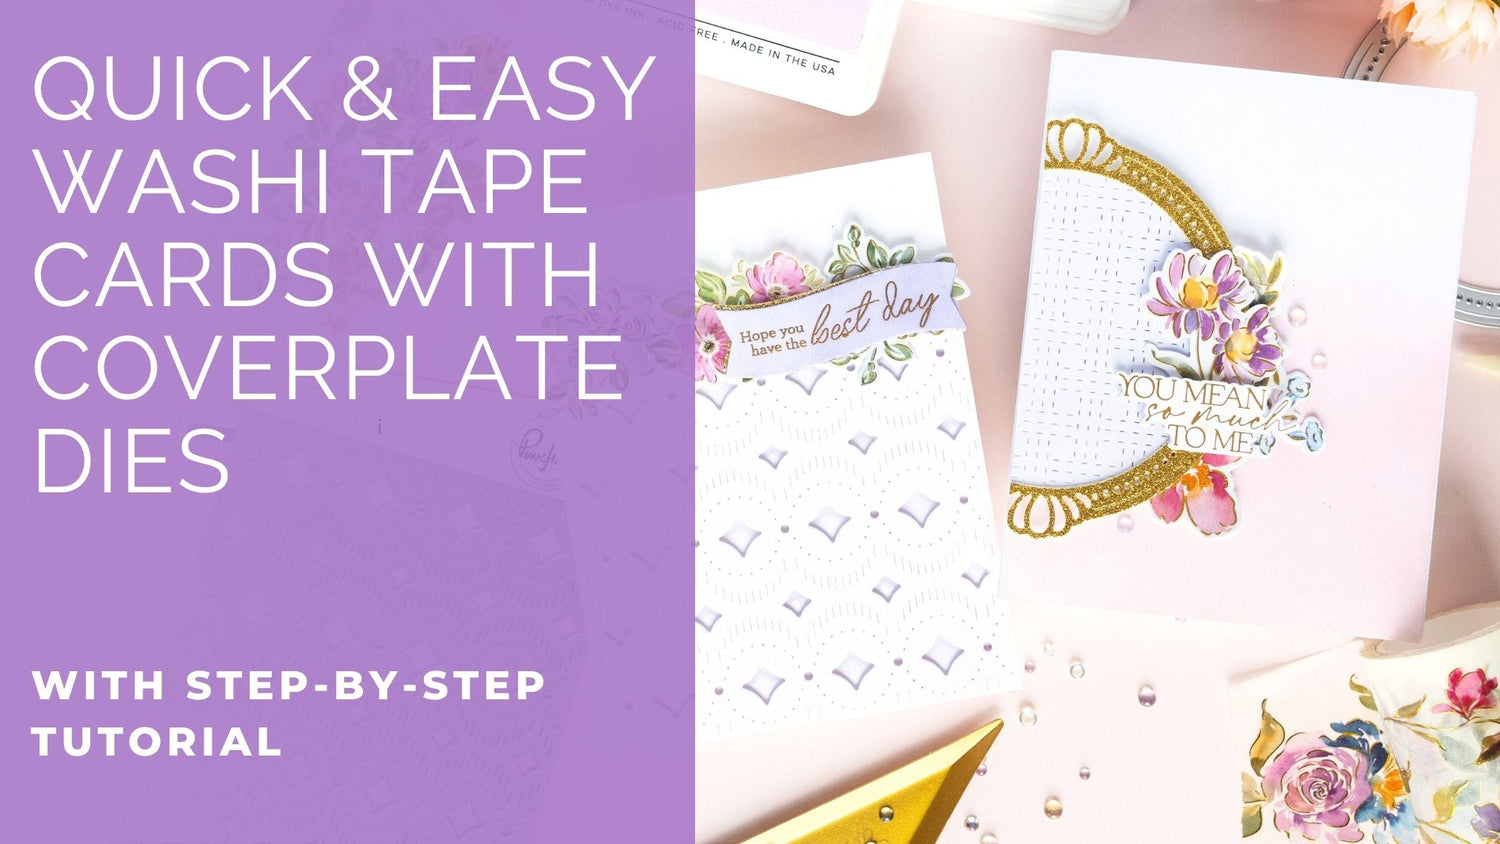
Hi everyone, and happy Monday! I hope you had a fabulous weekend! Today I (Kathleen) wanted to share some more ideas with you, for how to make quick & easy cards with coverplate dies and our washi tapes.
In a recent YouTube Live session on the Pinkfresh Studio channel I challenged myself to create as many cards as possible in 60 minutes using some leftover washi tapes die cuts & combining them with the new coverplate dies. I mentioned that I had so many more ideas, so I decided to share two more in today's blogpost.
If you’re not familiar, we go live on our YouTube channel every Tuesday at noon CT for a fun, 60-minute cardmaking session—complete with amazing inspiration, lively chat, and of course, giveaways! So don't miss out!
If you missed the Live session, you can watch the replay below (or click to watch full screen):
*Disclaimer: All products used are linked below as clickable images. If a product isn’t listed, it’s been discontinued.


Here's how to make the first card:
-
Card Base: Cut and score an A2 card base (top or side-folding) from white cardstock.
-
Panel:
- Cut (1) A2 panel from white cardstock.
- Use the Stippled Plaid press plate without ink in the Betterpress system for a "blind letterpress" effect. (this is very subtle, almost invisible in the photos)
- Use a 1" blending brush & ink blend with Cherry Blossom, starting at the bottom & fading it out toward the top.
- Adhere onto the card base.
-
Frame:
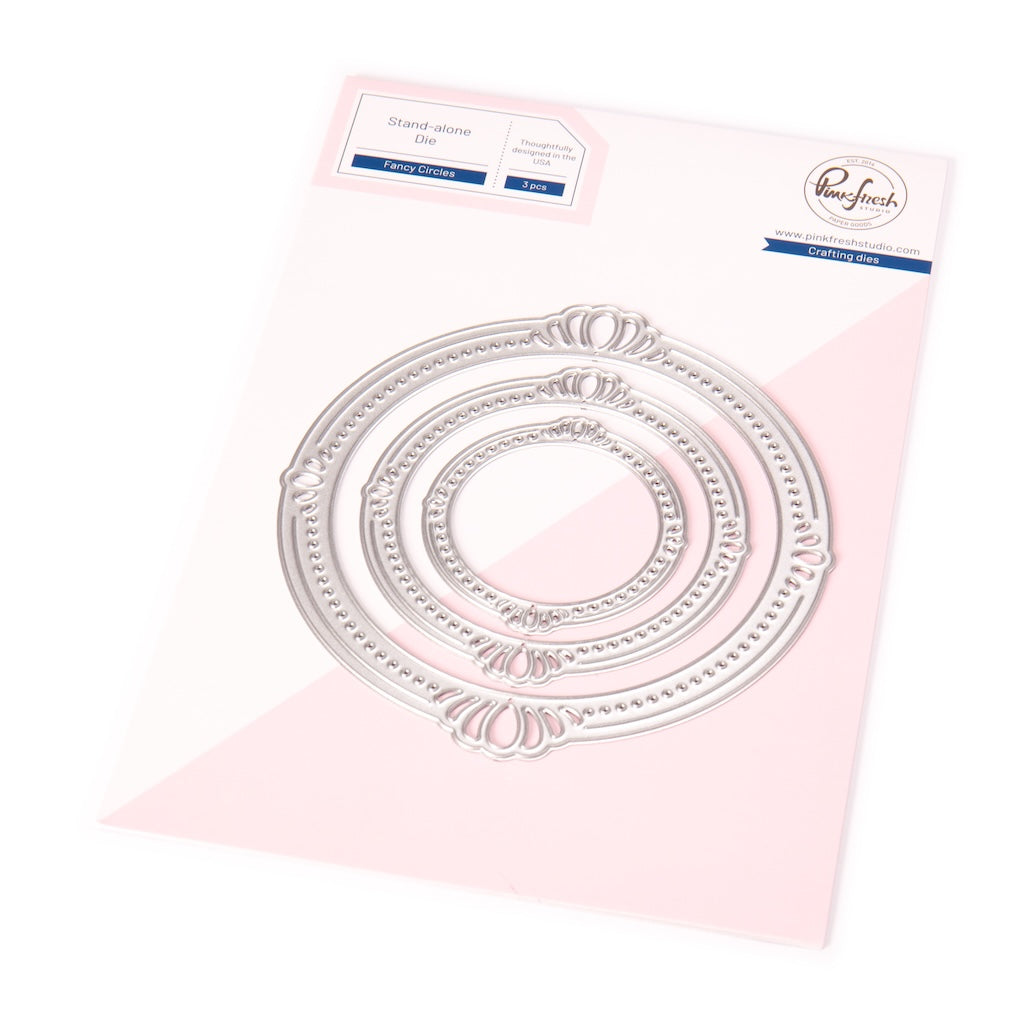
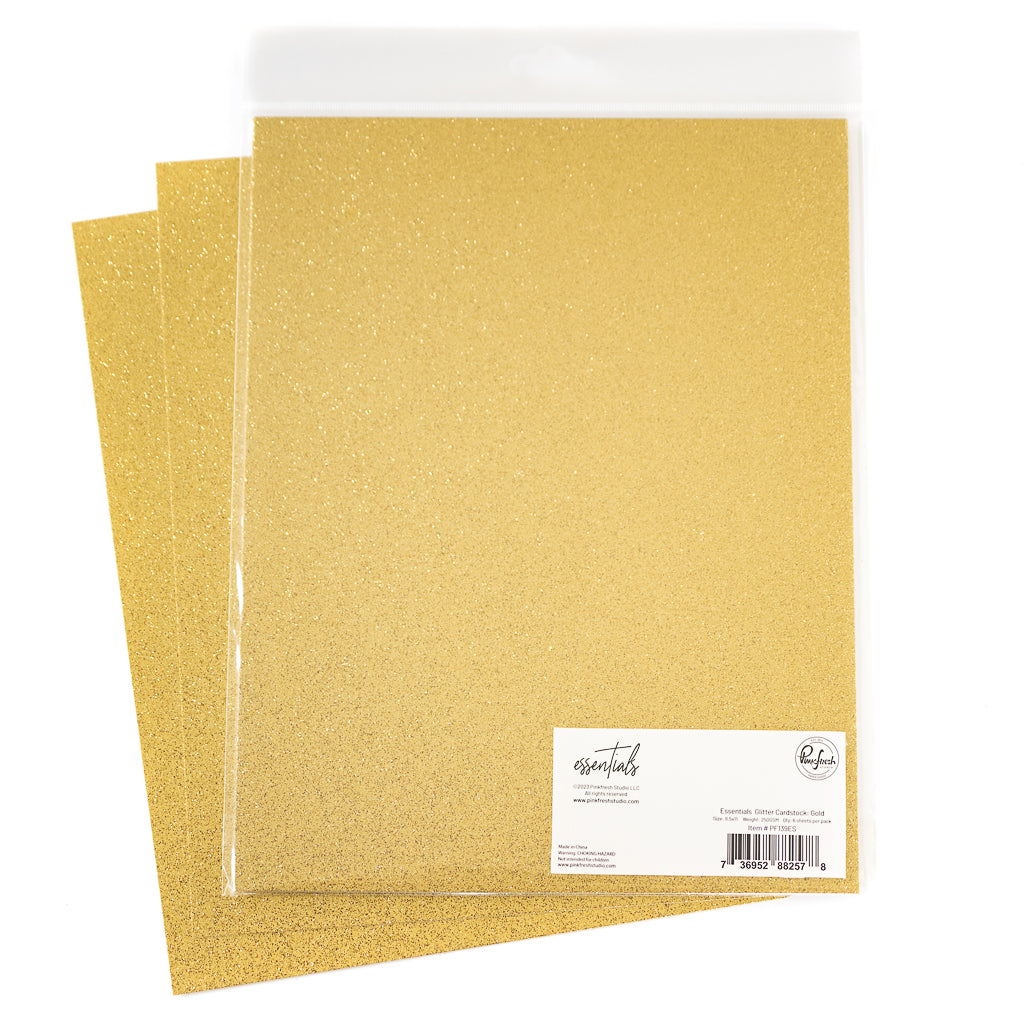
- Die cut the largest Elegant Circles die from gold glitter cardstock.
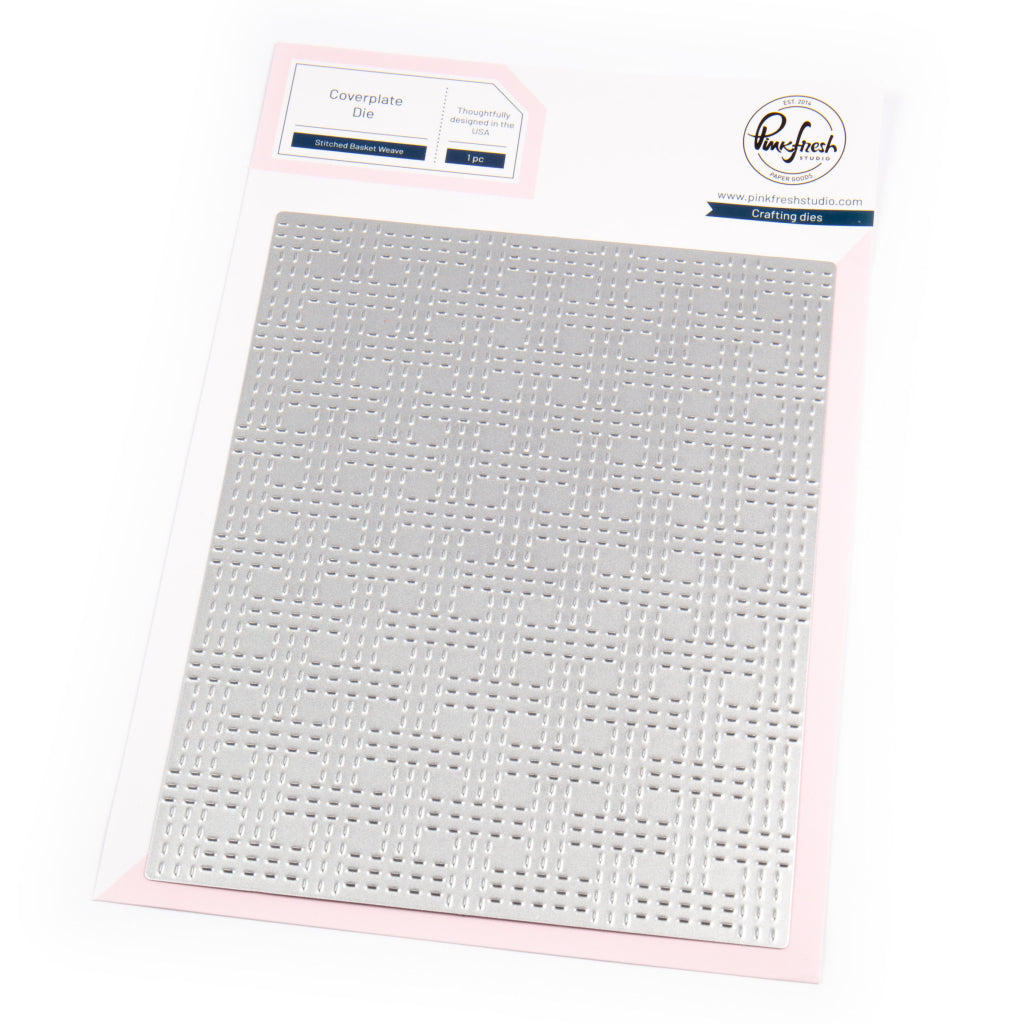
- Cut a piece of white cardstock to 3"x4" and die cut with the Basket Weave coverplate die.
- Back gold frame with white cardstock piece. Note: Only a bit more than half of the frame will be used on the card.
- Adhere assembled frame to the left side of the card front using foam adhesive. Cut off excess.
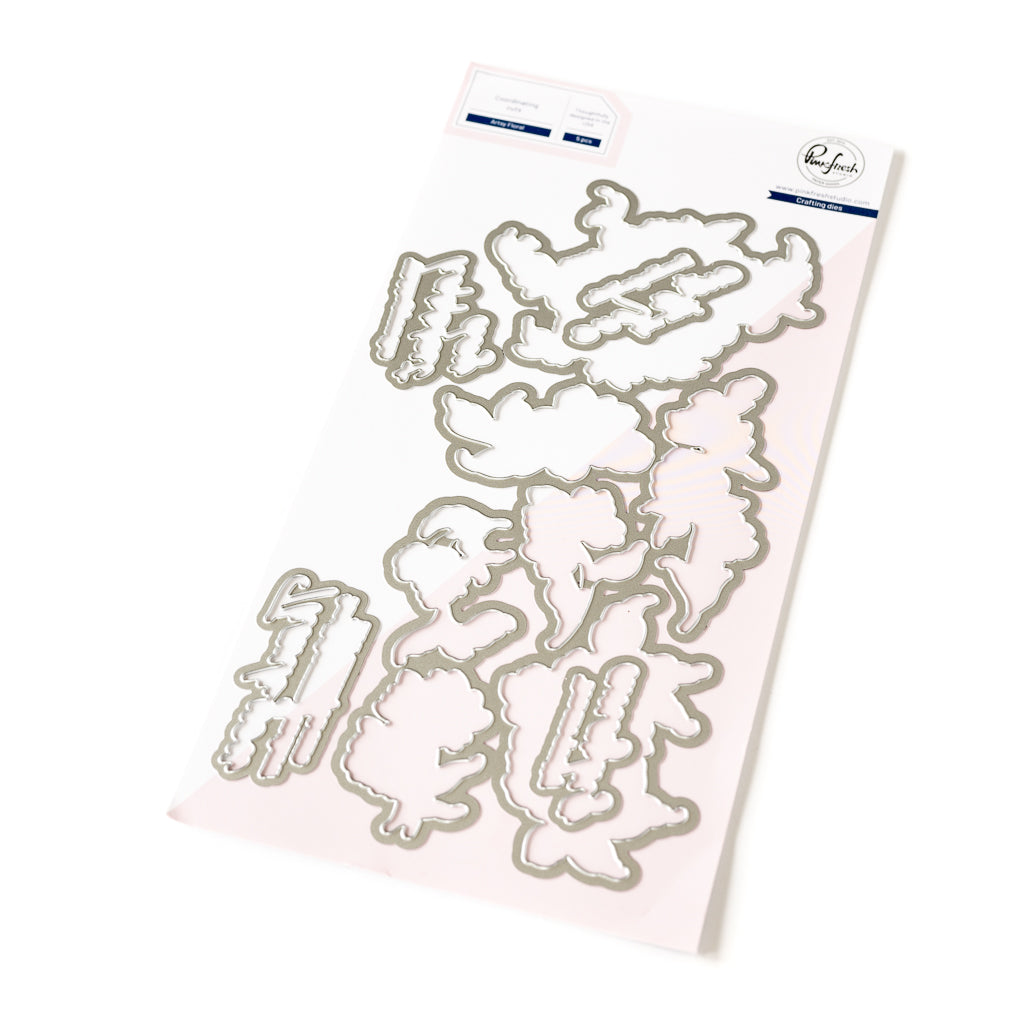
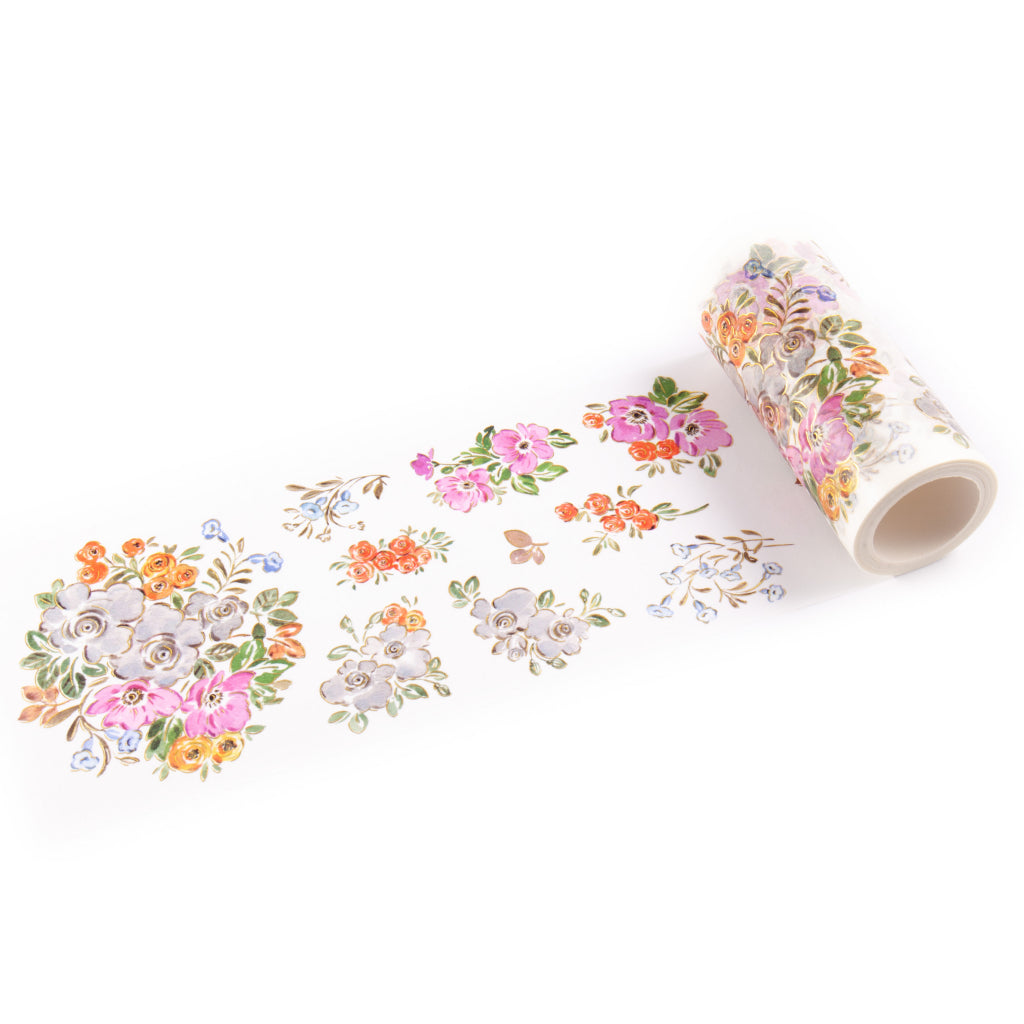
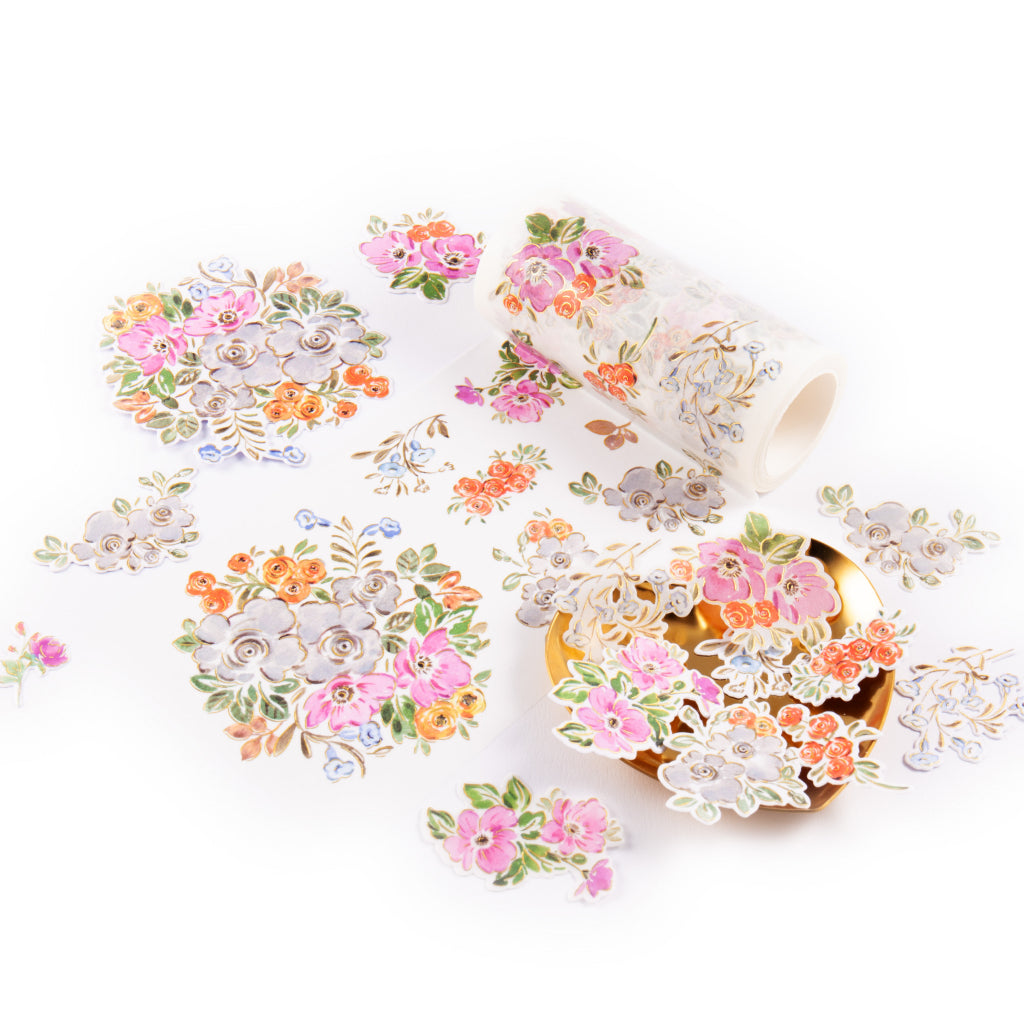
- Washi Flowers: Adhere some die-cut washi tape florals on top and behind the frame. The florals in the example were cut from the Artsy Florals & Blooming Grace washi tapes.
-
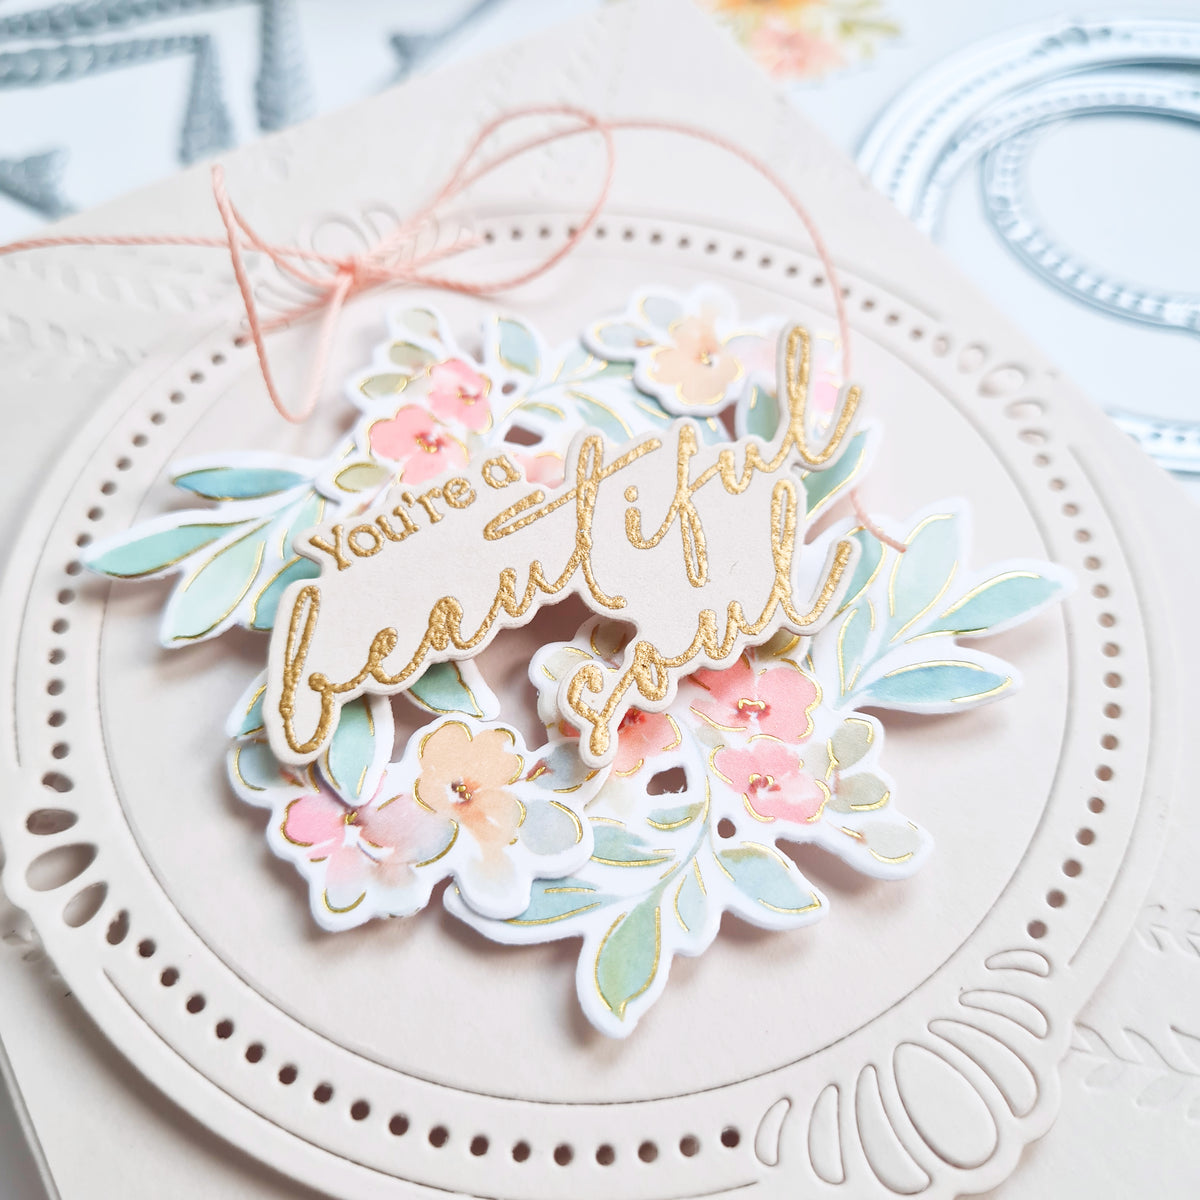
Add a sentiment:
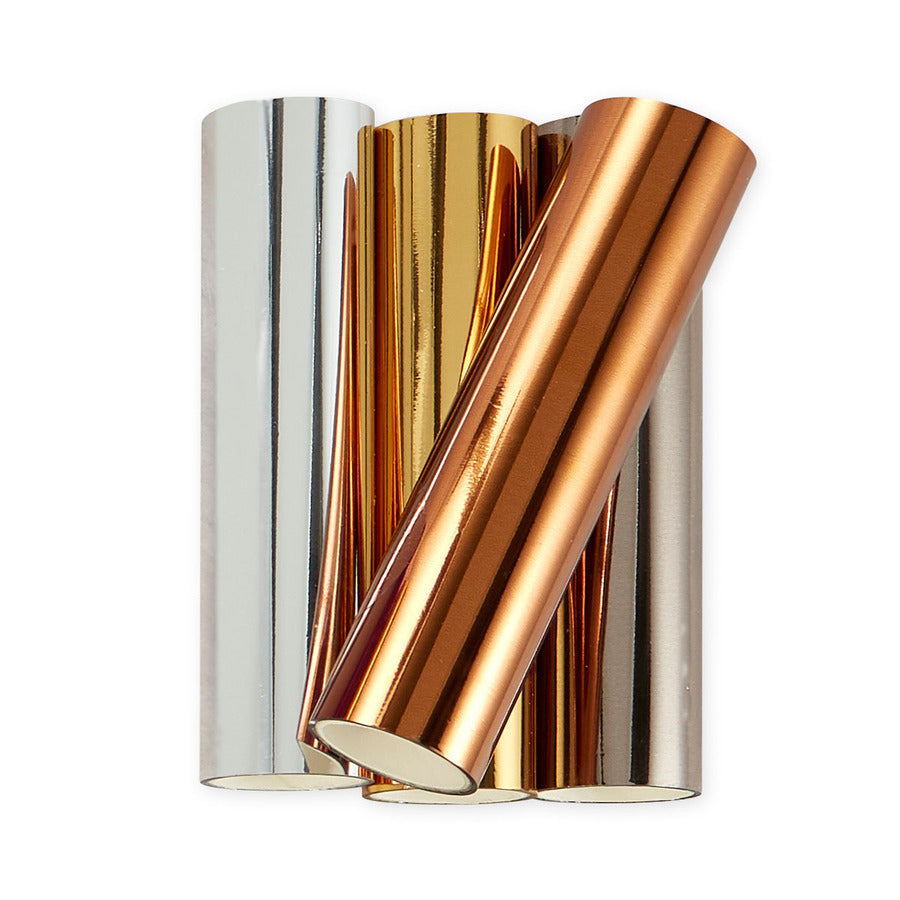
- Hot foil a sentiment of your choice in Gold on white cardstock.
- Die cut with the coordinating die & stack with (2) blank pieces.
- Adhere on top of the frame.
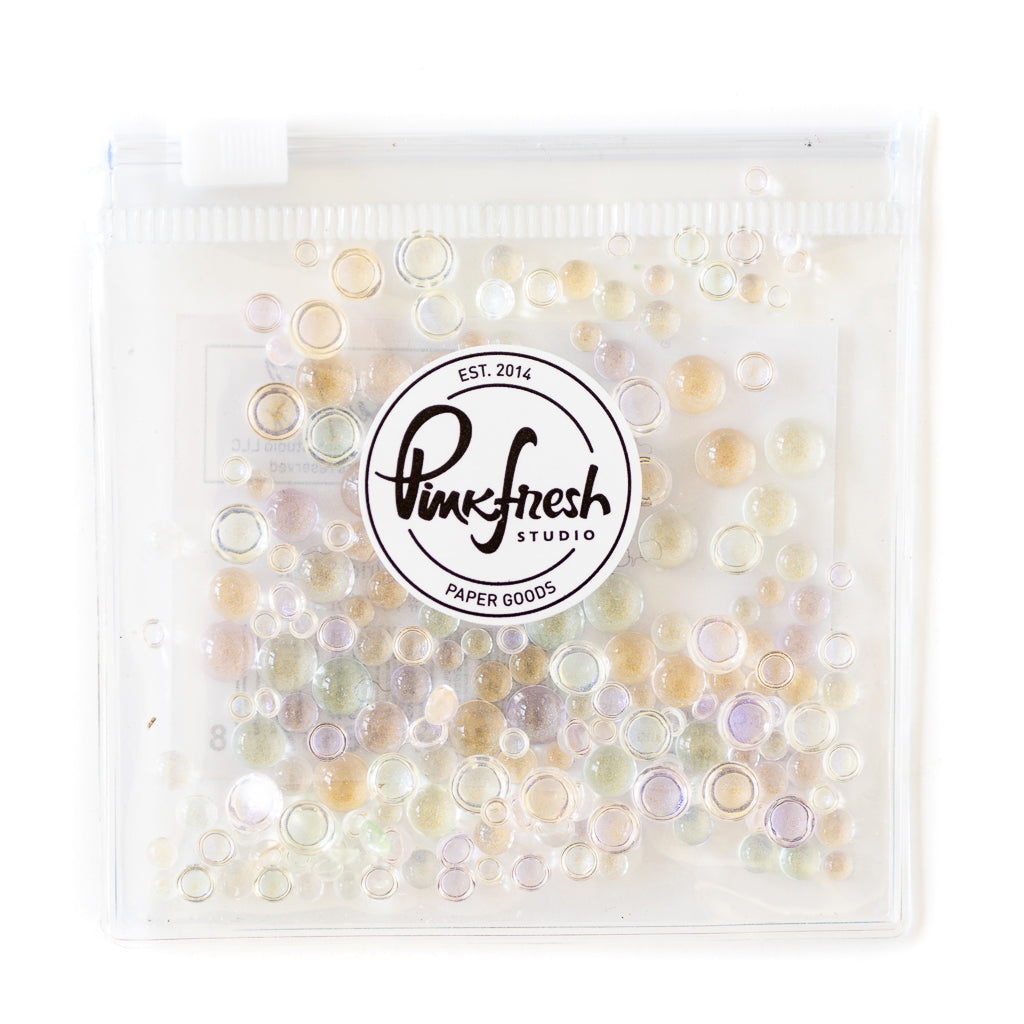
- Embellish: Use some Iridescent Dew Drops for the final touch.

And here is the step-by-step tutorial for the second card:
-
Card Base: Cut and score an A2 card base (top or side-folding) from white cardstock.
-
Die-cut & Dry-embossed Panels: Cut (2) 4" x 4 1/4" panels from white cardstock.
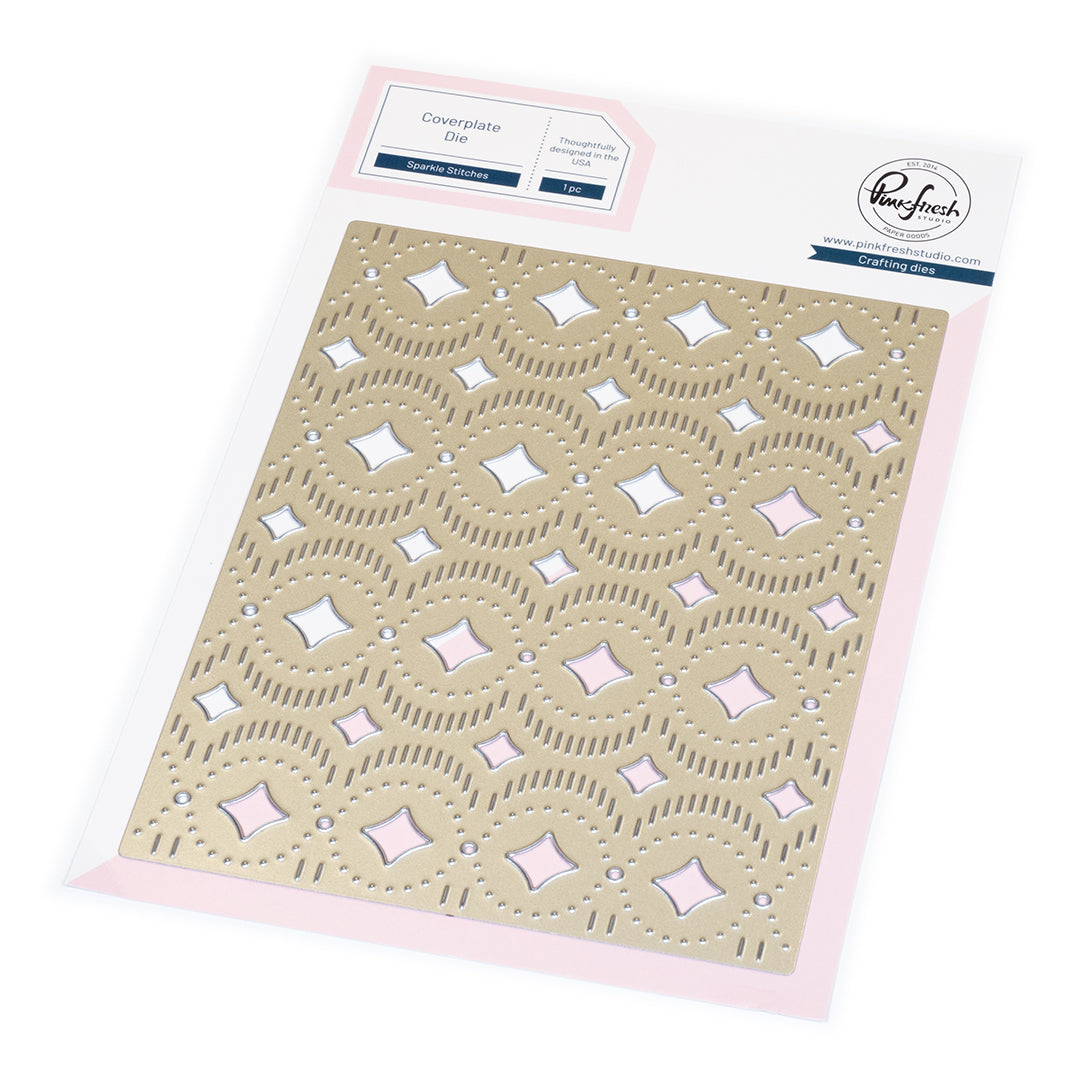
- Die cut (1) with the Sparkle Stitches coverplate die.
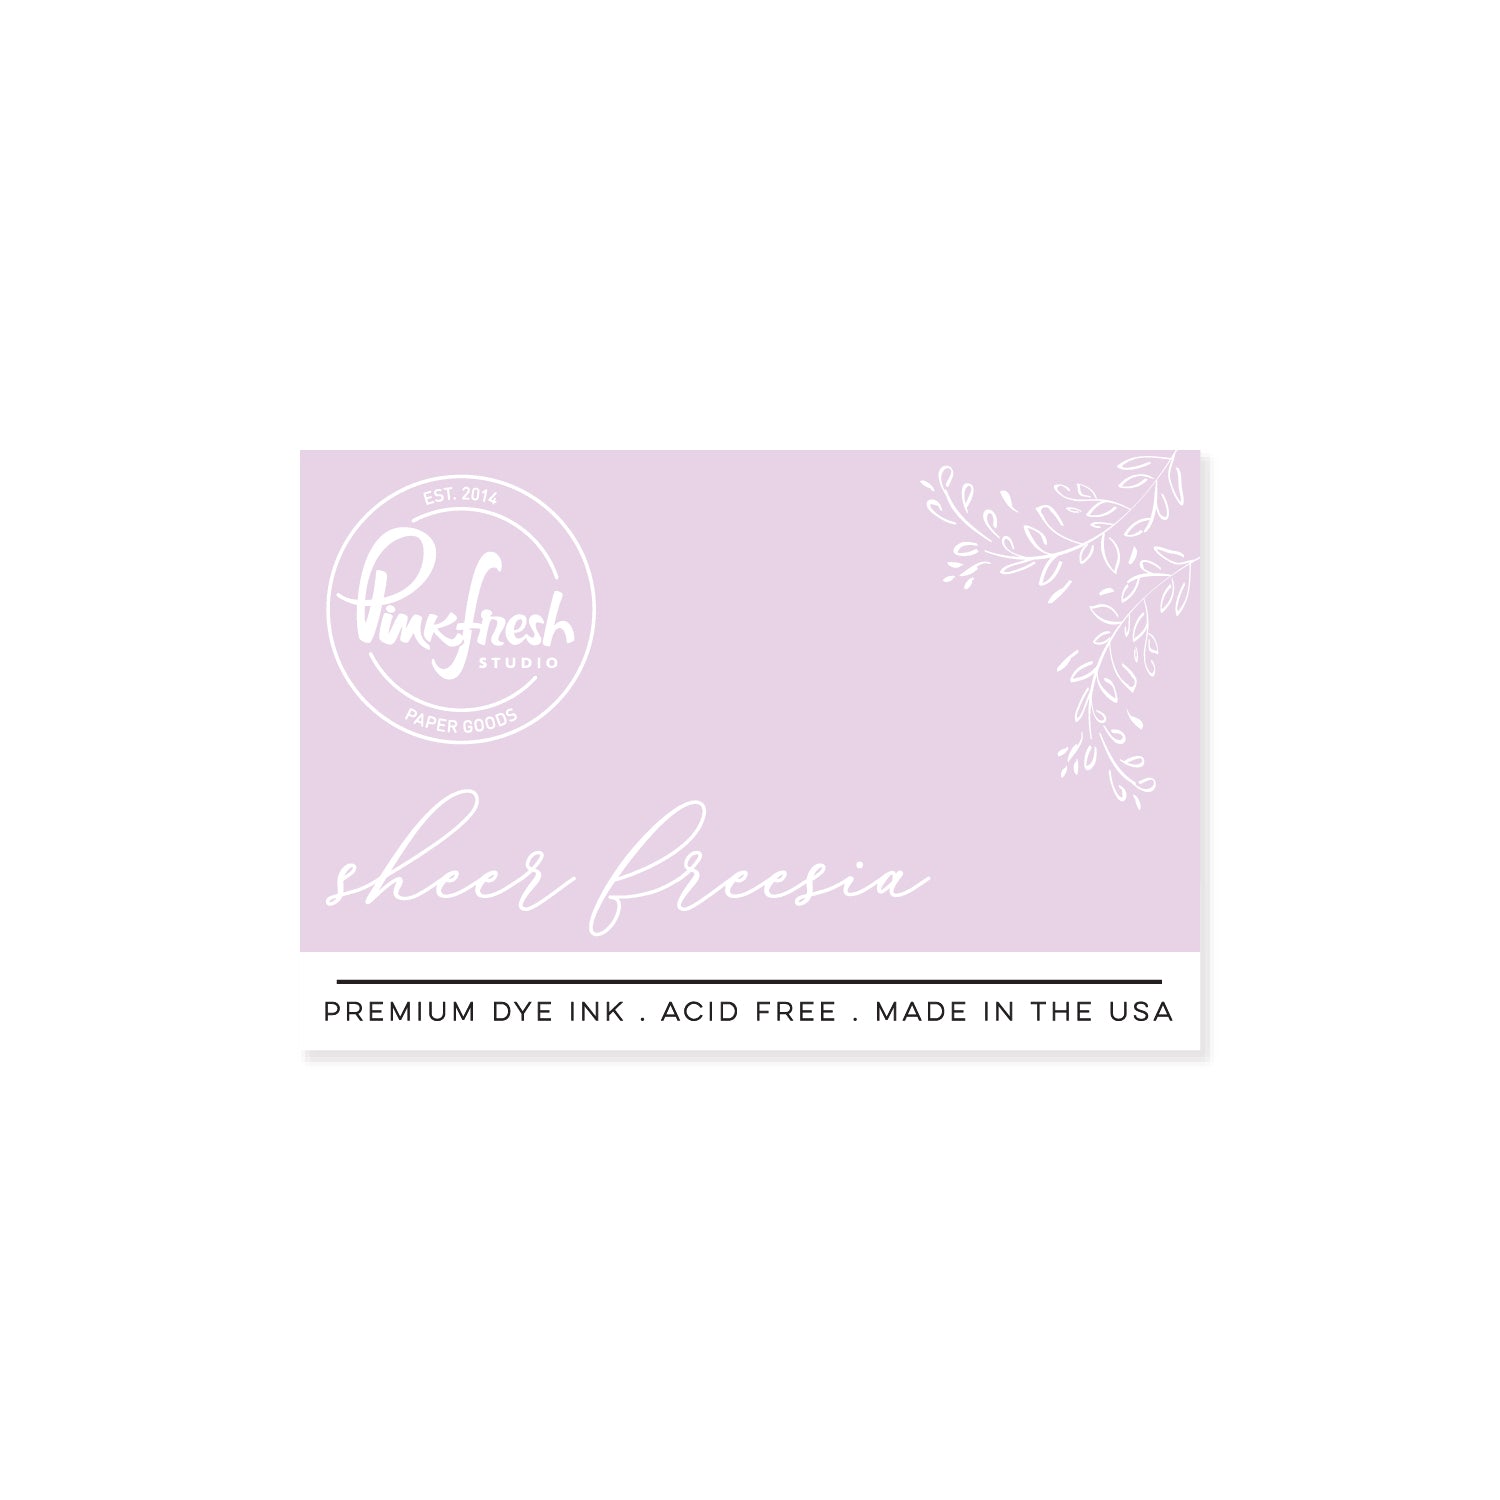
- Ink blend the second with Sheer Freesia (or die cut from light purple cardstock instead). Dry emboss with the Sparkle Stitches coverplate die (use the exact same position as for the first panel).
- Adhere the dry-embossed panel directly onto the card front, lining it up with the lower edge.
- Add the white die-cut panel on top using foam adhesive.
- Washi Flowers: Adhere some die-cut washi tape florals along the top edge of the panel, overlapping them with the card front. The florals in the example were cut from the Blooming Grace washi.
-
Add a sentiment:
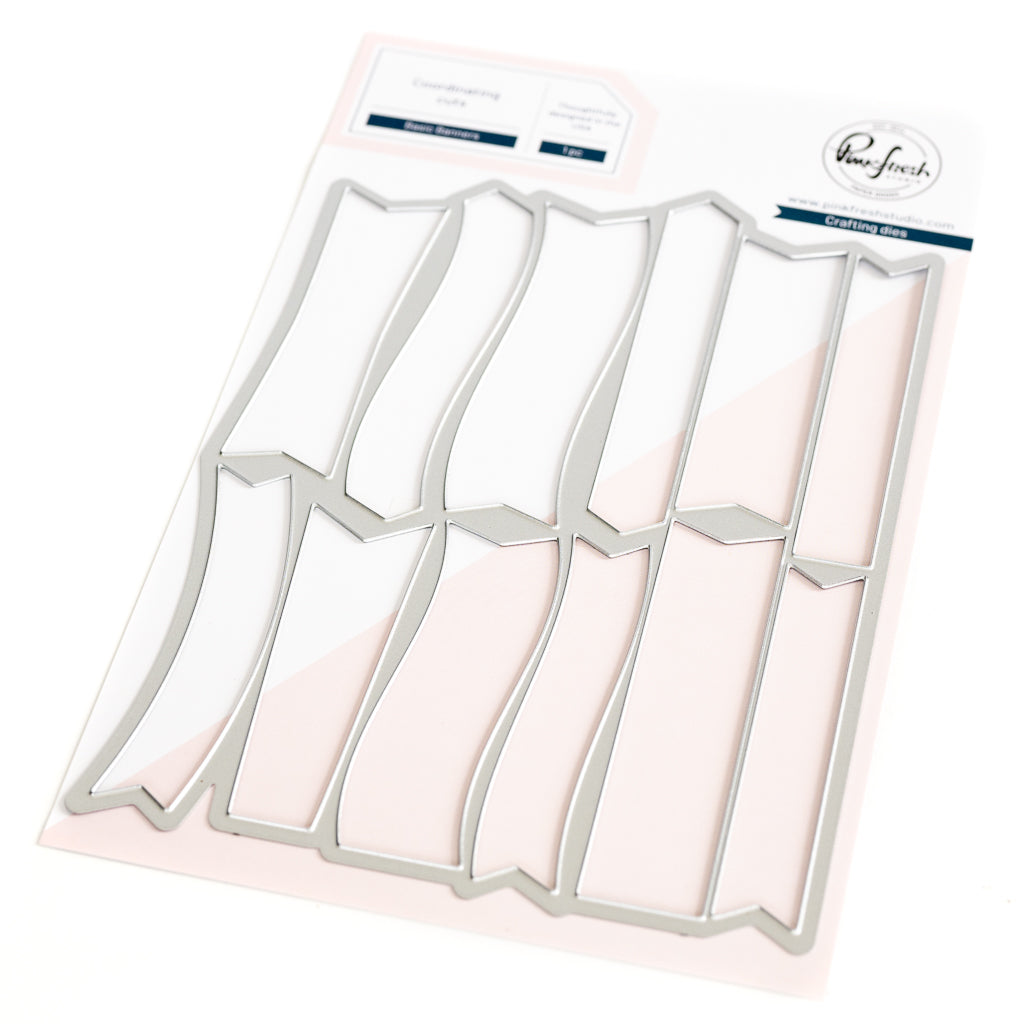
- Die cut (2) banners using the Basic Banners die; (1) from gold glitter cardstock and (1) from white cardstock (the same shape).
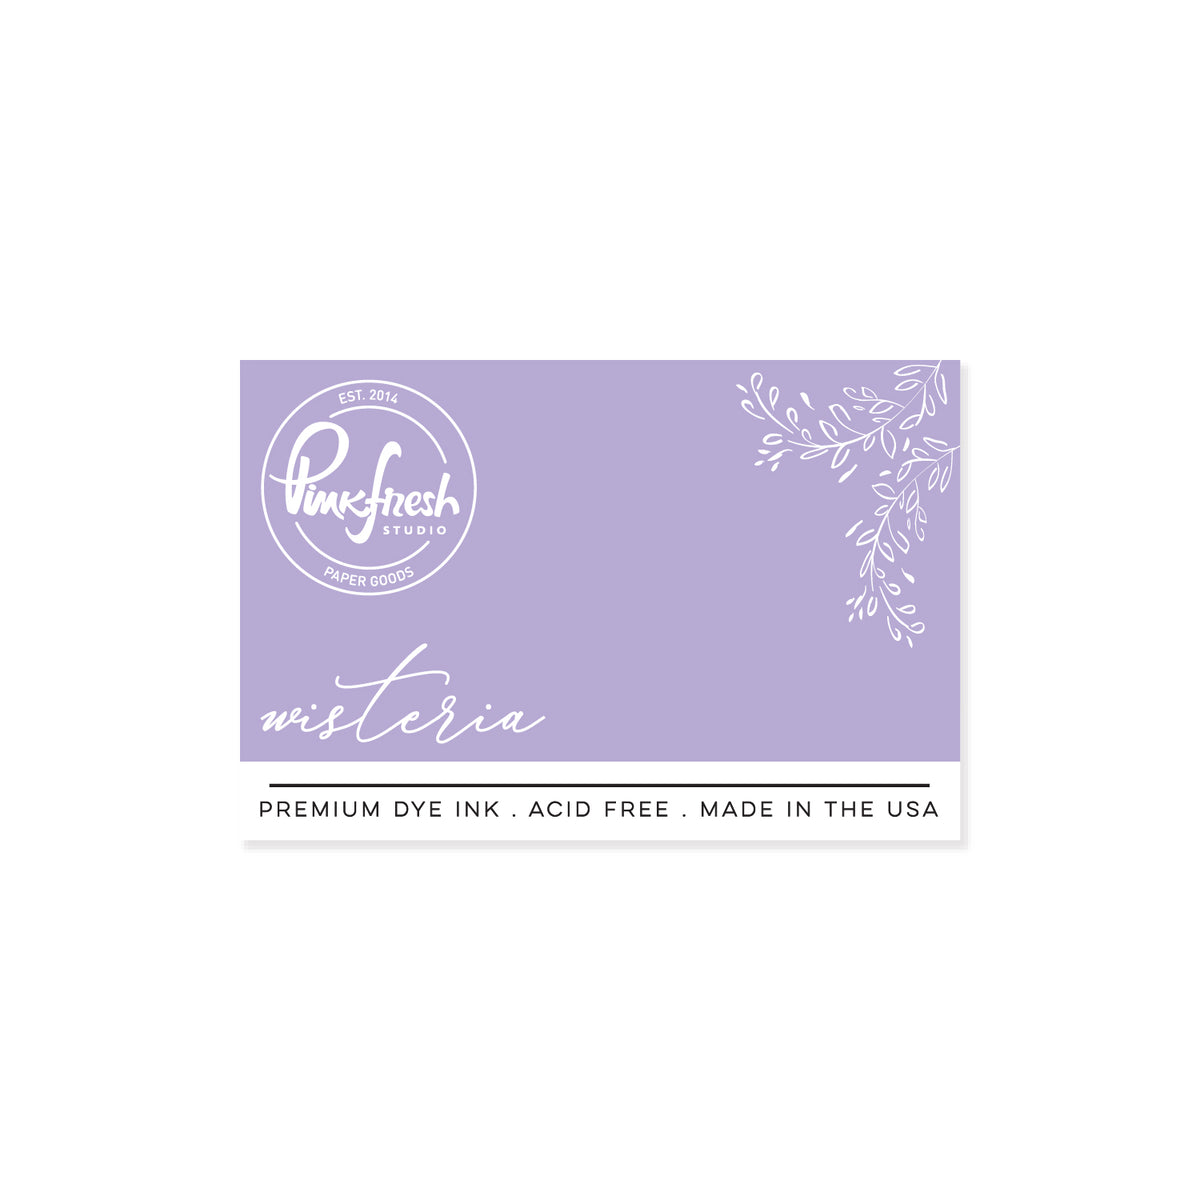
- Heat emboss a sentiment of your choice in gold on the white banner. Then ink blend with Wisteria. Wipe off excess ink.
- Adhere heat-embossed banner slightly offset onto the glitter banner using liquid adhesive.
- Add the assembled banner onto the card front, overlapping some of the florals.

Have a wonderful rest of the week!
-Kathleen
Recommended Products
















































1 comment
Sue Crease
Ooh love both of these clean and simple cards today and look it’s the lavender/purple colour ways ☺️. Only playing love them x
Leave a comment
All comments are moderated before being published.
This site is protected by hCaptcha and the hCaptcha Privacy Policy and Terms of Service apply.