
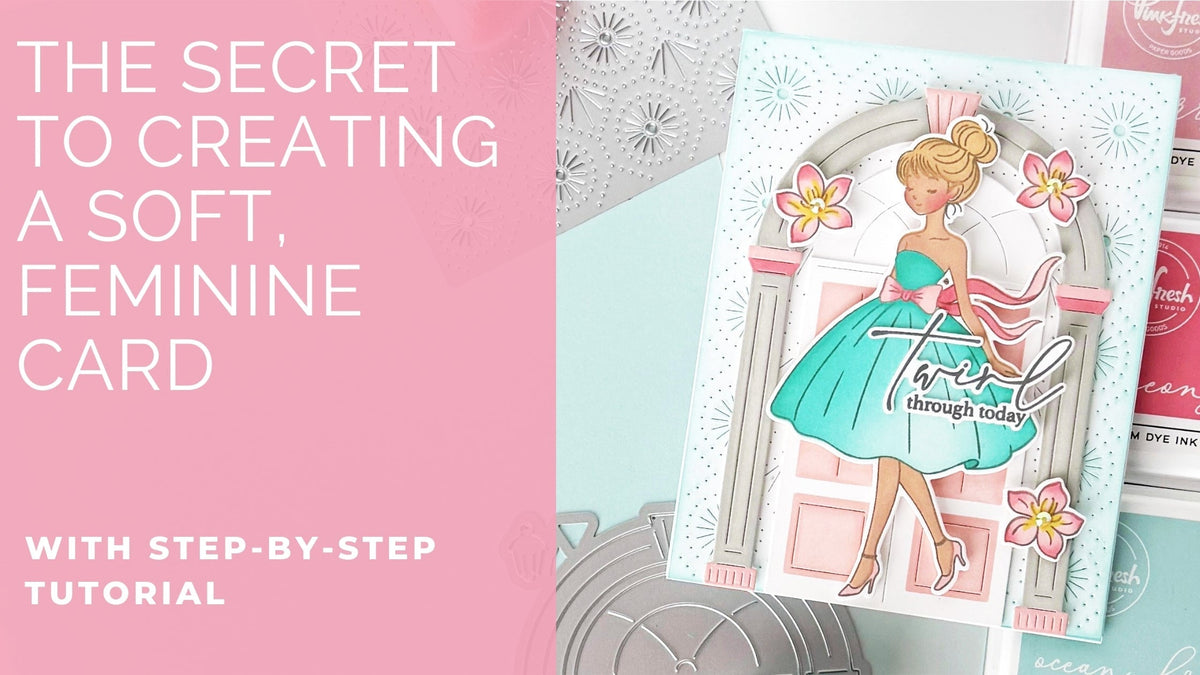
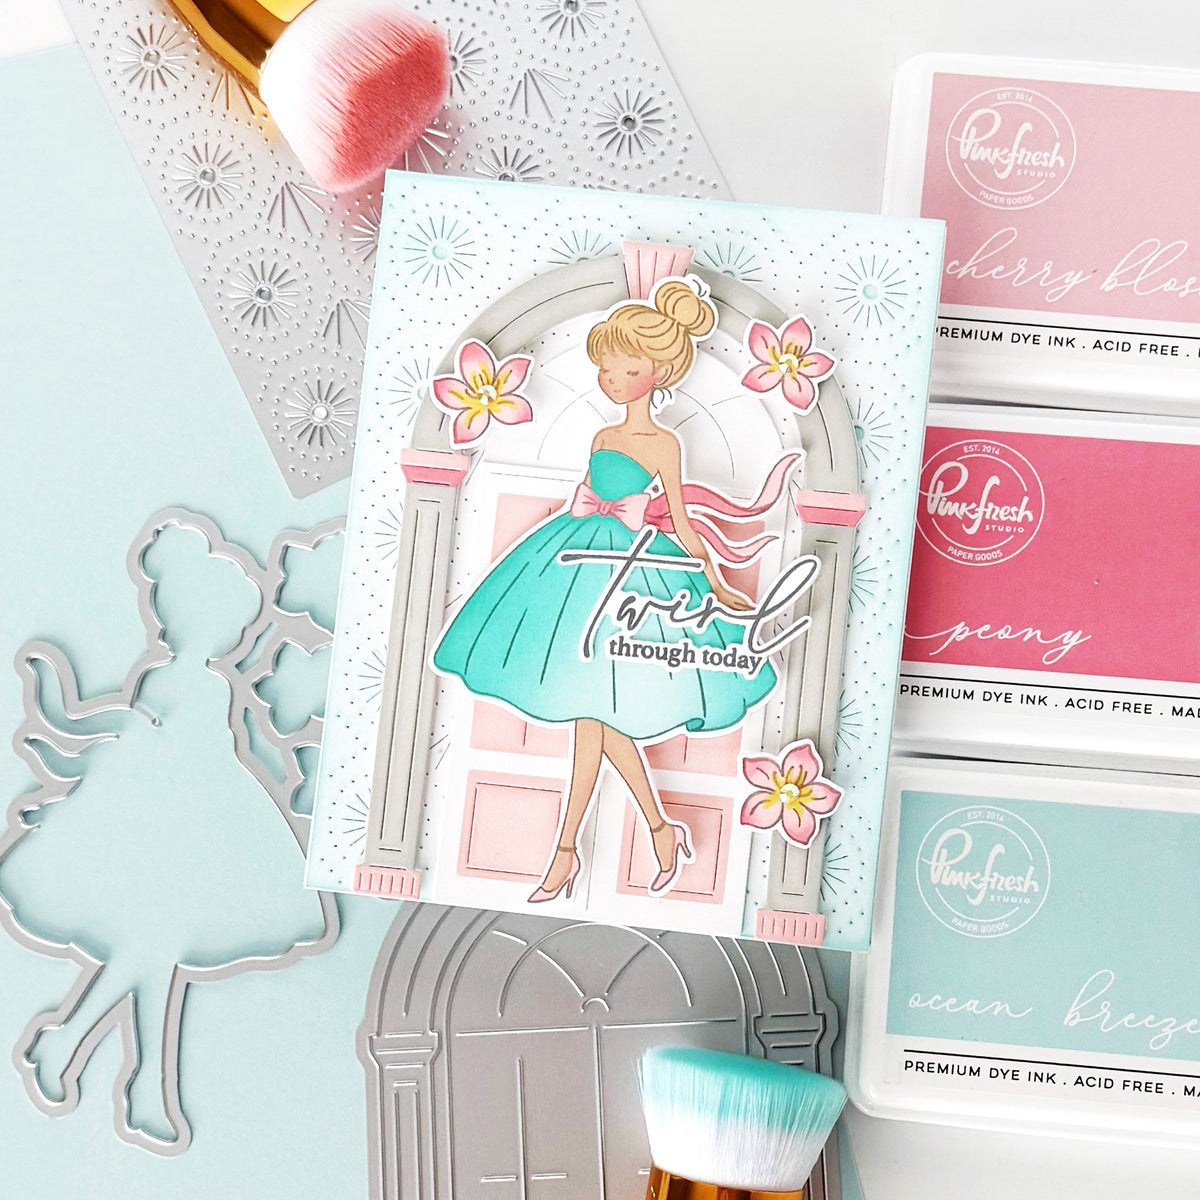
Hello, Pinkfresh friends! Today I’m sharing a card that focuses on building soft, elegant layers using a few simple techniques. If you love creating cards with a feminine feel, this project is a great example of how subtle ink blending, thoughtful layering, and delicate details can work together to create a polished design.
In this tutorial, I’ll show how combining coverplate texture, gentle ink blending, and layered die cuts can instantly add depth and dimension to your cards. We’ll also talk about how using a softer stamping ink instead of a bold black outline can help keep the overall look light and cohesive.
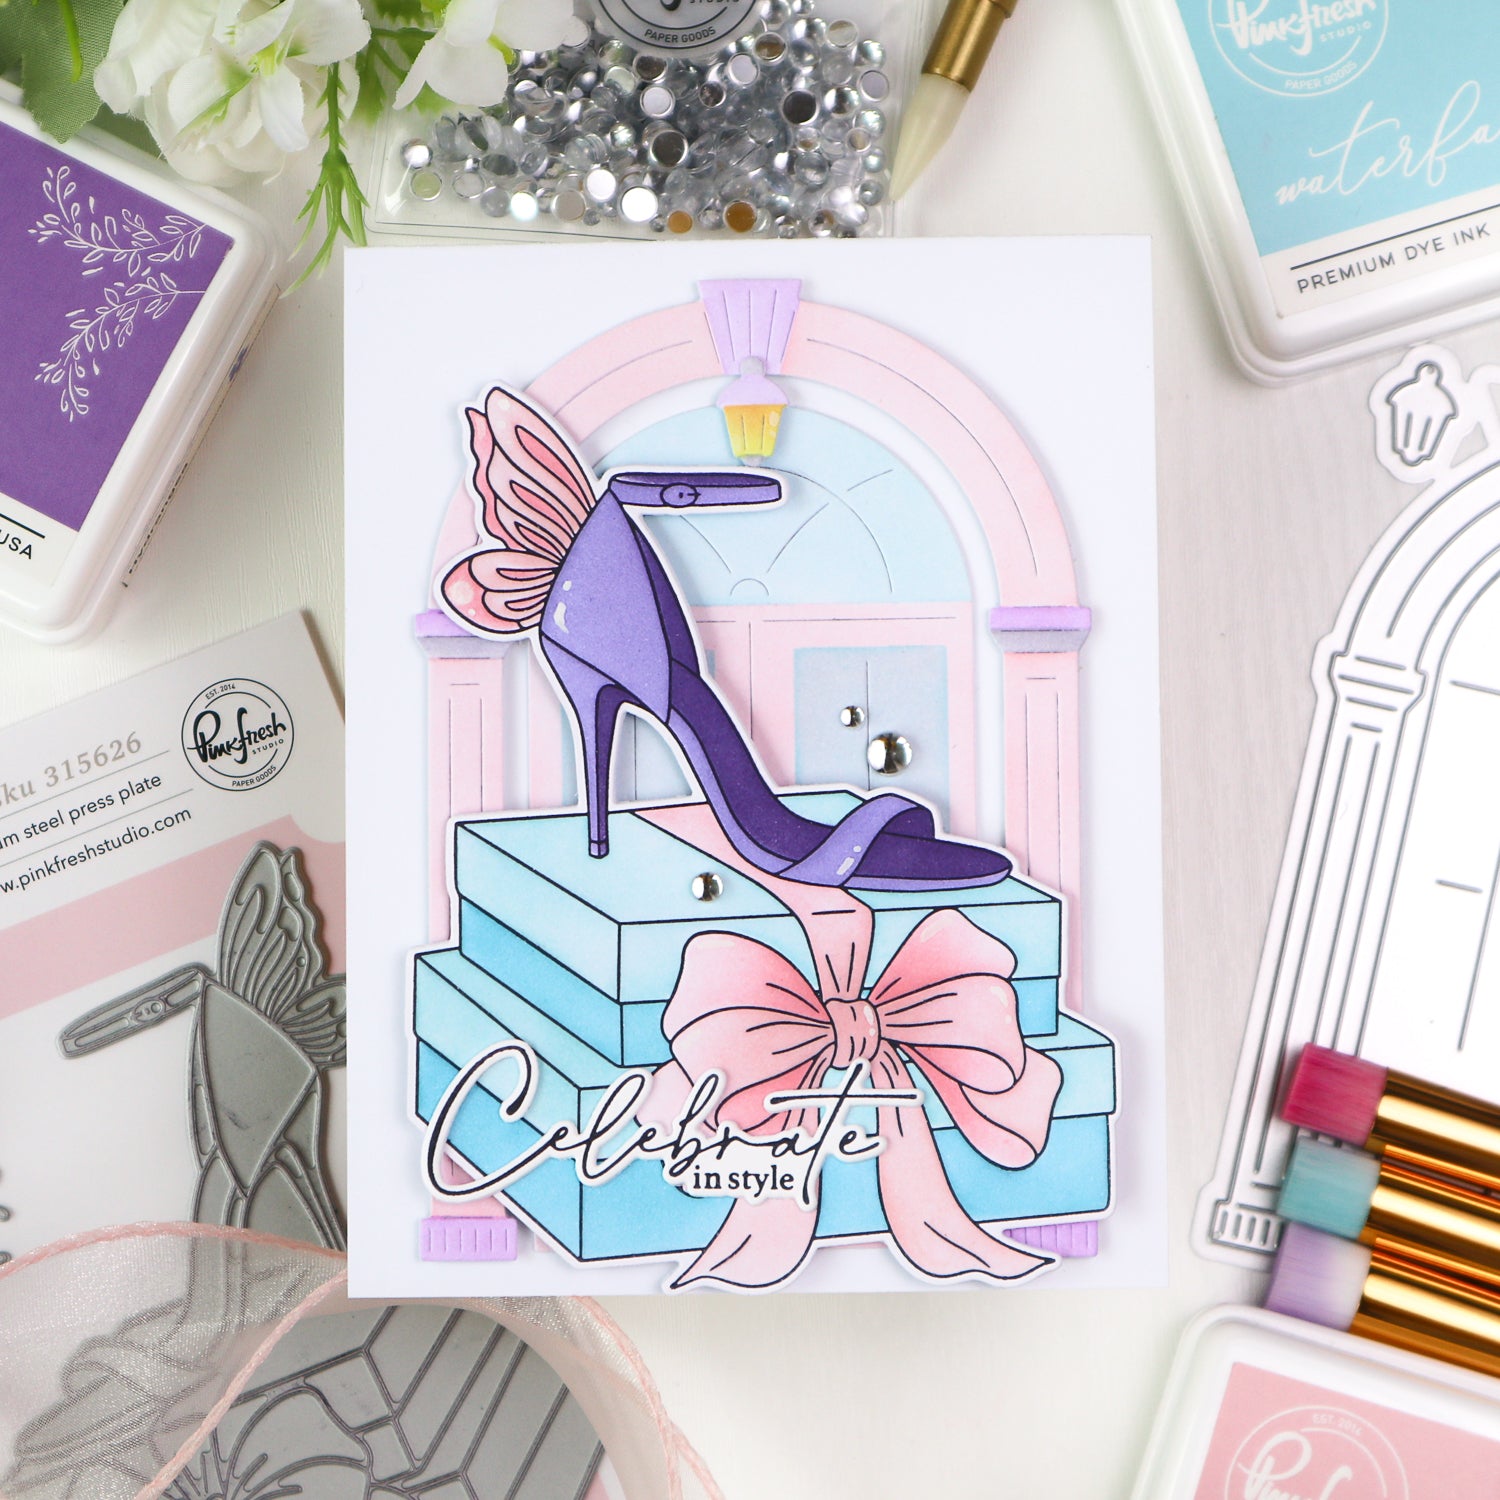
The Couture Grace image makes such a beautiful focal point, and pairing it with the architectural elements from Arched Elegance creates a graceful scene that feels both classic and modern. By keeping the color palette soft and adding just a touch of sparkle with jewels, the finished card has a delicate look.
If you enjoy learning ways to create elegant dimension while keeping your designs soft and balanced, this is a fun card to recreate. Let’s walk through how it all comes together!
*Disclaimer: All products used are linked below as clickable images. If a product isn't listed, it's been discontinued.

How to re-create this card:
- Create a white, top-folding A2 card base.
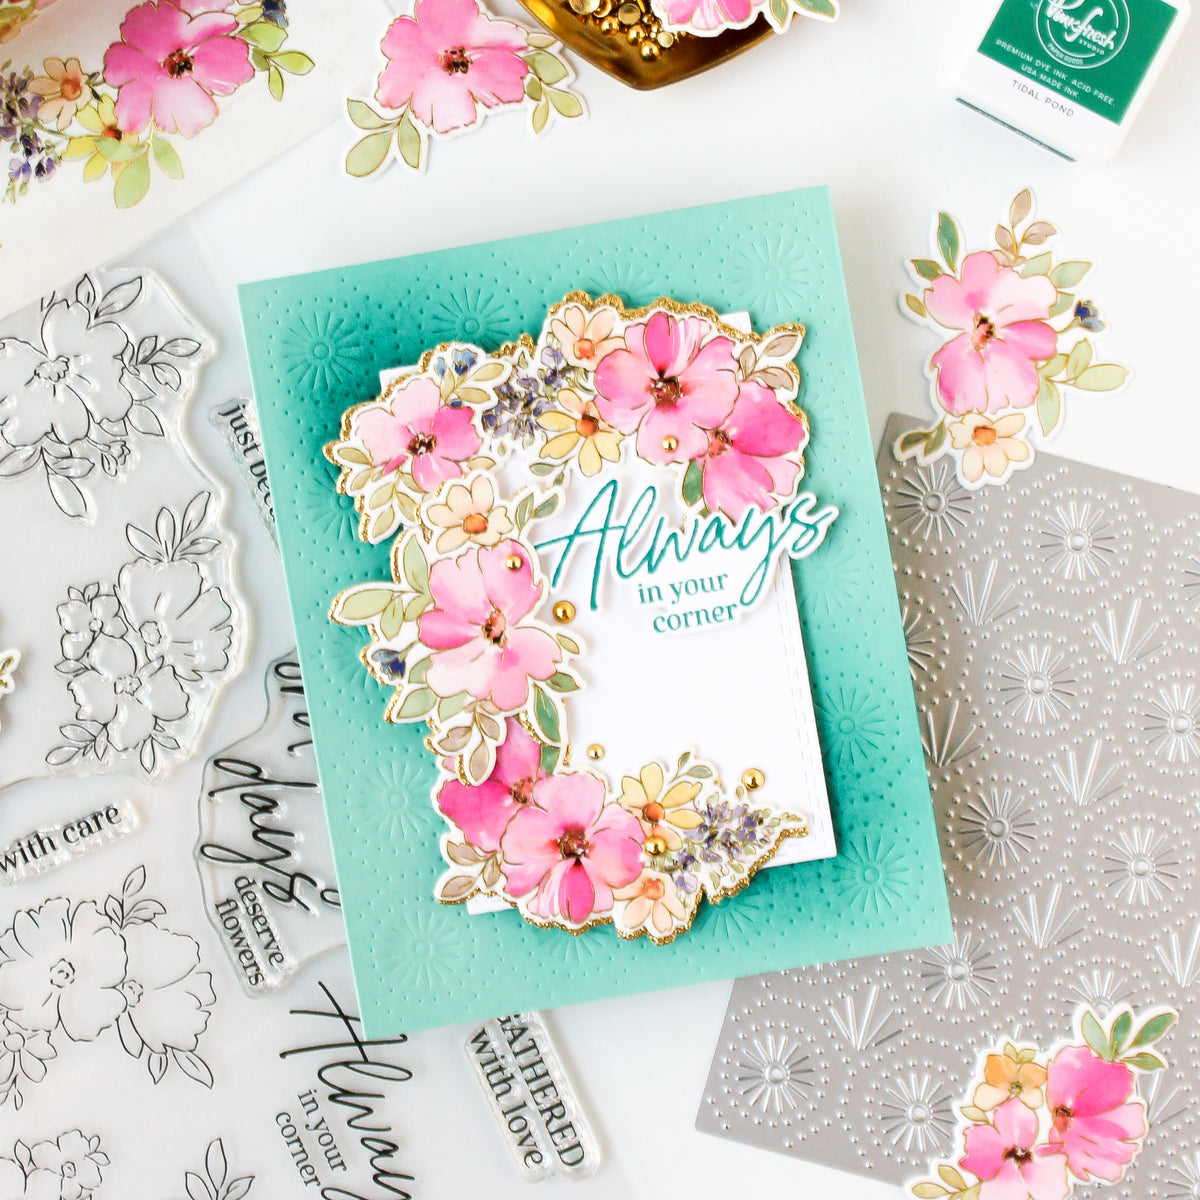
- Ink blend Ocean Breeze ink directly onto the card front. You can leave the middle white. Only a small amount of ink will show through the holes of the coverplate die cut.
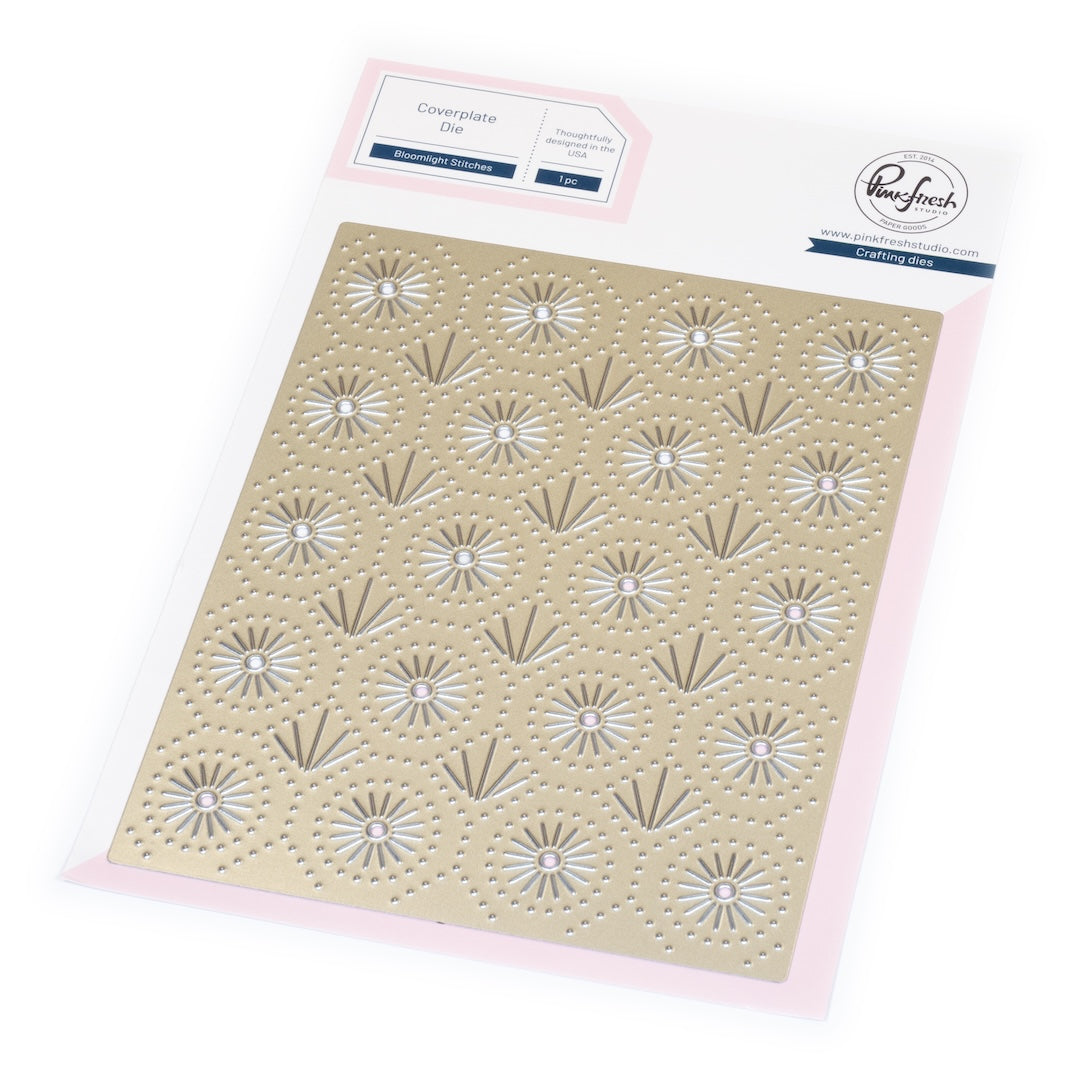
- Die cut the Bloomlight Stitches coverplate from a piece of white A2 cardstock.
- Lightly ink-blend the outer edges of the panel with Ocean Breeze ink.
- Adhere the coverplate panel to the card base using liquid glue.
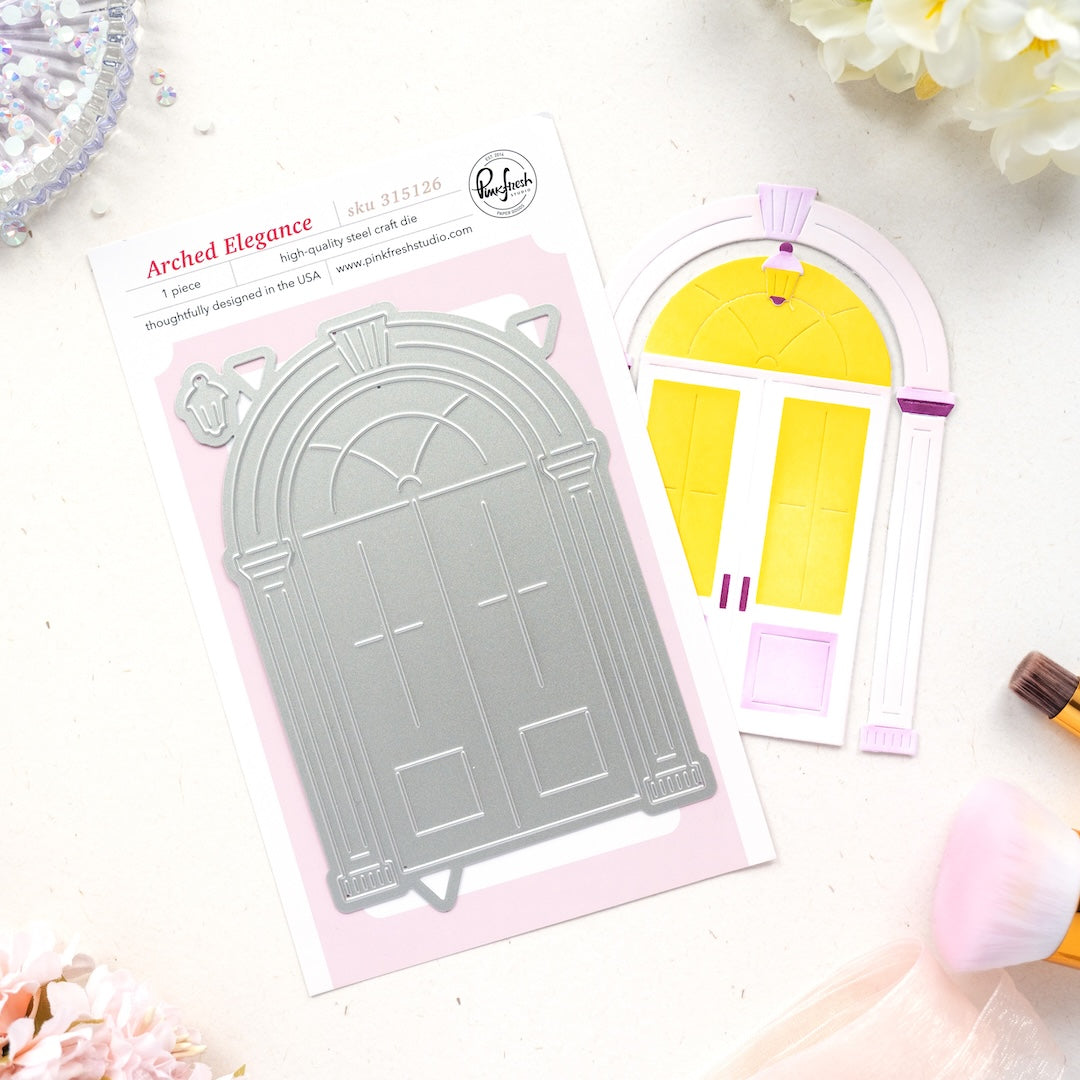
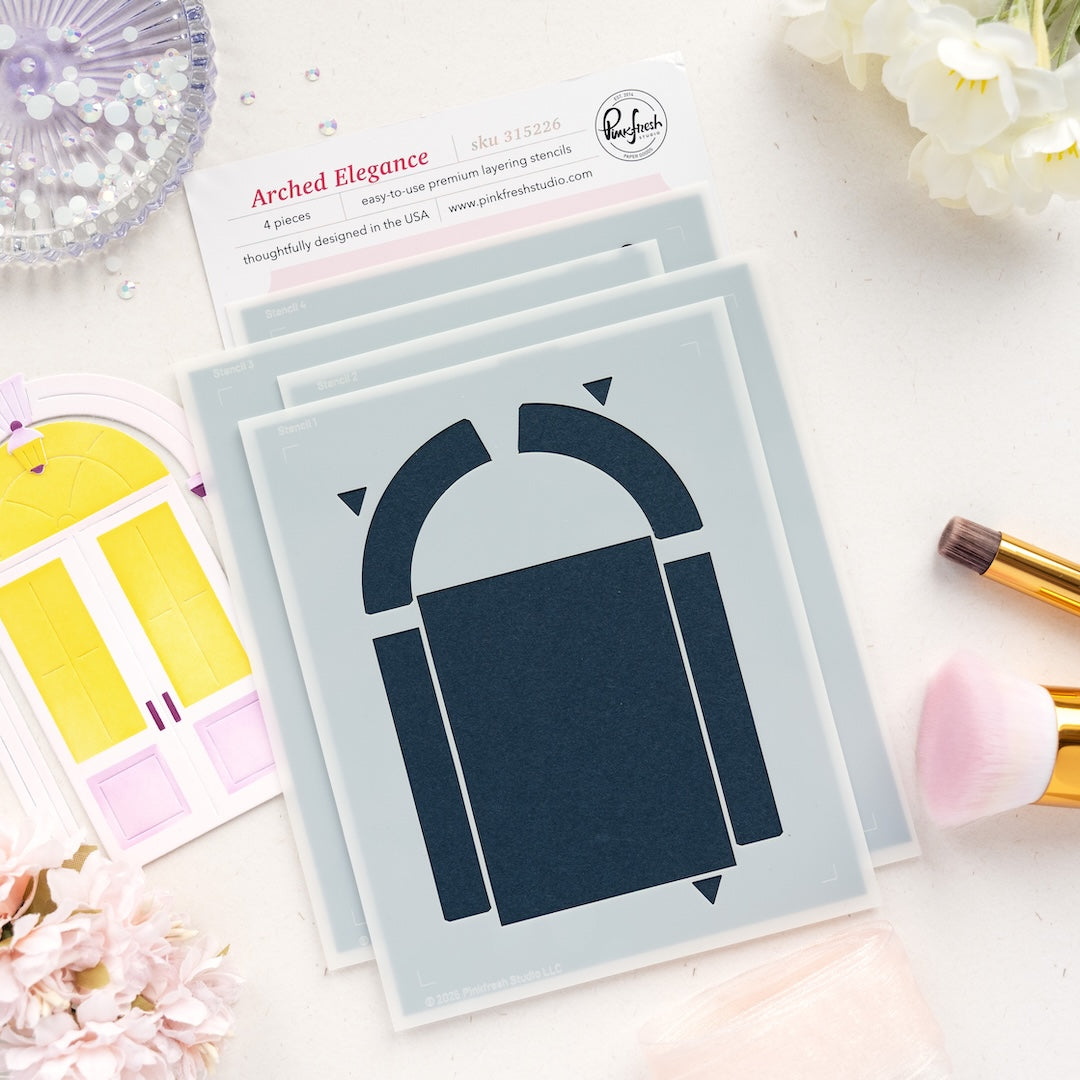
- Die cut the Arched Elegance from white cardstock.
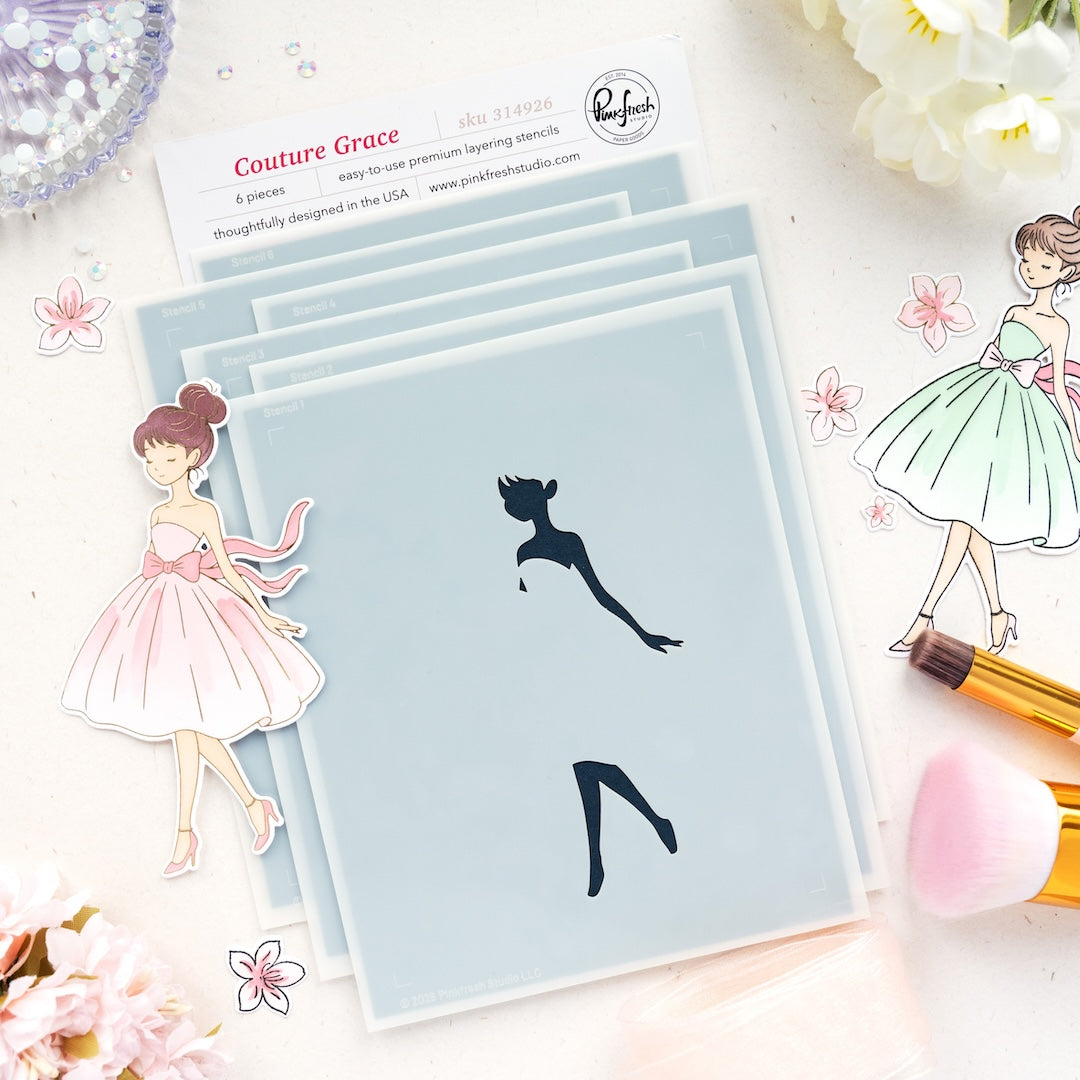
- Stencil the door panels using stencils 2 & 3 with Cherry Blossom ink, stack with a blank die cut, then adhere it to the card base.
- Ink blend the arch with the coordinating stencils:
- Stencil 1: Misty Coast
- Stencil 2: Cherry Blossom
- Stencil 3: did not use
- Stencil 4: Peony
- Stack the die cut with a blank and adhere the arch over the door panels using thin foam tape.
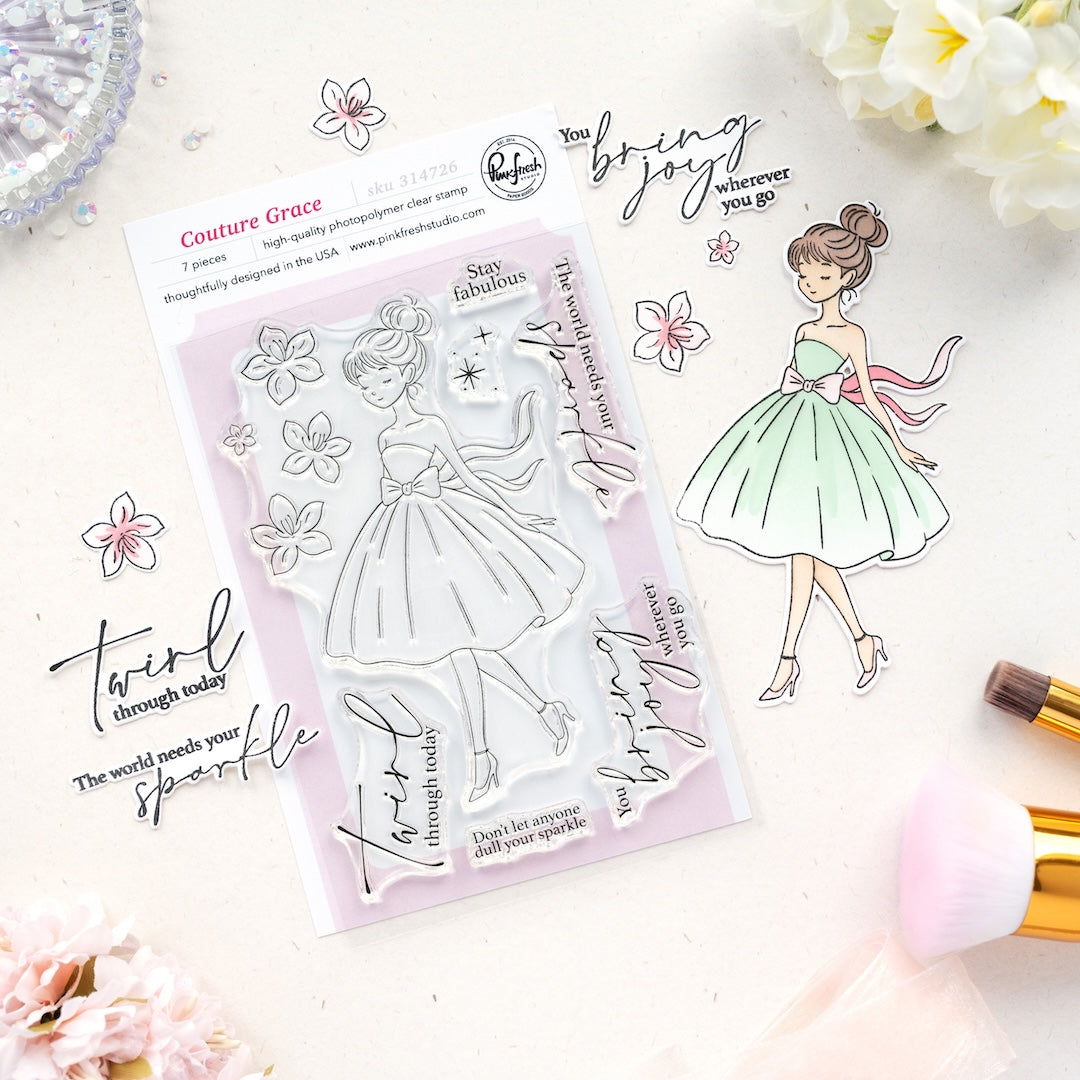
- Stamp the Couture Grace image and sentiment using Licorice ink. This will keep the finished look soft and diffused.
- Ink blend the image using the coordinating stencils:
- Stencil 1: Peach Fuzz + Warm Buff
- Stencil 2: Lemon Whip + Warm Buff
- Stencil 3: Ocean Breeze, Turquoise
- Stencil 4: did not use
- Stencil 5: Cherry Blossom + Peony on the flower tips and center of the bow on her dress
- Stencil 6: Lemon Whip (flower centers), Peony (ribbon)
- Put a piece of low-tack mashing tape under her chin/right side of her face and lightly ink-blend with Peony to add blush to her cheeks.
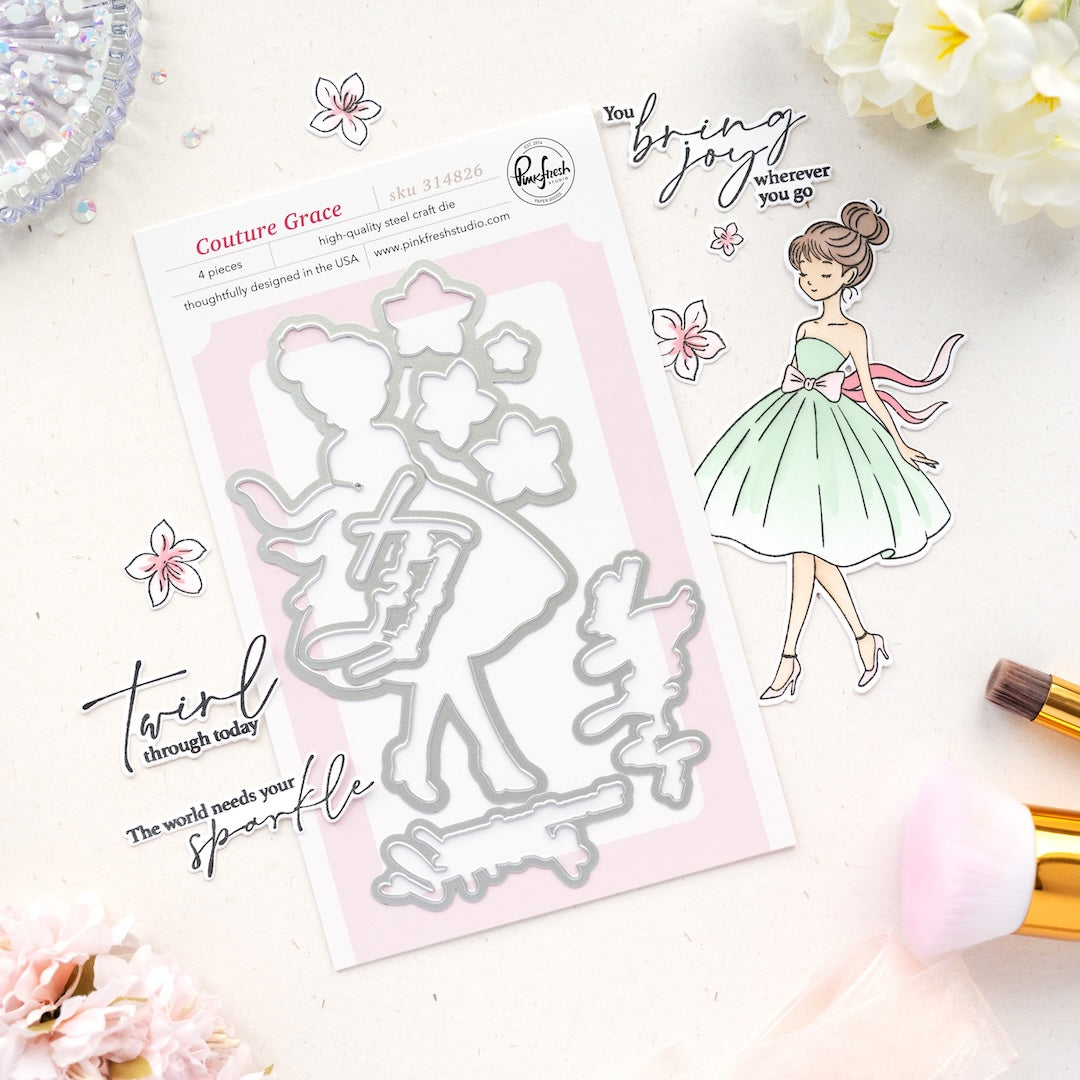
- Die cut the image and sentiment plus one set of blanks using the coordinating dies. Adhere the images and sentiment to the blanks for extra sturdiness.
- Adhere the image to the card using thick foam tape. Attach the flowers to the arch using thin foam tape.
- Add Peach Fuzz jewels to the centers of the three flowers.
- Adhere the sentiment directly to the dress using liquid glue.

I absolutely love the soft, feminine feel of this card. The gentle ink-blended background, delicate architectural layers, and graceful focal image all work together to create a design that feels elegant and light.
Using softer inks like Licorice for stamping instead of a bold black helps keep the look cohesive and refined, while the subtle sparkle from the Peach Fuzz jewels adds a beautiful finishing touch.
This combination of Couture Grace and Arched Elegance creates such a lovely scene, and it’s a wonderful way to highlight soft color palettes and layered dimension.
I hope this card inspires you to experiment with gentle ink blending and elegant layering in your own projects!
Happy crafting!
Recommended Products







































1 comment
Tracy
This is gorgeous Jody! I love pink & teal together. And the door looks fab here, like she just made a grand entrance.
Leave a comment
All comments are moderated before being published.
This site is protected by hCaptcha and the hCaptcha Privacy Policy and Terms of Service apply.