
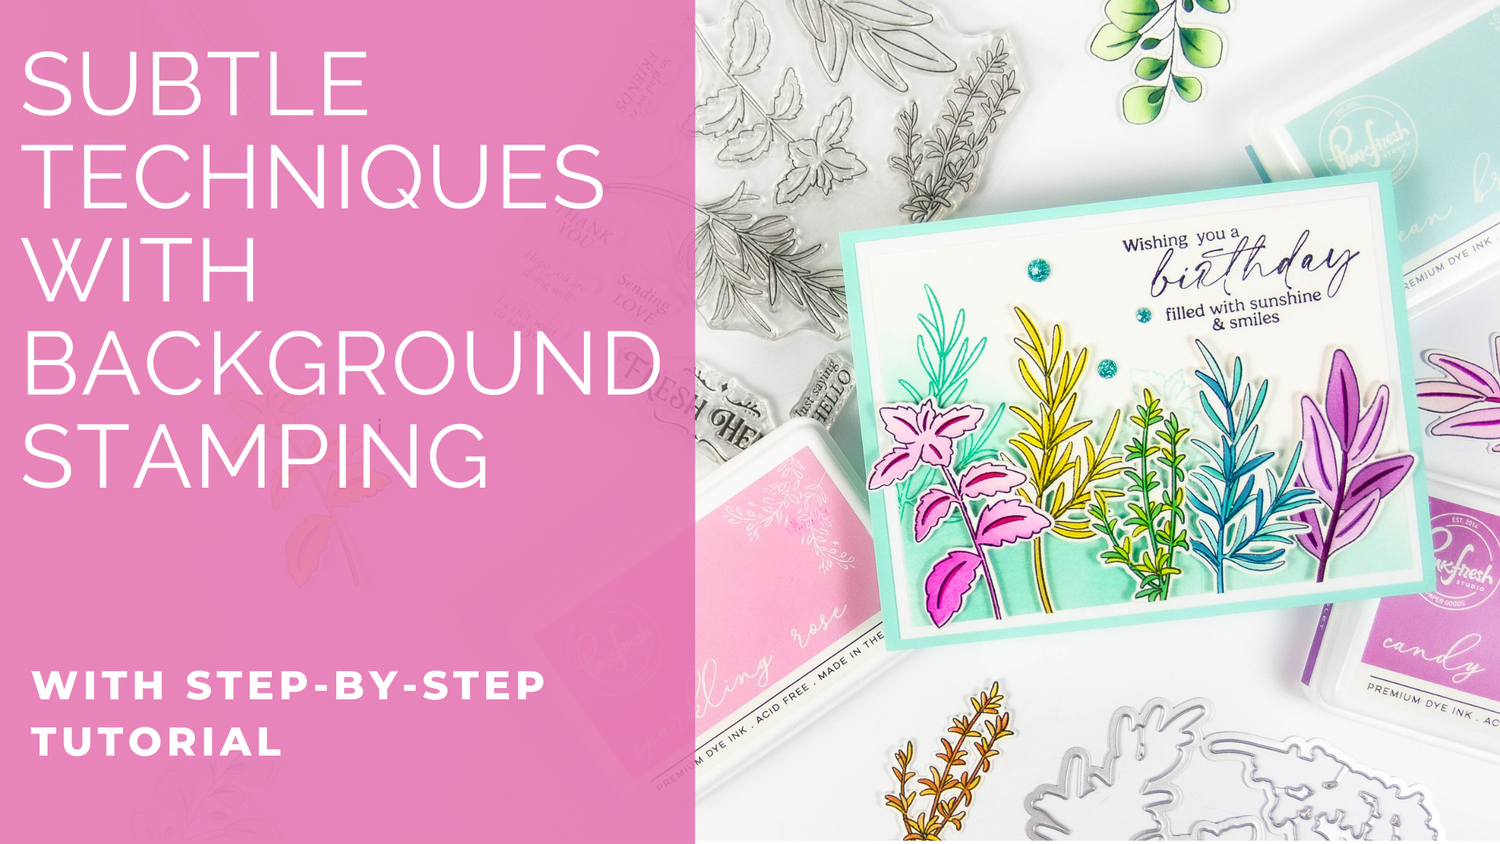
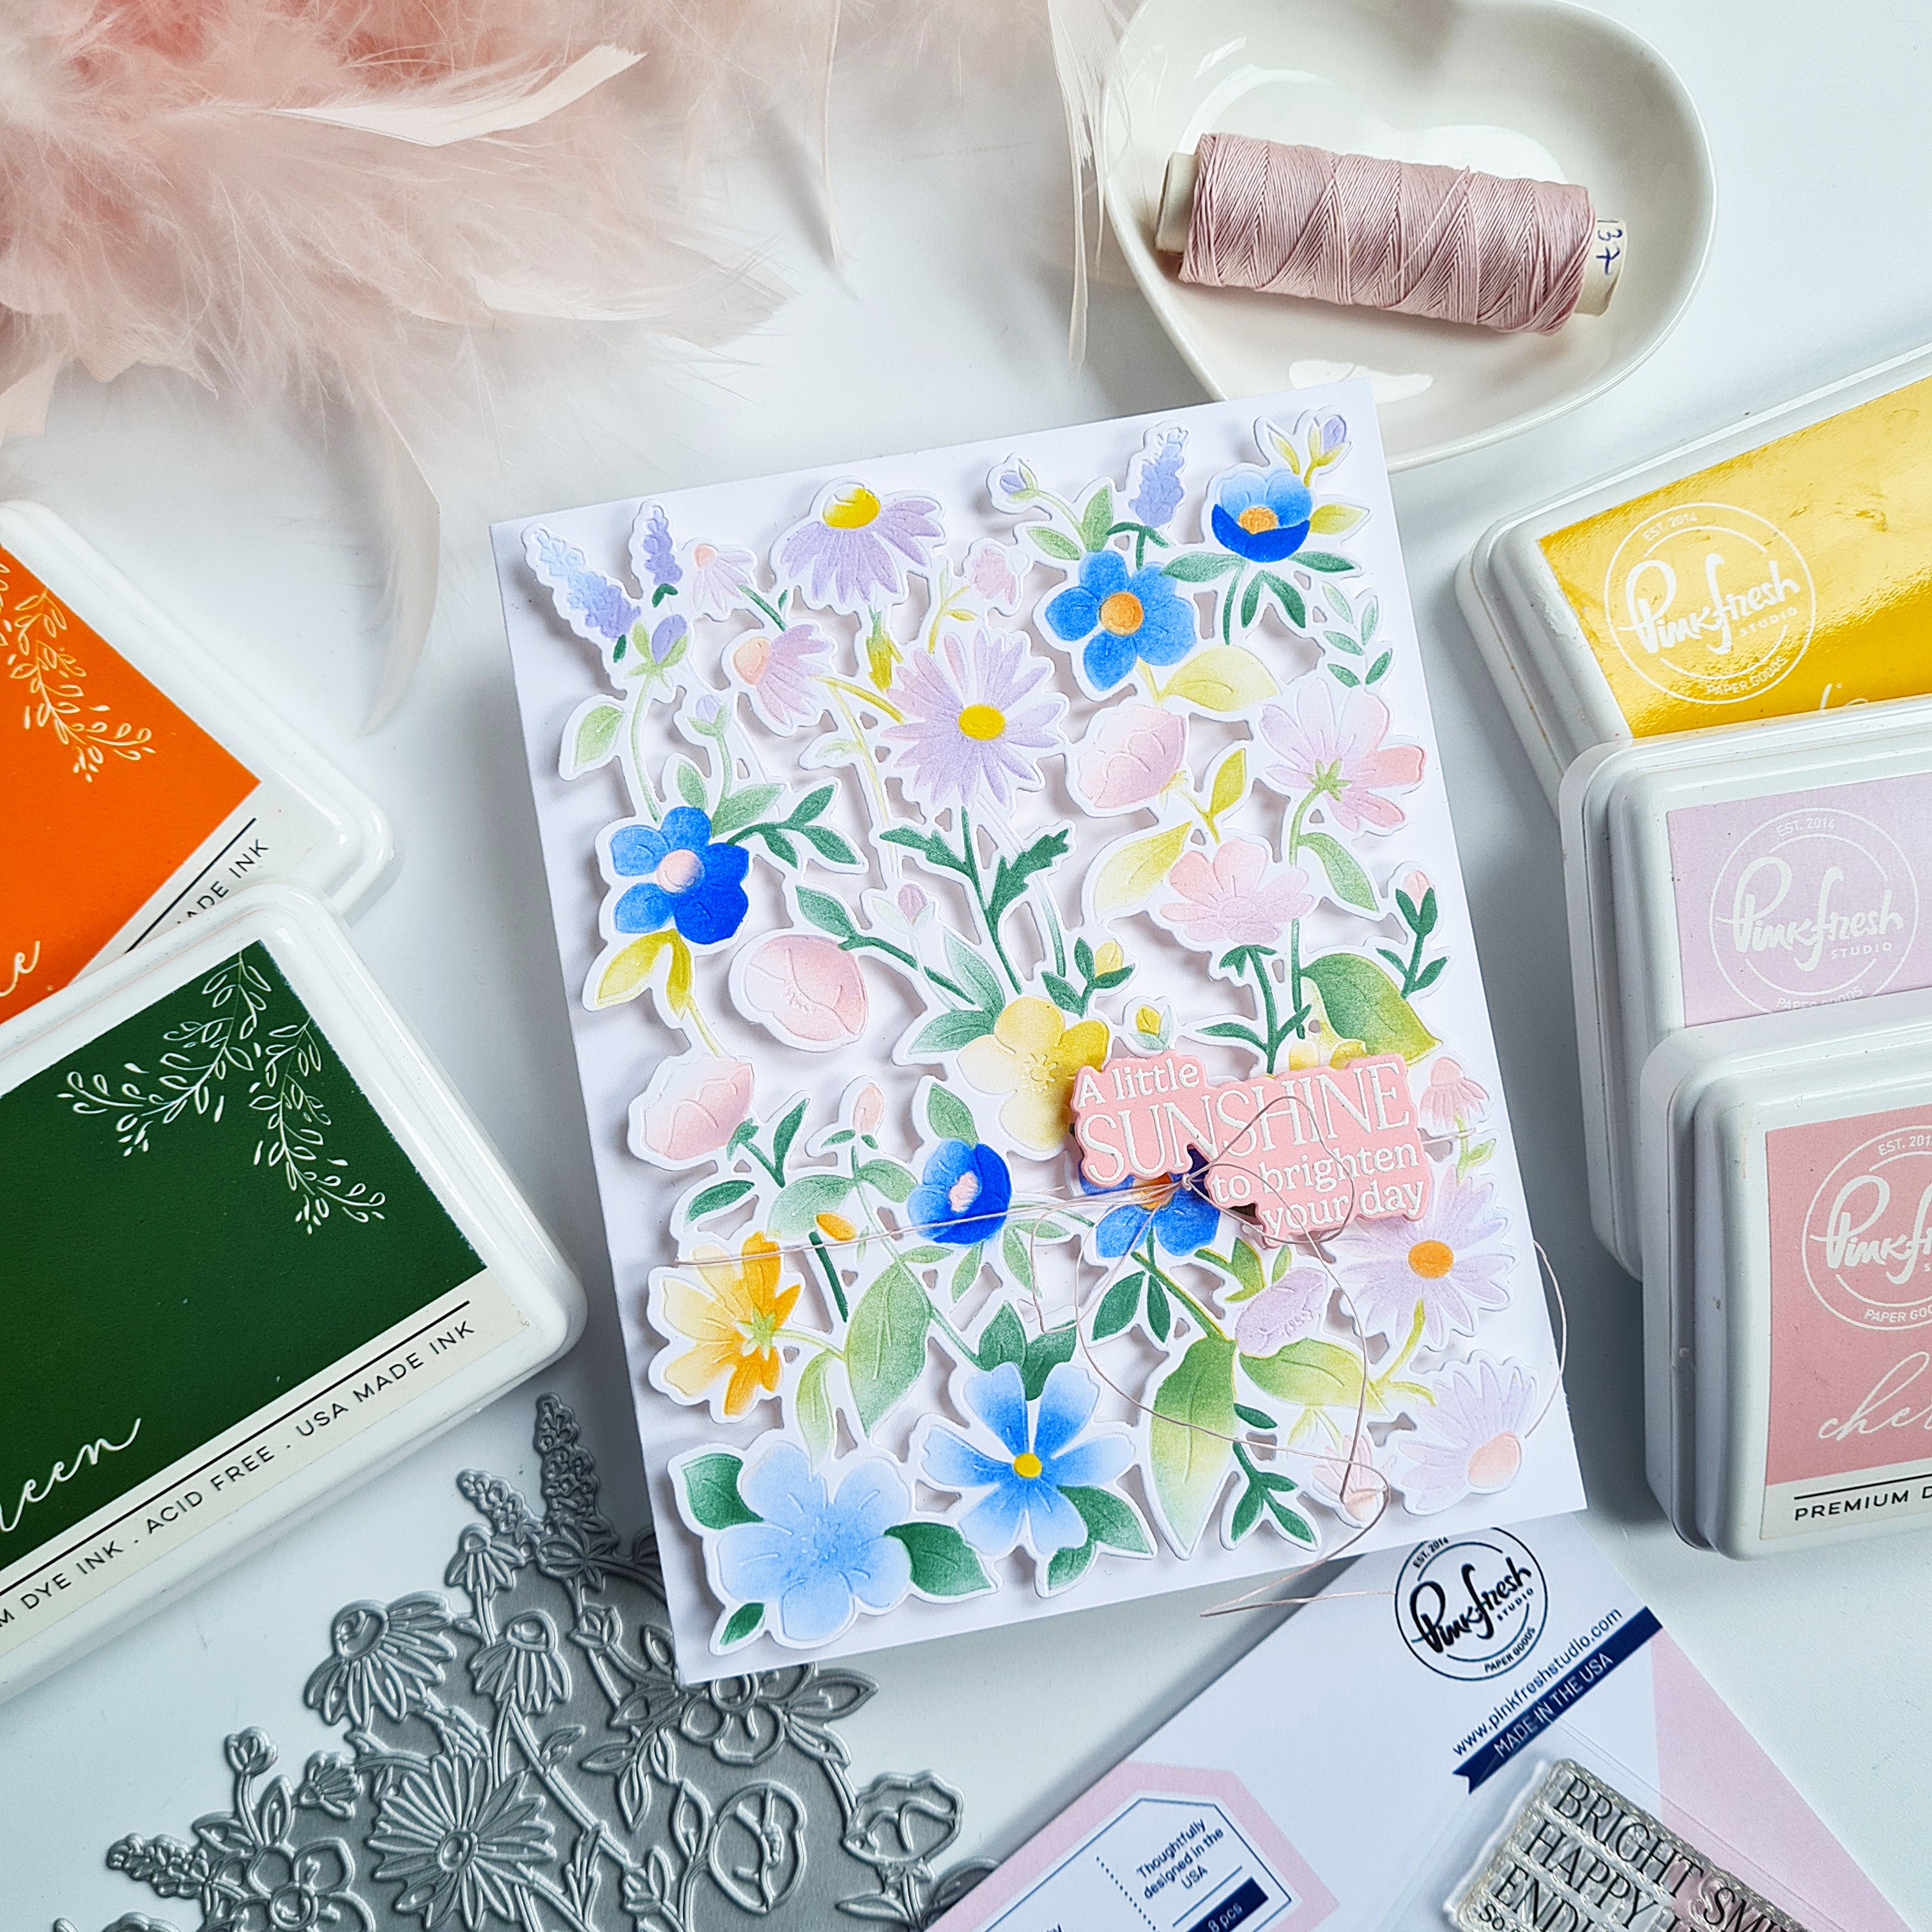
Hello crafty friends! It's Rachel here with rainbow colored birthday card featuring the herbs from the previously released Herb Garden Stamp Set.
I love how wispy and whimsical these herbs look and how beautifully they flow together. Even though herbs are usually green, the fun part about card making is that we can color our designs whatever color we want! I wanted my card to look colorful, fresh, and happy, so I went with a blend of rainbow colors. I added some background stamping to help my main images pop while also adding some more texture and interest to my background.
*Disclaimer: All products used are linked below as clickable images. If a product isn’t listed, it’s been discontinued

How to recreate this card:
1. Trim a piece of light aqua card stock to 4.25" x 5.5" and layer on top of a horizontal top-folding A2 sized card base. (To do this, trim a piece of card stock to 8.5" x 5.5" and score it at 4.25" on the long (8.5") side.)
2. Layer this piece with a 4" x 5.25" piece of white card stock.
3. Trim another piece of smooth white card stock to 4"x 5.25" and lightly blend it with some Ocean Breeze Ink starting at the lower left corner and blending it diagonally toward the center of the card. Once finished, trim this piece down to 3.75" x 5" to remove any harsh ink stains that might appear on the edges of the card stock while ink blending.
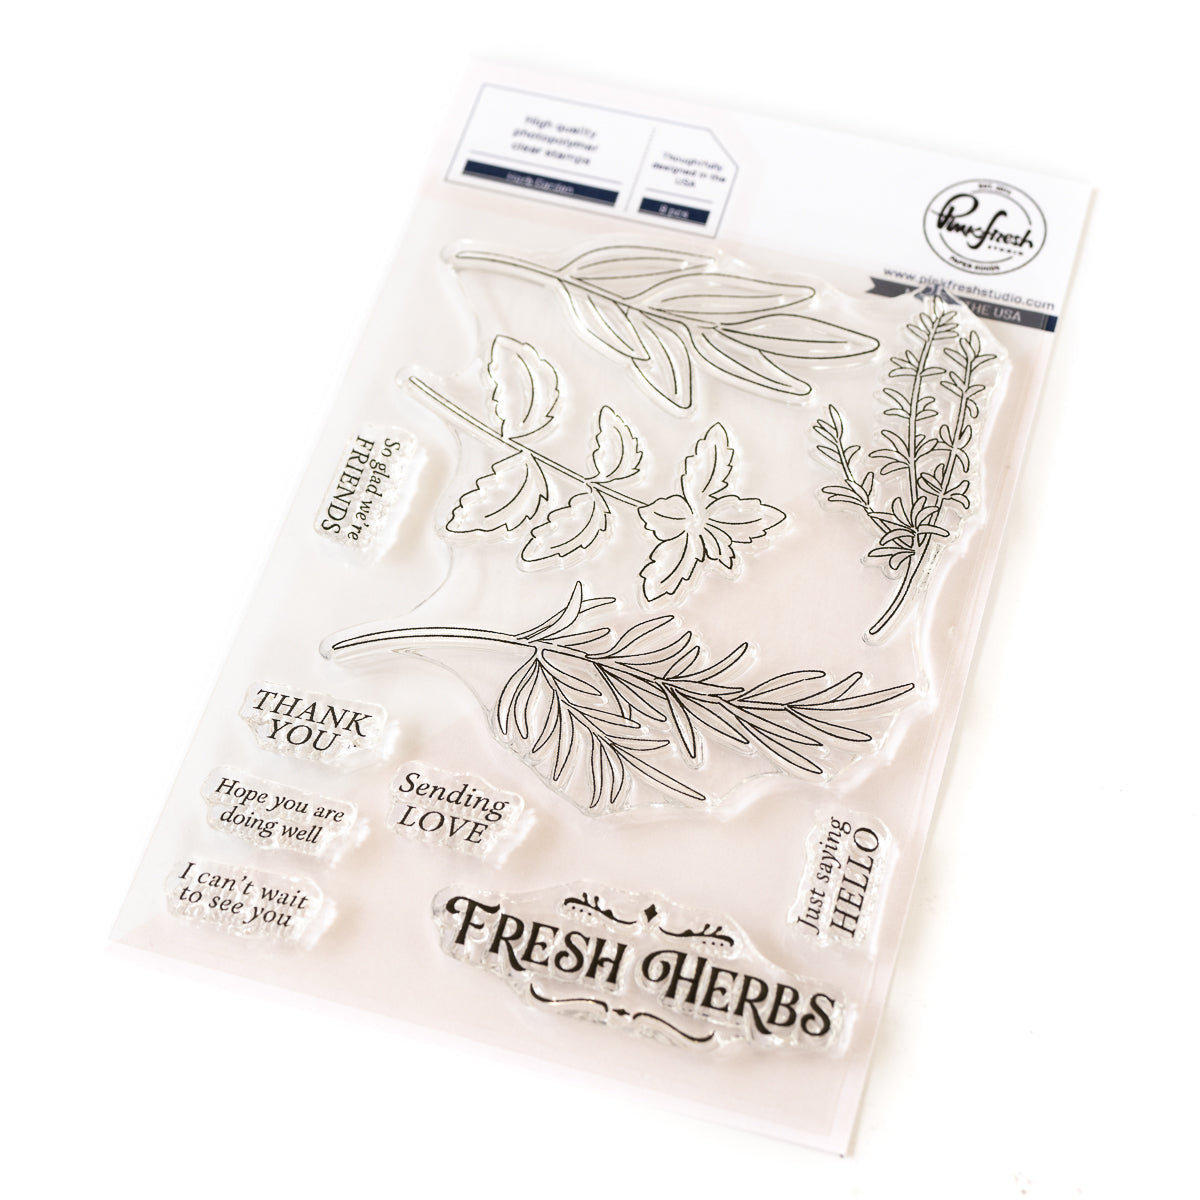
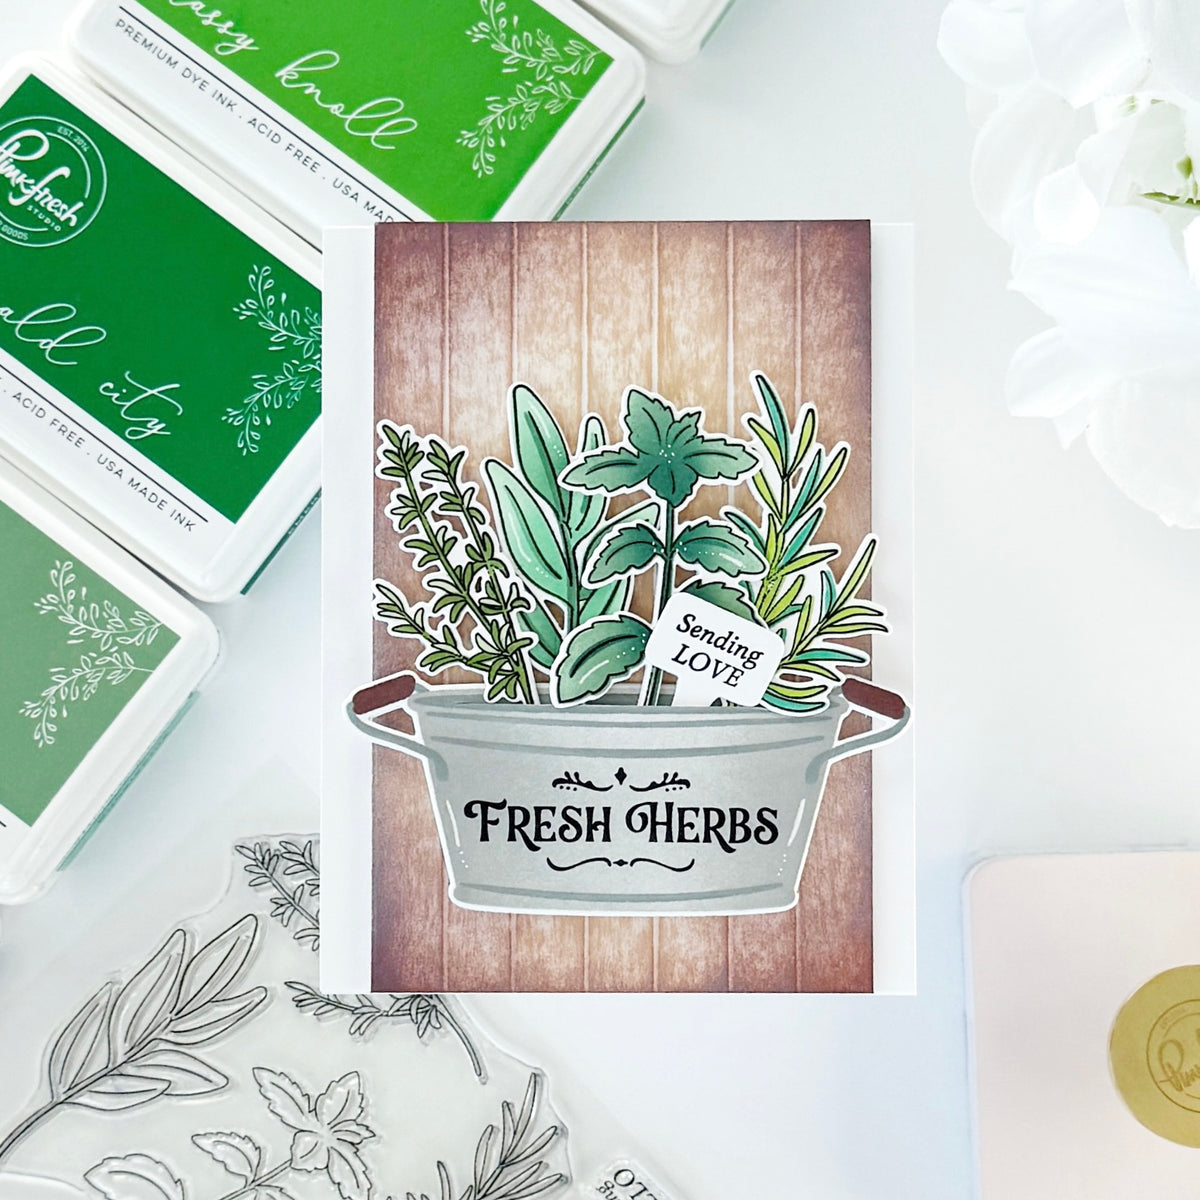
4. Use the Herb Garden Stamp Set along with some Ocean Breeze and Aquamarine Inks and shadow stamp two of the herbs onto the ink blended background.
TIP: When background stamping, it's usually best to use a lighter color ink so that it doesn't constantly pull the viewer's eye from the focal point of the card.
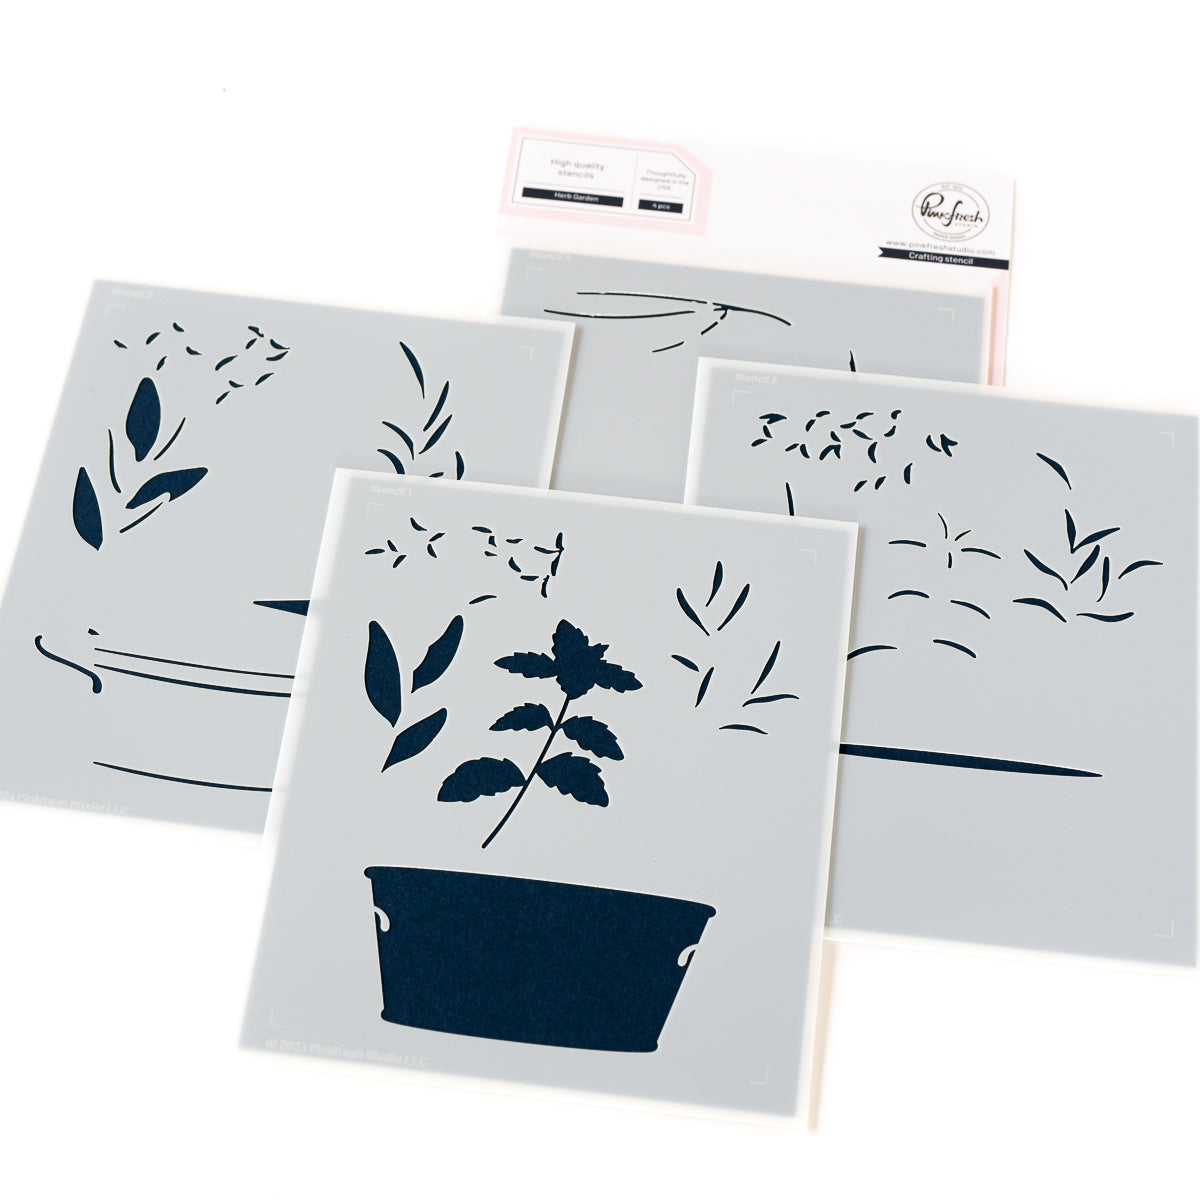
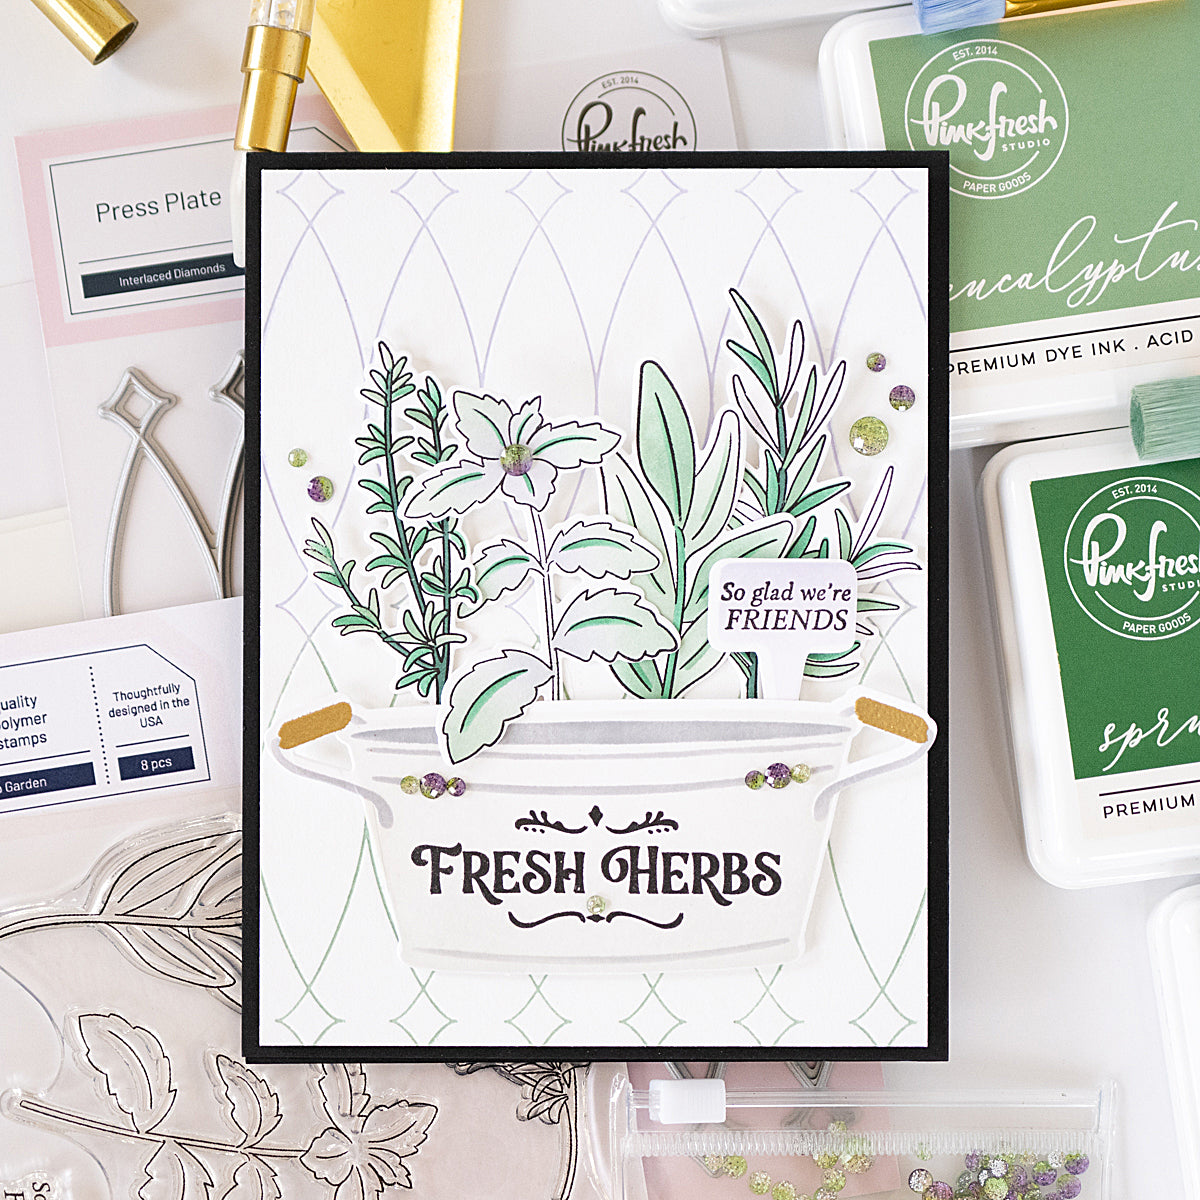
5. Stamp the herbs onto another piece of smooth white card stock with Detail Black Ink and color them using the coordinating Herb Garden Stencils and Pinkfresh Studio Inks. There is no need to ink blend the garden tub for the herbs unless using it.
** I ended up doing this step two times and used the yellow herb from my second set. I've listed the colors for my main set of herbs below and added side notes about the yellow herb that I blended my second time around. **
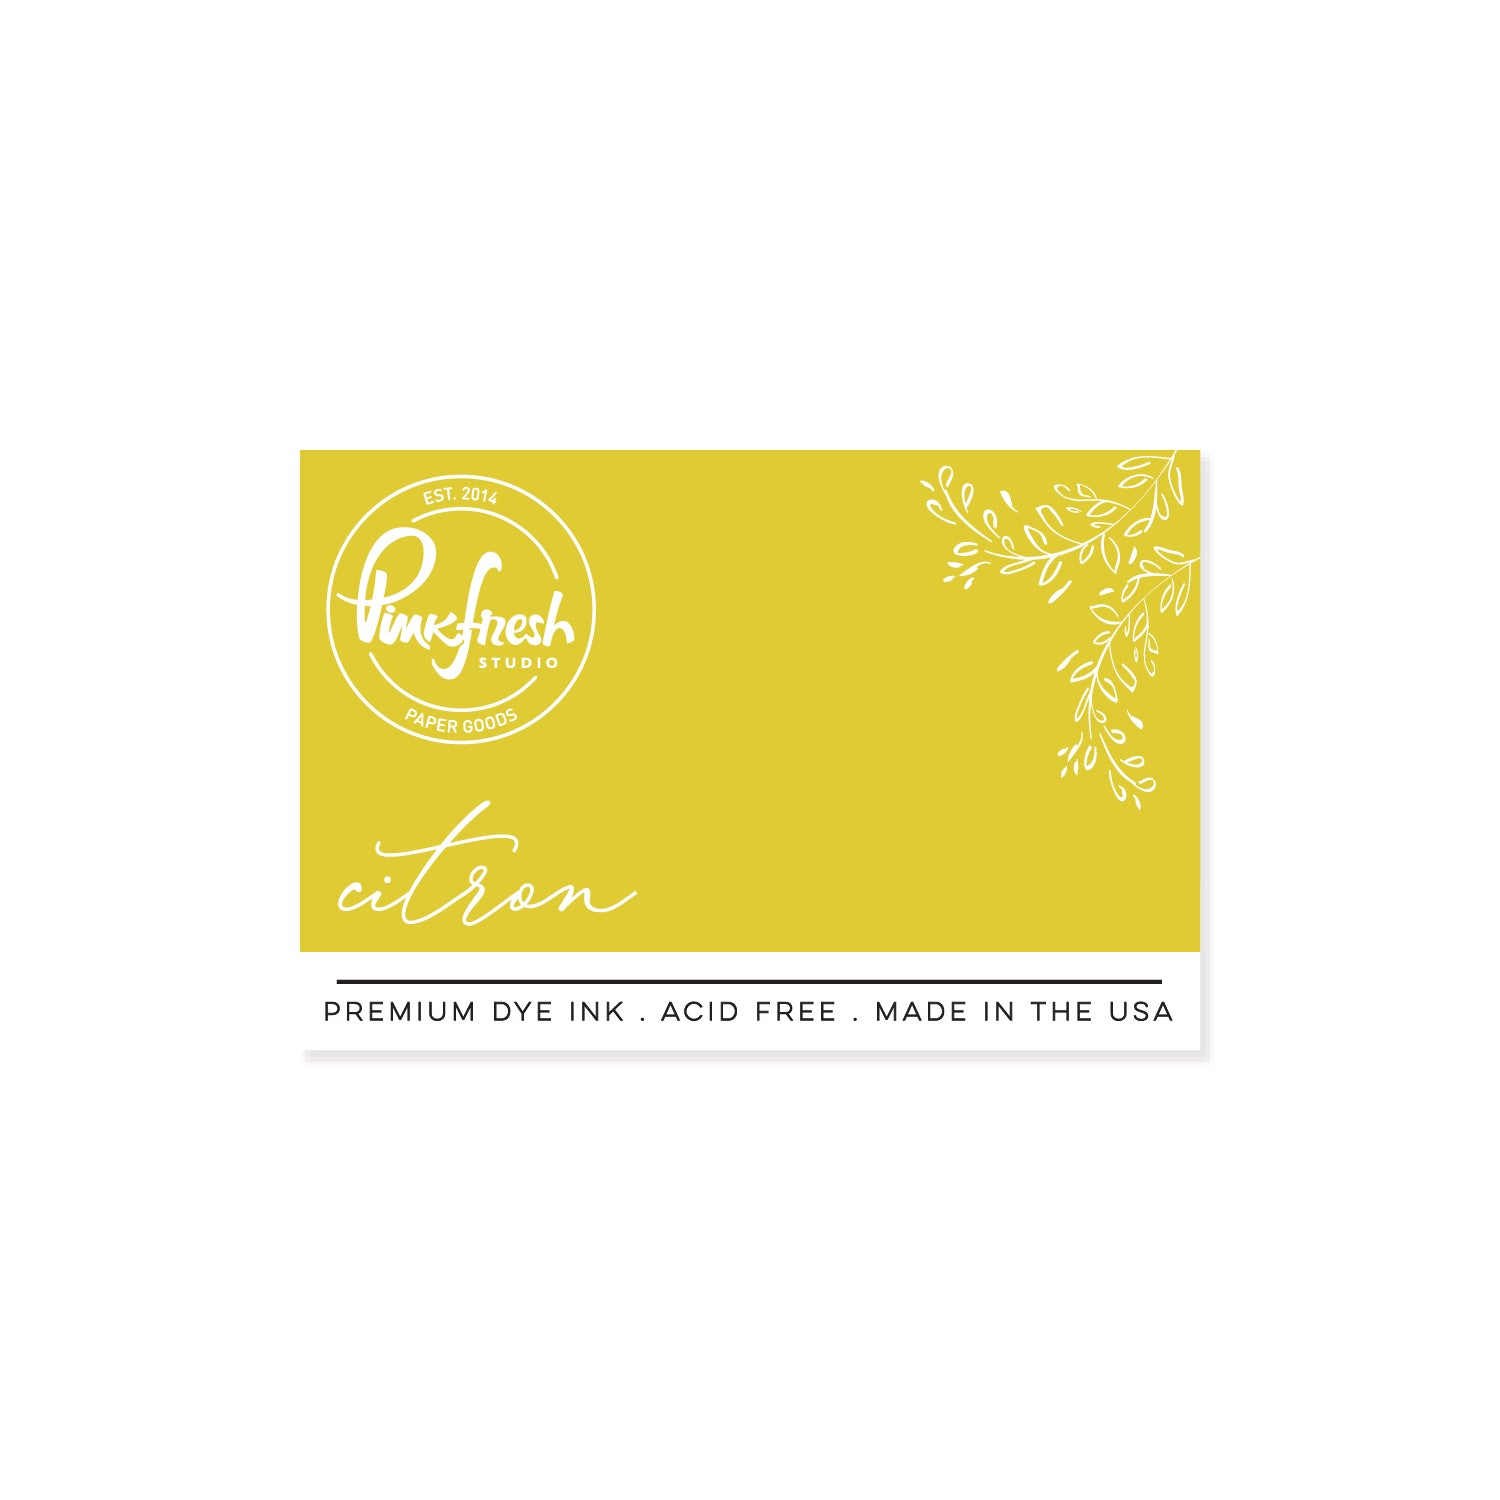
- Stencil 1: Soft Lilac, Sparkling Rose, Waterfall, Citron, (Lemon Whip for the yellow herb)
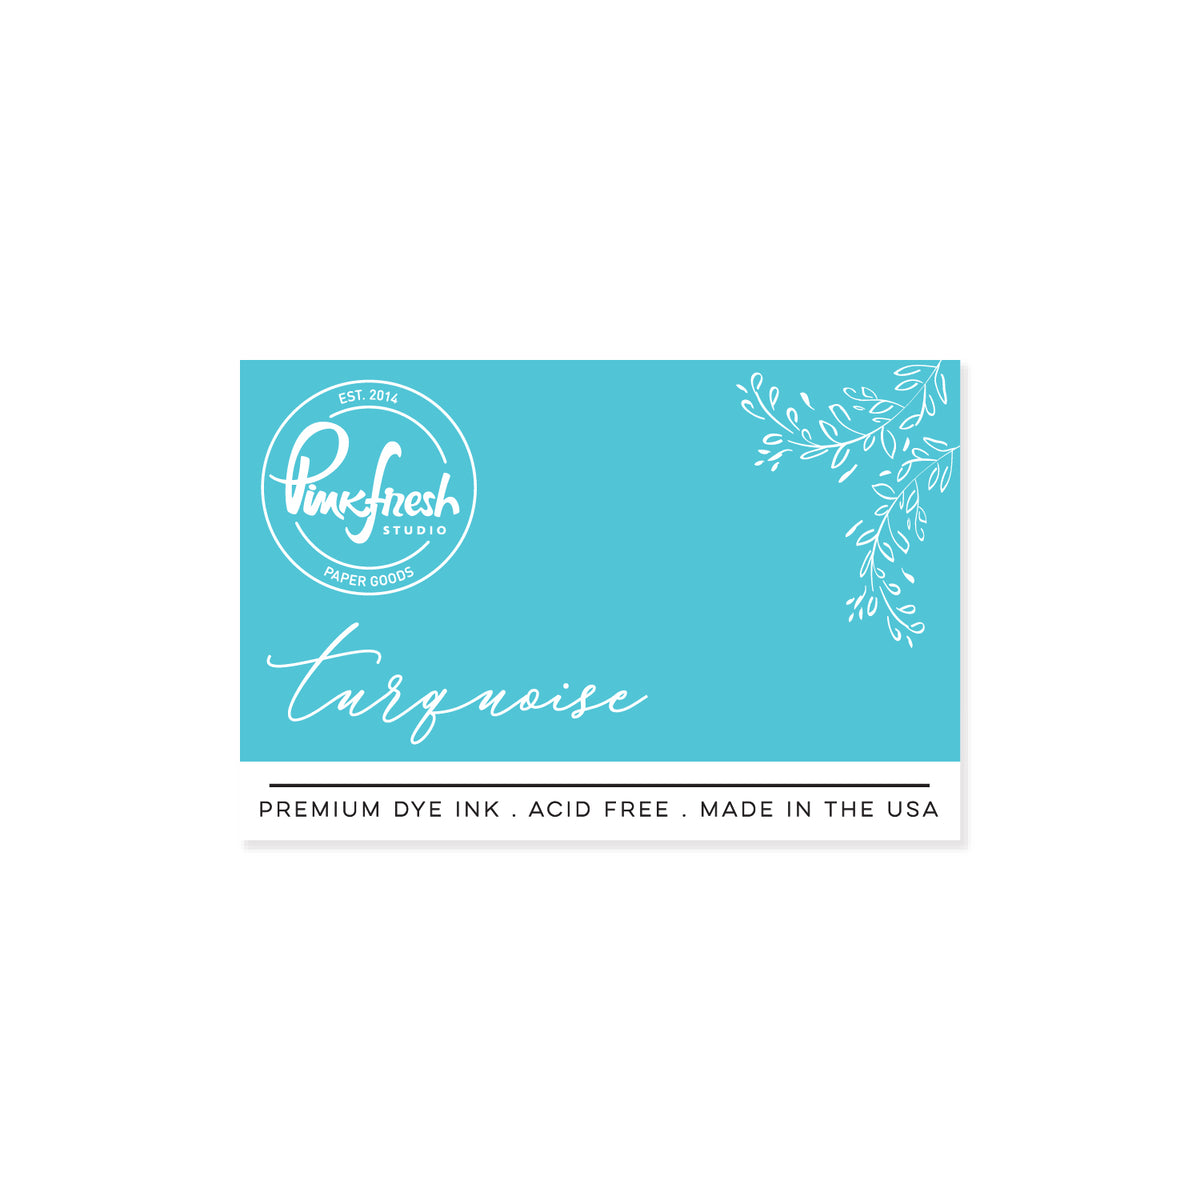
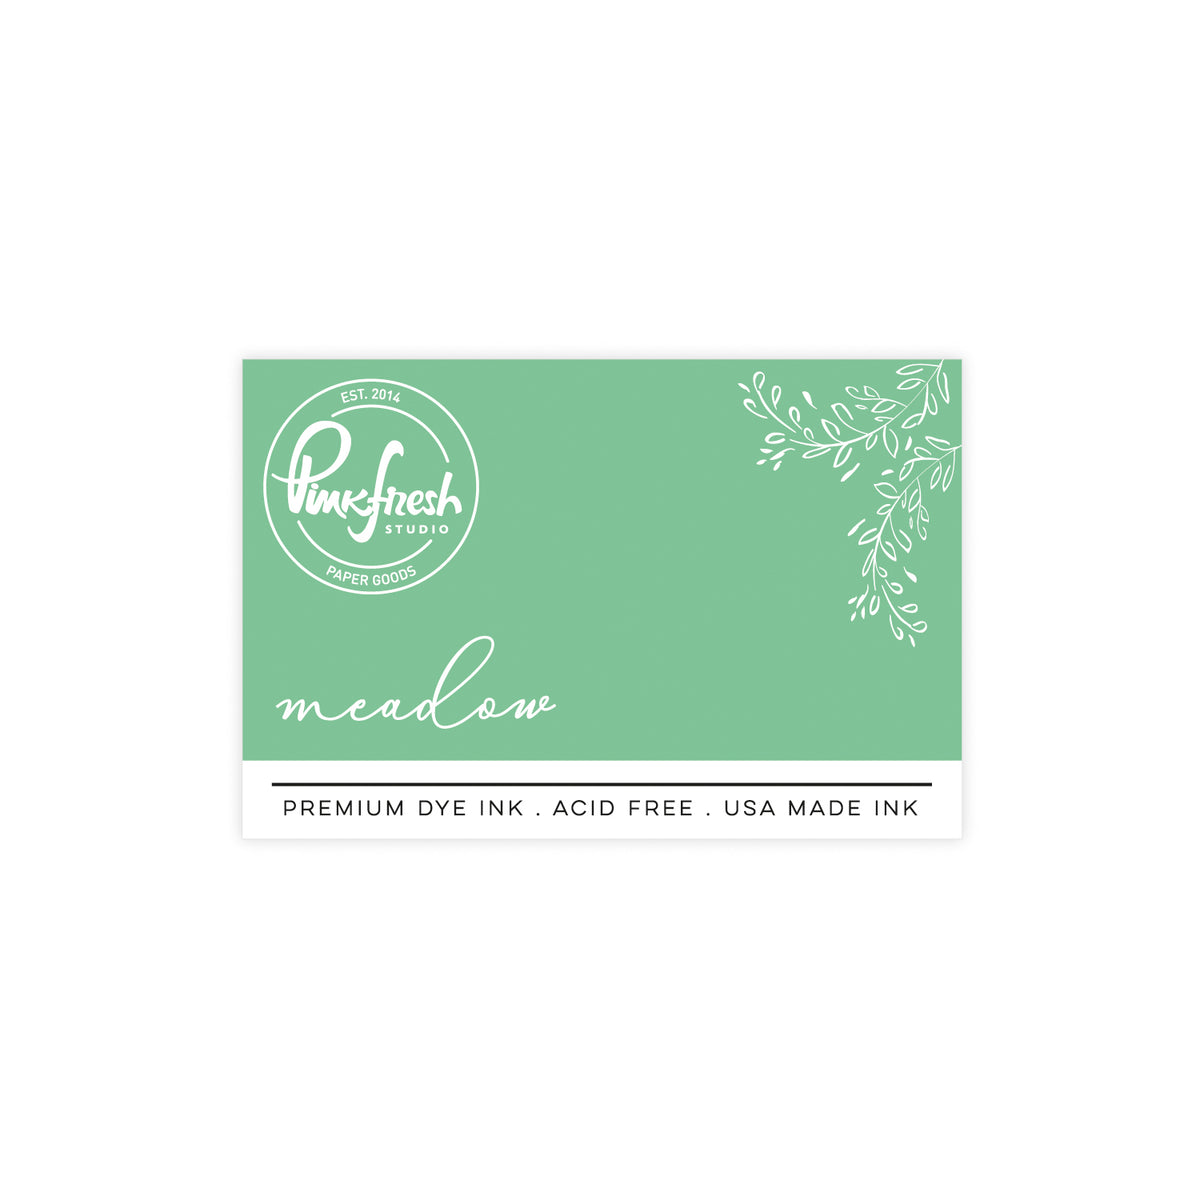
- Stencil 2: Candy Violet, Turquoise, Grassy Knoll, (Sunshine for the yellow herb)
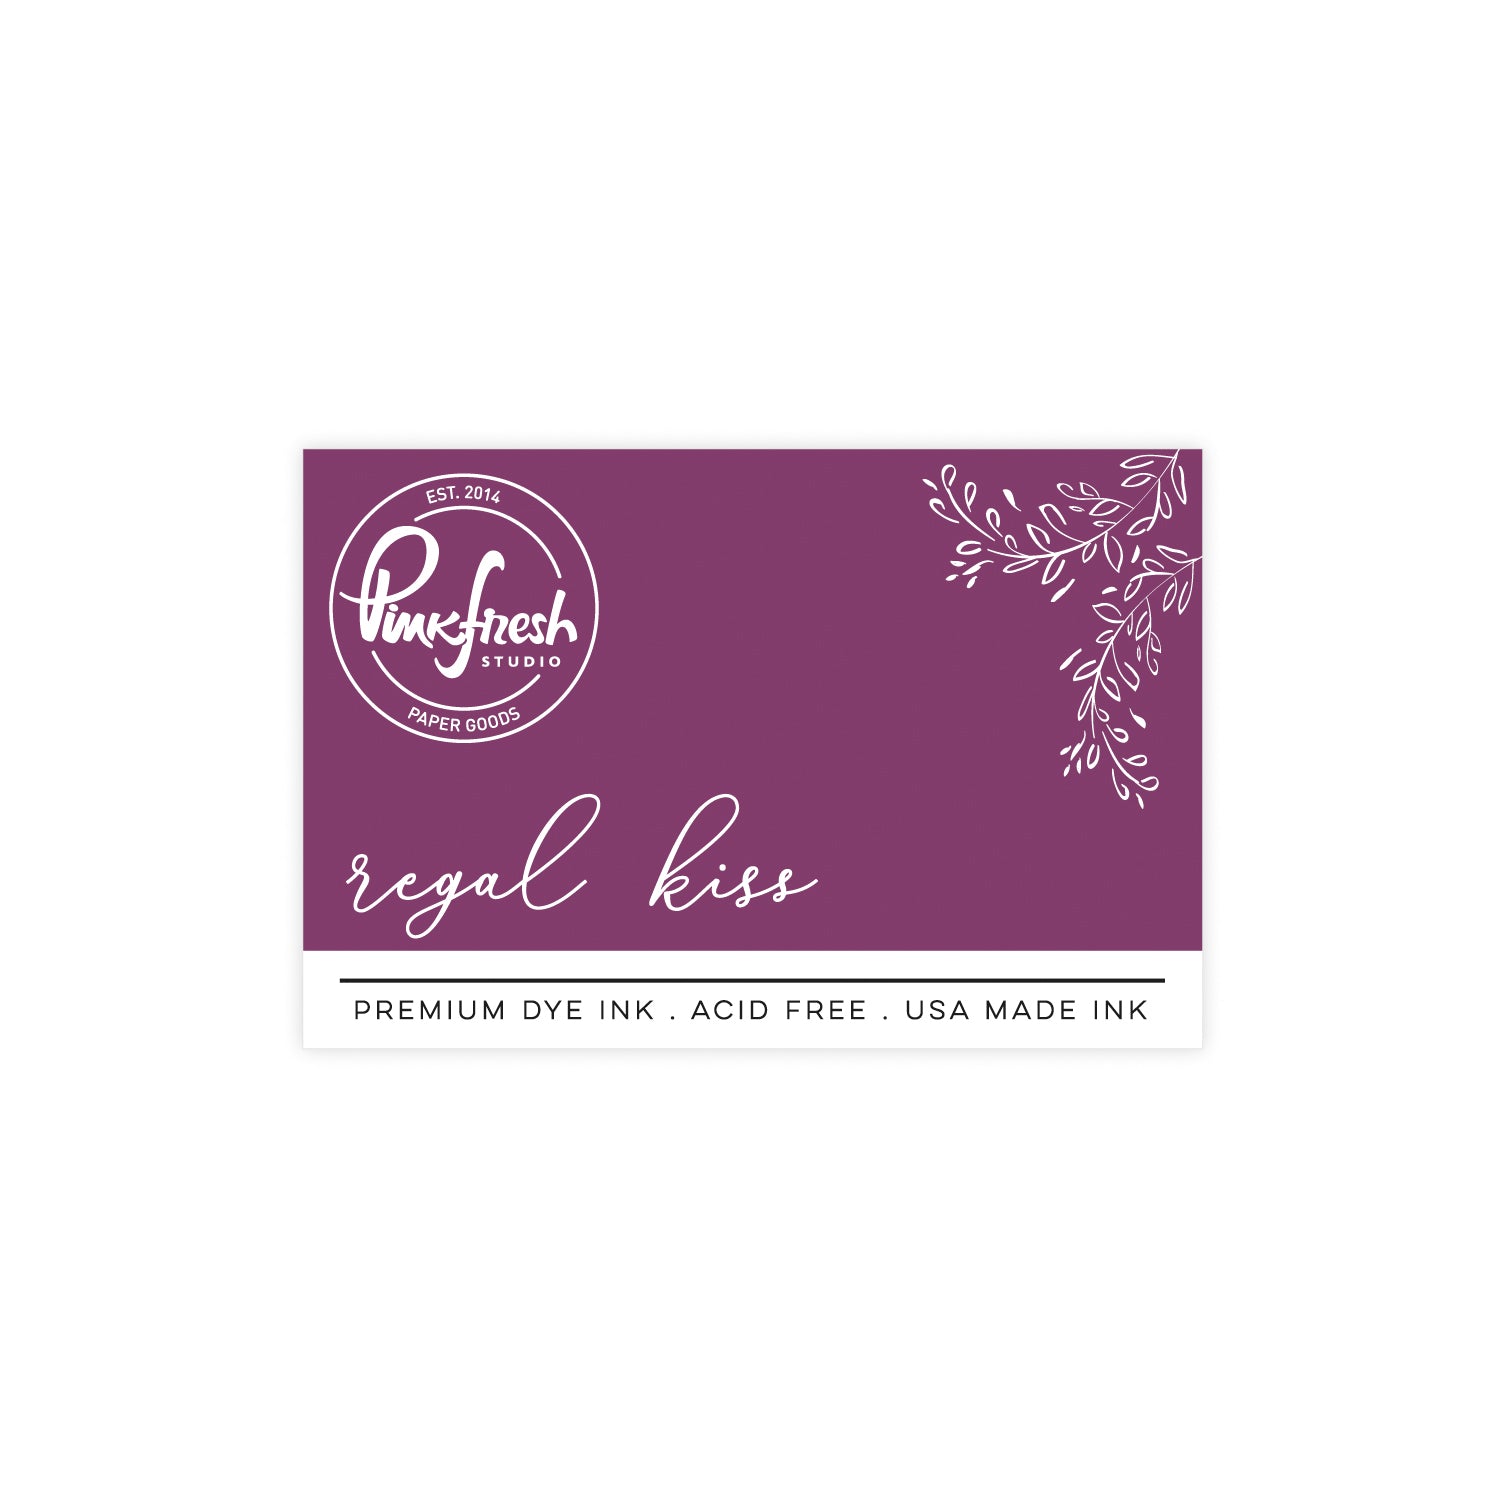
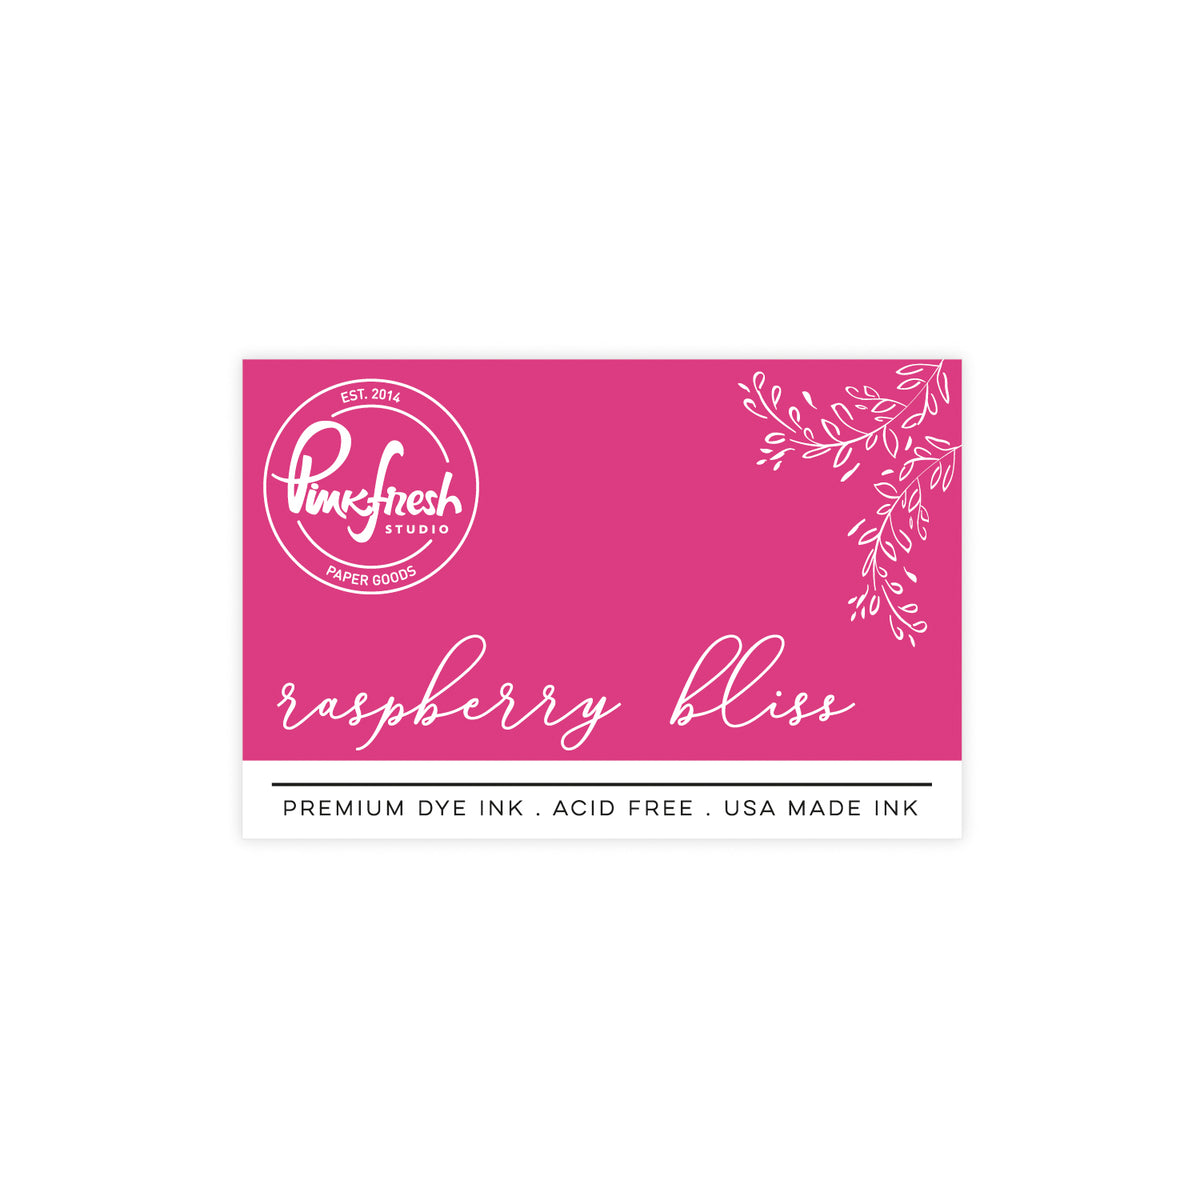
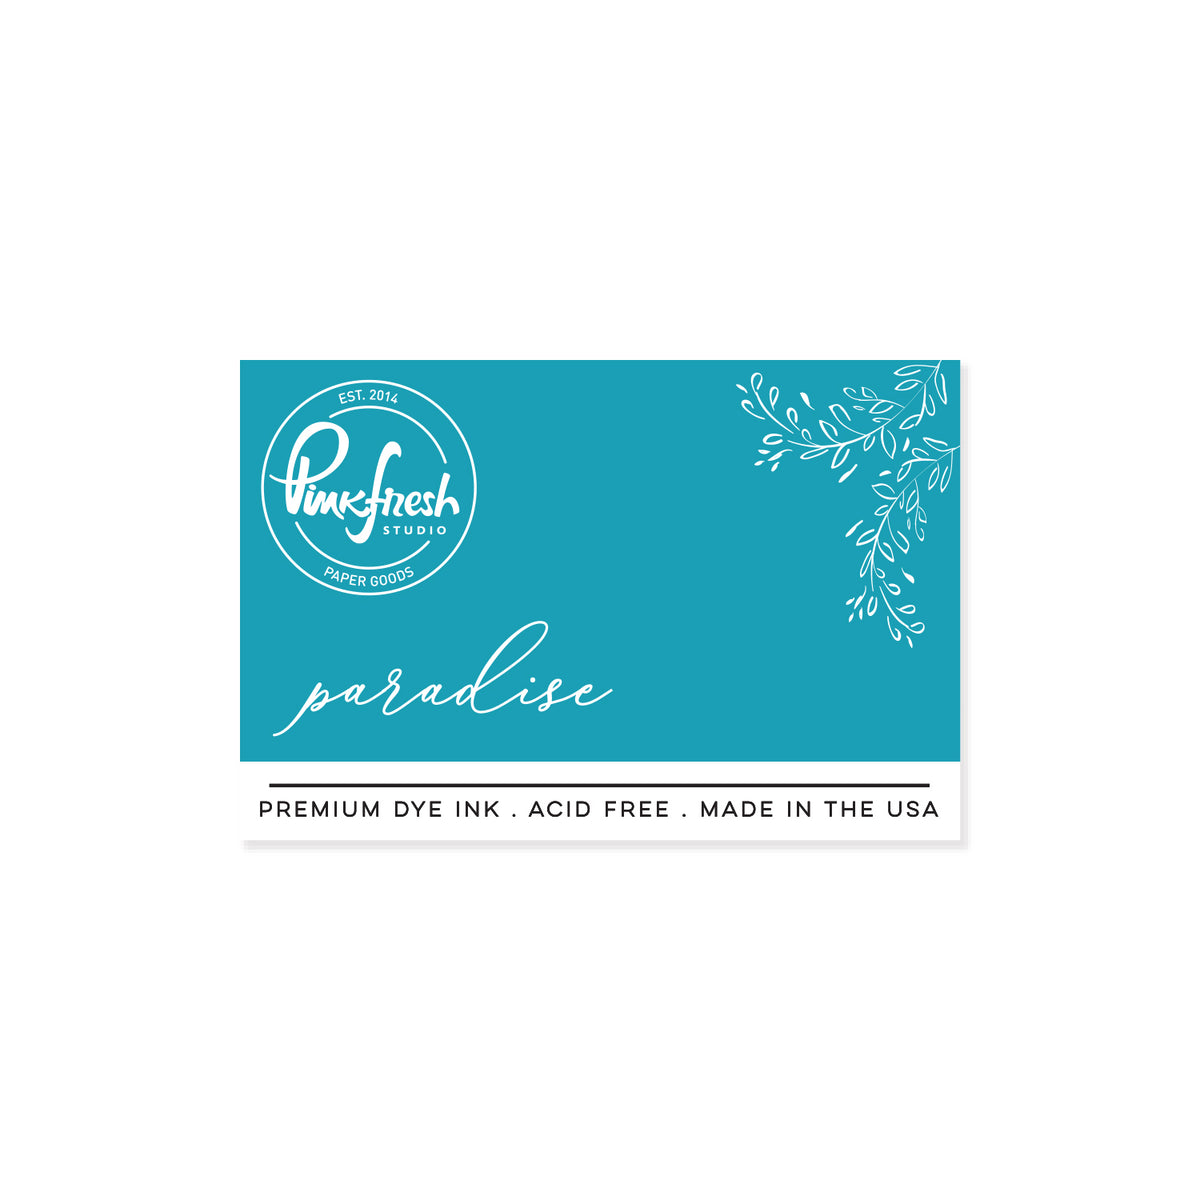
- Stencil 3: Regal Kiss, Raspberry Bliss, Paradise, Meadow, (Sunshine for the yellow herb)
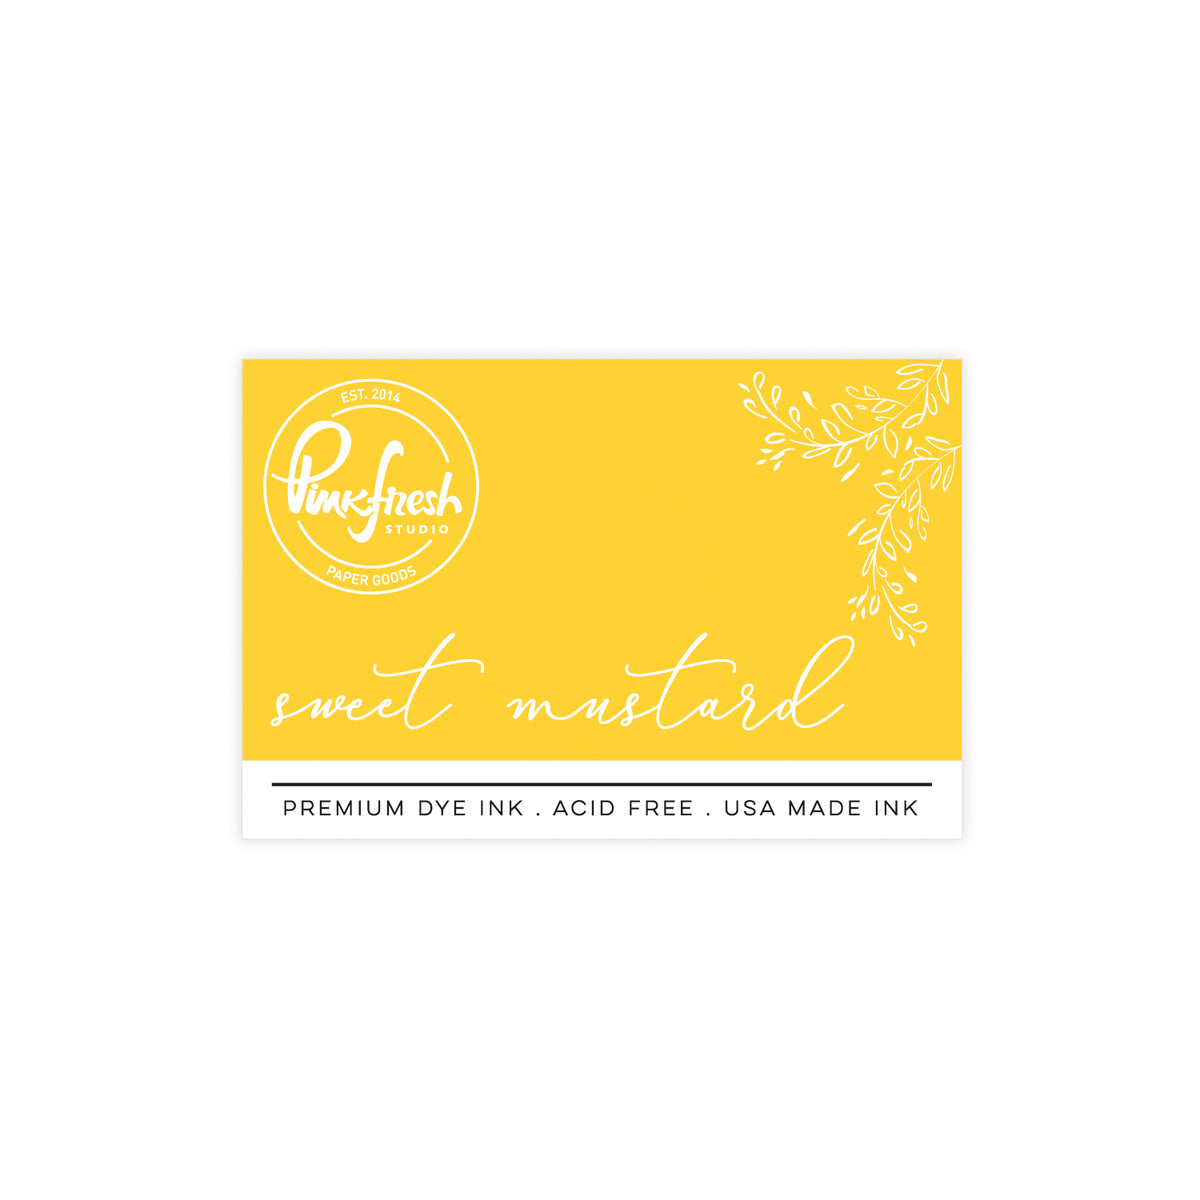
- Stencil 4: Paradise, Meadow, (Sweet Mustard for the yellow herb)
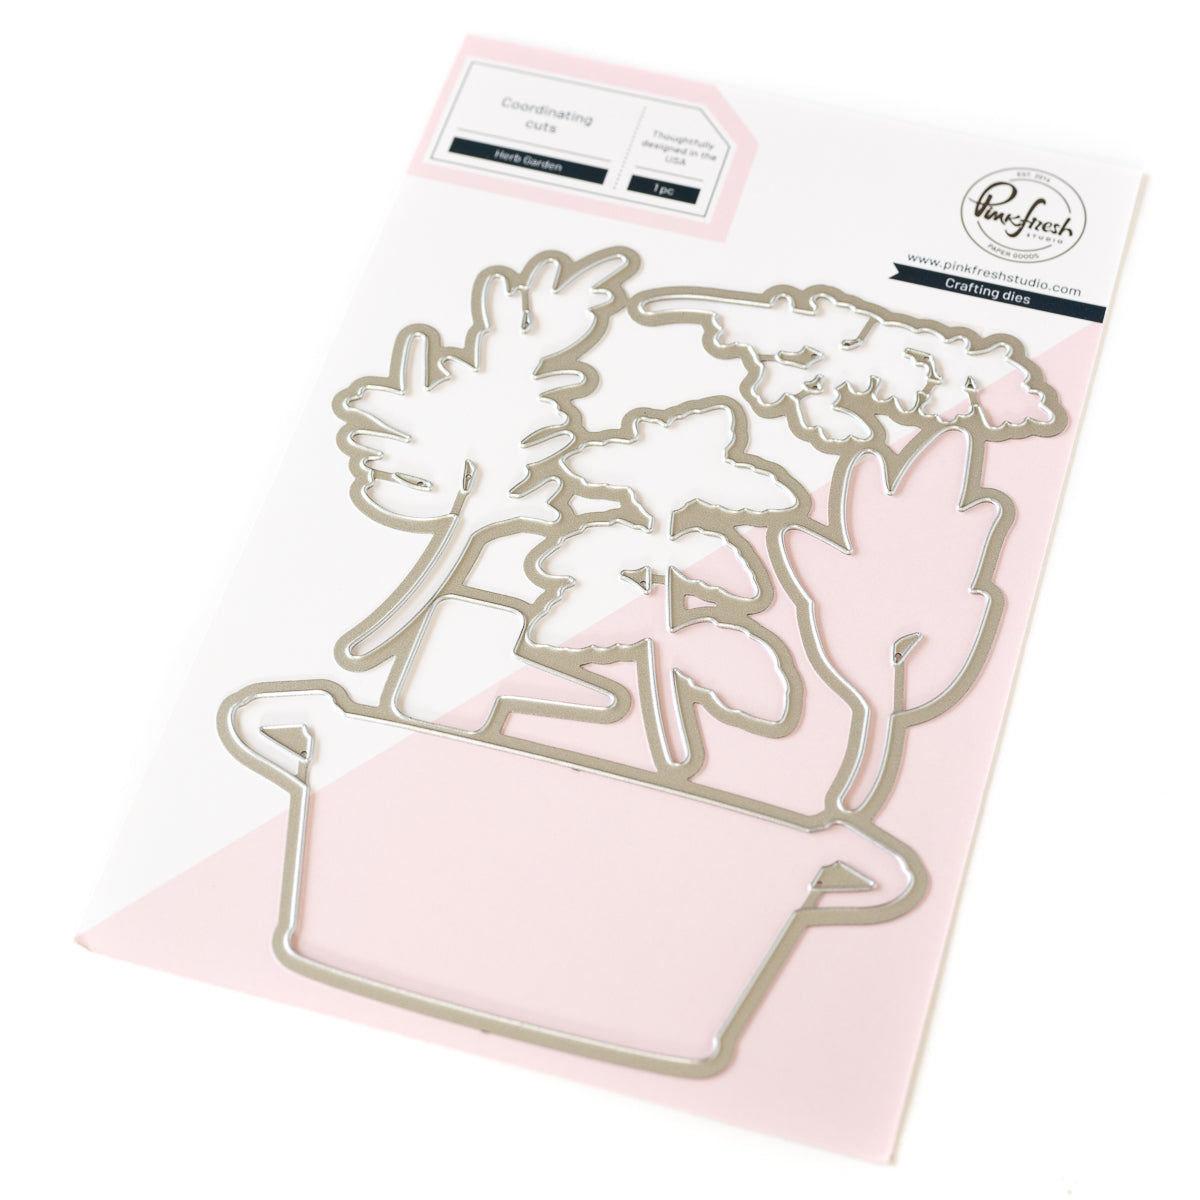
6. Die cut the herbs using the coordinating Herb Garden Die Set.
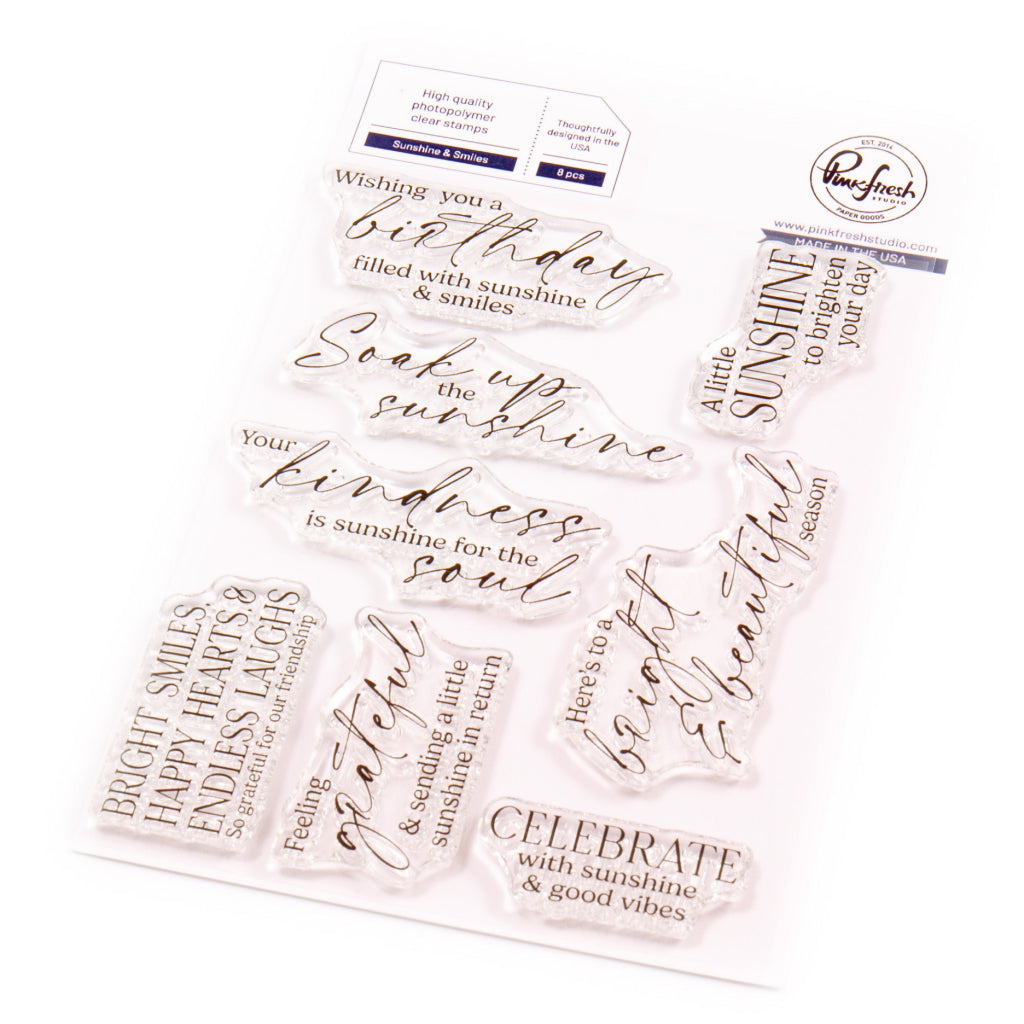
7. Stamp the sentiment onto the top right corner of the ink blended piece with Detail Black Ink prior to adhering the herbs. (My sentiment came from the Sunshine & Smiles Stamp Set.)
8. Use dimensional foam tape to add the herbs and trim off any excess stems at the bottom of the card using a pair of scissors.
9. Adhere the ink-blended card stock with the attached herbs to the card base to finish.
TIP: I always like to trim my card stock (that I will be ink-blending) slightly larger than what I need so that I can trim off the edges to remove any harsh ink stains before using them. I think this looks cleaner and helps not to distract from the final design of the card.

I hope you enjoyed my card today and will be inspired to make one of your own!
I would love to see what you create! Make sure to tag us on Instagram with your personal creations using these products!
Please feel free to leave a comment below as well as any questions you may have.
- Rachel
Recommended Products


























Leave a comment
All comments are moderated before being published.
This site is protected by hCaptcha and the hCaptcha Privacy Policy and Terms of Service apply.