Grounding Scenes with Basic Shapes | Jody Morrow

Grounding Scenes with Basic Shapes | Jody Morrow

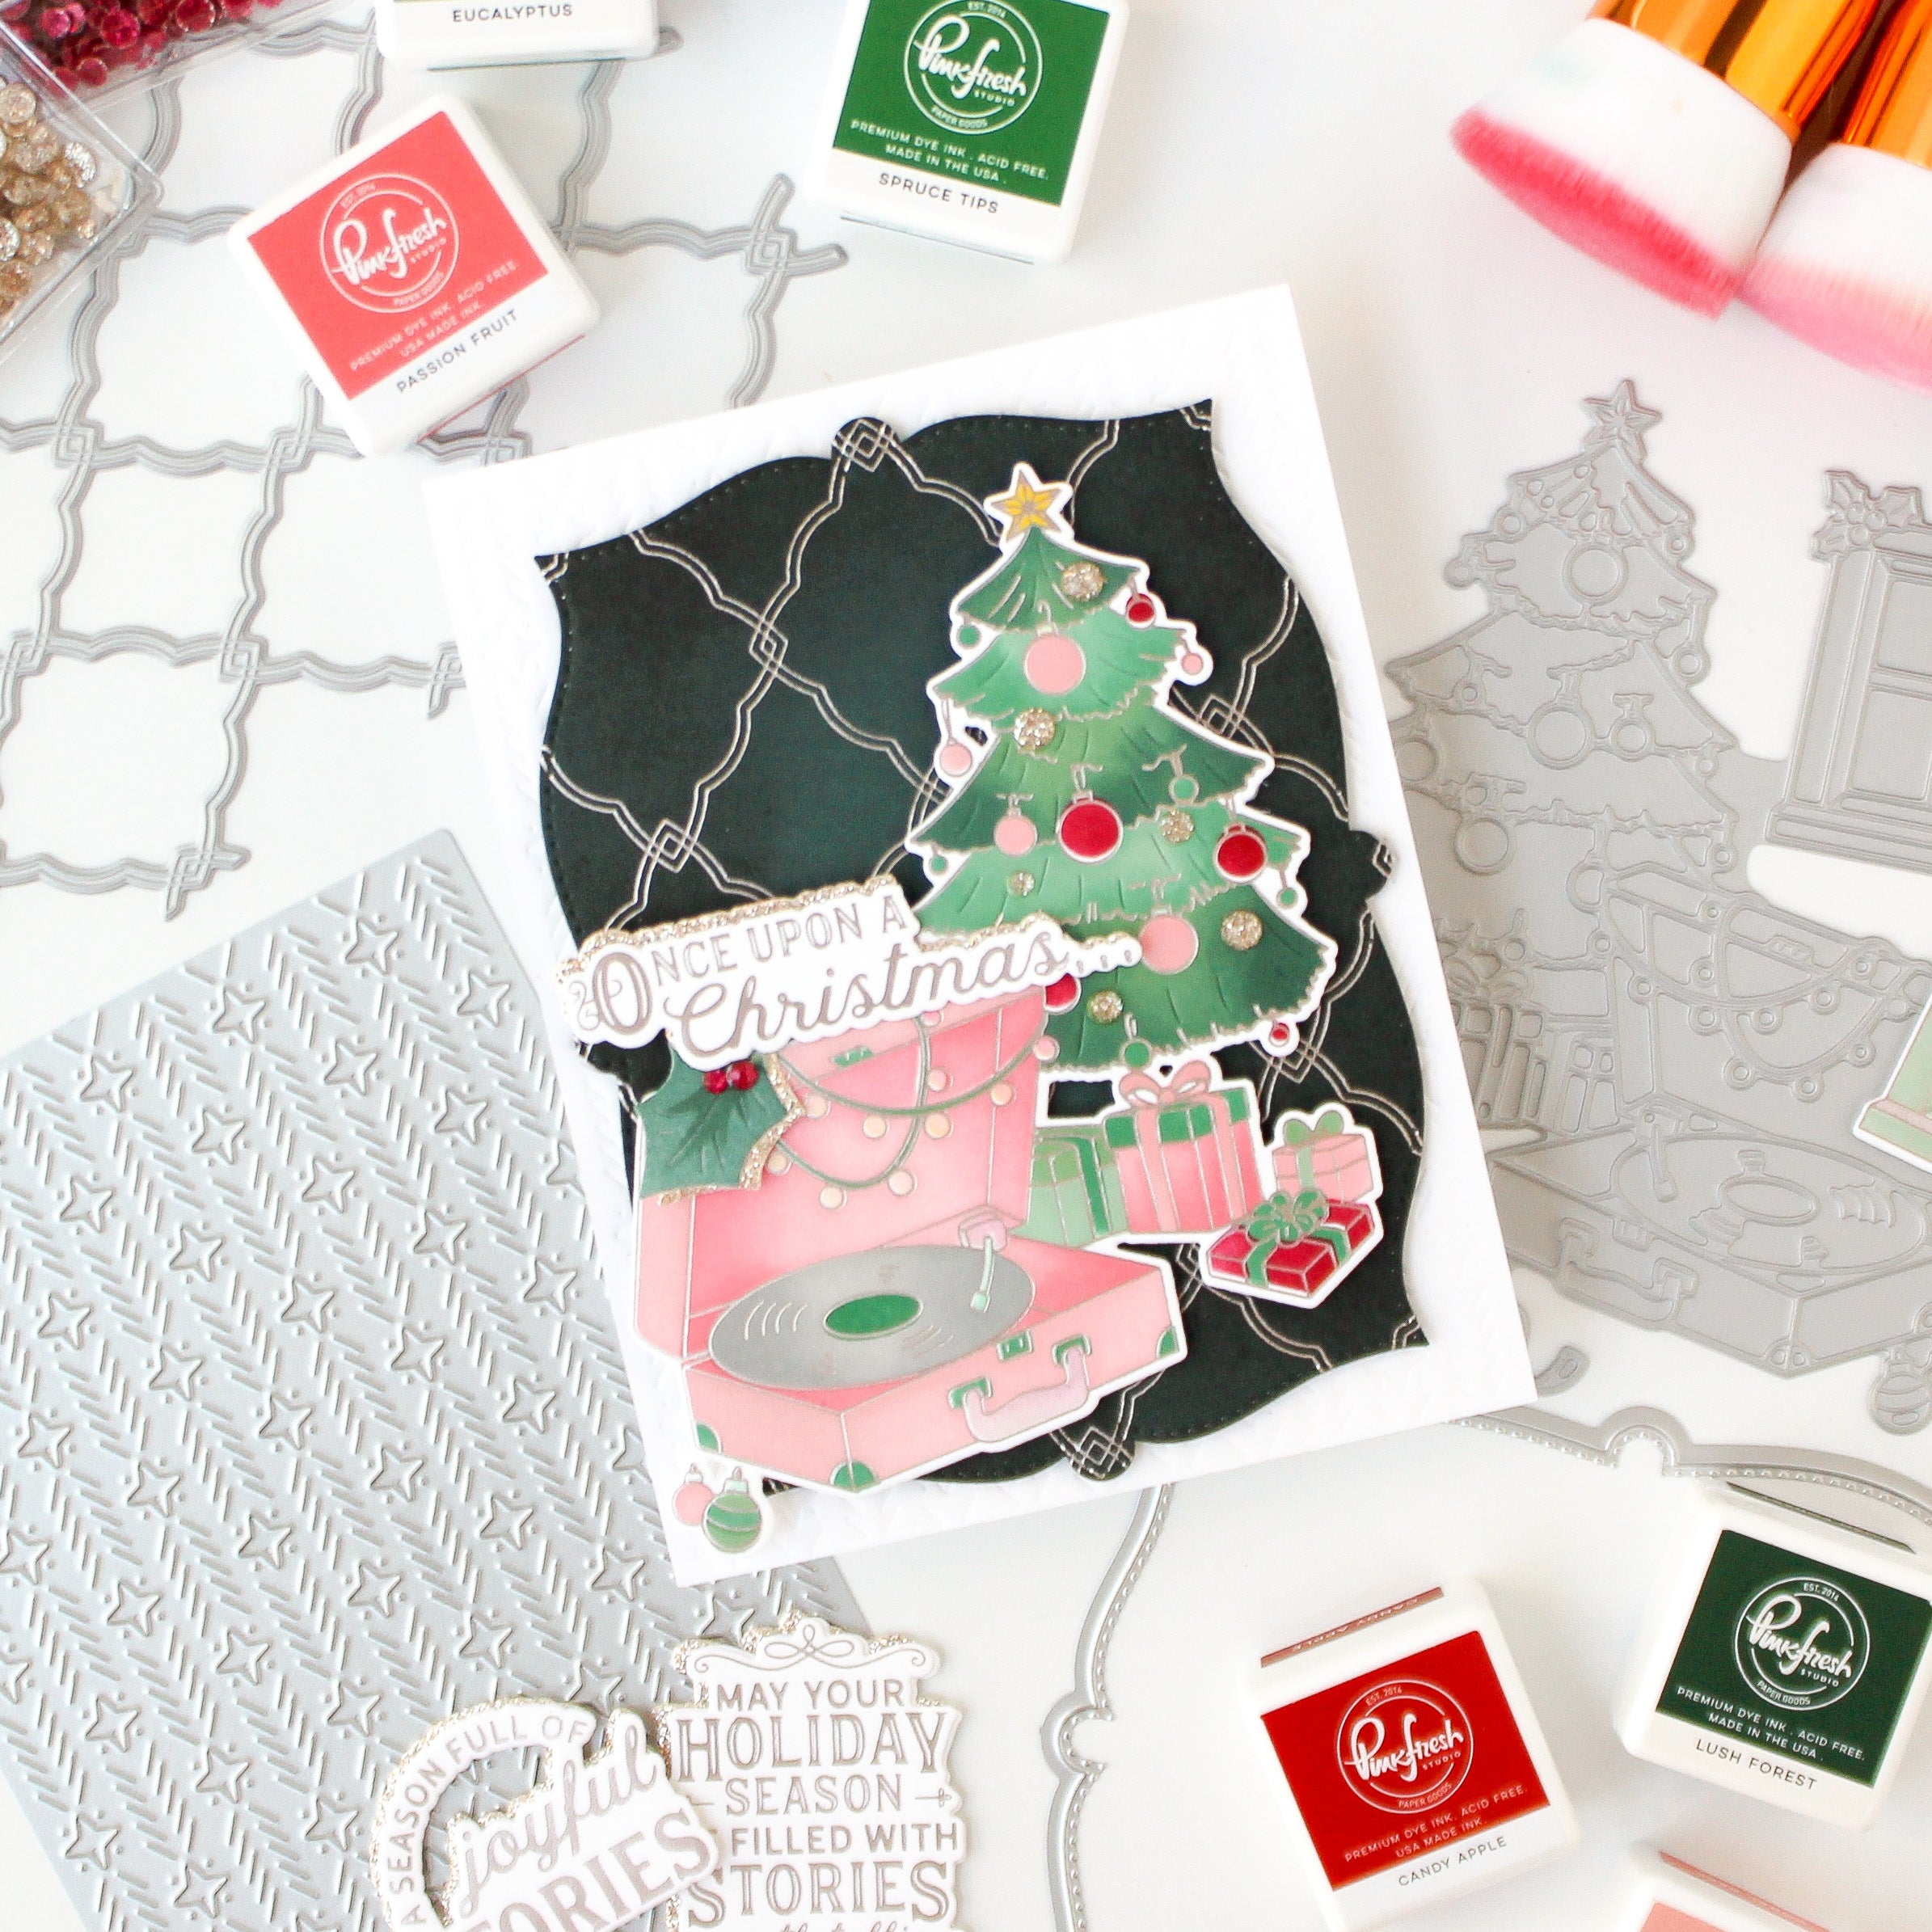
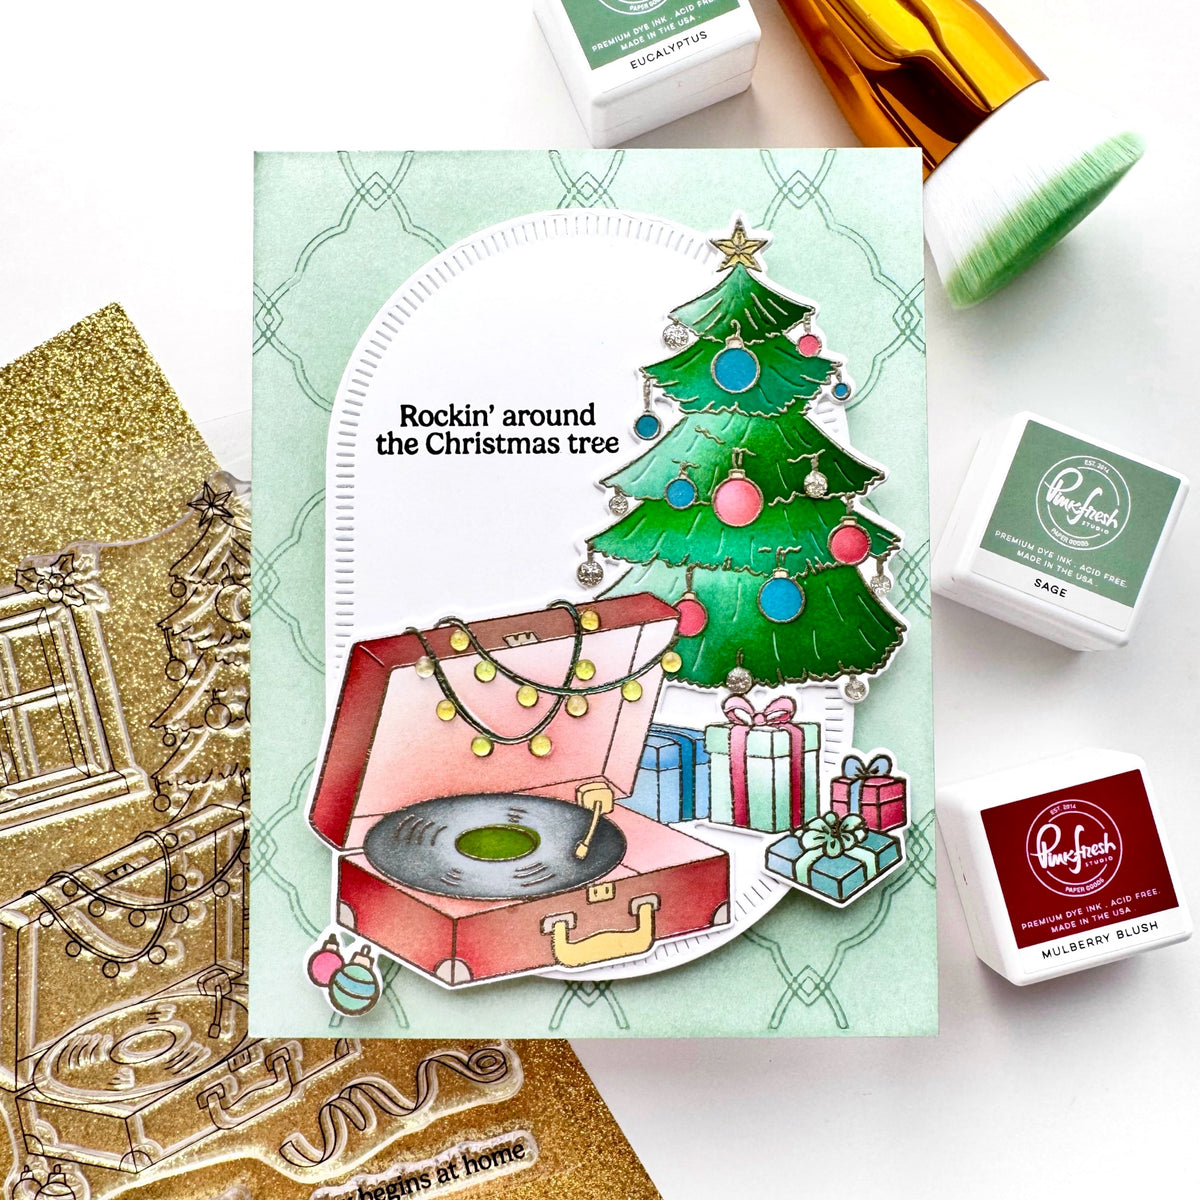
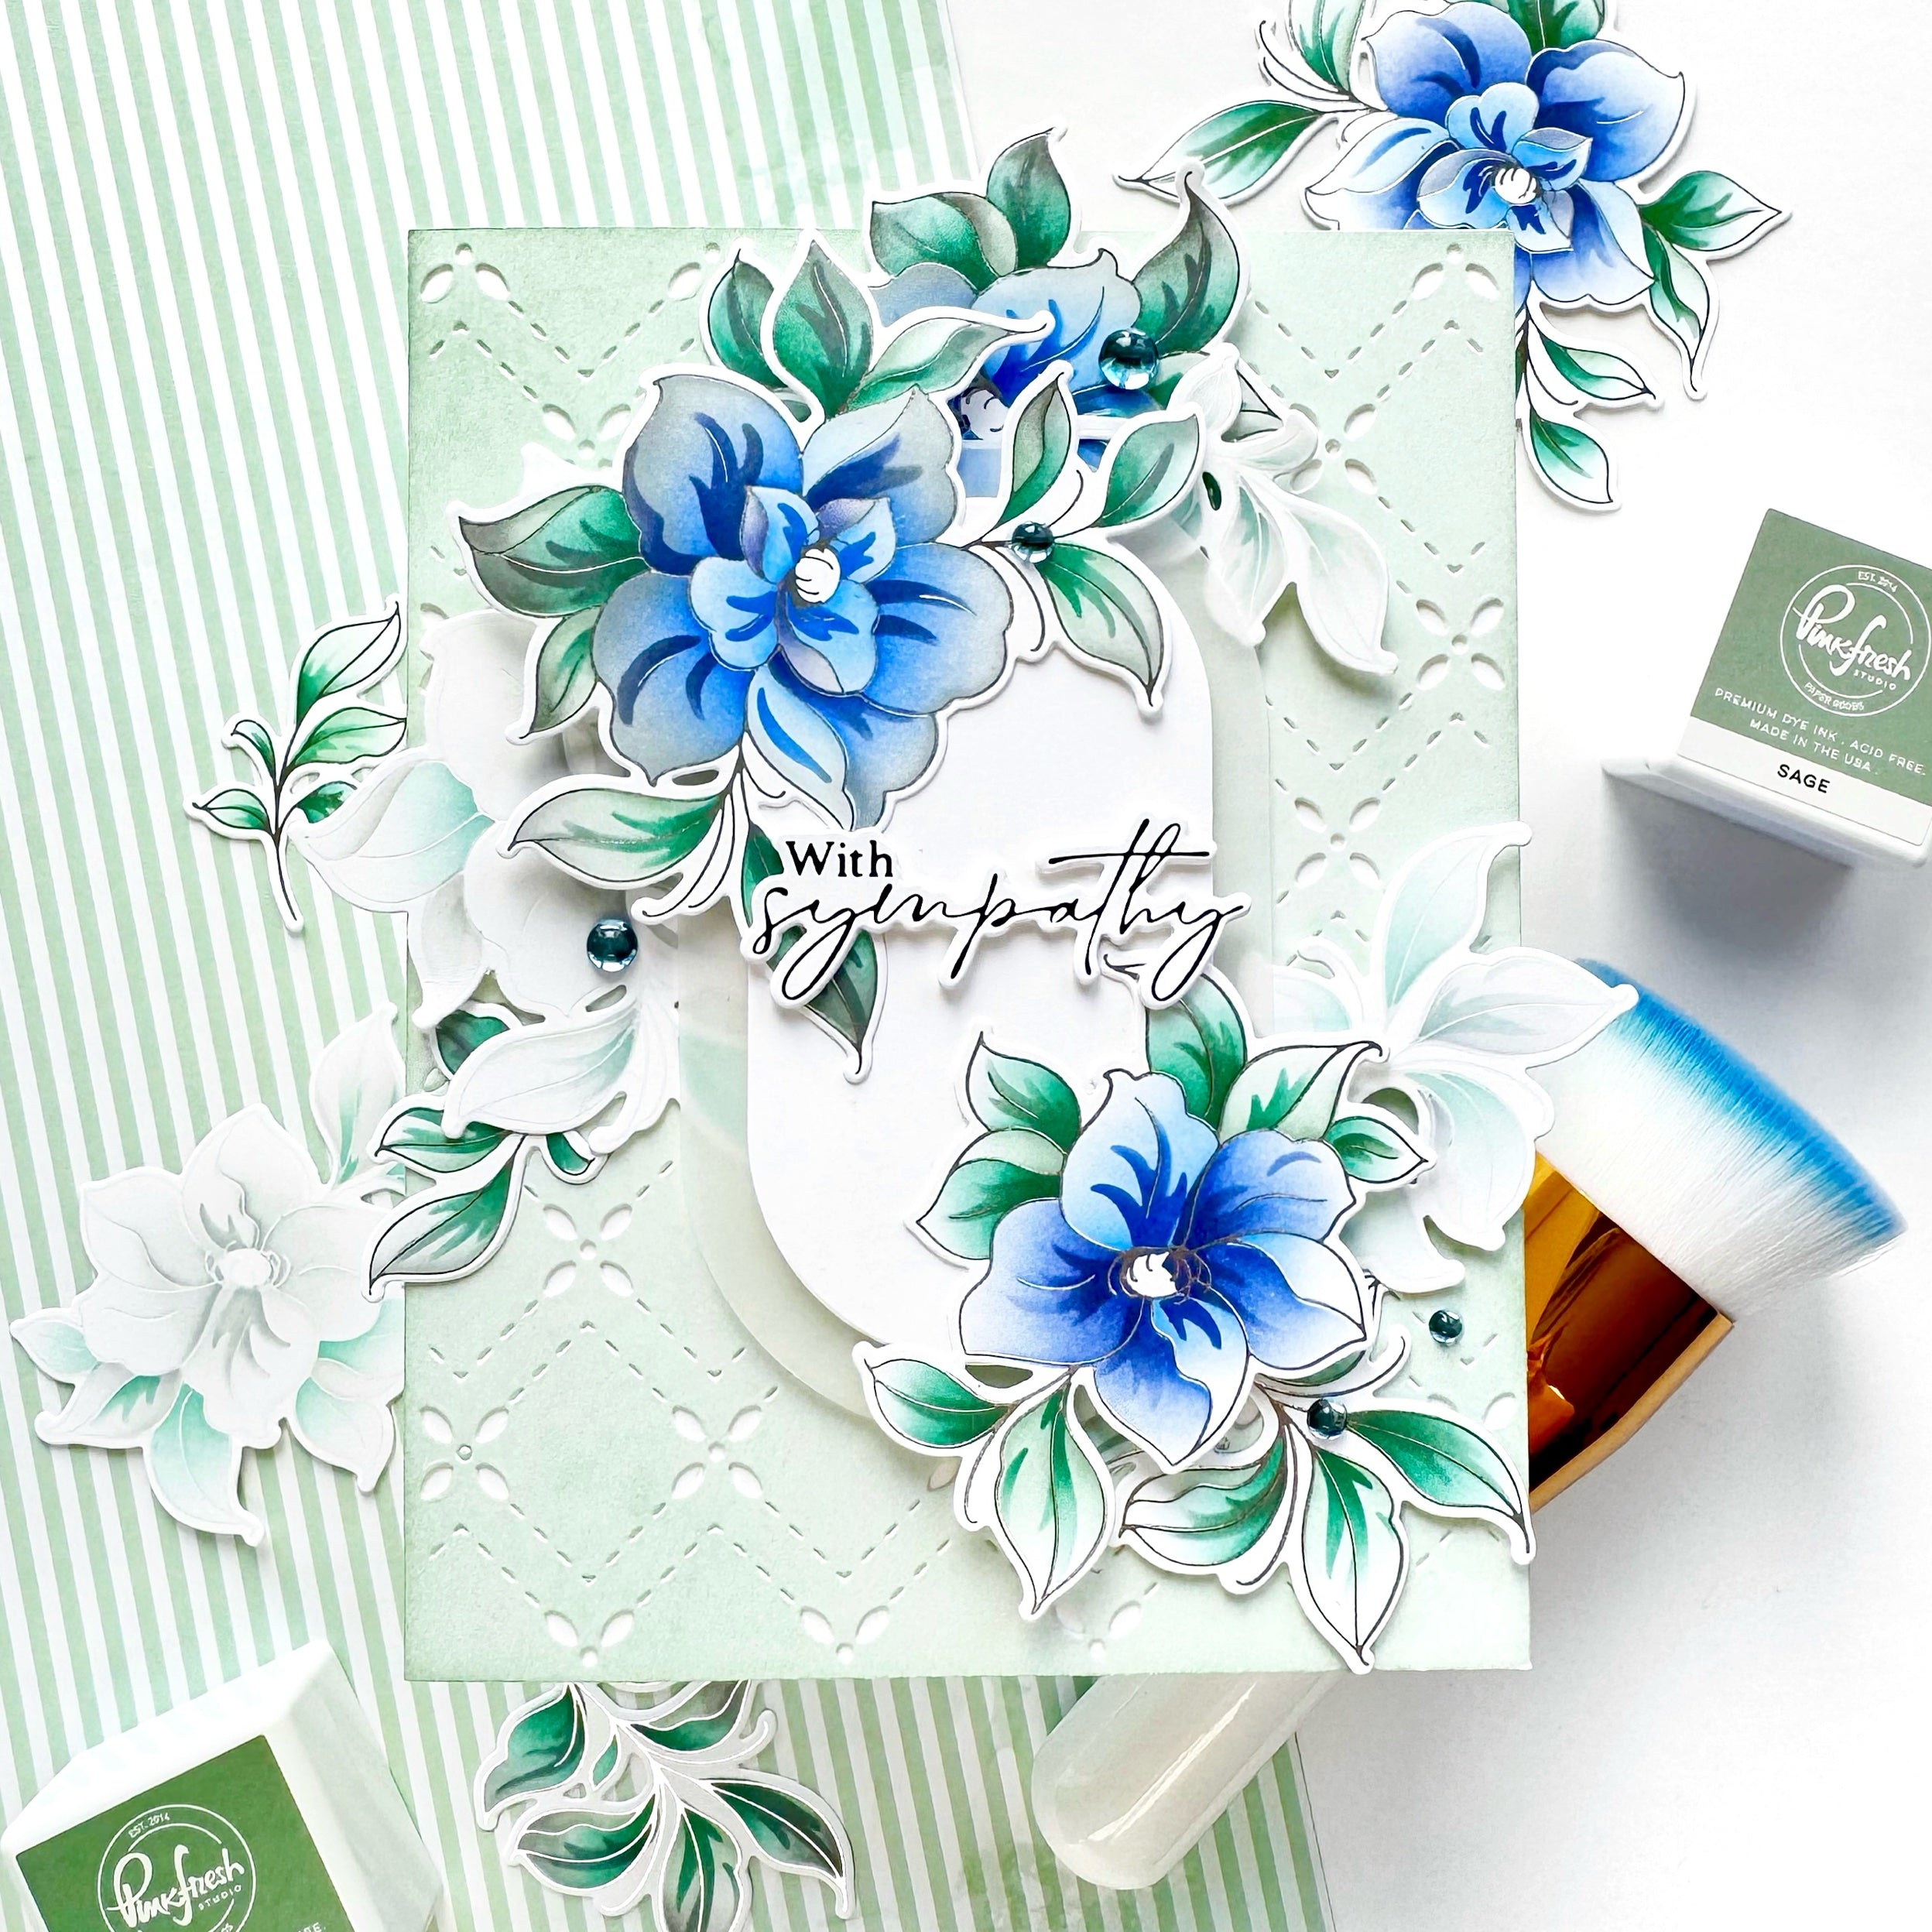
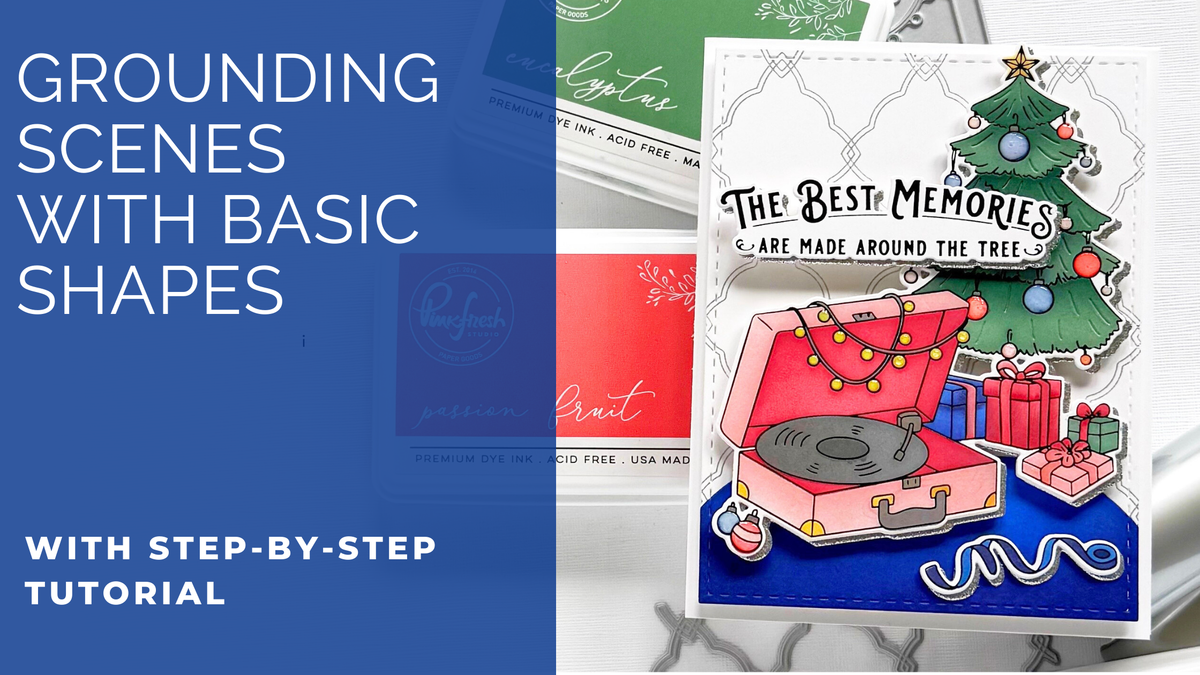
Sometimes the smallest design choices make the biggest impact. In this tutorial, I’ll share how to use simple die-cut shapes to ground your images and create balance in your handmade cards. By layering an elongated oval die cut onto a stitched rectangle panel, I established a strong foundation for my holiday scene. From there, I

built up dimension with a ready-made scene, added shine with Nuvo Glaze, and tied it all together with silver foiling and glitter paper accents.

*Disclaimer: All products used are linked below as clickable images. If a product isn’t listed, it’s been discontinued.

How to recreate this card:

  1. Cut and fold an A2 top-folding card base from white cardstock.
  2. Use the Merry Melodies press plate to hot foil the image onto a white A2 card panel using black foil.

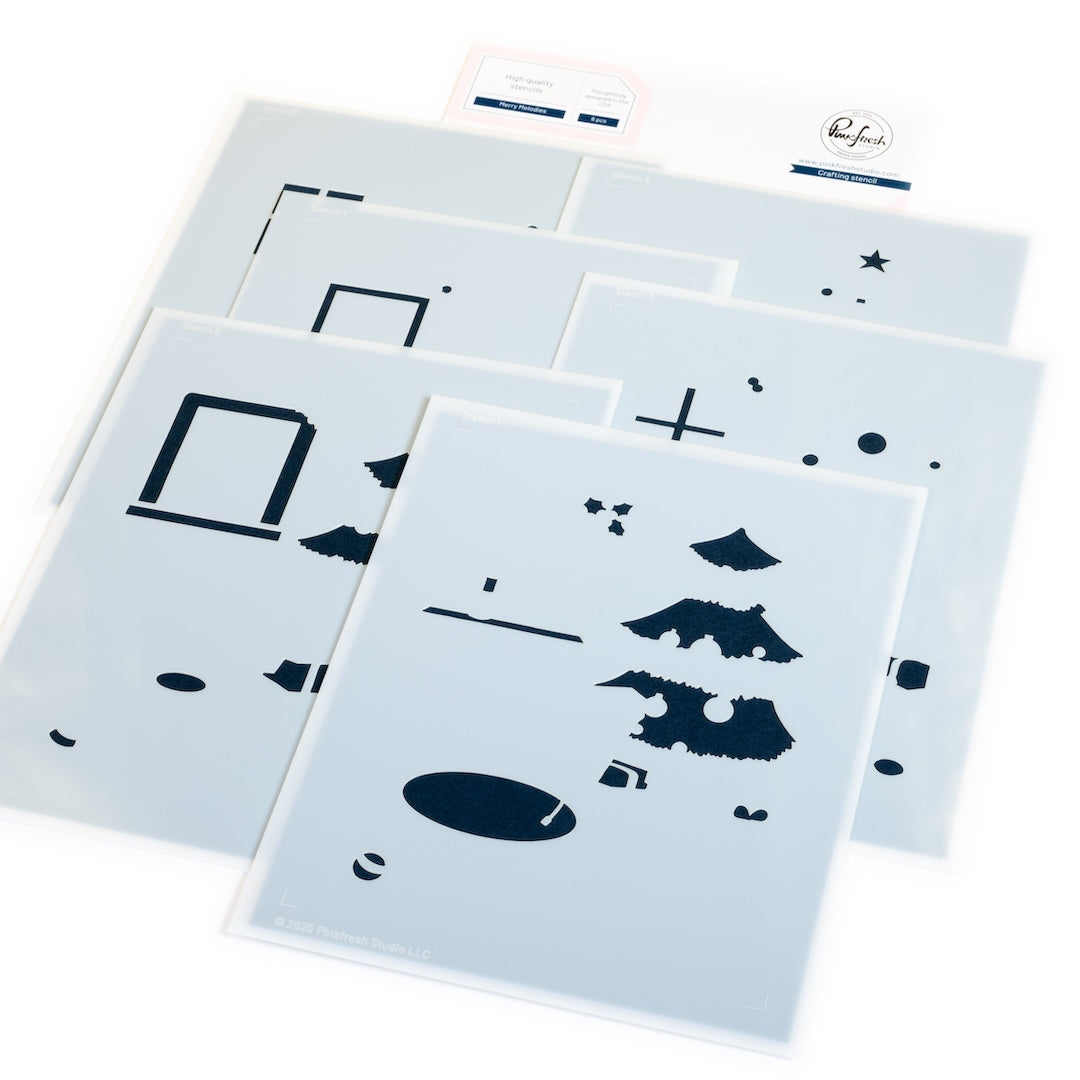
  3. Use the coordinating stencils to add color to your scene.
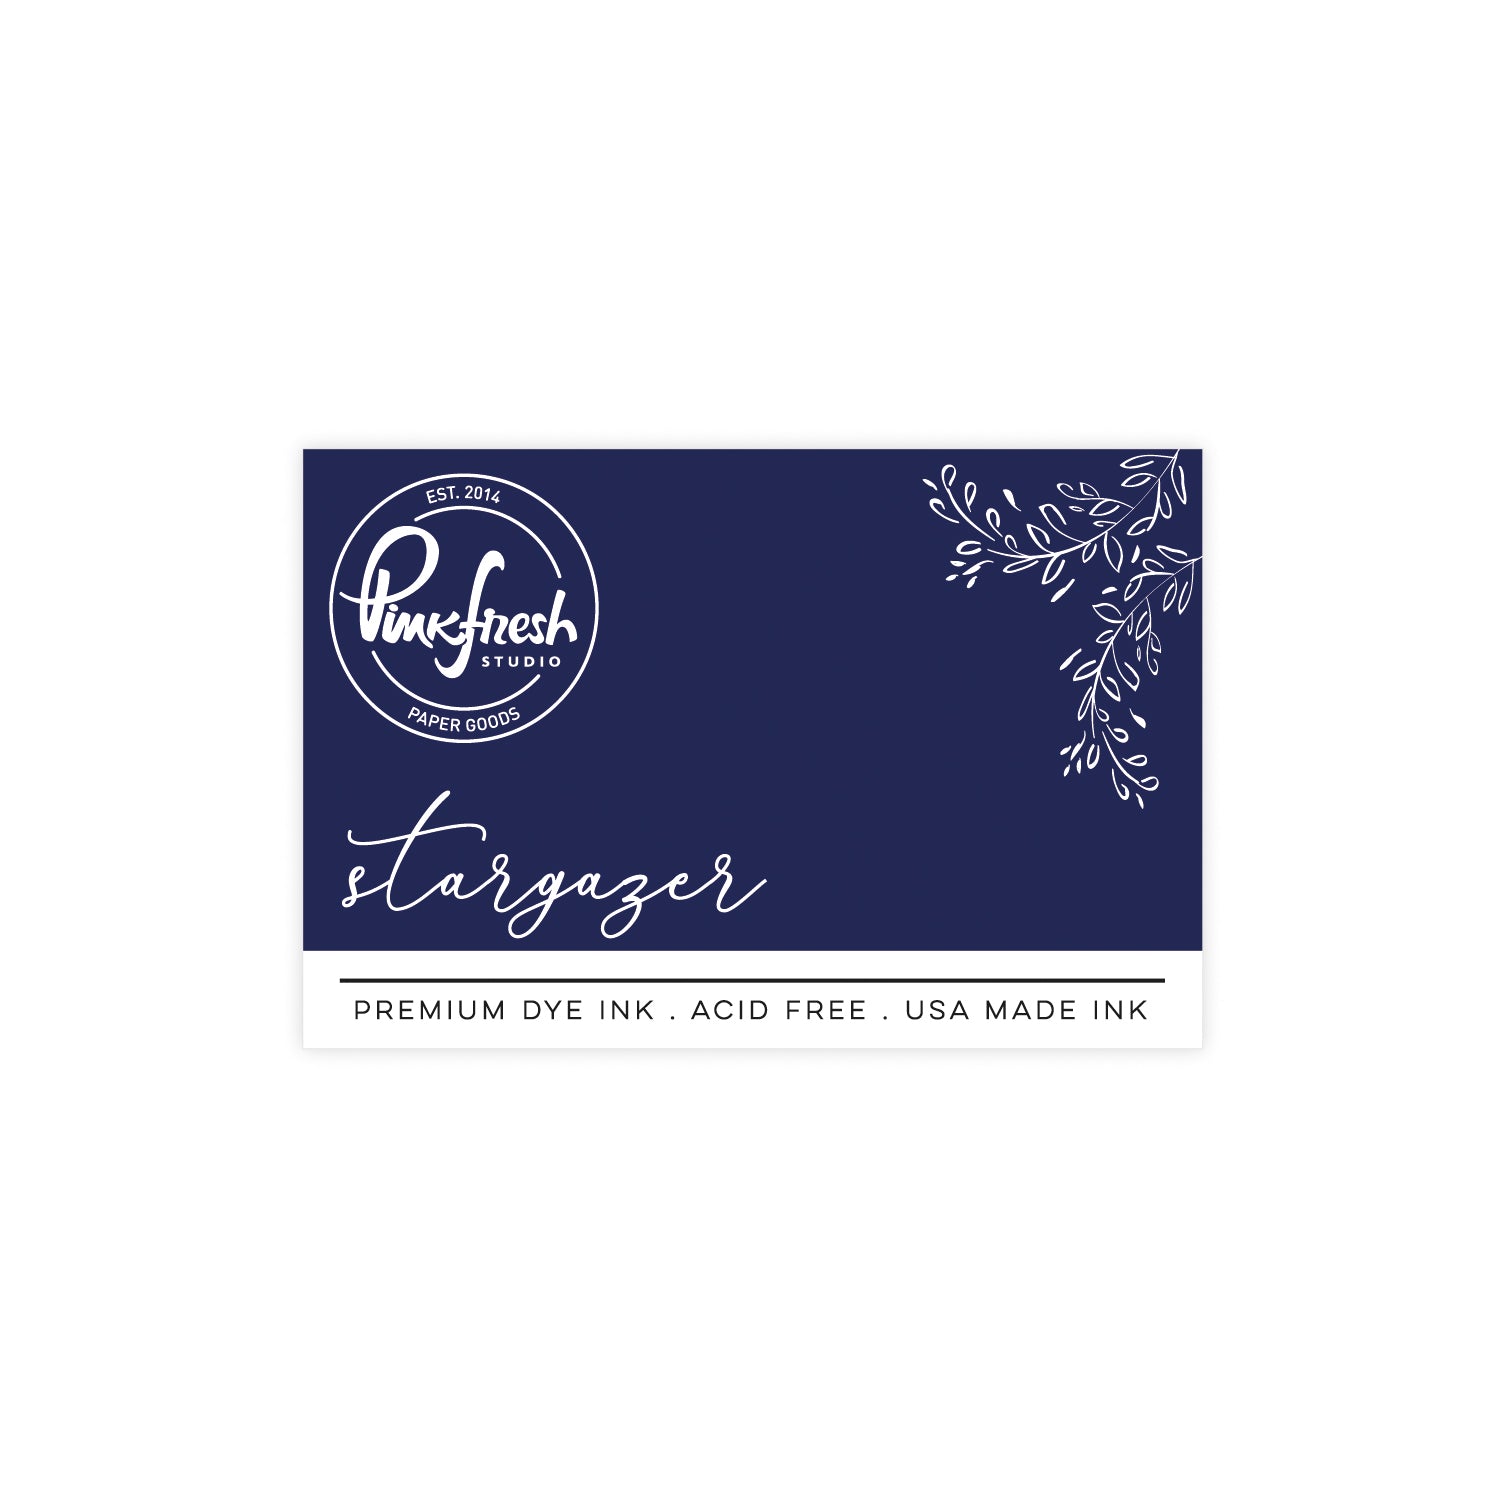
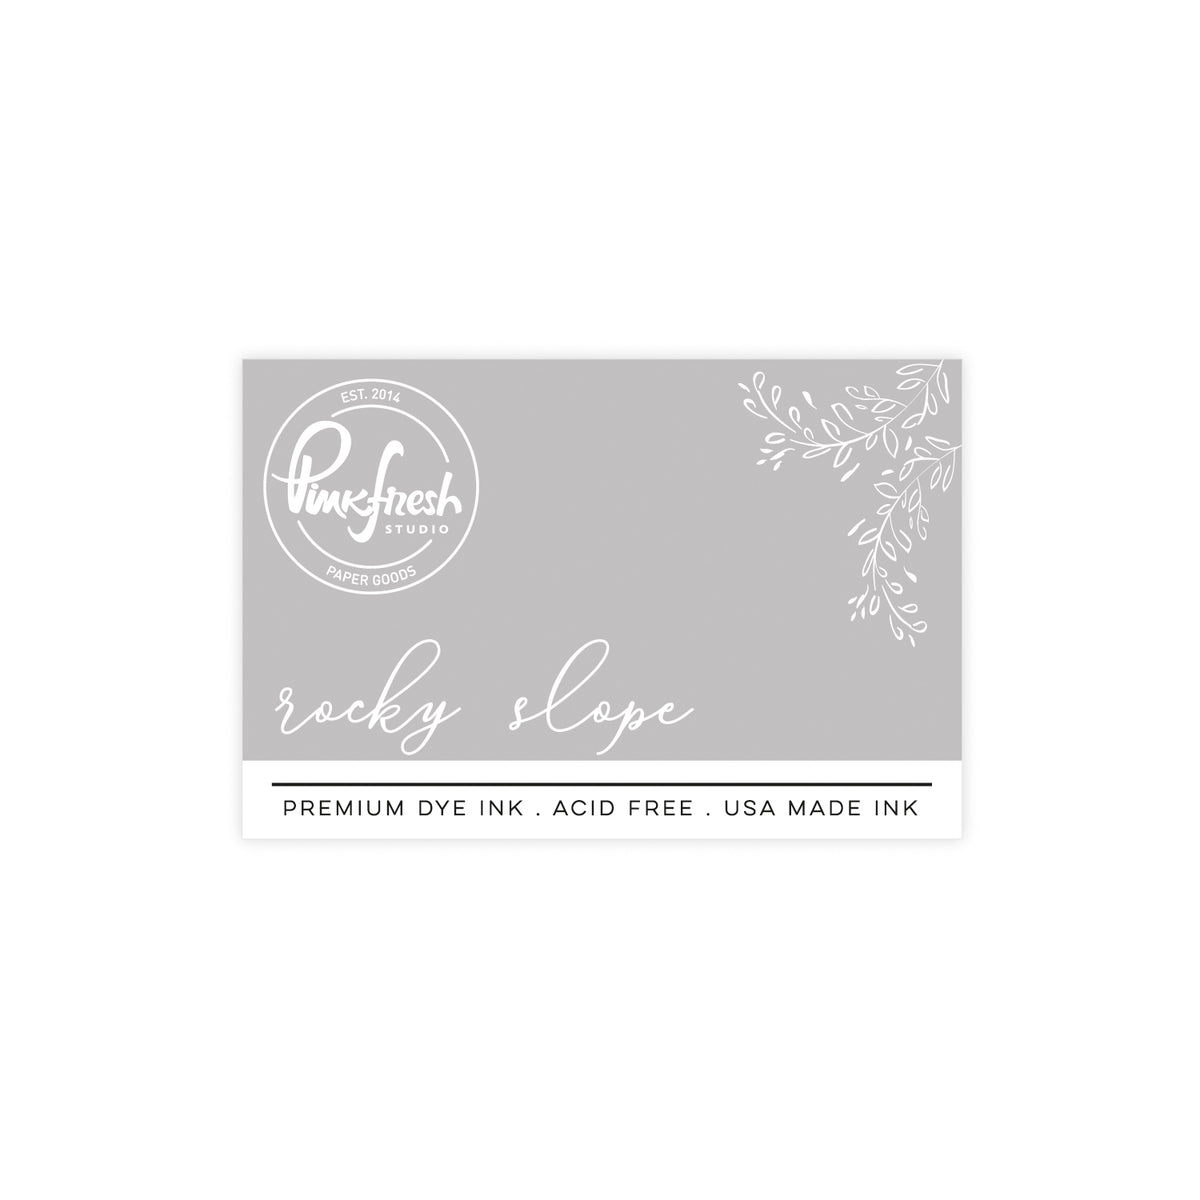
    1. Stencil 1: Sage + Eucalyptus (tree, gift), Rocky Slope (record), Blue Jay + Stargazer (gift), Coral Reef + Passion Fruit (ornament)
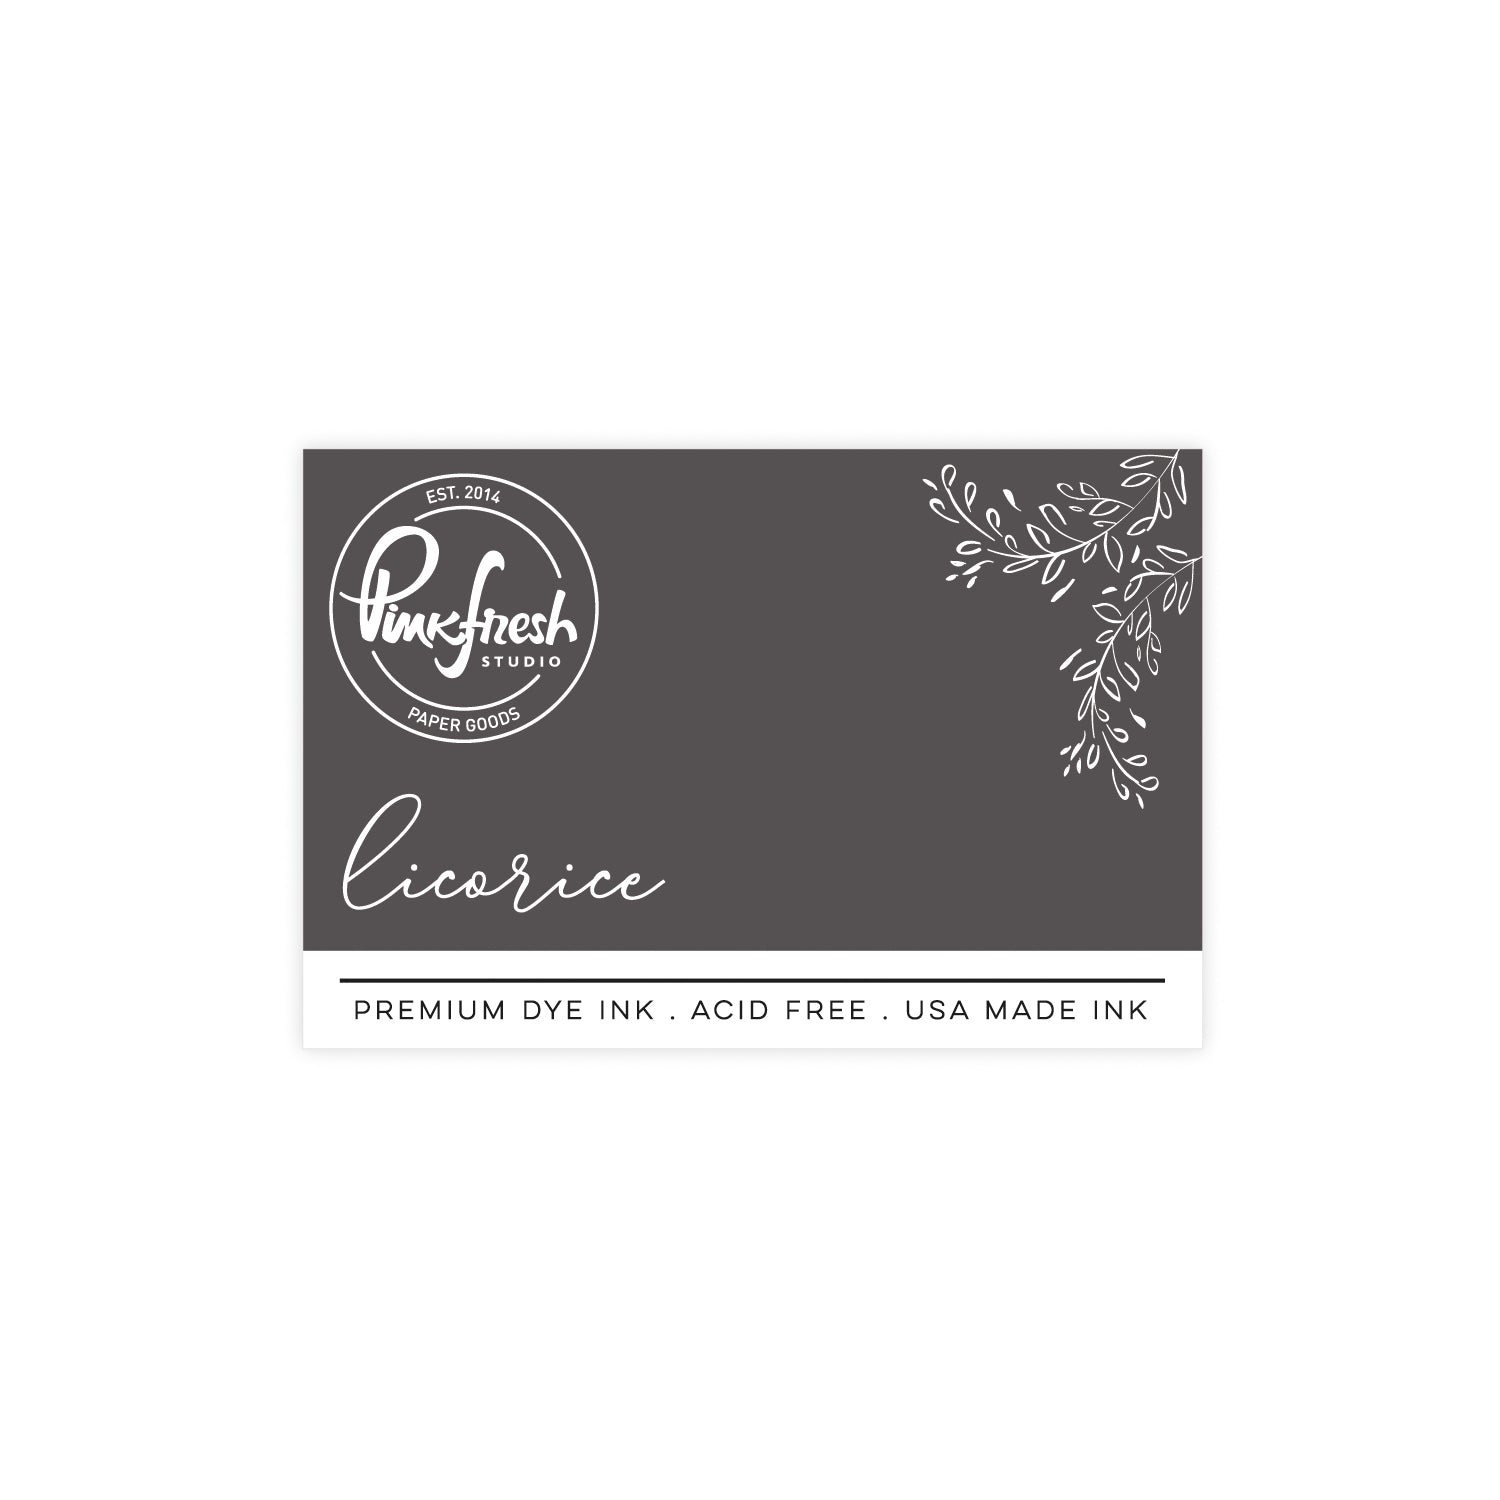
    2. Stencil 2: Sage + Eucalyptus (tree), Passion Fruit (ribbon), Licorice (record), Sunshine (ornament)
    3. Stencil 3: Coral Reef + Passion Fruit + Berrylicious (record player, ornaments, ribbon), Sage + Eucalyptus (gift), Blue Jay (roll of ribbon, ornament)
    4. Stencil 4: Coral Reef + Passion Fruit + Berrylicious (record player, gift), Stargazer (roll of ribbon)
    5. Stencil 5: Sunshine (star, lights, record player hardware), Passion Fruit + Berrylicious + Blue Jay + Stargazer (ribbon, gift lid, ornaments; alternate), Licorice (record player latch, light strand cord)
    6. Stencil 6: Passion Fruit + Berrylicious + Blue Jay + Stargazer (ornaments; alternate), Coral Reef, Passion Fruit (gift), Licorice (record player handle, mechanism), Sunshine (light strand)
  4. Hot foil the sentiment in black.
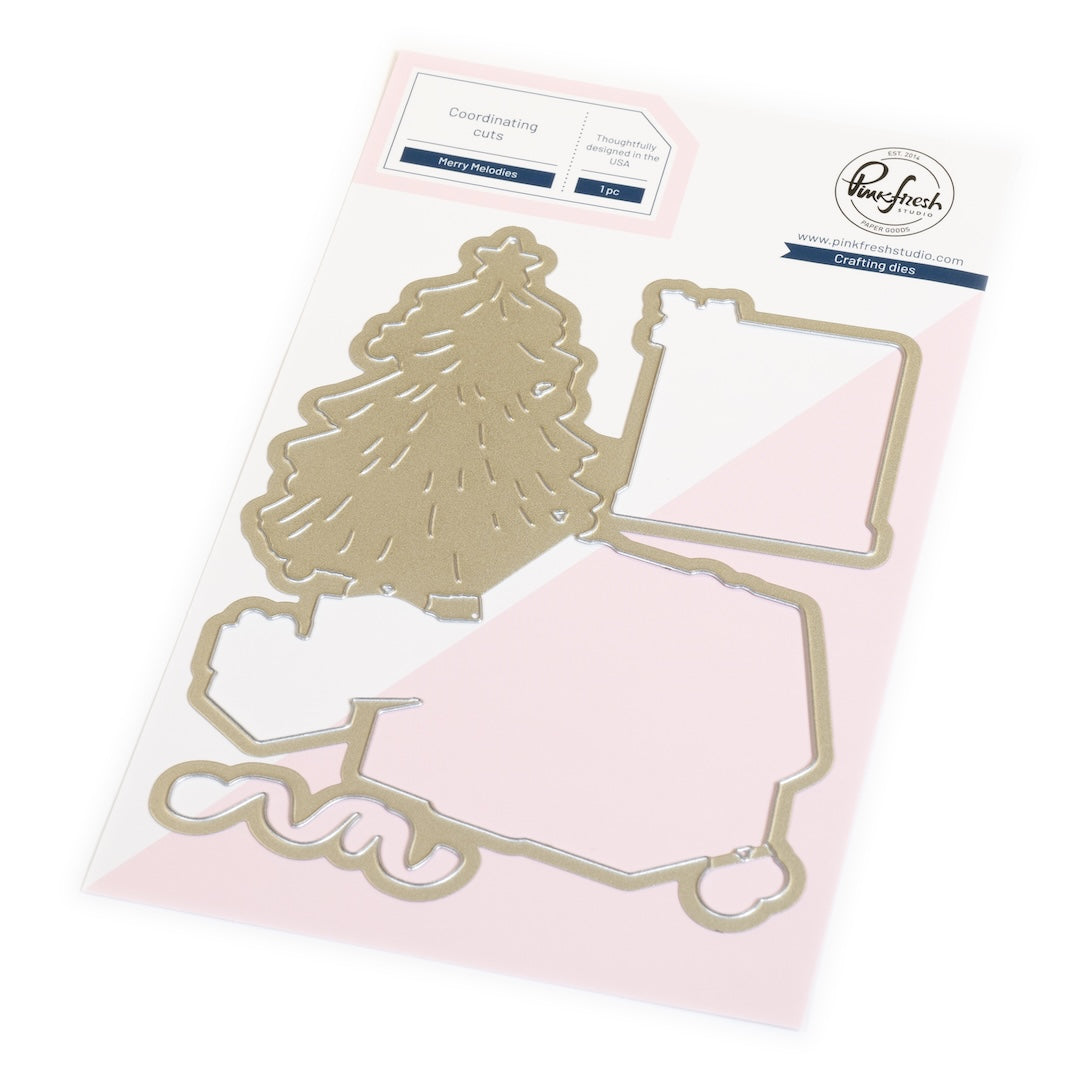
  5. Die cut the scene elements and sentiment with the coordinating dies; cut 2 white blanks, and a glitter blank for each element. Stack the images with the white blanks, then adhere, offset, to the glitter blanks.
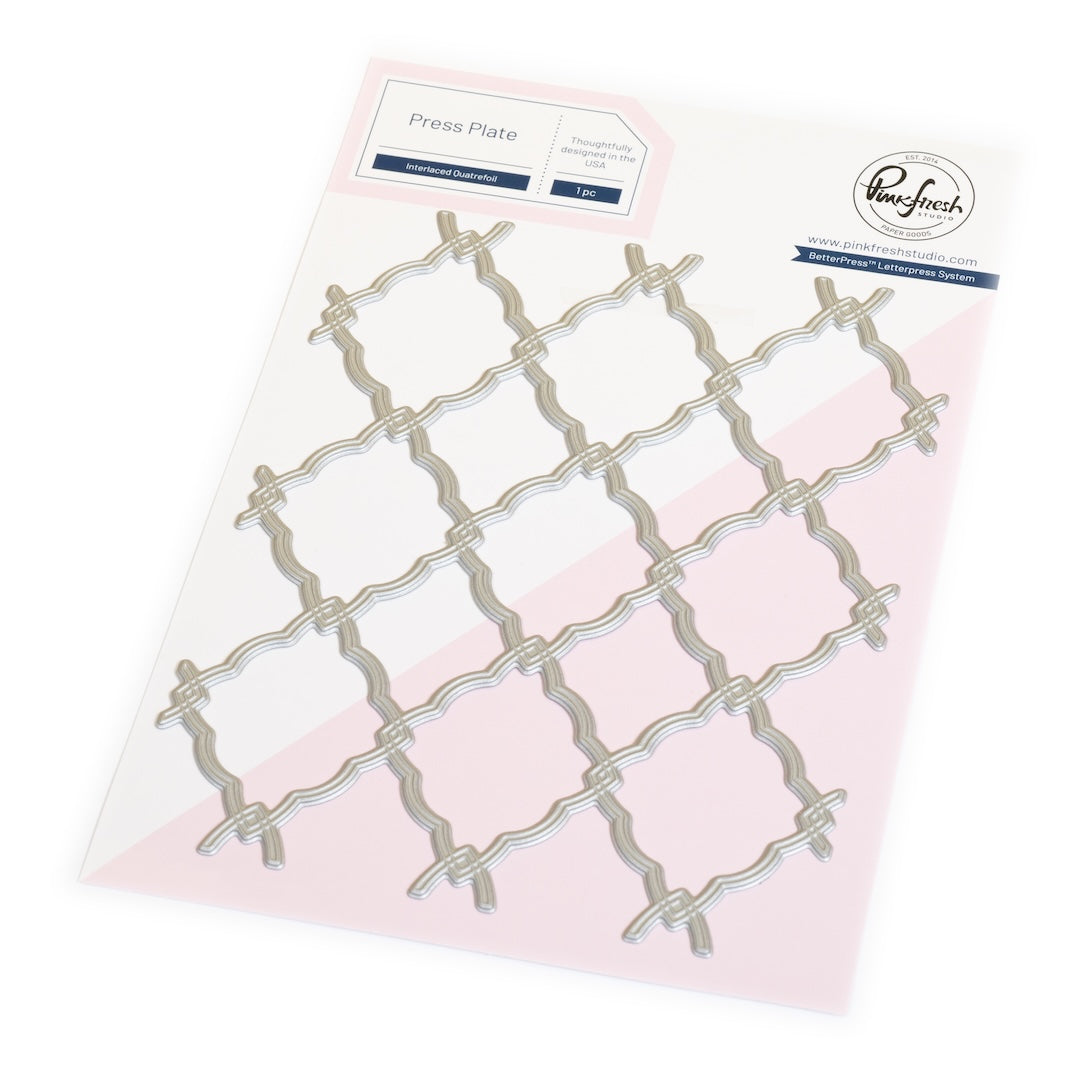
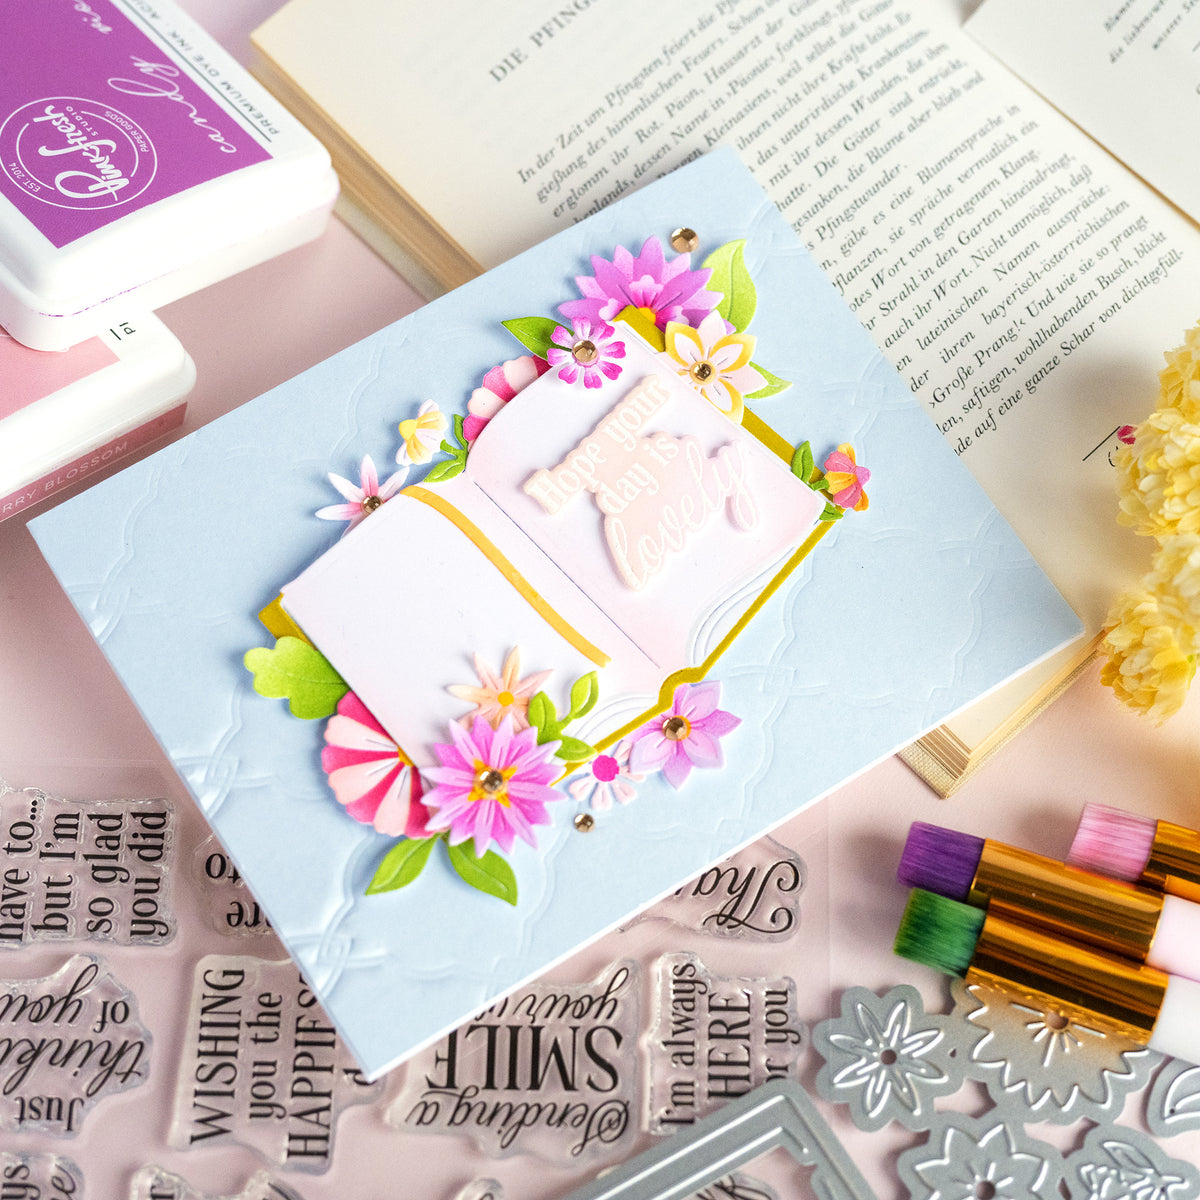
  6. Hot foil the Interlaced Quatrefoil on an A2 panel in matte silver. Use the largest die in the Stitched Rectangles die set to cut it out, perfectly centered. 
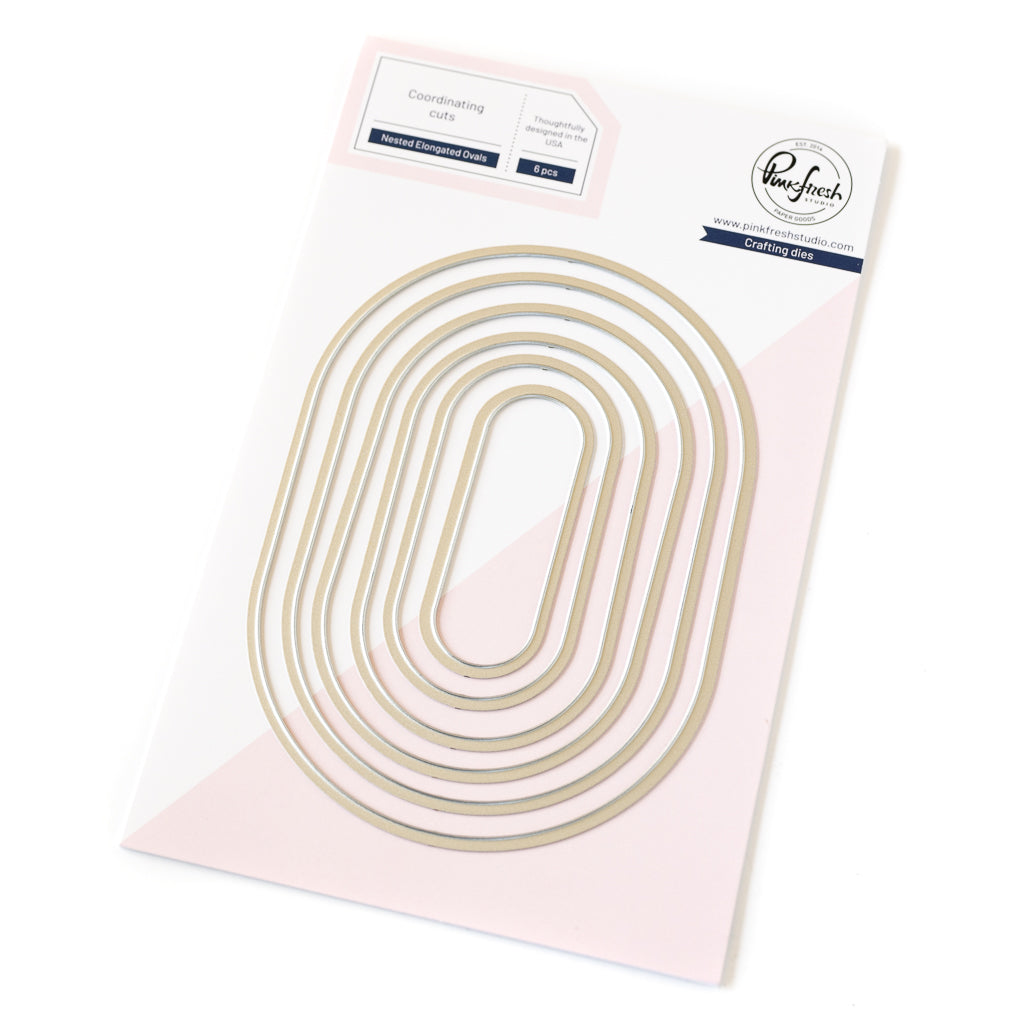
  7. Die cut the largest oval from Nested Elongated Ovals die set. Use the same rectangle die from above to die just a portion, to be used as a rug (our grounding). Take your time and make sure it is level and perfectly centered.
  8. Ink-blend the "rug" with Blue Jay and Stargazer, leaving the top center a little lighter than the rest. Adhere to your hot-foiled panel. 
  9. Adhere the scene to the panel with foam tape. 
  10. Adhere the roll of ribbon to the rug with liquid glue. 
  11. Adhere the sentiment overlapping the tree with foam tape. Ensure it is level by placing a double layer of foam tape on the left-hand side of the sentiments, and a single layer on the right. 
  12. Adhere the decorated panel to the card base. 
  13. Coat the ornaments and lights with Nuvo glaze (or Glossy Accents). Allow to dry overnight. 

*Pro tip: once you have the Nuvo glaze applied, don't accidentally drop the lid to your glaze and allow it roll over your glaze, thereby forcing you to add additional glaze, causing it not to be uniform. (zoom in on the 3 bulbs to the right LOL)

Using basic shapes to ground your card design is a simple but powerful technique. In this project, the elongated oval created a natural resting place for the Christmas tree and record player, while the silver foiling and glitter paper elevated the scene. The Nuvo Glaze details brought extra shine and texture that make the finished card stand out.

Now it’s your turn! Tag us on Instagram with your version of this card—we’d love to see your take on grounding techniques. Leave a comment below with your favorite detail, or share how you might use basic shapes to anchor your next design. Try circles, squares, or banners as grounding shapes for different card layouts.

Recommended Products
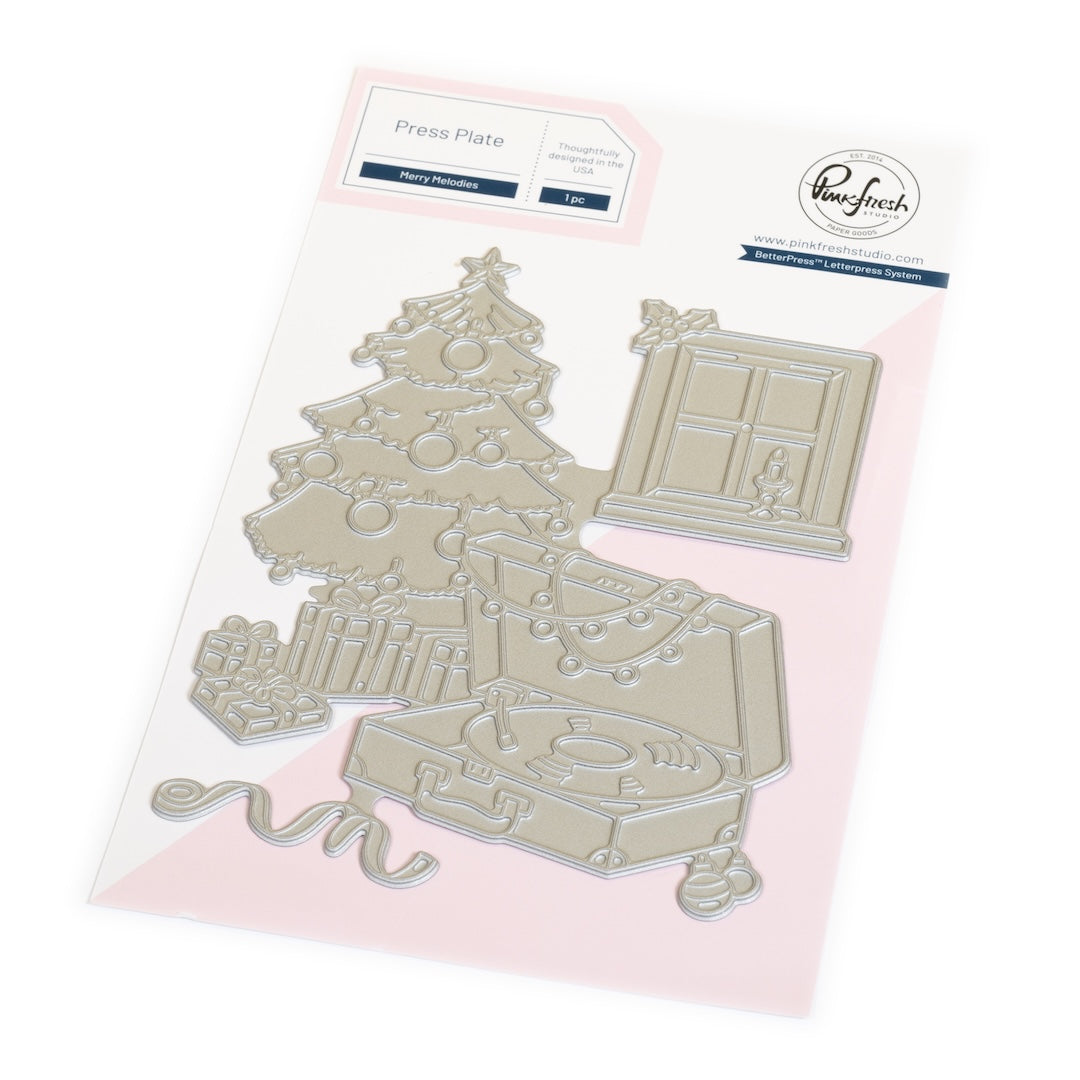
Merry Melodies press plateMerry Melodies press plate
Merry Melodies press plate
Merry Melodies dieMerry Melodies die
Merry Melodies die
Merry Melodies die
Merry Melodies die
Merry Melodies die
Merry Melodies die
Merry Melodies die
Merry Melodies die
Merry Melodies die
Merry Melodies die
Merry Melodies die Sale price$20.00
Merry Melodies stencilMerry Melodies stencil
Merry Melodies stencil
Merry Melodies stencil Sale price$21.00
Interlaced Quatrefoil press plateInterlaced Quatrefoil press plate
Interlaced Quatrefoil press plate
Premium Dye Ink Pad : Sage
Premium Dye Ink Pad : Sage Sale price$5.63 Regular price$7.50
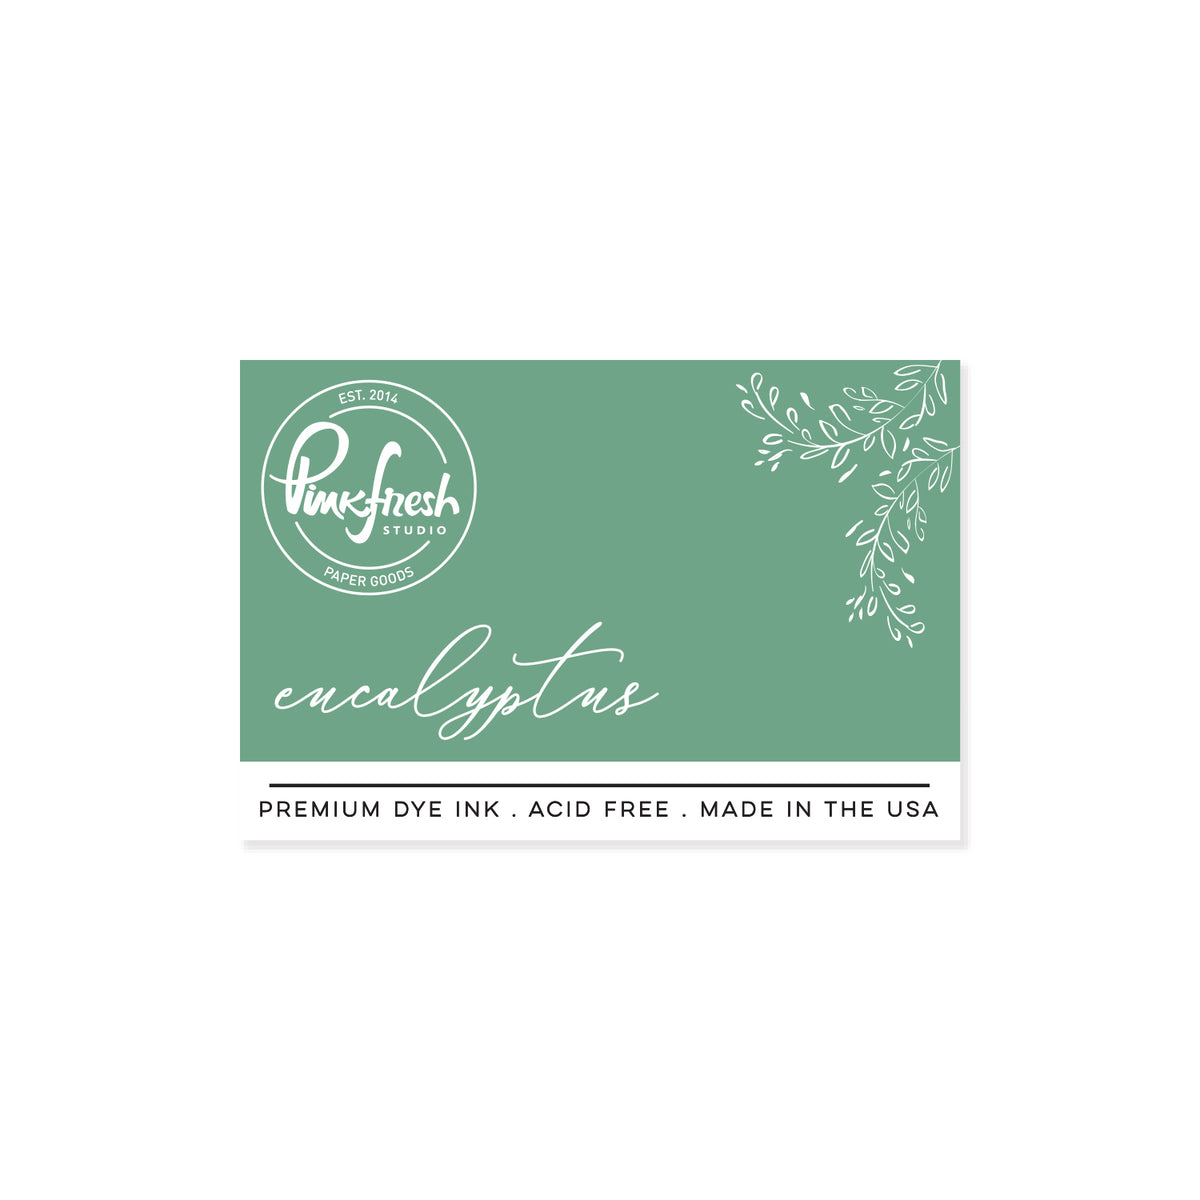
Premium Dye Ink Pad : Eucalyptus
Premium Dye Ink Pad : Eucalyptus Sale price$5.63 Regular price$7.50
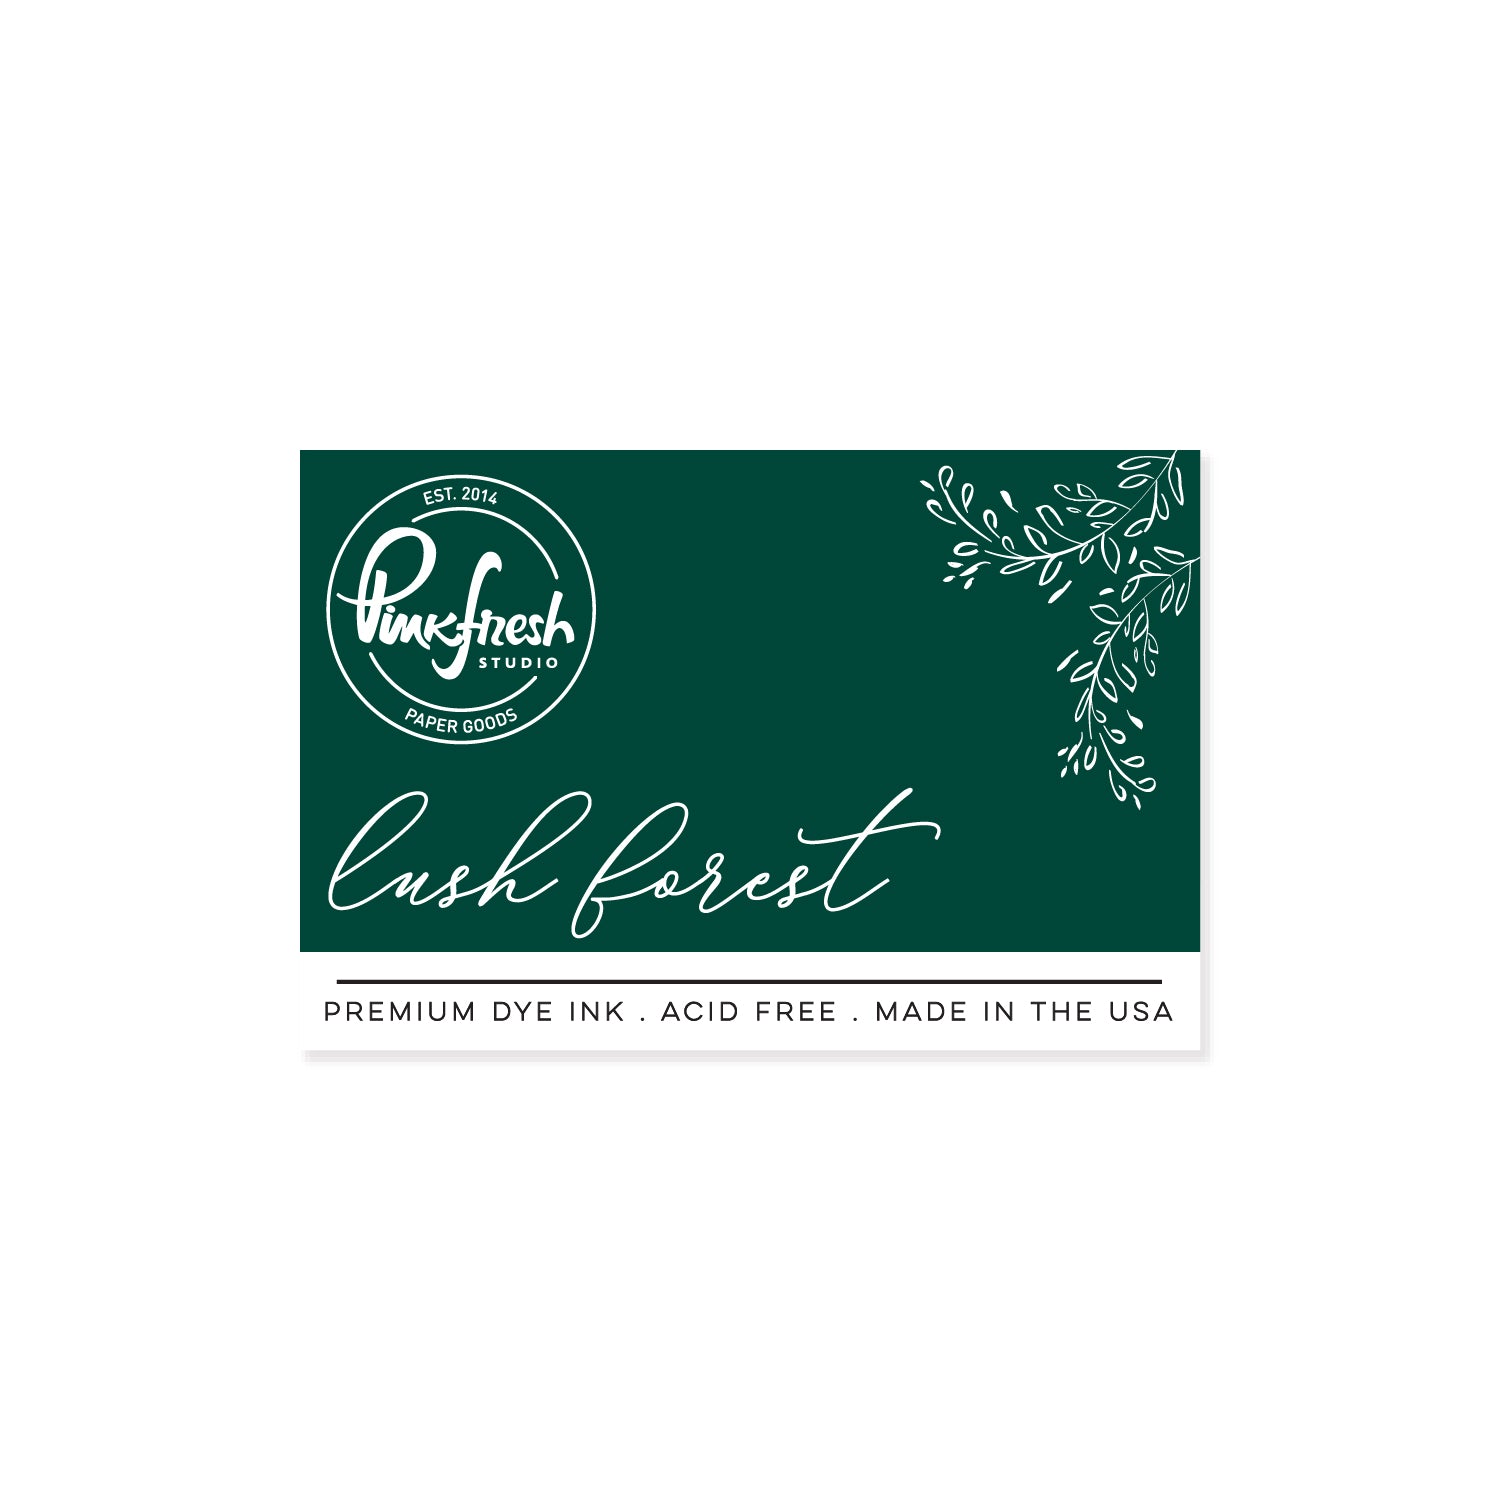
Premium Dye Ink Pad : Lush Forest
Premium Dye Ink Pad : Lush Forest Sale price$5.63 Regular price$7.50
Premium Dye Ink Pad : Coral Reef
Premium Dye Ink Pad : Coral Reef Sale price$5.63 Regular price$7.50
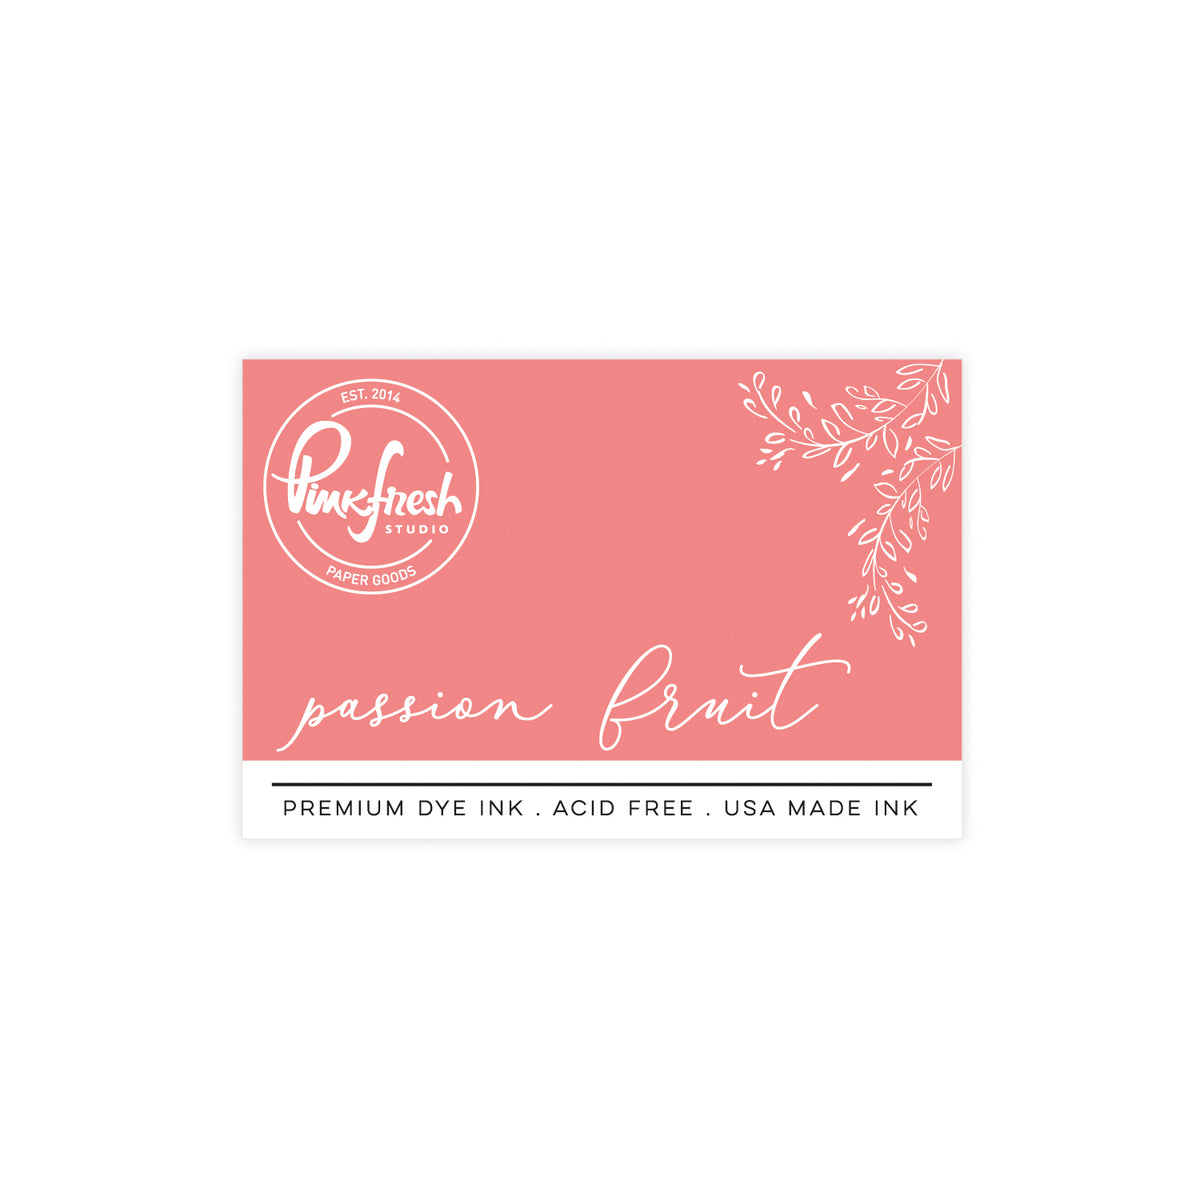
Premium Dye Ink Pad : Passion Fruit
Premium Dye Ink Pad : Passion Fruit Sale price$5.63 Regular price$7.50
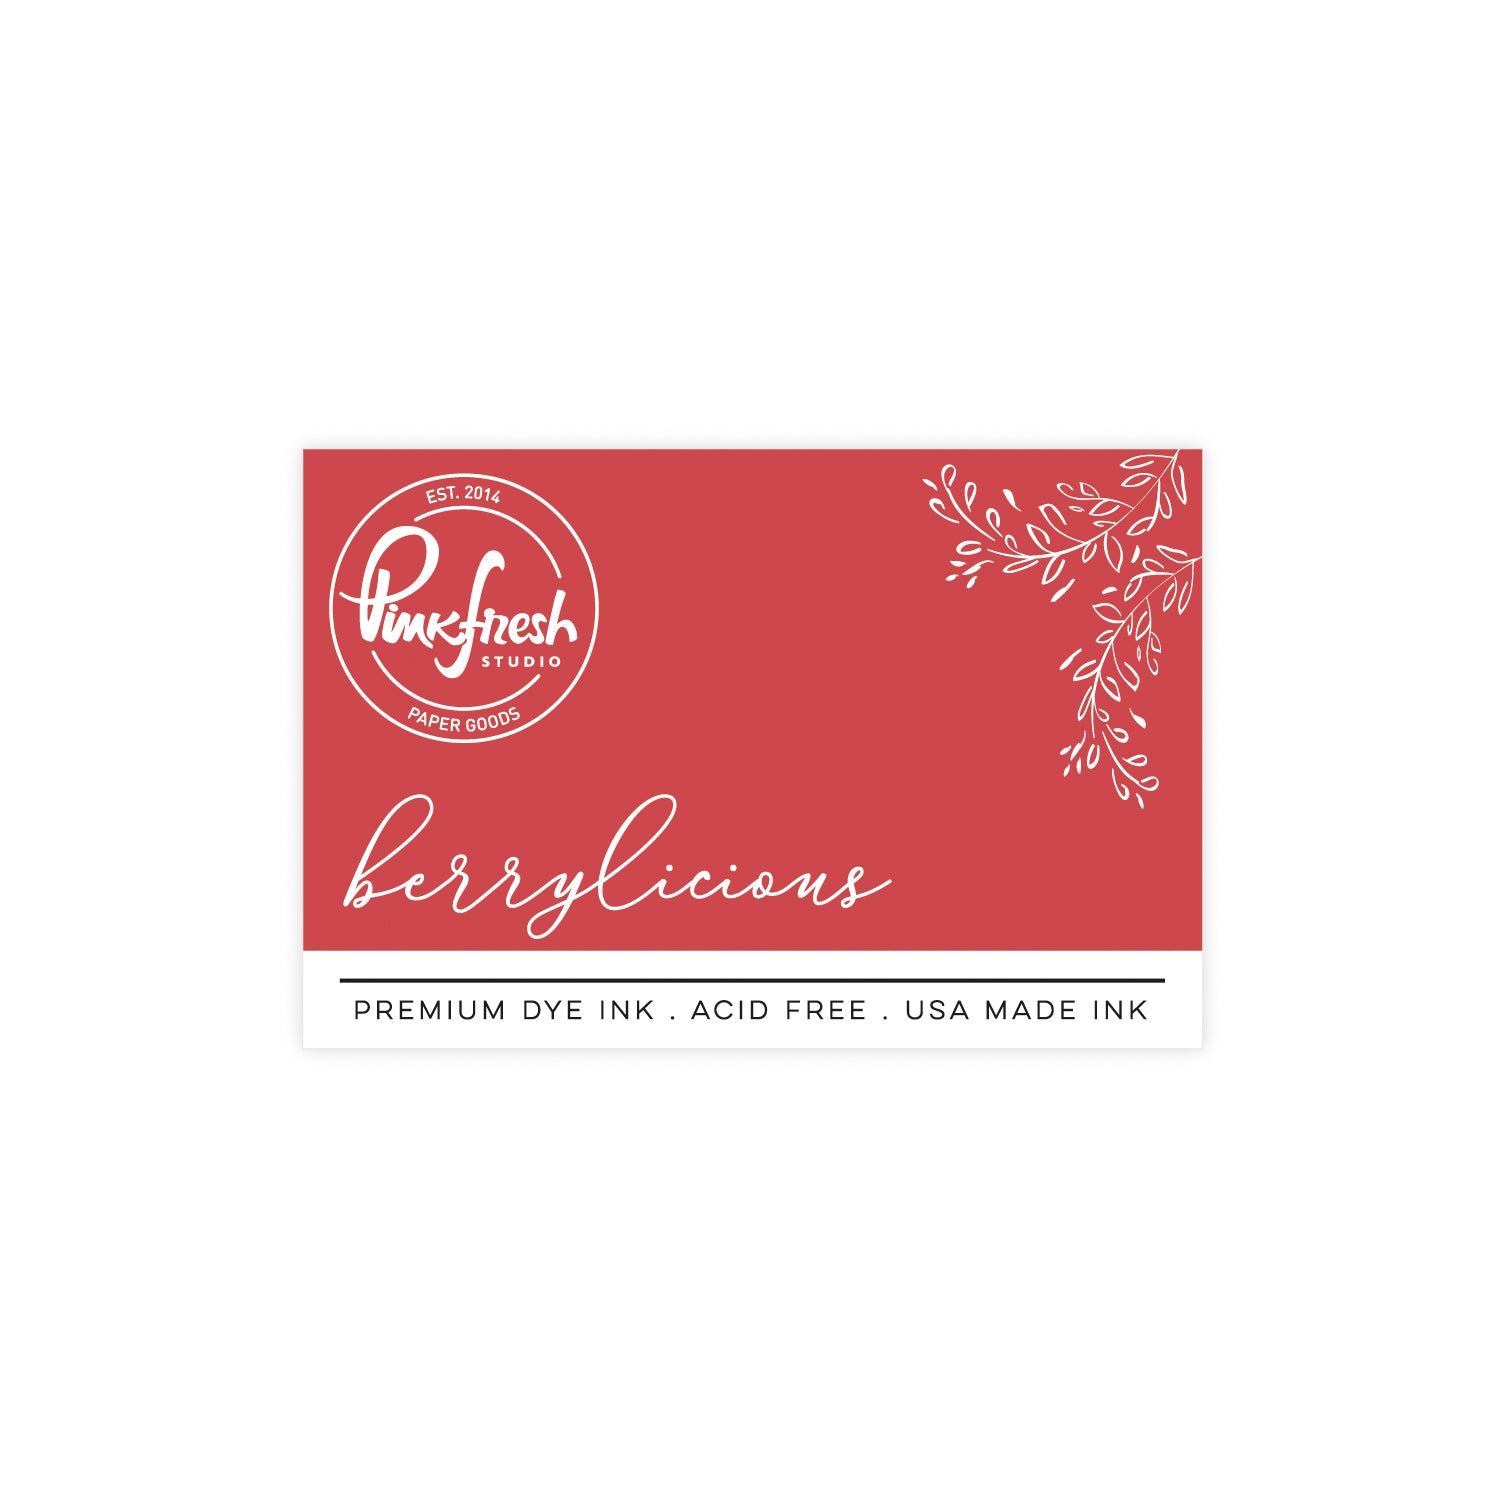
Premium Dye Ink Pad : Berrylicious
Premium Dye Ink Pad : Berrylicious Sale price$5.63 Regular price$7.50
Premium Dye Ink Pad : Stargazer
Premium Dye Ink Pad : Stargazer Sale price$5.63 Regular price$7.50
Premium Dye Ink Pad : Sunshine
Premium Dye Ink Pad : Sunshine Sale price$5.63 Regular price$7.50
Premium Dye Ink Pad : Rocky Slope
Premium Dye Ink Pad : Rocky Slope Sale price$5.63 Regular price$7.50
Premium Dye Ink Pad : Licorice
Premium Dye Ink Pad : Licorice Sale price$5.63 Regular price$7.50
1” blending brushes1” blending brushes
1” blending brushes
1” blending brushes
1” blending brushes
1” blending brushes Sale price$18.50
1/2" Blending Brush set1/2" Blending Brush set
1/2" Blending Brush set
1/2" Blending Brush set Sale price$16.50
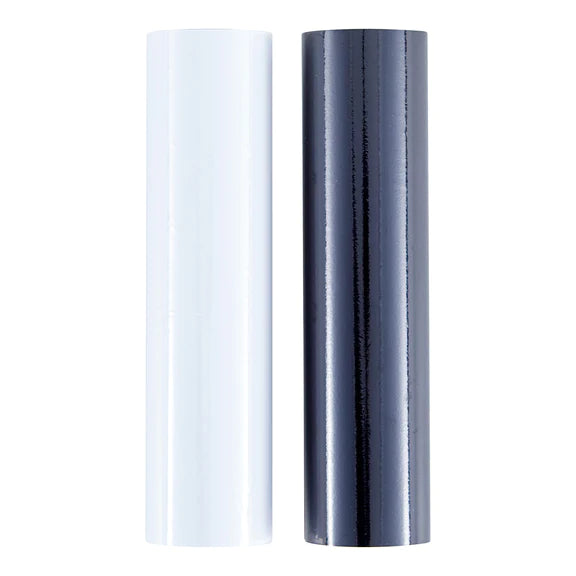
Glimmer Hot Foil 2 Rolls - Opaque Black & White Pack
Precision Clear Craft Glue .5 oz
Reverse Craft TweezersReverse Craft Tweezers
Reverse Craft Tweezers
Reverse Craft Tweezers Sale price$10.00
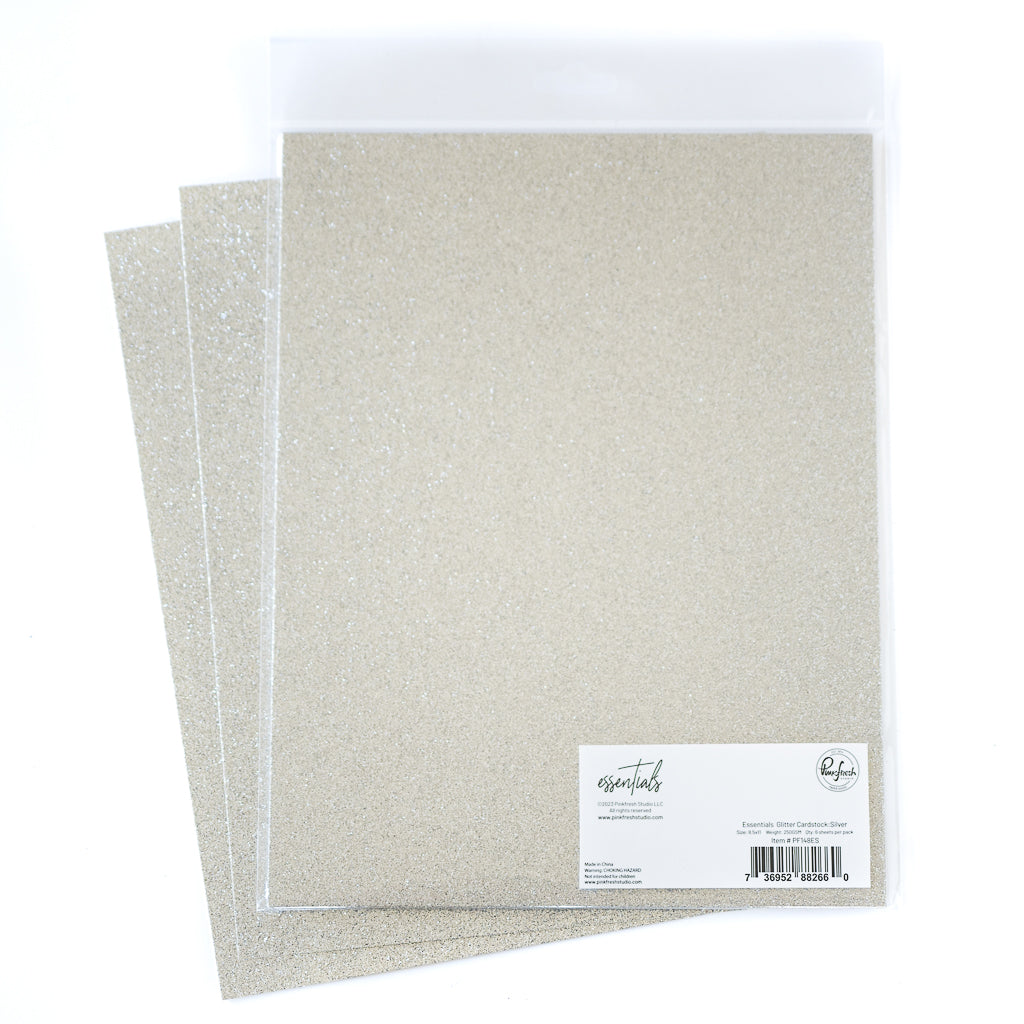
Essentials Glitter Cardstock: SilverEssentials Glitter Cardstock: Silver
Essentials Glitter Cardstock: Silver
Glimmer Hot Foil Roll - Matte Silver

Reading next

Stretch Your Stash: Everyday Cards with Holiday Products | Kathleen Schmelz
Subtle Techniques with Background Stamping | Rachel Alvarado

1 comment

Sue Geyer

Sue Geyer

Thank you so much for the little details you included in your post. Grounding has always alluded me I will look at my basics for grounding for now on. Wonderful job!

Leave a comment

All comments are moderated before being published.

This site is protected by hCaptcha and the hCaptcha Privacy Policy and Terms of Service apply.