
Hi paper crafters!
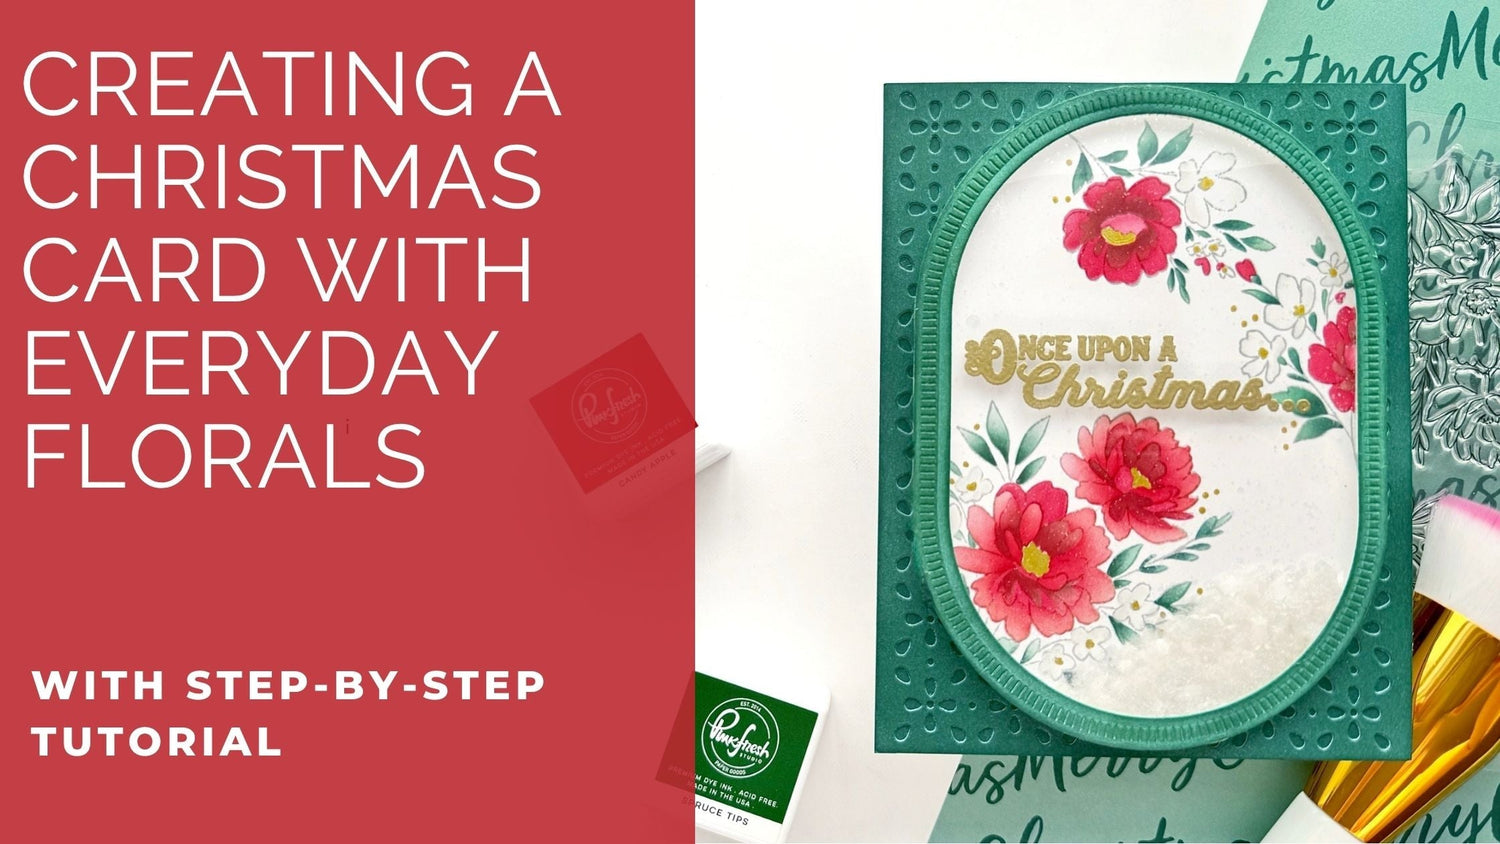
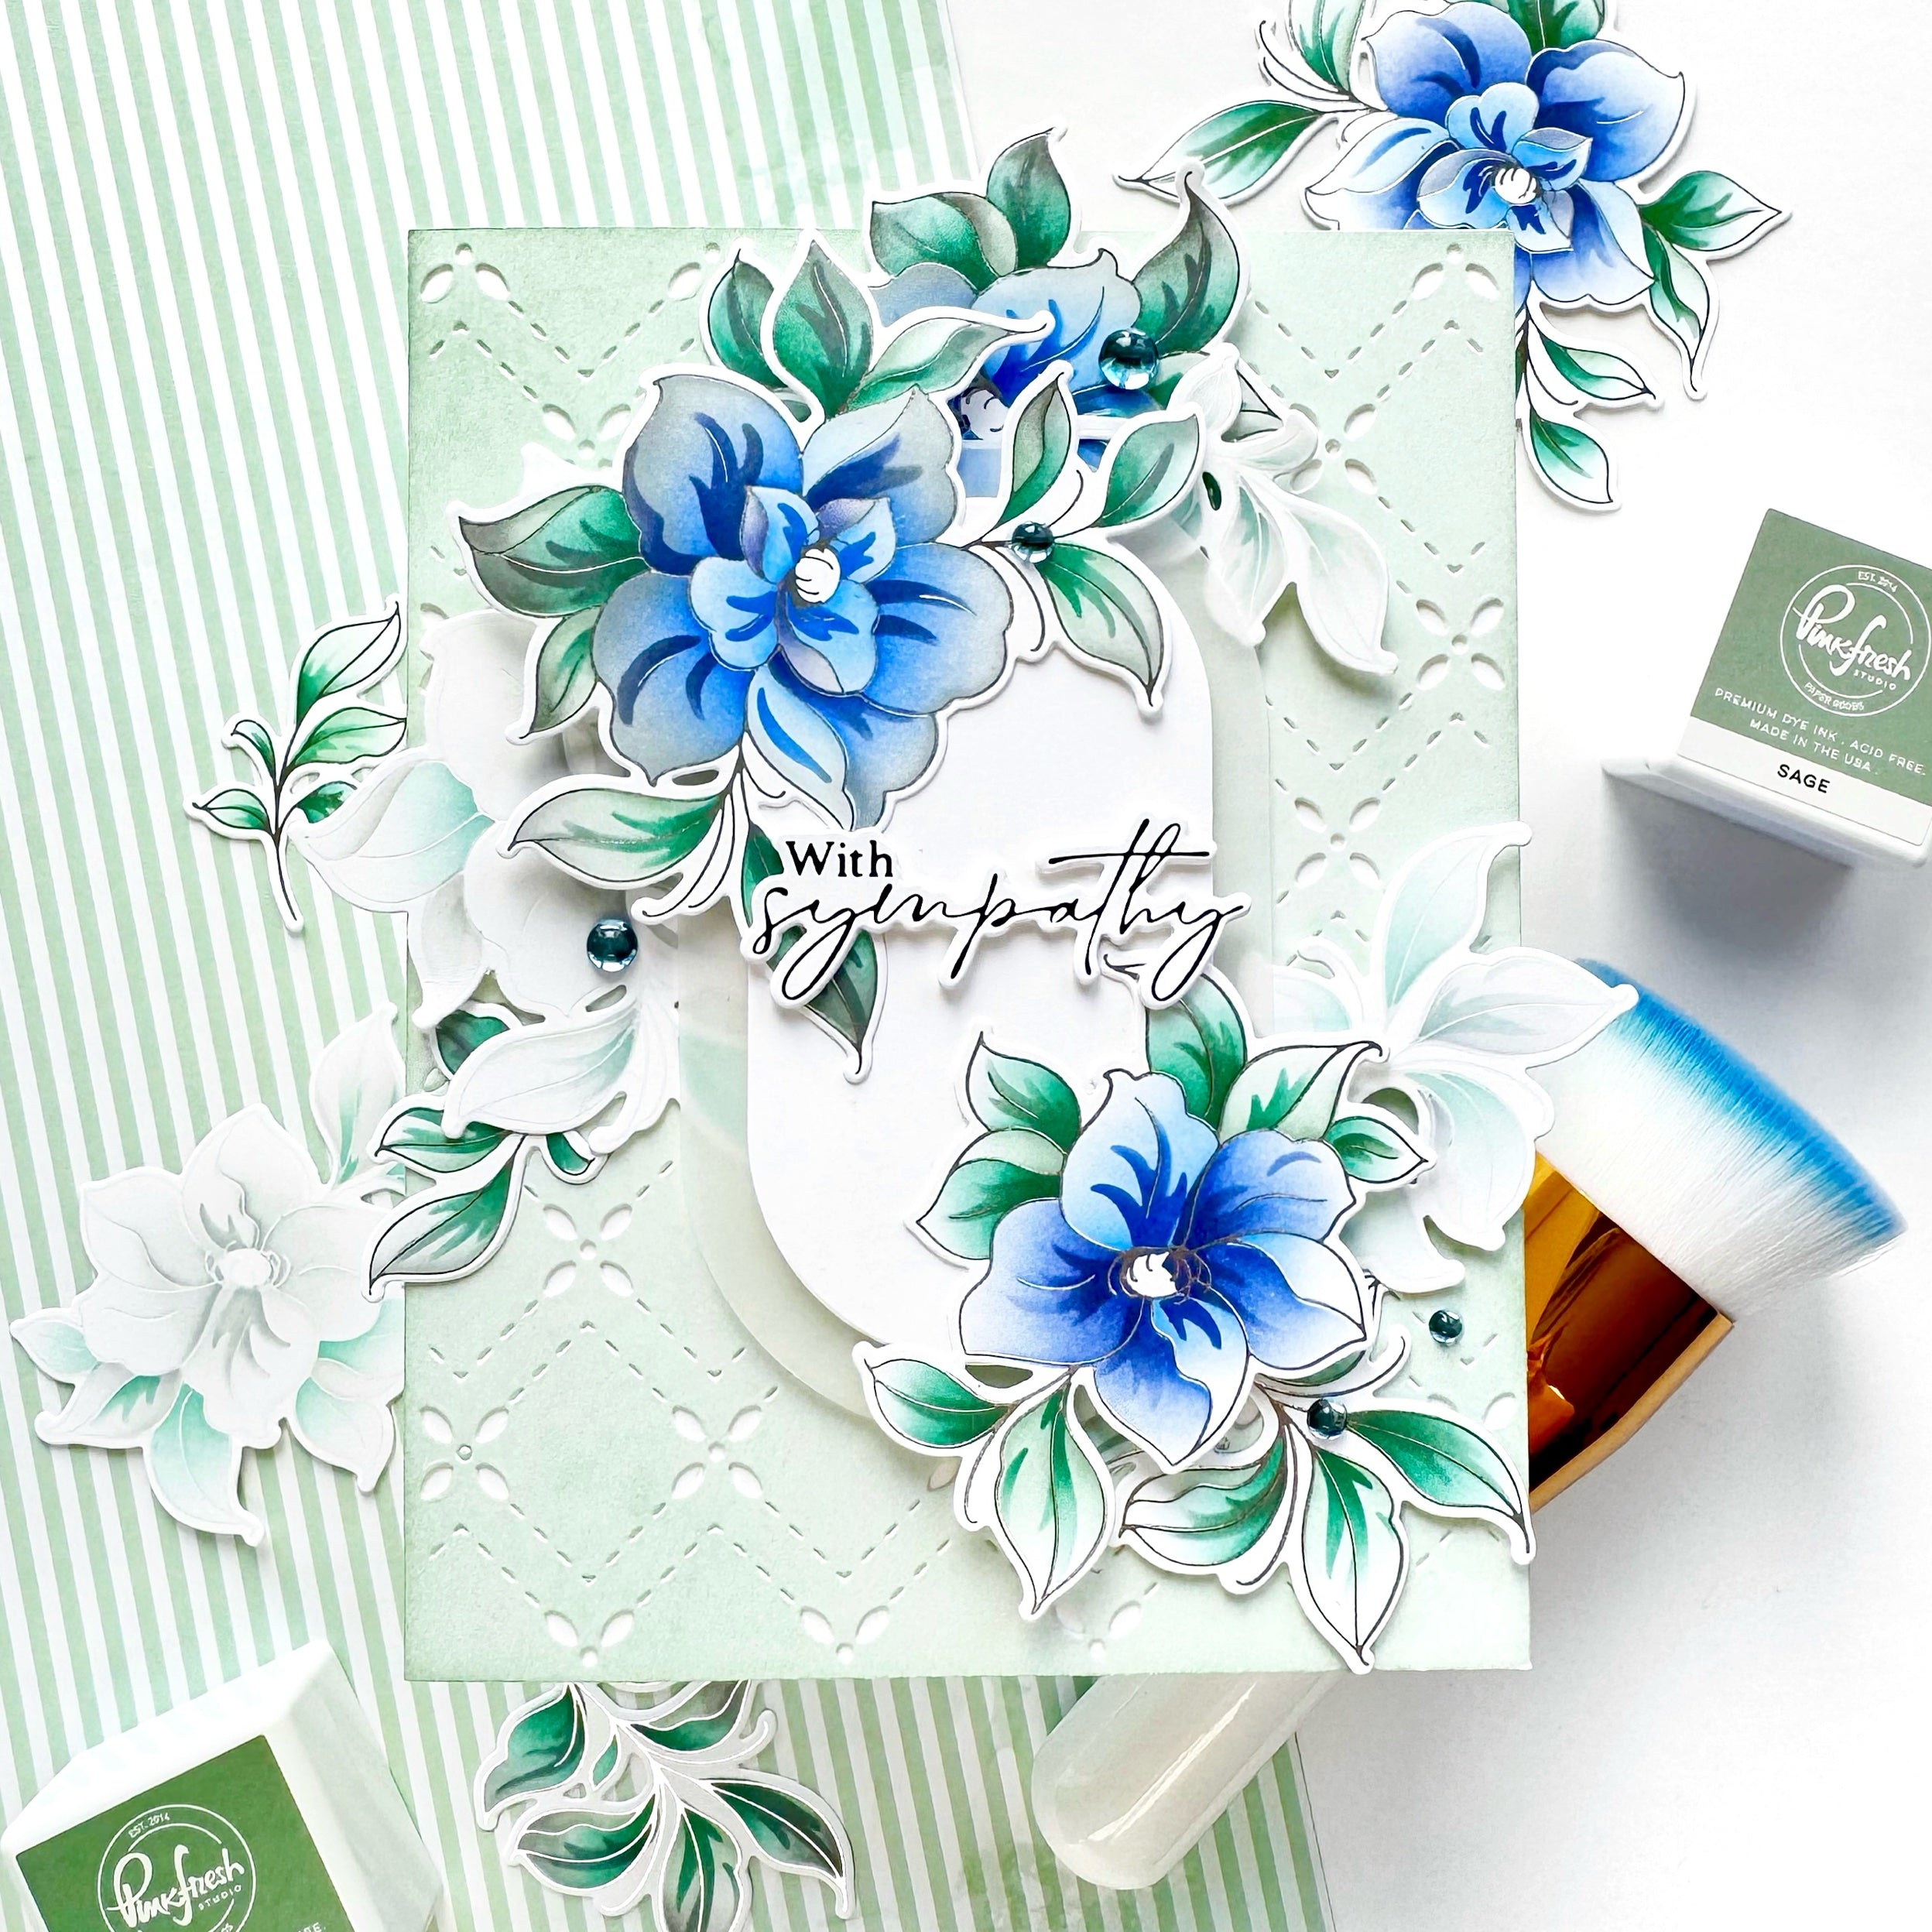
It's Steph back with another fun step-by-step tutorial — and today we're stretching our stash! If you're anything like me, you probably have a drawer full of floral stamp sets that you reach for year-round. But who says those flowers are only for spring and summer? I challenged myself to turn one of the new floral sets from the October release into a festive Christmas card — and I can't wait to show you how!
Because I'm using a non-holiday stamp set, I leaned into a classic Christmas colour palette of red, green, white, and gold to instantly bring that holiday magic to the design.
*Disclaimer: All products used are linked below as clickable images. If a product isn't listed, it's been discontinued

How to create this card:
-
Cut and fold an A2 side-folding card base from white cardstock.
-
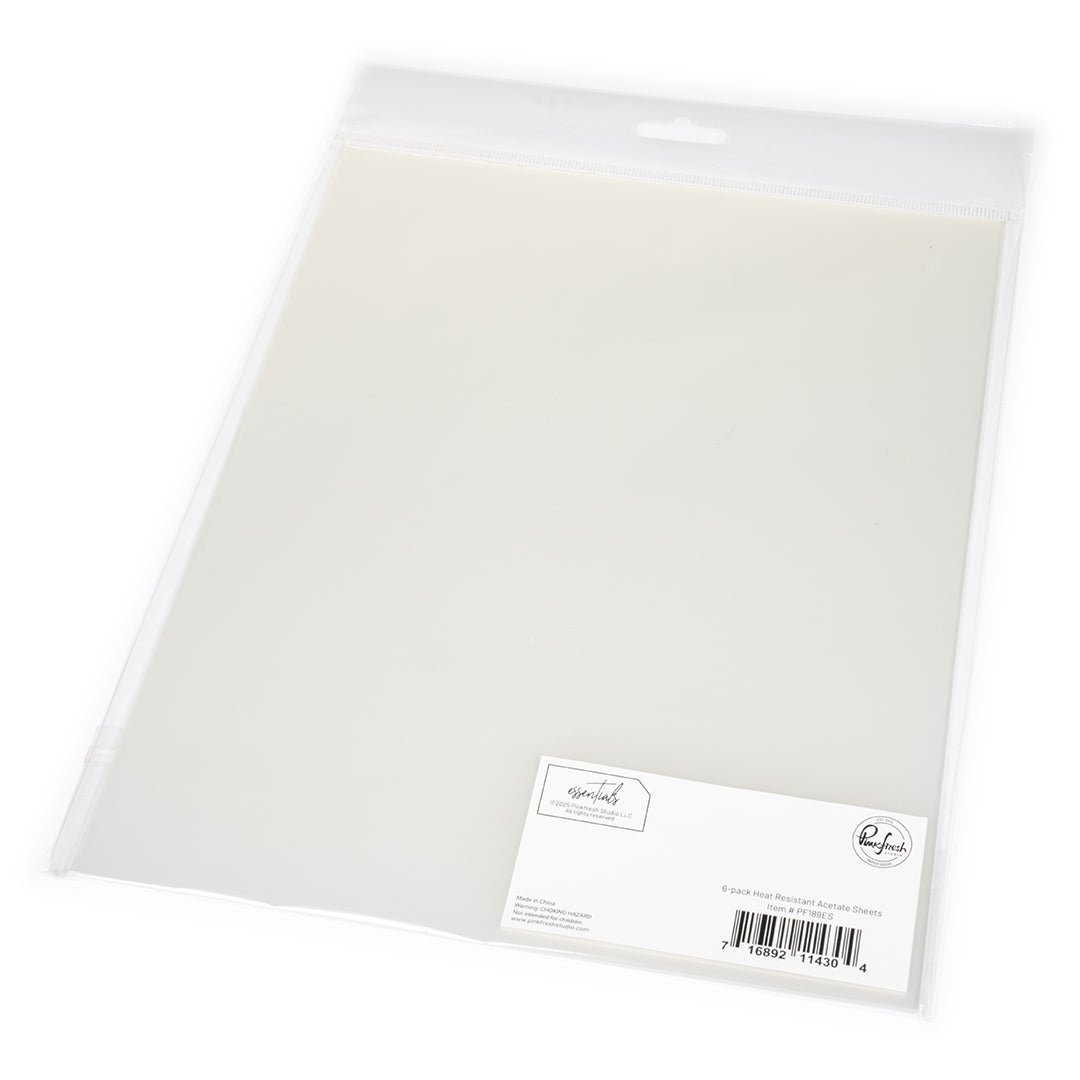
Cut three A2-sized white cardstock panels and one A2-sized acetate panel.
-
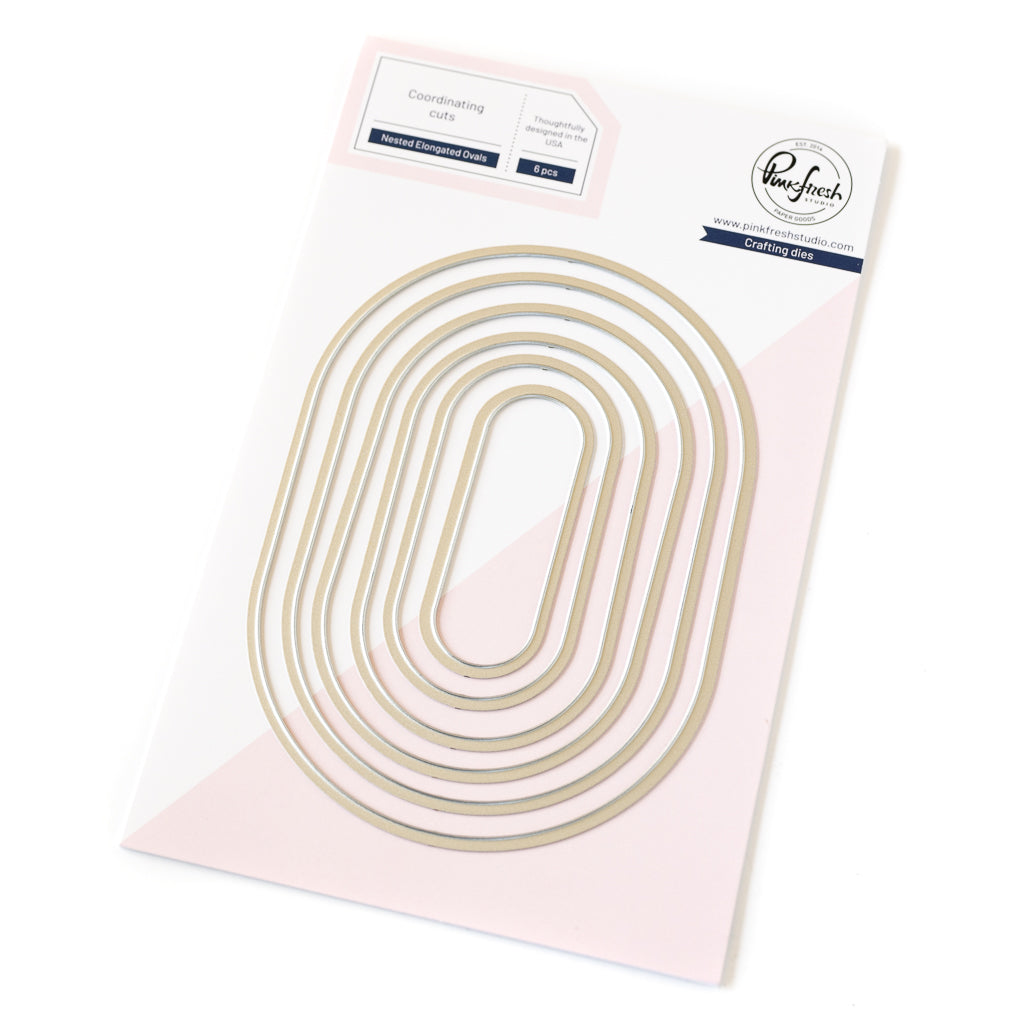
On the first white panel, die-cut the largest oval from the Essentials: Nested Elongated Ovals die set.
-
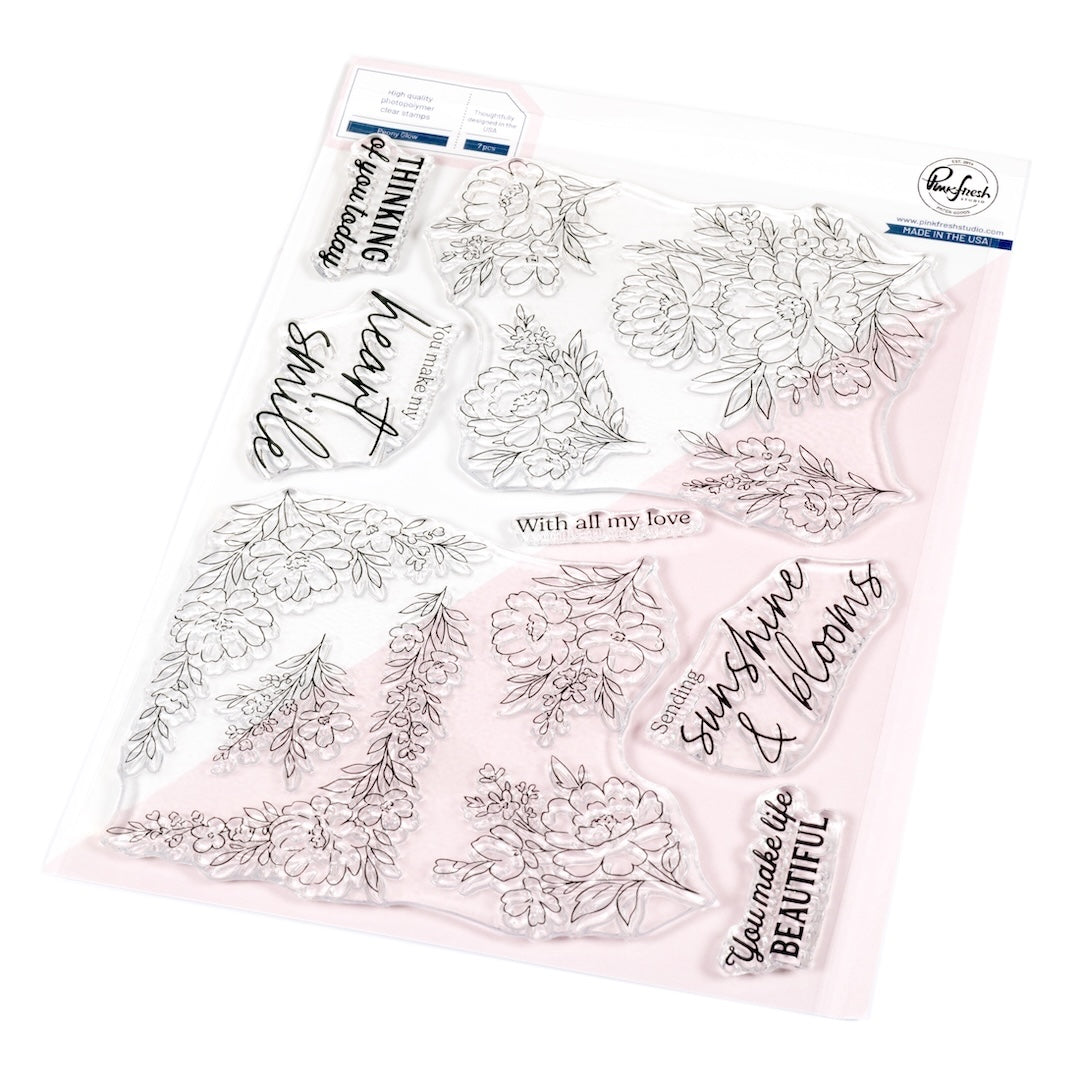
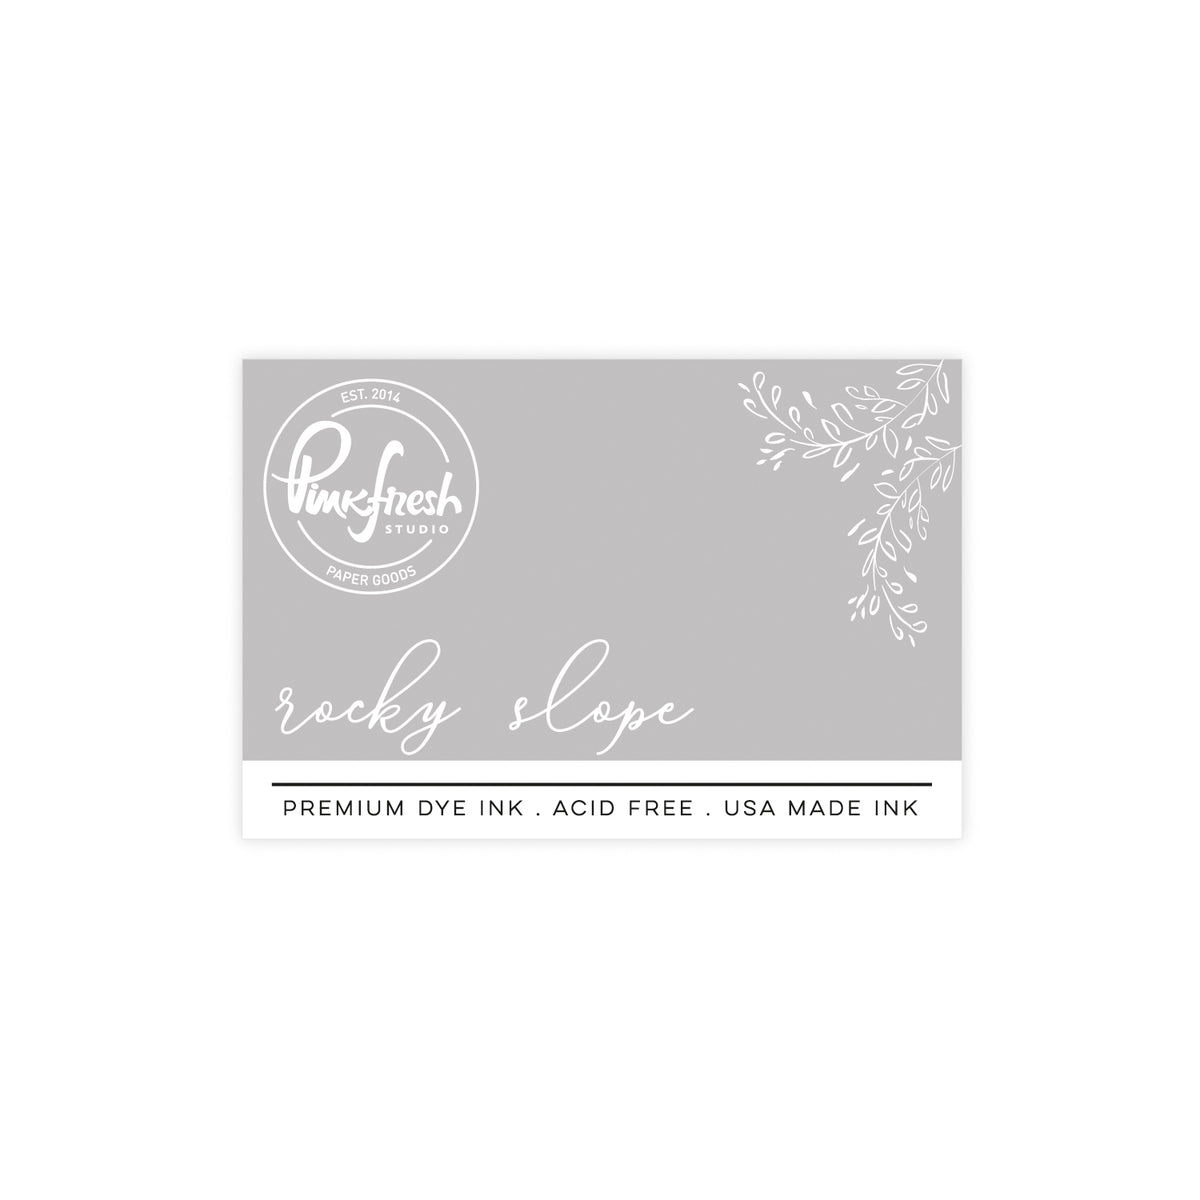
Using the Peony Glow stamp set, stamp the largest and two medium floral images in Rocky Slope ink.
-
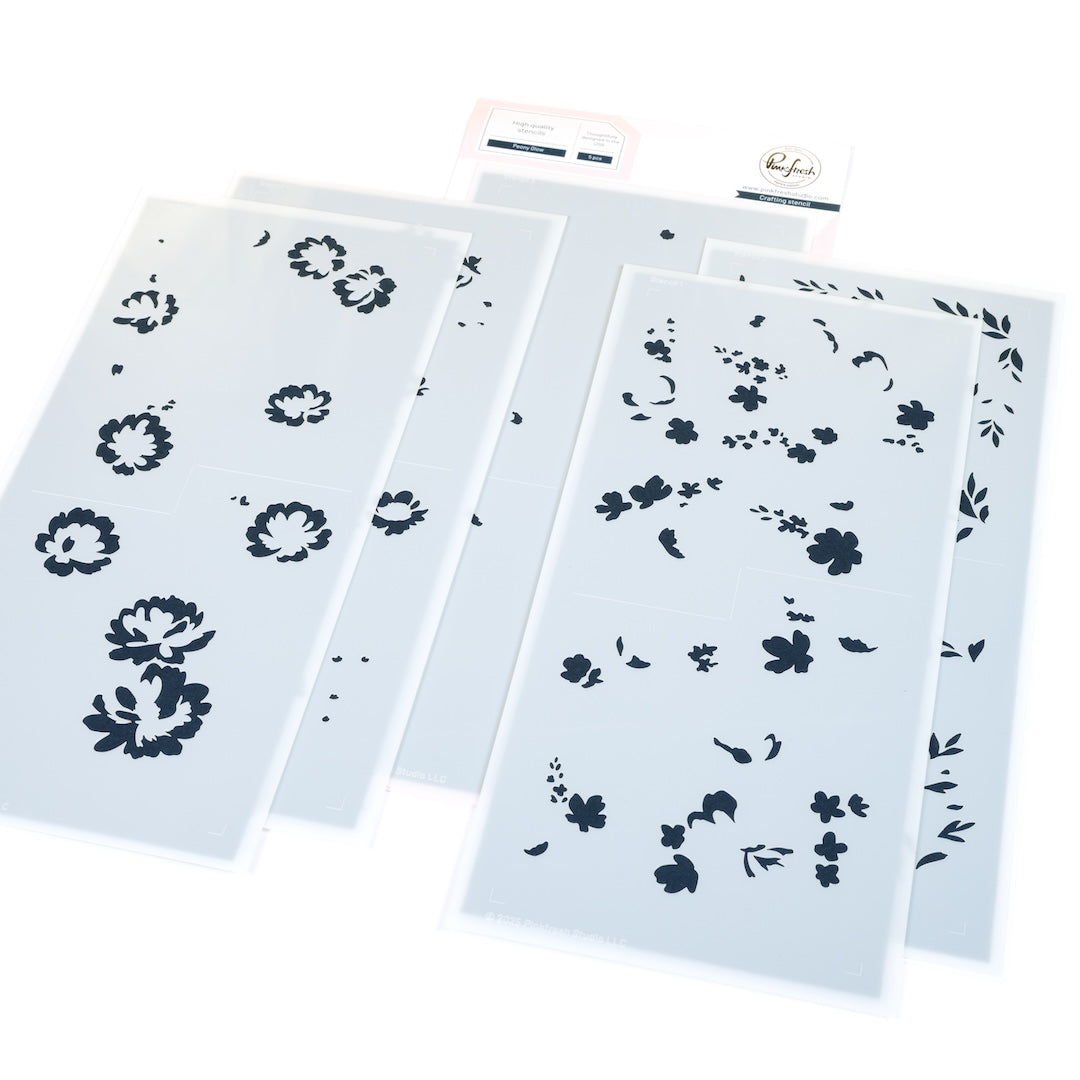
Use the coordinating stencils and ink-blend the following:
-
Stencil 1: Candy Apple (largest petals), Misty Coast (lightly around edges of small flowers so they appear white)
-
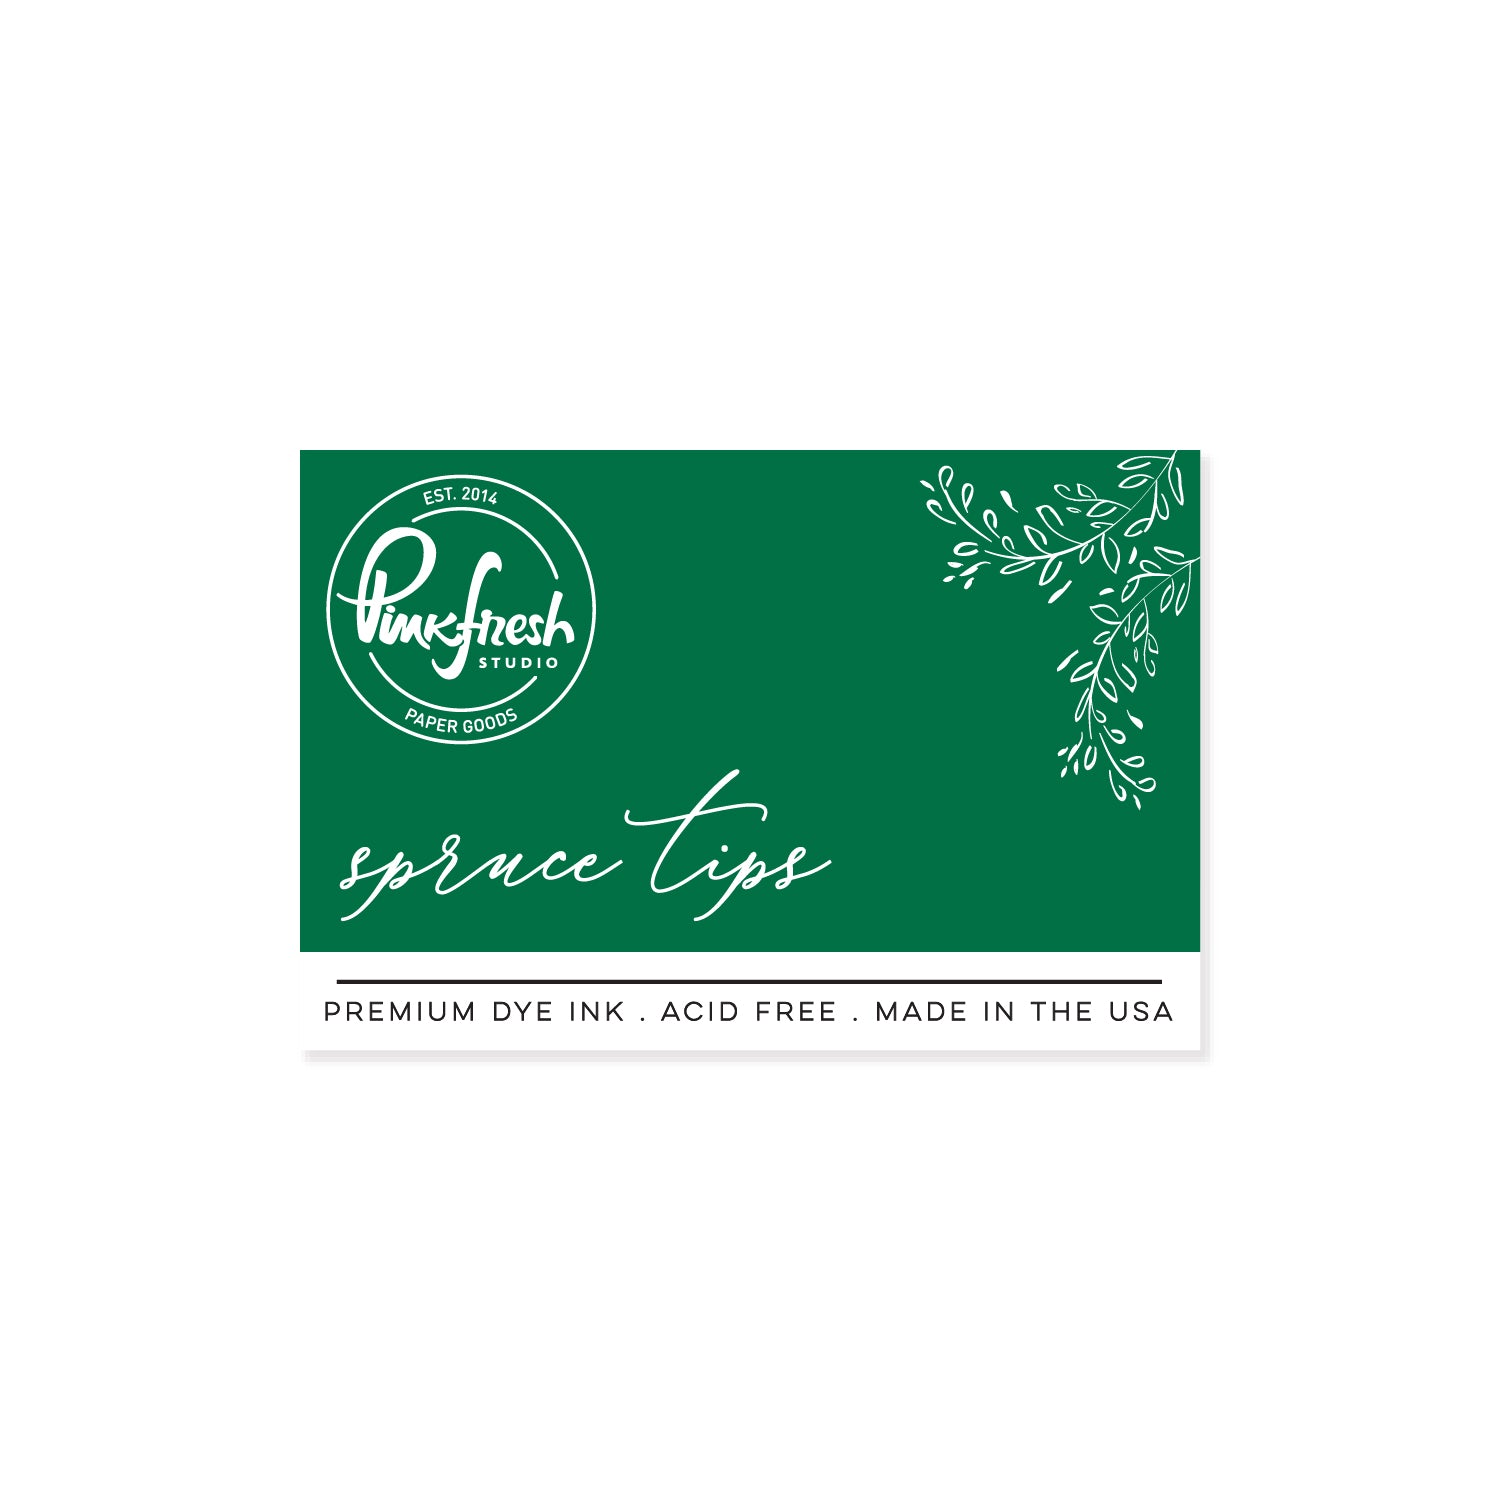
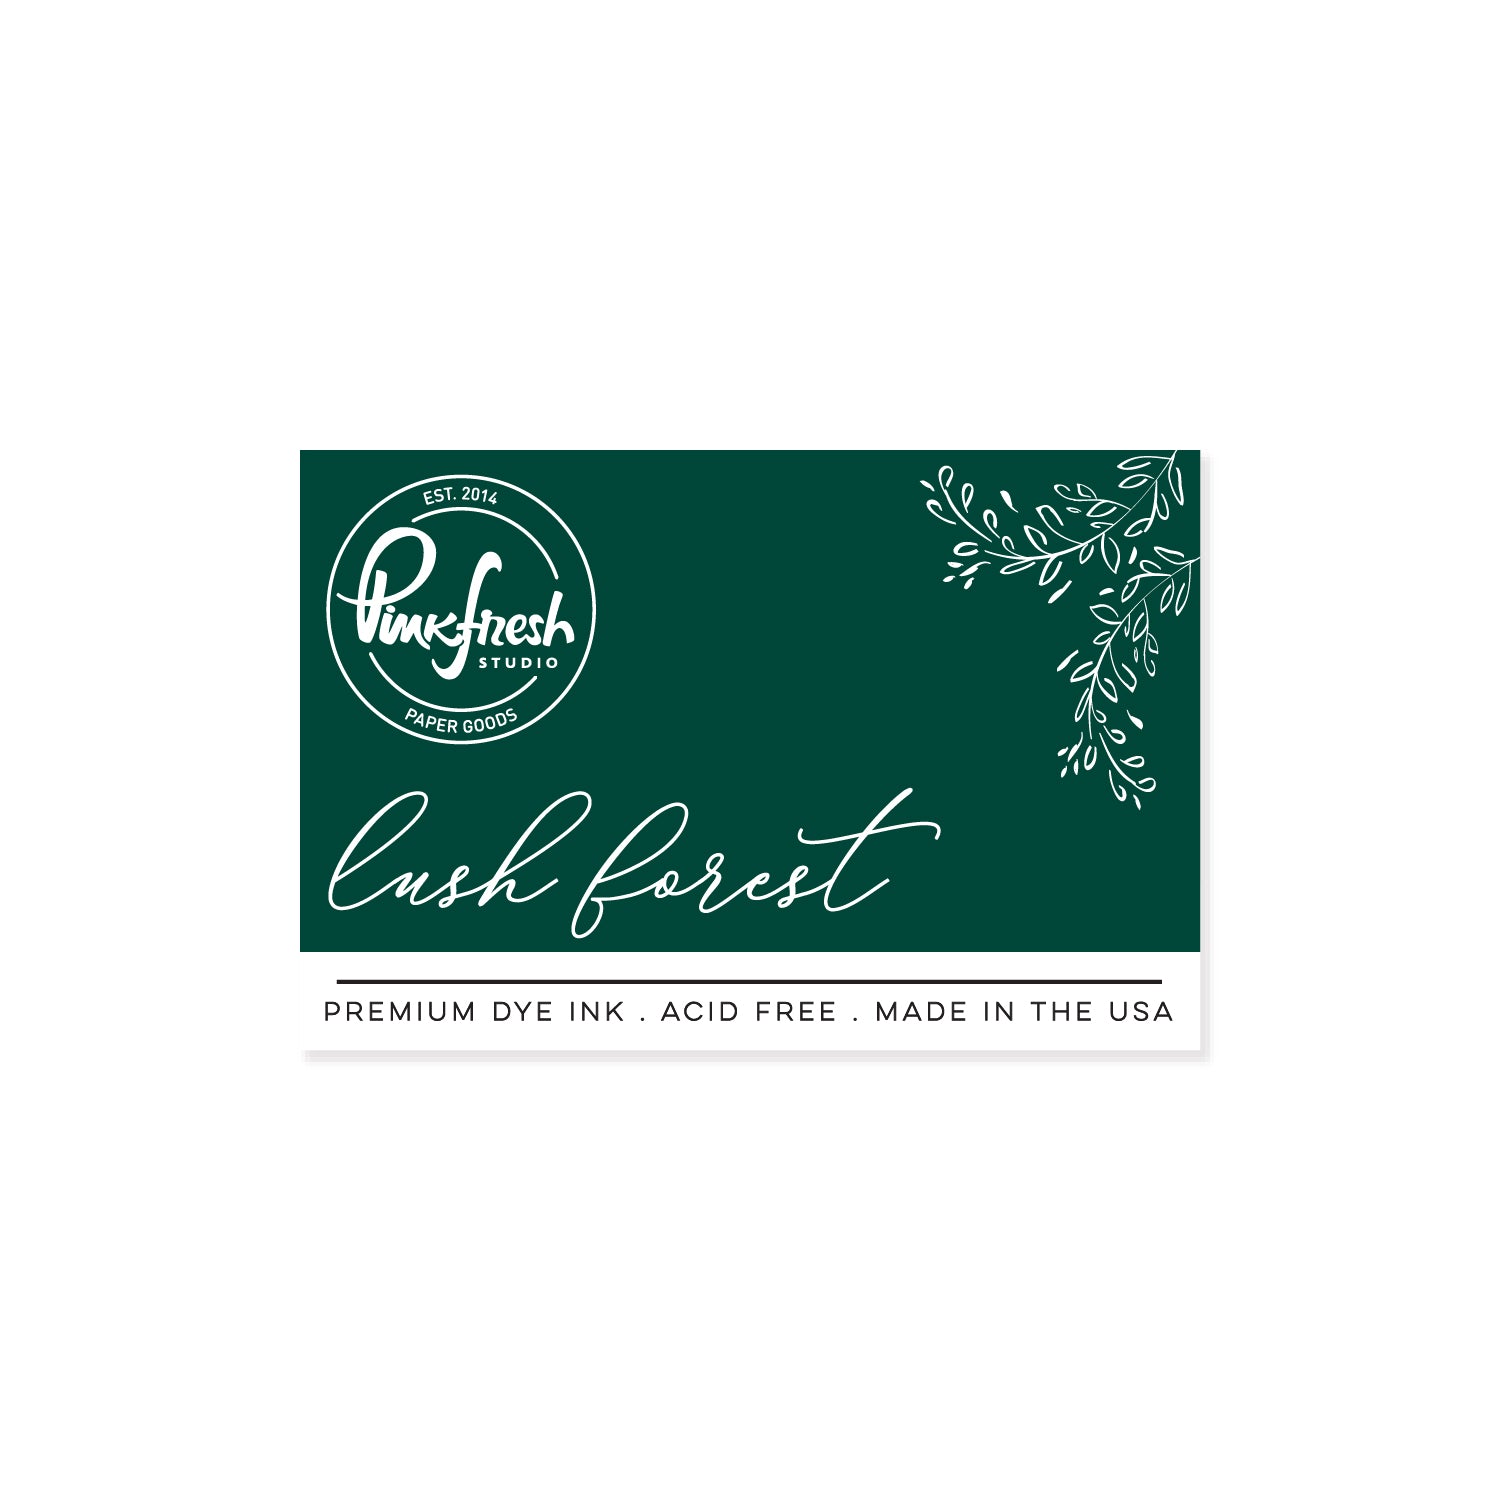
Stencil 2: Spruce Tips, Lush Forest (blend from the base of petals)
-
Stencil 3: Candy Apple
-
Stencil 4: Candy Apple (large petals only), Doe (to deepen) - skip the small centers
-
Add gold gel pen details to the flower centers and scatter a few dots around for extra shine.
-
On the acetate panel, stamp the "Once Upon a Christmas" sentiment from the Once Upon a Holiday stamp set using embossing ink. Heat emboss with gold embossing powder.
-
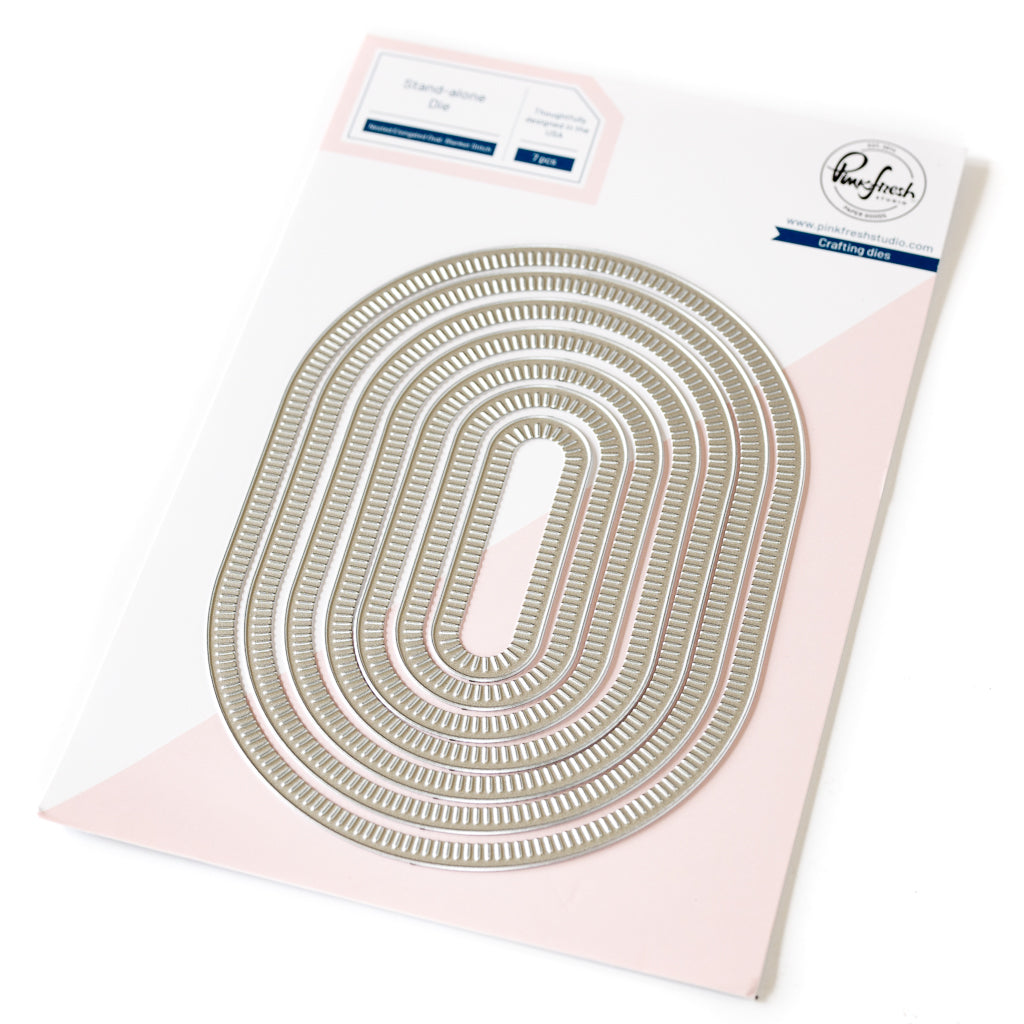
On the second white panel, create an oval frame by die-cutting the largest oval from the Essentials: Nested Elongated Ovals Blanket Stitched die set, and the largest oval from the Essentials: Nested Elongated Ovals die set.
-
Ink-blend Lush Forest over the entire oval frame
-
Create a shaker by placing metallic flake sequins in the center of your floral panel.
-
Add foam adhesive to the back of your oval frame, then adhere it to the floral panel, sealing the sequins to create your shaker element.
-
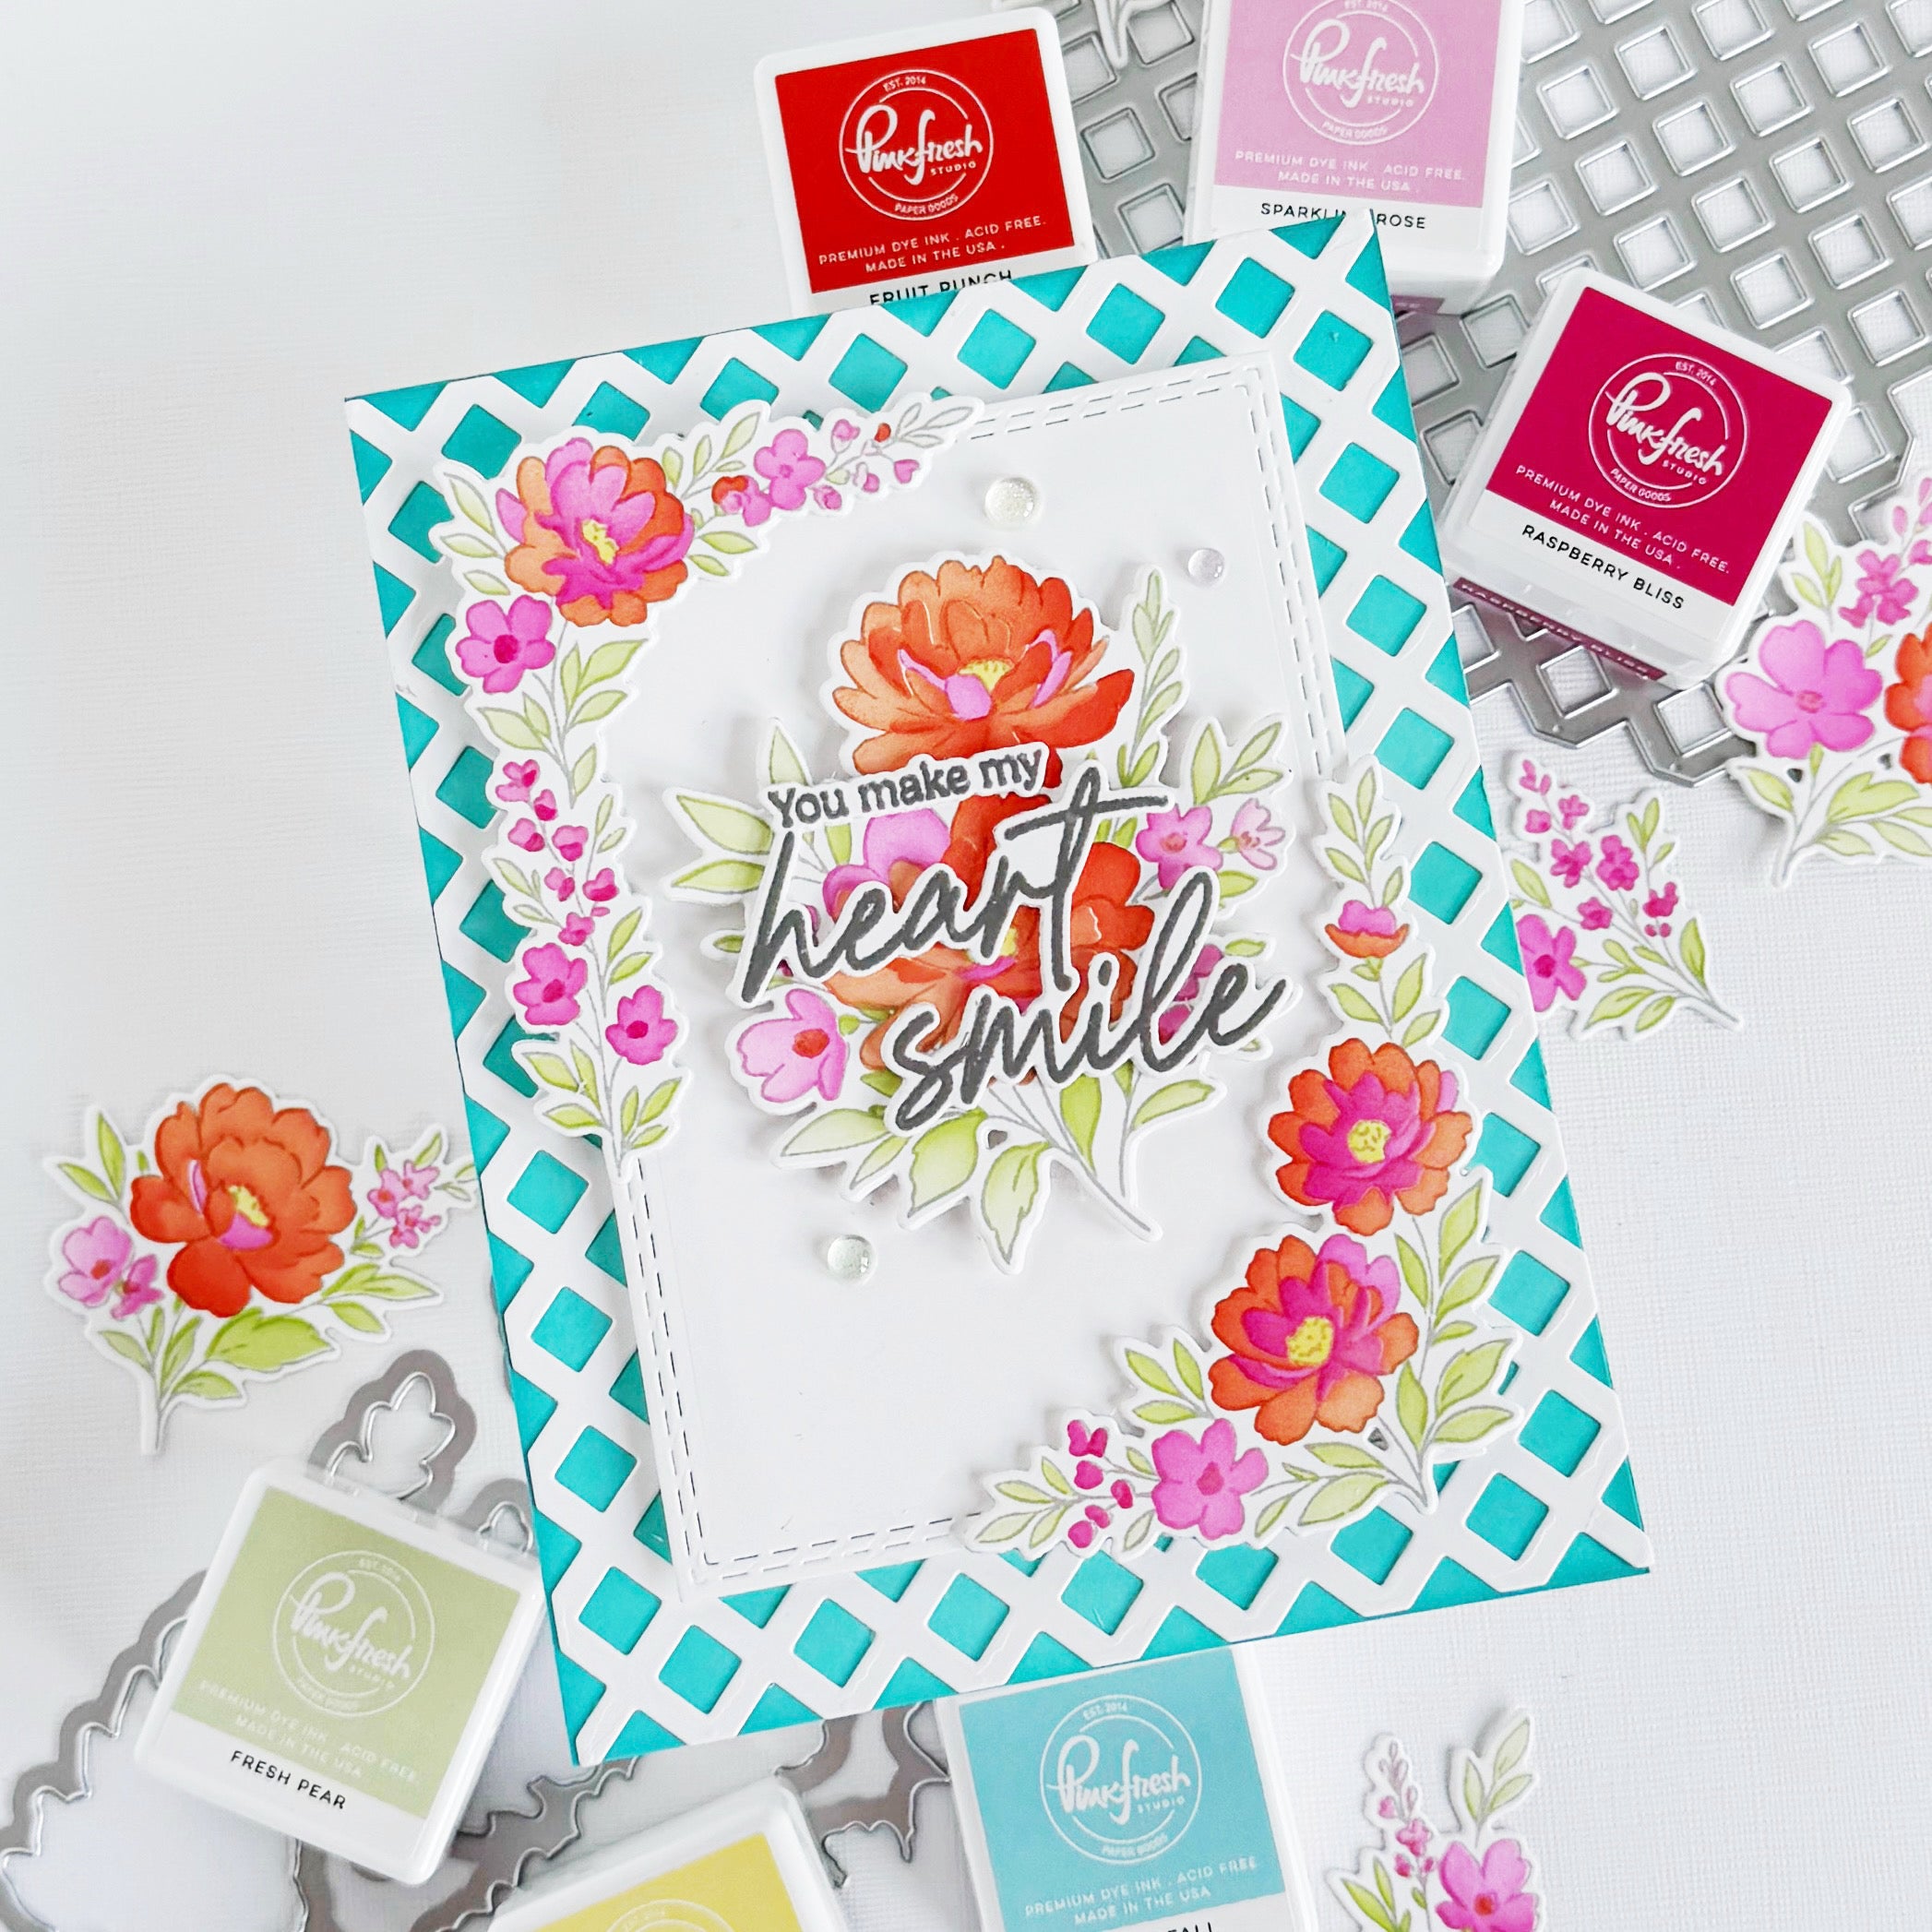
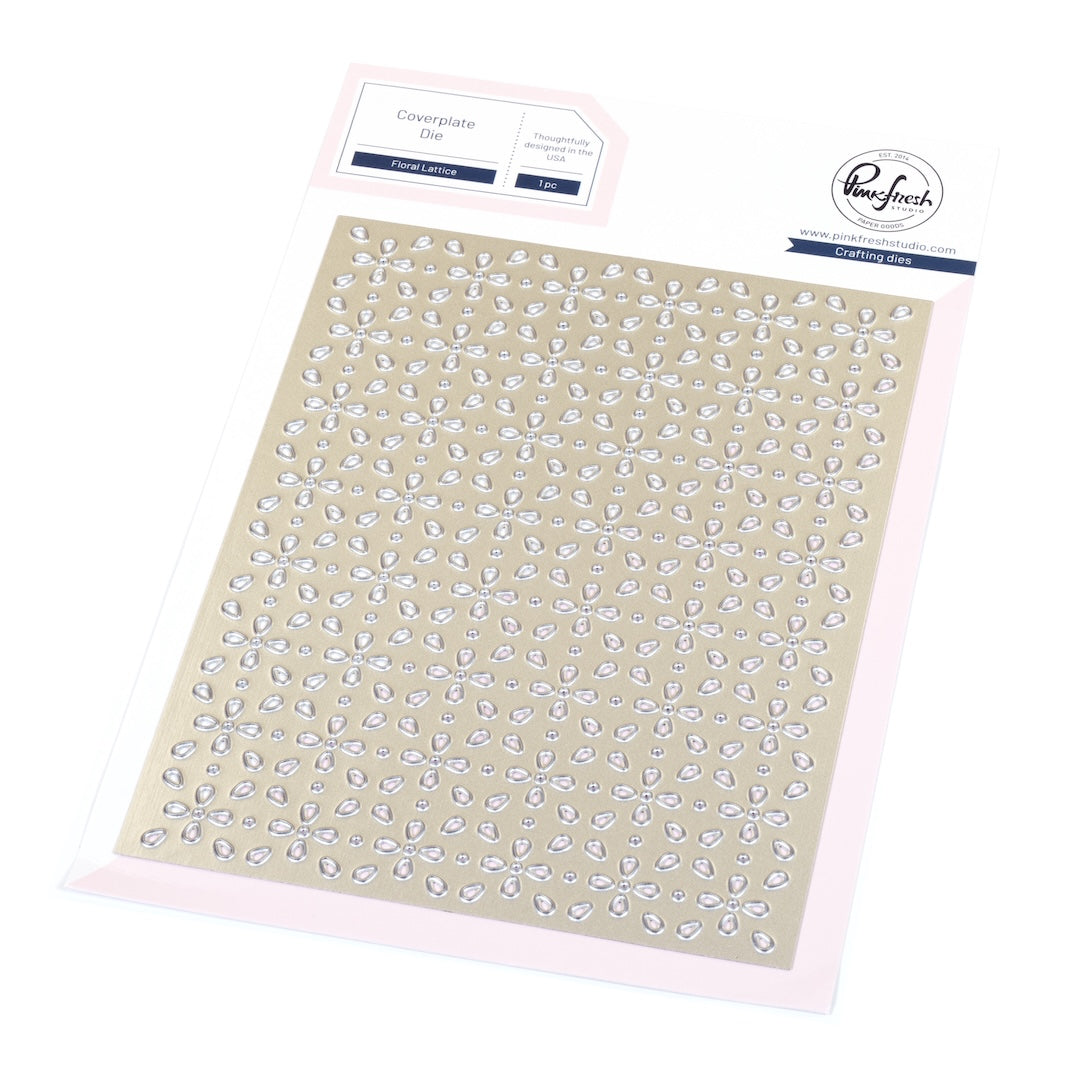
On the third panel, ink-blend Lush Forest over the entire panel, then die-cut it using the Floral Lattice Coverplate.
-
Ink-blend Lush Forest over the entire front of your A2 card base.
-
Adhere the Floral Lattice panel onto your ink-blended card base.
-
Adhere the completed shaker panel onto the Floral Lattice card base to complete your card.

I hope this project inspires you to look at your floral stamp sets in a whole new way! I stuck to a traditional colour palette to easily transform everyday supplies into festive holiday cards.
To stretch yourself even further creatively, try experimenting with icy blues or a pop of pink along with reds and greens for a fresh spin on holiday florals.
If you give this technique a try (and I hope you do!), be sure to tag us on social media — I'd love to see your creative takes on this festive idea!
Thanks so much for stopping by, and happy crafting!
Steph
Recommended Products





























1 comment
Joan Bardee
Leave a comment
All comments are moderated before being published.
This site is protected by hCaptcha and the hCaptcha Privacy Policy and Terms of Service apply.