
Hi crafters,
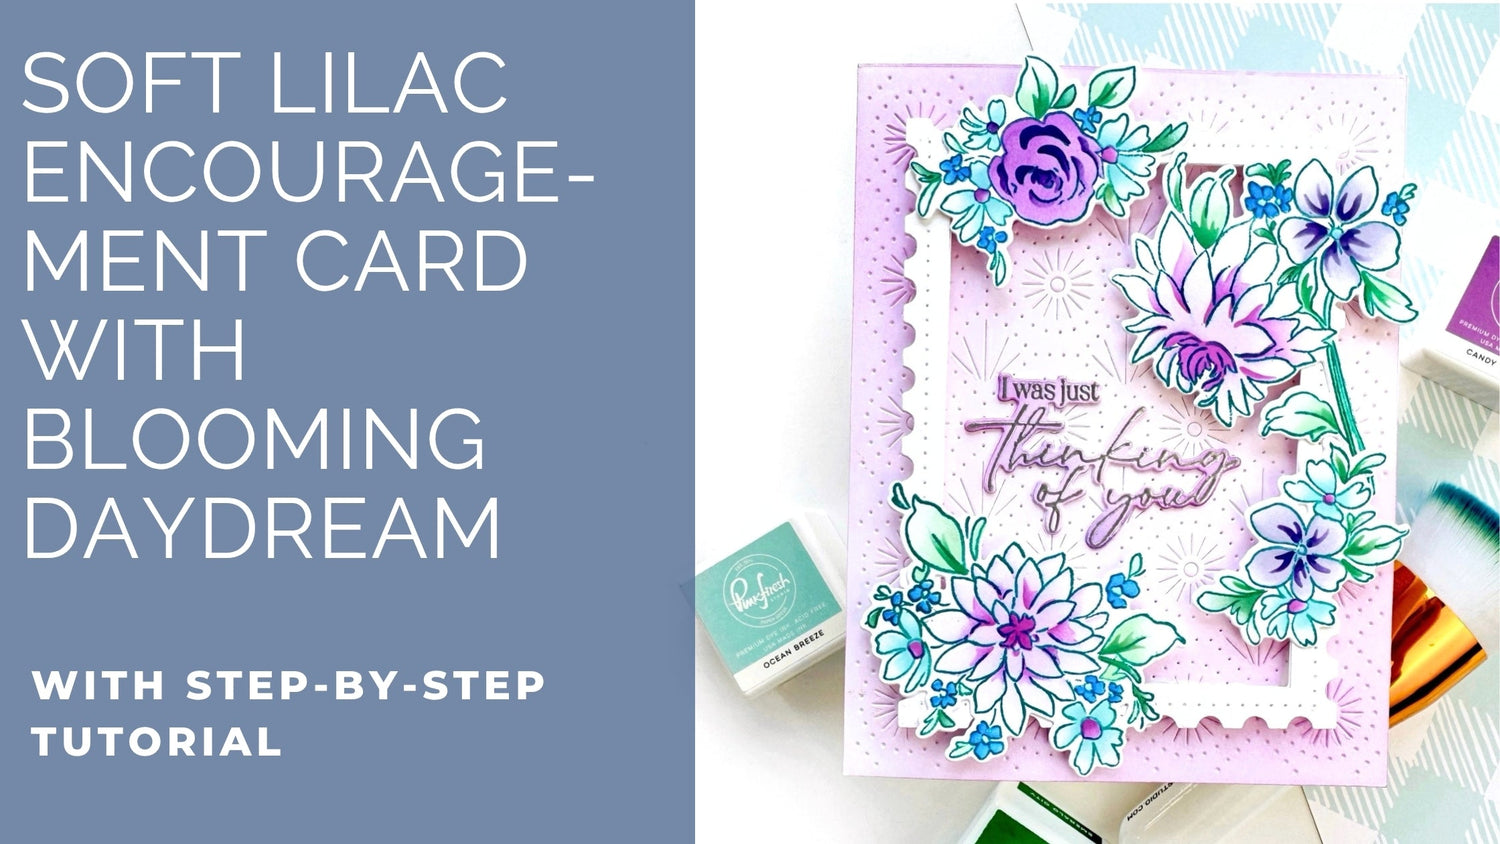
It's Steph back again on the blog, sharing a soft and refreshing encouragement card with you. If you love soft colour palettes and delicate florals, like I do, you're going to enjoy this one. I pulled out my "paint palette"-aka my drawer of Pinkfresh Studio inks-and quickly landed on Soft Lilac. From there, I paired that dreamy lilac with cool tones like blue and teal, along with the Blooming Daydream stamp set, to create a gentle thinking of you card. The whole design feels light, pretty, and just a little bit calming, which is exactly the kind of card I love to make (and send!)
*Disclaimer: All products used are linked below as clickable images. If a product isn't listed, it's been discontinued.

How to create this card:
- Cut and fold an A2 side-folding card base from white cardstock.
- Cut an A2 panel from white cardstock.
- Ink blend the entire panel with Soft Lilac ink.
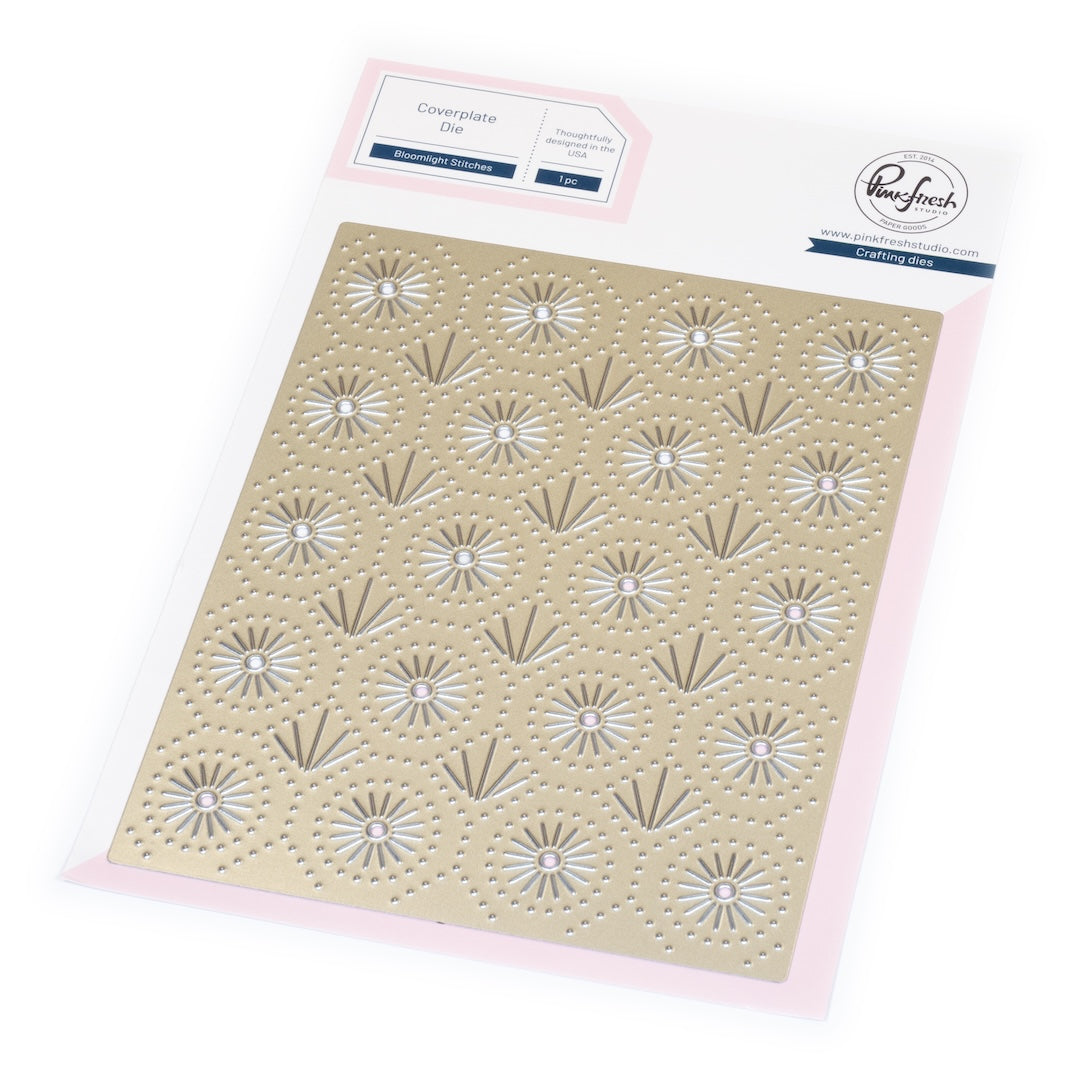
- Run the panel through a die-cutting machine using the Bloomlight Stitches coverplate.
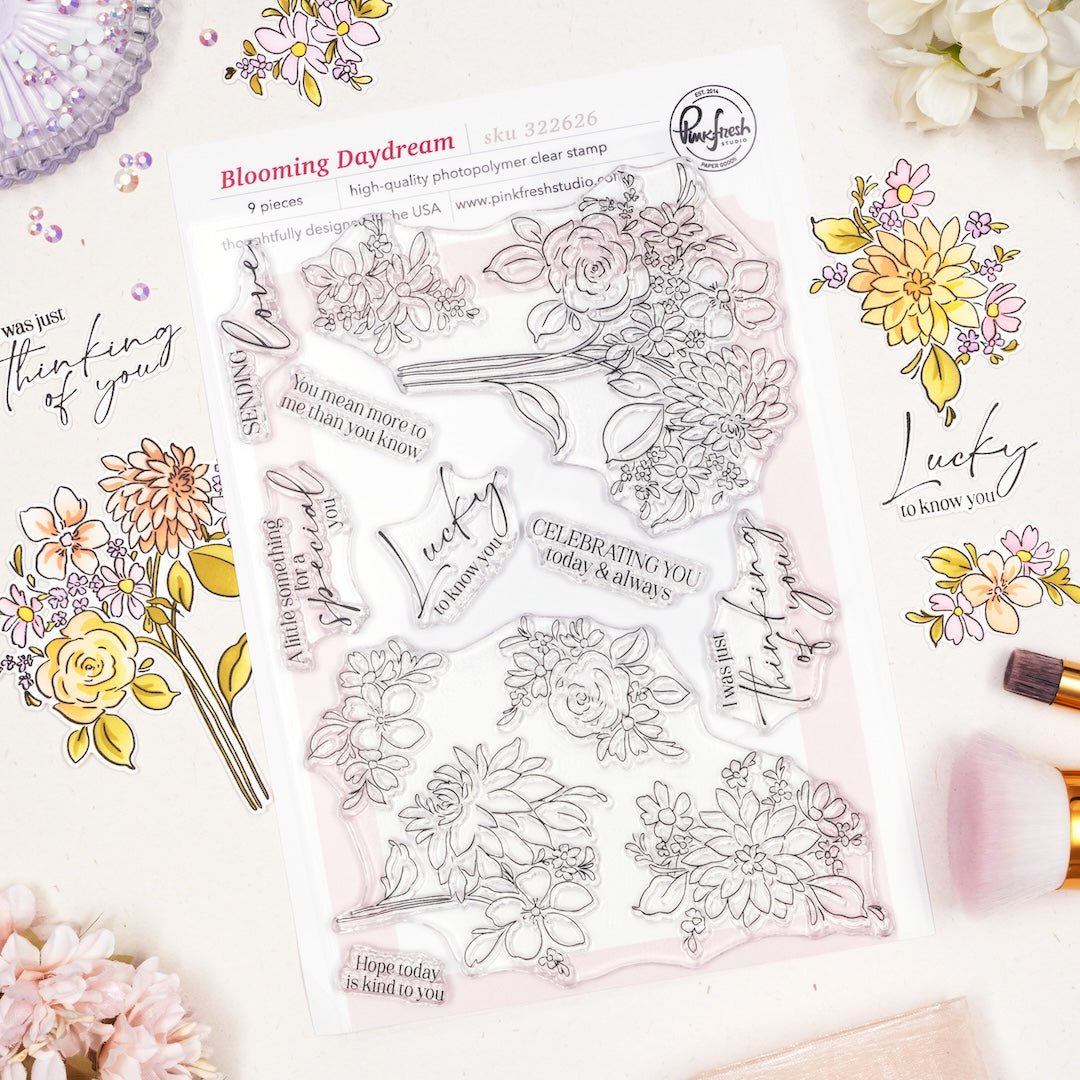
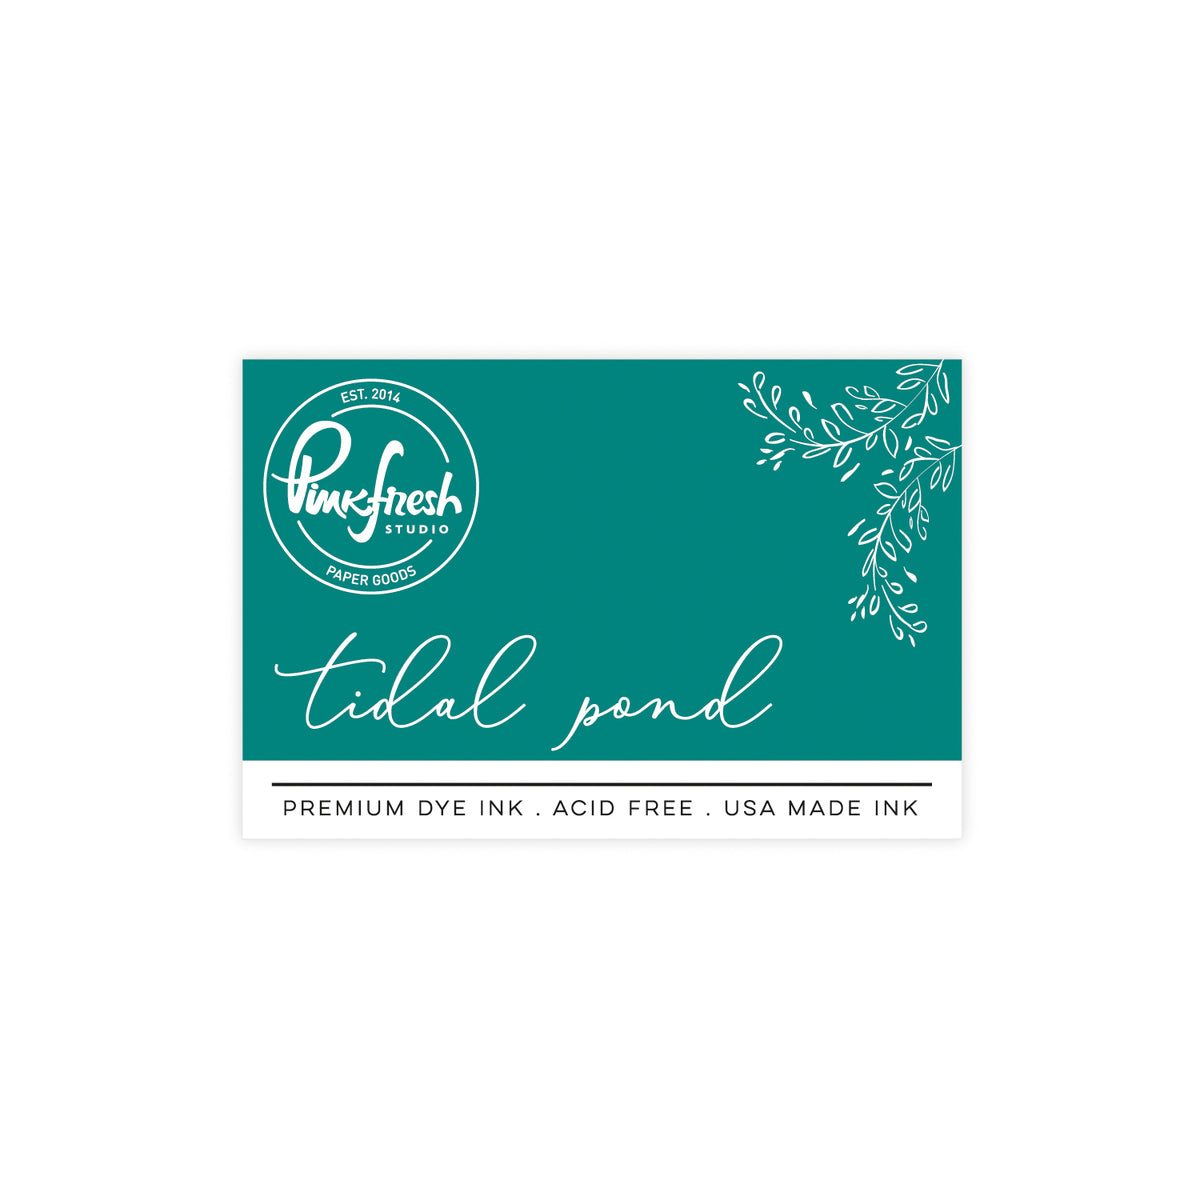
- Stamp the four smaller floral images from the Blooming Daydream stamp set using Tidal Ponk ink.
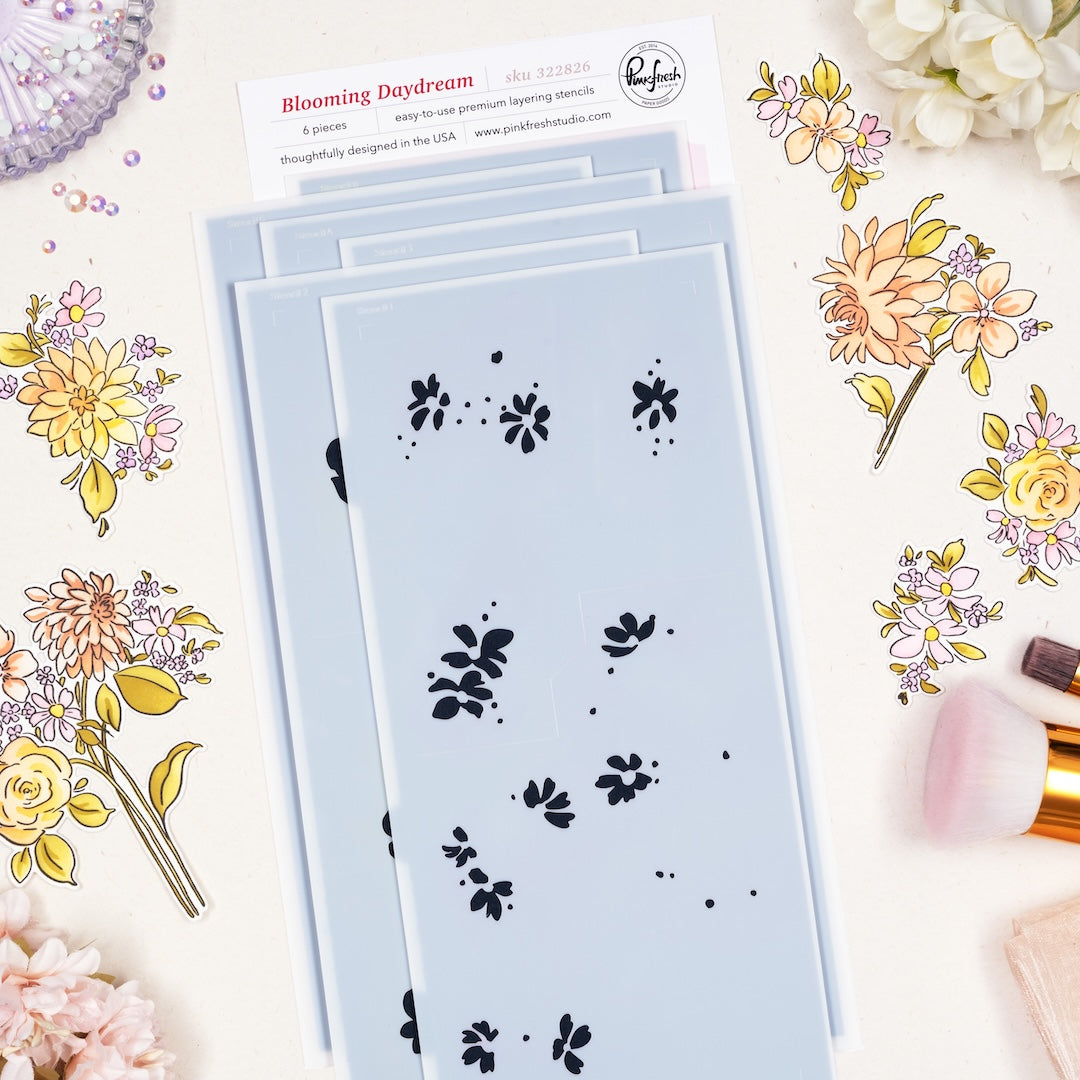
- Use the coordinating stencils to ink blend:
- Stencil 1: Ocean Breeze
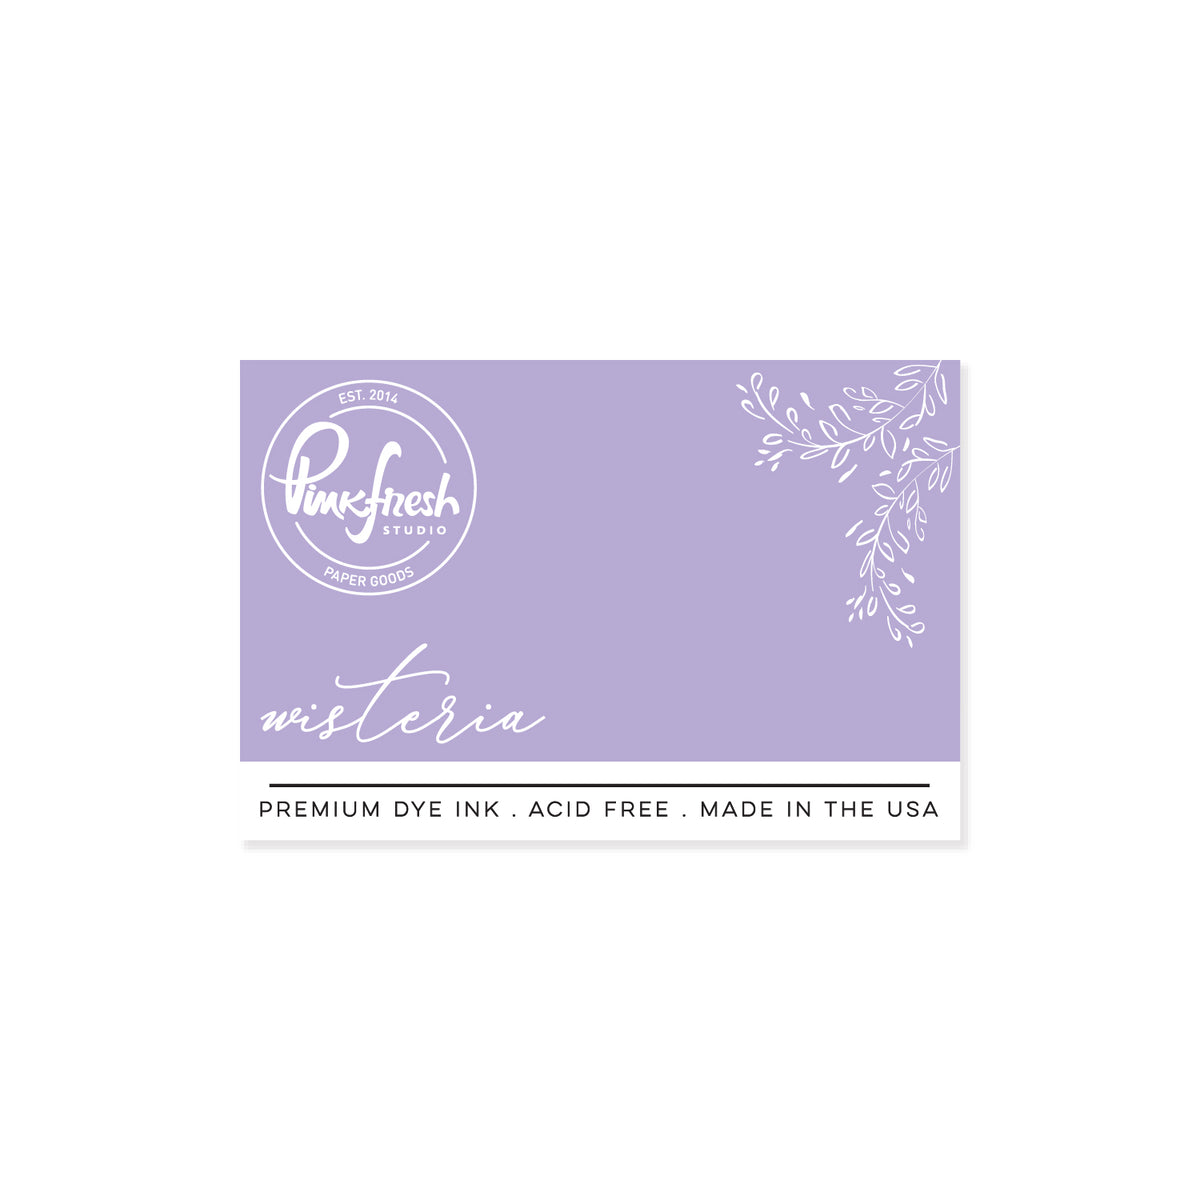
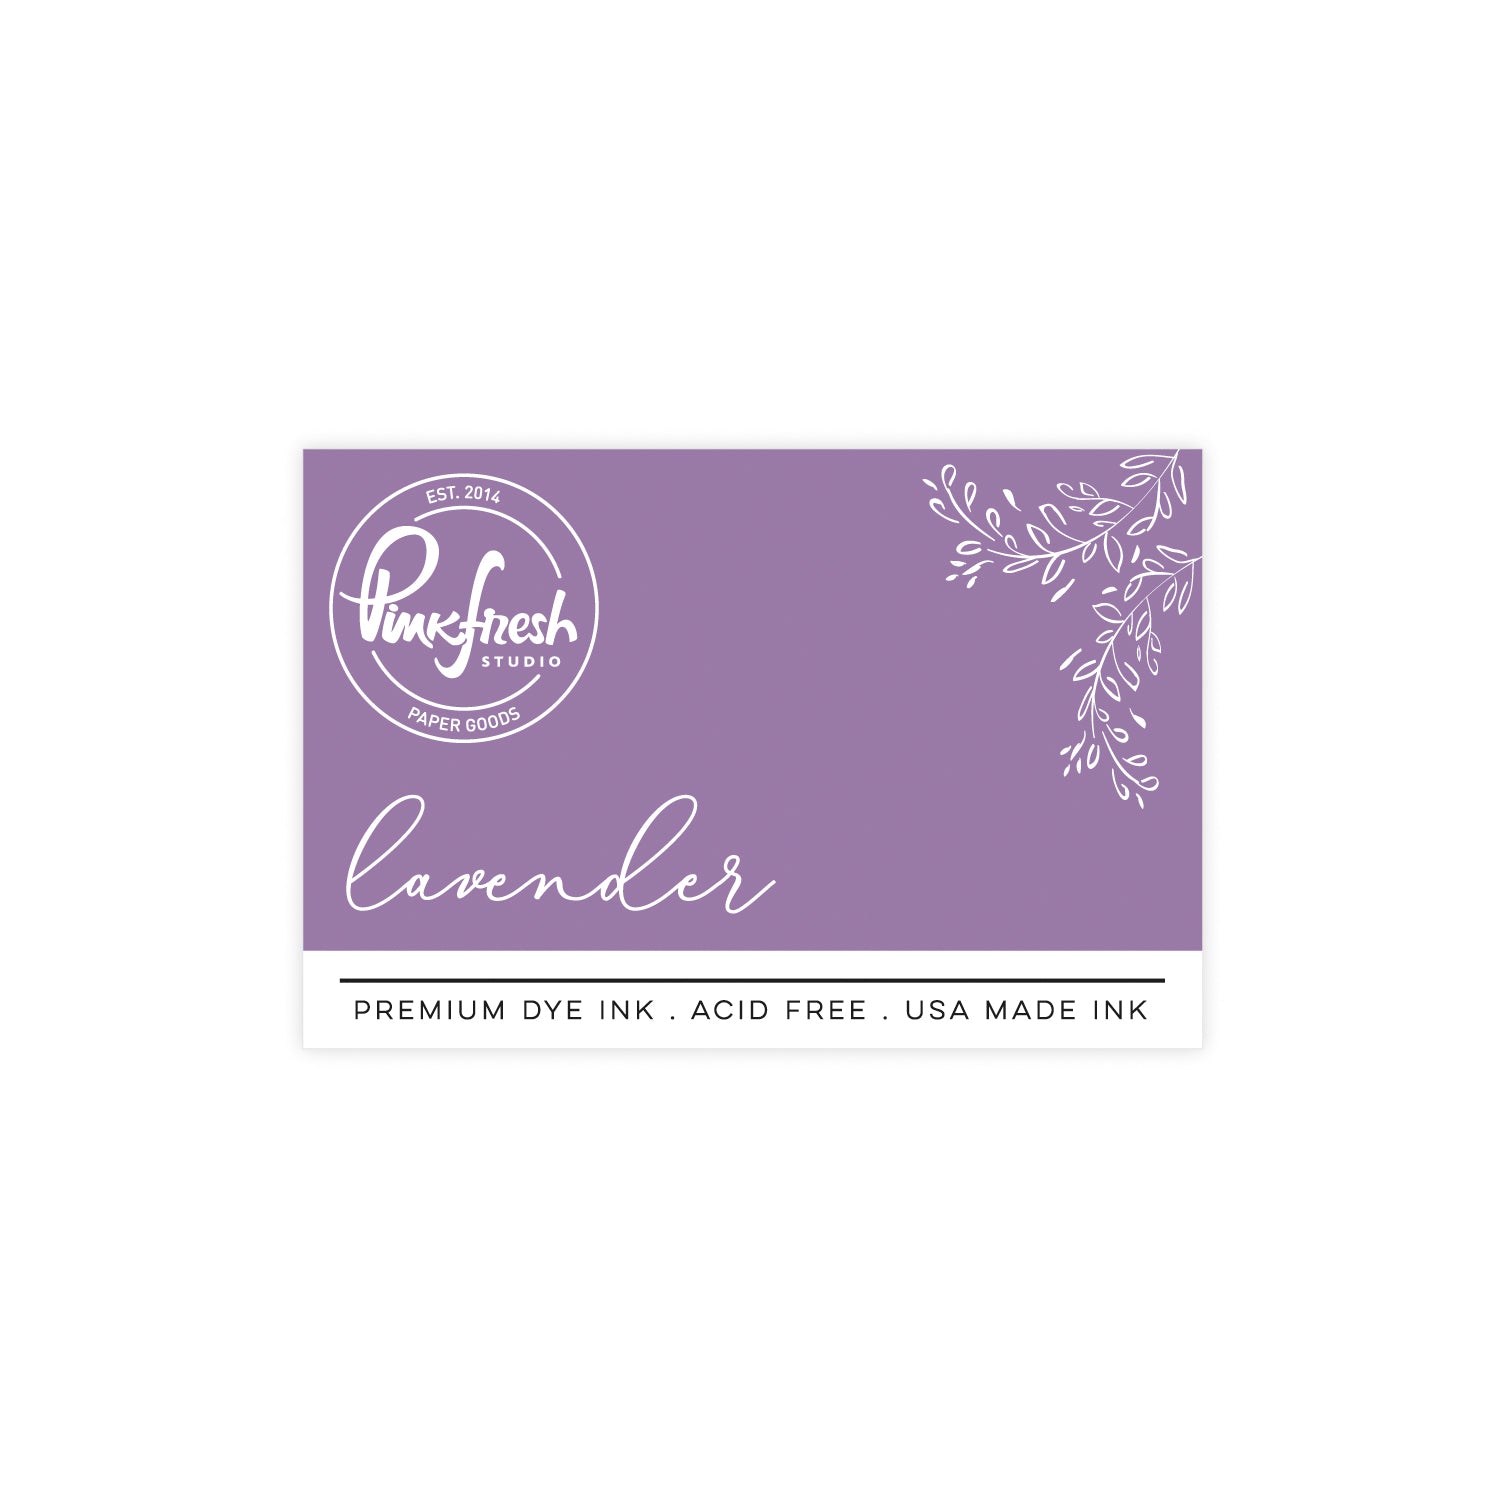
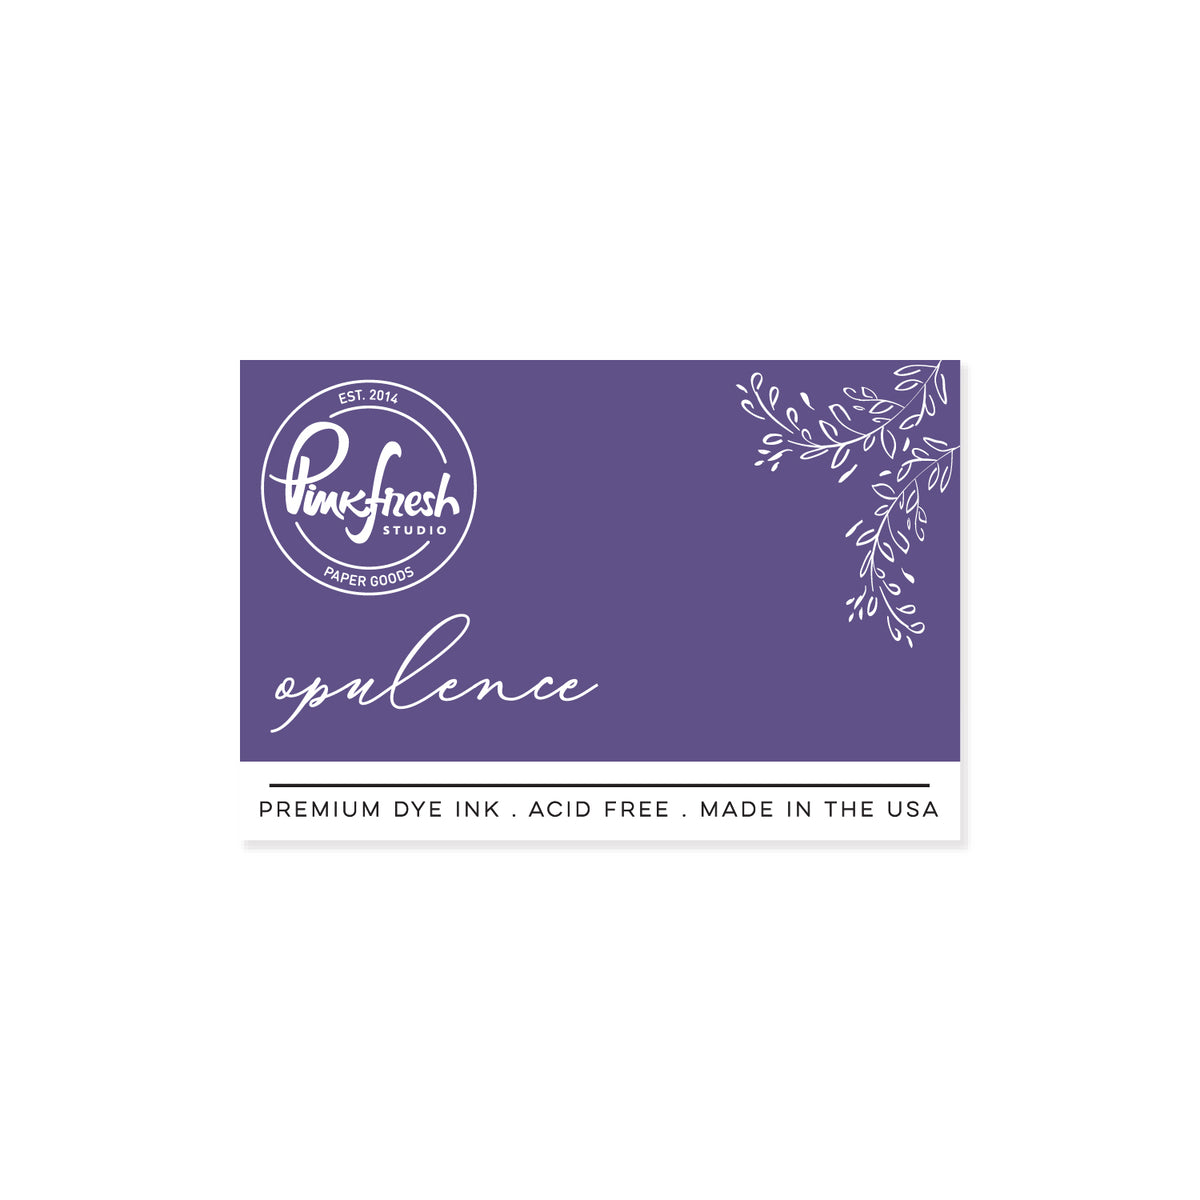
- Stencil 2: Dahlia - Soft Lilac, blossoms - Wisteria, rose - Lavender
- Stencil 3: Dahila - Candy Violet, blossoms - Opulence, rose - Opulence, flower centers - Candy Violet
- Stencil 4: Seaside
- Stencil 5: Mint
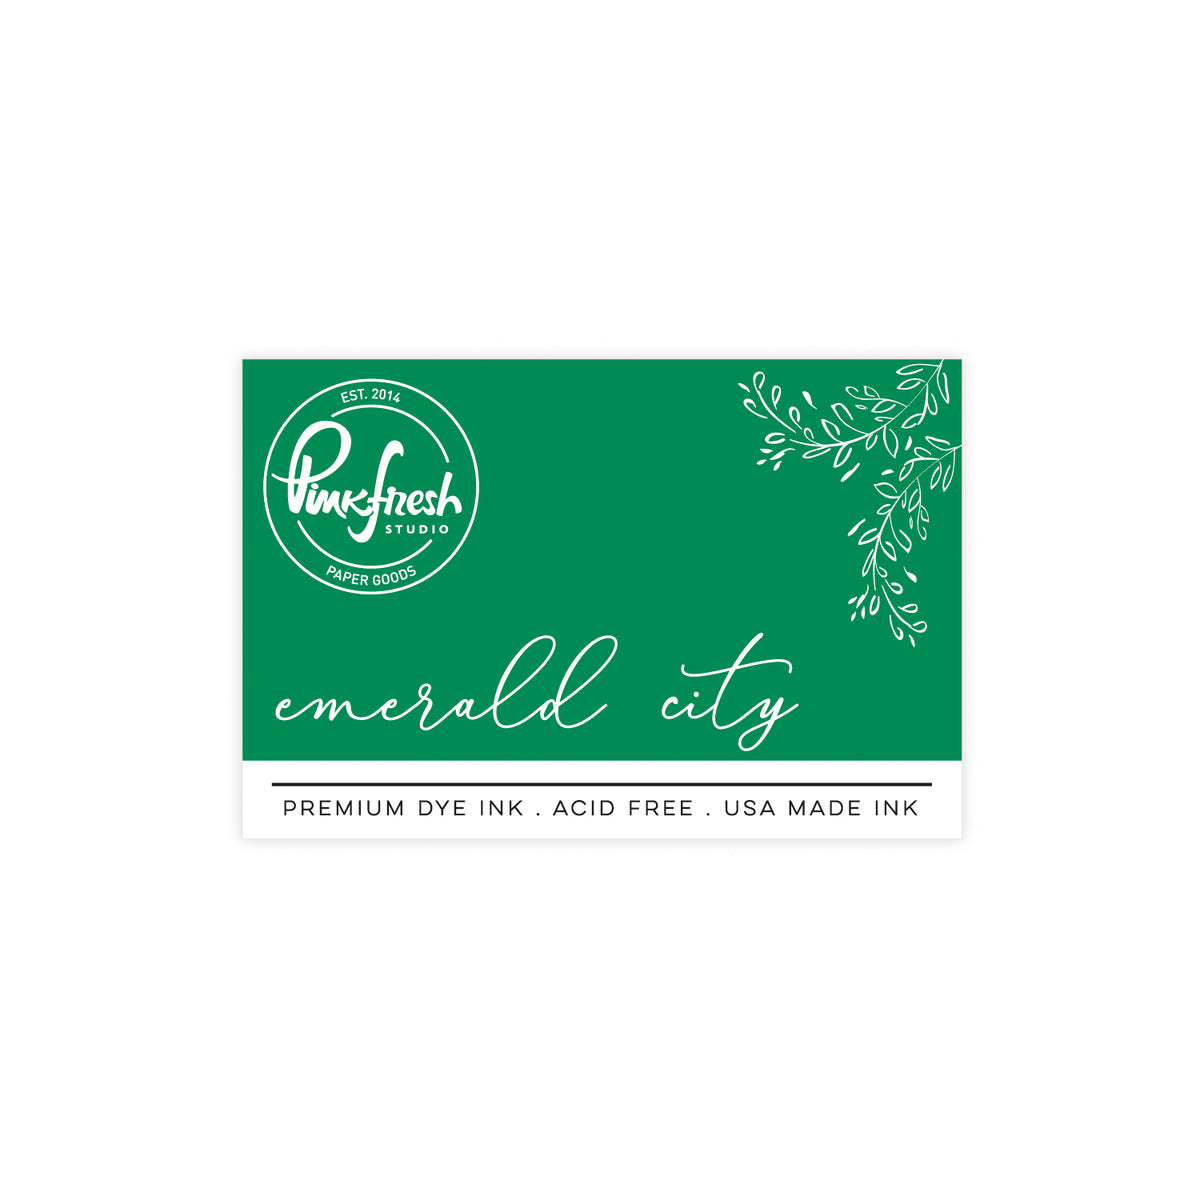
- Stencil 6: Emerald City
- Die cut the florals using the coordinating dies.
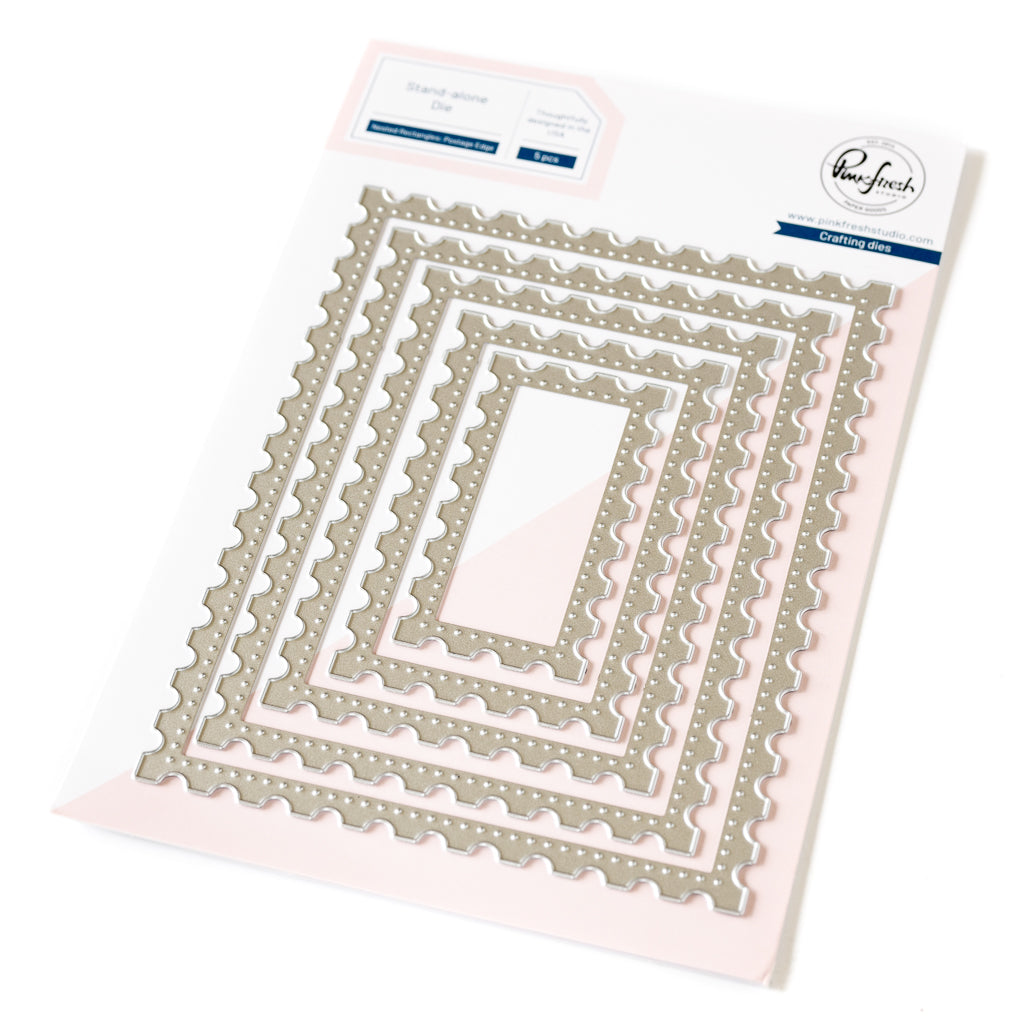
- Die cut the second-largest Nested Rectangle Postage Edge from white cardstock.
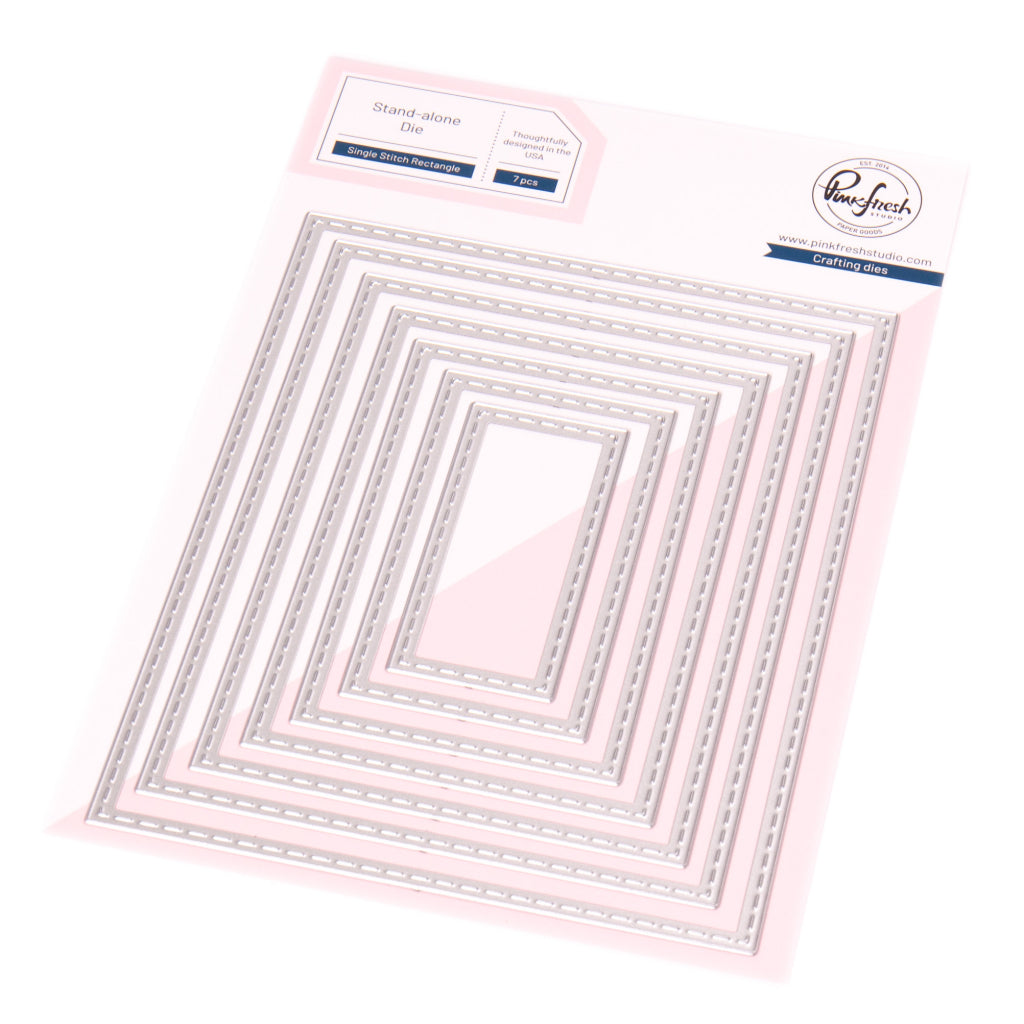
- Die cut the center using the fourth largest Single Stitch Rectangle die to create a frame.
- Repeat this step two more times, then stack and adhere the frames together with liquid adhesive for dimension.
- Stamp and heat emboss the "I was just thinking of you" sentiment from the Blooming Daydream set in silver embossing powder on white cardstock.
- Die cut the sentiment, then lightly ink blend it with Soft Lilac ink.
- Adhere the stacked Postage Edge frame to the center of the Bloomlight Stitches panel using liquid adhesive.
- Arrange and adhere the florals around the frame as shown.
- Adhere the sentiment inside the frame.
- Attach the completed panel to the card base using liquid adhesive.
Alright, your turn—grab your own “paint palette” and create something beautiful. Don’t overthink it, just start blending and see where it takes you. If you try this design, share it and tag us on social media so we can see what you’re making! Then pass it on—send your handmade card to a friend and share a little kindness.

That’s it from me today—thanks so much for stopping by!
Steph
Recommended Products
































Leave a comment
All comments are moderated before being published.
This site is protected by hCaptcha and the hCaptcha Privacy Policy and Terms of Service apply.