
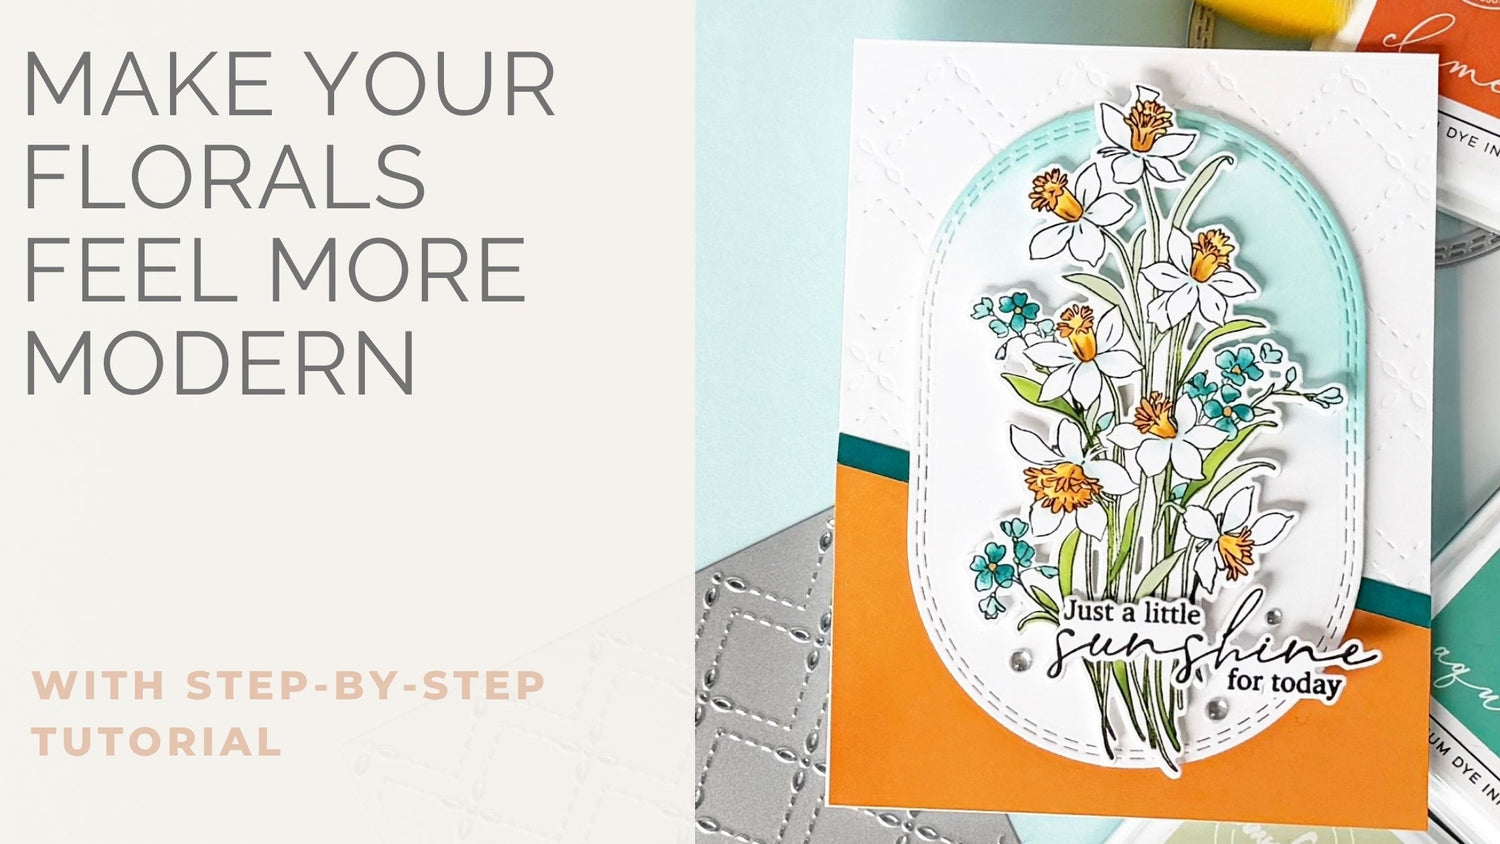
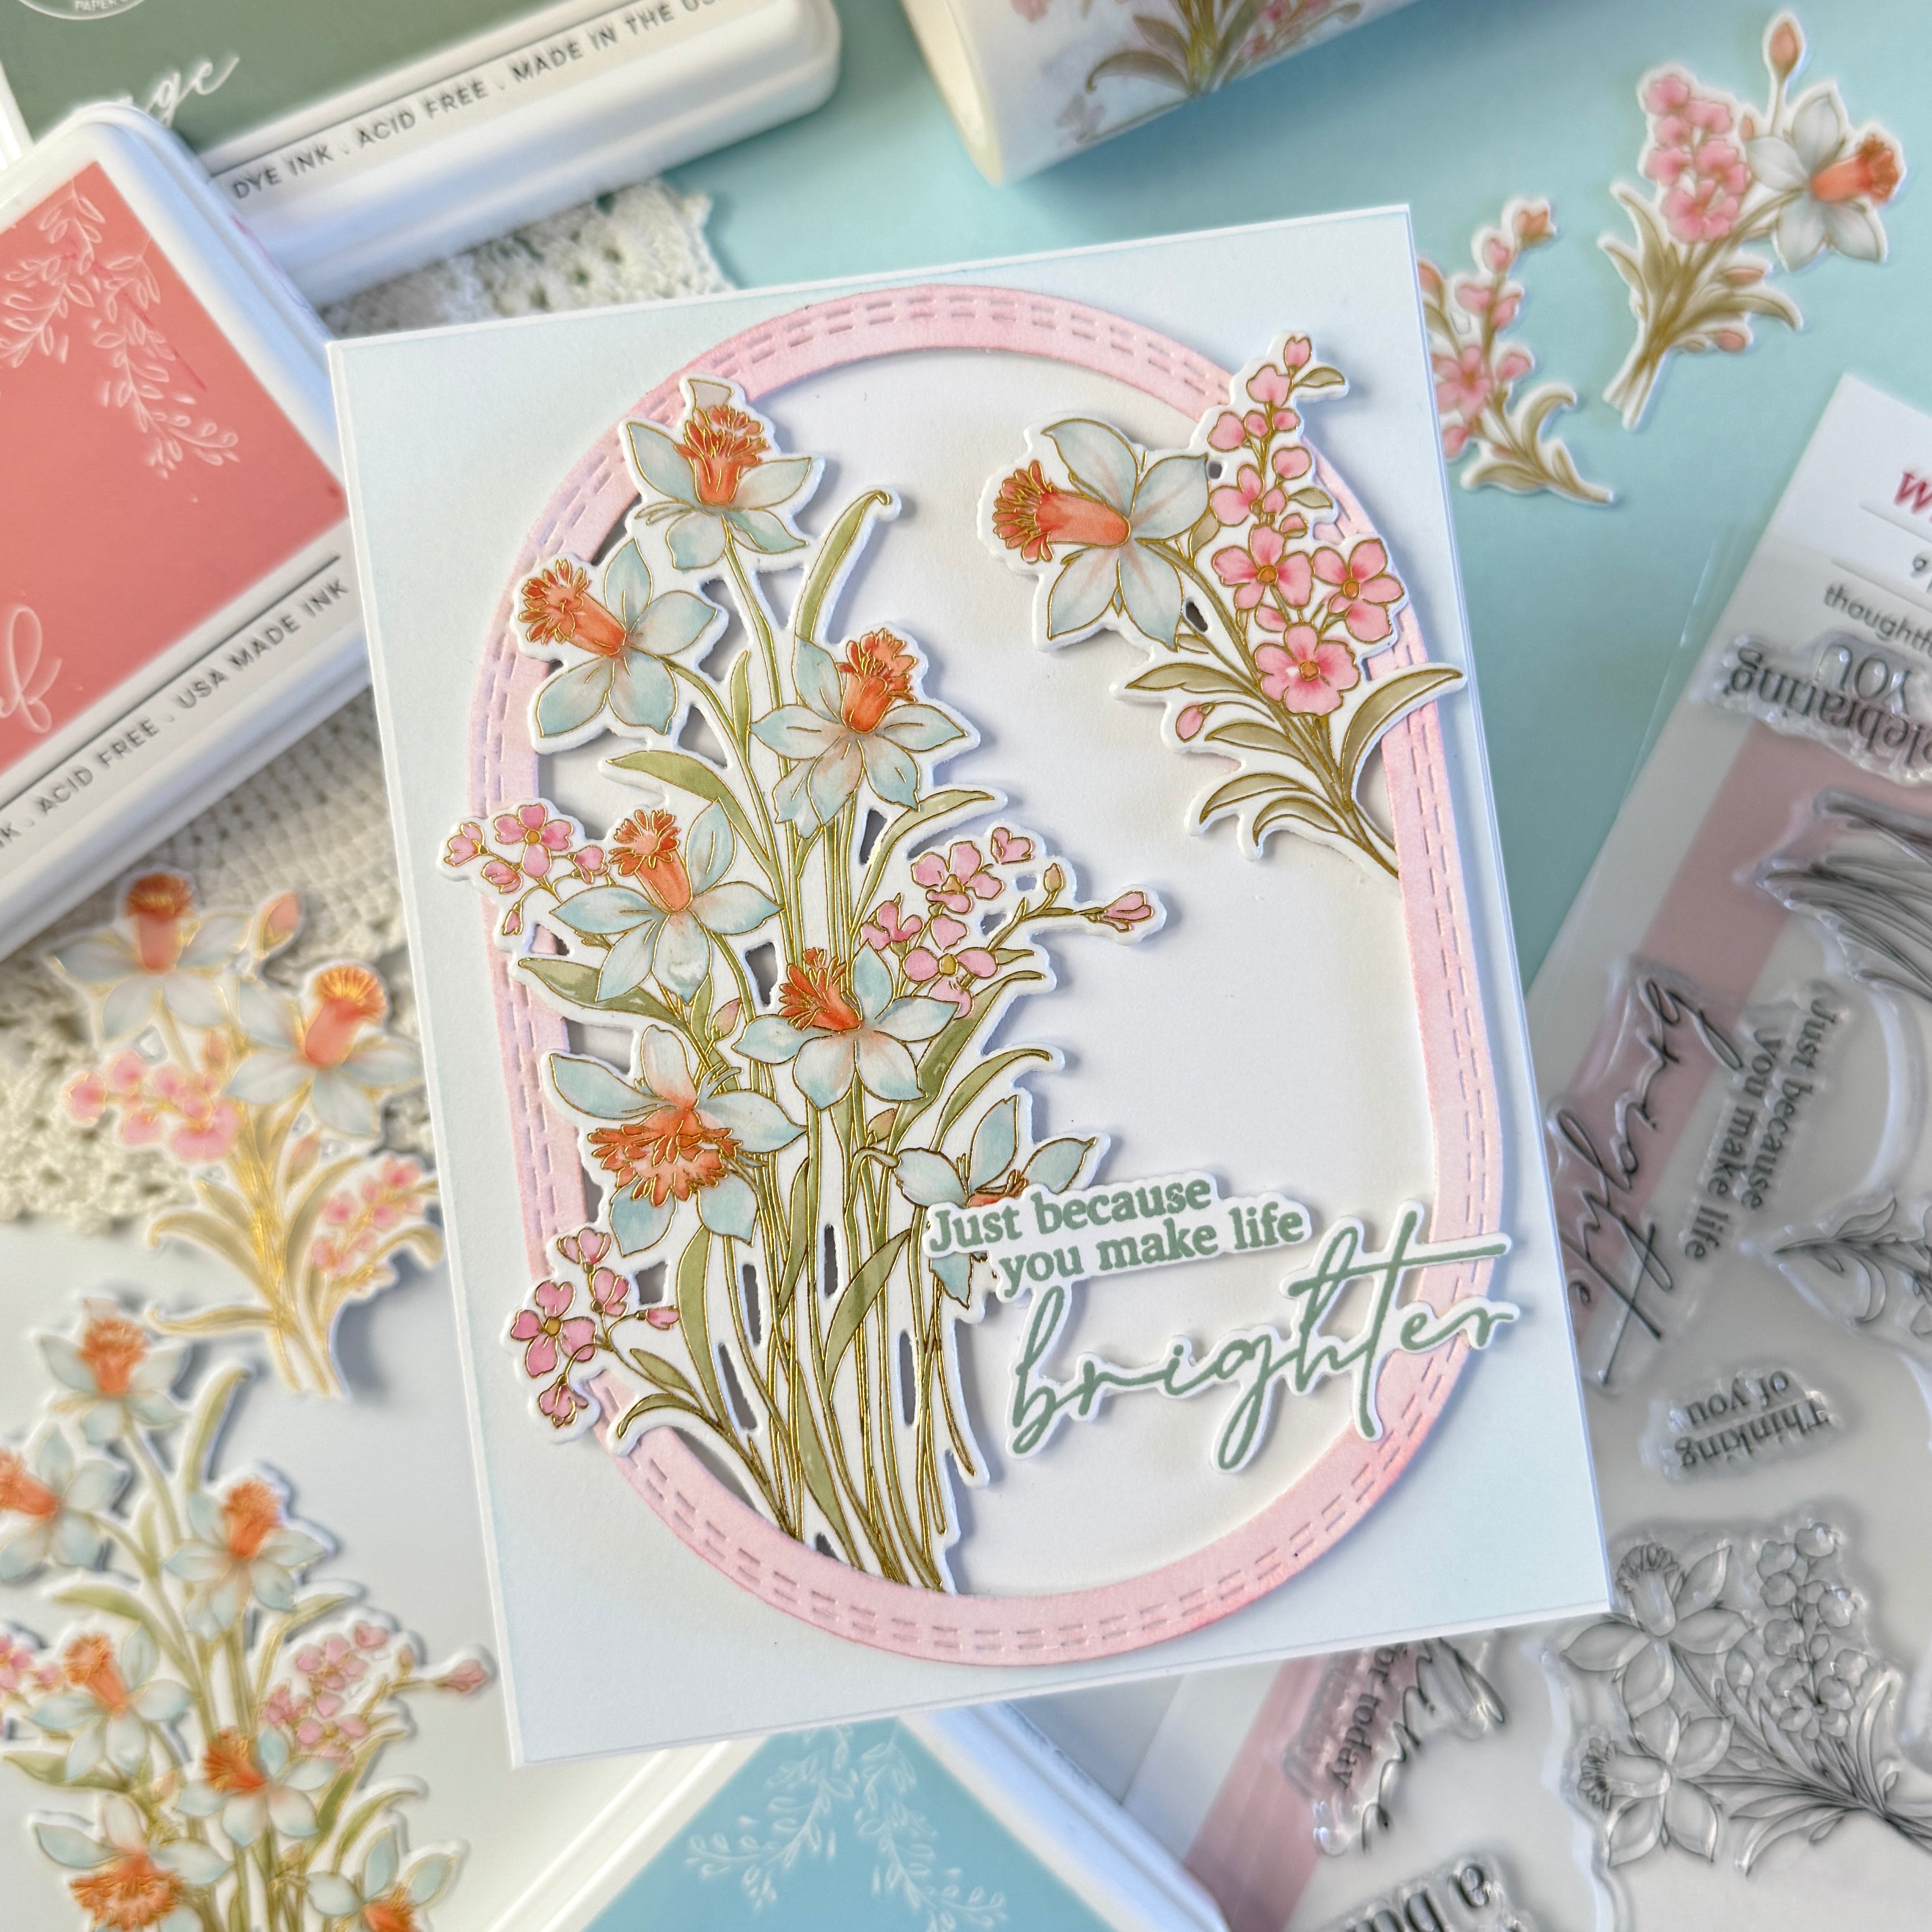
If your floral cards sometimes feel a little too soft or traditional, adding bold color blocking is one of the easiest ways to give them a more modern feel. This card combines delicate line art florals with bright, angled cardstock pieces and dry embossing for a design that feels fresh, graphic, and full of contrast.
The fine details in the Whispering Daffodils image pair beautifully with the clean white background, while the Clementine and dark teal cardstock accents add just enough color to create energy and movement across the card. Layering the florals over an ink-blended elongated oval also helps ground the image and tie all of the design elements together.
This project is a great example of how texture, color, and layering can work together without overwhelming a detailed floral image. If you love modern floral cardmaking ideas, dry embossing, and clean designs with bold accents, this technique is worth trying.
*Disclaimer: All products used are linked below as clickable images. If a product isn't listed, it's been discontinued.

How to re-create this card:
- Create a white, top-folding A2 card base.
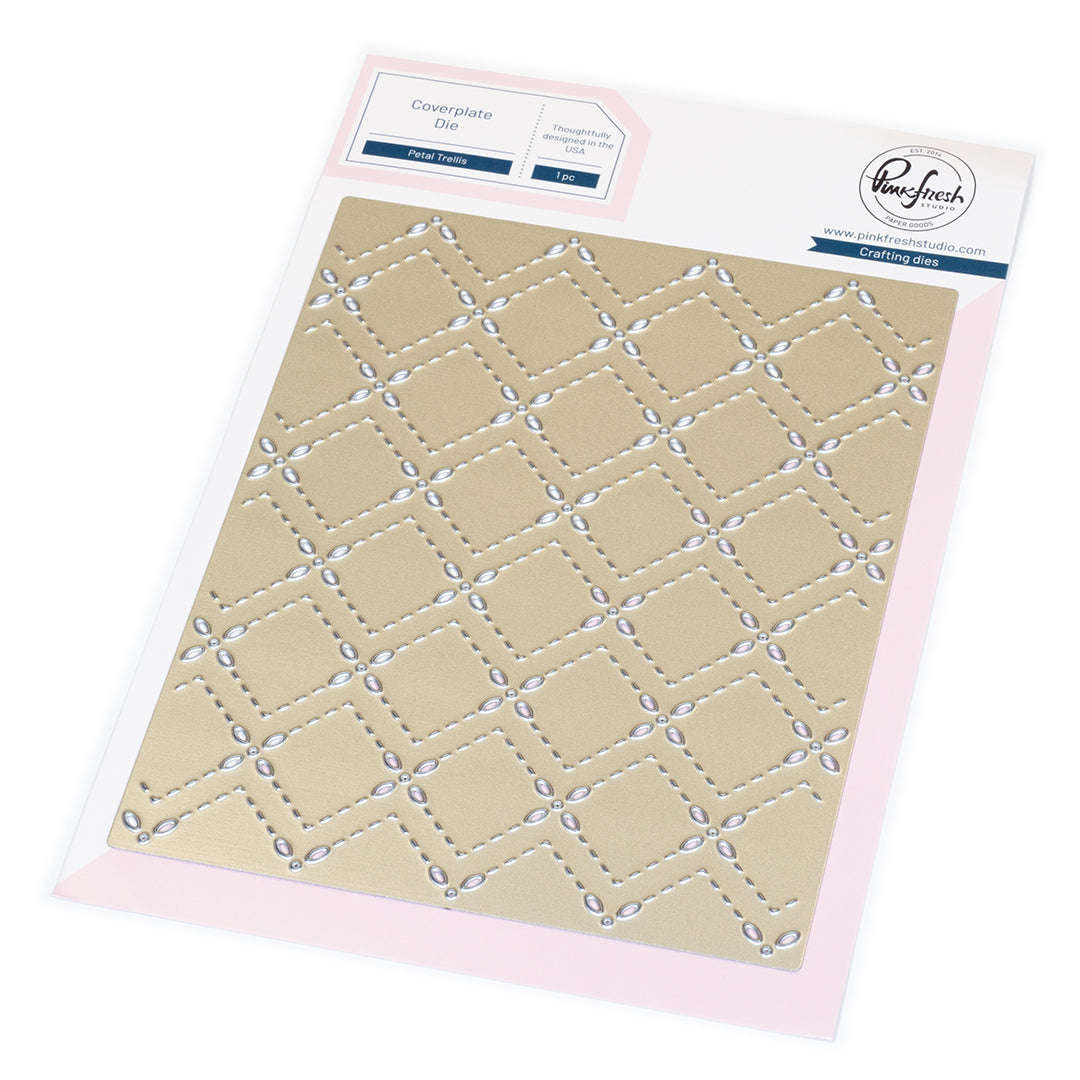
- Dry emboss an A2 panel of white cardstock using the Petal Trellis coverplate die.
- Adhere the embossed panel to the card front.
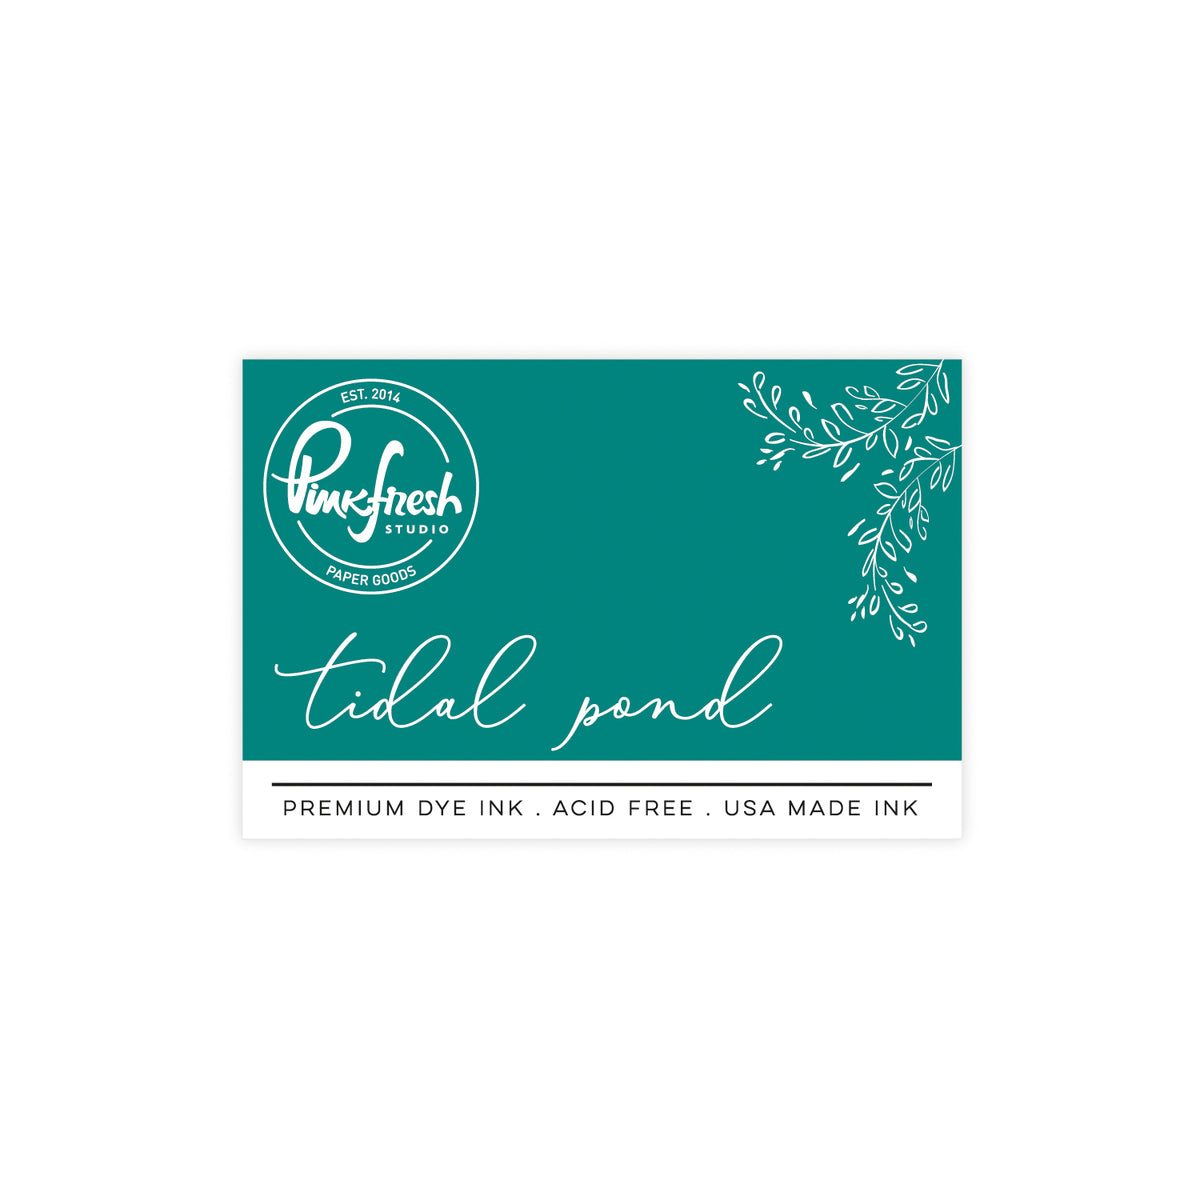
- Ink-blend a thin strip of white cardstock with Tidal Pond ink.
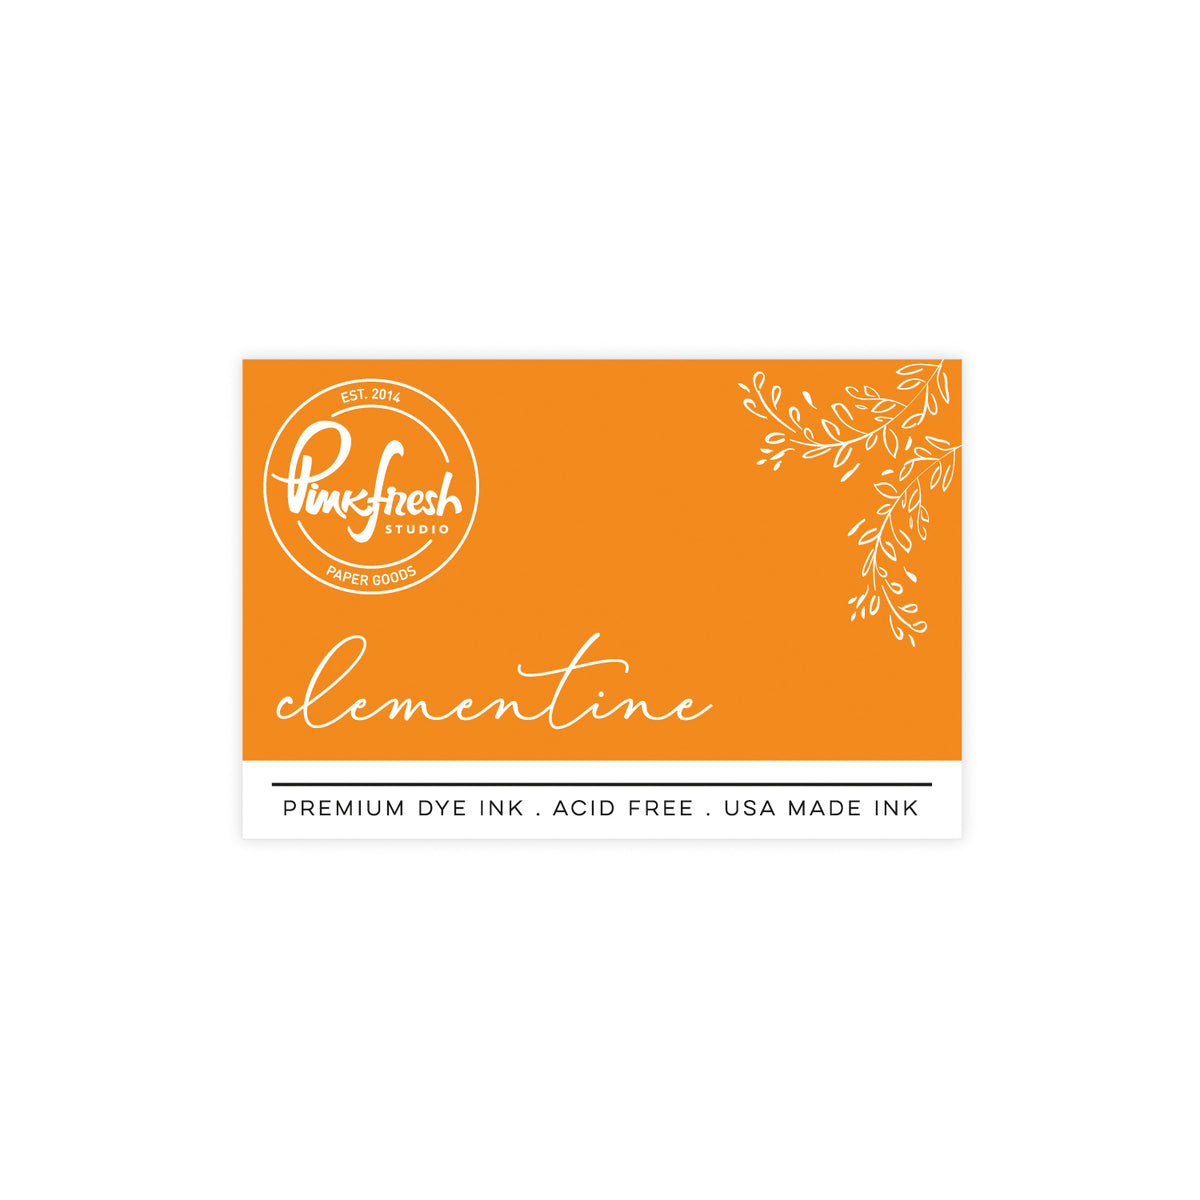
- Ink-blend an A2 panel of white cardstock with Clementine ink for a solid finish.
- Trim the Clementine panel at an angle.
- Adhere the angled Clementine panel to the lower portion of the card front.
- Adhere the dark teal strip above the Clementine panel at an angle, trimming off any excess.
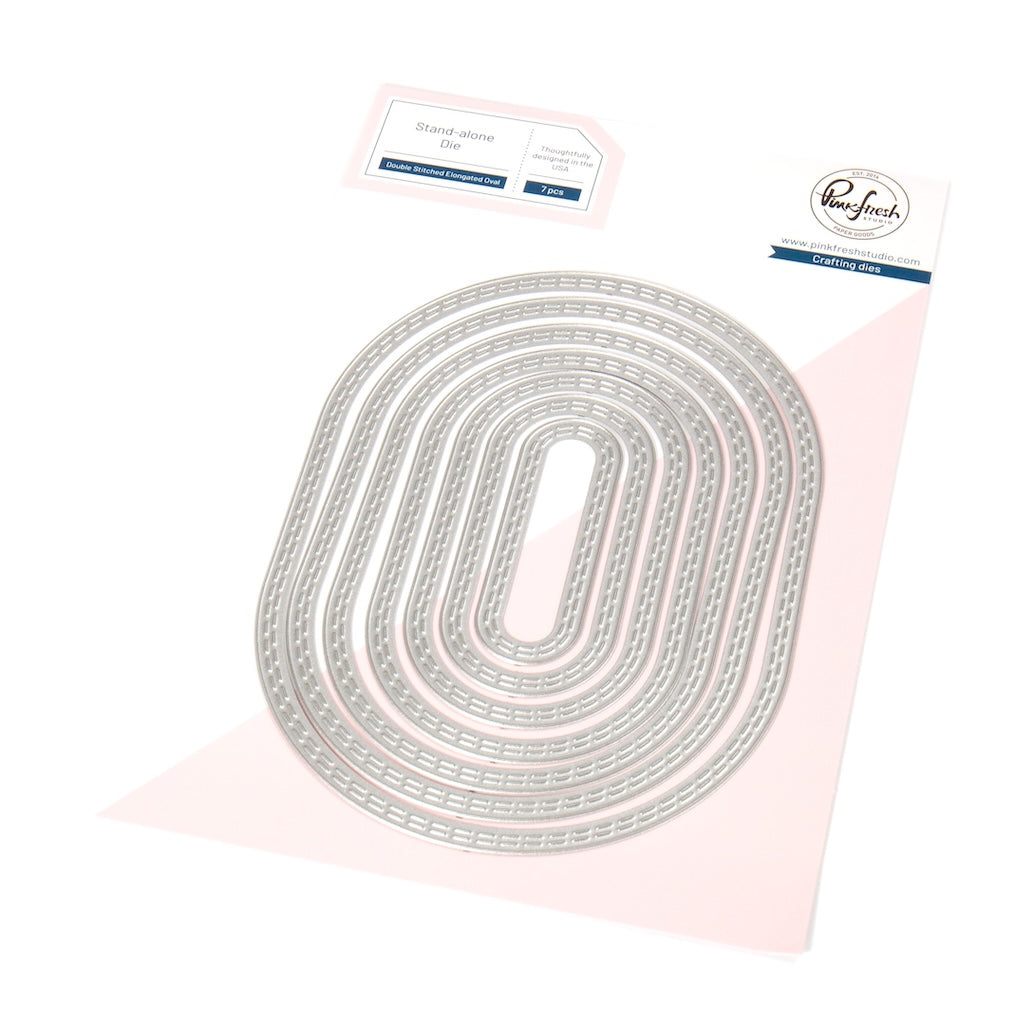
- Die cut the third largest Double-Stitched Elongated Oval from white cardstock.
- Lightly blend Ocean Breeze ink in the upper-right corner of the oval diagonally.
- Stamp the Whispering Daffodils image using Detail Black ink.
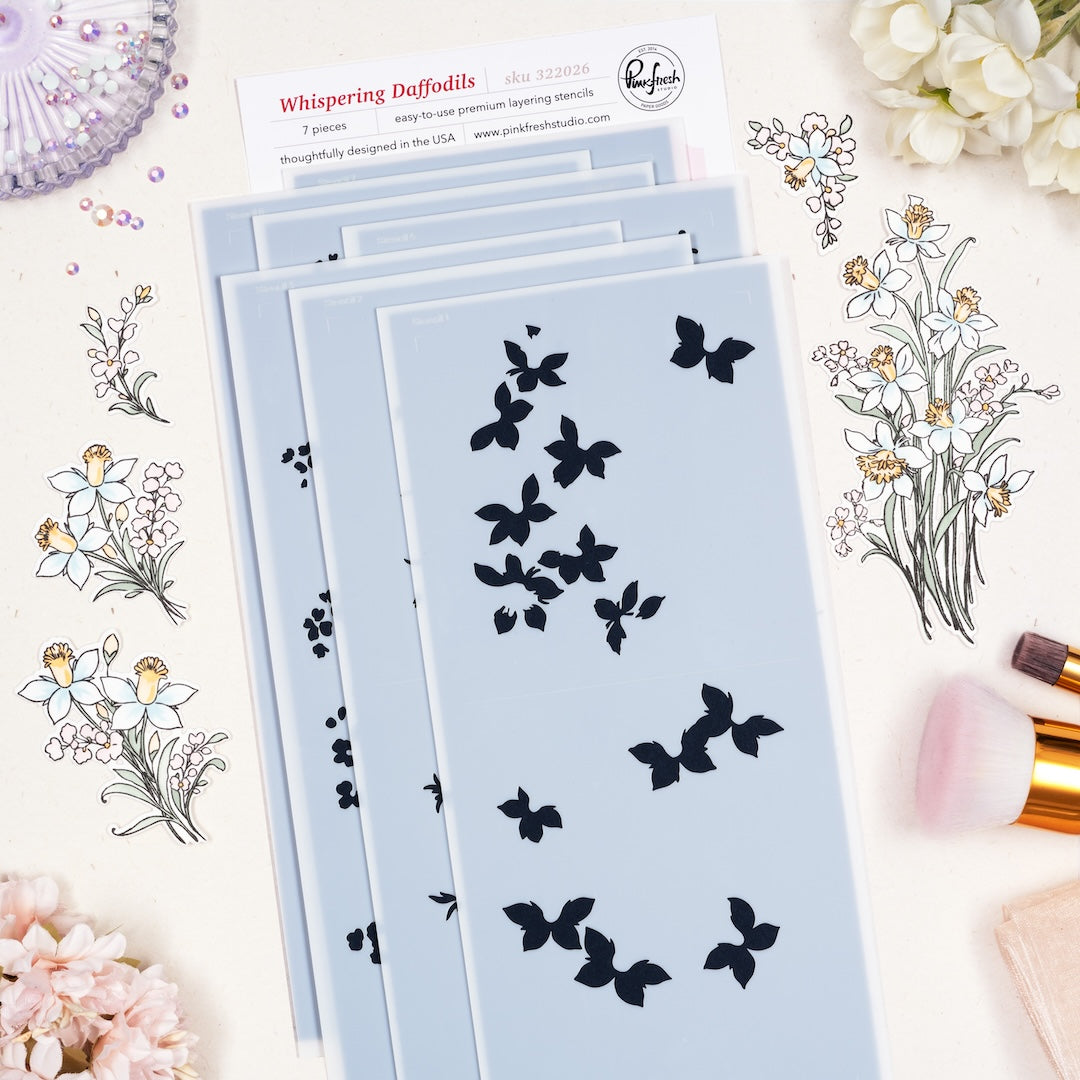
- Stencil the image using the coordinating stencils.
- Stencil 1: Ocean Breeze
- Stencil 2: Ocean Breeze
- Stencil 3: Ocean Breeze, Aquamarine
- Stencil 4: Lemon Whip Marigold, Clementine
- Stencil 5: Clementine
- Stencil 6: Fresh Pear
- Stencil 7: Grassy Knoll, Olive
- Stamp the sentiment using Detail Black ink.
- Die cut the floral image and sentiment using the coordinating dies.
- Die cut one additional blank layer for both the floral image and sentiment.
- Adhere the stamped die cuts to the blank layers for added sturdiness.
- Adhere the floral image to the oval using thick foam tape.
- Adhere the sentiment over the floral image using thin foam tape.
- Adhere the finished oval panel to the card front.
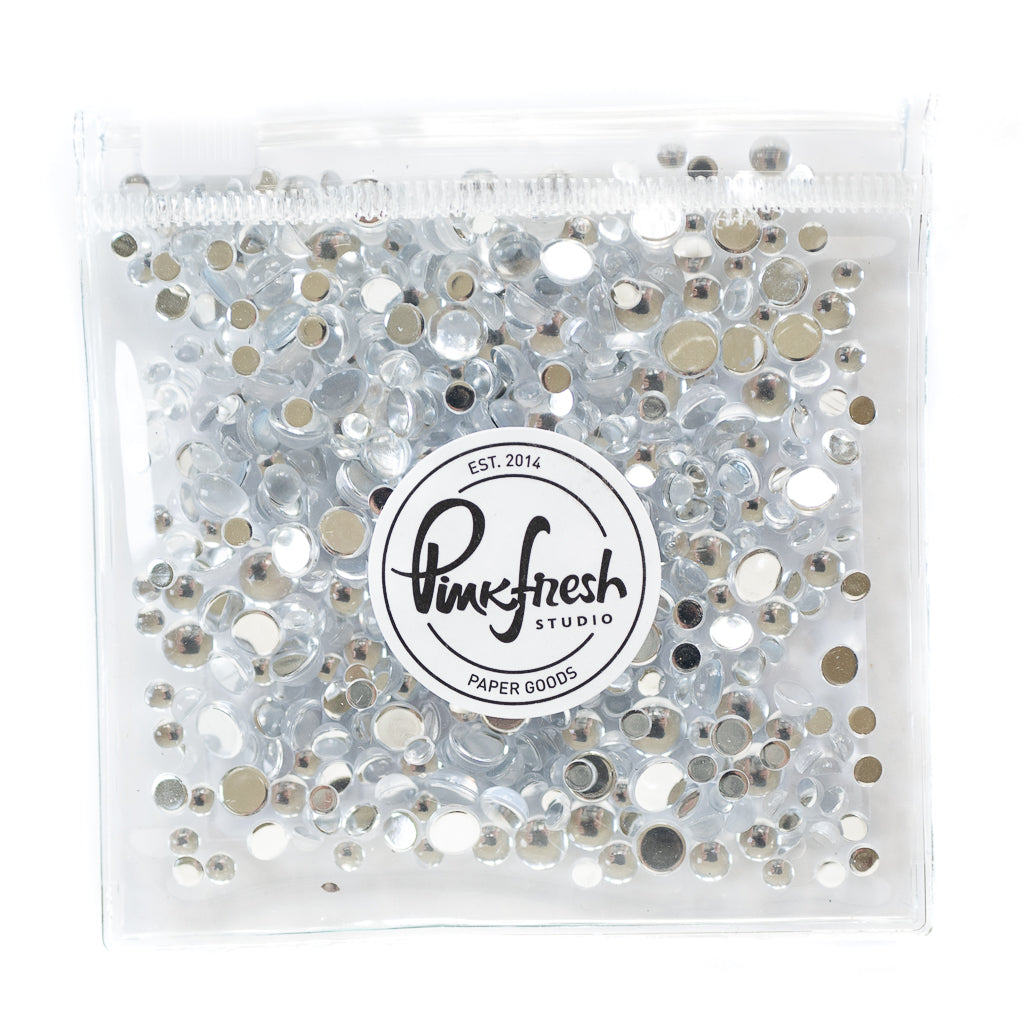
- Finish the card with three clear drops.


I love how this card balances soft floral details with bold color and texture. The delicate line work in the Whispering Daffodils image keeps the design feeling light and elegant, while the angled Clementine and dark teal accents add a fresh, modern edge.
Using dry embossing in the background adds another layer of interest without competing with the focal image, and the lightly ink-blended oval helps soften the transition between the florals and the bold color blocking below. It is a great reminder that even small amounts of bright color can completely change the feel of a floral card.
This is such a fun technique to try when you want your florals to feel a little more graphic, modern, and unexpected.
Watch me make this card on a YouTube Live here:
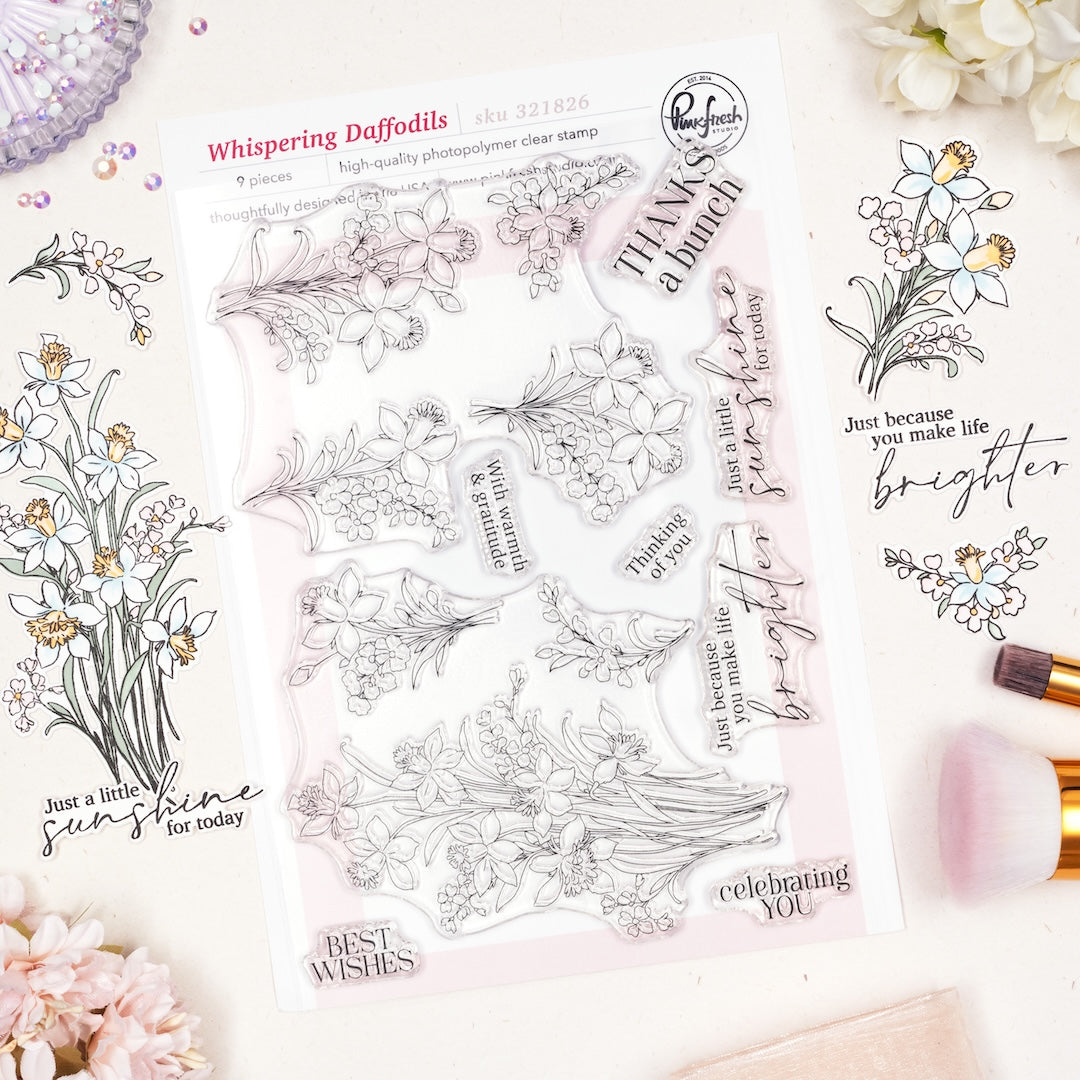
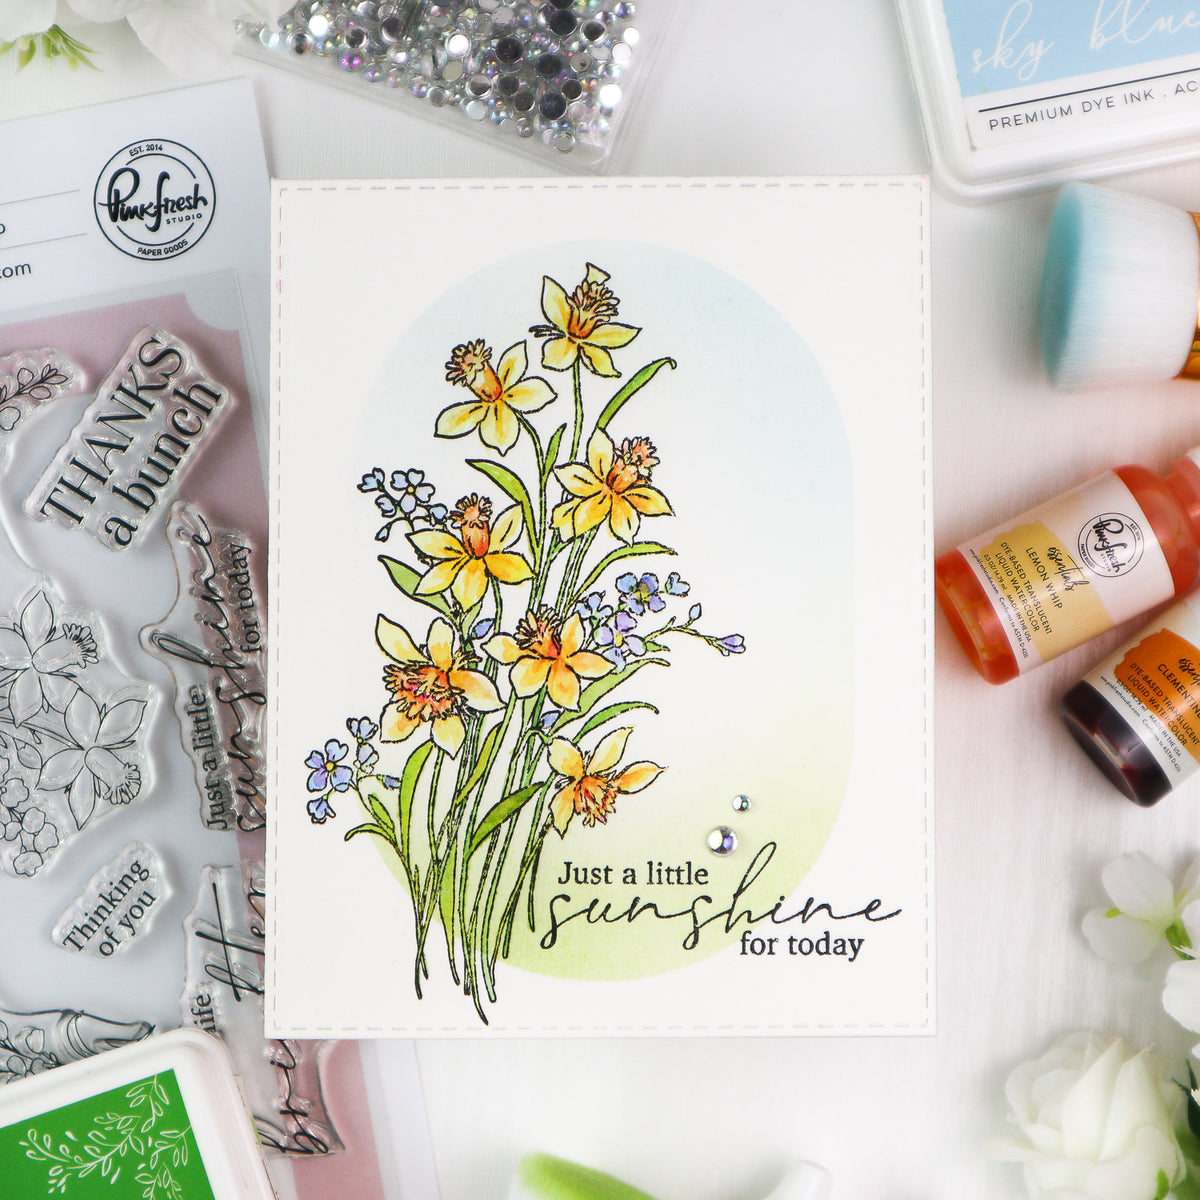
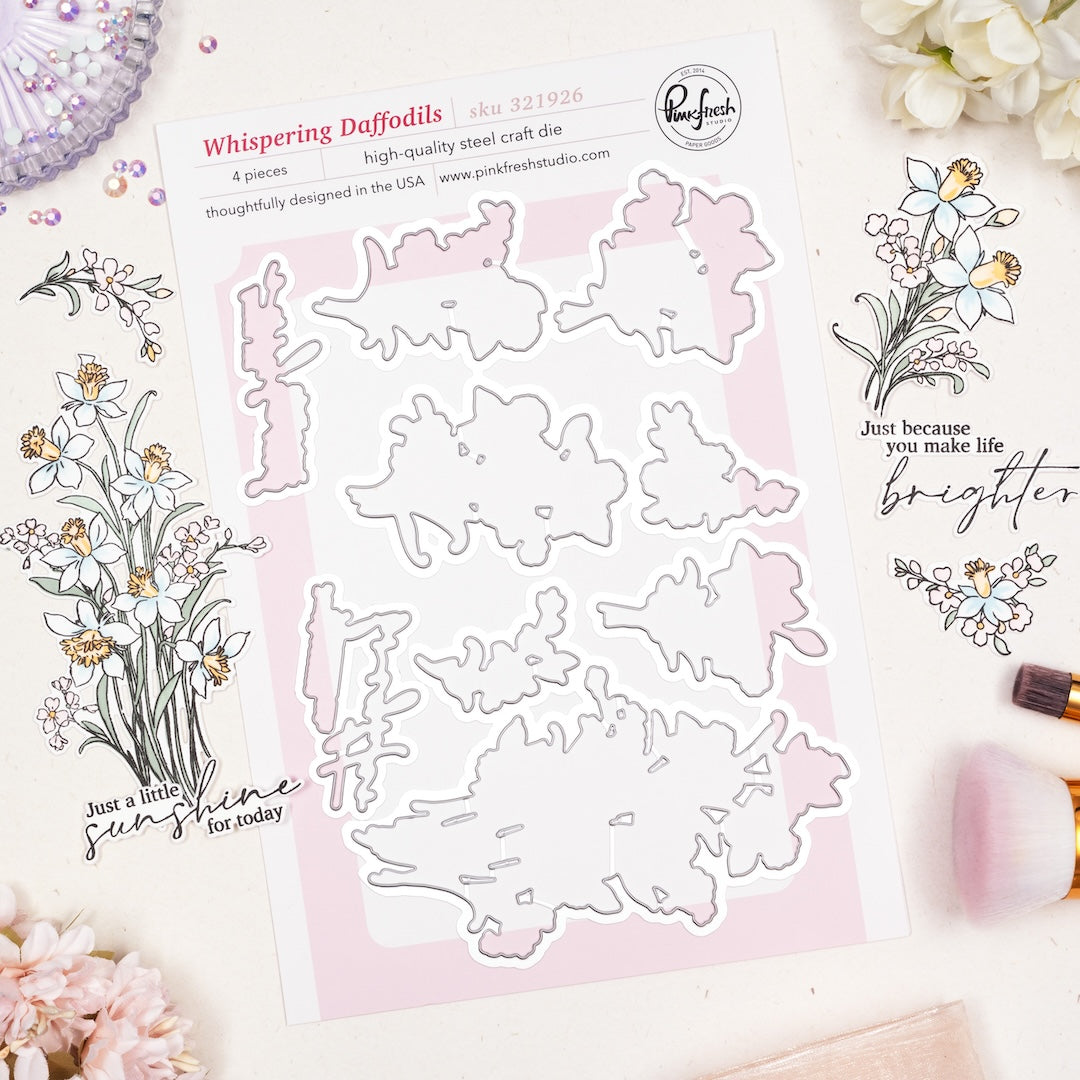
Recommended Products



































1 comment
Tracy
I always love the bold colors you use, Jody! I would never think to pair these together on a floral card but they’re so fun and vibrant.
Leave a comment
All comments are moderated before being published.
This site is protected by hCaptcha and the hCaptcha Privacy Policy and Terms of Service apply.