
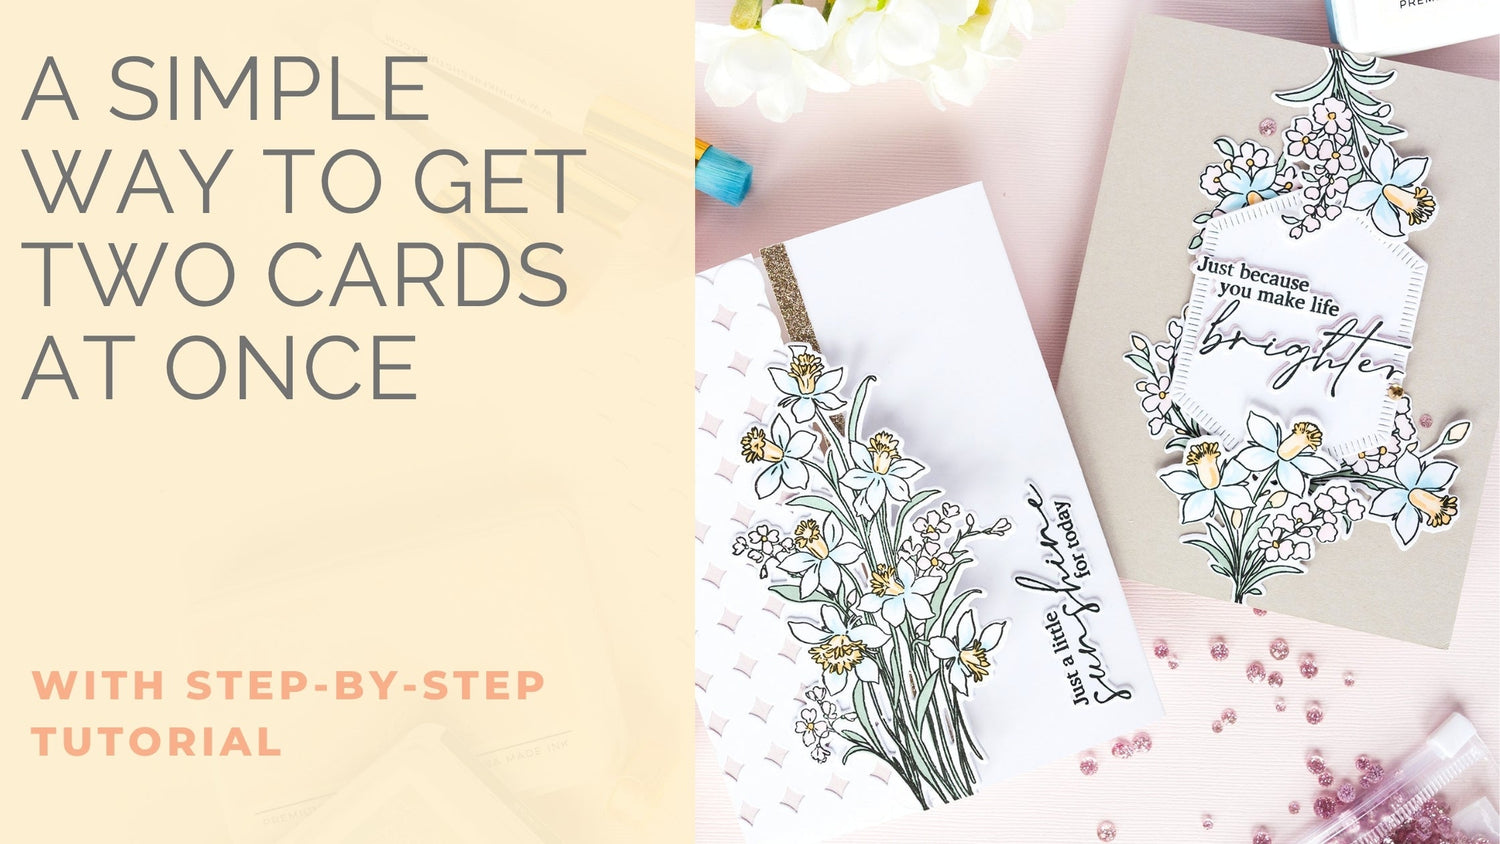
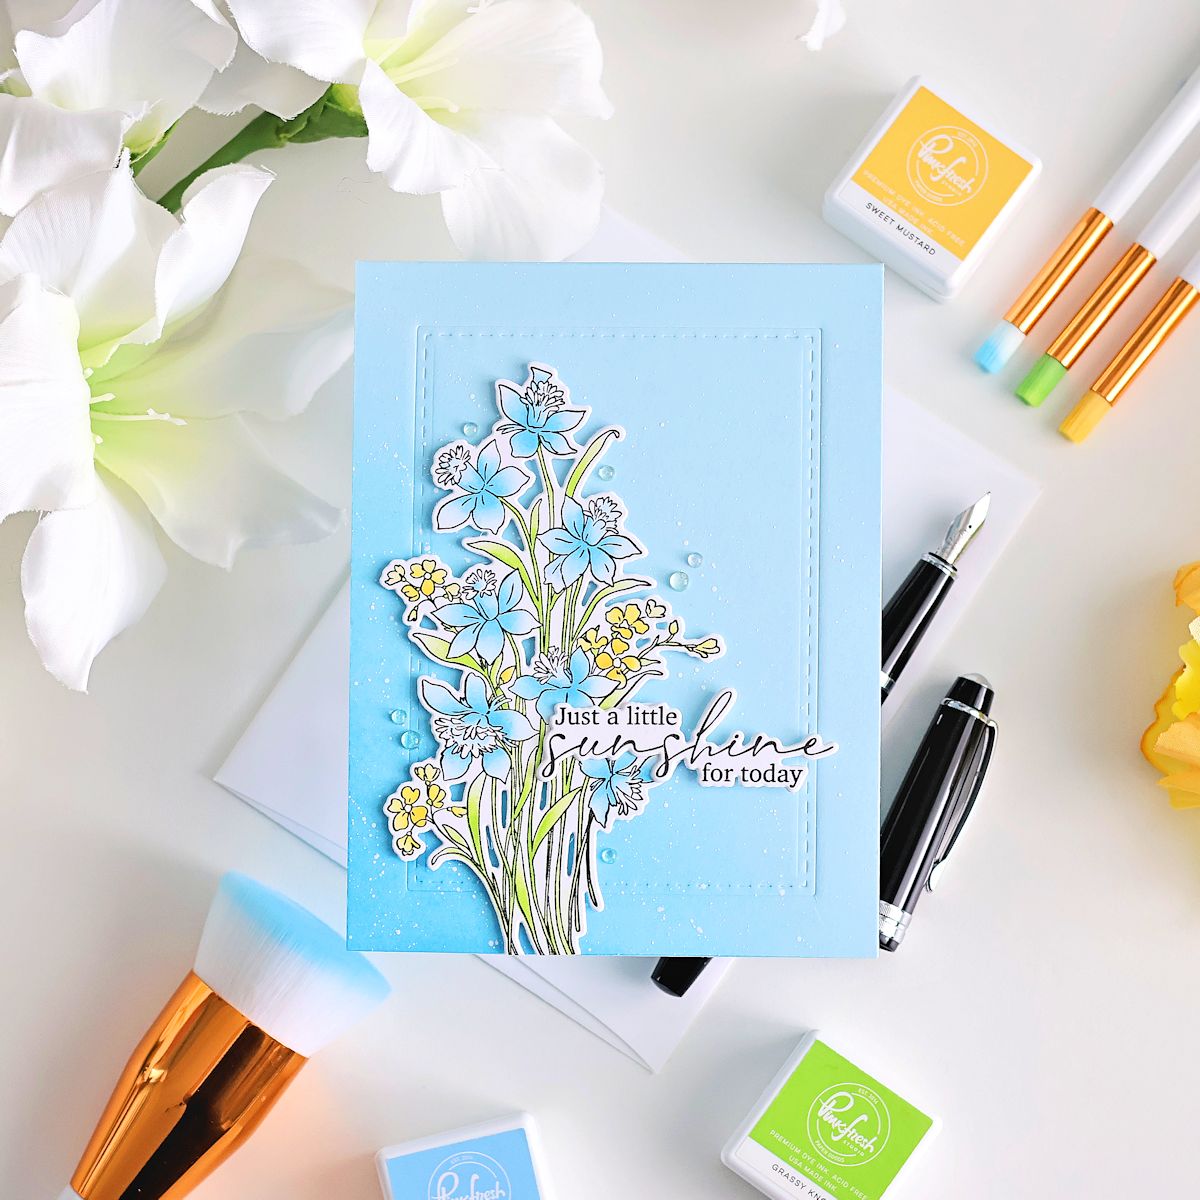
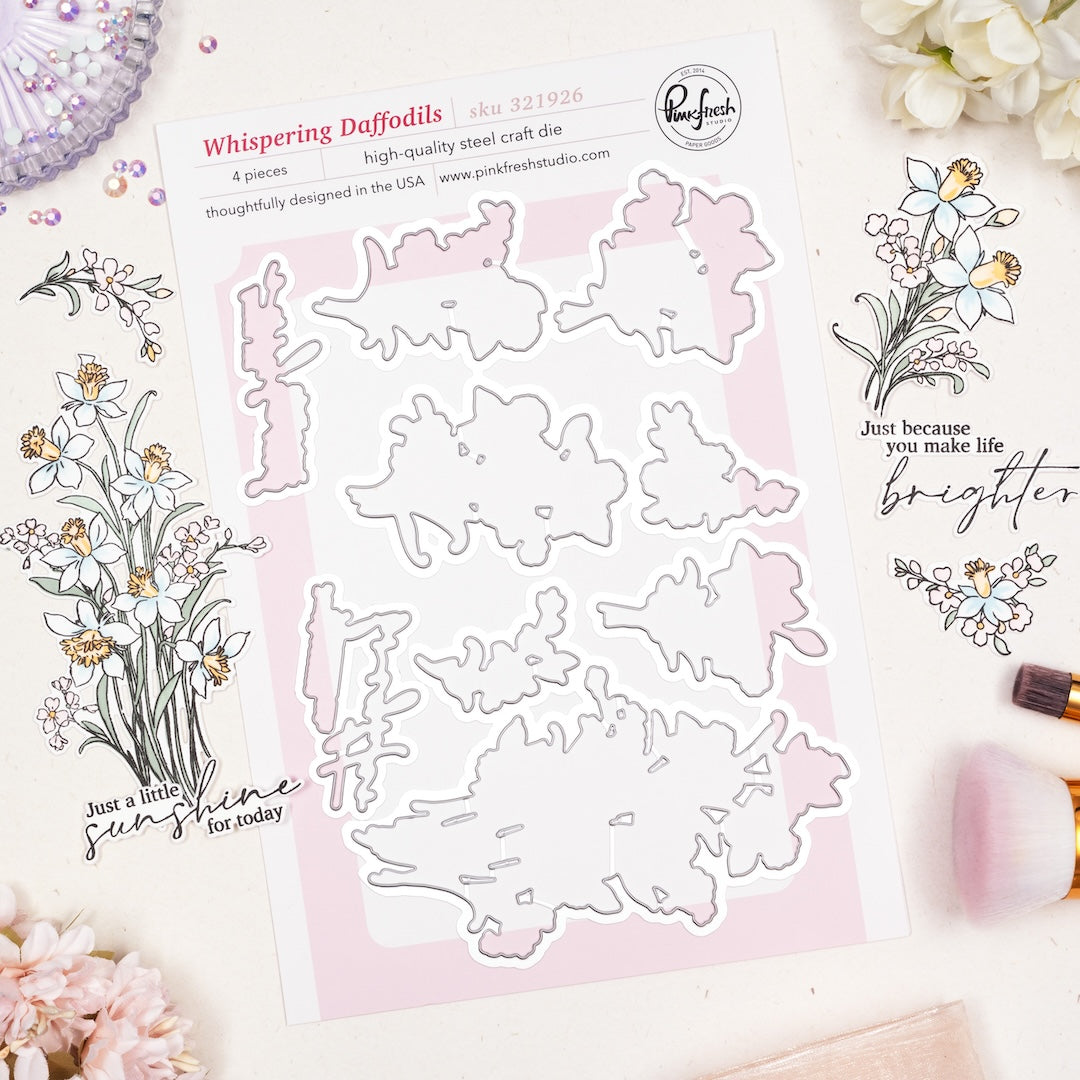
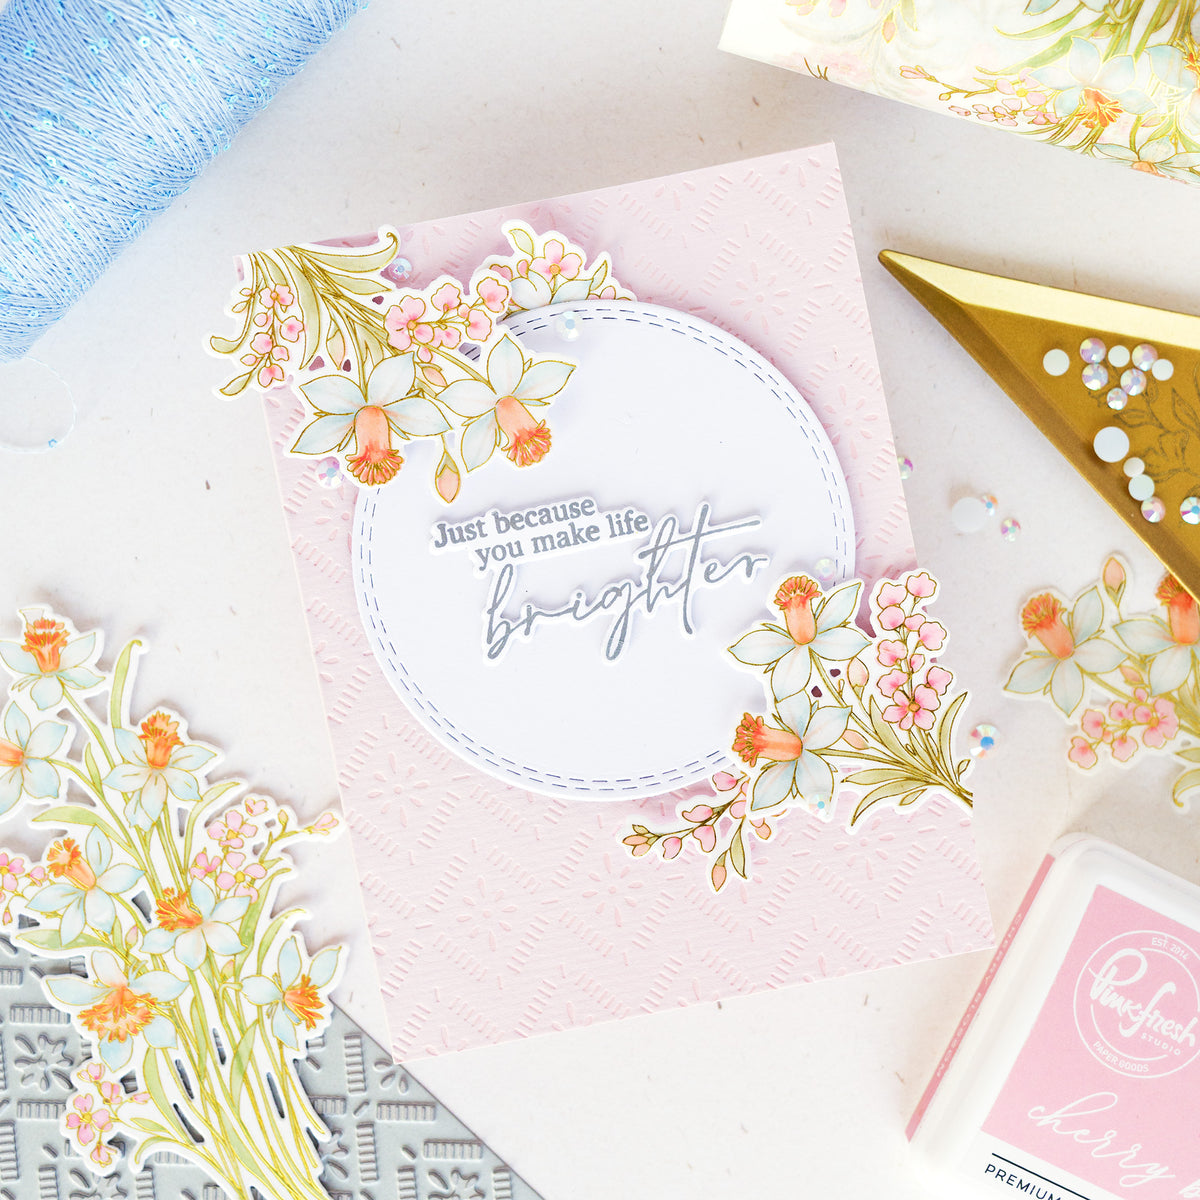
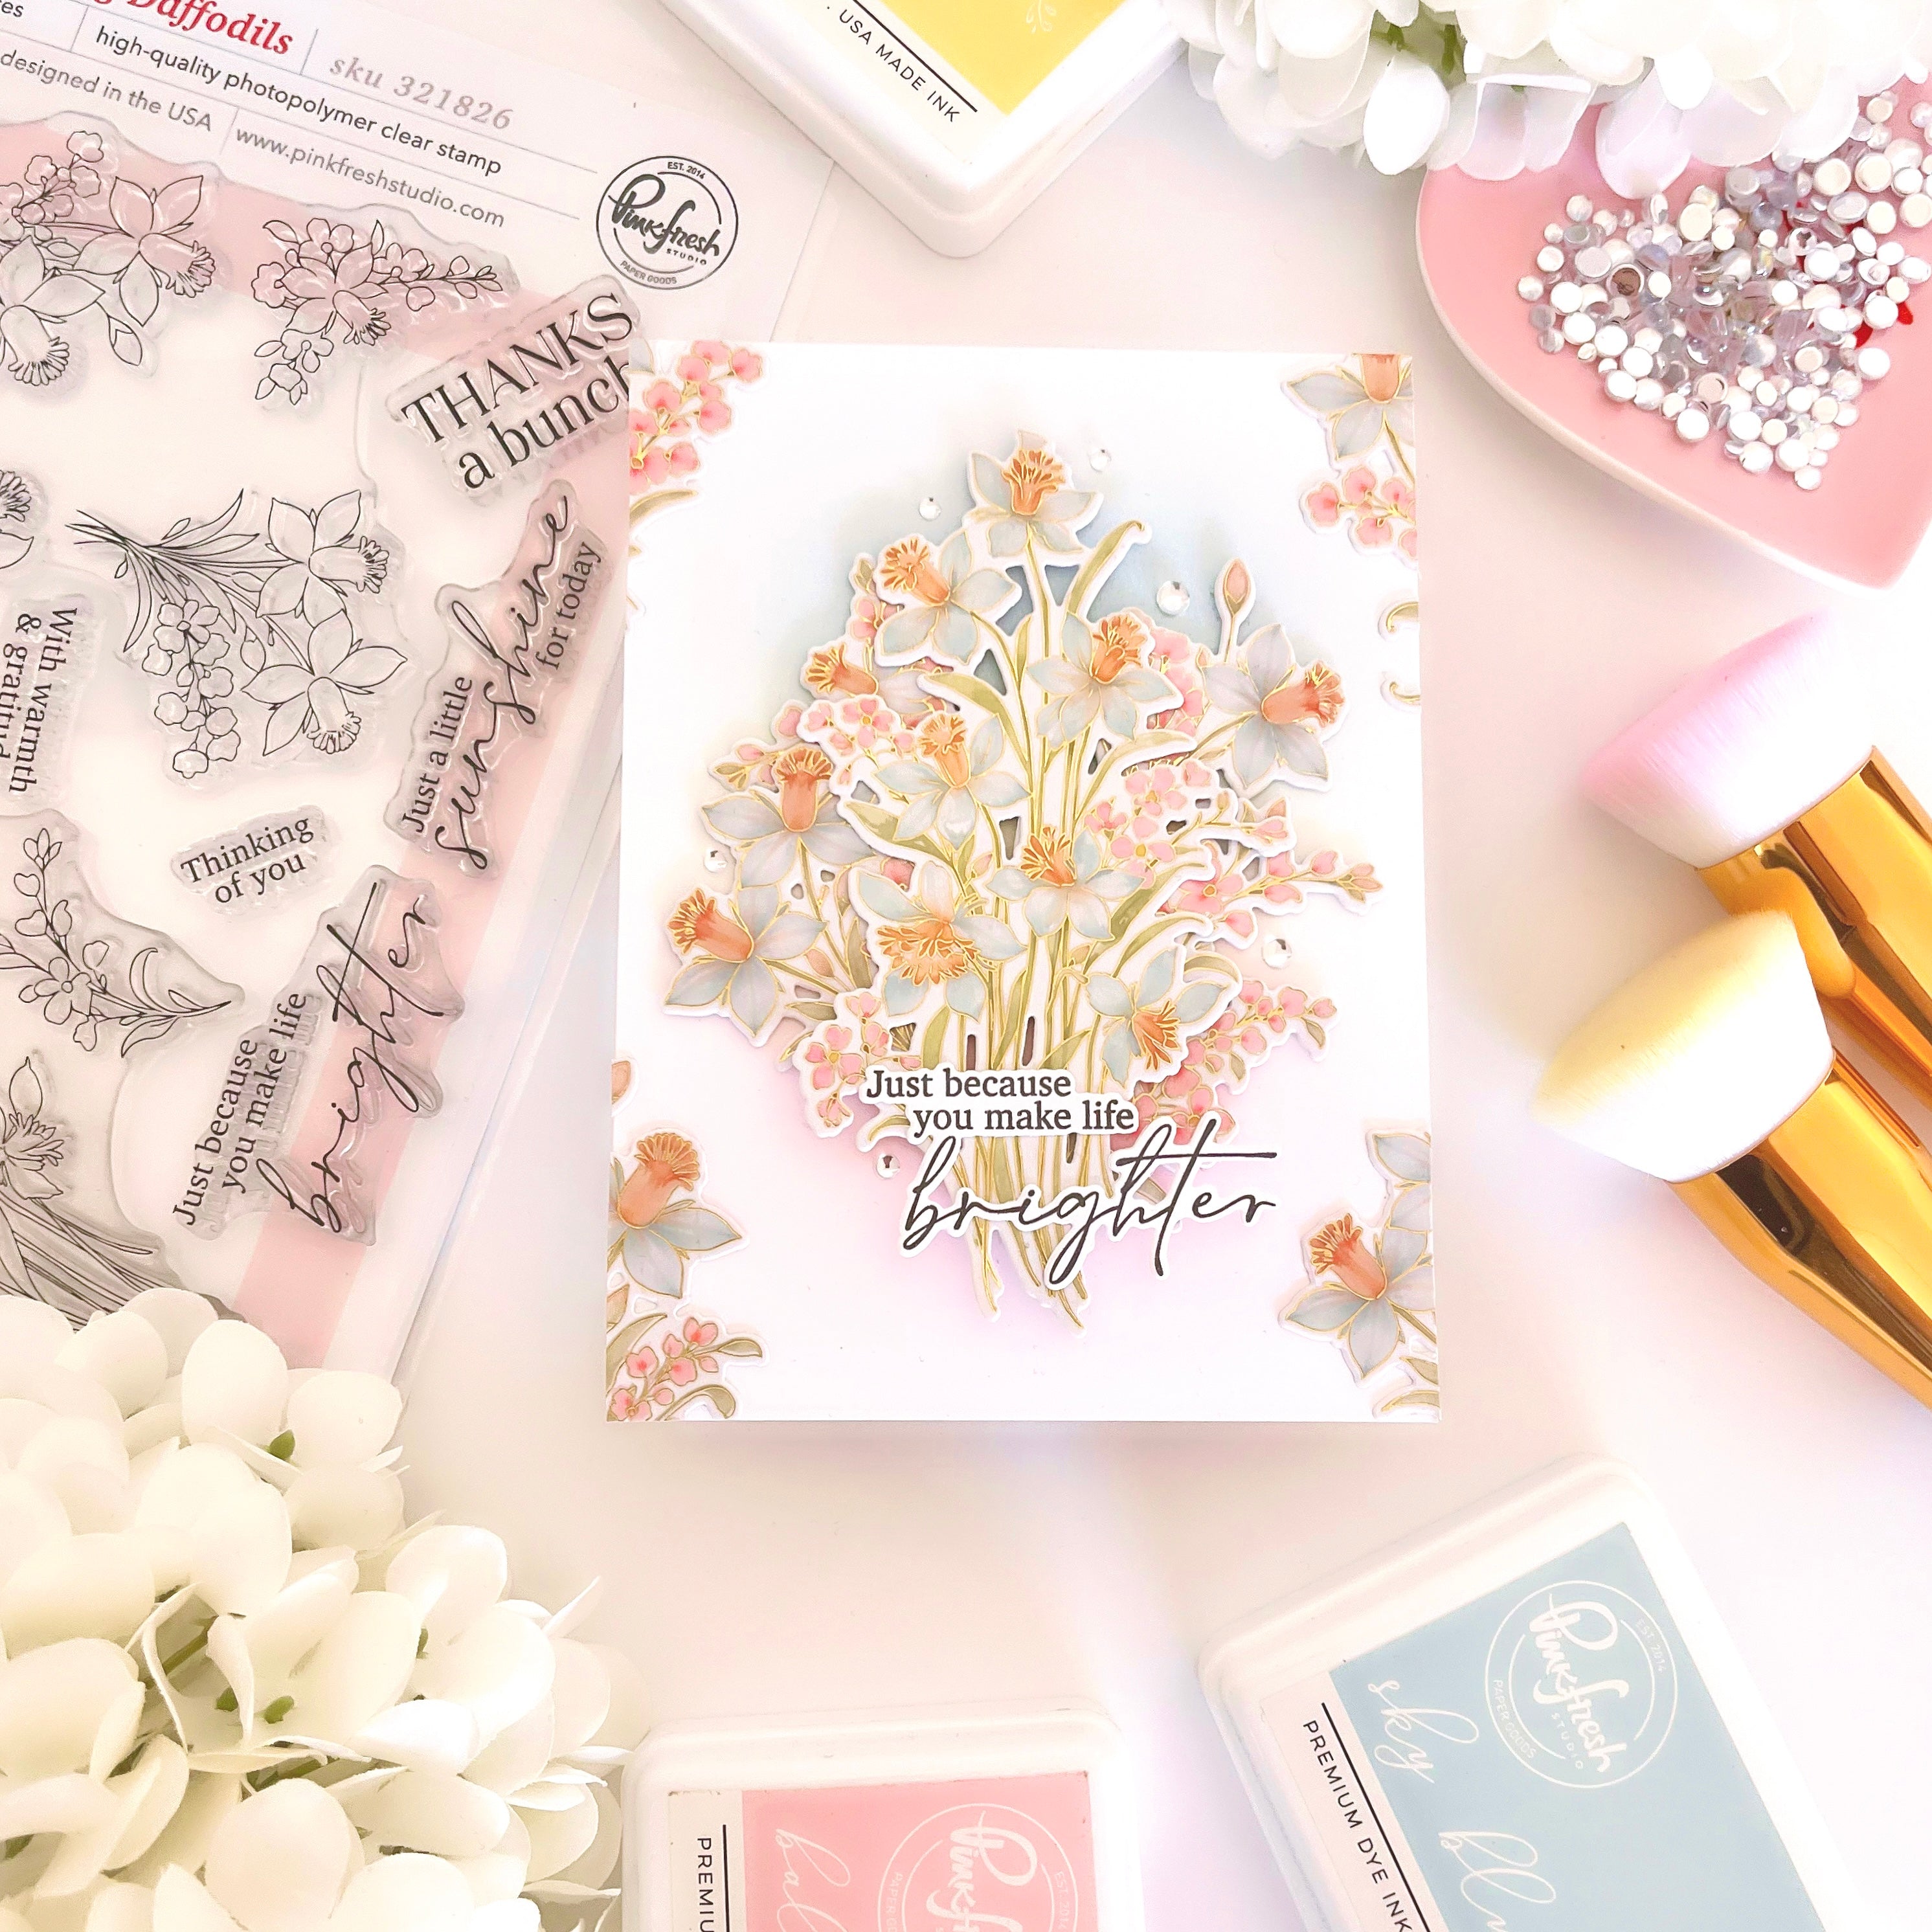
Hi Pinkfresh Studio friends! It’s Kathleen here, and today I’m excited to share not just one, but two cards with you. I’ve been creating with the gorgeous Whispering Daffodils suite, focusing on the stamp set paired with the coordinating stencils rather than the washi.
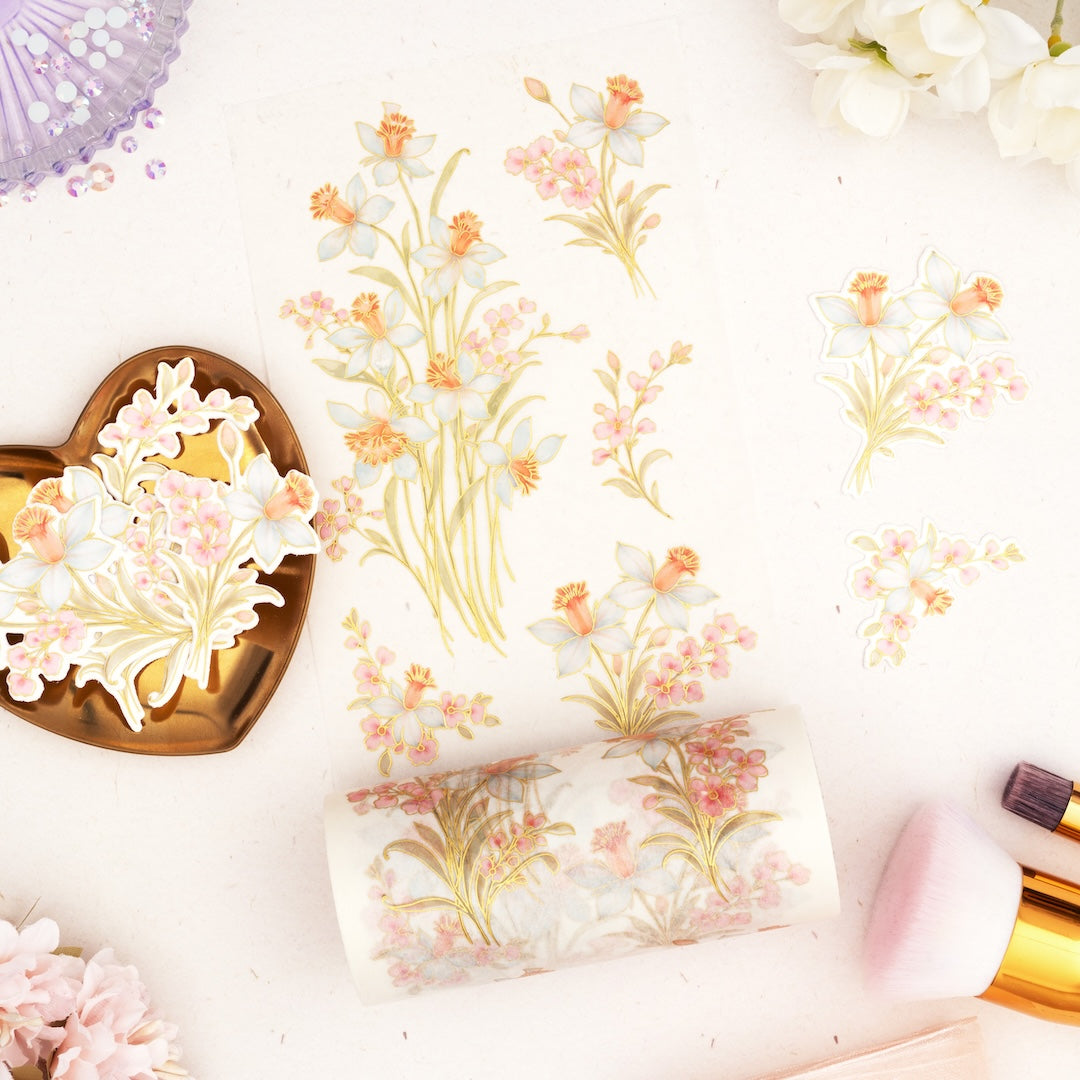
That said, you could easily recreate these designs using the washi instead, making the process even quicker and simpler!
*Disclaimer: All products used are linked below as clickable images. If a product isn’t listed, it’s been discontinued.


Let's take a closer look at how you can recreate these:
-
Preparation for both cards:
- From white cardstock prepare (3) A2 panels and (1) 5 1/2" x 8 1/2" piece.
- From white cardstock prepare (3) A2 panels and (1) 5 1/2" x 8 1/2" piece.
-
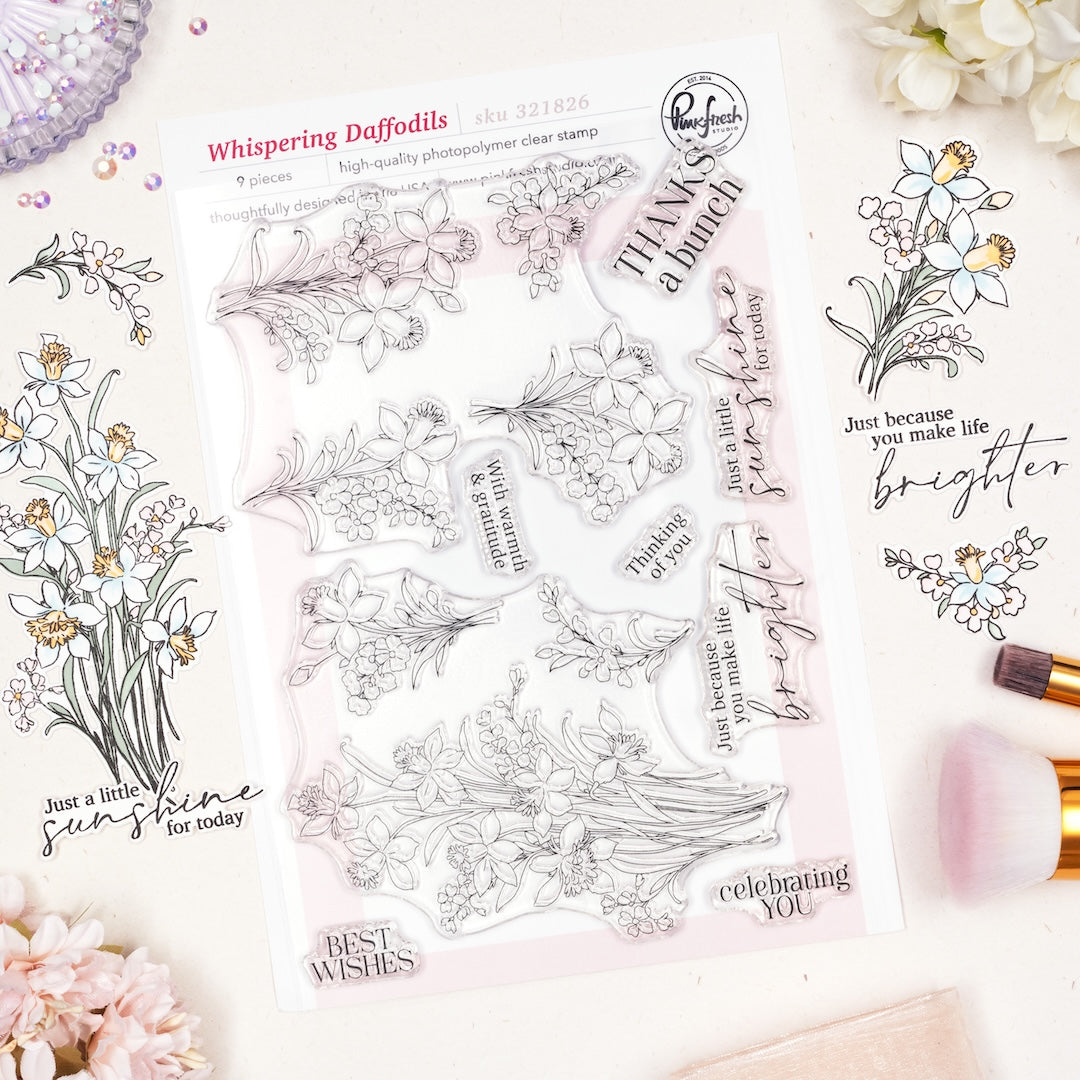
Whispering Daffodils:
- Stamp the Whispering Daffodils image stamps in Detail Black on (2) of the A2 panels. Heat set or let dry completely before ink blending.
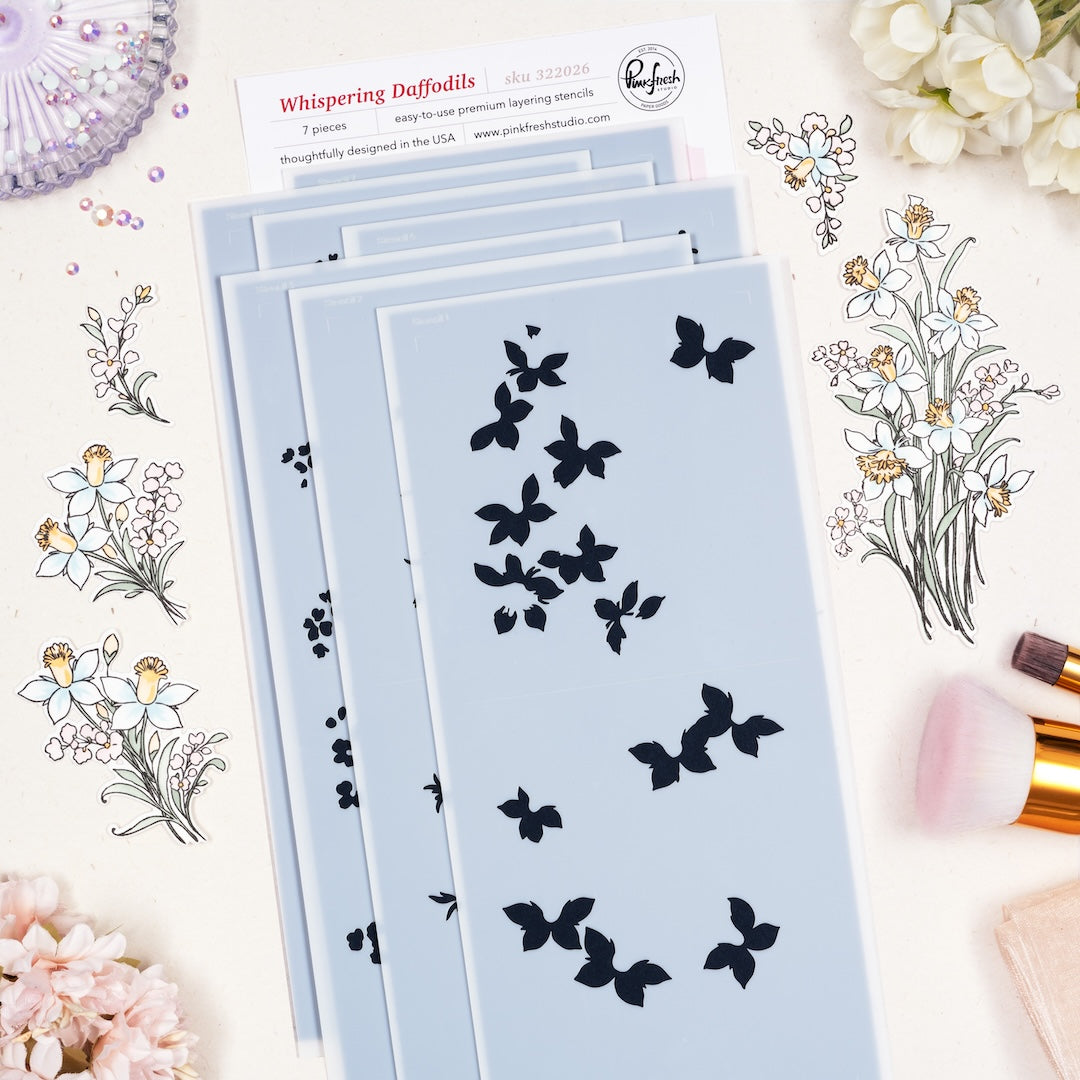
- Ink blend using the coordinating layering stencils:
- Stencils 1 + 2: Sky Blue (fade out to white toward the outer edges)
- Stencil 3: Ballet Slipper
- Stencil 4: Peach Fuzz
- Stencil 5: Apricot
- Stencils 6 + 7: Sage (heavier on stencil 7)
-
Die cut using the coordinating die & set aside
-
Sentiments:
- Stamp two sentiments from Whispering Daffodils in Detail Black.
- Die cut & stack each with (2) blank pieces.
-
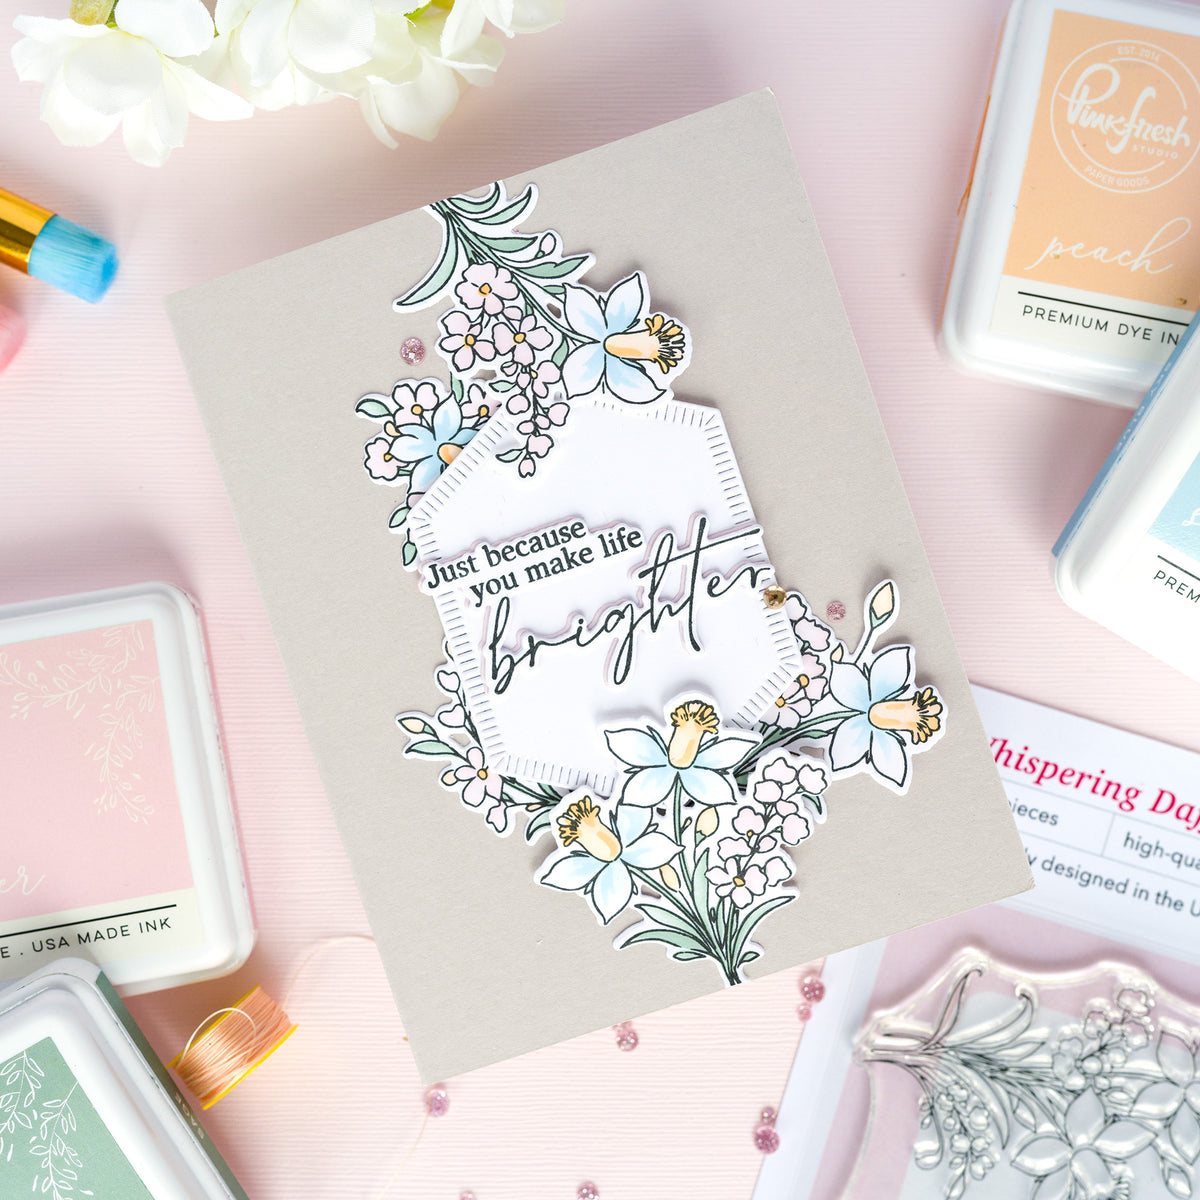
Card 1 (gray card base):
- Cut (1) top or side-folding card base from light gray cardstock. Alternative: Ink blend a white card base with Rocky Slope.
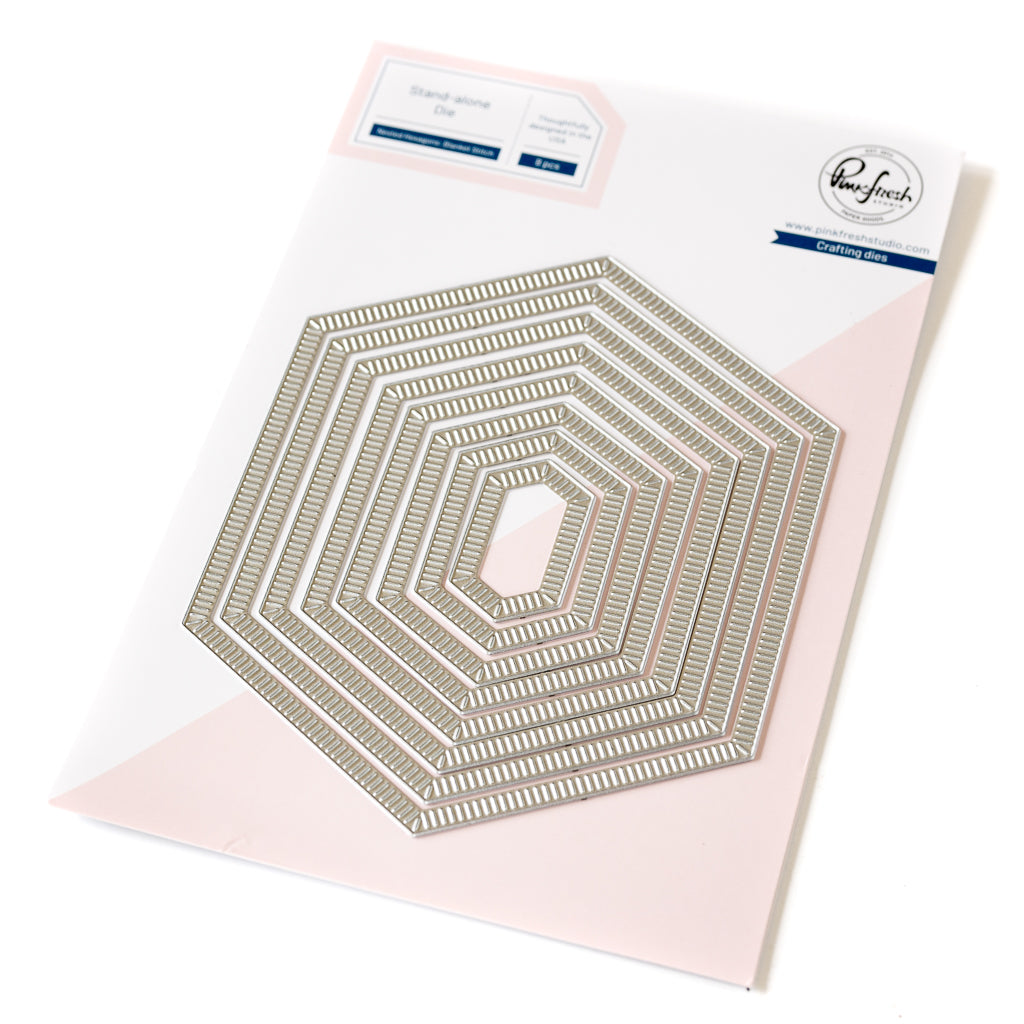
- Die cut the Nested Hexagon: Blanket Stitch die (approx. 2 1/8" x 3") from white cardstock & adhere centered to the card base using foam adhesive.
- Adhere one of the sentiments centered onto the hexagon.
- Arrange some of the floral die cuts above and below, letting them slightly overlap the hexagon for more depth and dimension.
-
Card 2 (gatefold):
- Score the large piece of white cardstock at 2 1/8" from either side along the long side, creating a gatefold card base.
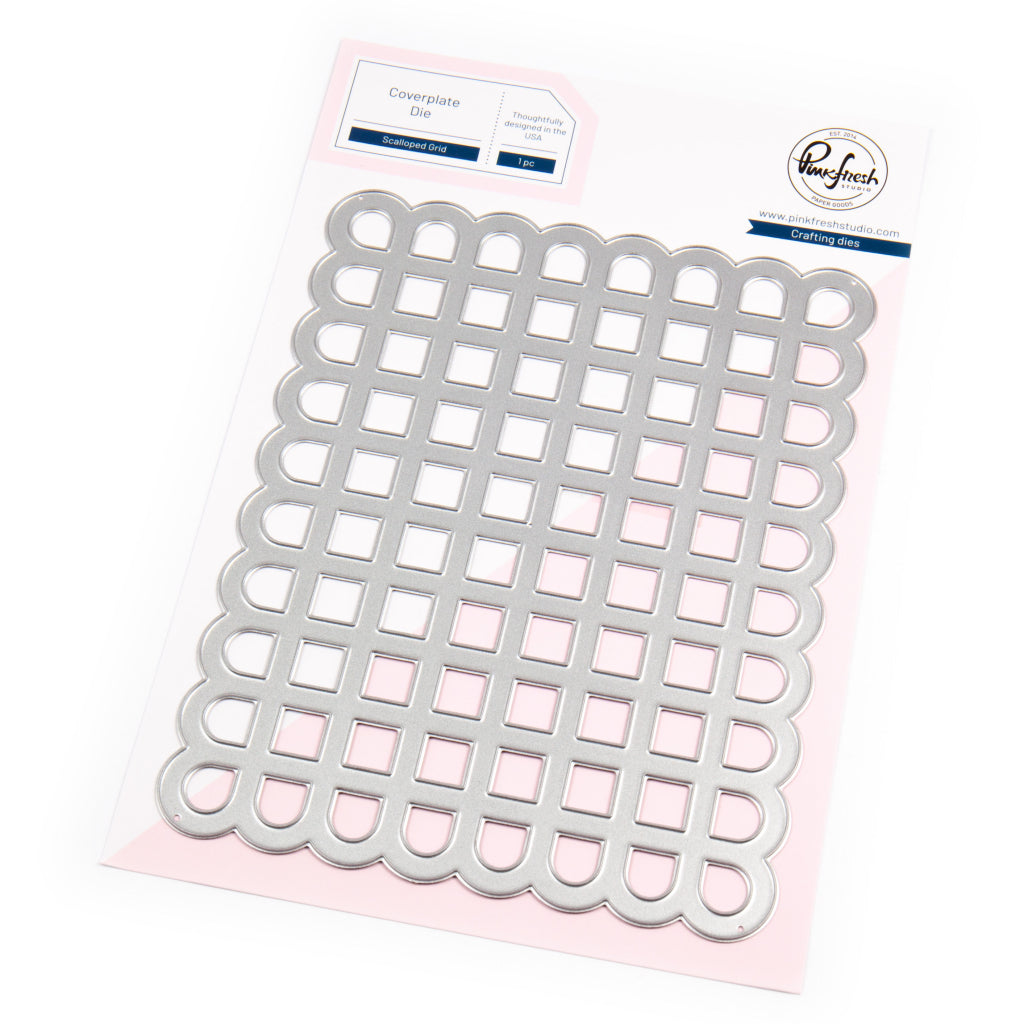
- Cut the third A2 panel in half, then die cut one half with the Scalloped Grid coverplate die & ink blend the other with Ballet Slipper ink.
- Back the die cut piece with the ink blended one & adhere both to the left side of the gatefold.
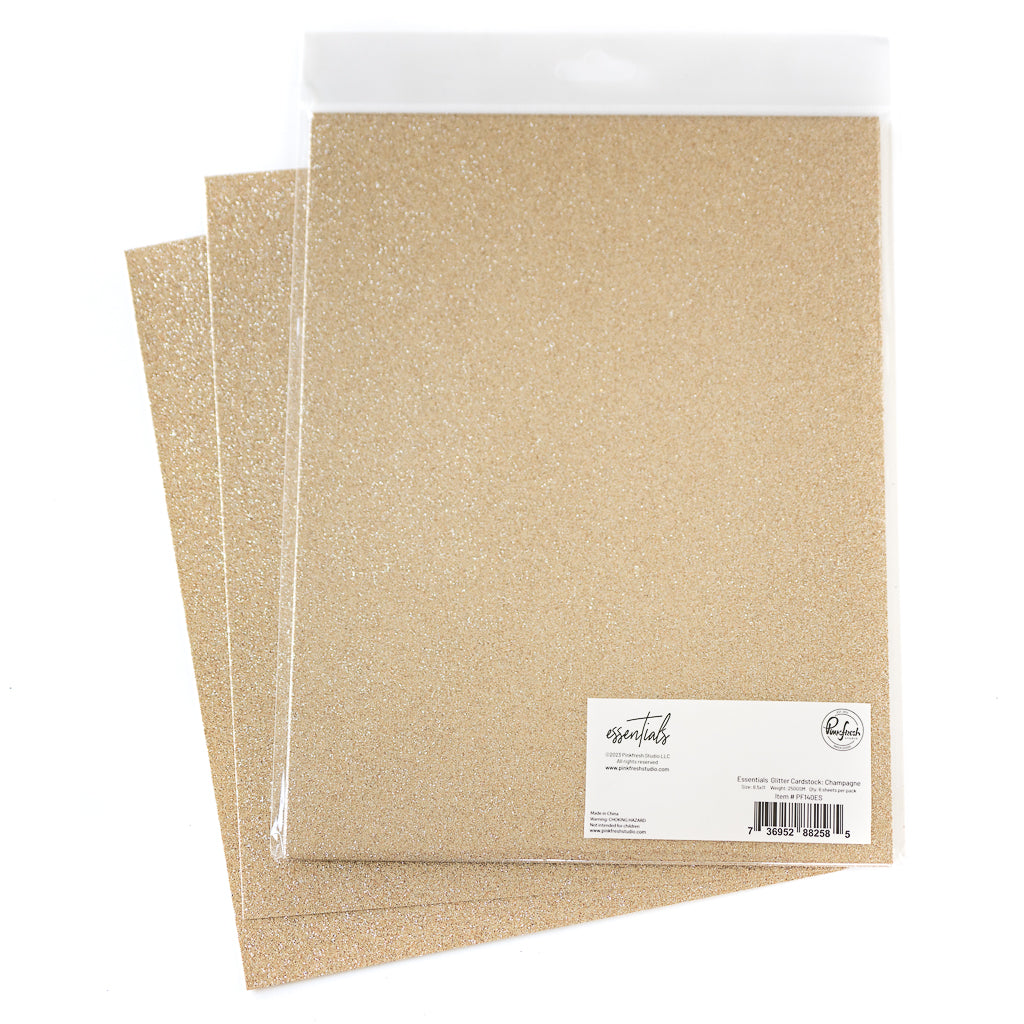
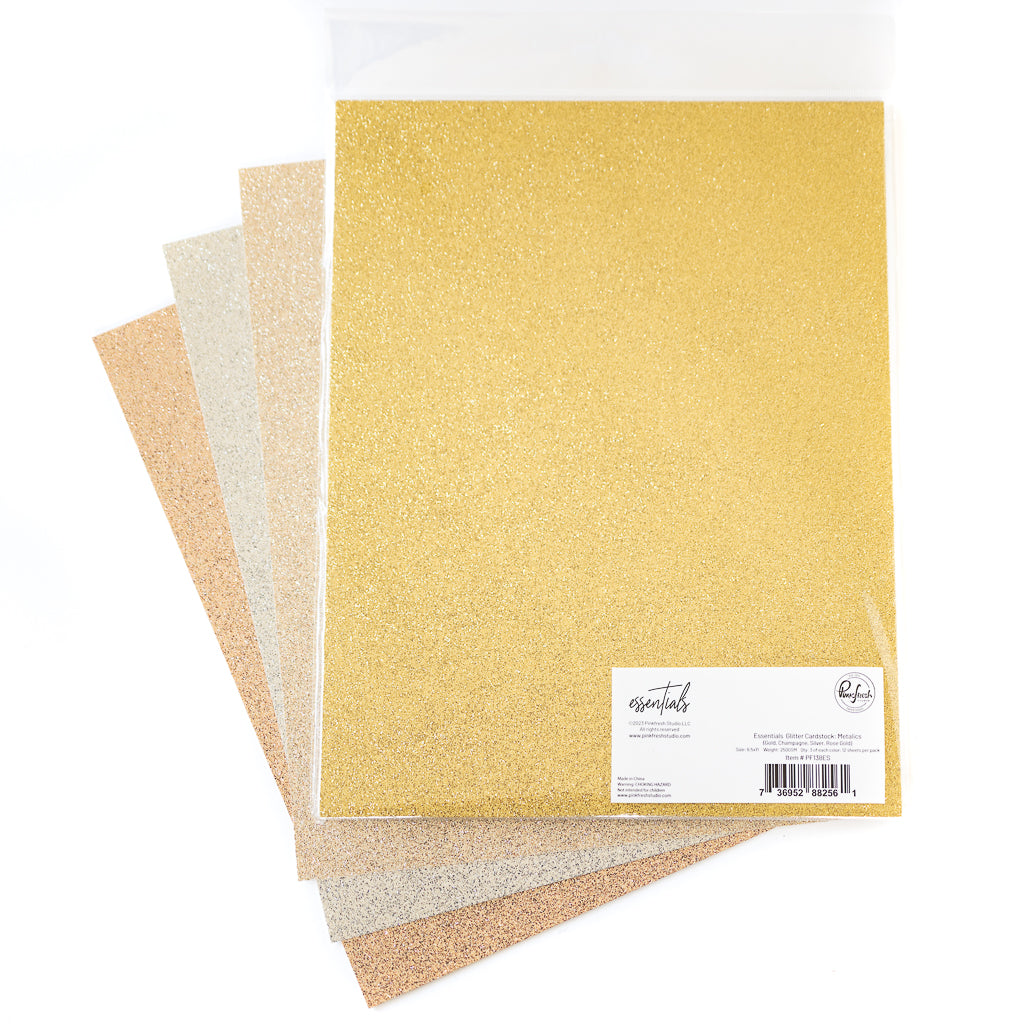
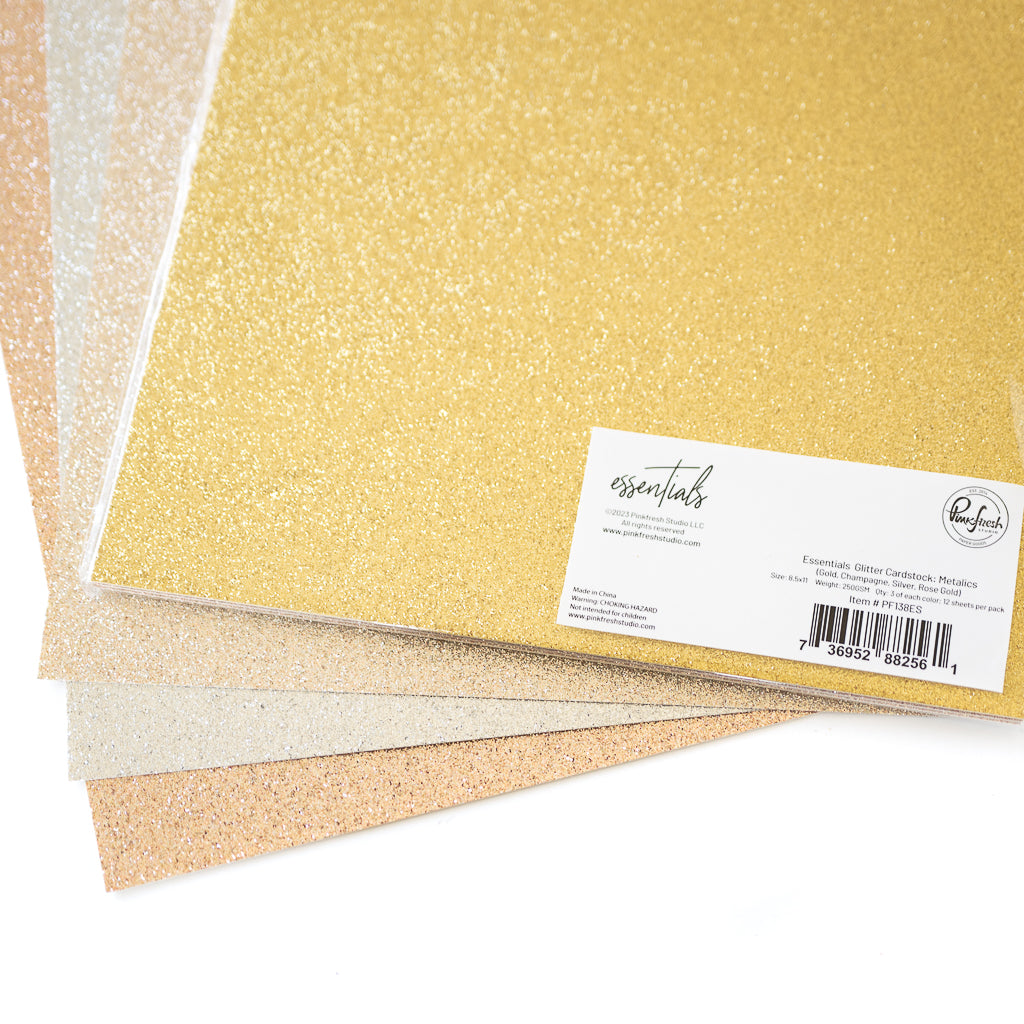
- Cut a strip of Champagne Glitter Cardstock to 1/4" x 5 1/2" & adhere to the right side of the gatefold along the center edge.
- Adhere the sentiment vertically to the right side.
-
Adhere the tall Whispering Daffodils cluster to the left side.
Tip: Stack it with 1 or 2 blank die cuts for more sturdiness.
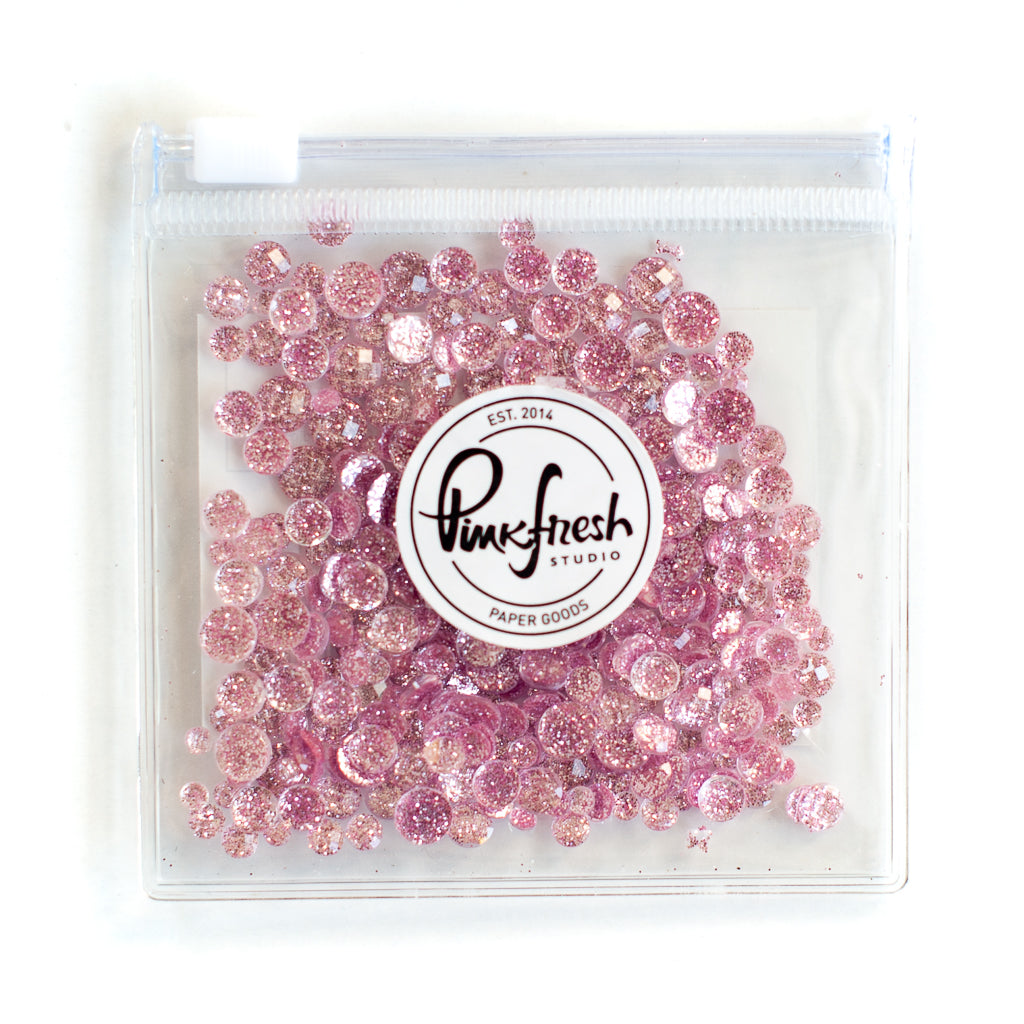
- Embellish to your liking using Glitter Drops in Blush or other color-coordinated gems/jewels/drops.
For these cards, I stayed close to the color inspiration shown on the back of the packaging, but you can easily switch things up and use any color palette you love.

I hope these cards inspire you and I’d absolutely love to see what you create! Don’t forget to tag us on social media (@pinkfreshstudio and @cardsandconfetti) so we can admire your amazing work.
Thanks so much for stopping by today!
Recommended Products










































1 comment
Tracy
Gorgeous cards!! I love that stripe of glitter cardstock you added to the white one. Just lovely.
Leave a comment
All comments are moderated before being published.
This site is protected by hCaptcha and the hCaptcha Privacy Policy and Terms of Service apply.