
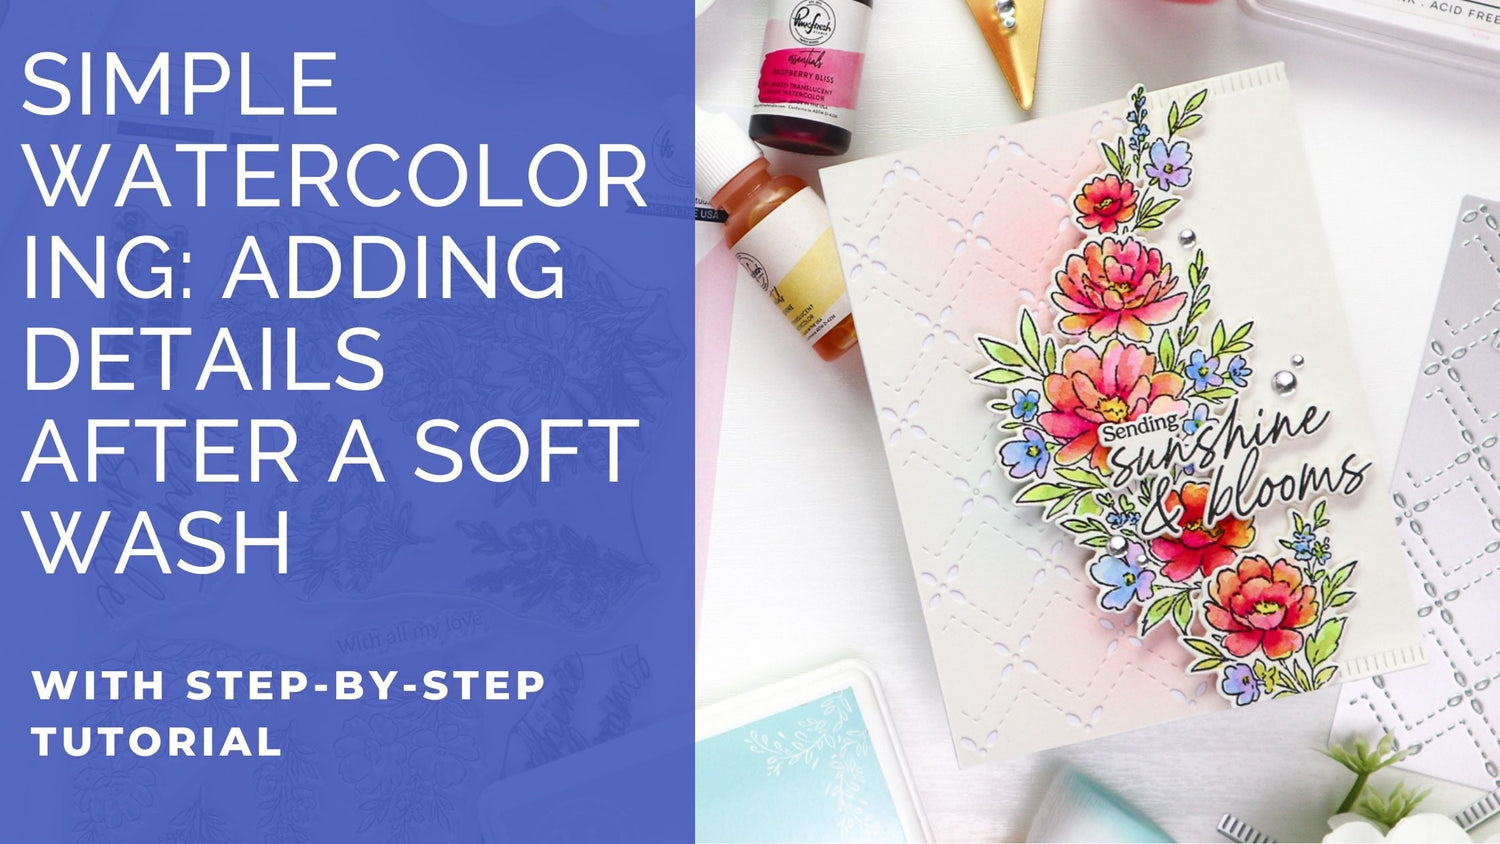
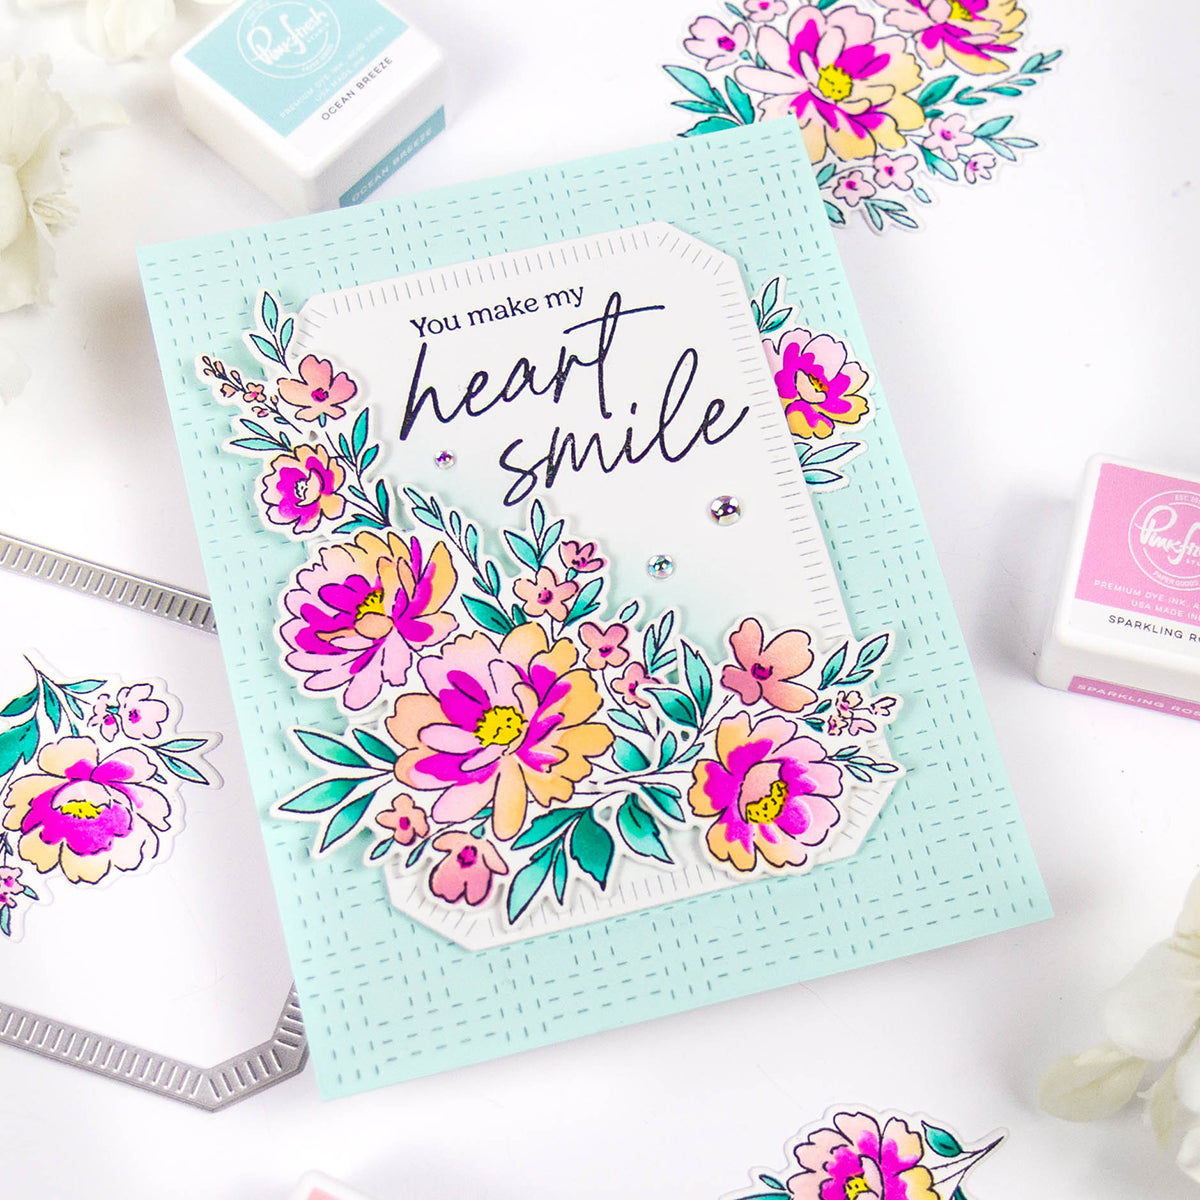
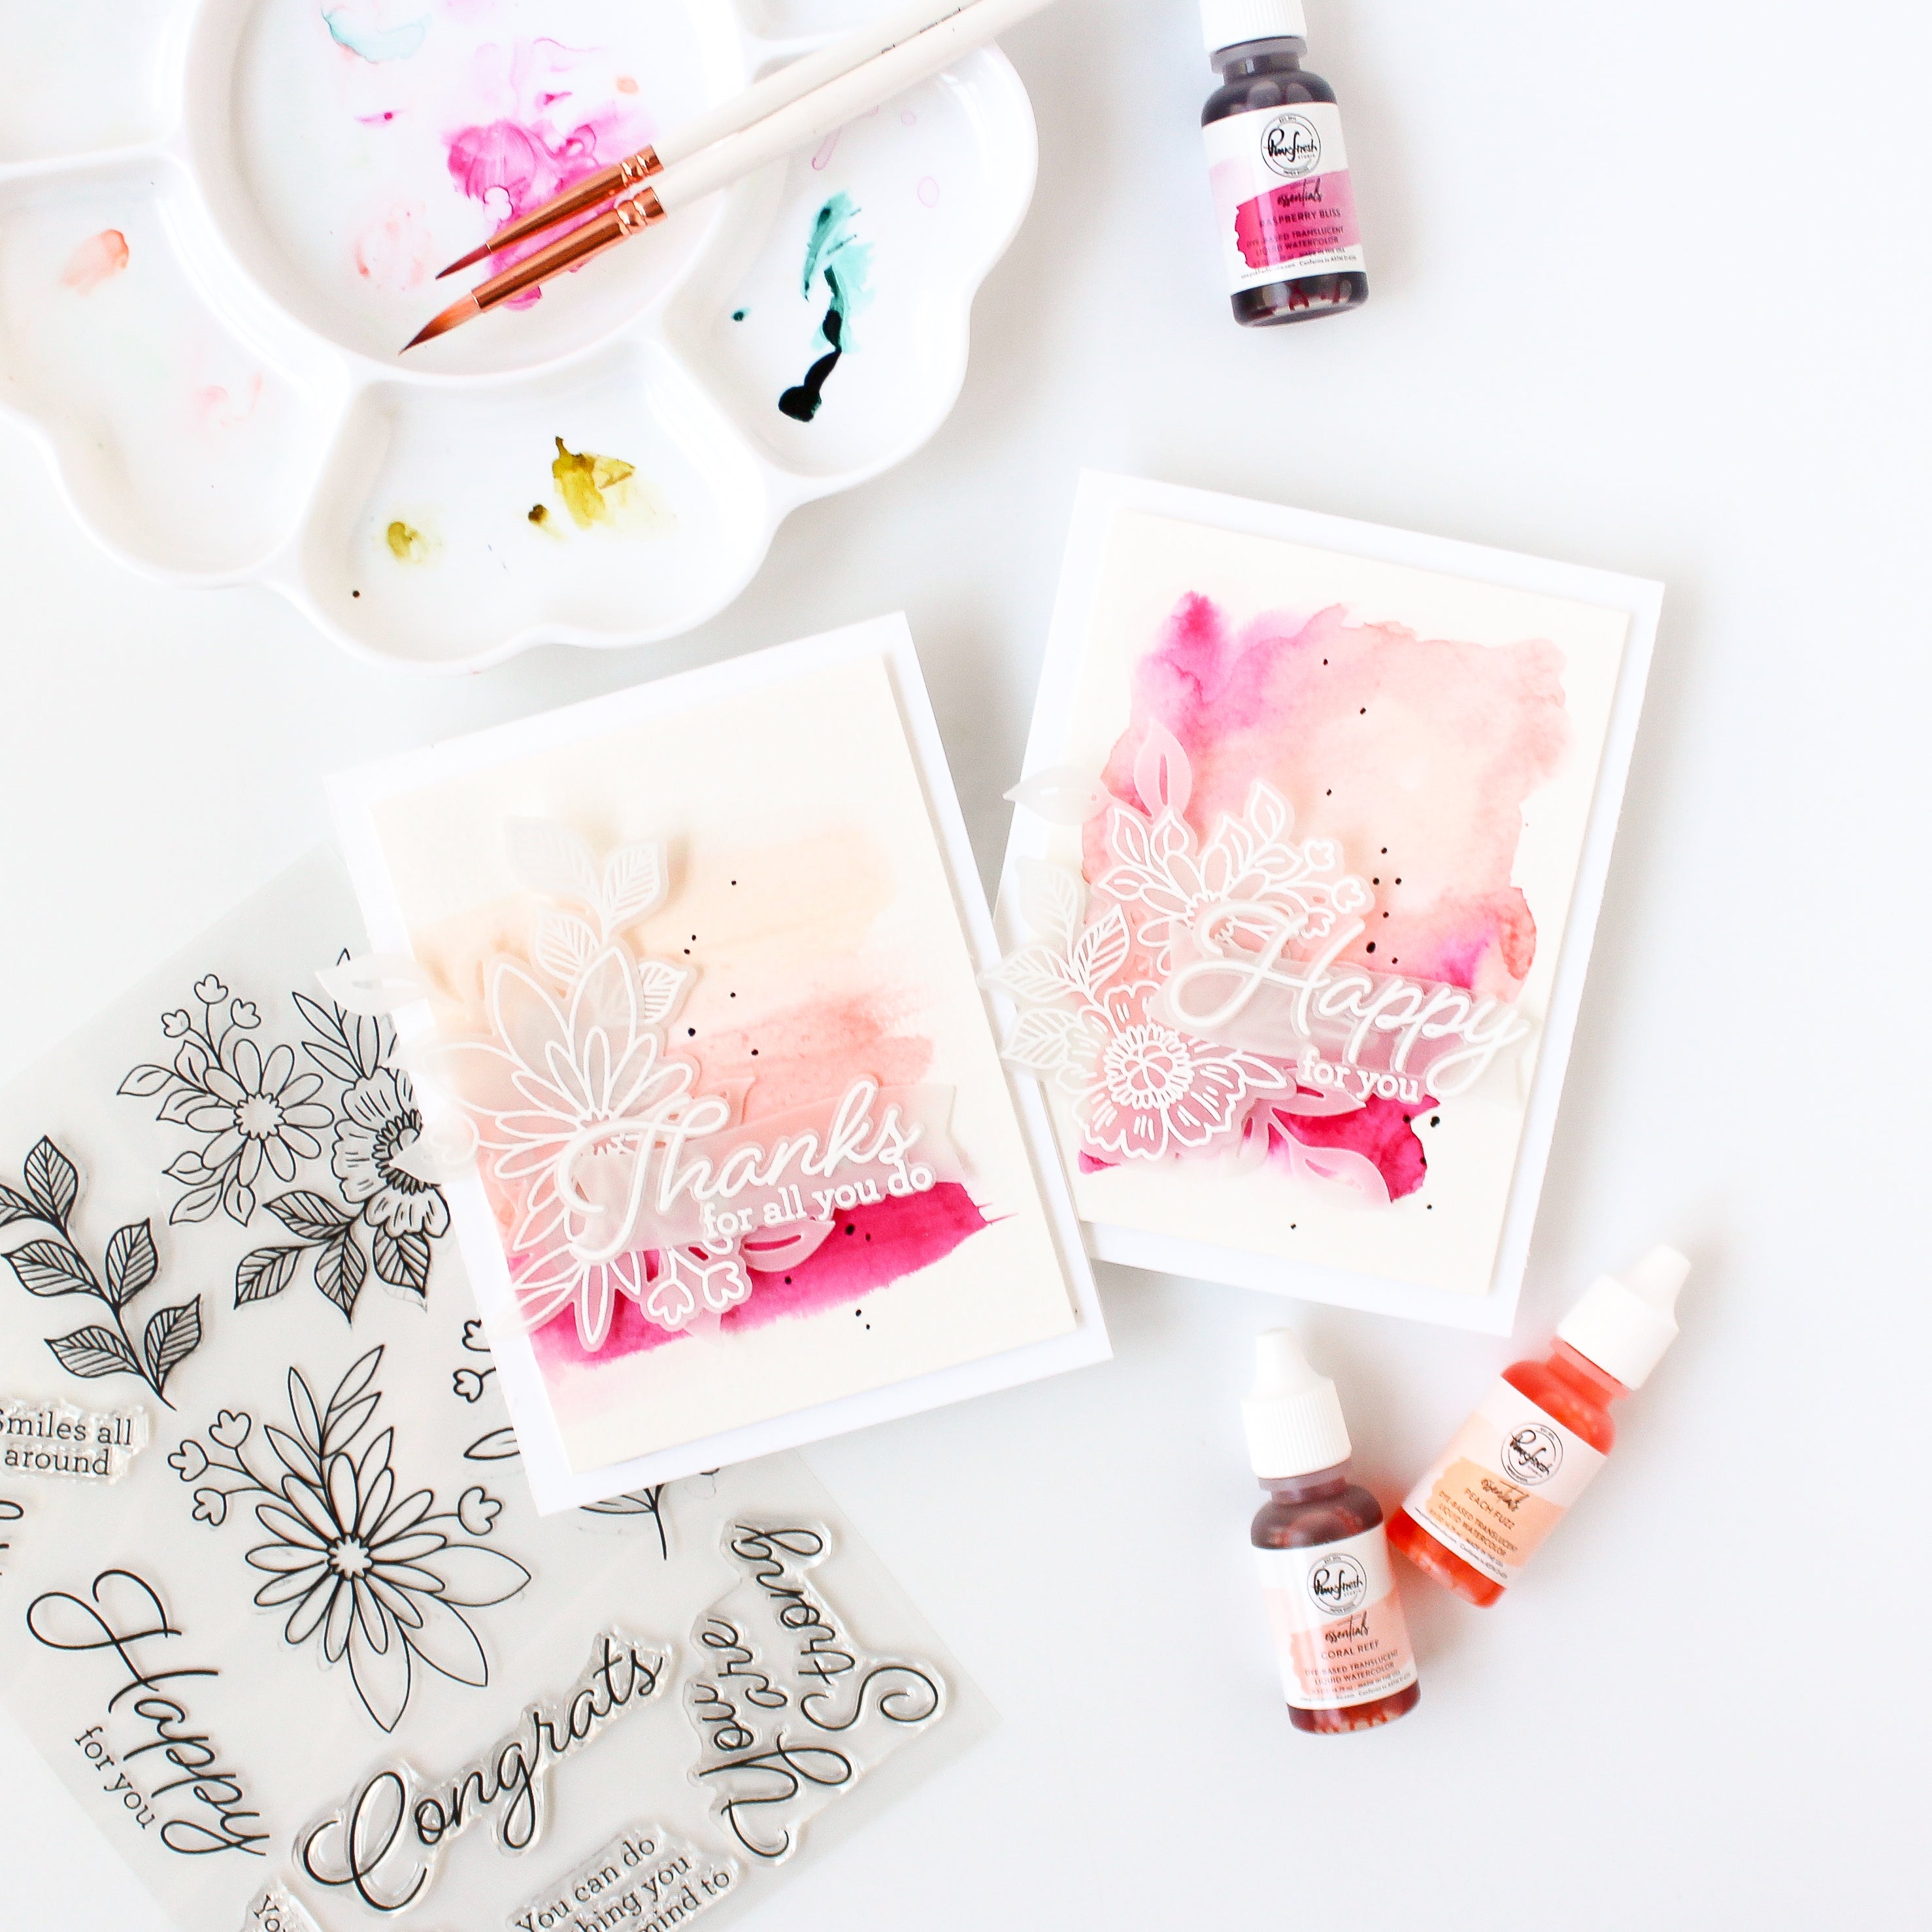
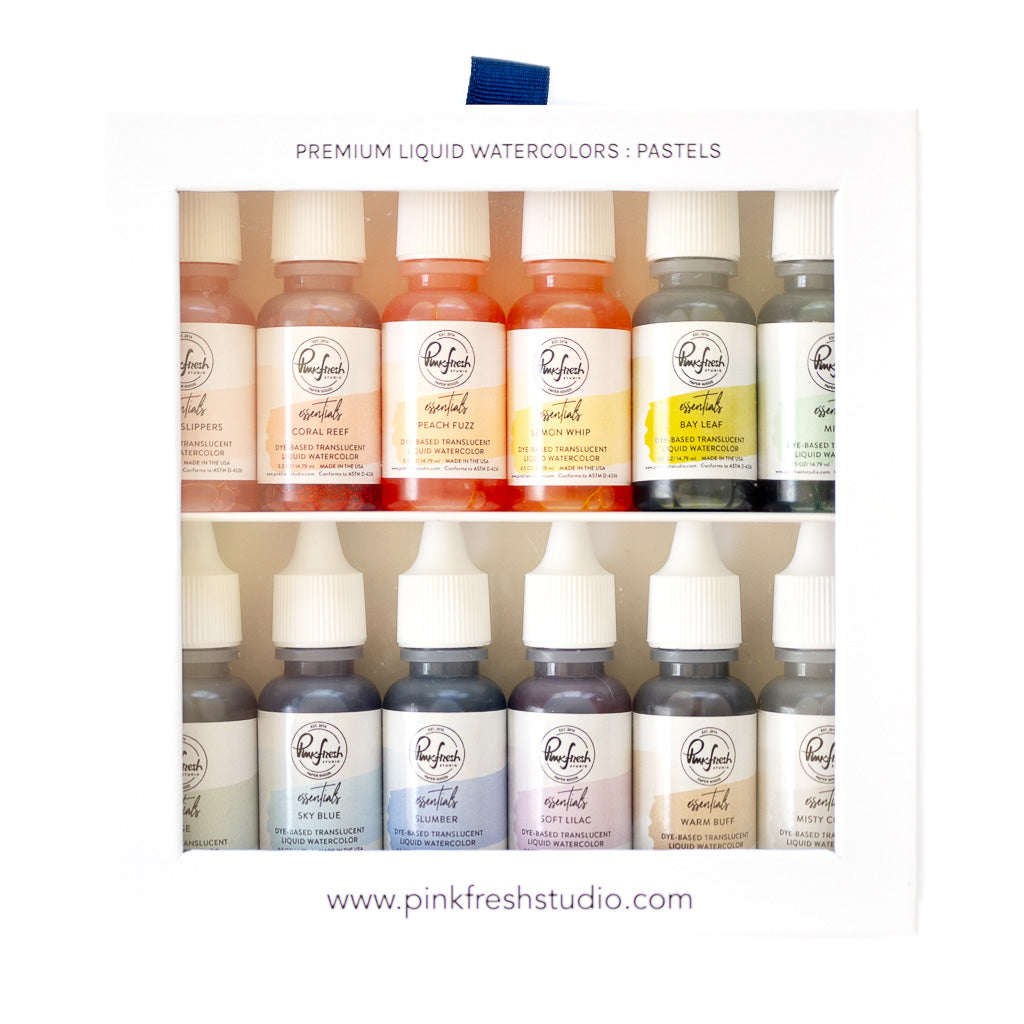
Hi everyone! I hope you’re having a wonderful week so far! It’s TaeEun here today, sharing a watercolored floral card created with our brand new Premium Liquid Watercolors and Premium Watercolor Paper! If you know me, You can probably imagine just how excited I’ve been for this Watercolor release :).
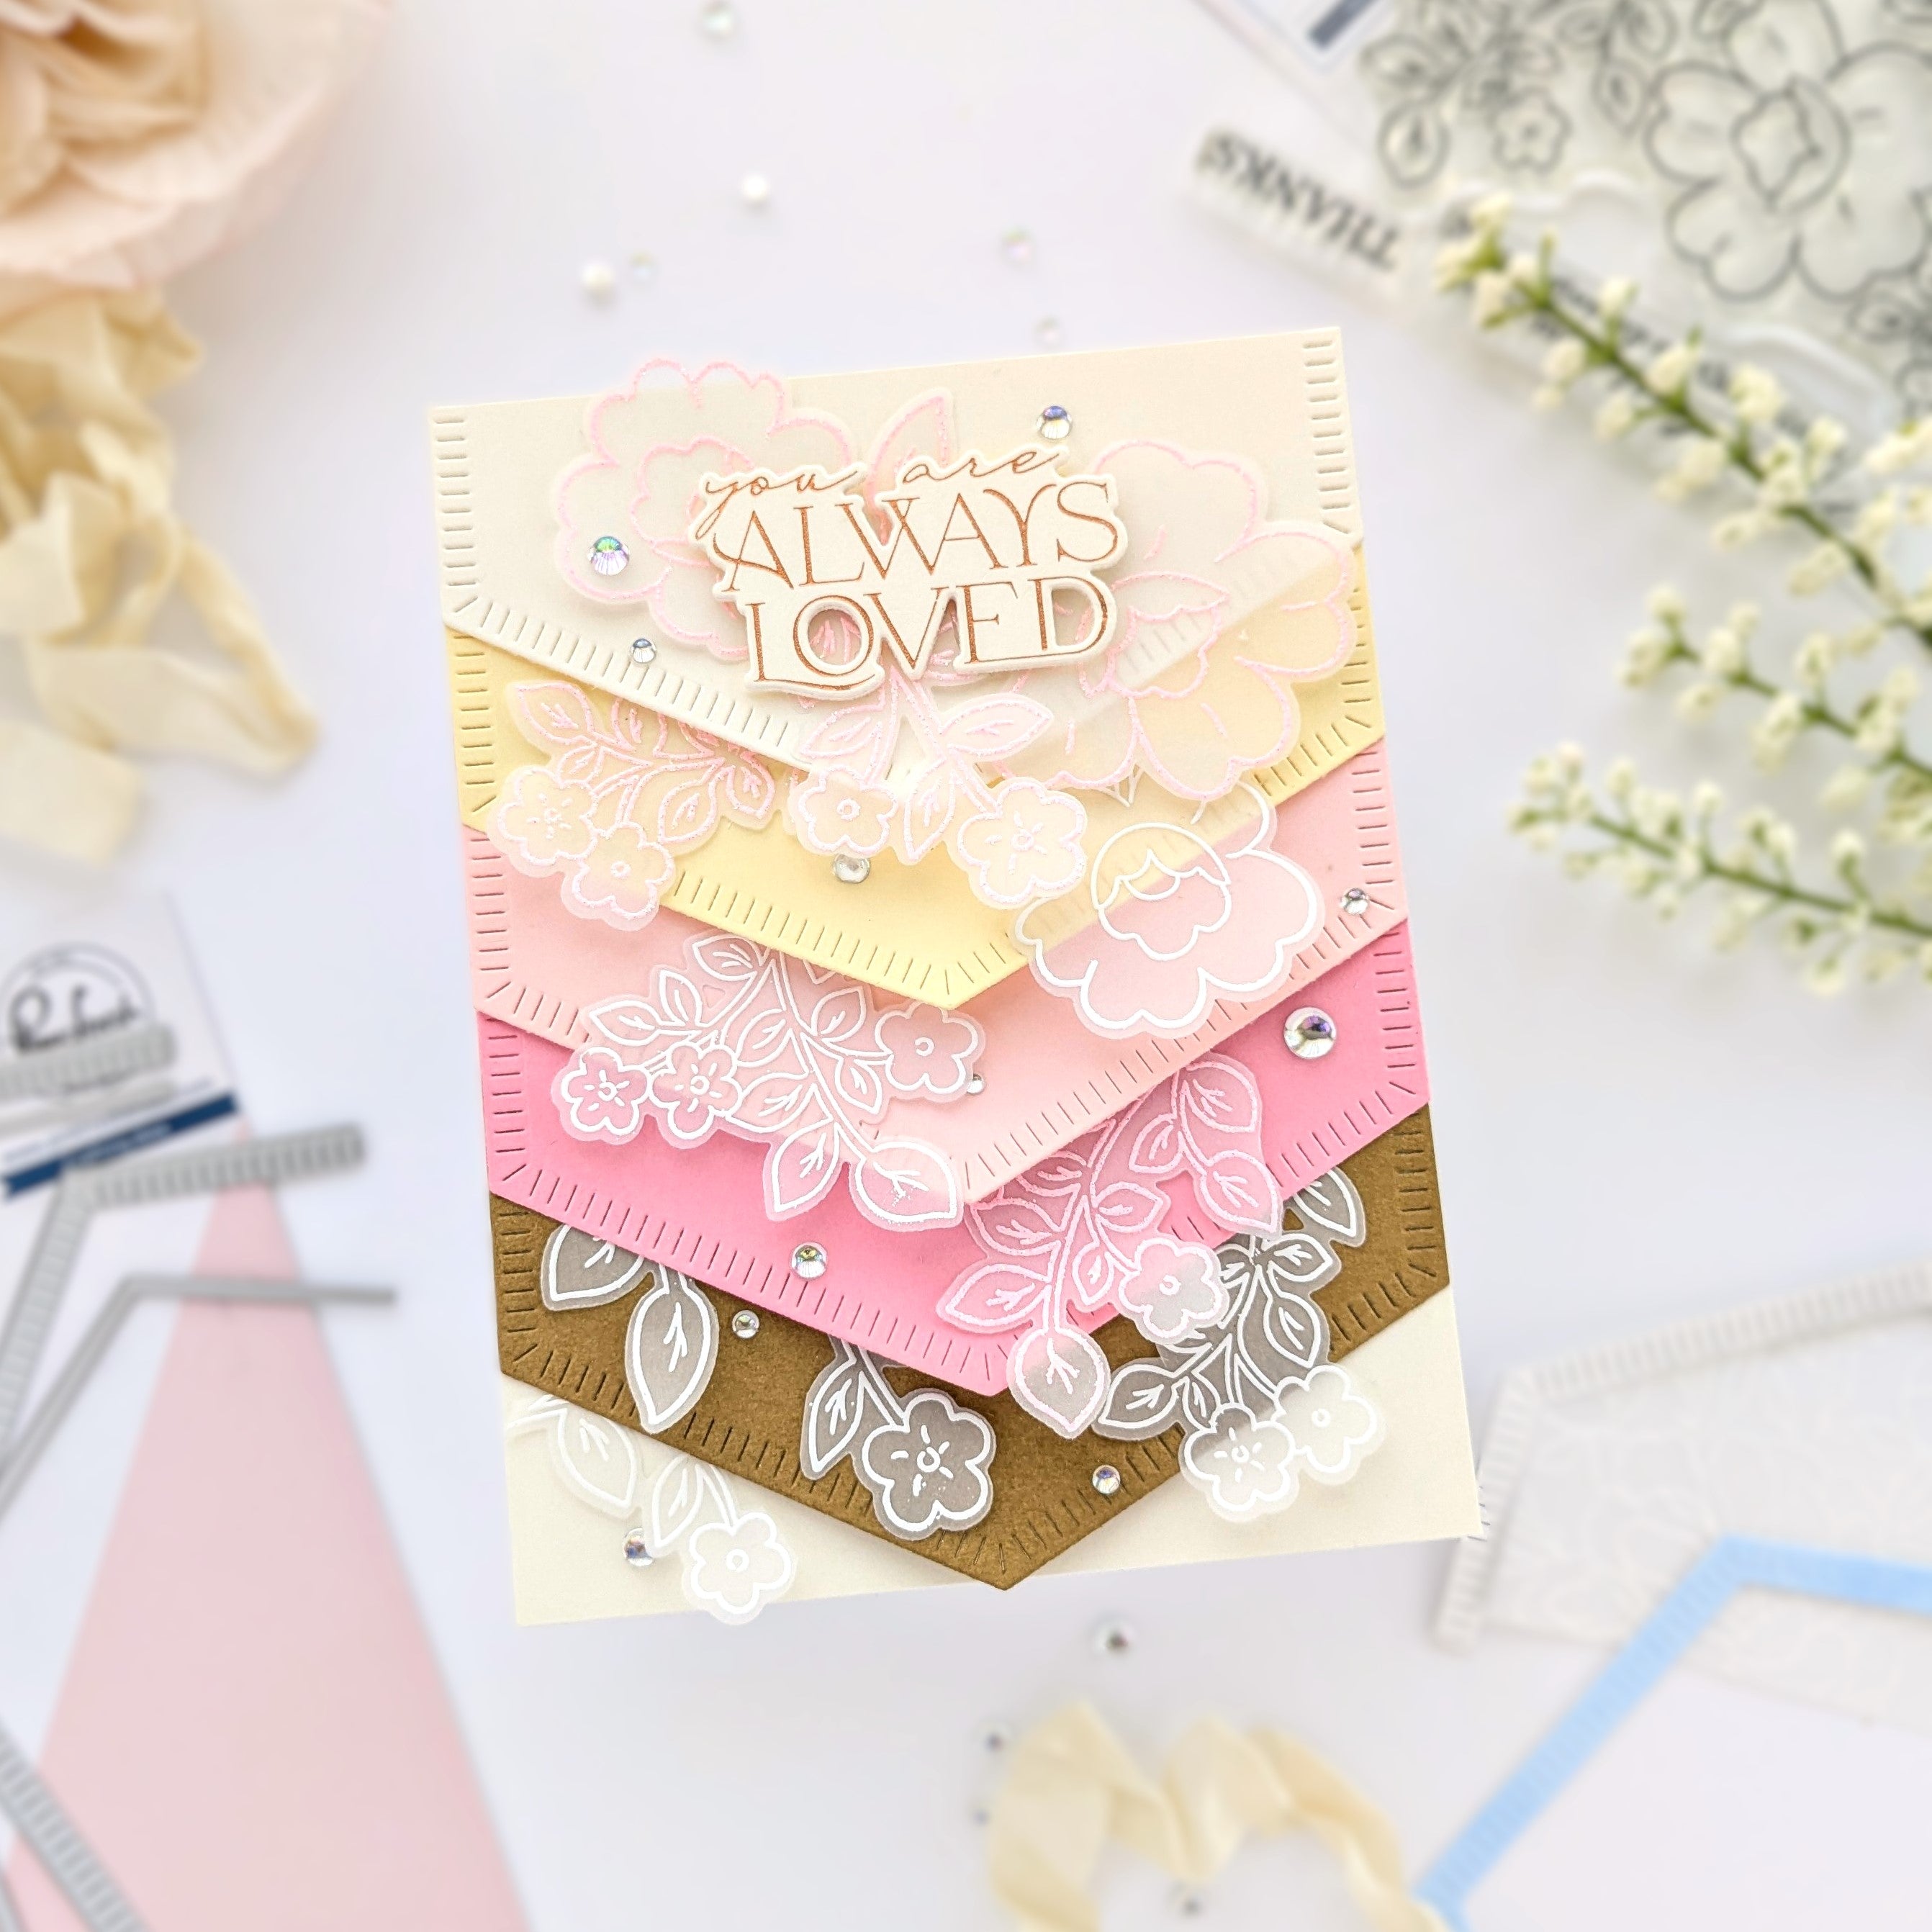
For today’s project, I watercolored the beautiful peony clusters from the Peony Glow washi product suite that Kinnari designed for our October Flourish & Glow Release. I kept the coloring loose and soft starting with a very light wash and then gradually building up the details using deeper tones, rather than focusing too much on fine details.
*Disclaimer: All products used are linked below as clickable images. If a product isn’t listed, it’s been discontinued.

Here's how I put it together:
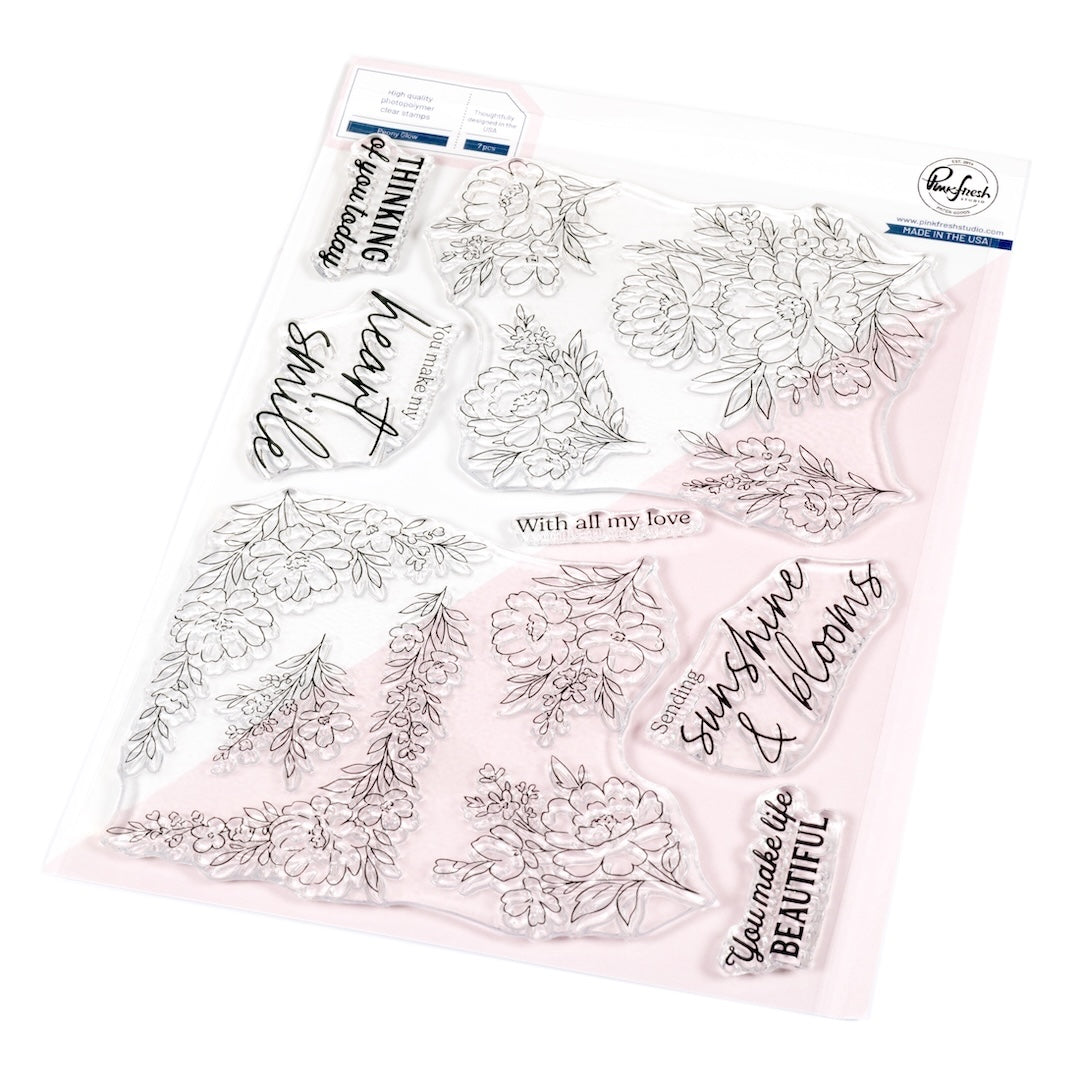
- Stamp the floral images of the Peony Glow onto watercolor paper using Detail Black ink.
- Begin watercoloring with diluted shades for a light base layer, then build up the details with the same colors in deeper tones.
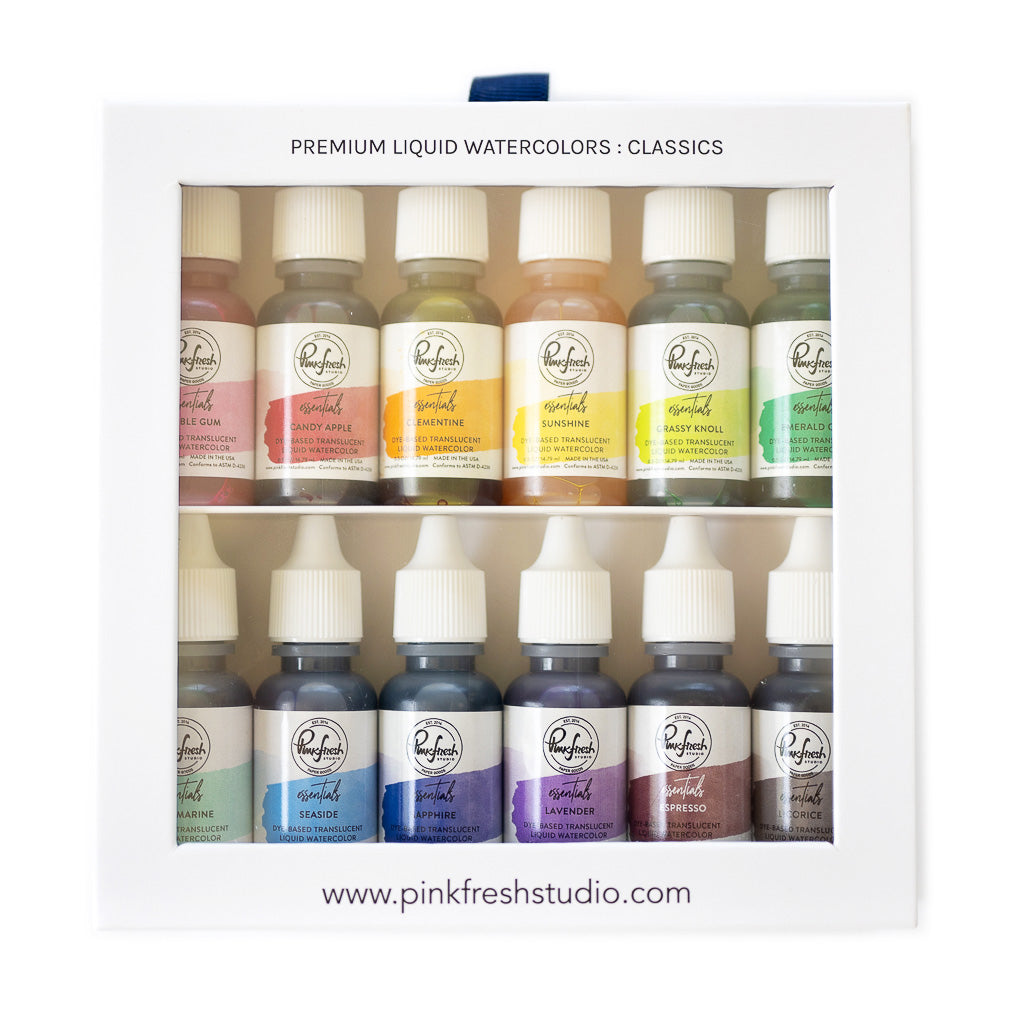
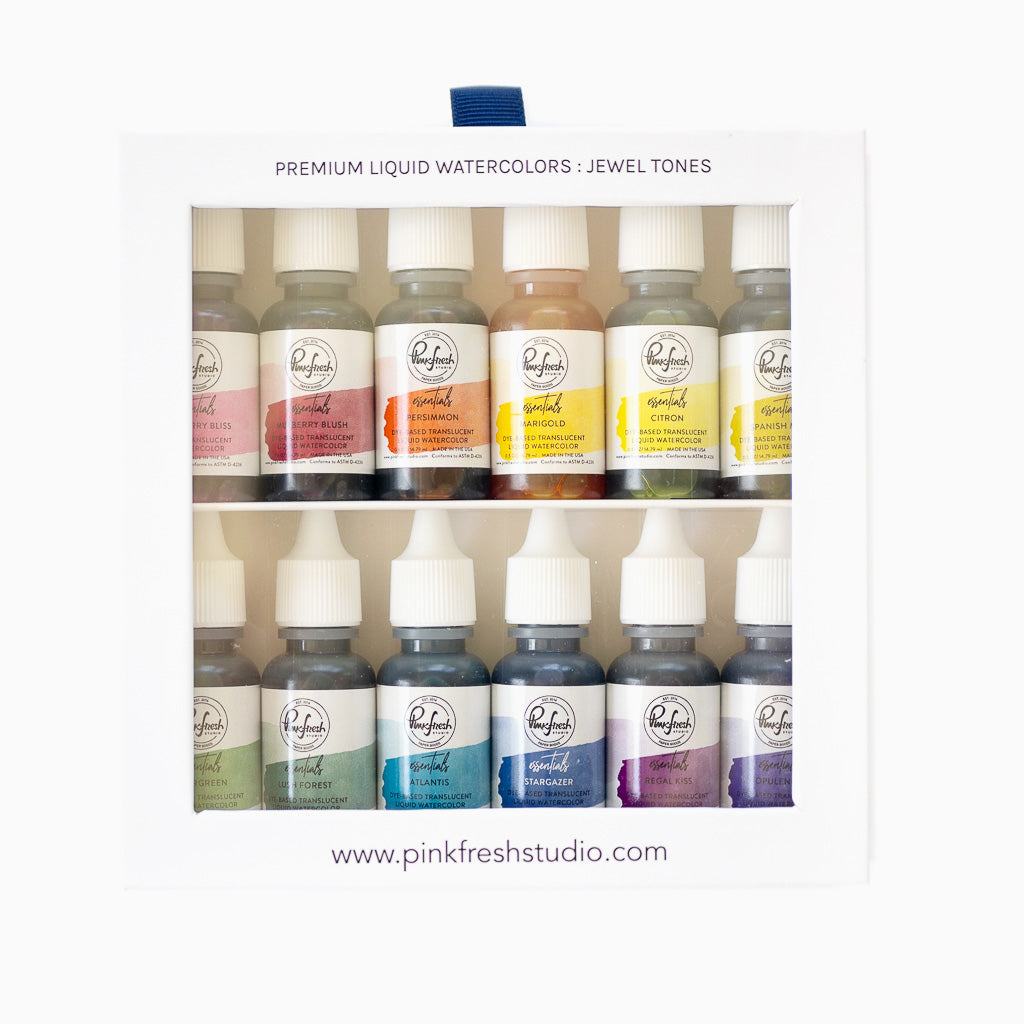
Below are the Premium Liquid Watercolors I used :
- Peony flowers: Raspberry Bliss, Marigold, Sunshine for the center of the flowers
- Small flowers: Seaside, Lavender
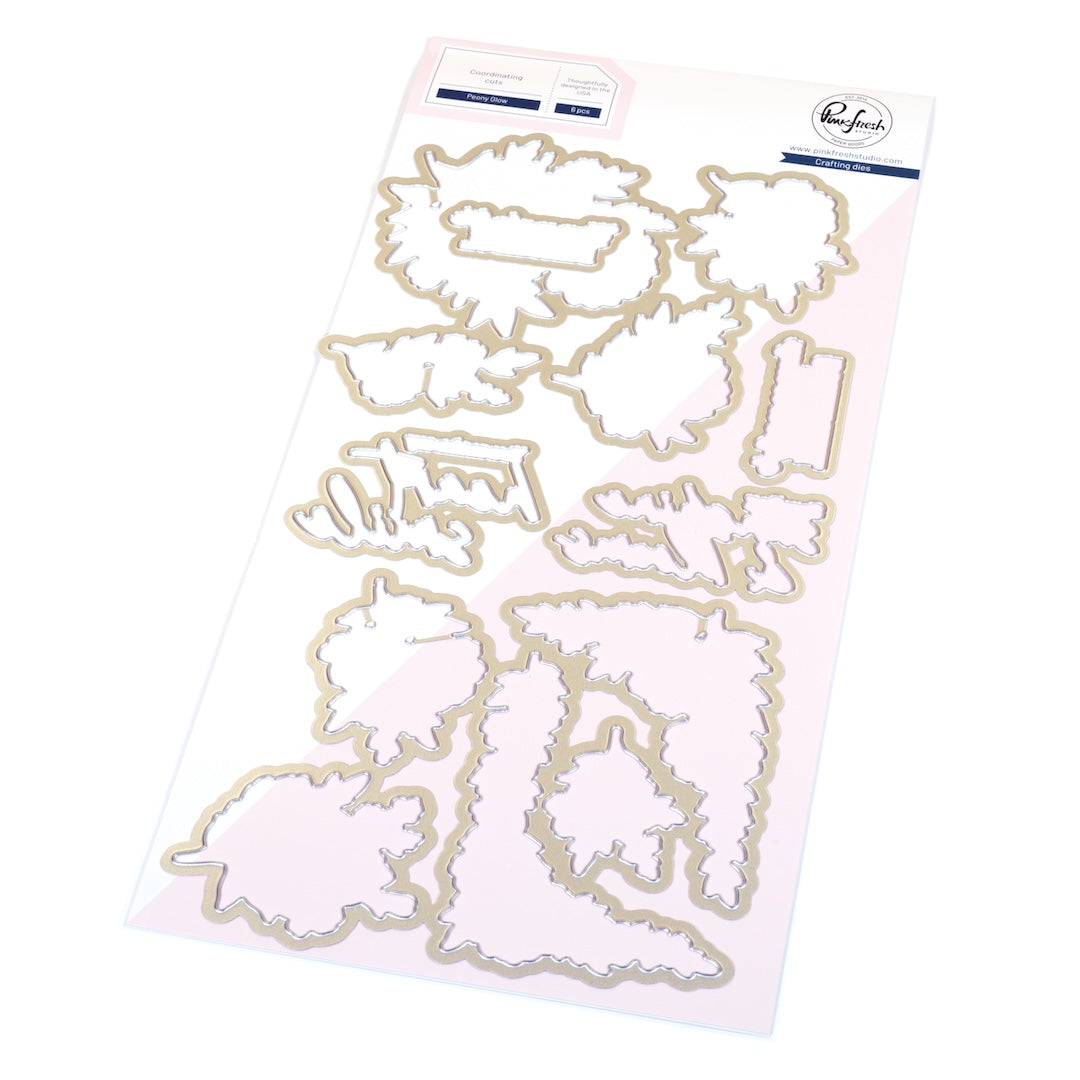
- Leaves: Grassy Knoll, Bay Leaf, Sunshine - Die cut the images with the coordinating die.
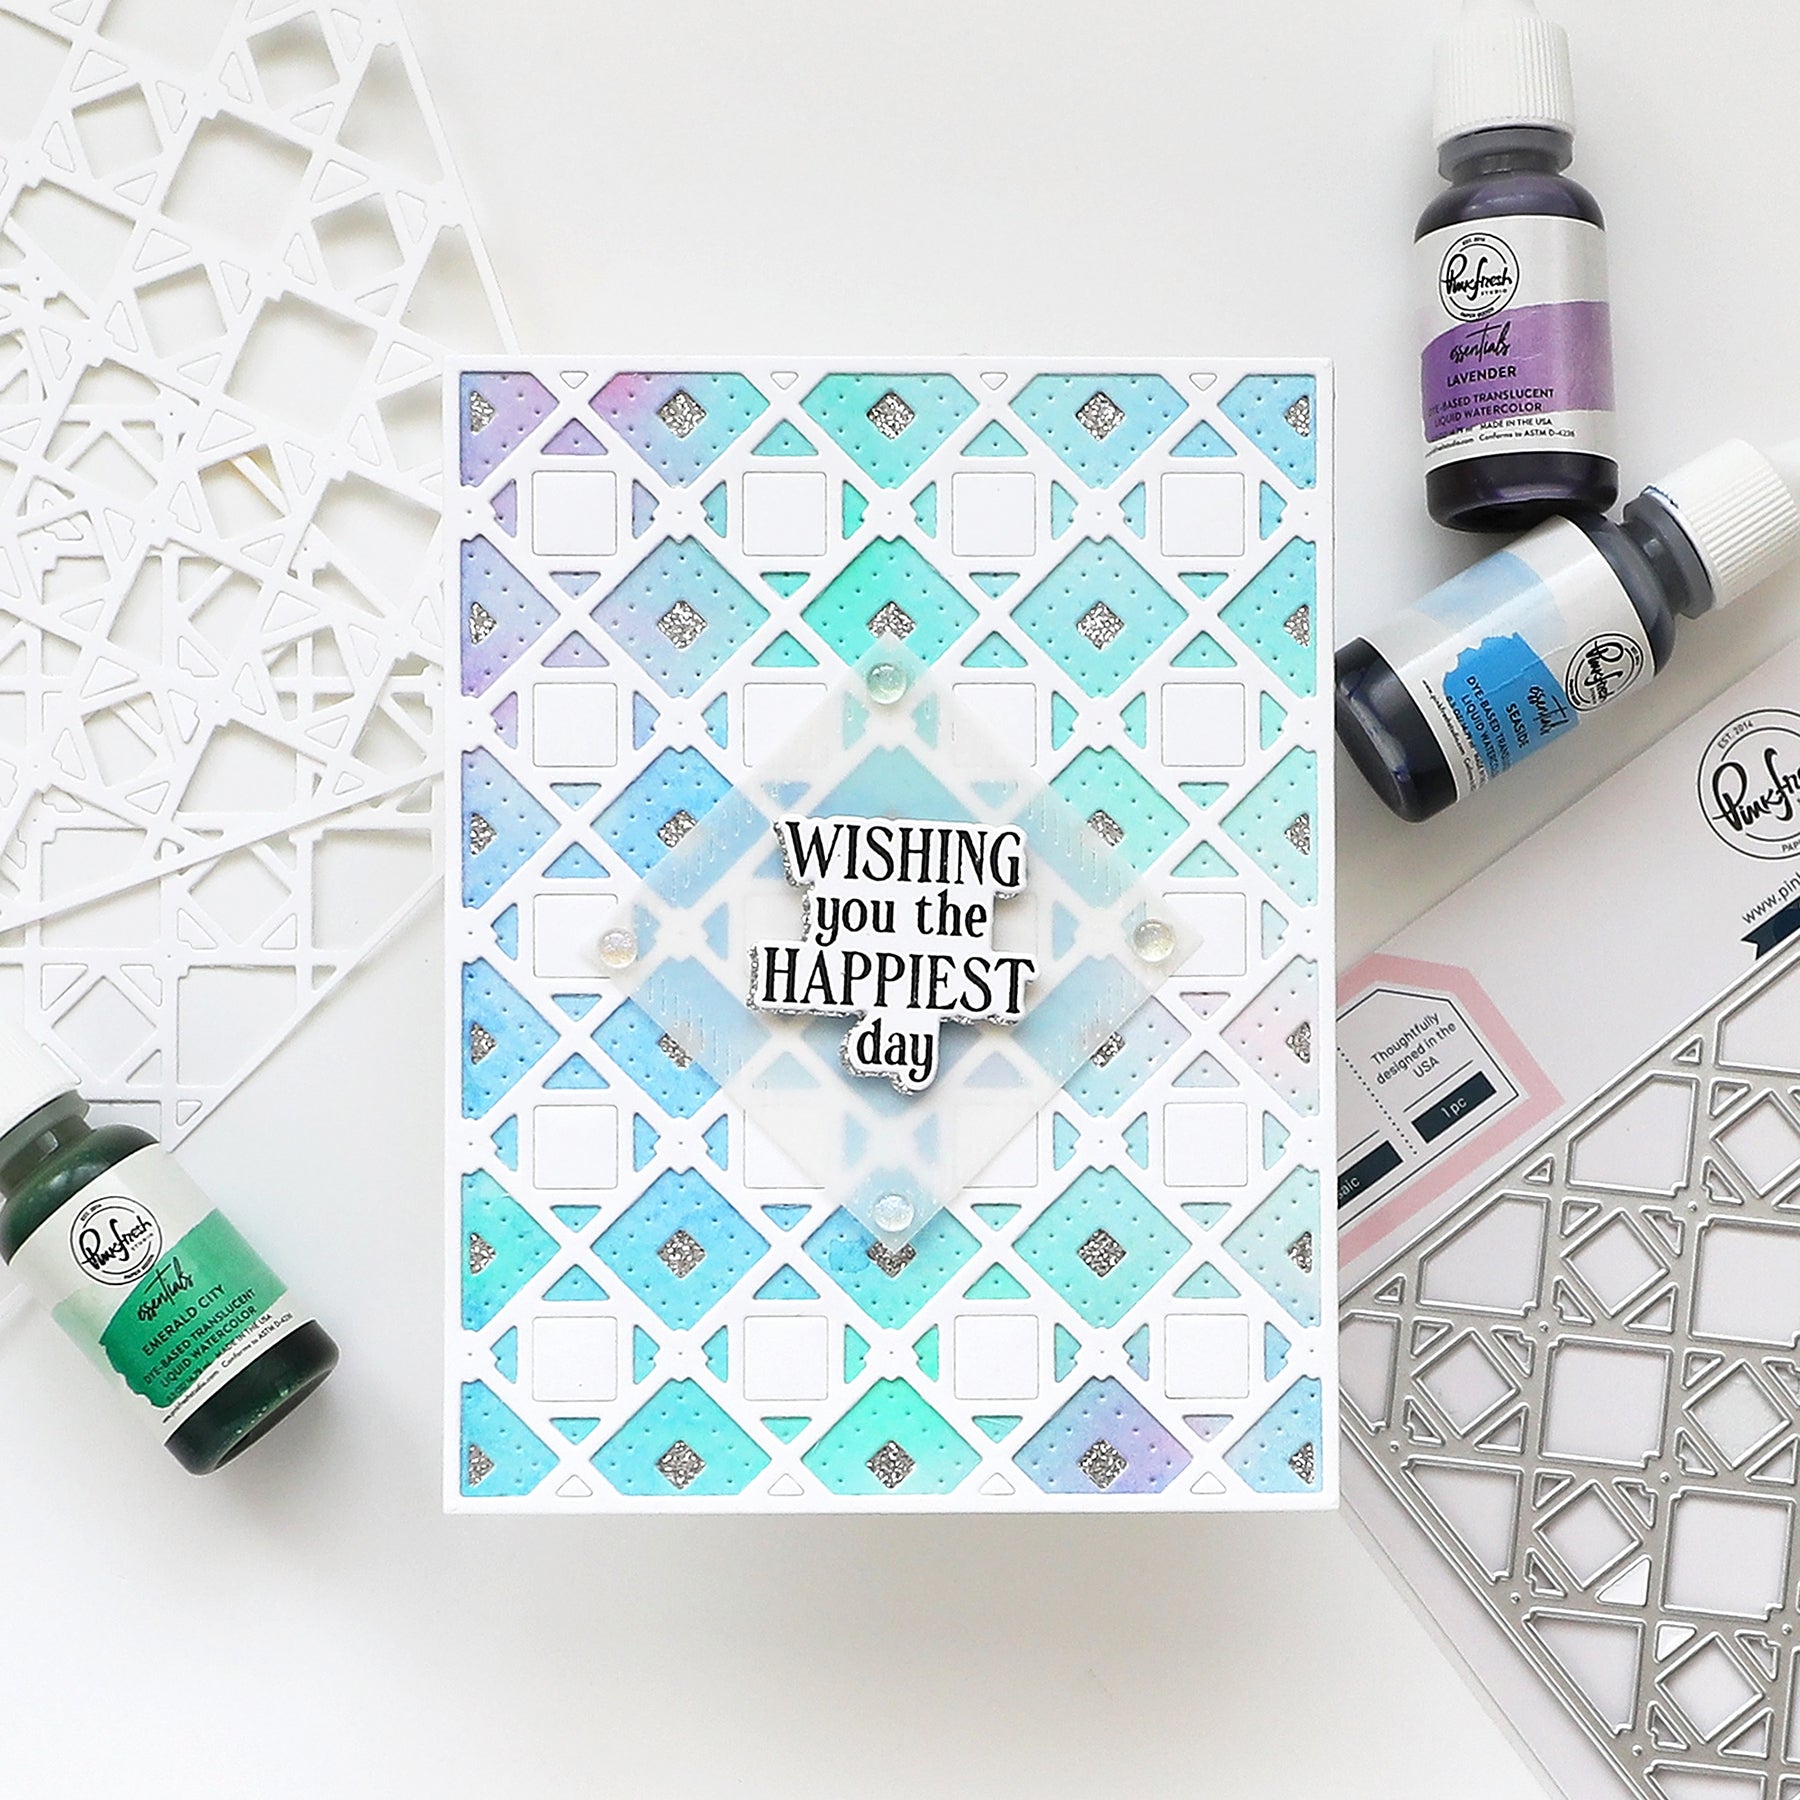
- Ink blend the center of an A2 sized watercolor paper panel with Coral Reef and Ocean Breeze.
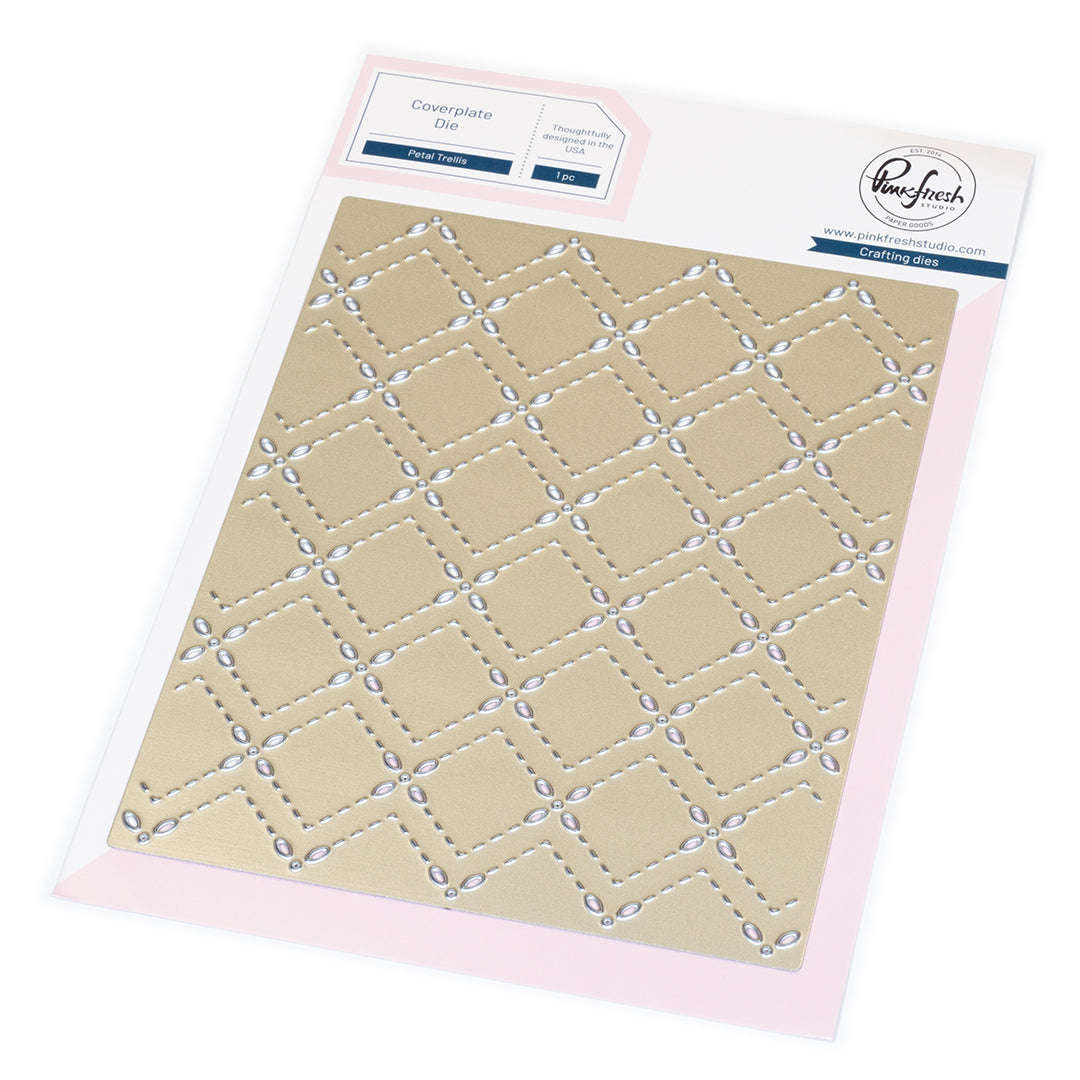
- Cut the background panel using the Petal Trellis coverplate die, then adhere it onto a white cardbase.
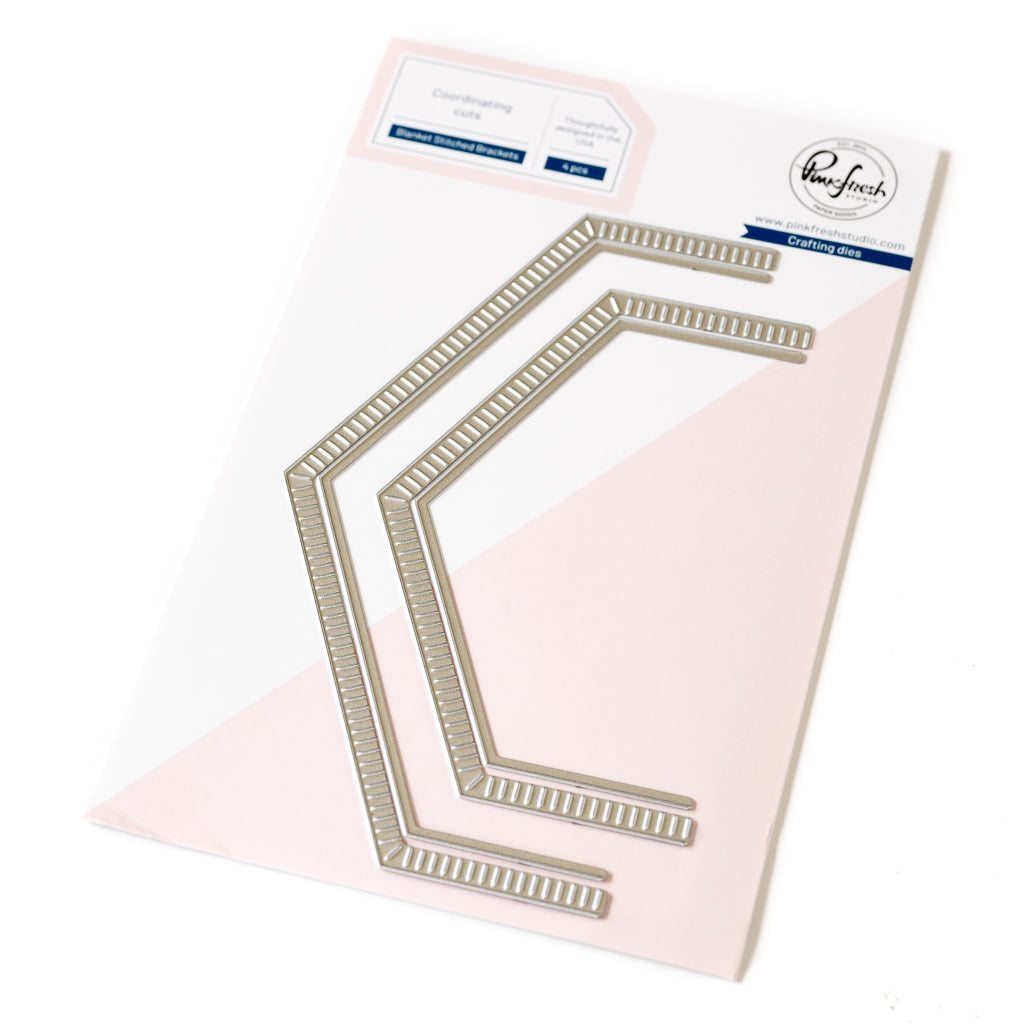
- Cut an additional watercolor paper panel with the largest die from the Blanket Stitched Brackets die set and foam mount it to the right side of the card.
- Arrange and adhere the floral clusters along the edge of the front panel.
- Stamp the sentiment on a piece of watercolor paper in Detail Black, cut it using the coordinating die, and layer it with three additional die cut pieces for added dimension.
- Finish with a few Clear Drops in Ice to enhance the airy look.

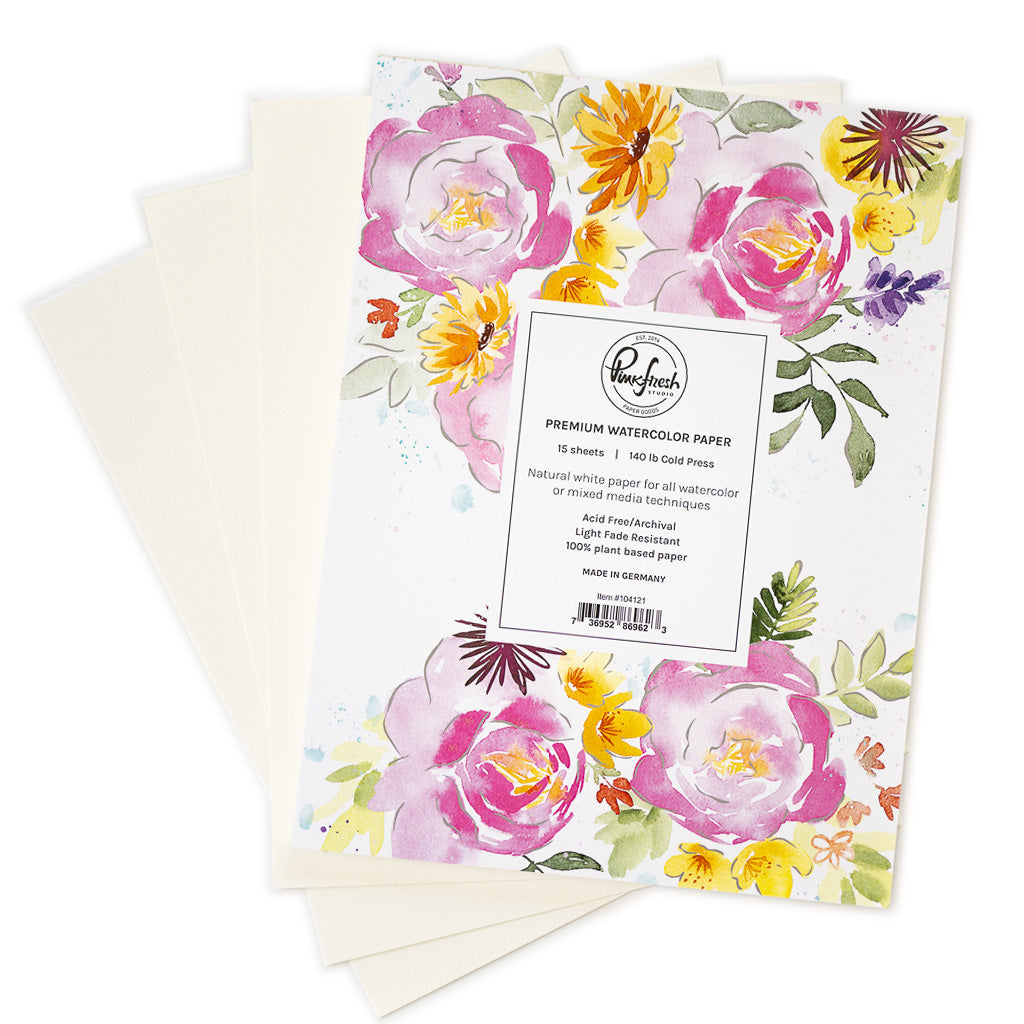
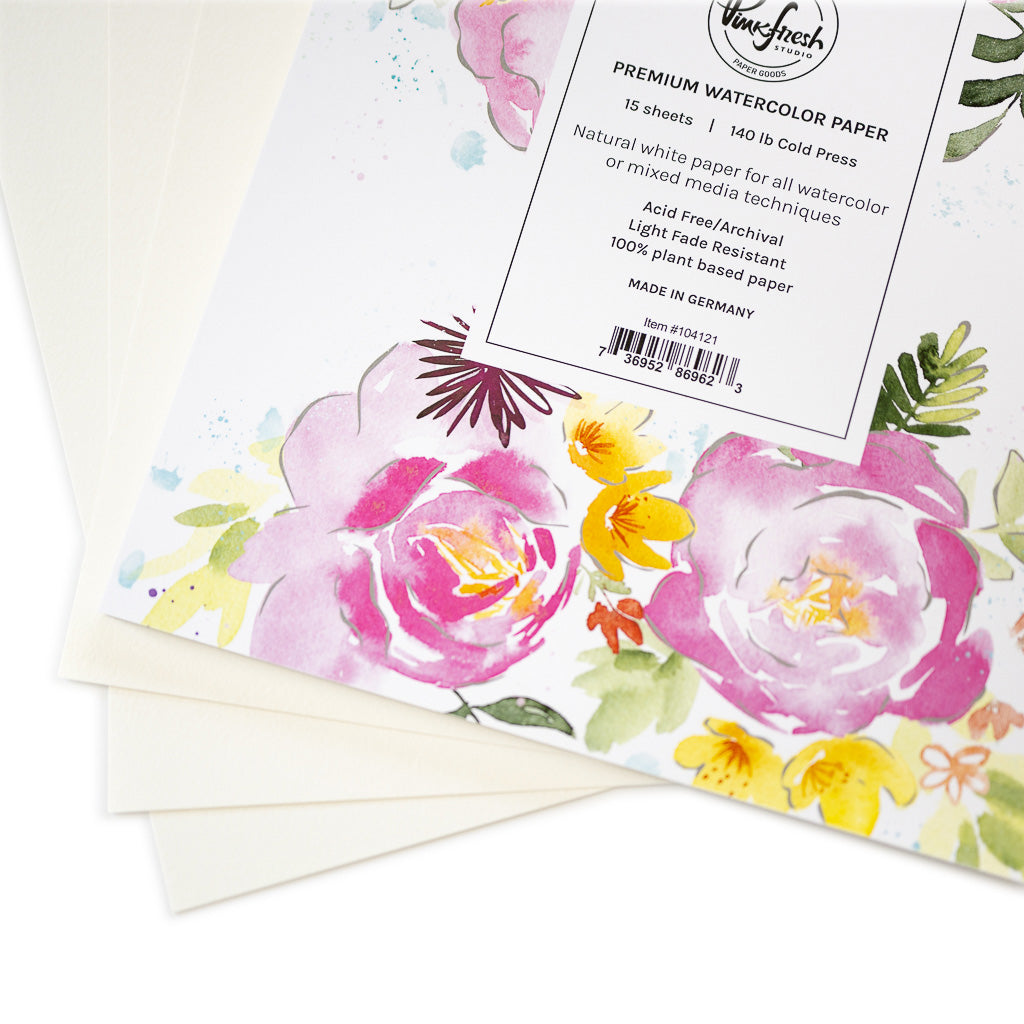
For a cohesive look across the entire design, I used Pinkfresh Studio Premium Watercolor paper not only for the floral images but also for the background and sentiment.
Tip: Use more water then usual to achieve lighter watercolor tones. Start with soft, diluted washes to color the whole object, then gradually build depth by layering the same hues with less water to paint the details.
That’s it from me for today! I hope you enjoyed seeing my card and found some inspiration for your next watercolor session :) !
Thank you so much!
TaeEun
Recommended Products


































Leave a comment
All comments are moderated before being published.
This site is protected by hCaptcha and the hCaptcha Privacy Policy and Terms of Service apply.