
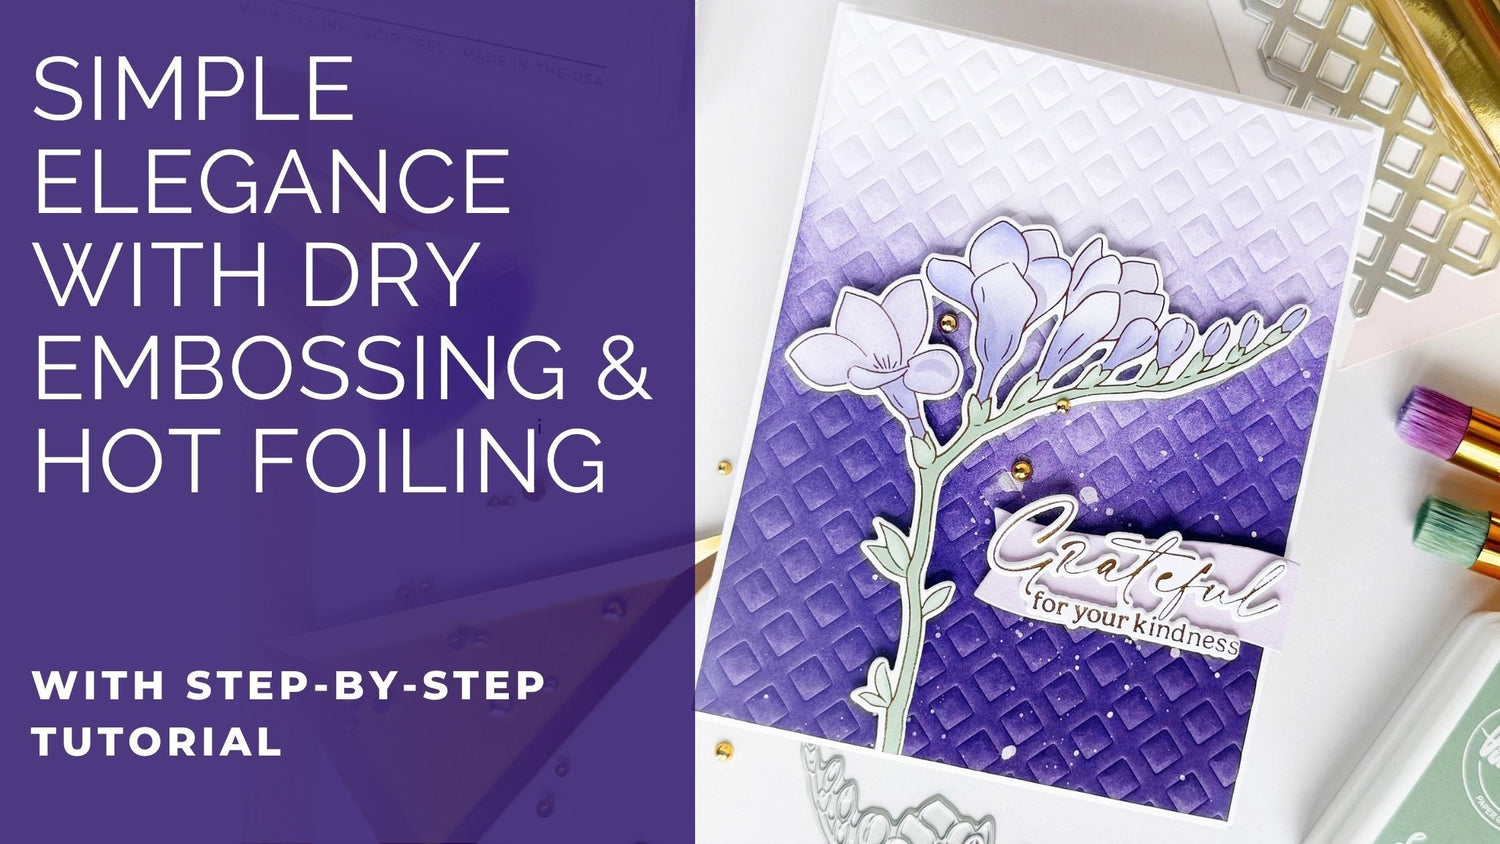
Happy Monday, everyone! It's Kathleen here and I hope you all had a wonderful weekend!
I know a lot of you are probably in full-on Christmas-mode already, but I thought I'd share an everyday kind of card with you today that you can use and adapt for whatever occasion you need.
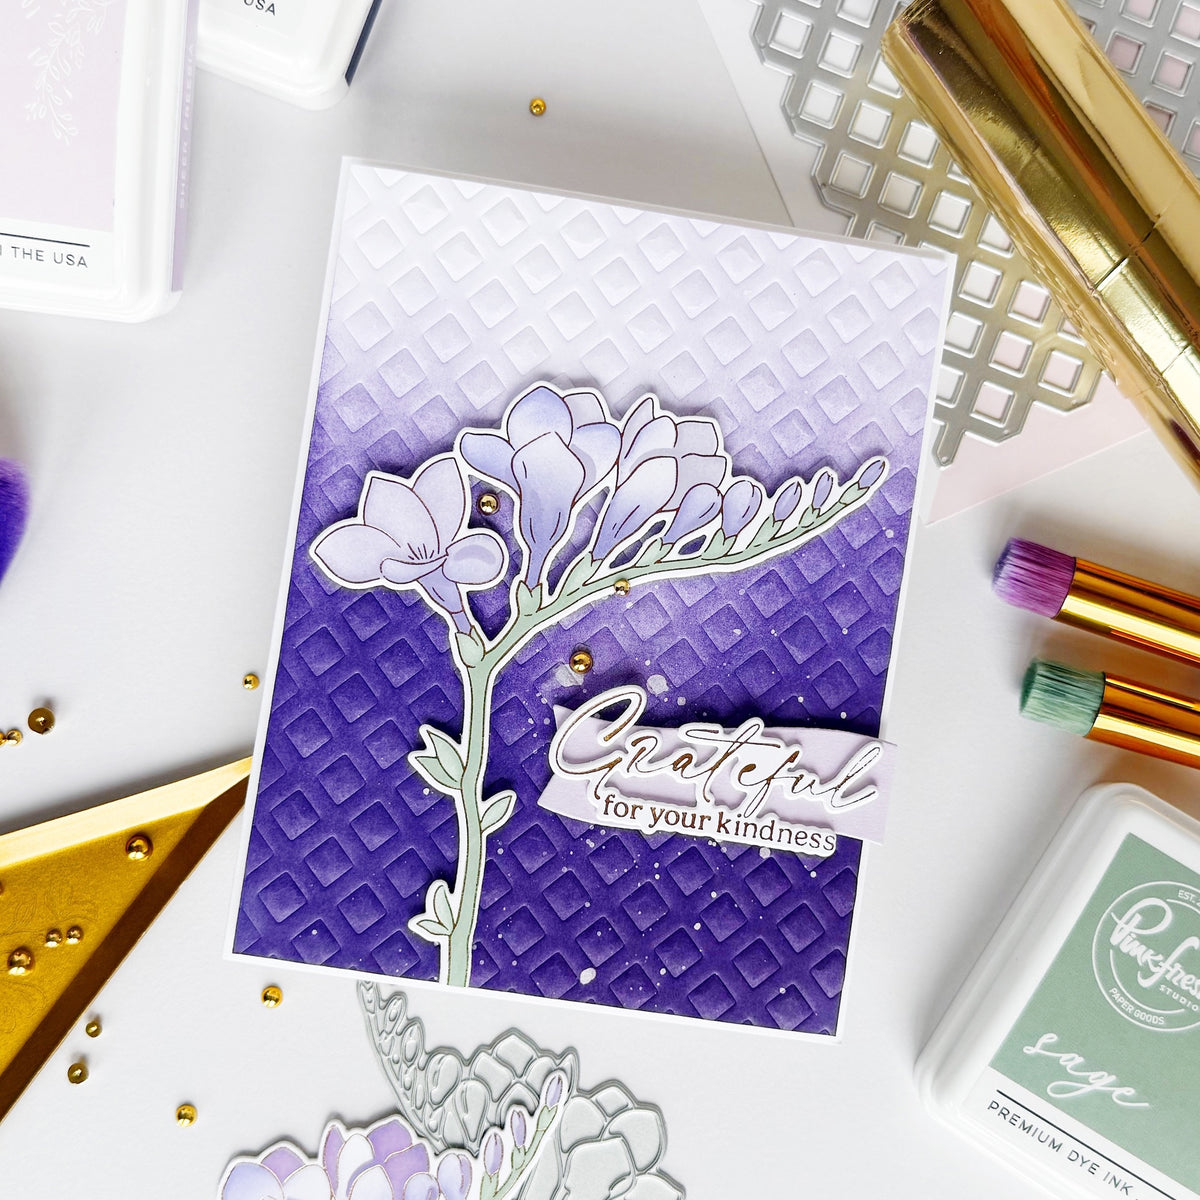
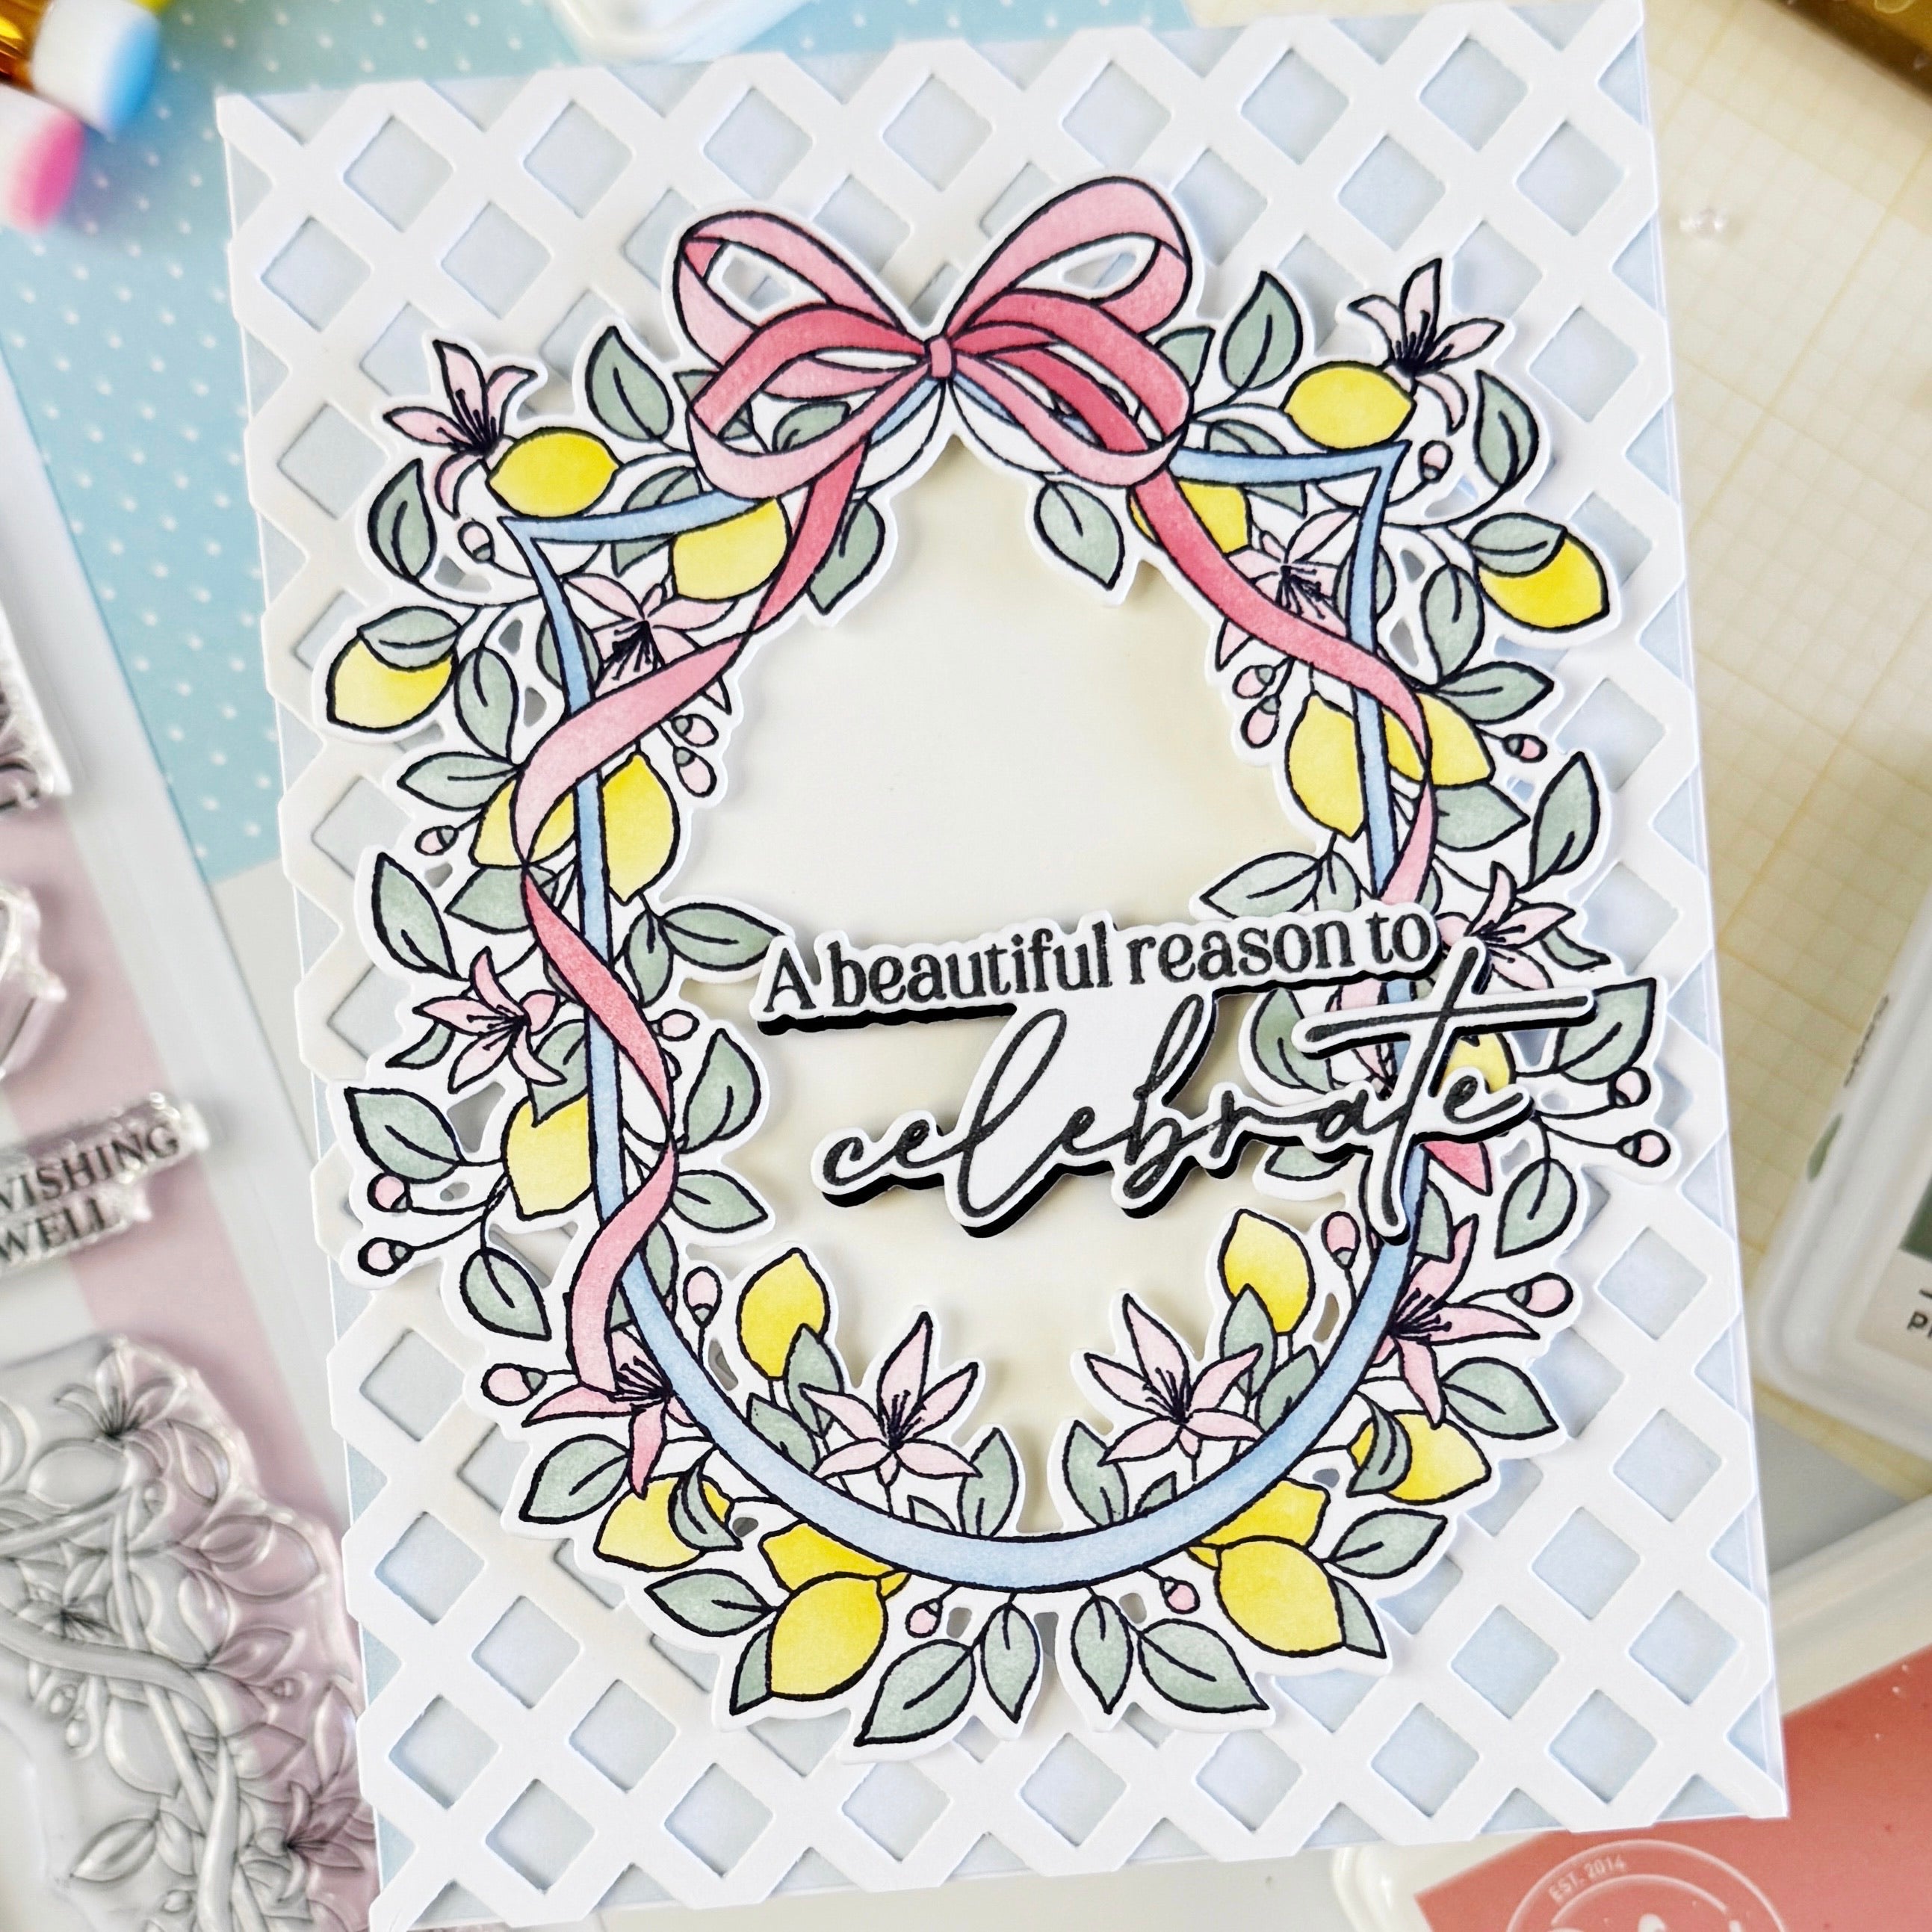
The main star of my card is the new Freesia Flourish product suite and I wanted to show you how you can create a relatively simple but very elegant card with a paired-down color scheme, just by adding a bit of shine from hot foiling and texture from dry embossing. You could also adapt this idea to any other product suite & coverplate die in your stash!
*Disclaimer: All products used are linked below as clickable images. If a product isn’t listed, it’s been discontinued.


Here's how to make this card:
-
Card Base: Cut and score an A2 card base (top or side-folding) & (2) A2 panels from white cardstock.
-
Background Panel:
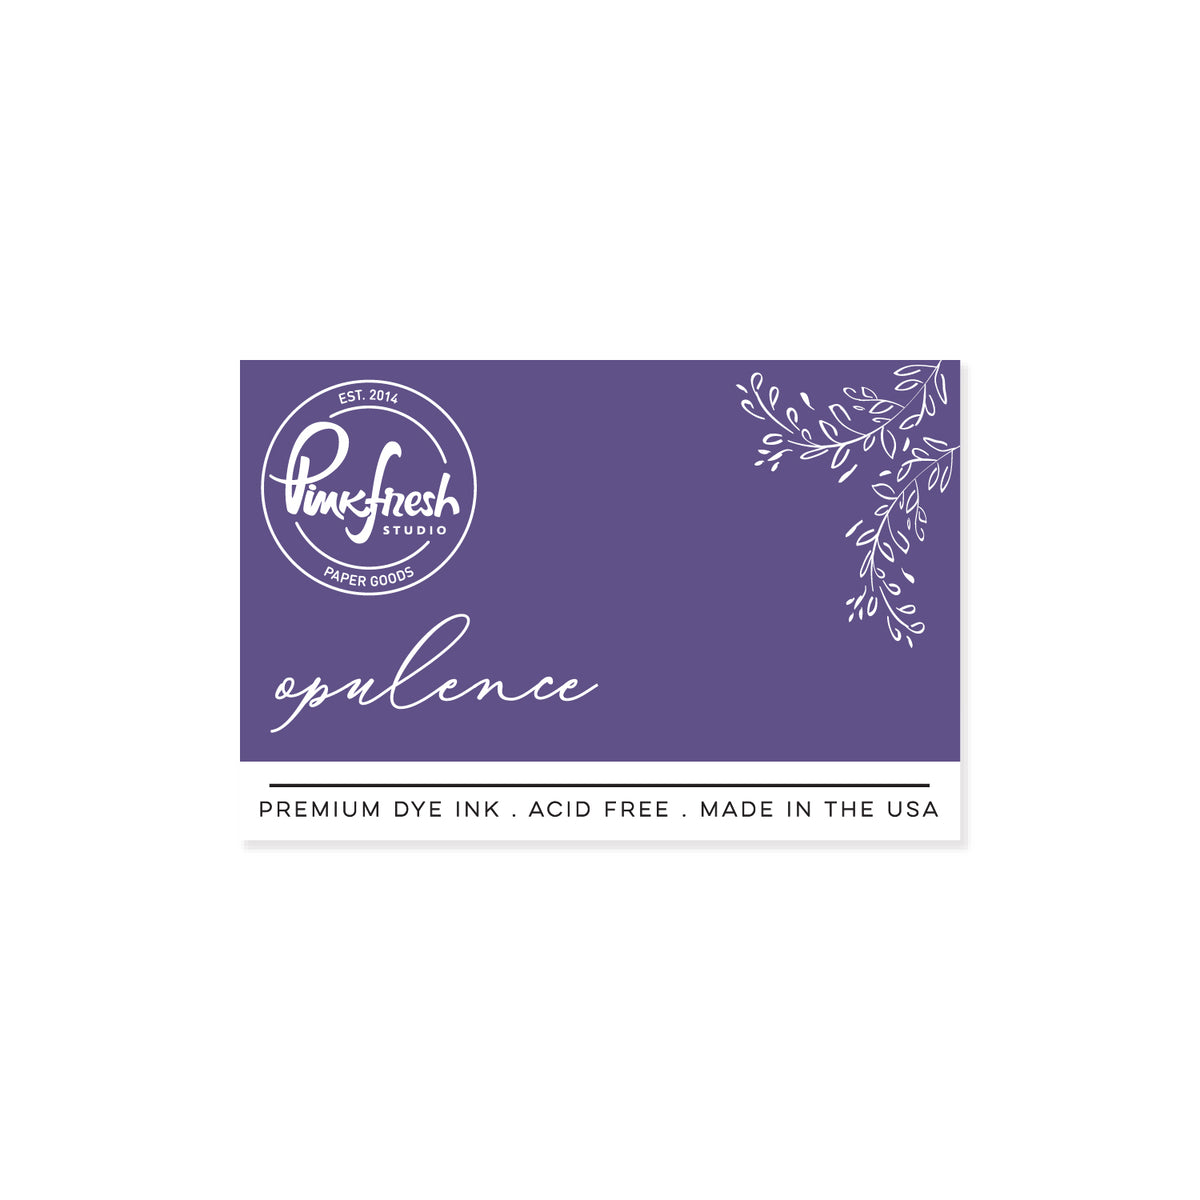
- Ink blend the (1) A2 panel with Opulence and a 1" blending brush. Start heavy at the bottom and then slowly fade it out to almost white toward the top.
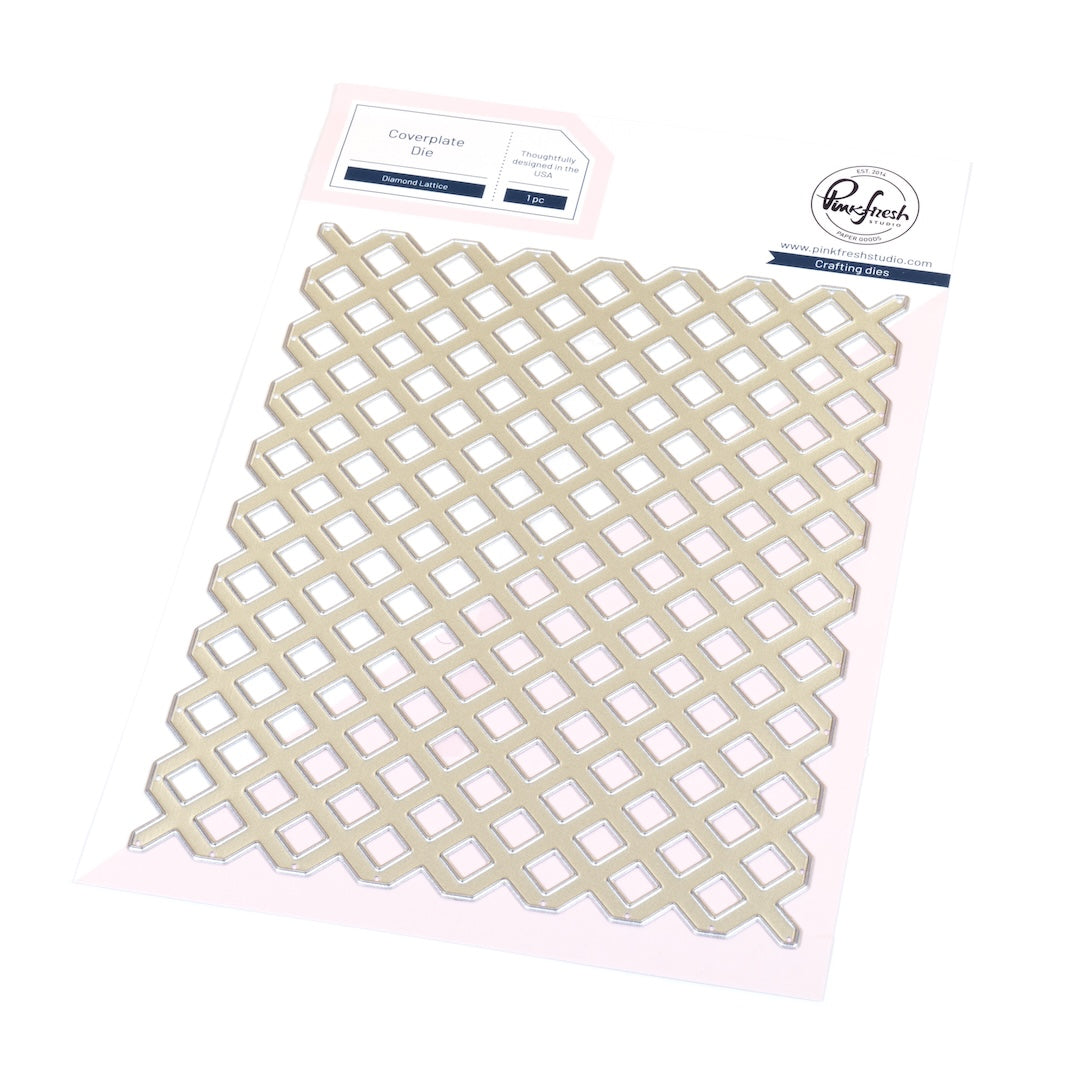
- Dry emboss the panel with the Diamond Lattice coverplate die.
- Trim the panel slightly (about 1/8" on each side) & adhere to the card base using your preferred choice of adhesive (I used foam adhesive for more dimension).
- Optional: With a small paint brush, splatter some watered down Calico White ink onto the background.
-
Freesia Flourish:
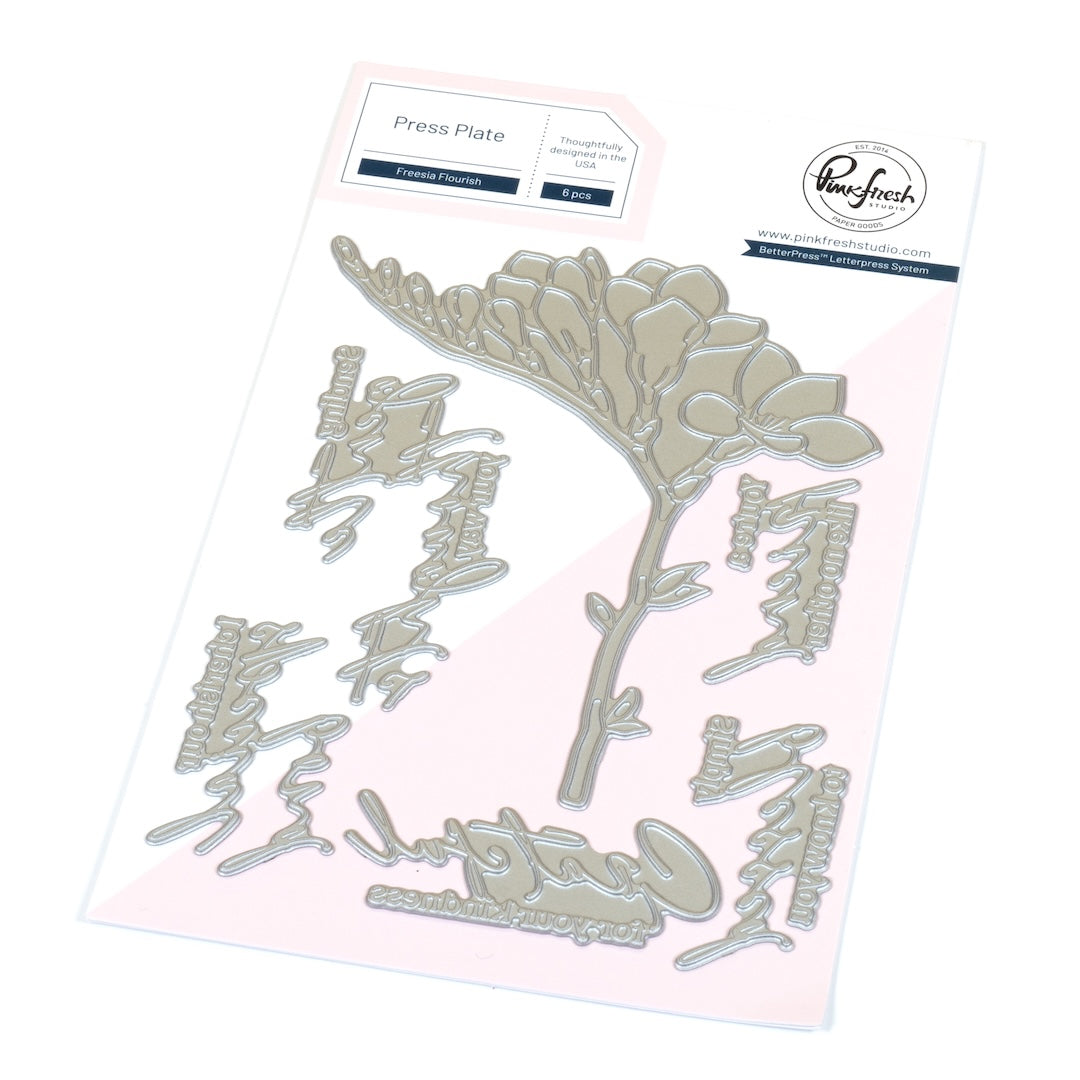
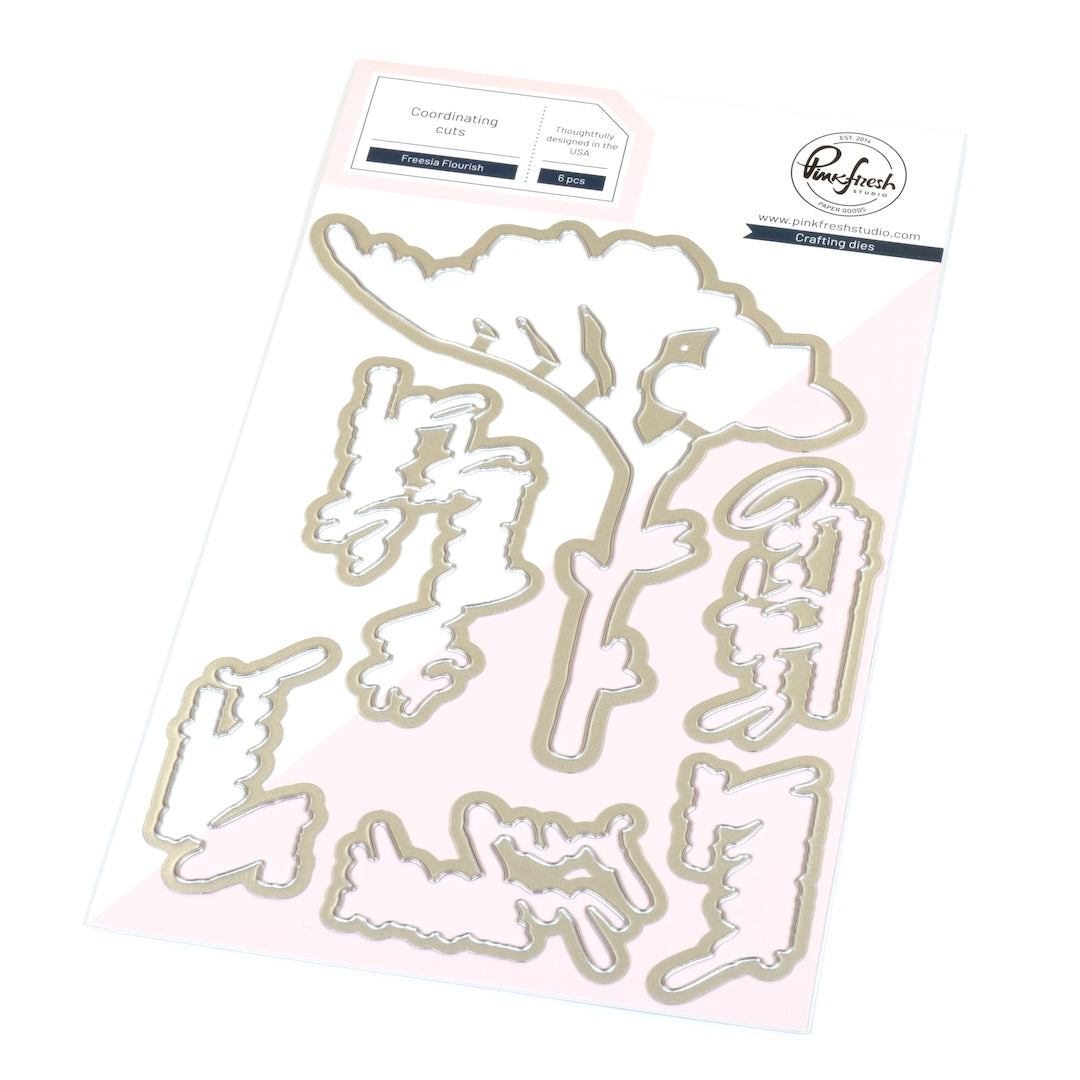
- Hot foil the image from the Freesia Flourish press plates & a sentiment of your choice on the other A2 panel using Champagne foil.
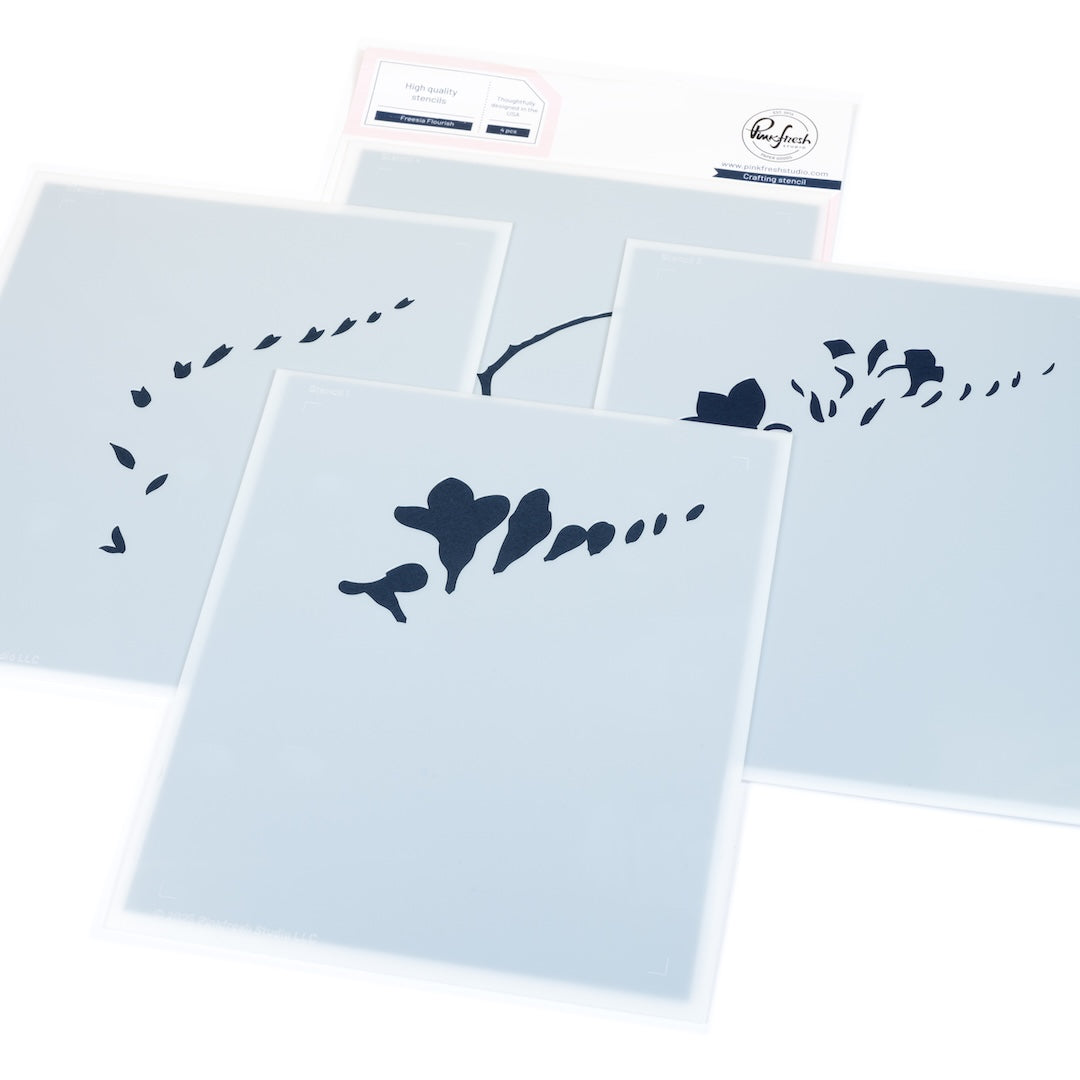
- Ink blend the image using the coordinating layering stencils:
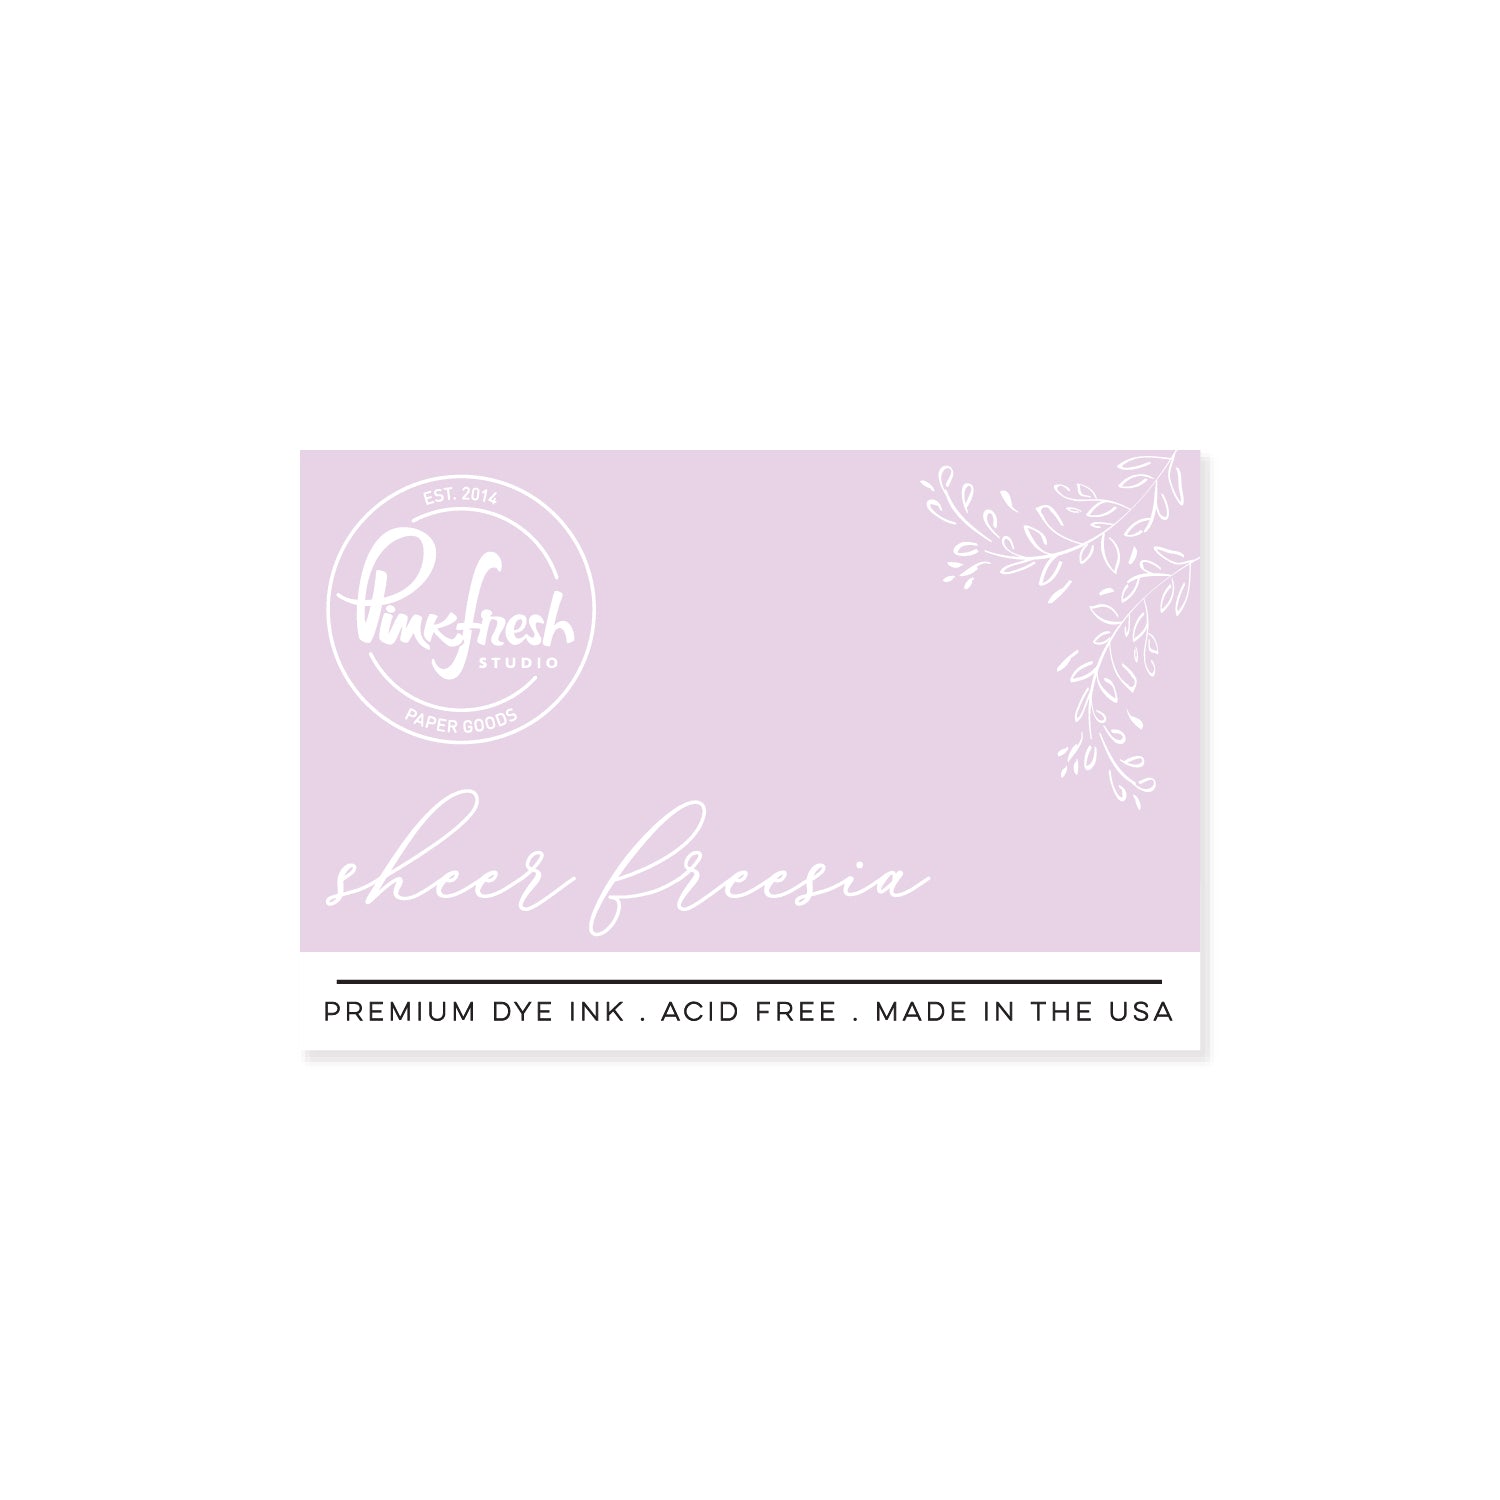
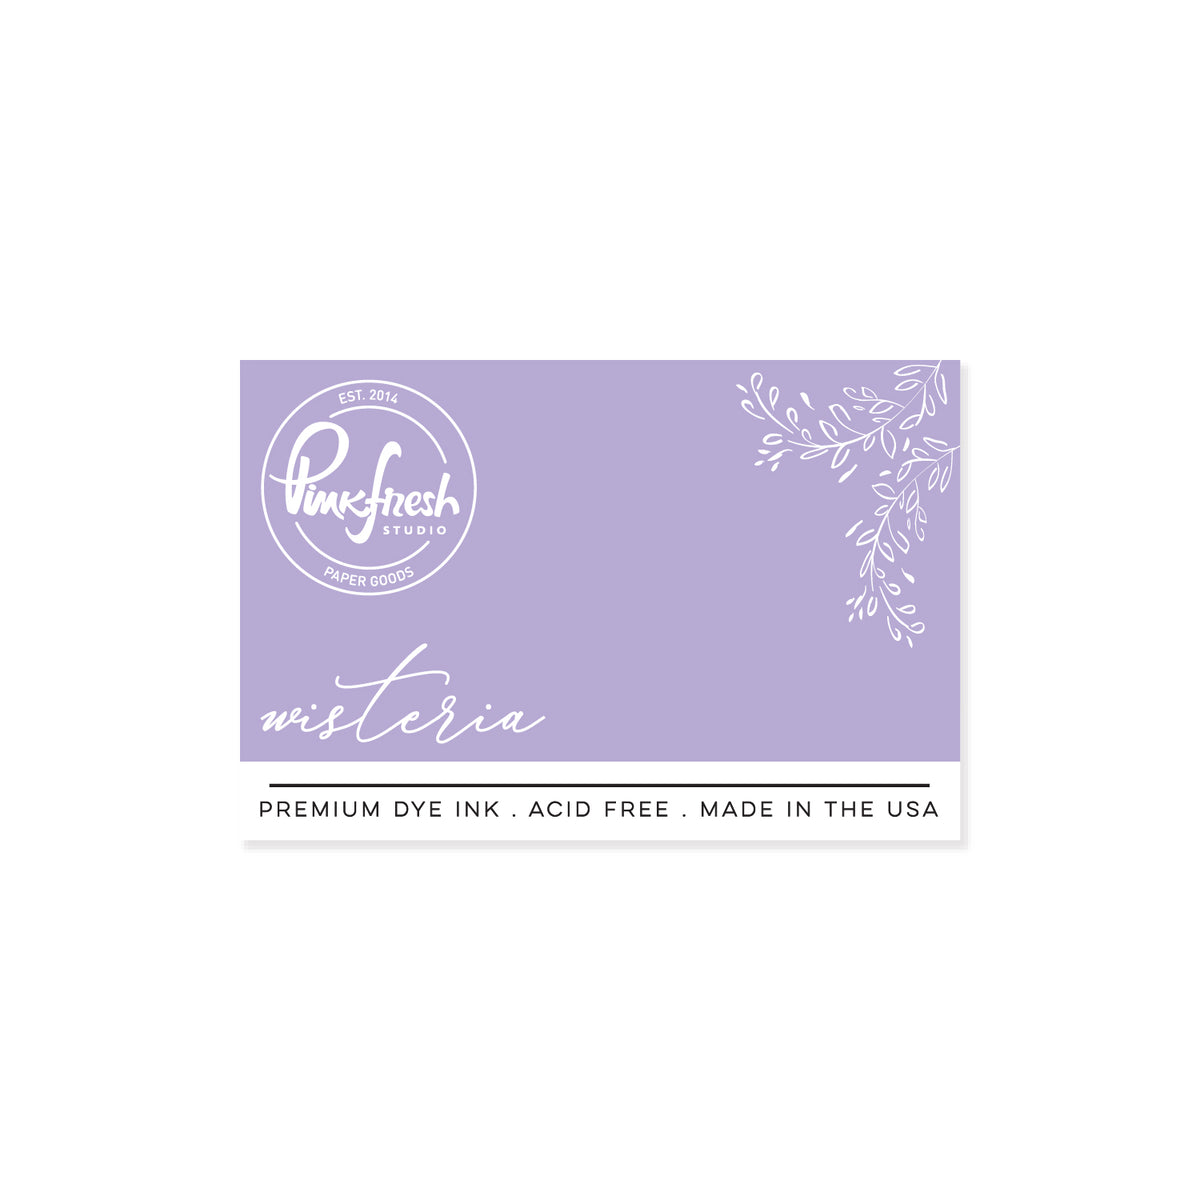
- Stencil 1: Sheer Freesia + Wisteria (for shadows)
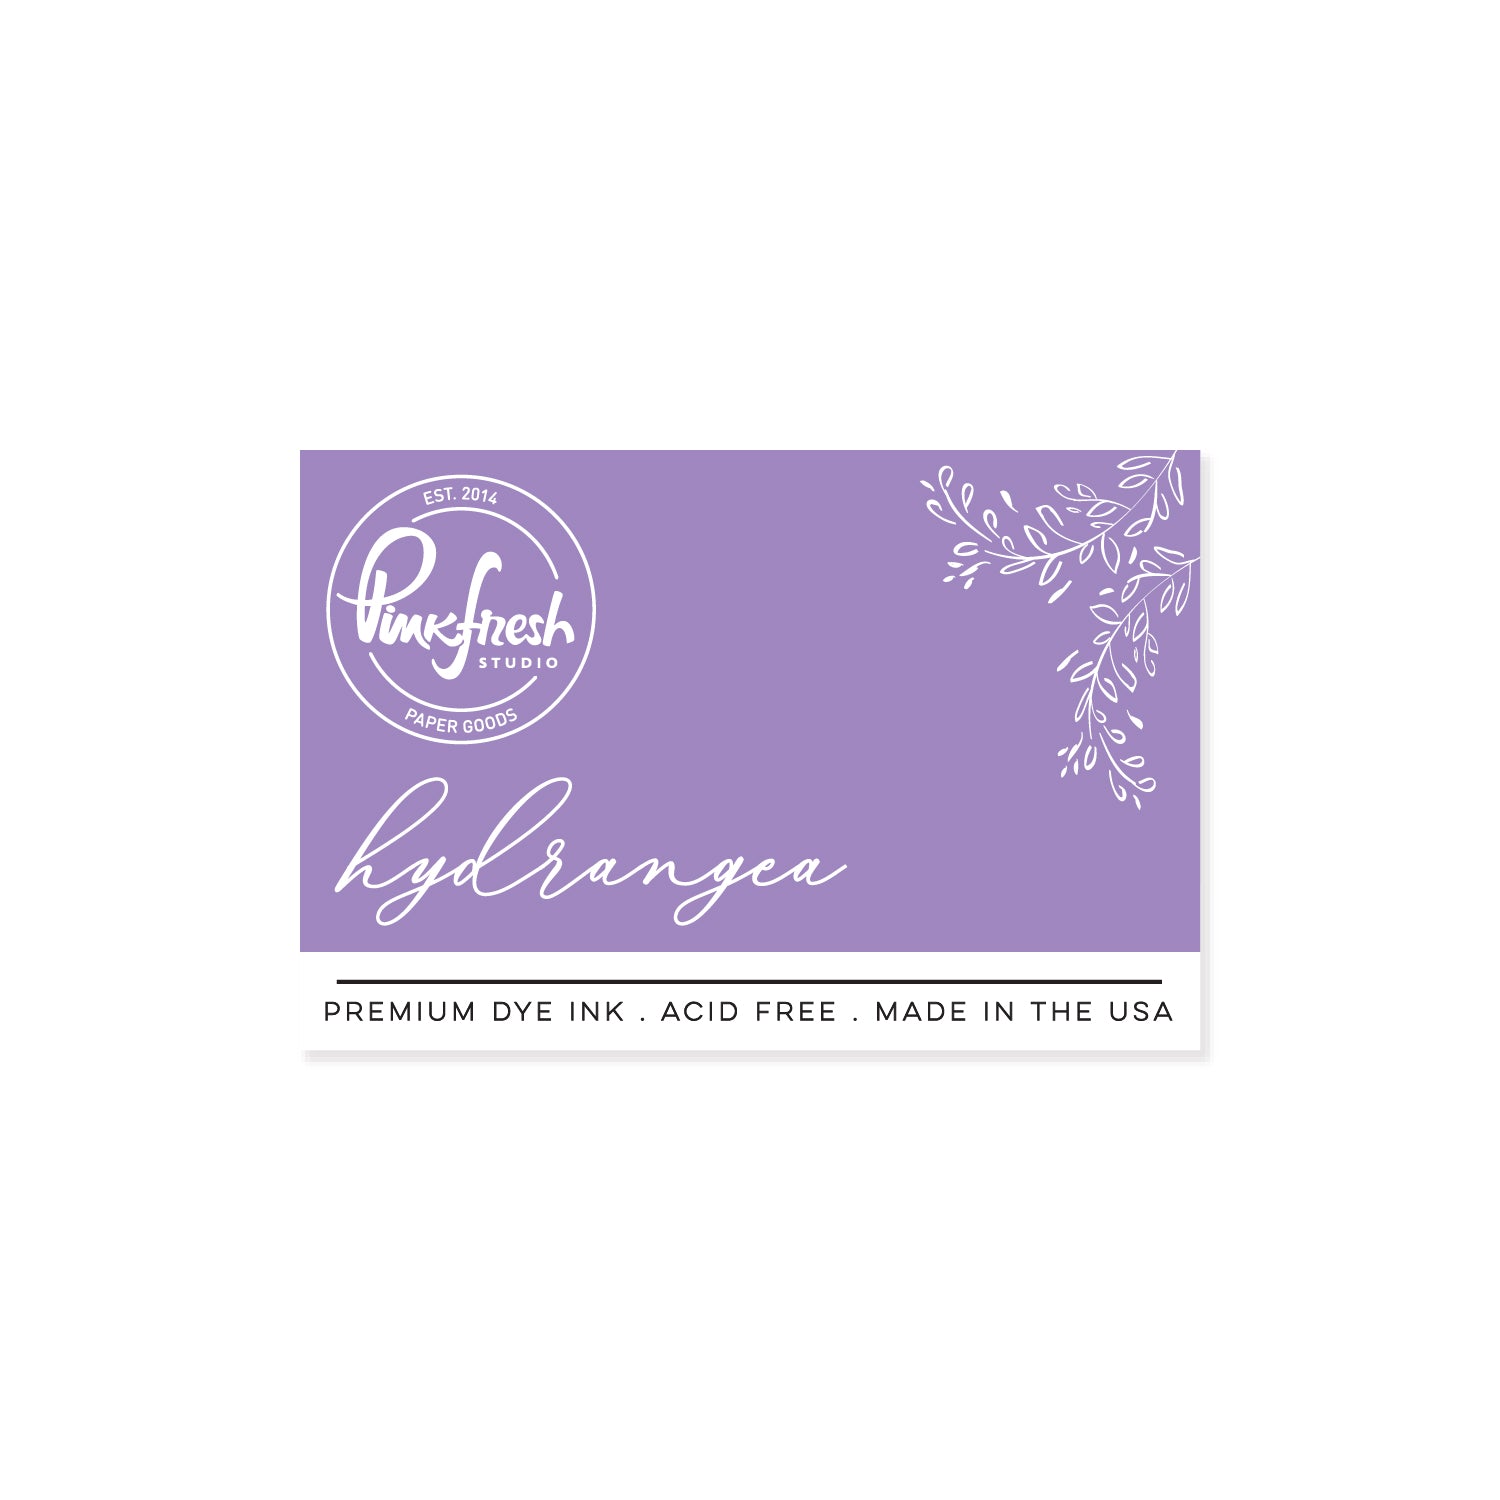
- Stencil 2: Wisteria + Hydrangea (for shadows)
- Stencil 3: Sage
- Stencil 4: Eucalytpus (lightly) OR use Sage again but blend heavier
- Die cut the ink-blended image & the hot-foiled sentiment & stack each with a blank piece.
- Adhere the floral die cut to the card front using foam adhesive, slightly to the left of the center.
-
Sentiment Banner:
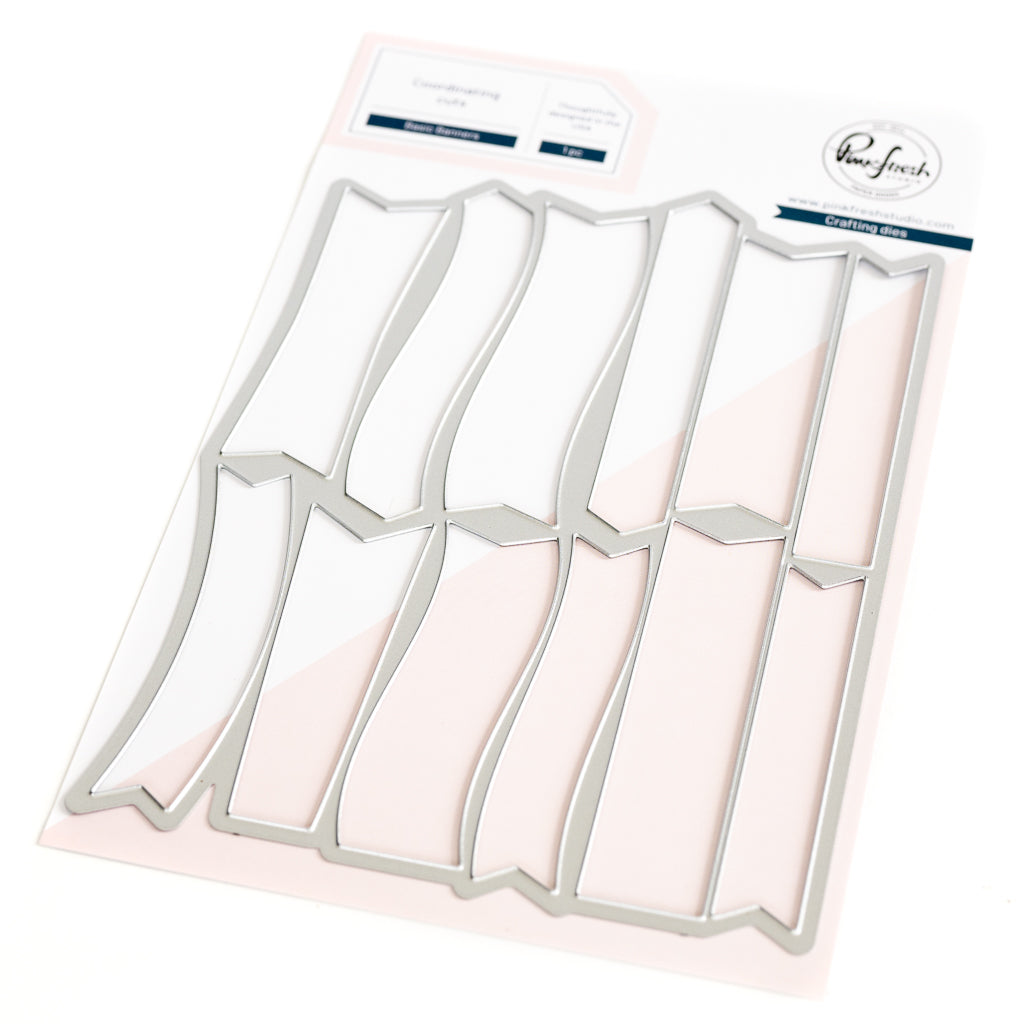
- Die cut the Basic Banners die from white cardstock & ink blend the wide curved banner with Sheer Freesia.
- Adhere to the right of the floral piece using foam adhesive. Add sentiment on top.
- Embellishments: Use Metallic Pearls in Gold for the final touch.

I hope you feel inspired to try your hands at some dry embossing or maybe creating a monochromatic card (okay, mine has a little green, but still 😉).
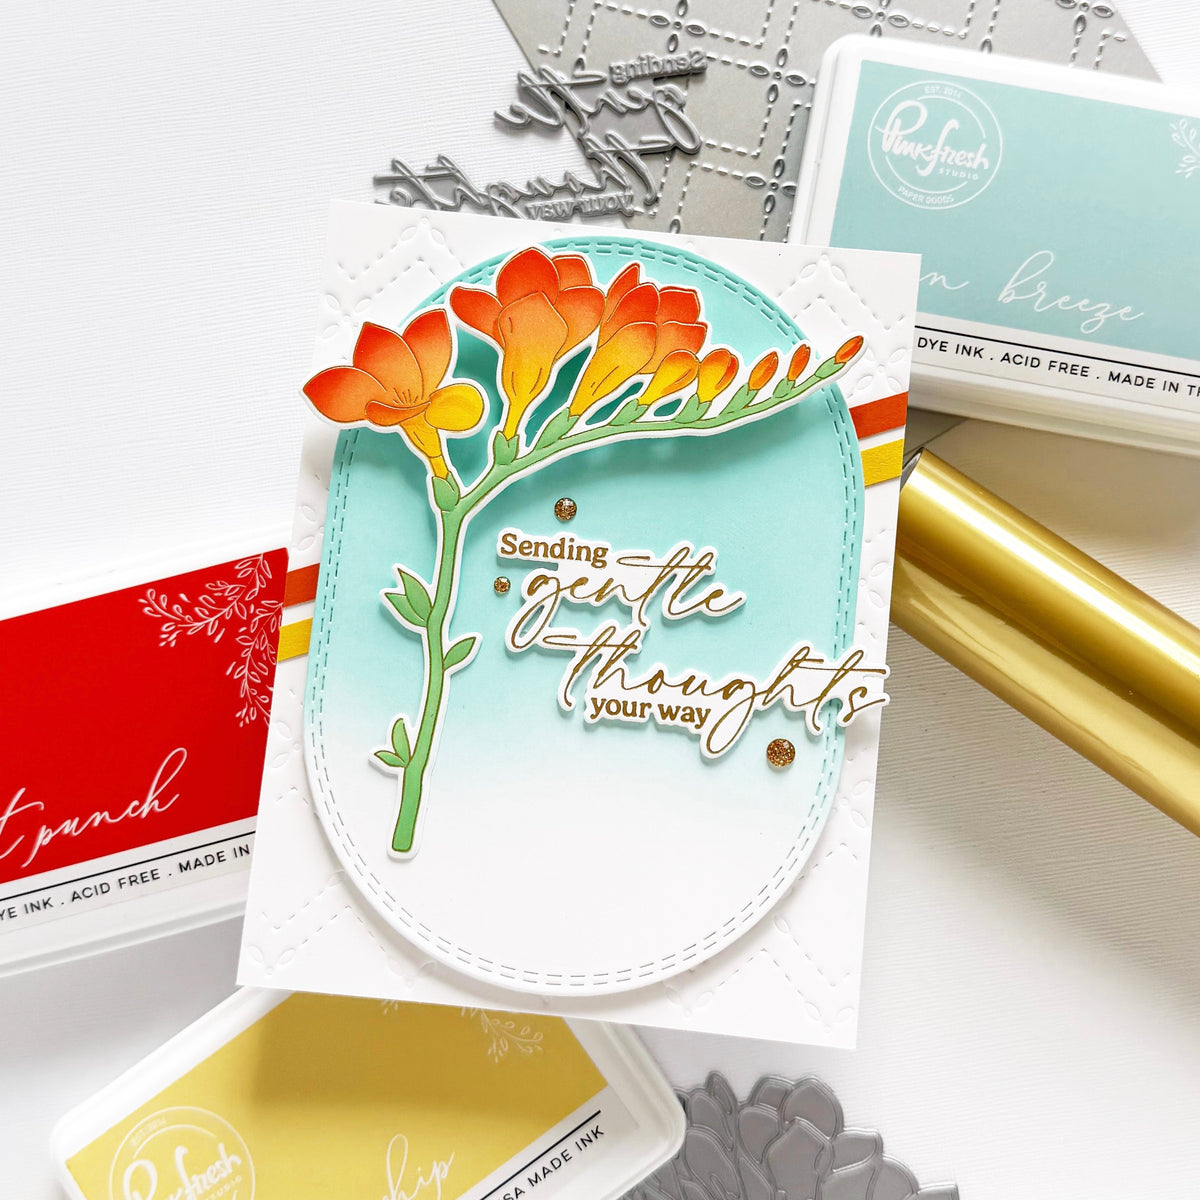
I would absolutely love to see this card with different coverplate dies used for the background and maybe a different color scheme. I bet it would look stunning in all pinks or oranges, too!
If you are inspired to recreate this card, we would love to see your version, so please make sure to tag us (@pinkfreshstudio and @cardsandconfetti) on Instagram and use #pinkfreshstudio.
Thanks for stopping by! Have a wonderful week!
-Kathleen
Recommended Products








































1 comment
Sue Crease
So beautiful Kathleen. Love the splatter too
Leave a comment
All comments are moderated before being published.
This site is protected by hCaptcha and the hCaptcha Privacy Policy and Terms of Service apply.