
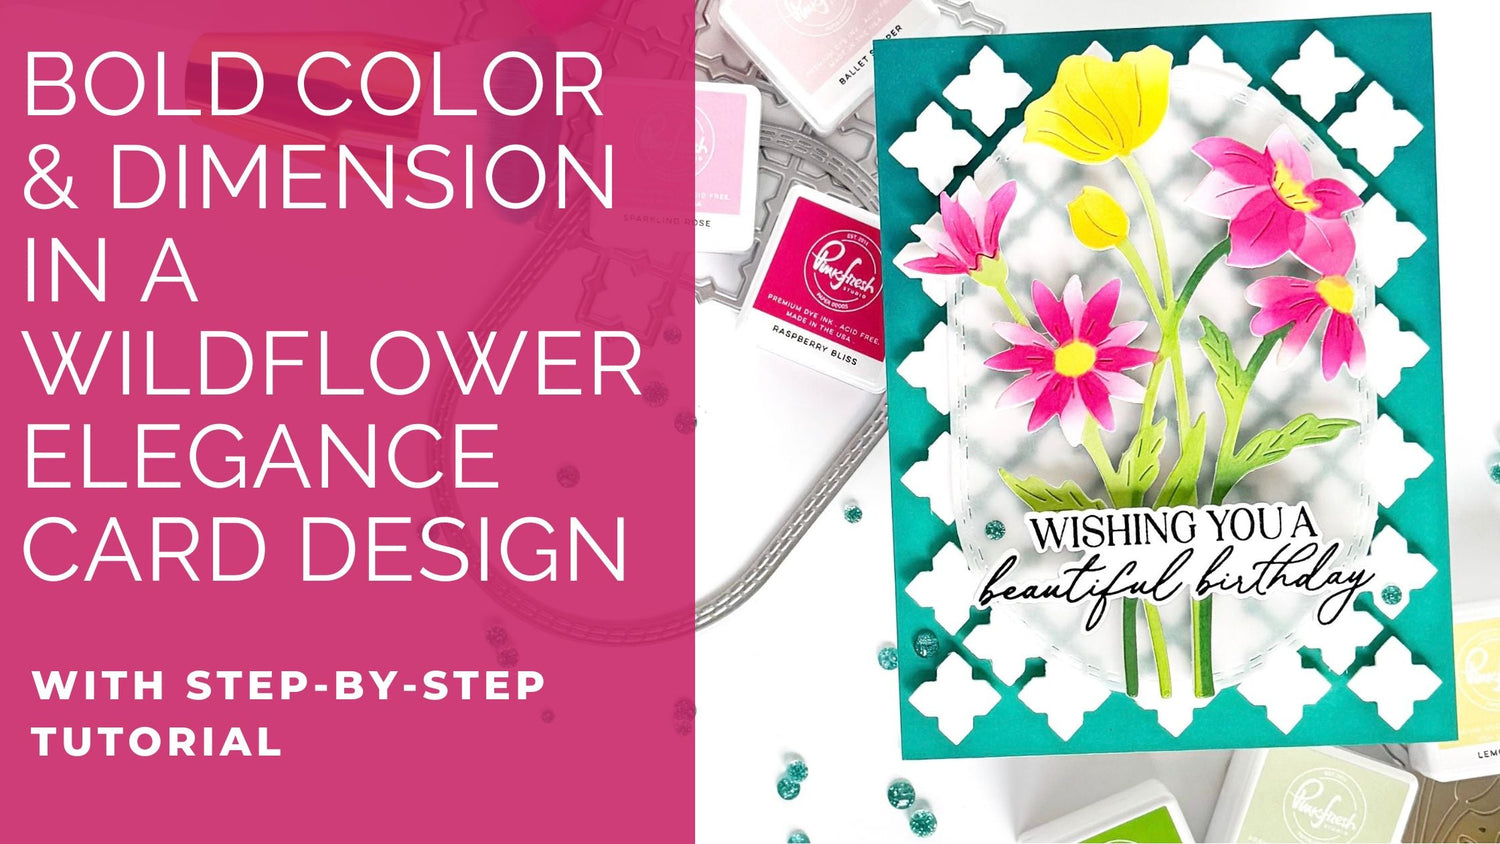
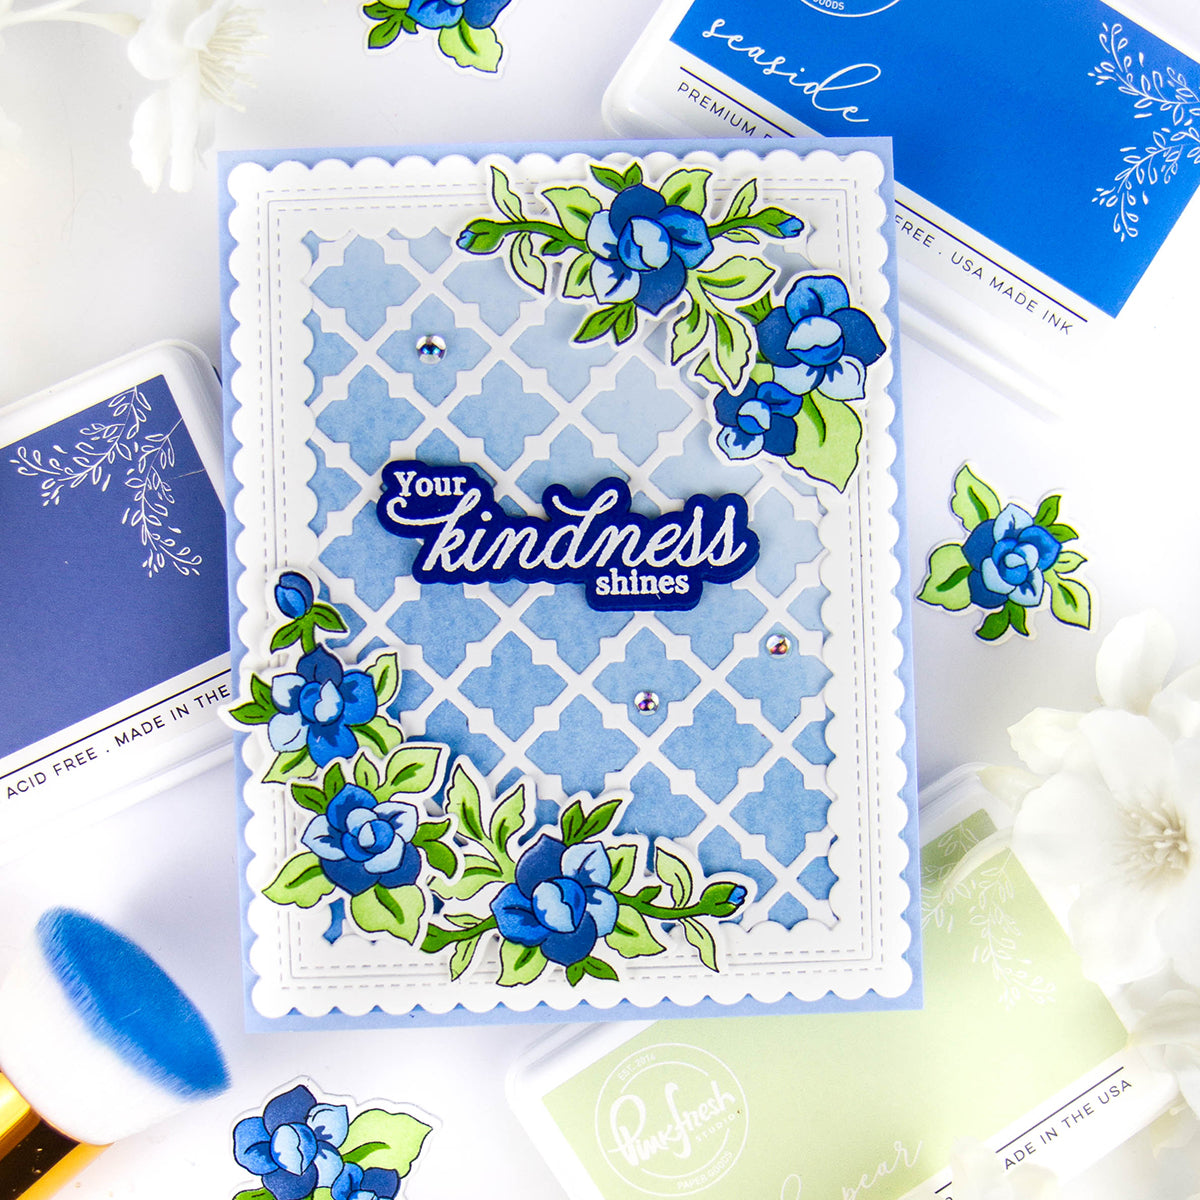
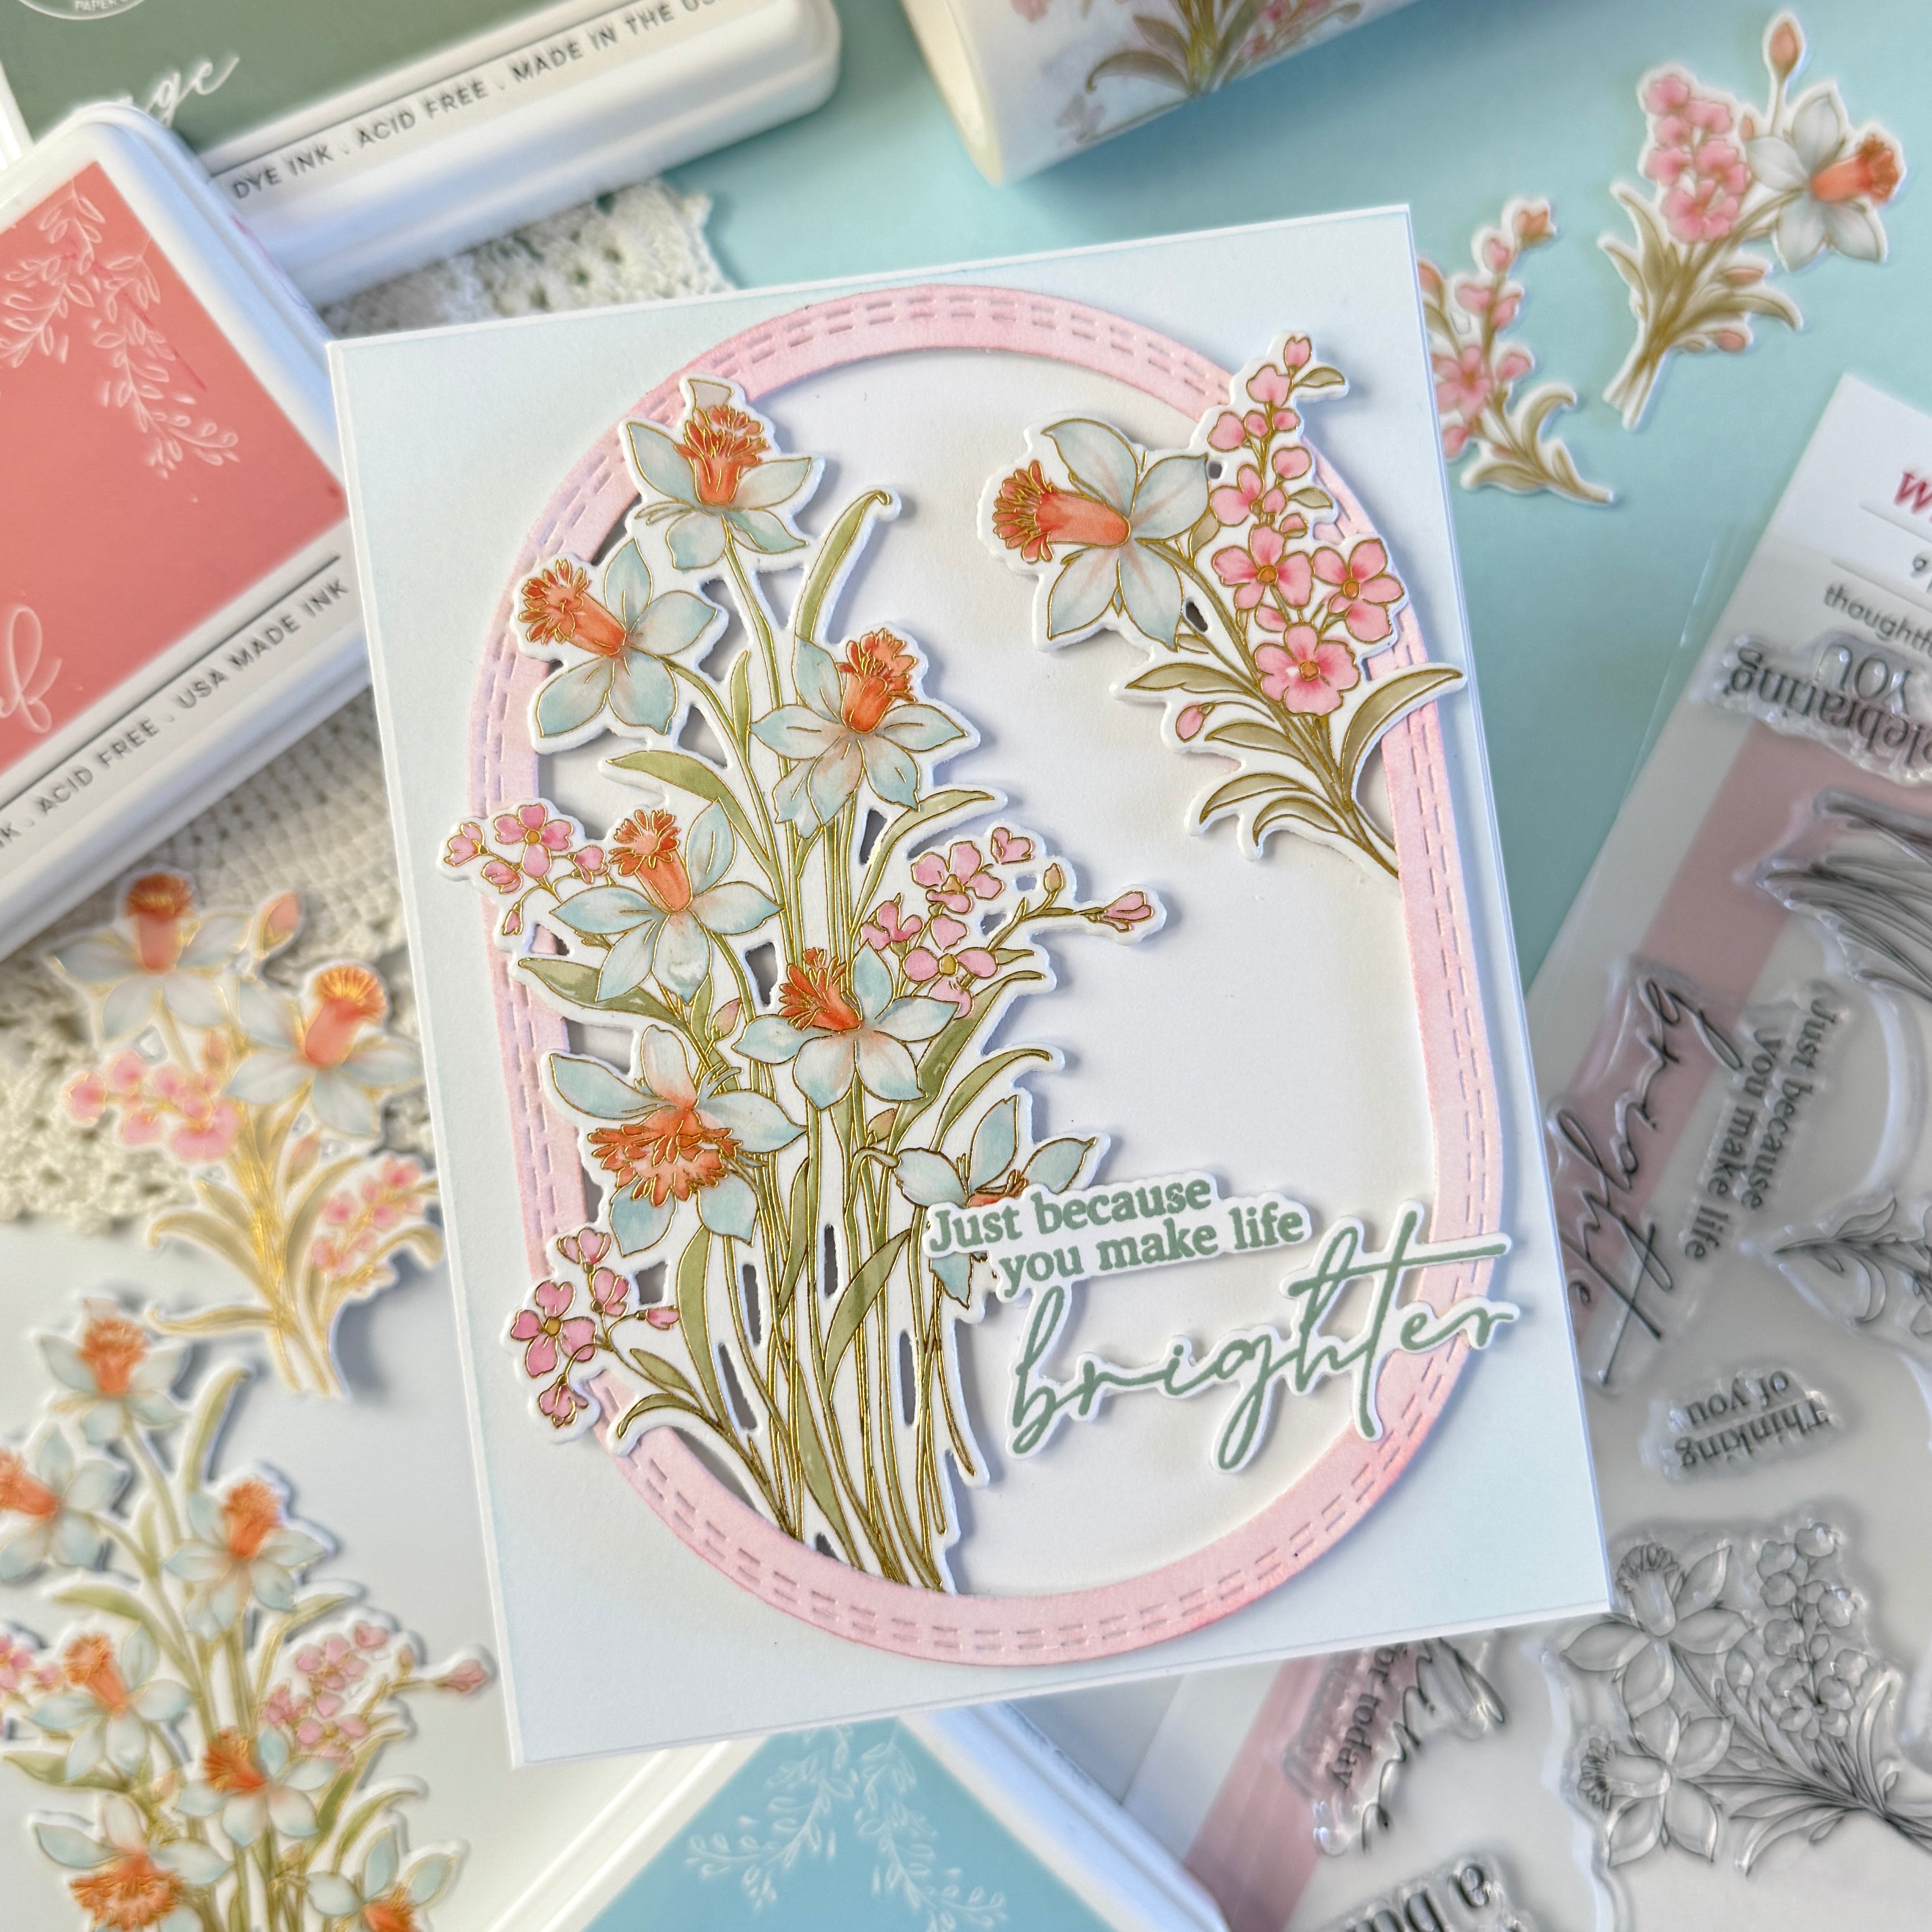
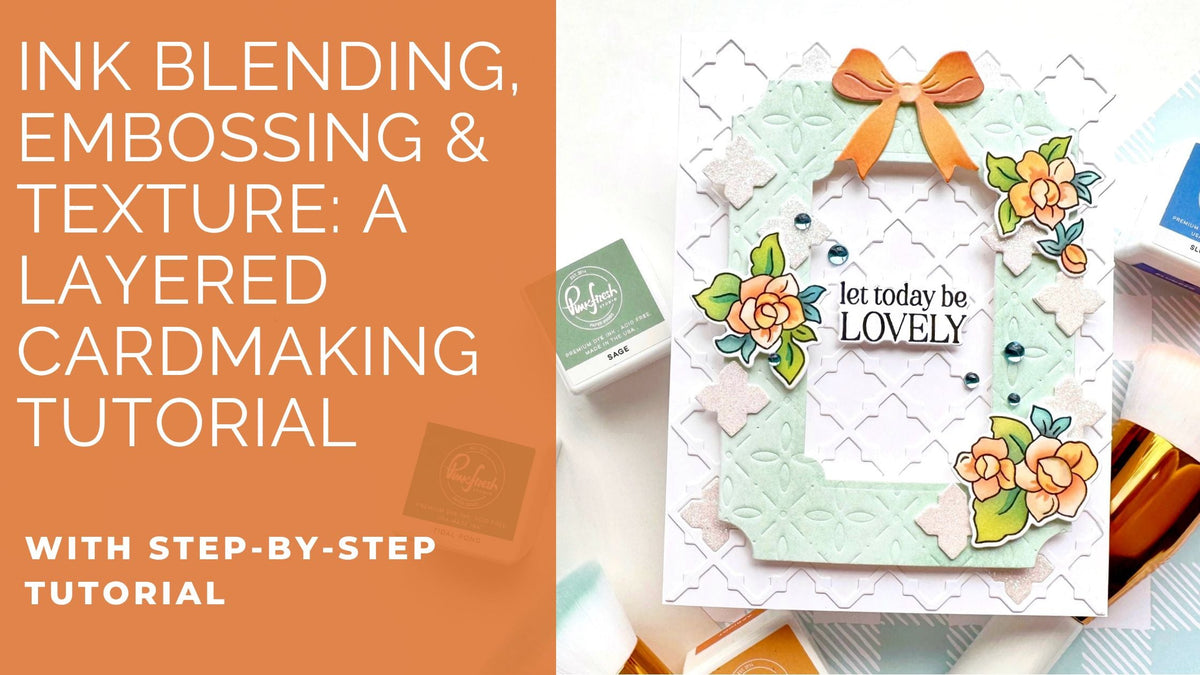
When bold color meets thoughtful layering, even simple die cuts can feel elevated and full of life. In this design, I used the Wildflower Elegance suite to showcase dramatic ink blending paired with crisp dimension. The background transitions through rich teal hues, creating a luminous foundation that makes the florals pop. Every detail—from the precisely aligned trellis pieces to the triple-stacked blossoms—adds structure and depth. The result is a design that feels both airy and architectural, where color and form work together to create visual impact.
*Disclaimer: All products used are linked below as clickable images. If a product isn’t listed, it’s been discontinued.

How to recreate this card:
- Create an A2 top-folding card base.
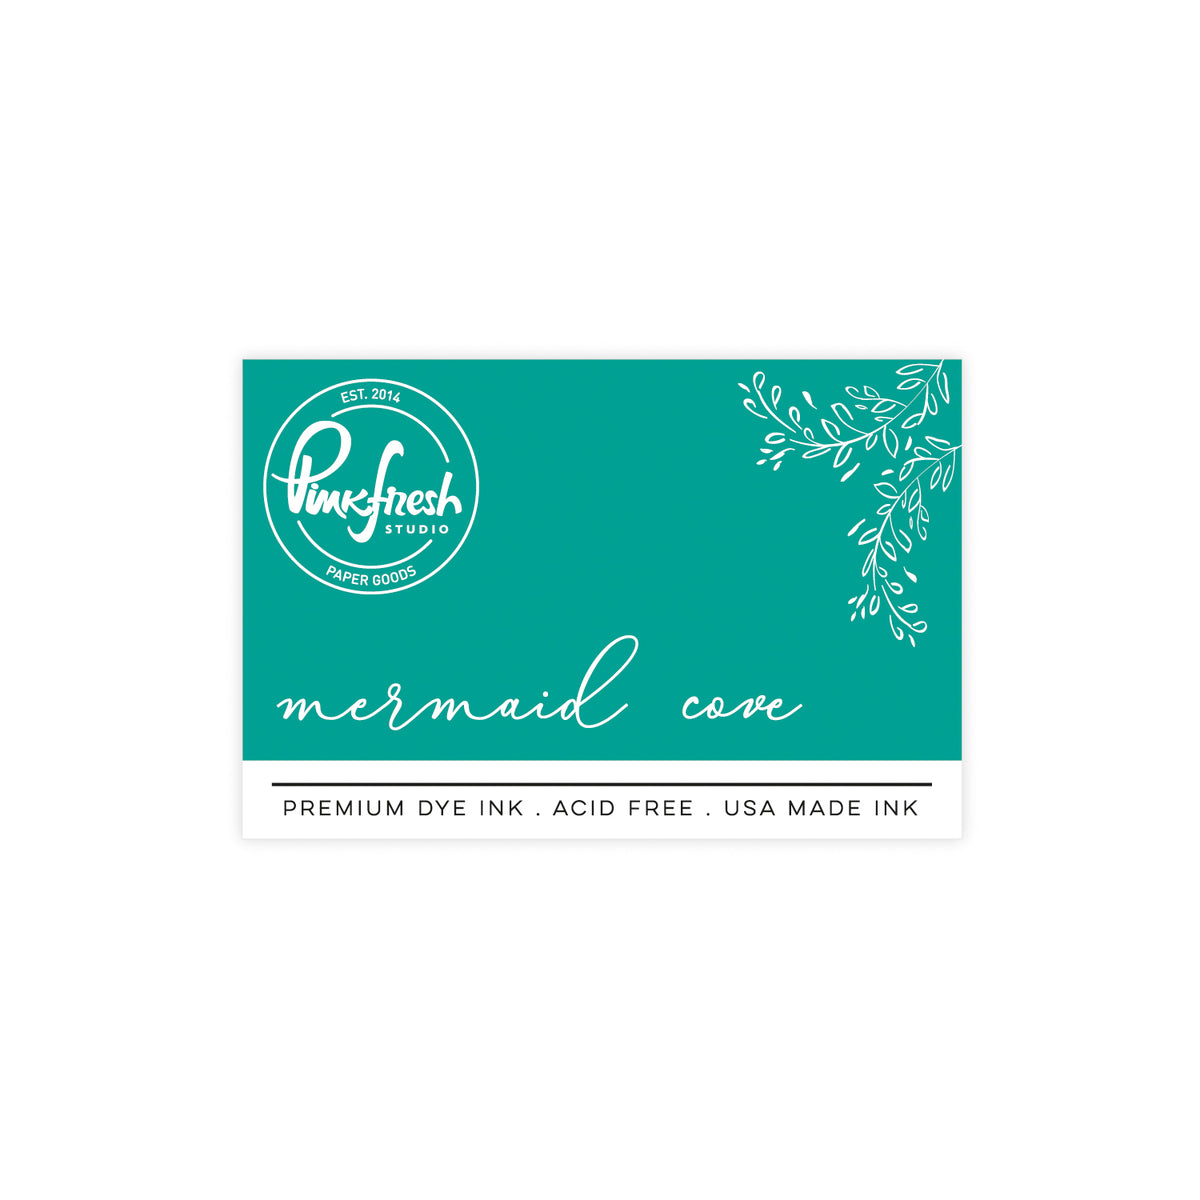
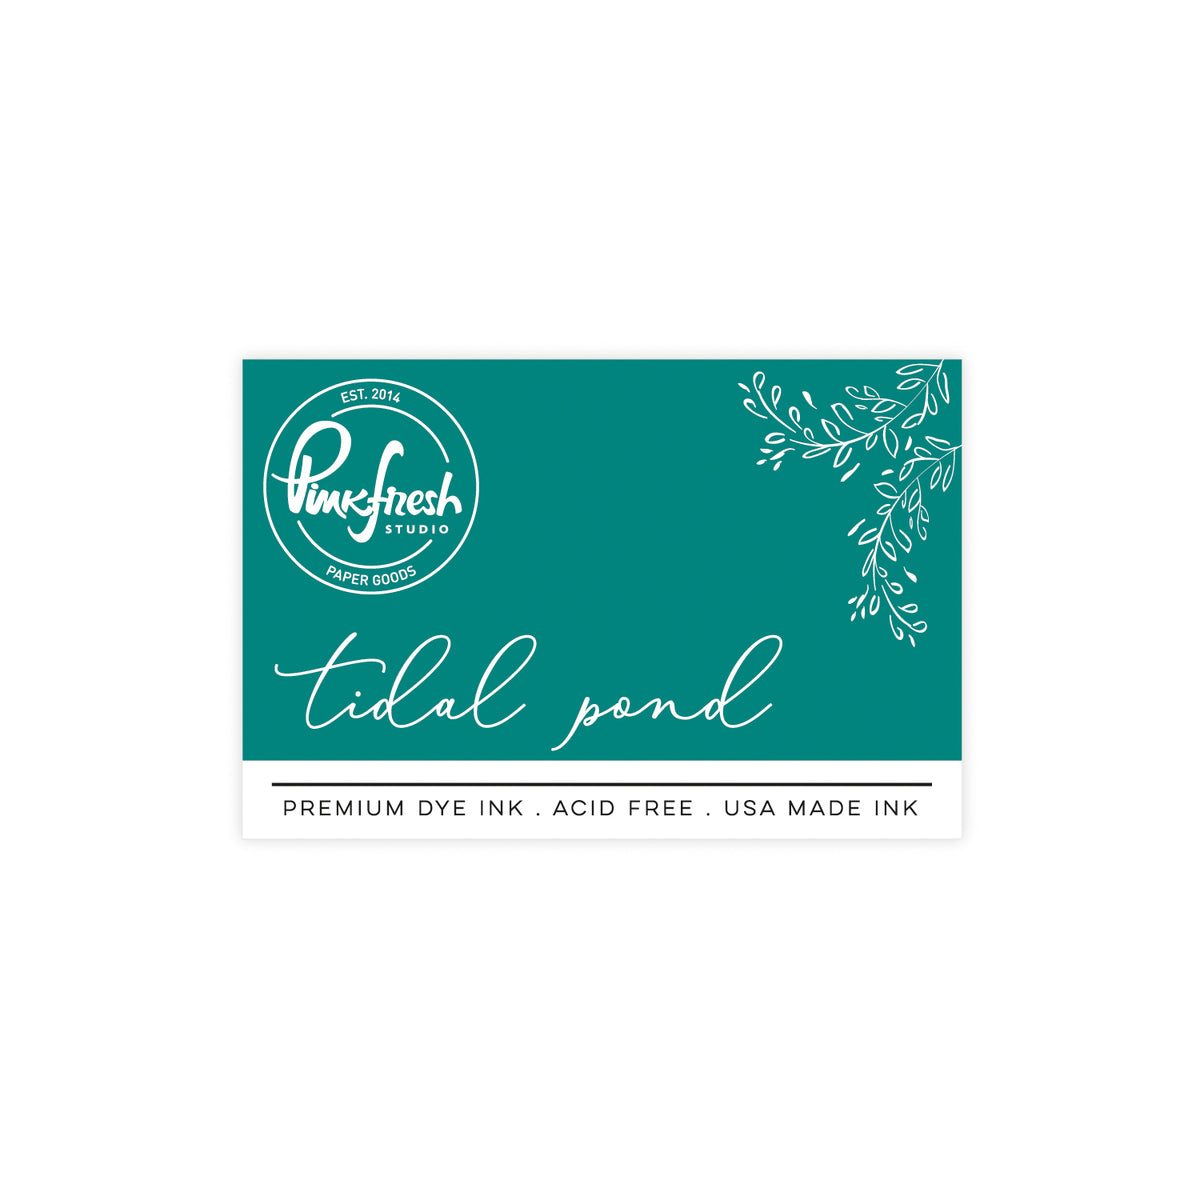
- Cut an A2 panel from white cardstock. Ink blend started at the top with Mermaid Cove, blending into Aquamarine for the bottom half. Ink blend Tidal Pond around the perimeter of the panel. Adhere to the card base.
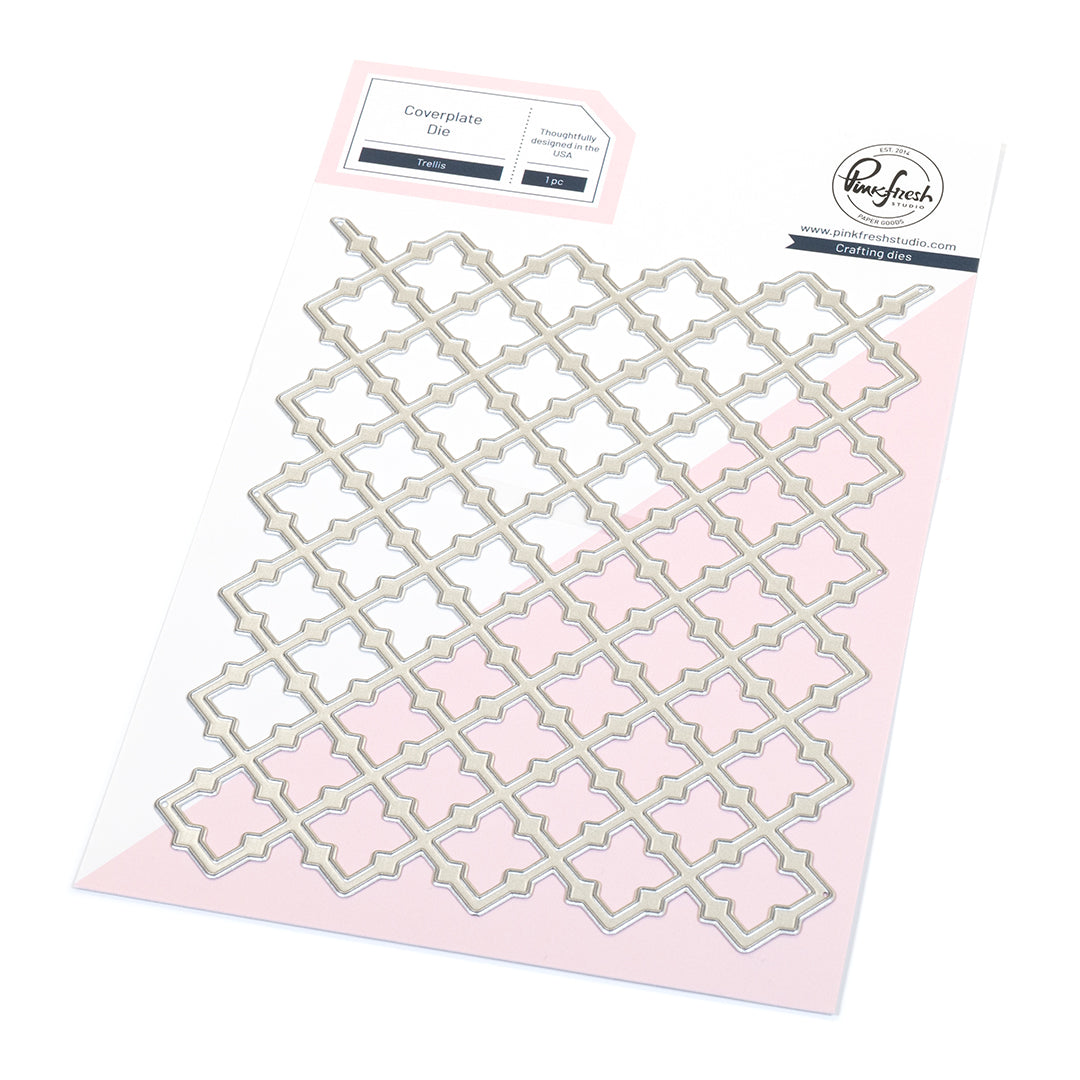
- Cut the Trellis from a piece of white cardstock. Keep all pieces in the die, and place a thick foam square on each piece that would pop out and be thrown away. Remove the liners and carefully adhere all the pieces to the ink-blended panel, ensuring the die is centered perfectly.
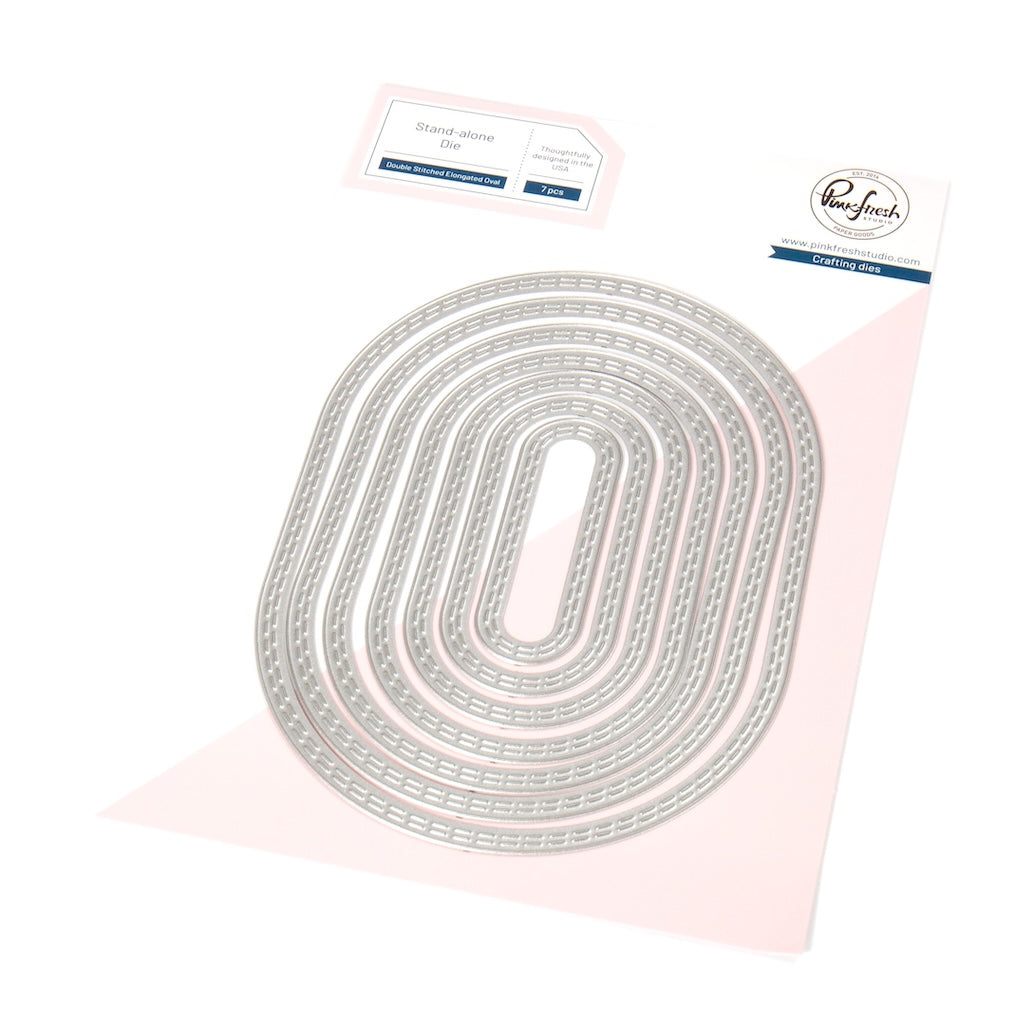
- Cut the second-largest Double Stitched Elongated Oval from heavyweight vellum cardstock and set it aside.
-
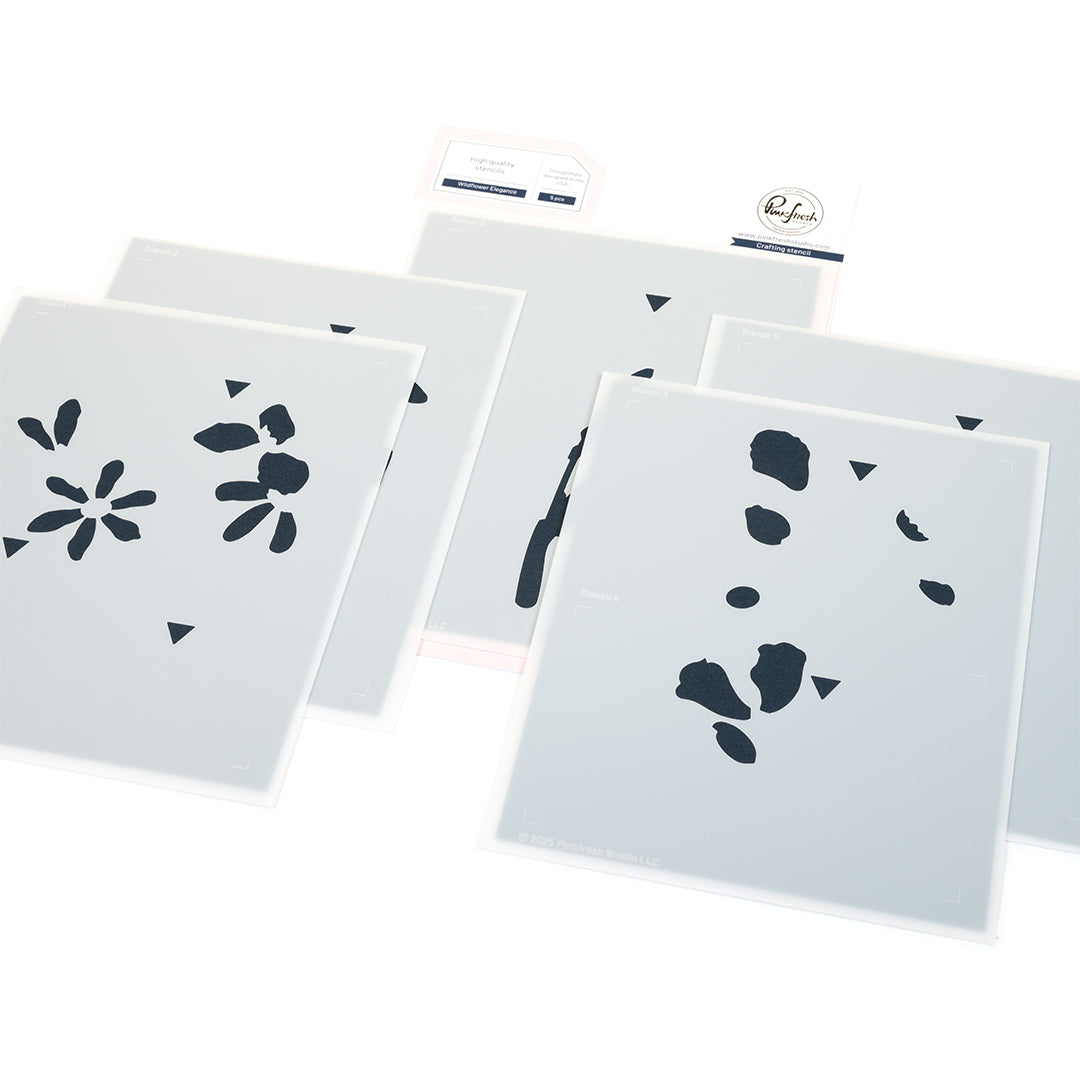
Stencil the flowers on an A2 panel using the following colors:
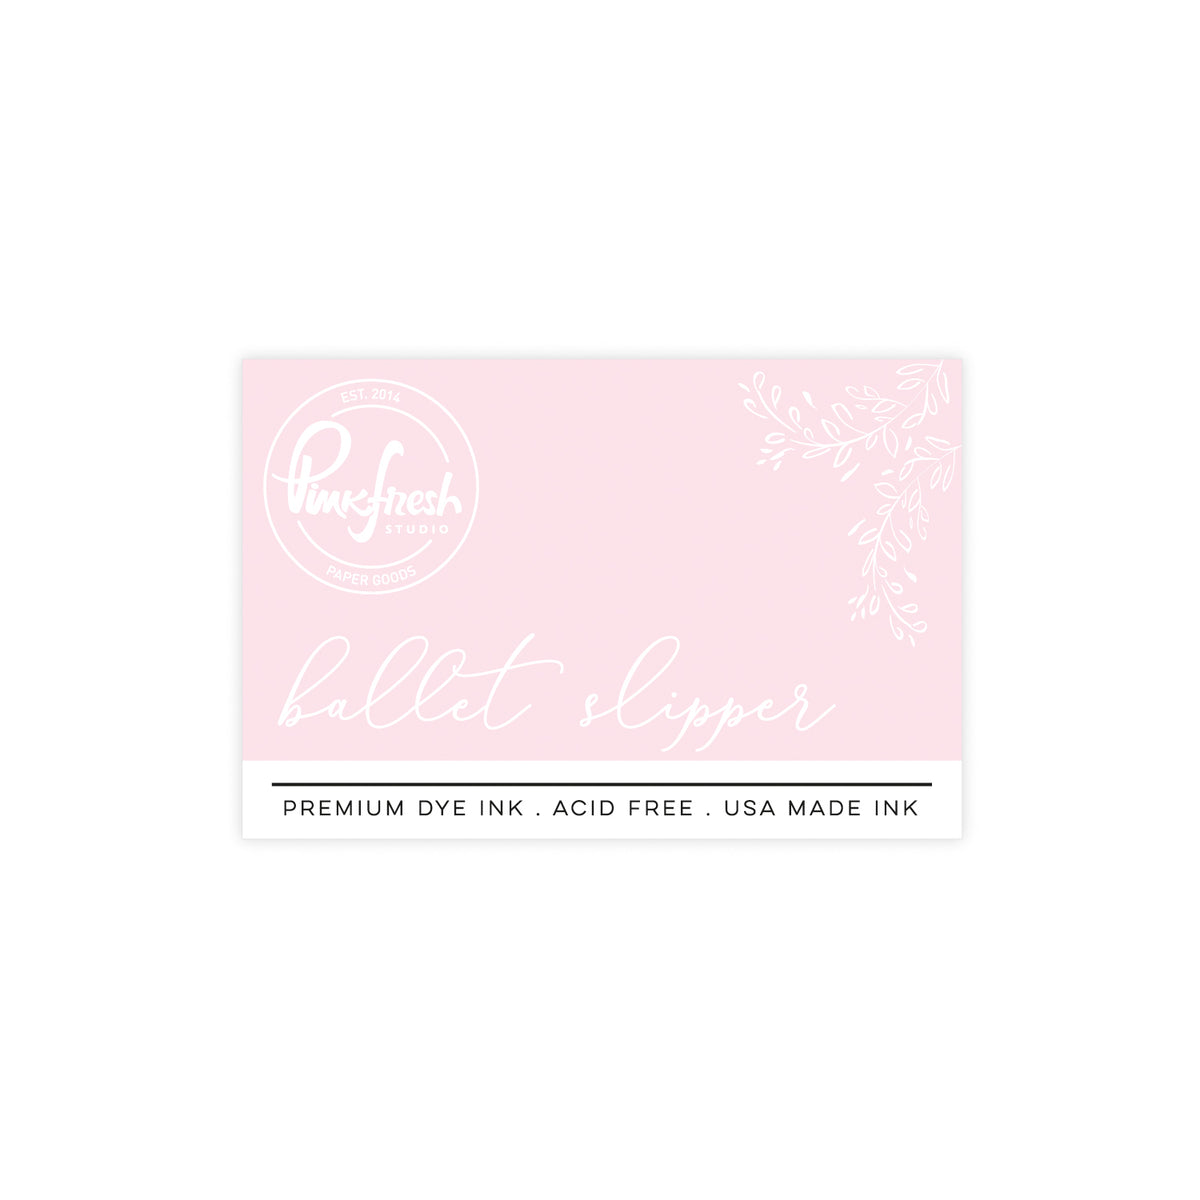
- Stencil 1: Ballet Slipper, Sparkling Rose
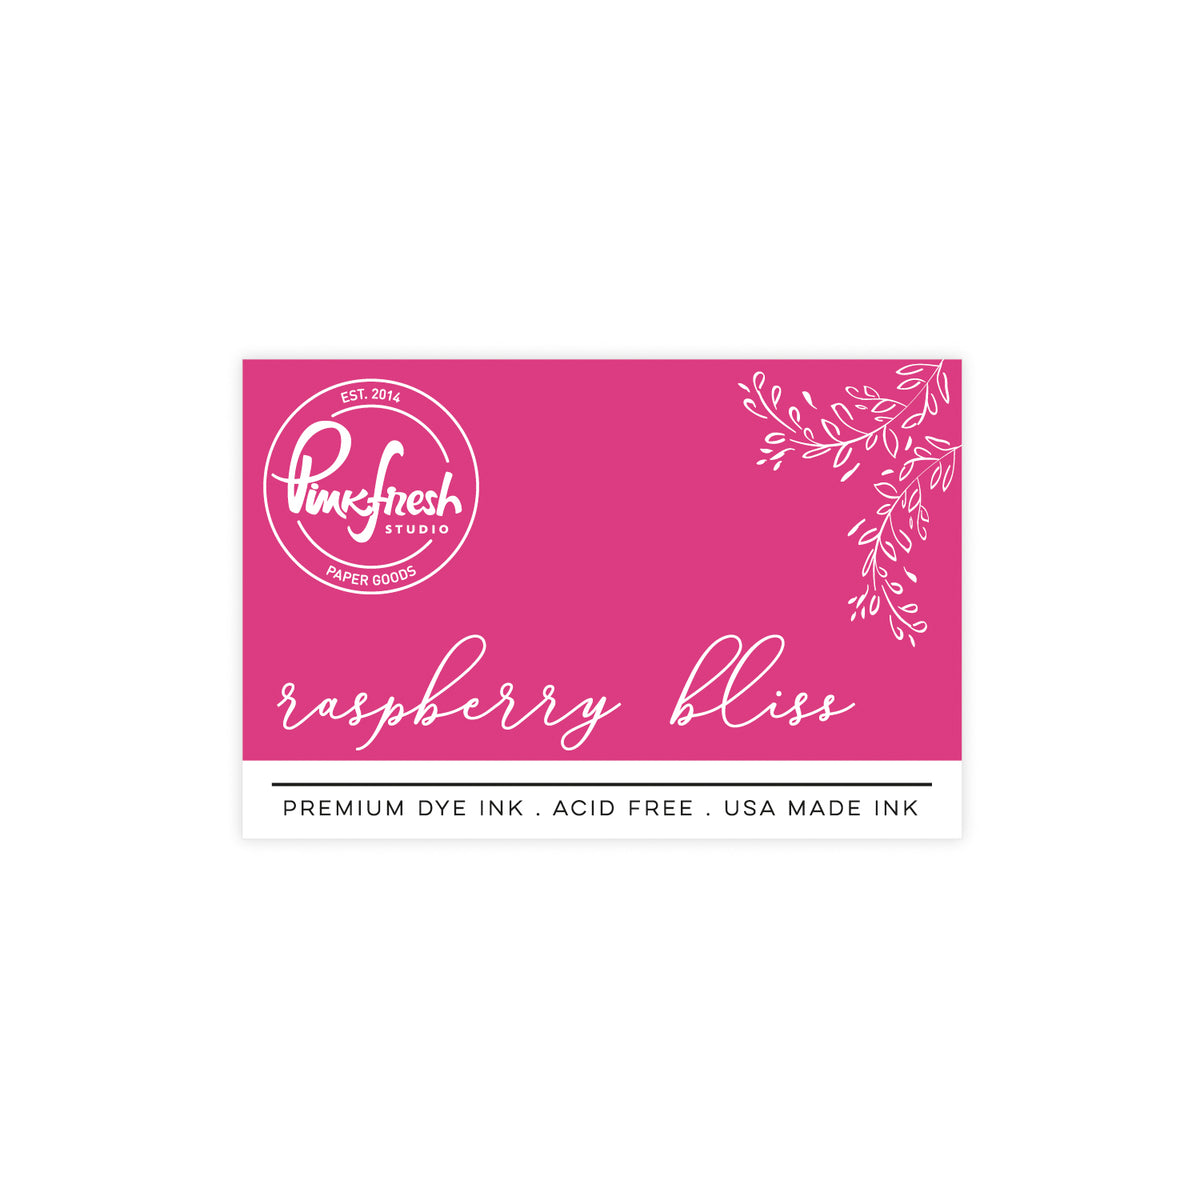
- Stencil 2: Sparkling Rose, Raspberry Bliss
- Stencil 3: Lemon Whip, Marigold
- Stencil 4: Lemon Whip
- Stencil 5: Fresh Pear, Grassy Knoll
- Stencil 6: Grassy Knoll, Olive
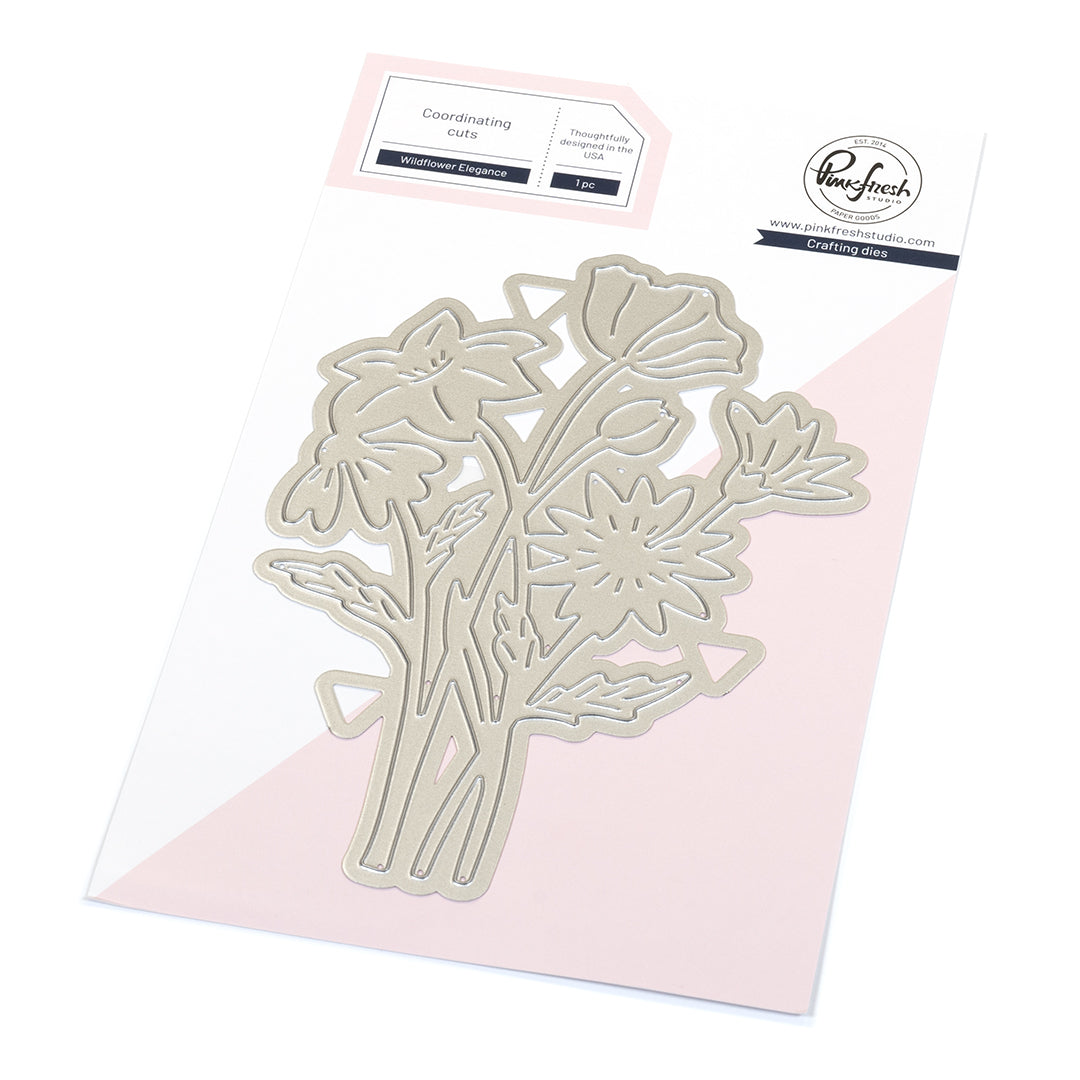
- Die cut the flowers with the coordinating die and stack with 2 blanks.
- Put thick foam squares on the backside of the flower cluster in any area that is thick enough. Cut slivers of foam tape to place behind leaves and thicker stems. Adhere to the vellum oval.
- Flip the vellum panel over and add thin foam squares wherever you added them behind the flowers. Adhere to the card, using the trellis 'diamonds' to ensure it is perfectly centered.
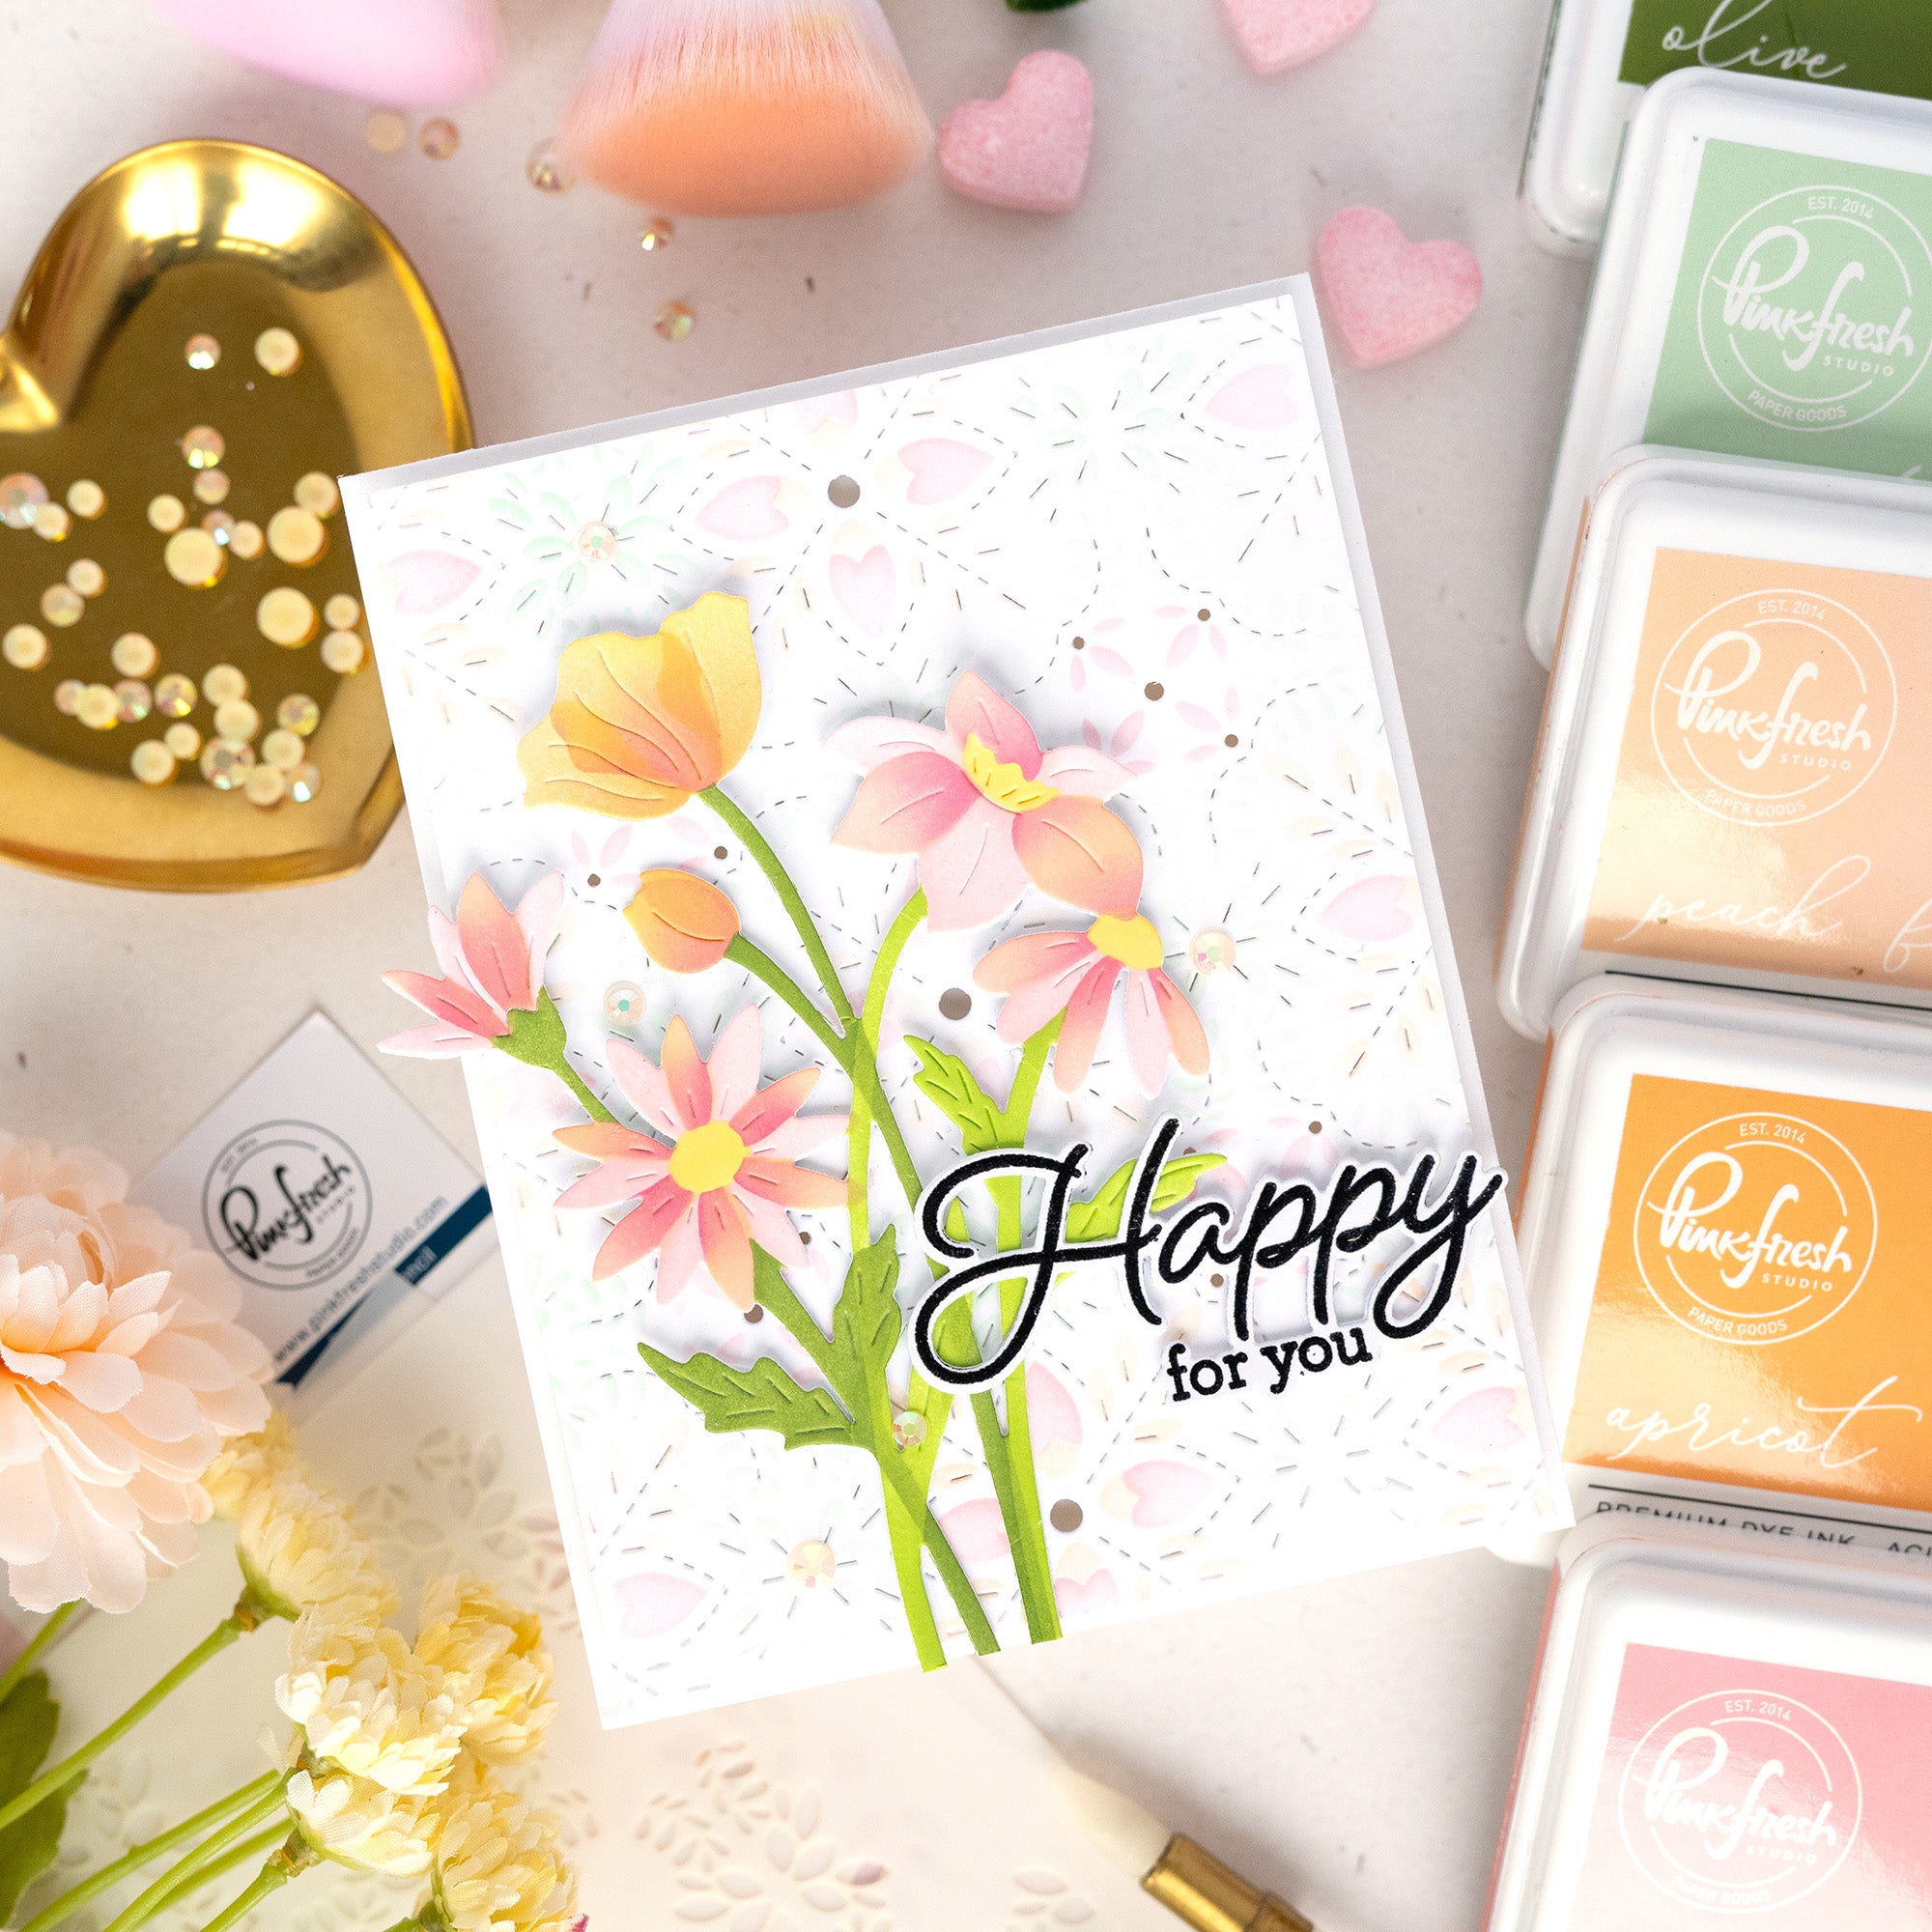
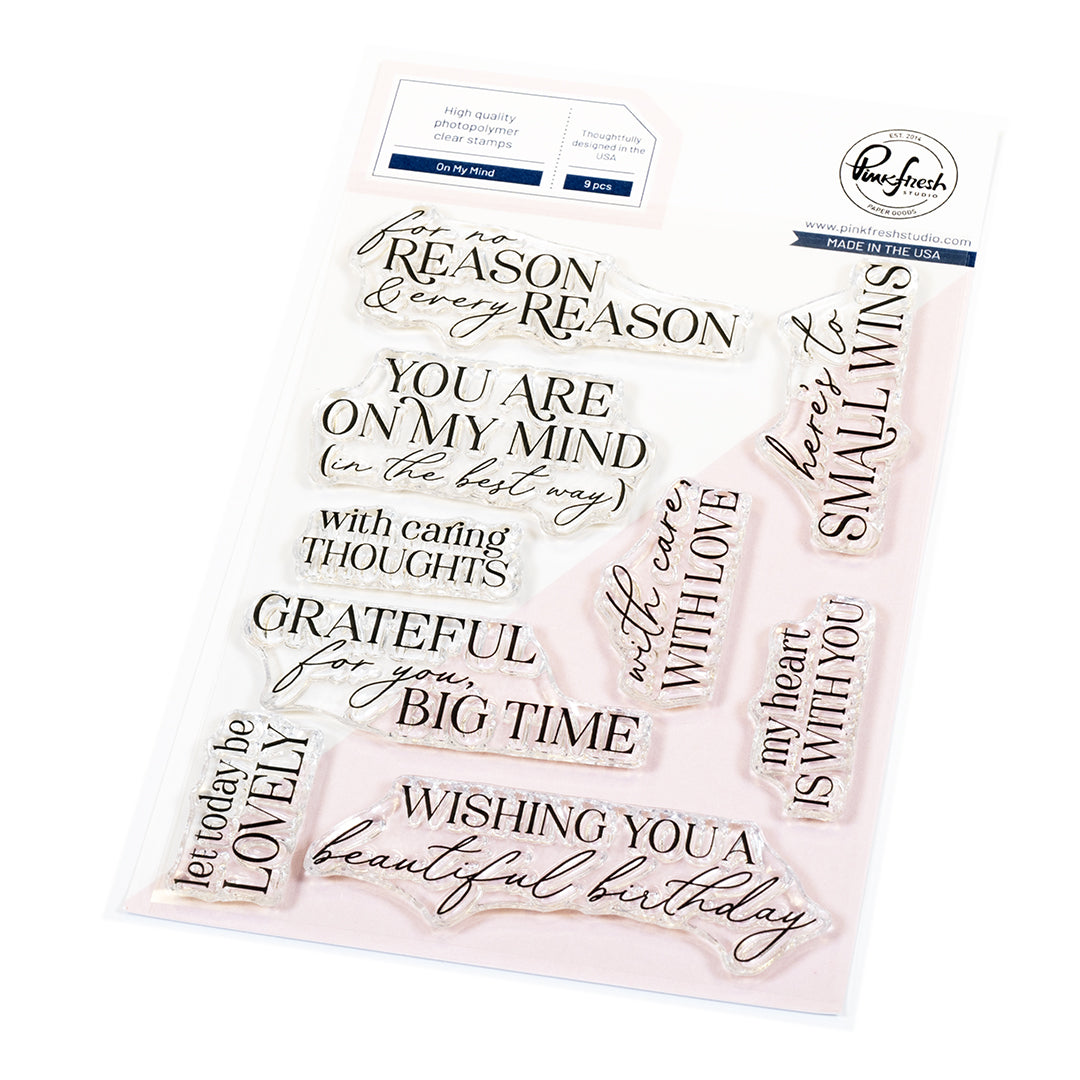
- Stamp the sentiment using Detail Black and heat emboss it with clear embossing powder. Die cut the sentiment and stack with two blanks. Adhere the sentiment on top of the stems using foam tape.
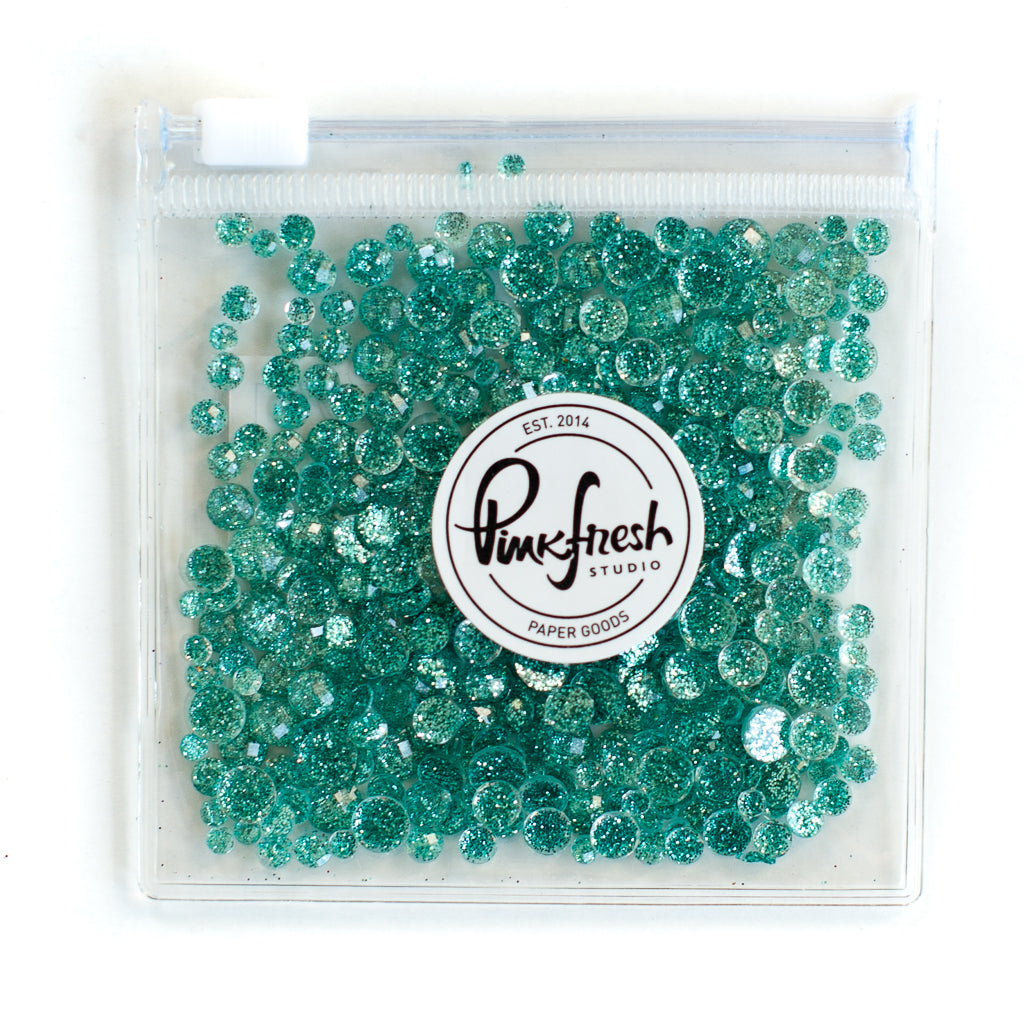
- Embellish with glitter drops.


I hope this project inspires you to experiment with bold backgrounds and layered die cuts in your own designs! I’d love to see your take—tag us on Instagram or share your project in the comments below. Let me know which part of this technique you’re most excited to try!
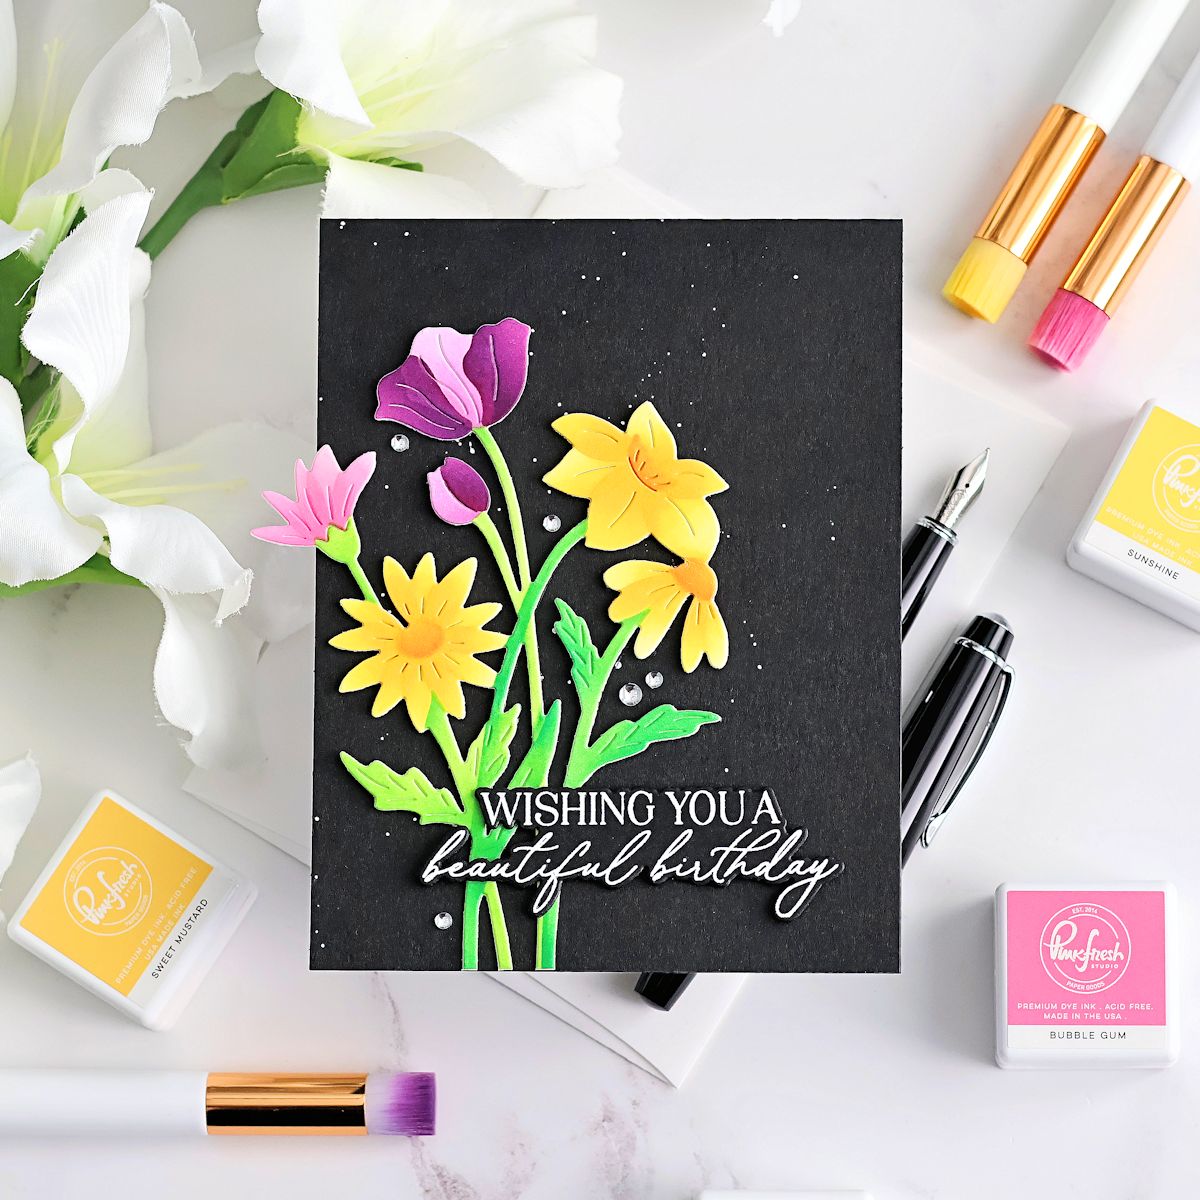
Want to mix it up? Try a softer palette for a springtime look, or go monochrome for modern sophistication. When it comes to ink blending and layering, a little contrast and creativity go a long way.
Recommended Products




































1 comment
Tracy
Ooooh I just love this Jody! Beautiful colors, and I love the way the you used the trellis “discards” as the focal point/background here.
Leave a comment
All comments are moderated before being published.
This site is protected by hCaptcha and the hCaptcha Privacy Policy and Terms of Service apply.