
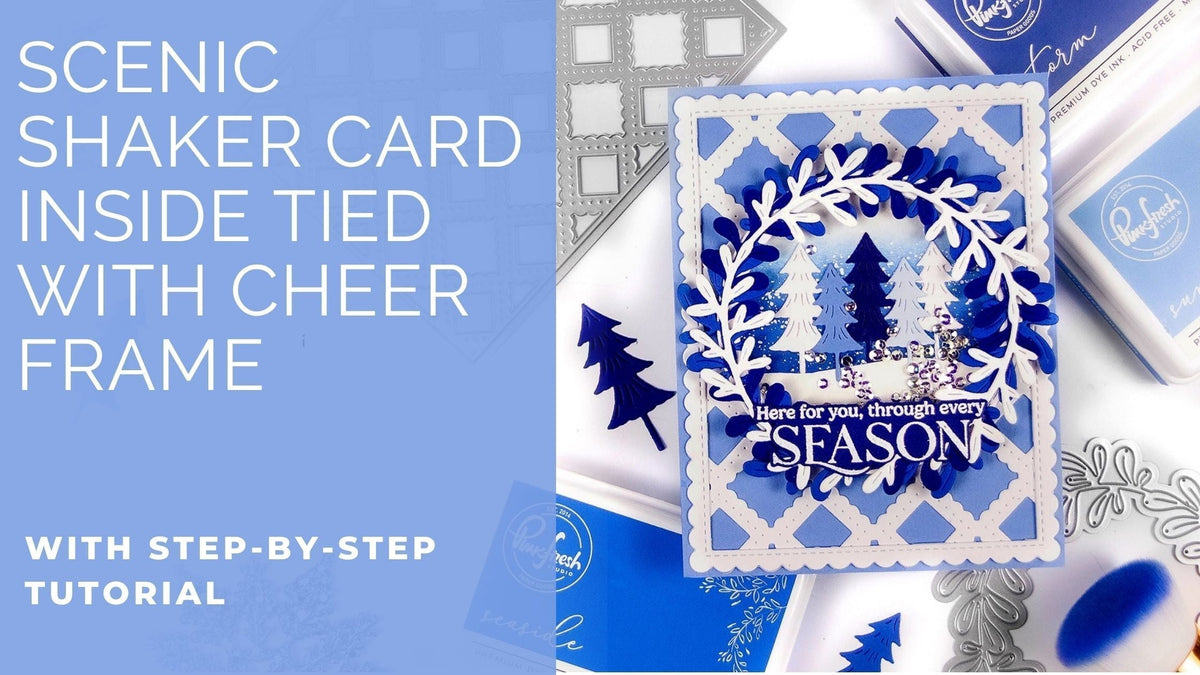
Hello friends! I have always been a big fan of cards with frames and/or stitching. I think that stitched dies as well as frame dies always look so eye-catching. For my card today, I wanted to use both stitching and a frame to complement my focal point, the scenic wintry design in the center.
I turned my card into a shaker card because I always love adding a little extra bling, but it's not a necessary step; so if you're looking for something a little bit simpler, you can always skip that step.
*Disclaimer: All products used are linked below as clickable images. If a product isn’t listed, it’s been discontinued

How to recreate this card:
1. Trim a piece of light blue card stock to 4.25" x 5.5" and layer on top of a vertical top-folding A2 sized card base. (To do this, trim a piece of card stock to 11" x 4.25" and score it at 5.5" on the long (11") side.)
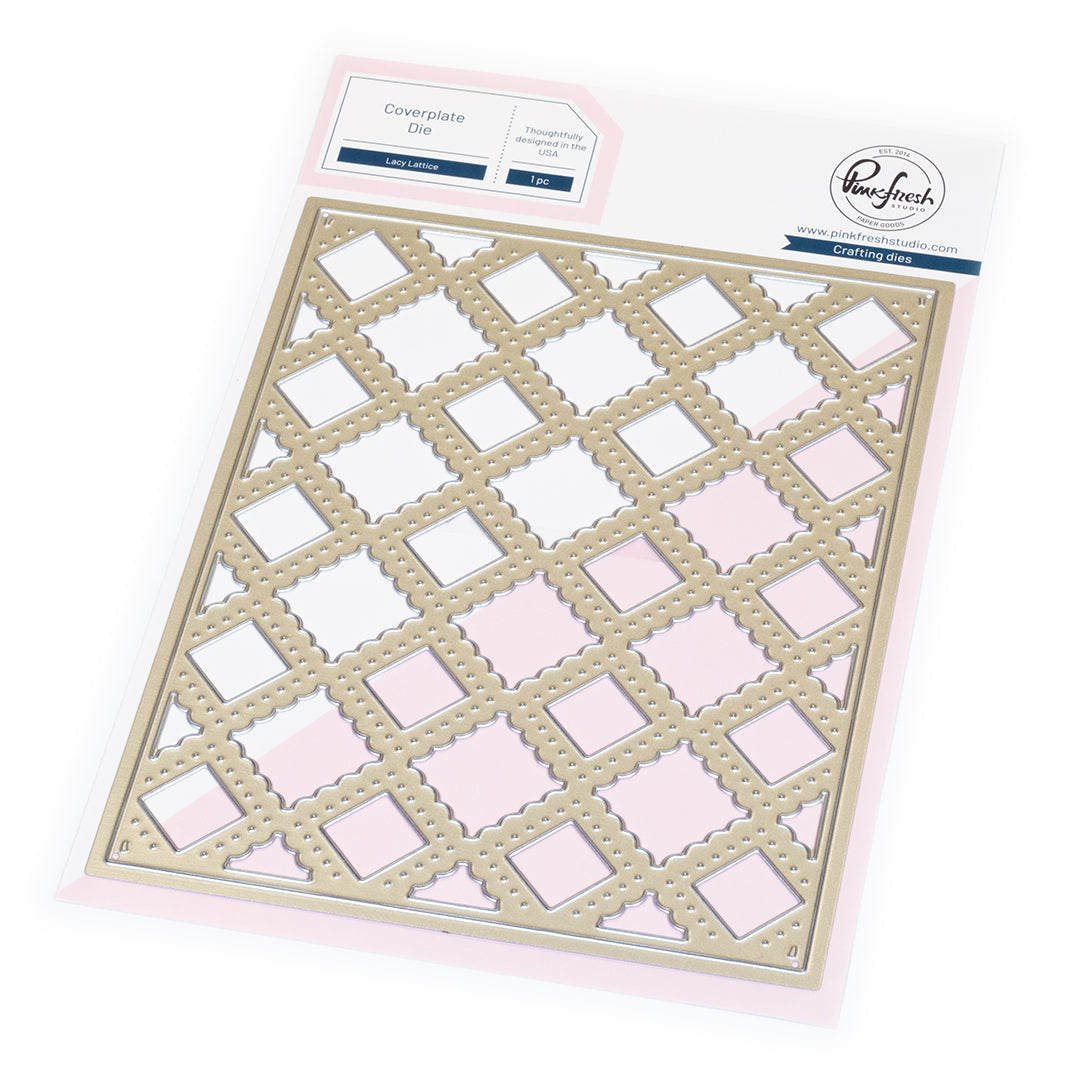
2. Die cut a stitched lattice piece from white card stock using the Lacy Lattice Die and trim 1/8" off of each edge using a paper trimmer.
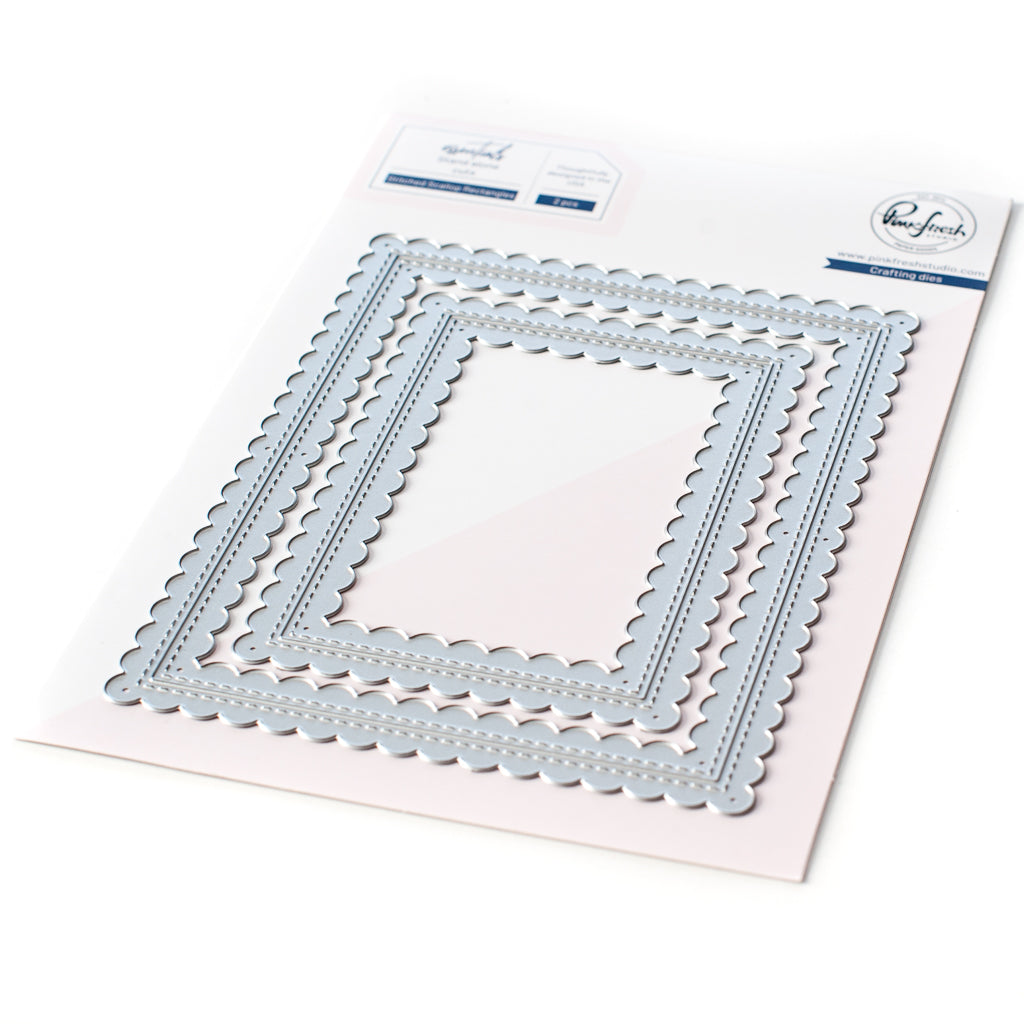
3. Die cut a stitched scalloped rectangle using the larger die from the Stitched Scallop Rectangles Die Set. Use the outer scalloped rectangle only and glue this piece around the outside of the lacy lattice piece from step two.
4. Glue this entire piece (lattice + scalloped rectangle frame) to the light blue card base with some Pinkfresh Precision Clear Craft Glue.
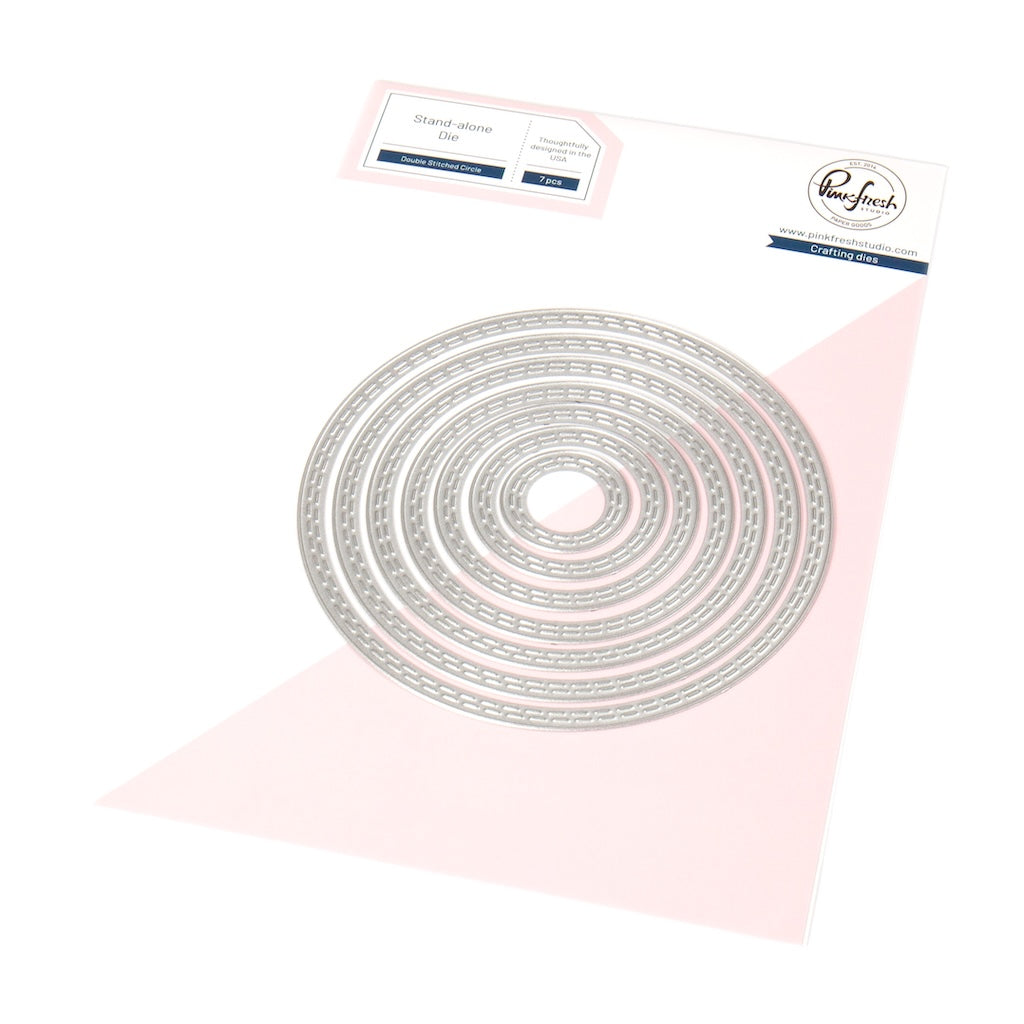
5. Use the second largest die from the Double Stitched Circle Dies to die cut two circular pieces of smooth white card stock.
6. Add some ink to one of the circles with a blend of Summer Shower, Seaside, and Storm Inks starting with your darkest color at the bottom and working upward toward your lightest color. Leave a small space of white at the top of the circle for more contrast.
7. Use the second circle and a pair of scissors to fussy cut a small snow drift and glue it on top of the bottom of the ink-blended circle.
8. Attach the entire circle to the center of your card with liquid adhesive.
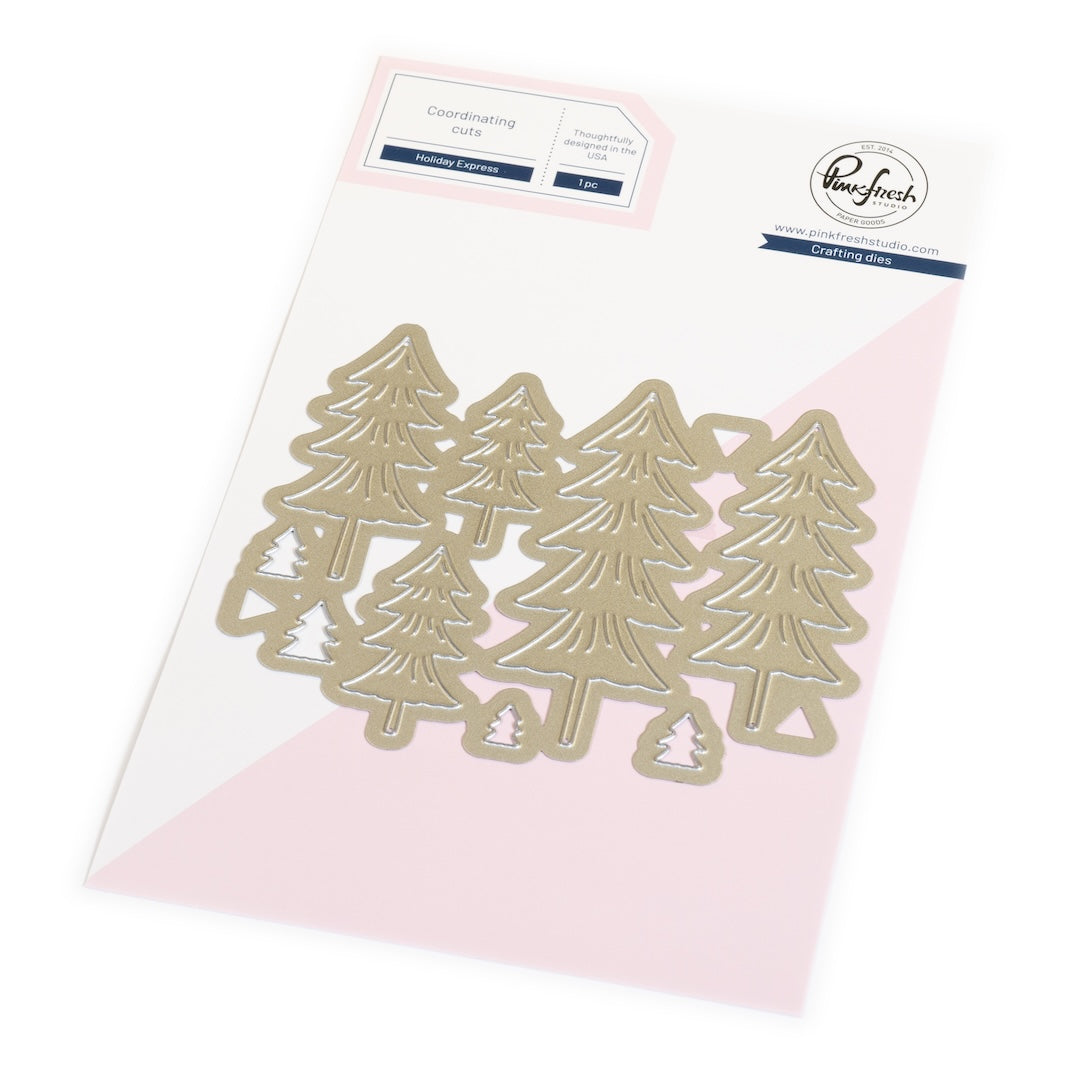
9. Die cut some evergreen trees (using the Holiday Express Die) from a variety of blue and white card stock pieces.
10. Attach five trees to the center of the circle, on top of the snow drift.
11. Use the second and third largest dies from the Double Stitched Circle Dies to create a circle frame. Tape the pieces together while leaving a space in the center and die cut them six times from white card stock.
12. Glue five of the circle frames together with liquid adhesive and attach them to the circle in the center of the card to create a dimensional frame.
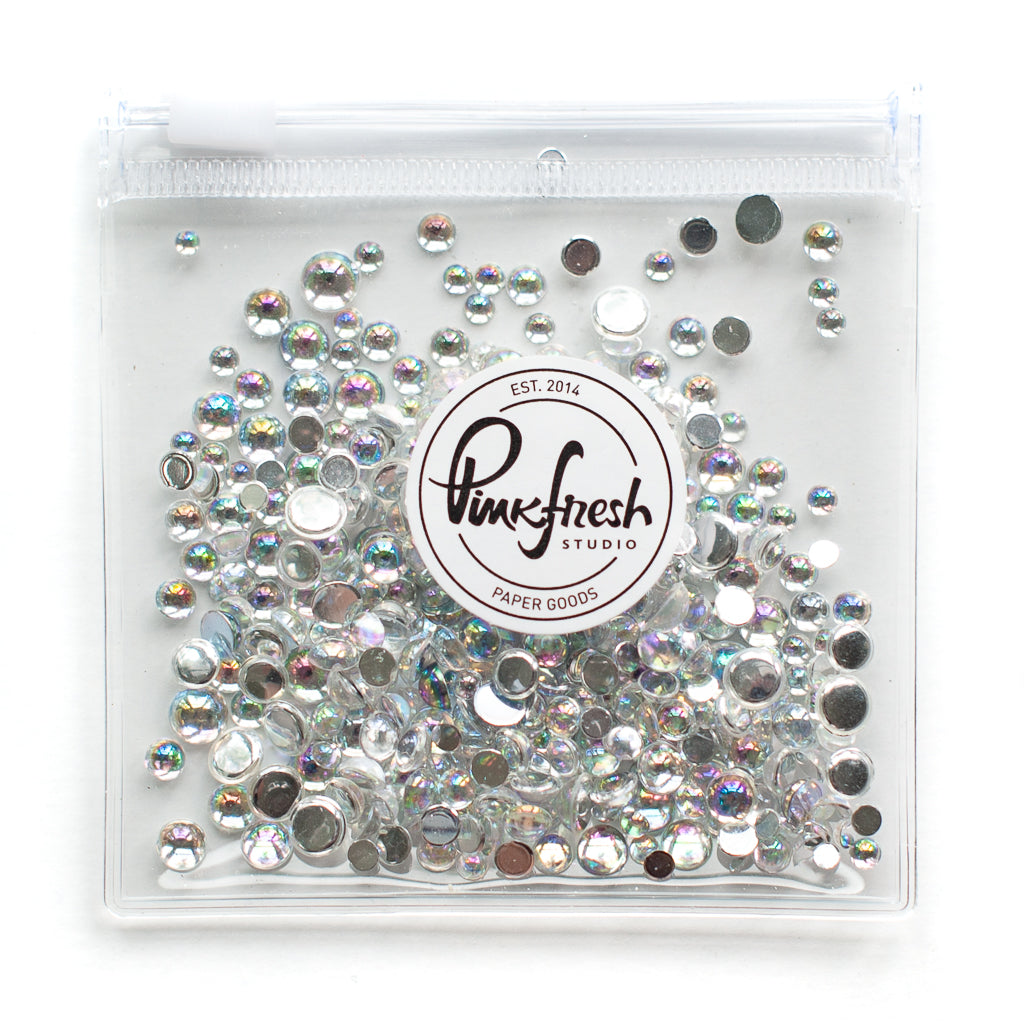
13. Add your embellishments (I used some Iridescent Clear Drops as well as some generic 3mm sequins to the center of my frame).
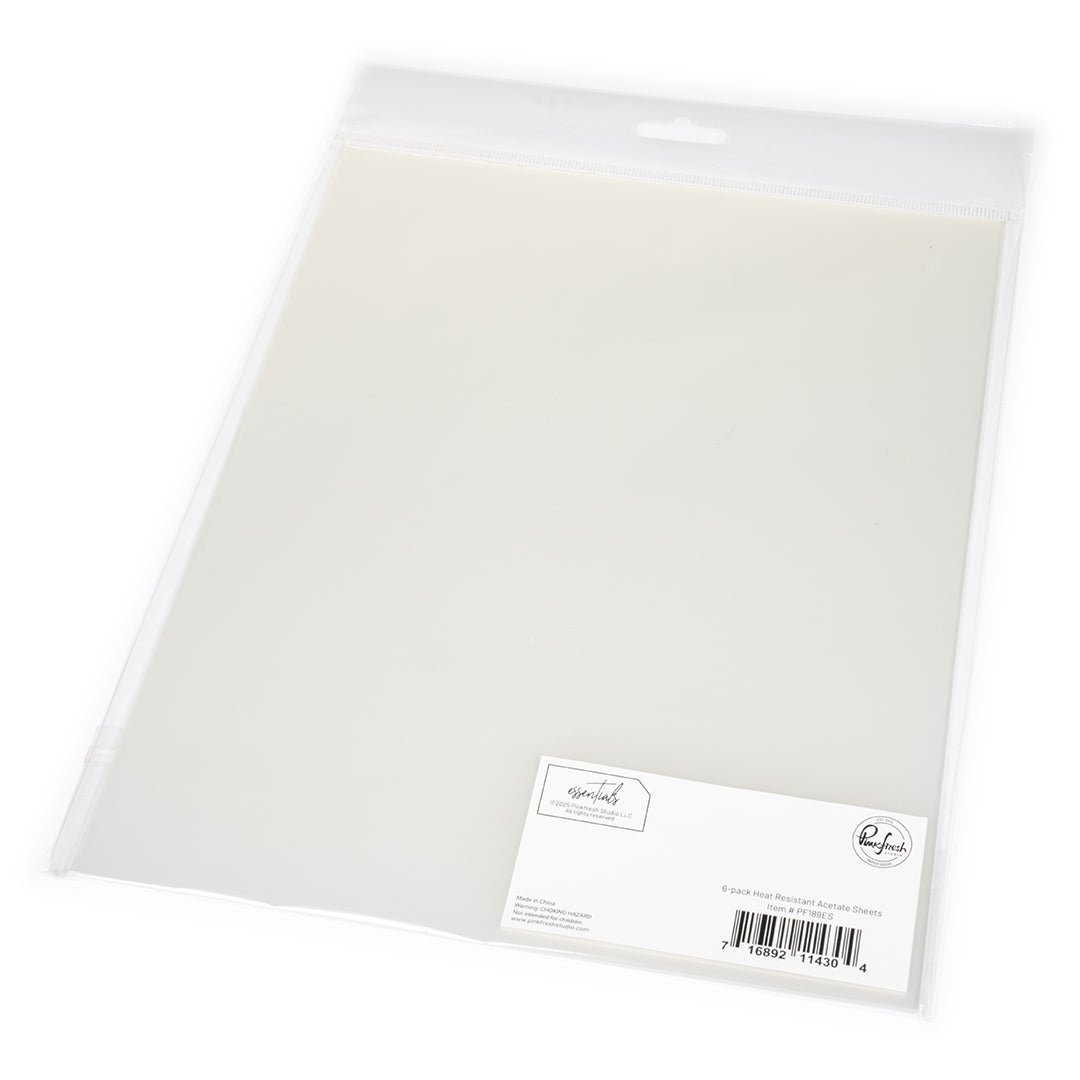
14. Use the second largest circle die to die cut a circular piece of clear acetate to attach to the top of the circular frame.
15. Use liquid adhesive to add the final frame on top of the acetate for a clean look.
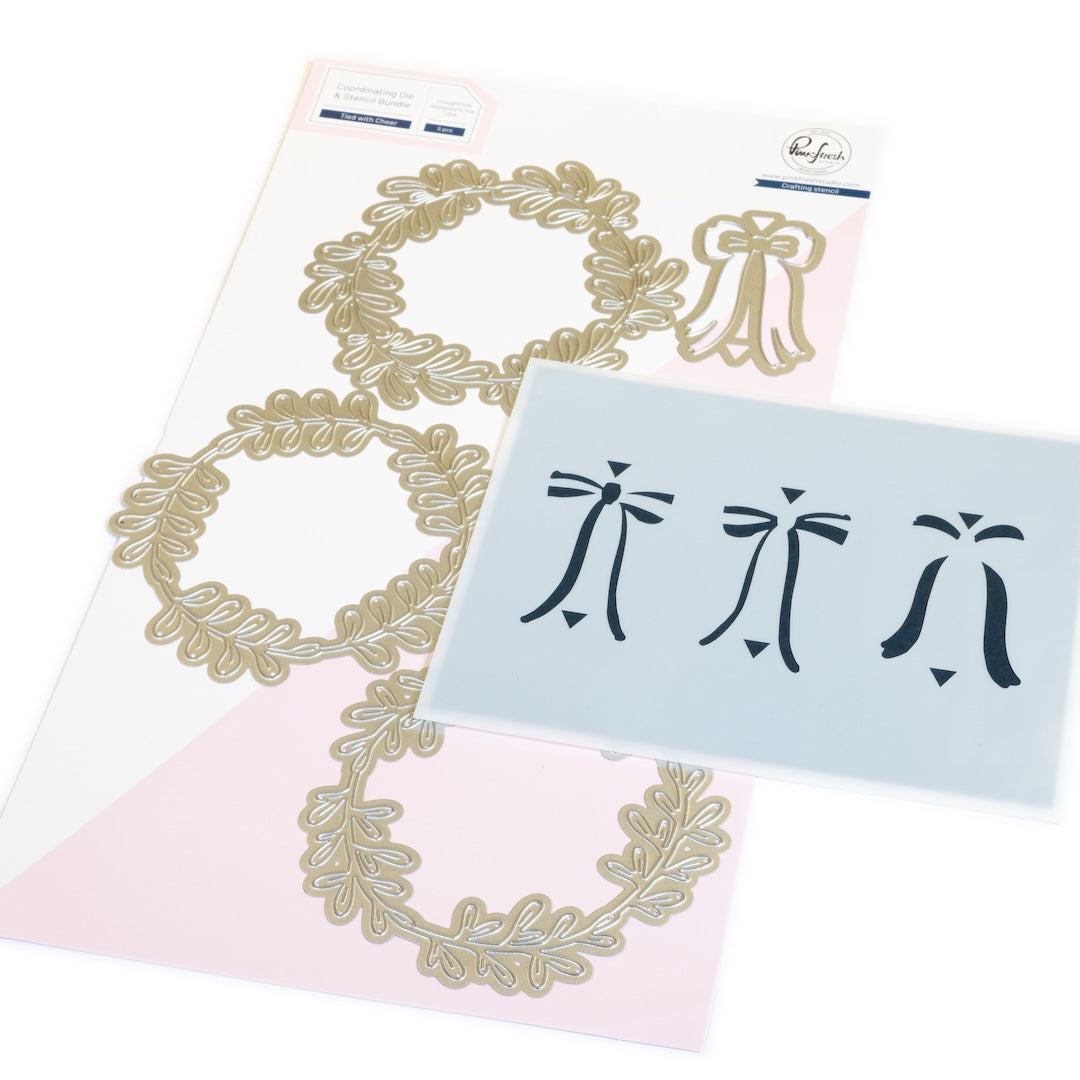
16. Die cut three wreaths from blue and white card stock using the Tied With Cheer Die Set and attach them on top of the circular frame.
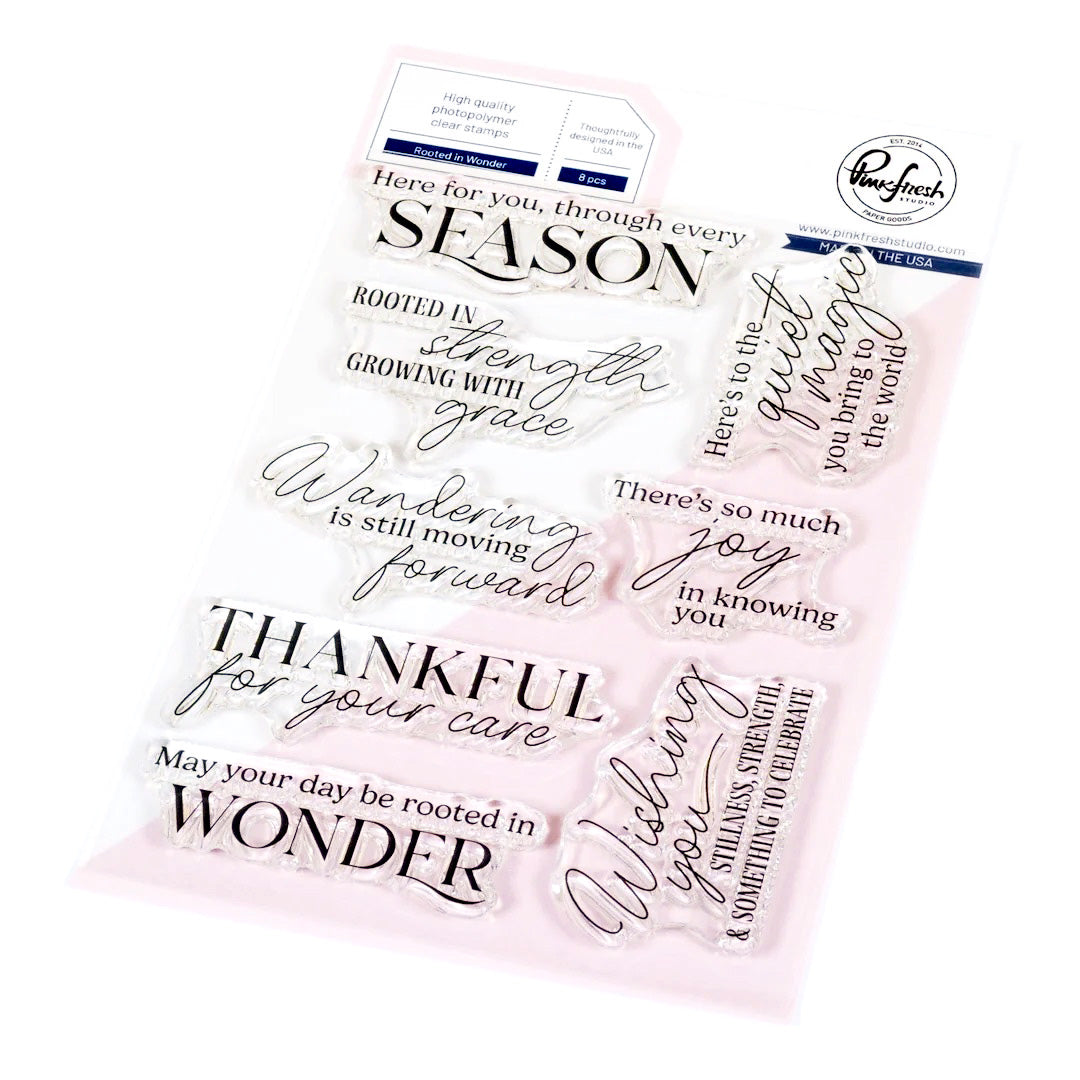
17. Heat emboss your sentiment (mine came from the Rooted in Wonder Stamp Set) and add it to the bottom center of the wreath.

I really like the combination of the blue and white and hope you enjoyed my card today!
I would love to see what you create! Make sure to tag us on Instagram with your personal creations using these products!
Please feel free to leave a comment below as well as any questions you may have.
- Rachel
Recommended Products



























1 comment
Barbara Burmeister
Leave a comment
All comments are moderated before being published.
This site is protected by hCaptcha and the hCaptcha Privacy Policy and Terms of Service apply.