
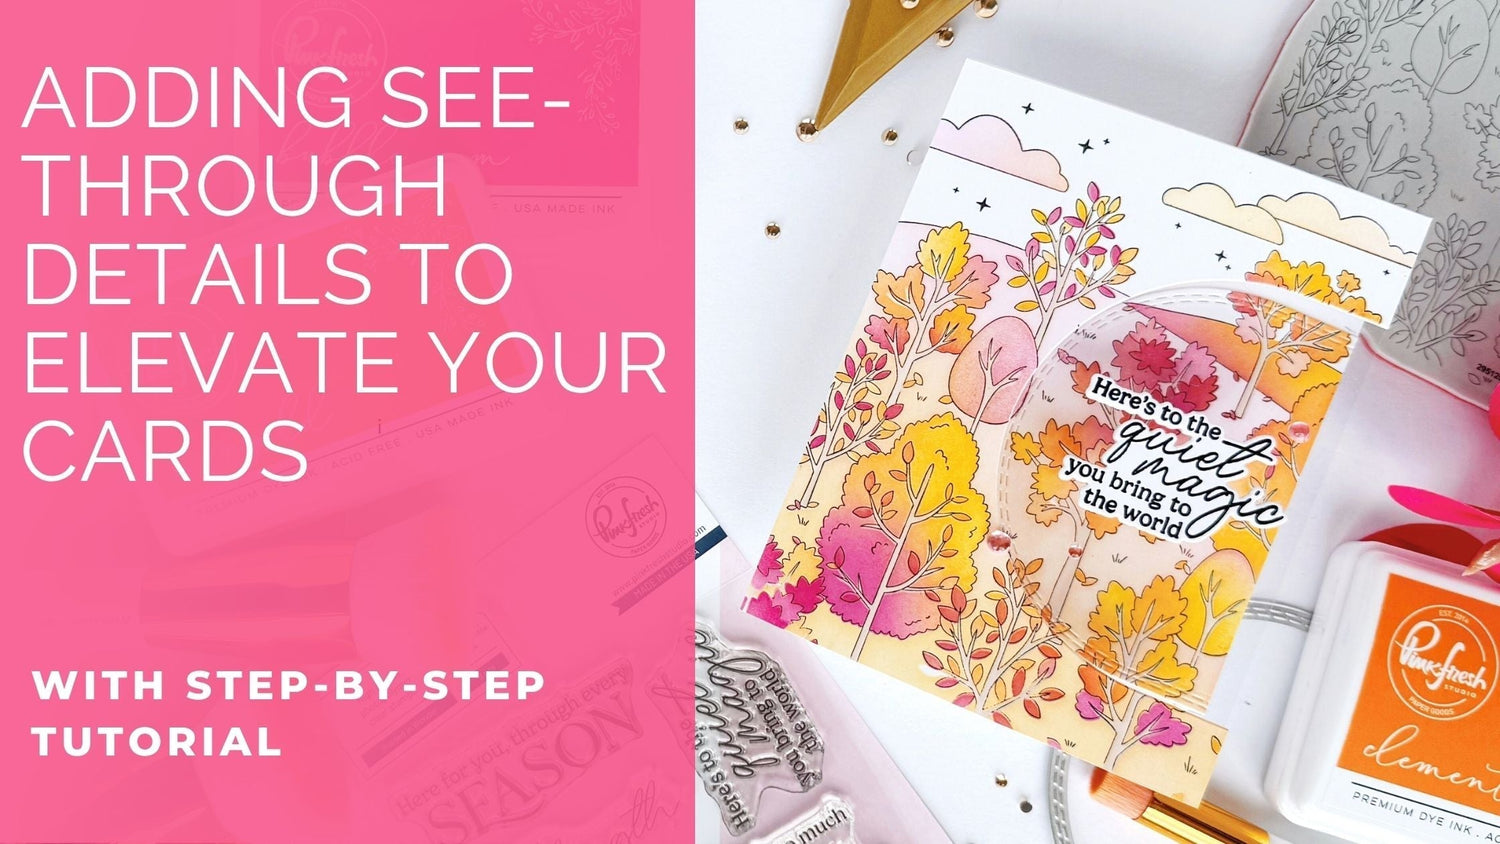
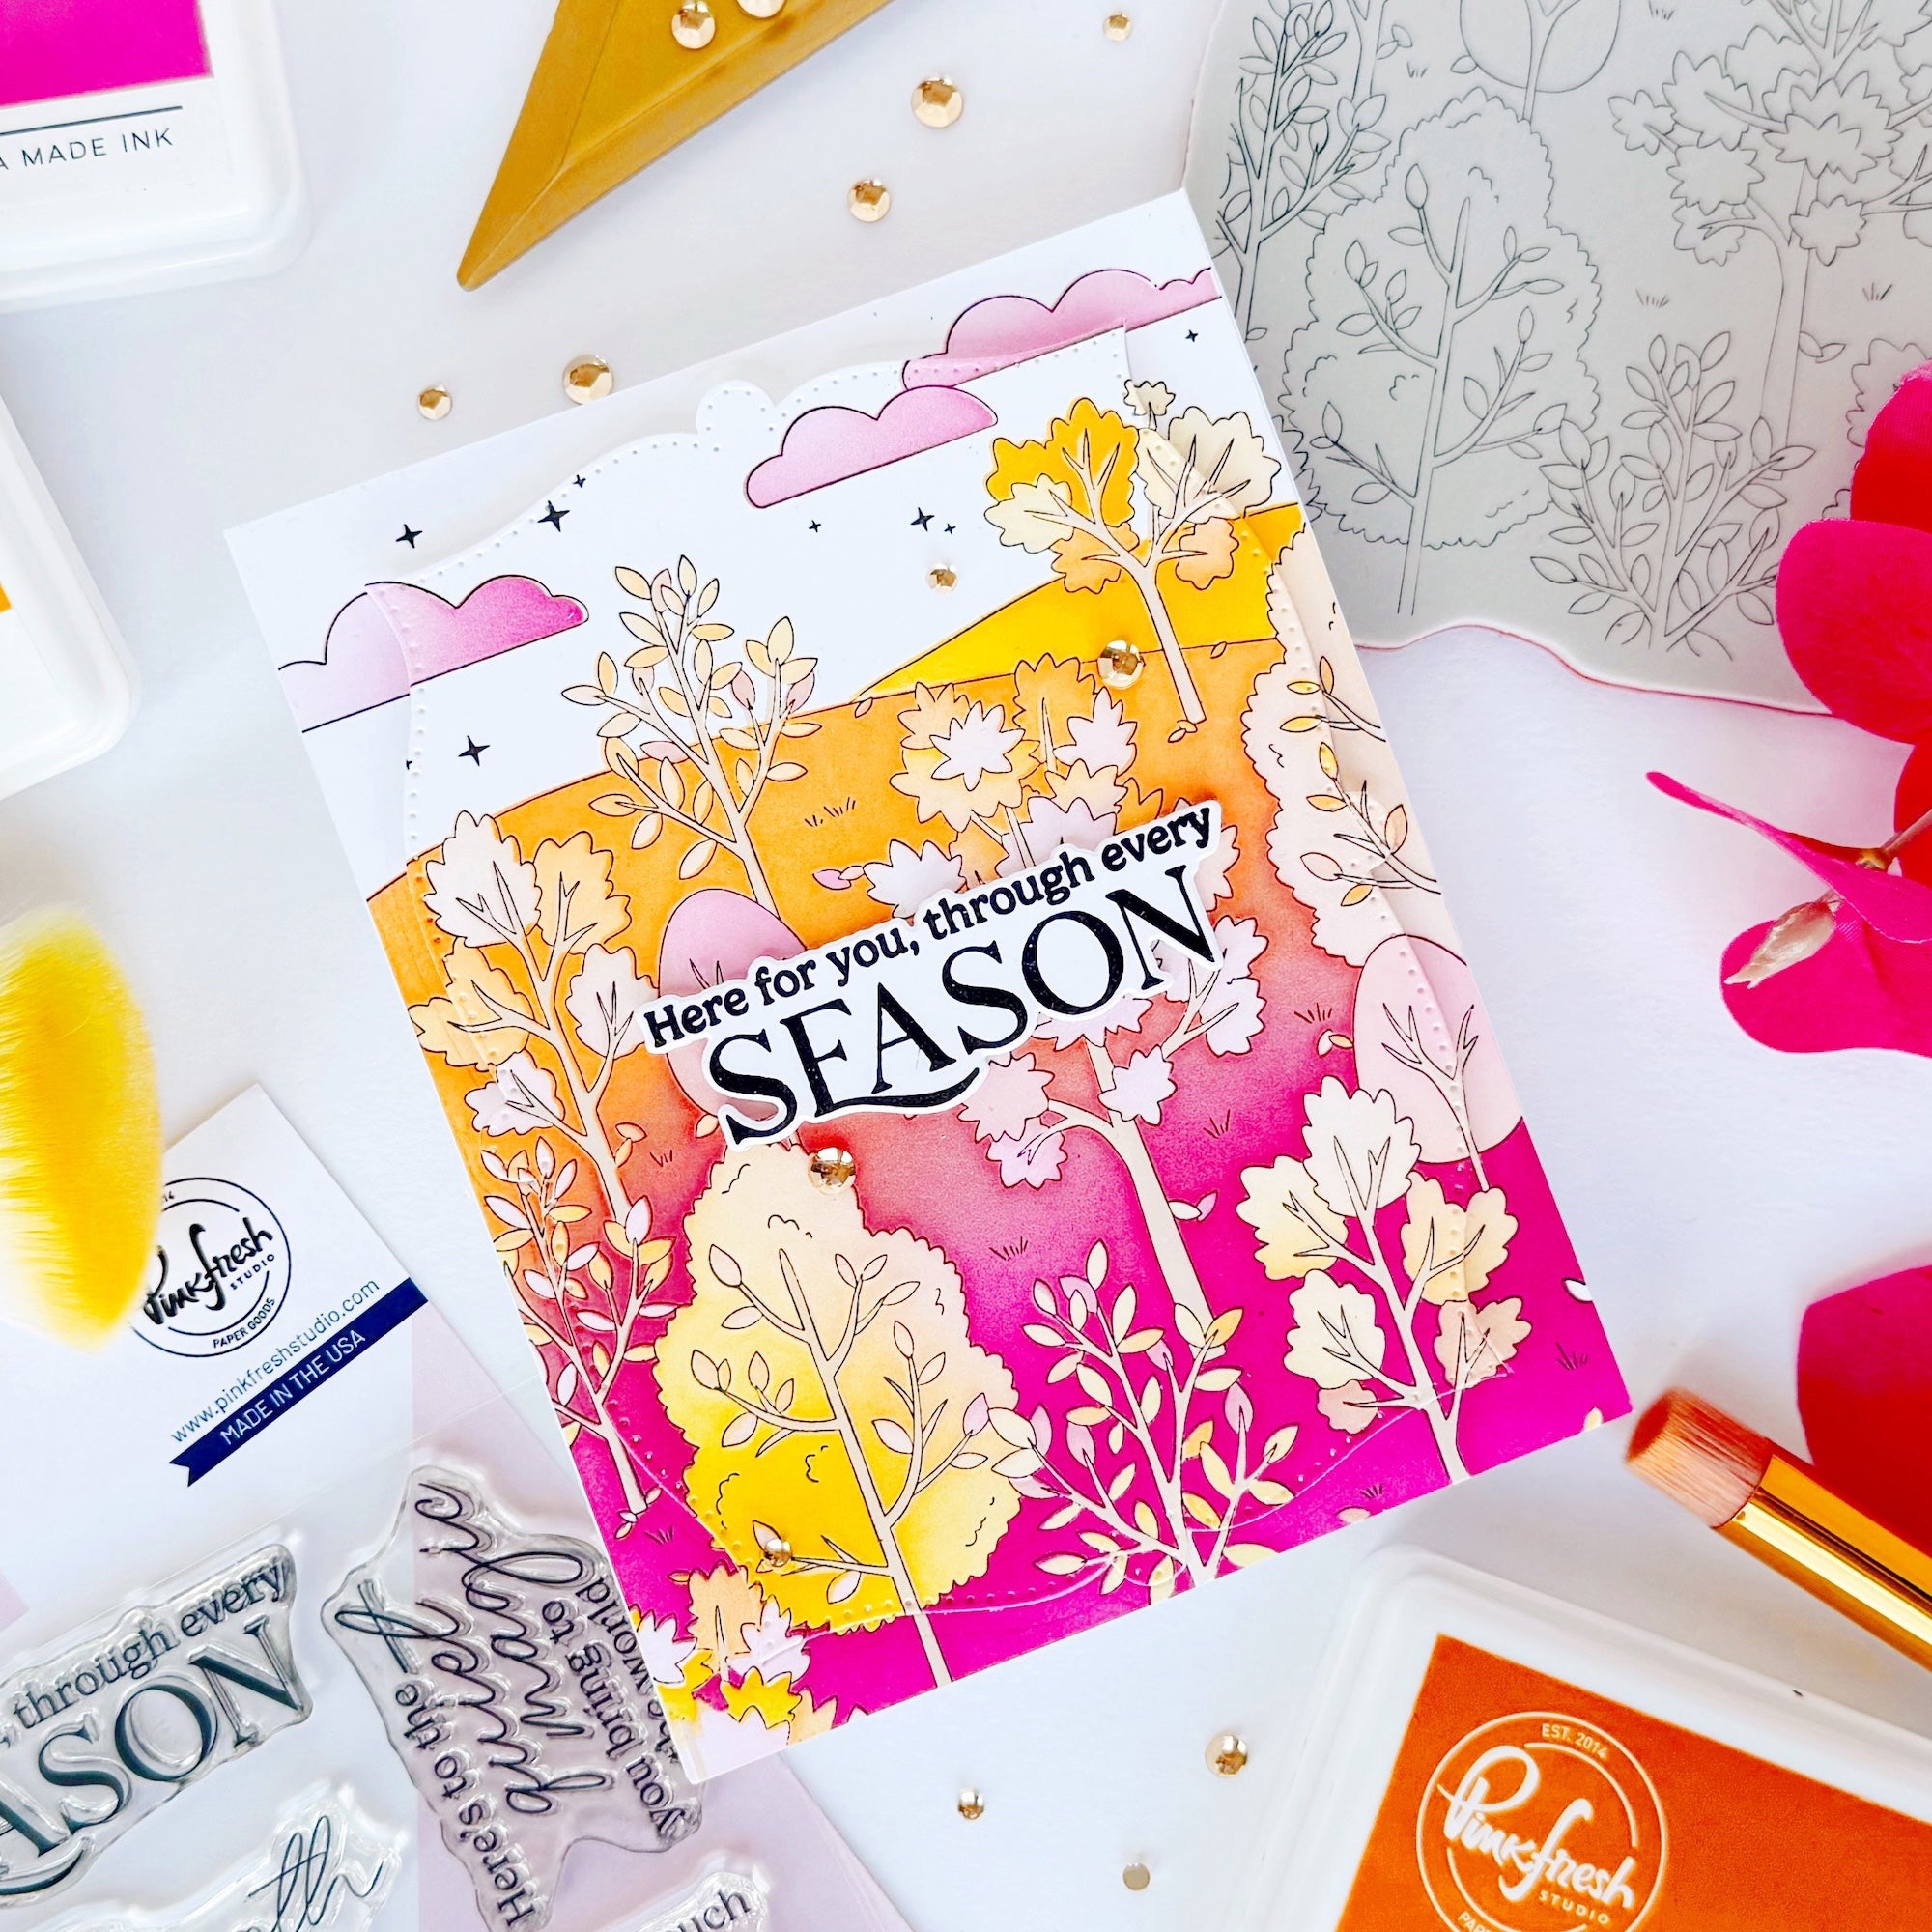
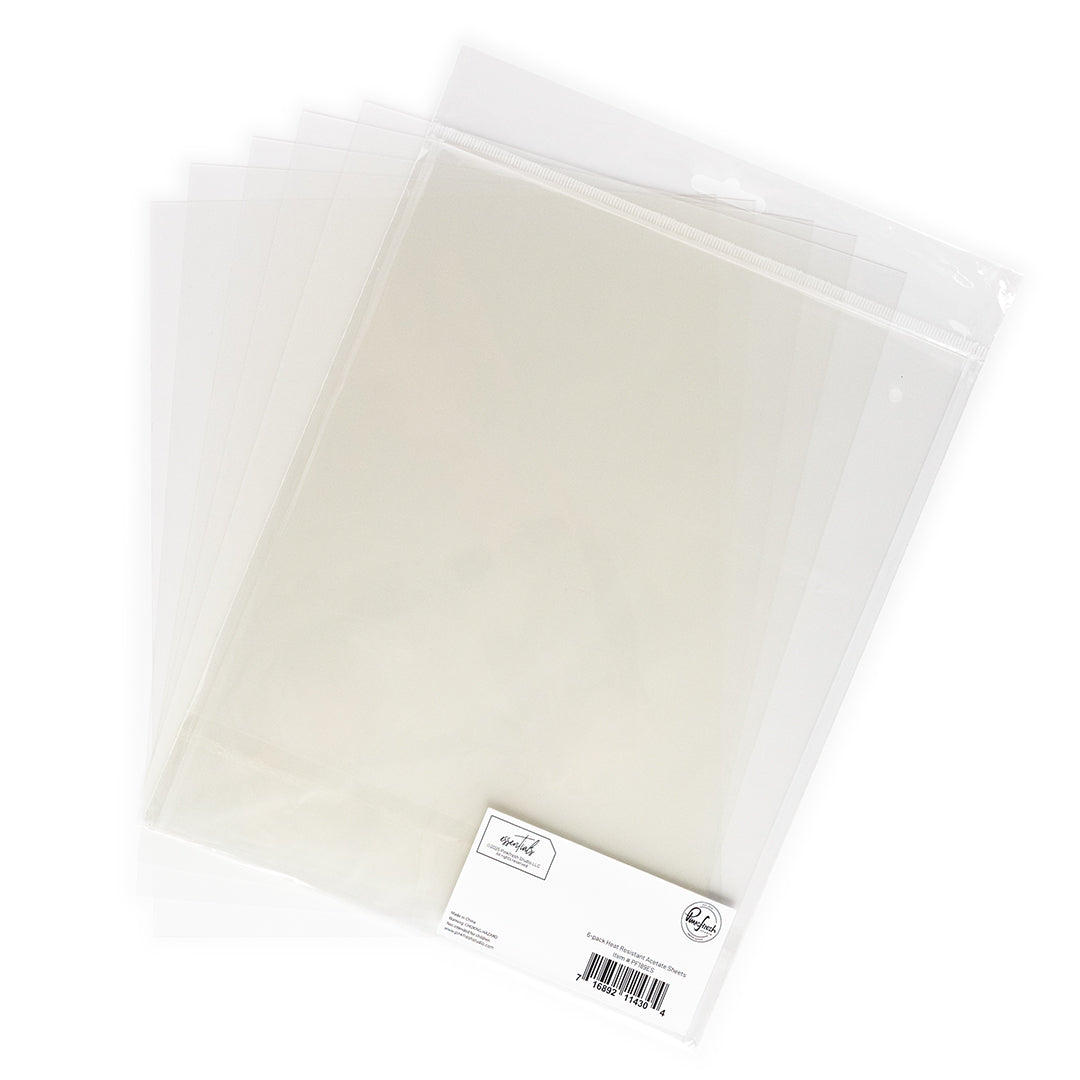
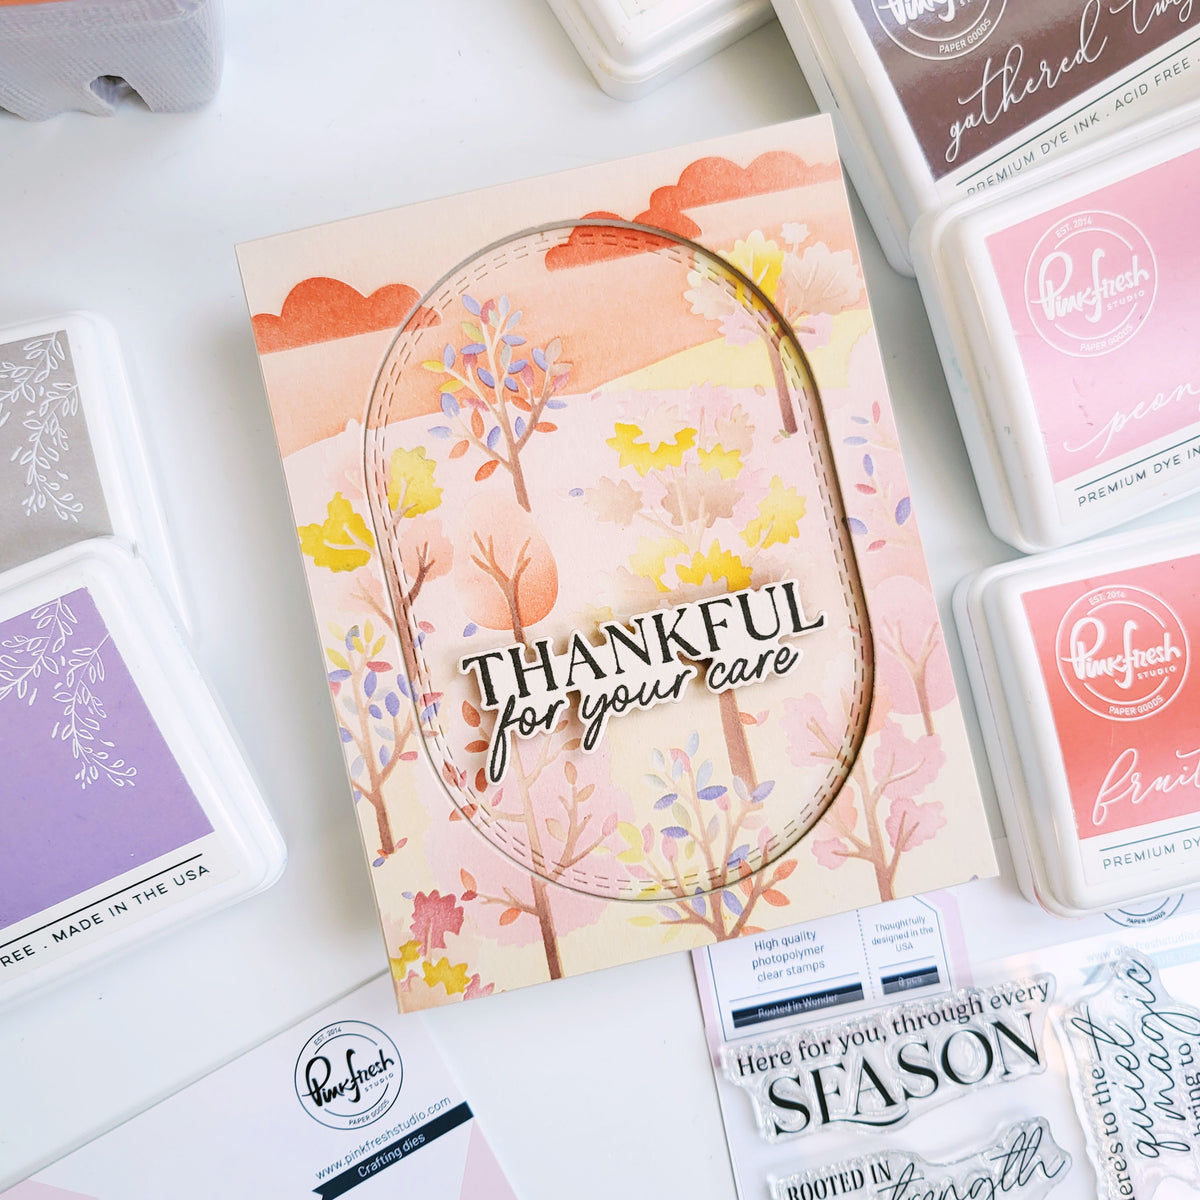
Hi everyone, happy Wednesday! It's Kathleen here, and today I’m sharing a fun way to elevate your card designs by adding a see-through element. Our new heat-resistant acetate is perfect for this technique! Even if you don’t plan to heat emboss or foil on it, the sturdy quality makes it ideal for creating clear windows.
*Disclaimer: All products used are linked below as clickable images. If a product isn’t listed, it’s been discontinued.


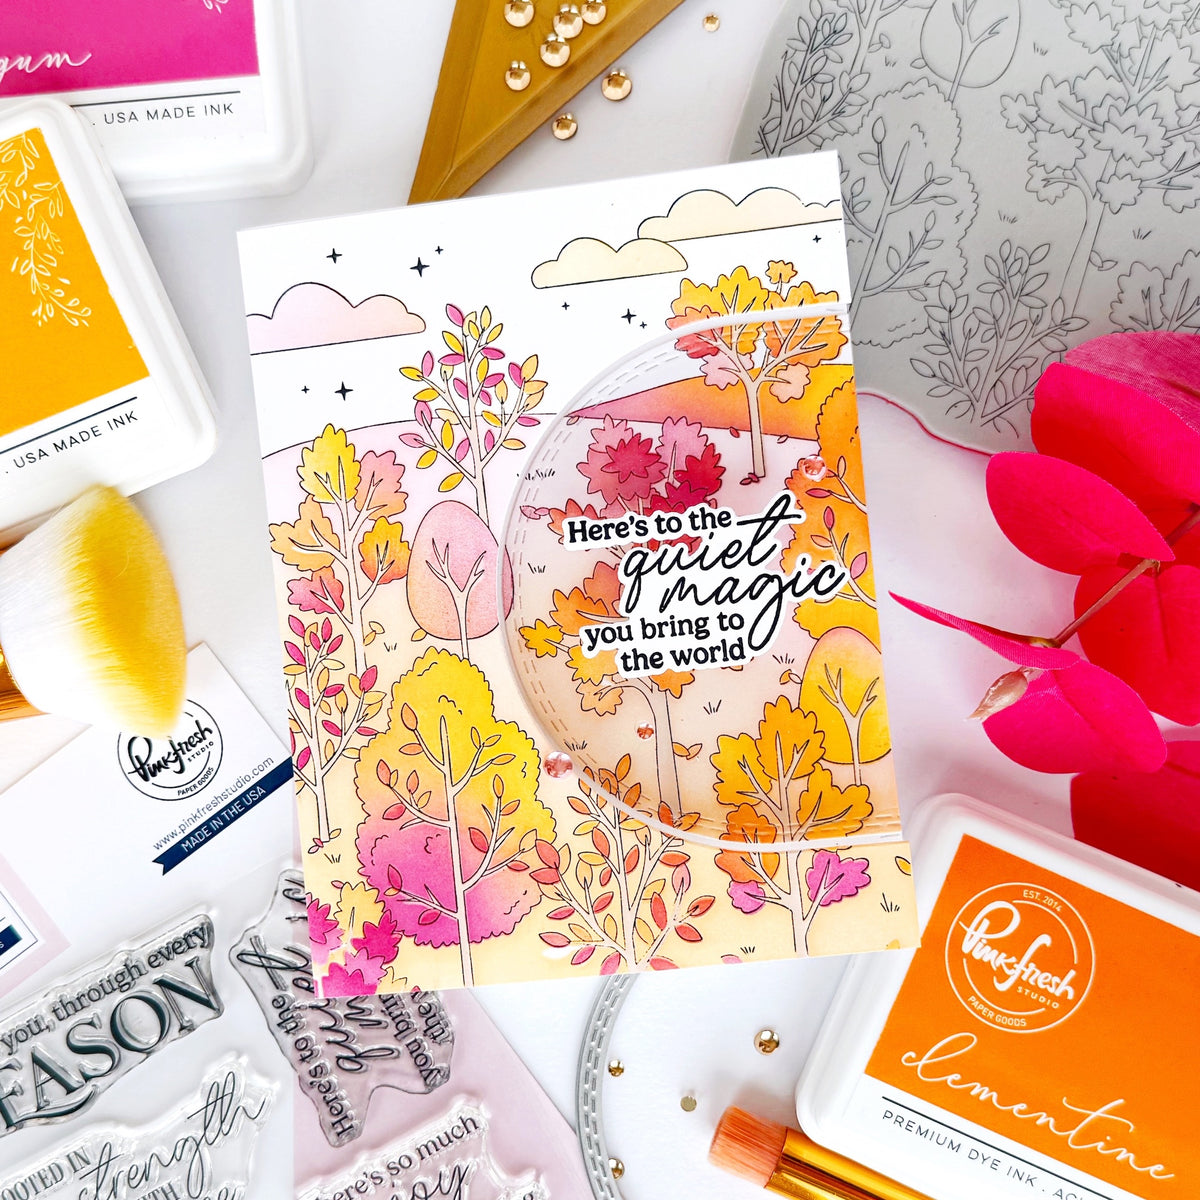
When it comes to transparent elements, the most obvious ways to include them is to create a window in the center of the card. You can easily switch things up by changing the placement of the see-through detail.
Now let's take a look at how this card came together:
- Cut and score an A2 card base (top or side-folding) from white cardstock.
- Cut a white cardstock panel to 5" x 6 1/4".
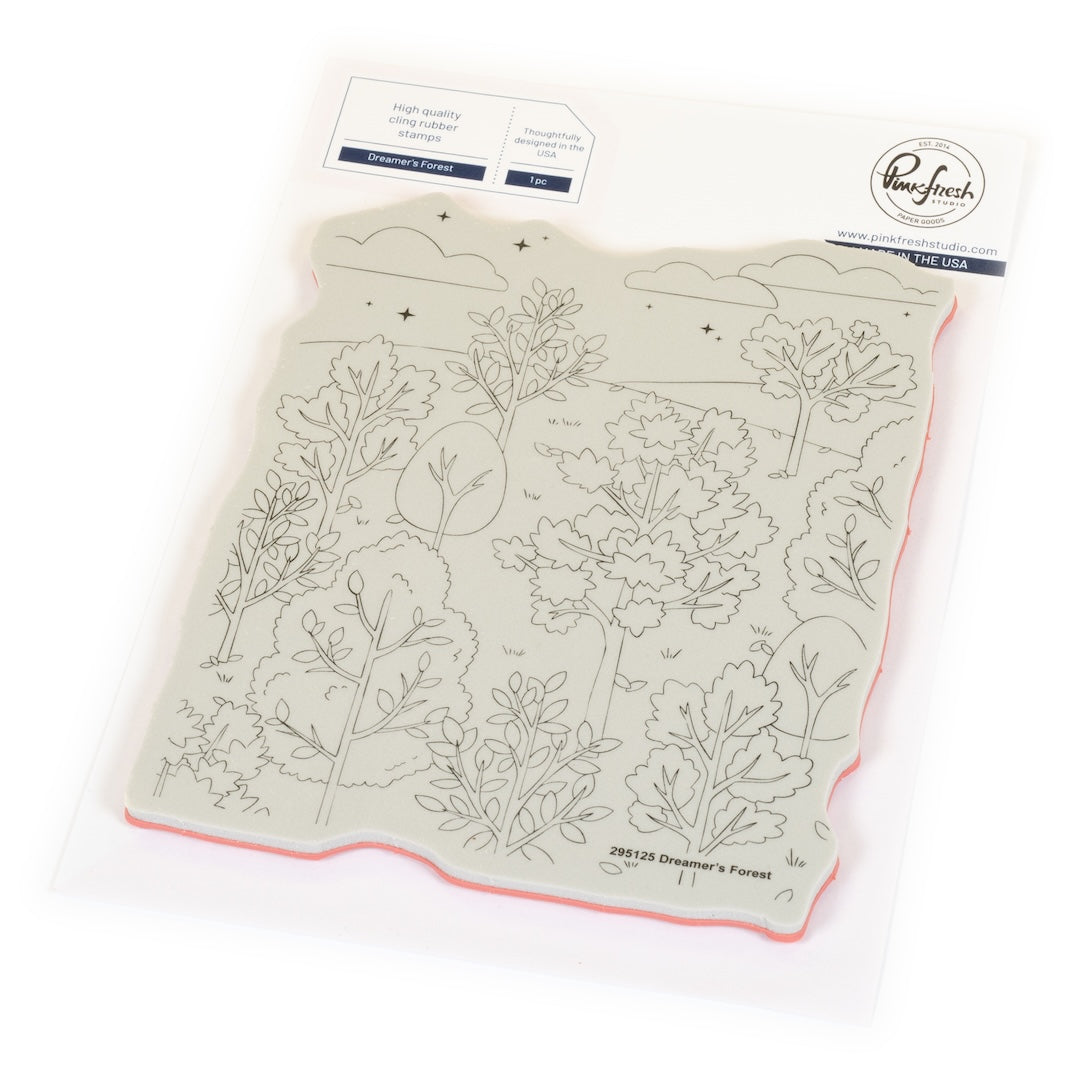
- Place panel inside a stamp positioner & stamp Dreamer's Forest cling stamp in Warm Buff. Don't remove the stamp!
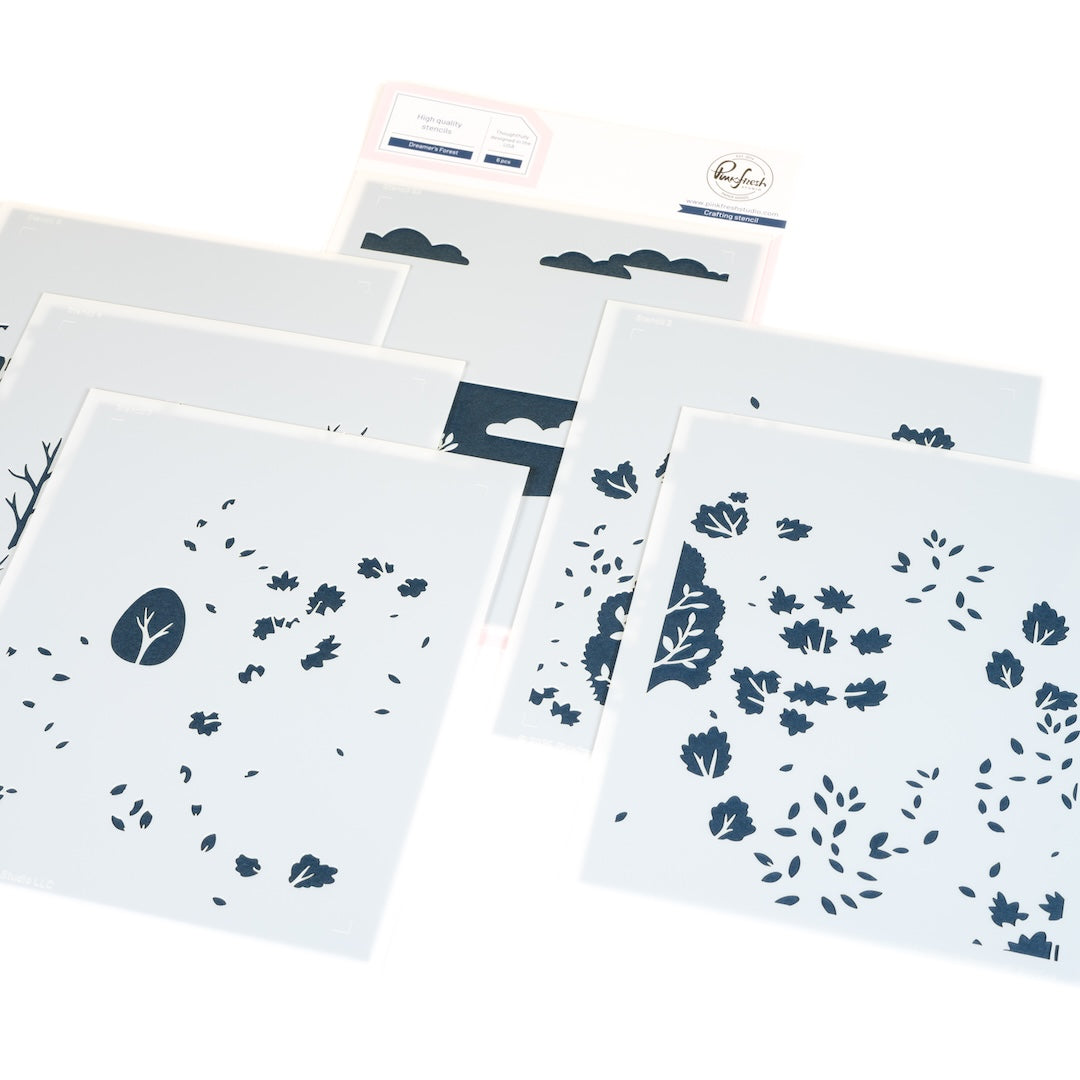
- Ink blend the stamped image with the coordinating stencils:
- Stencil 1-3: Marigold, Clementine, Raspberry Bliss - use them (lightly) on different parts of the stencil, blending them where they meet
- Stencil 4: Warm Buff
- Stencil 5: Blend with the leftover ink from the brushes used for stencil 1-3 (pink to yellow from top to bottom)
- Stencil 6A: same as Stencil 5 (pink to yellow from left to right)
- Stencil 6B: skip
- Stencil 1-3: Marigold, Clementine, Raspberry Bliss - use them (lightly) on different parts of the stencil, blending them where they meet
- Put panel back into stamp positioner & re-stamp with Detail Black ink.
- Cut panel down to A2 size.
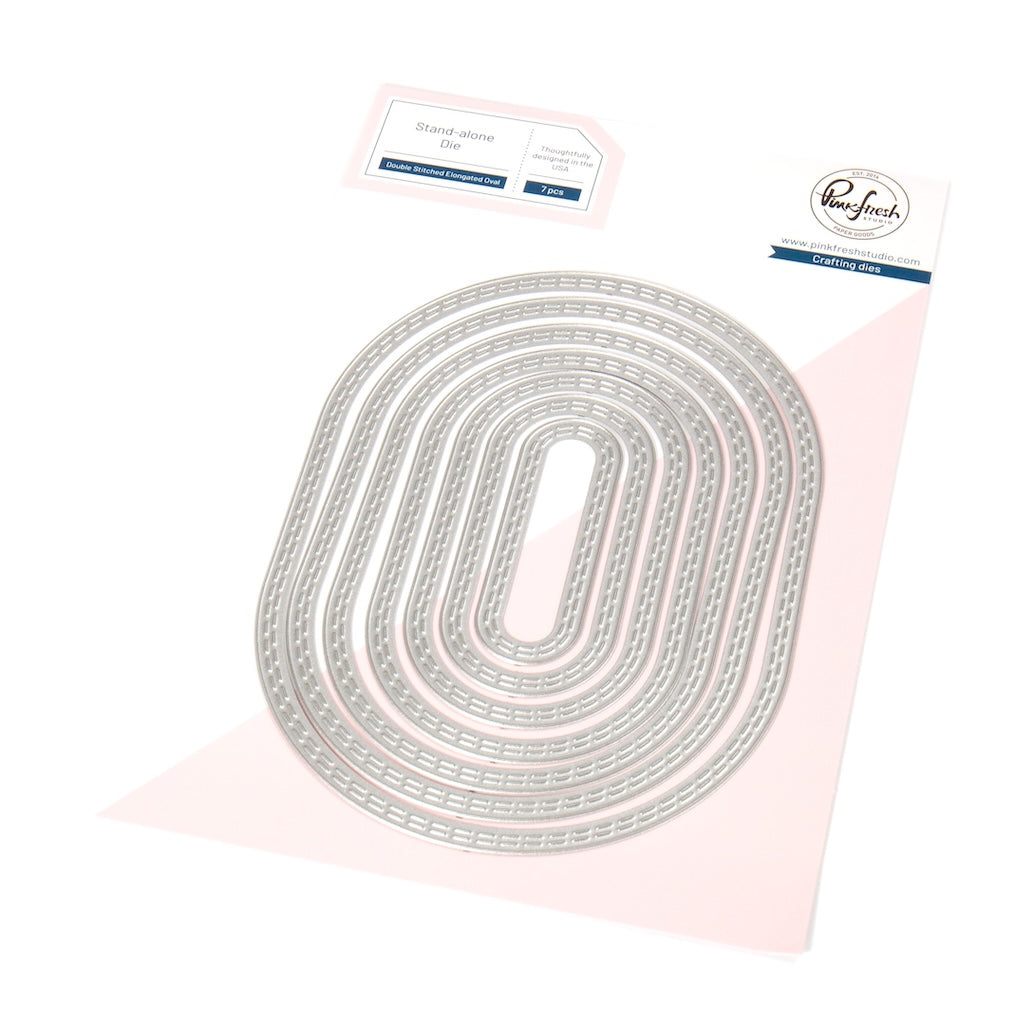
- Position half of the largest Double-Stitch Elongated Oval die on the right side of the stamped panel (the other half hanging off) & die cut.
- Using the stamped panel as a placement guide, die cut the same die from the card front.
- Adhere the small ink-blended die-cut piece inside the card, lining it up with the opening.
- Cut acetate to 3" x 4 1/2". Adhere to the card front, flush with the right edge. Layer the stamped panel on top, sandwiching the acetate in between.
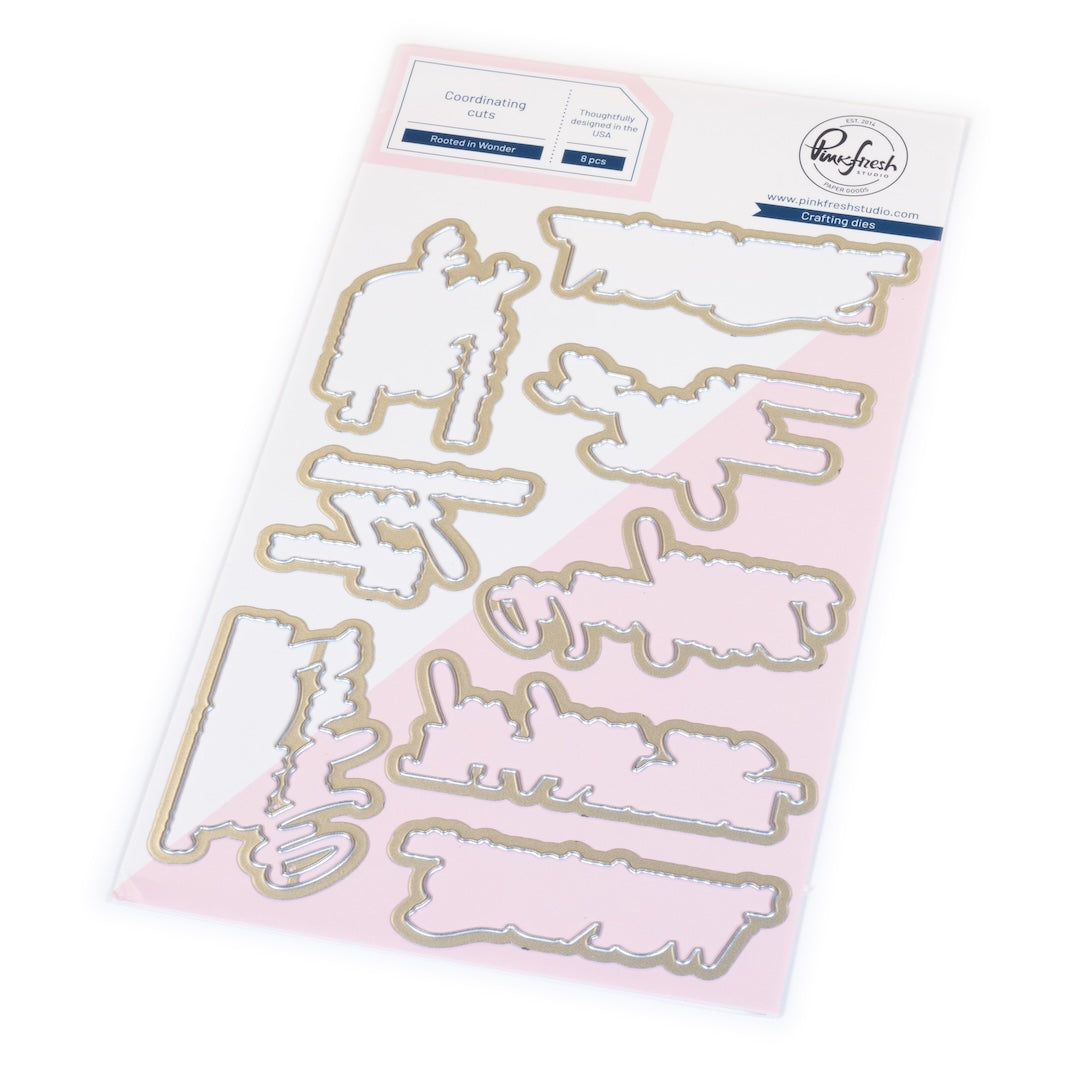
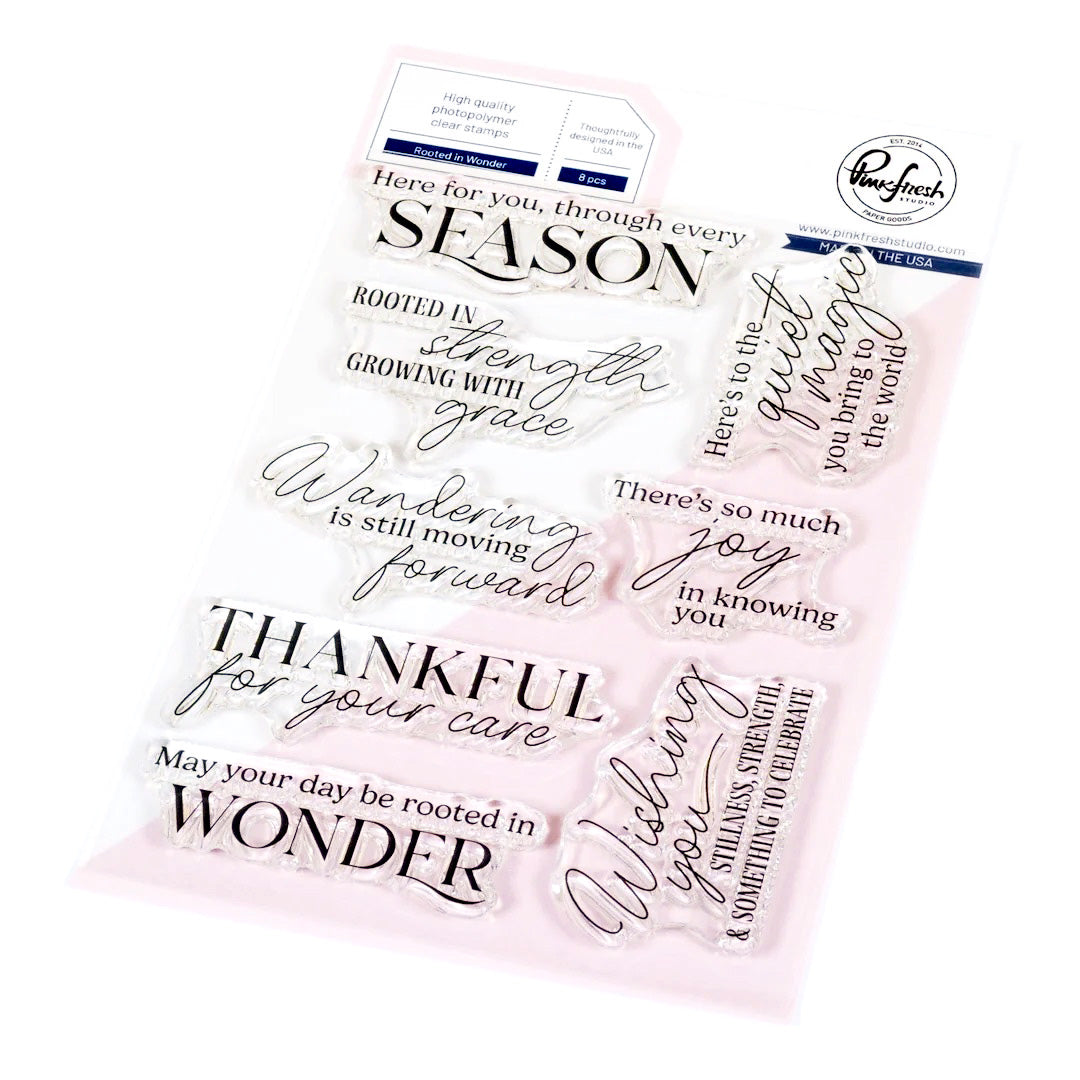
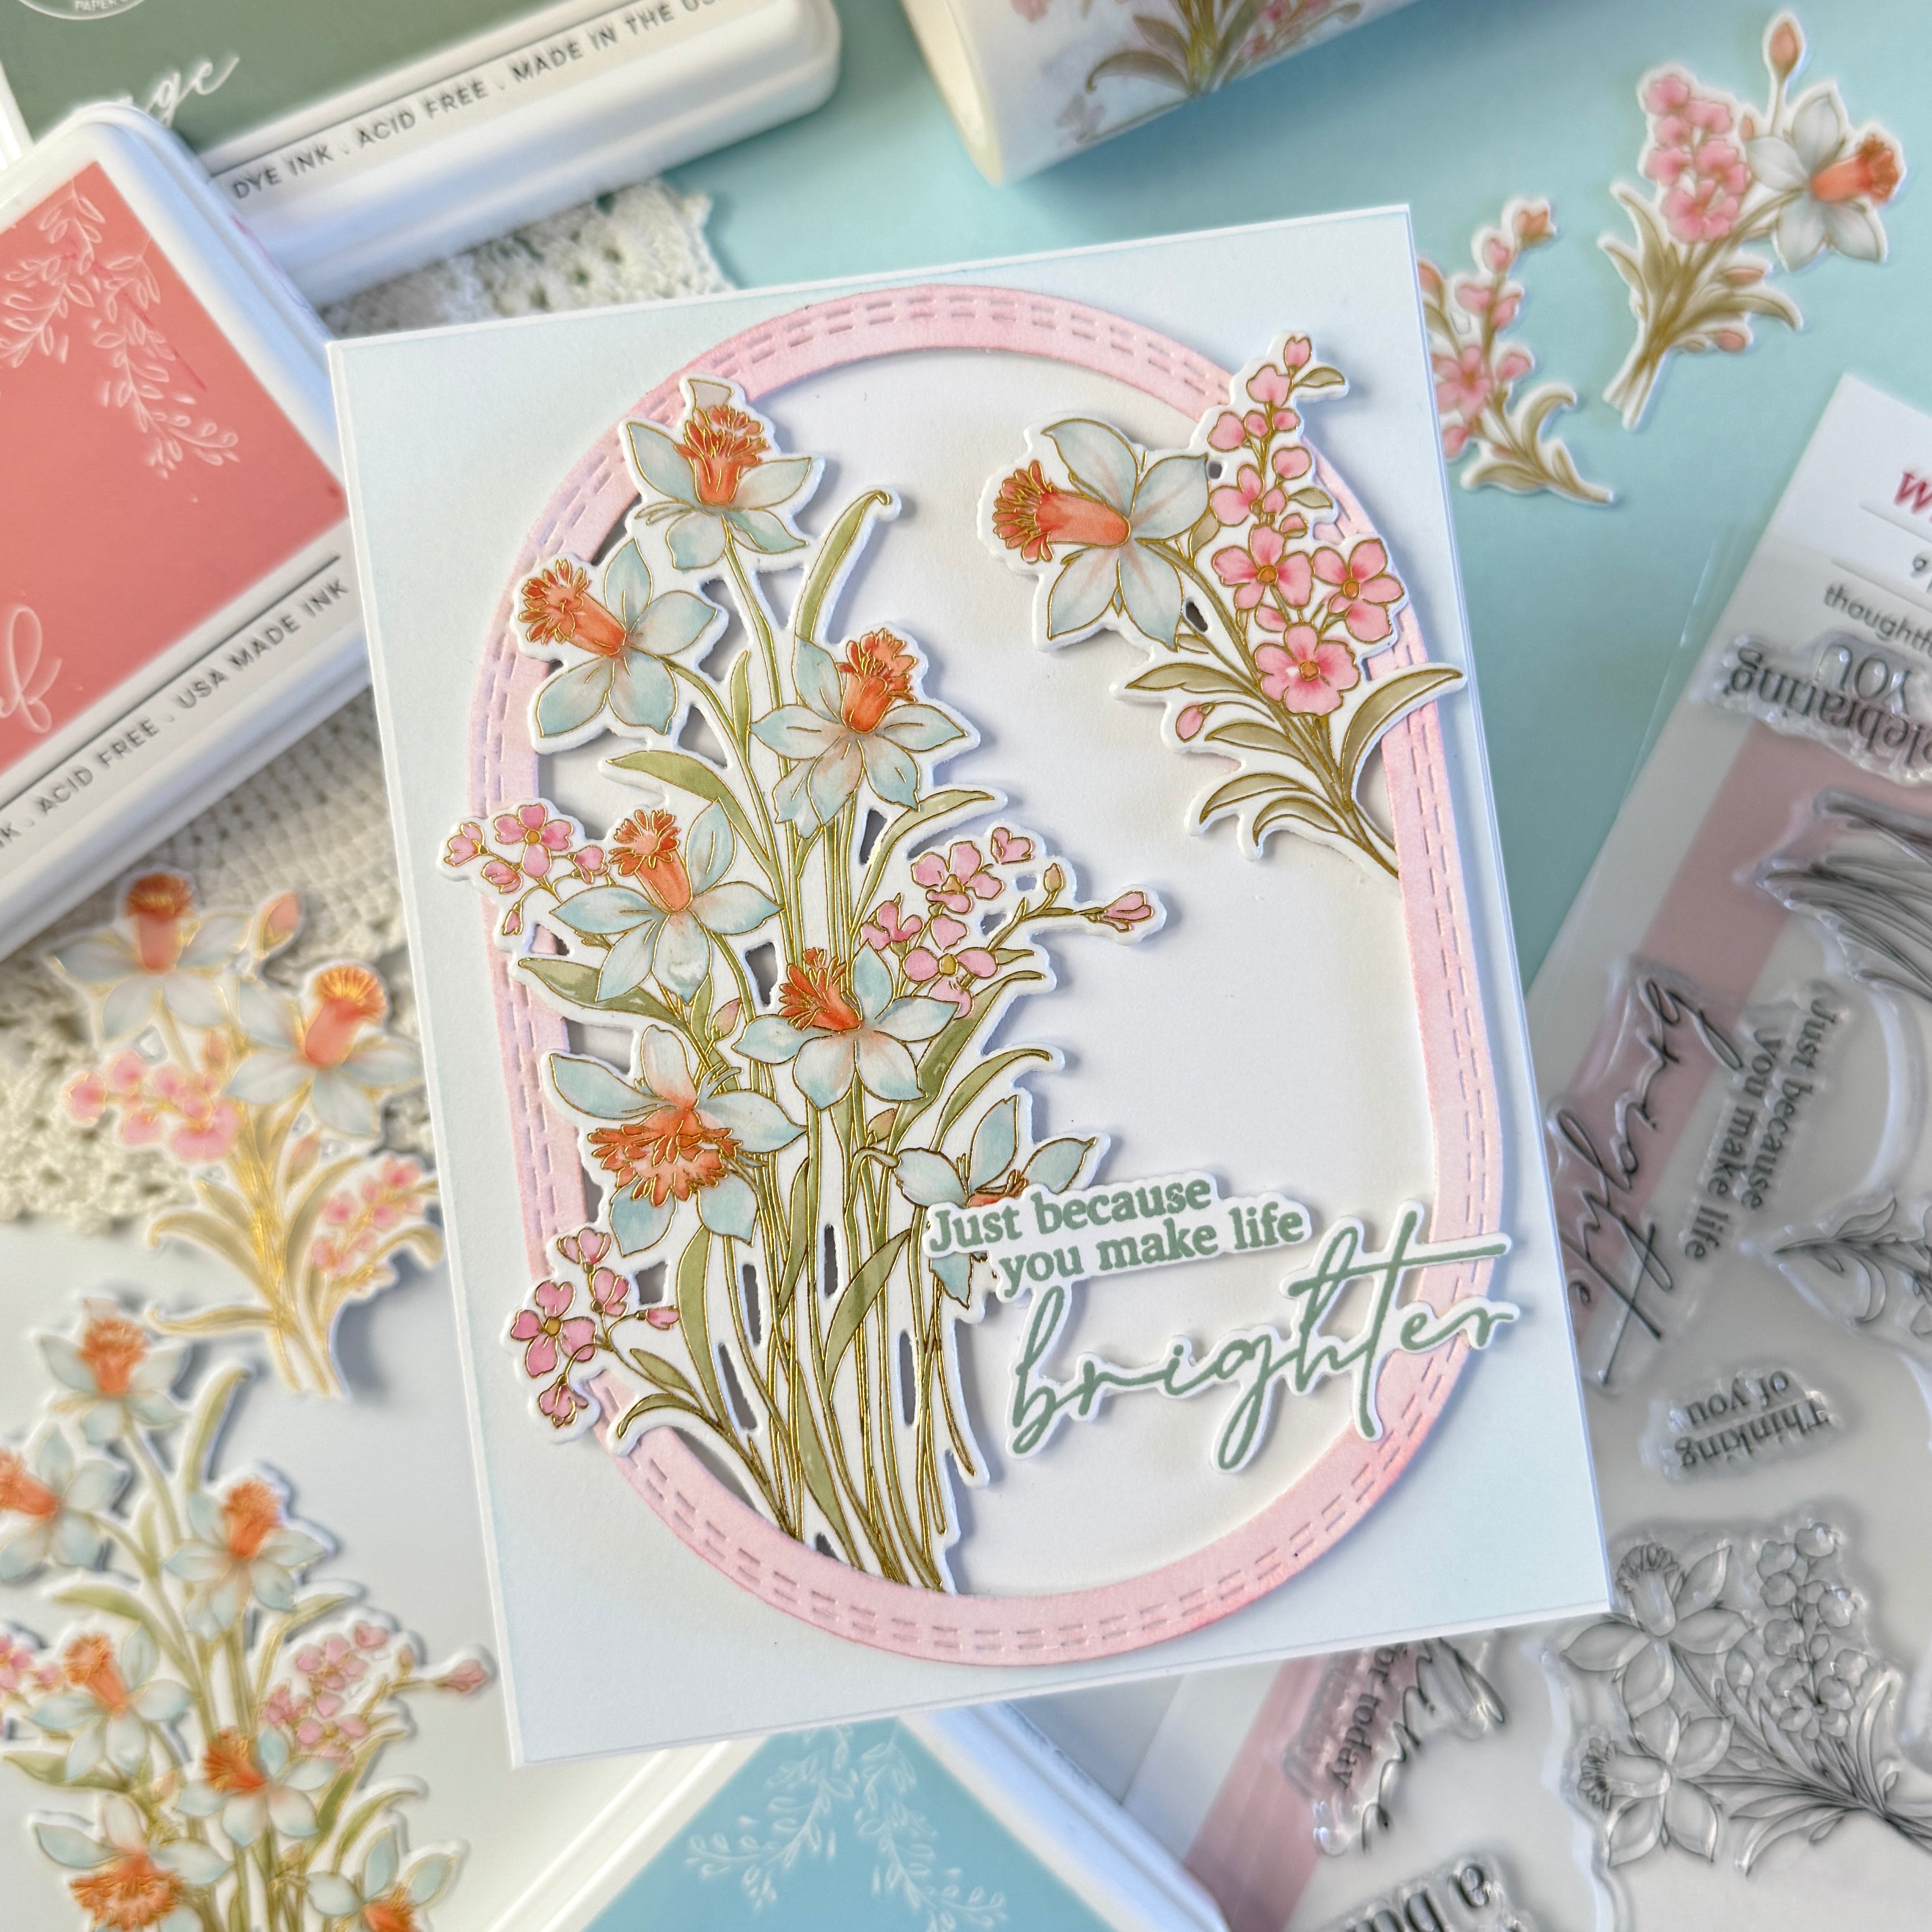
- Stamp a sentiment from Rooted in Wonder stamp set in Detail Black on white cardstock. Die cut & stack with (2) blank pieces. Die cut a 3rd blank piece & set aside.
- Adhere stacked sentiment to the acetate window. Use 3rd blank piece on the inside to hide adhesive.
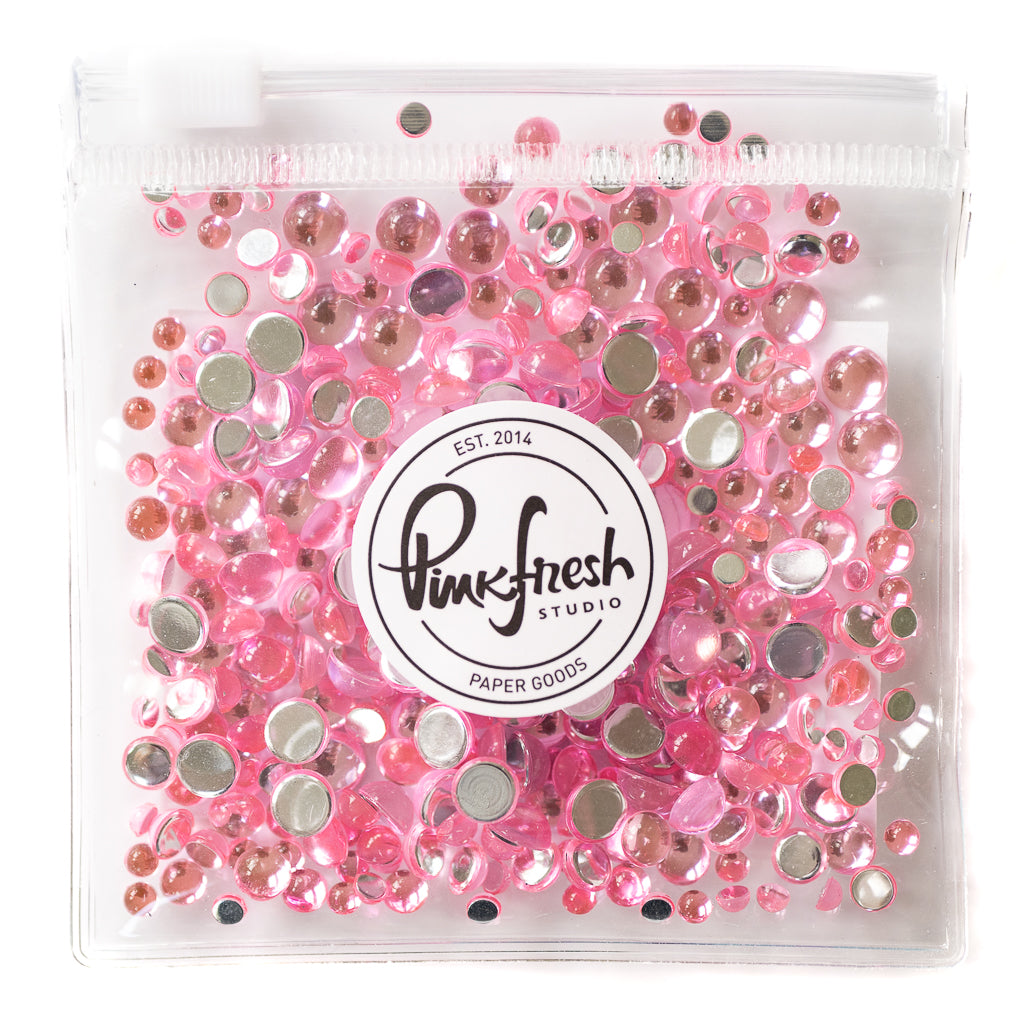
- Embellish with Clear Drops in Blush.


I hops you enjoyed this idea for incorporating a see-through element on your card. You could also create two ink-blended pieces and mix & match them for the front and inside piece for a fun effect!
We always love seeing what you create, so please make sure to tag us on social media when you post a project inspired by this!
Have a wonderful rest of the week!
-Kathleen
Recommended Products








































1 comment
Kathy Witt
This is gorgeous, Kathleen! You are a master of colors and ink blending.
Leave a comment
All comments are moderated before being published.
This site is protected by hCaptcha and the hCaptcha Privacy Policy and Terms of Service apply.