
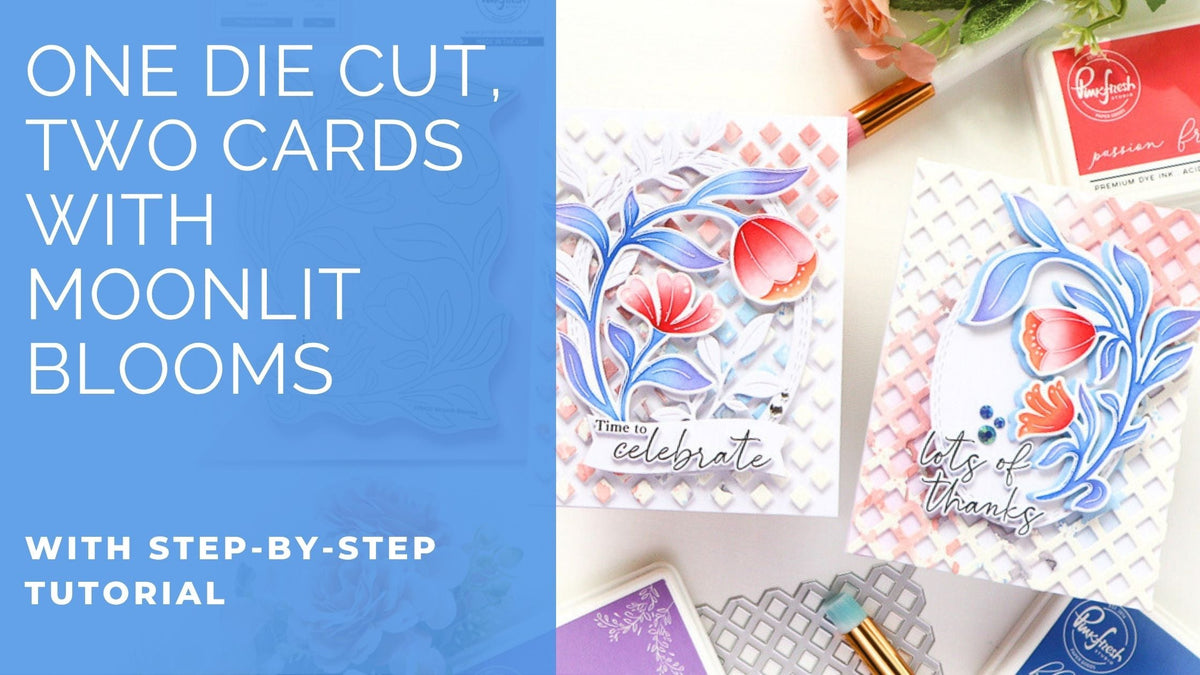
Hello everyone, hope you’re having a great week so far! It’s TaeEun here today sharing a couple of floral cards featuring some brand new items from the Flourish & Glow Release! This Release went live today with a fun blog hop! So I hope you don’t miss it !
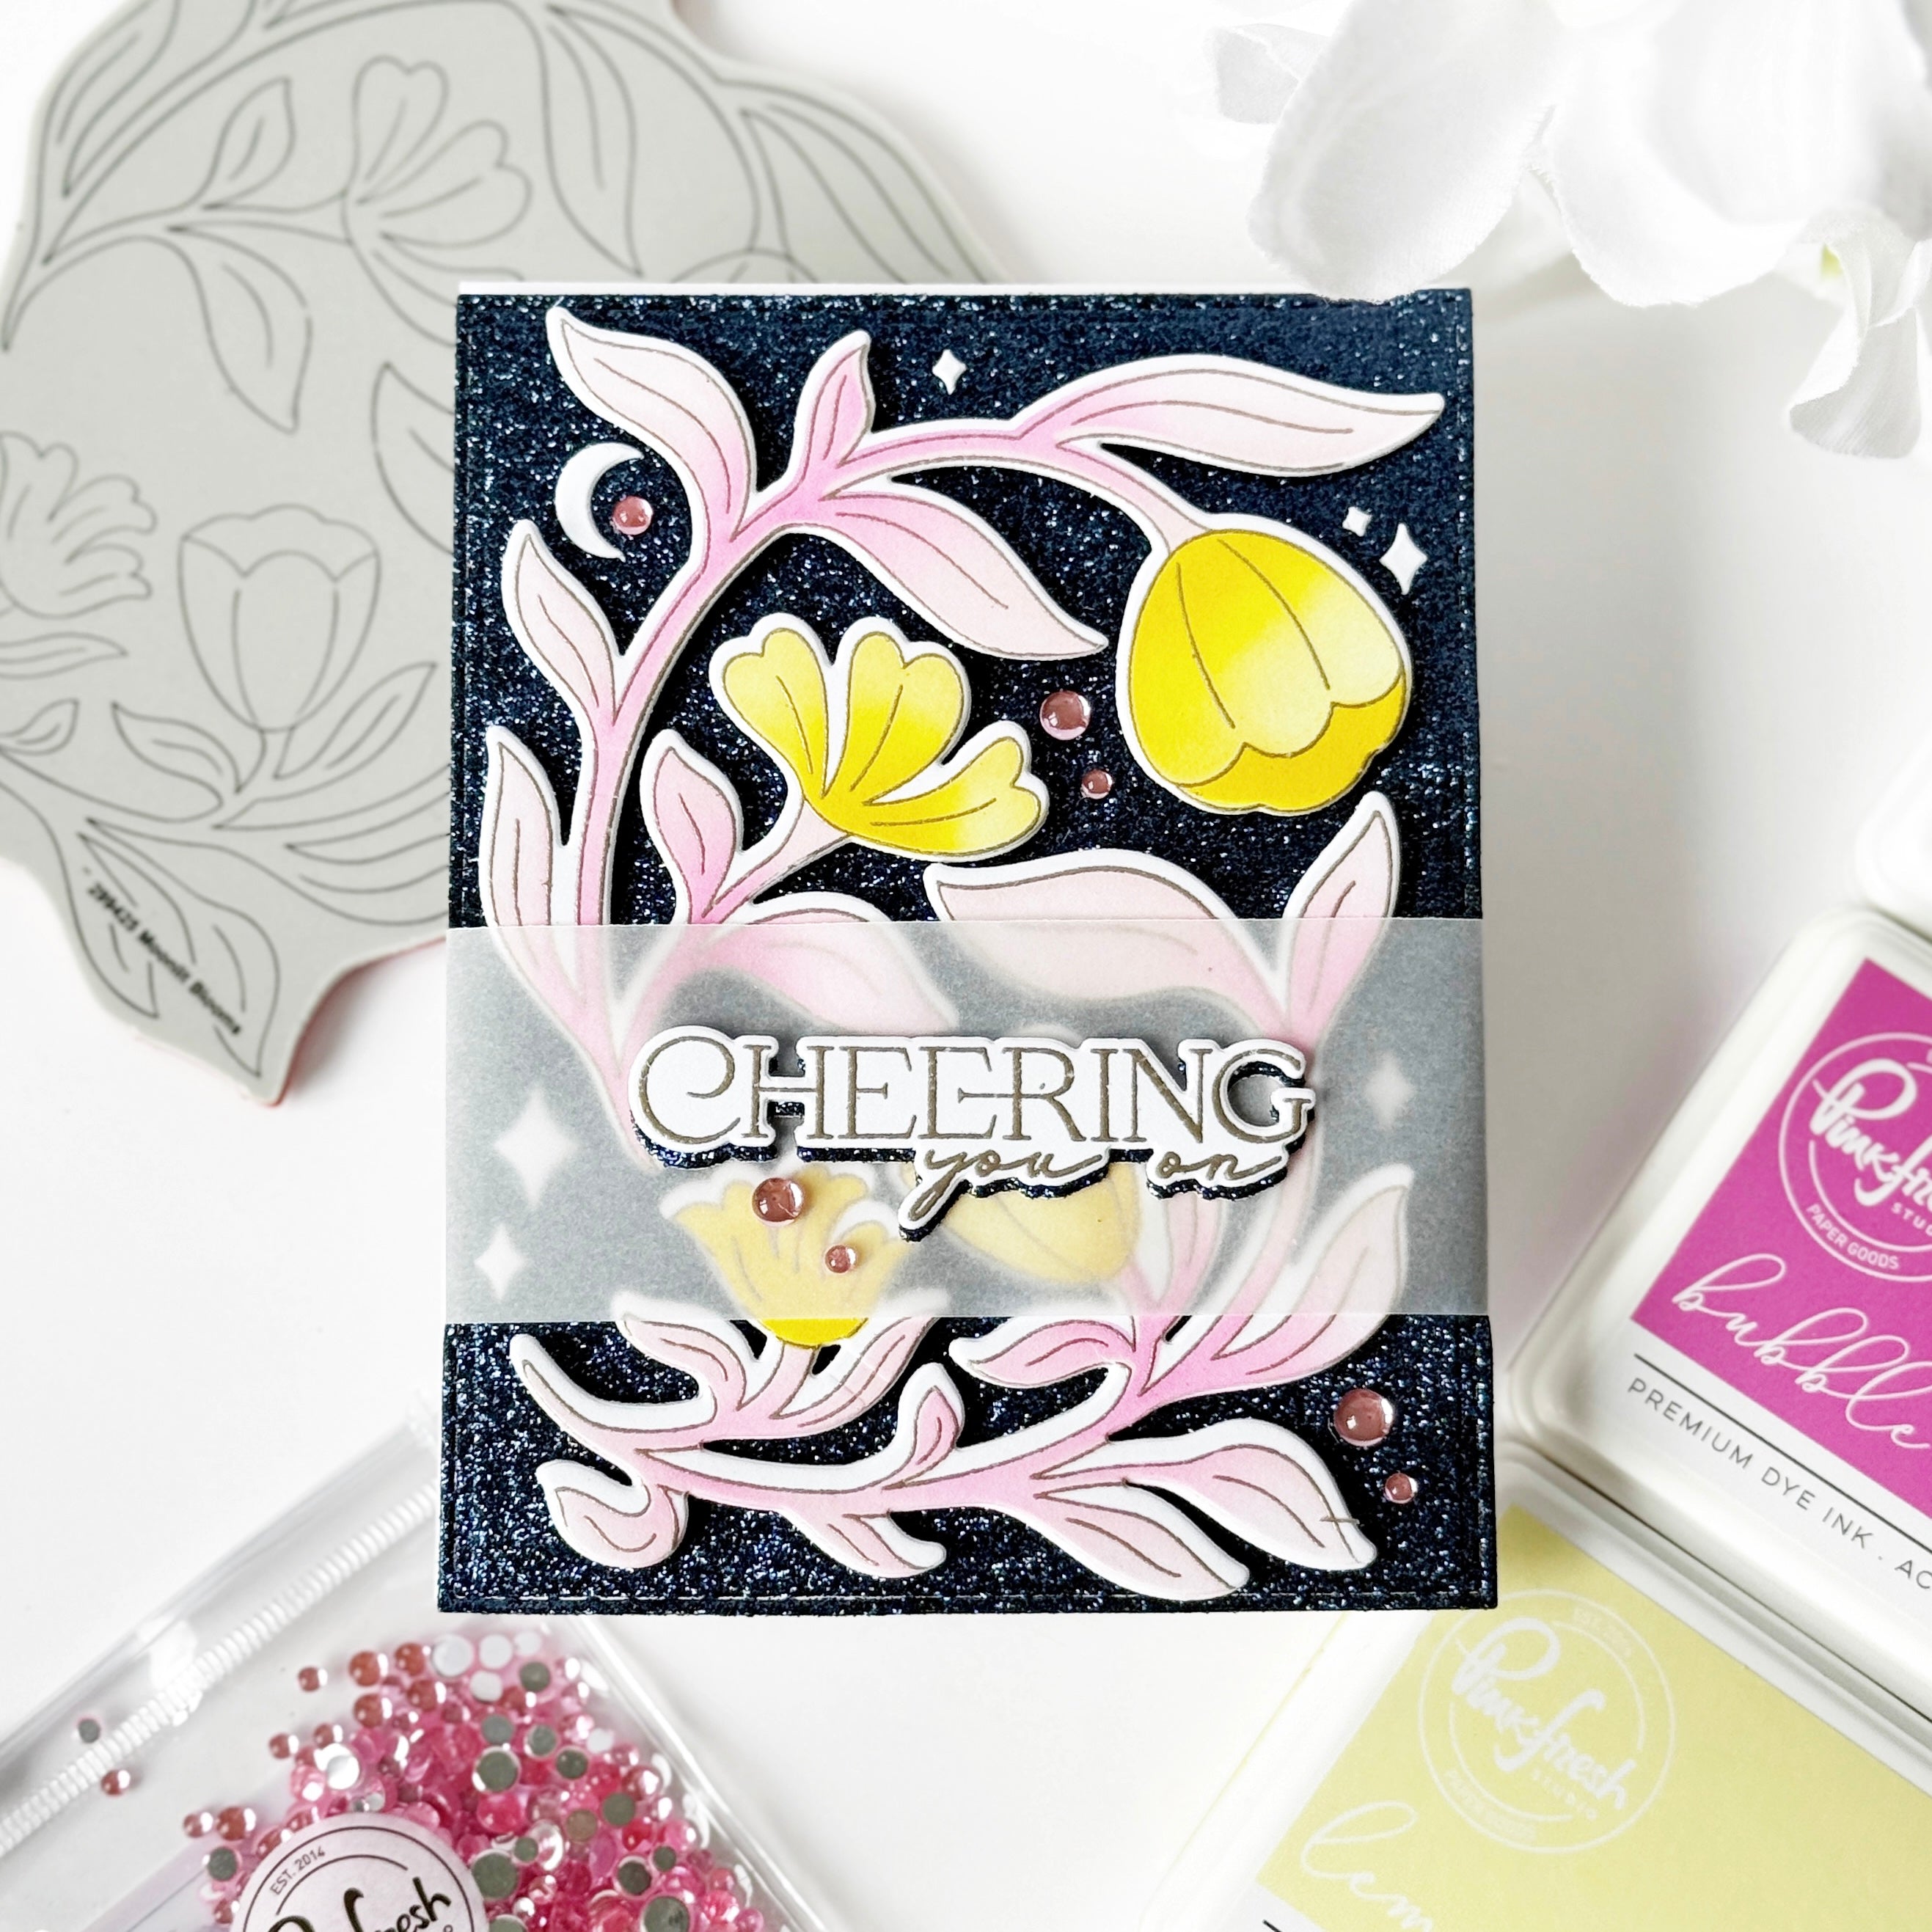
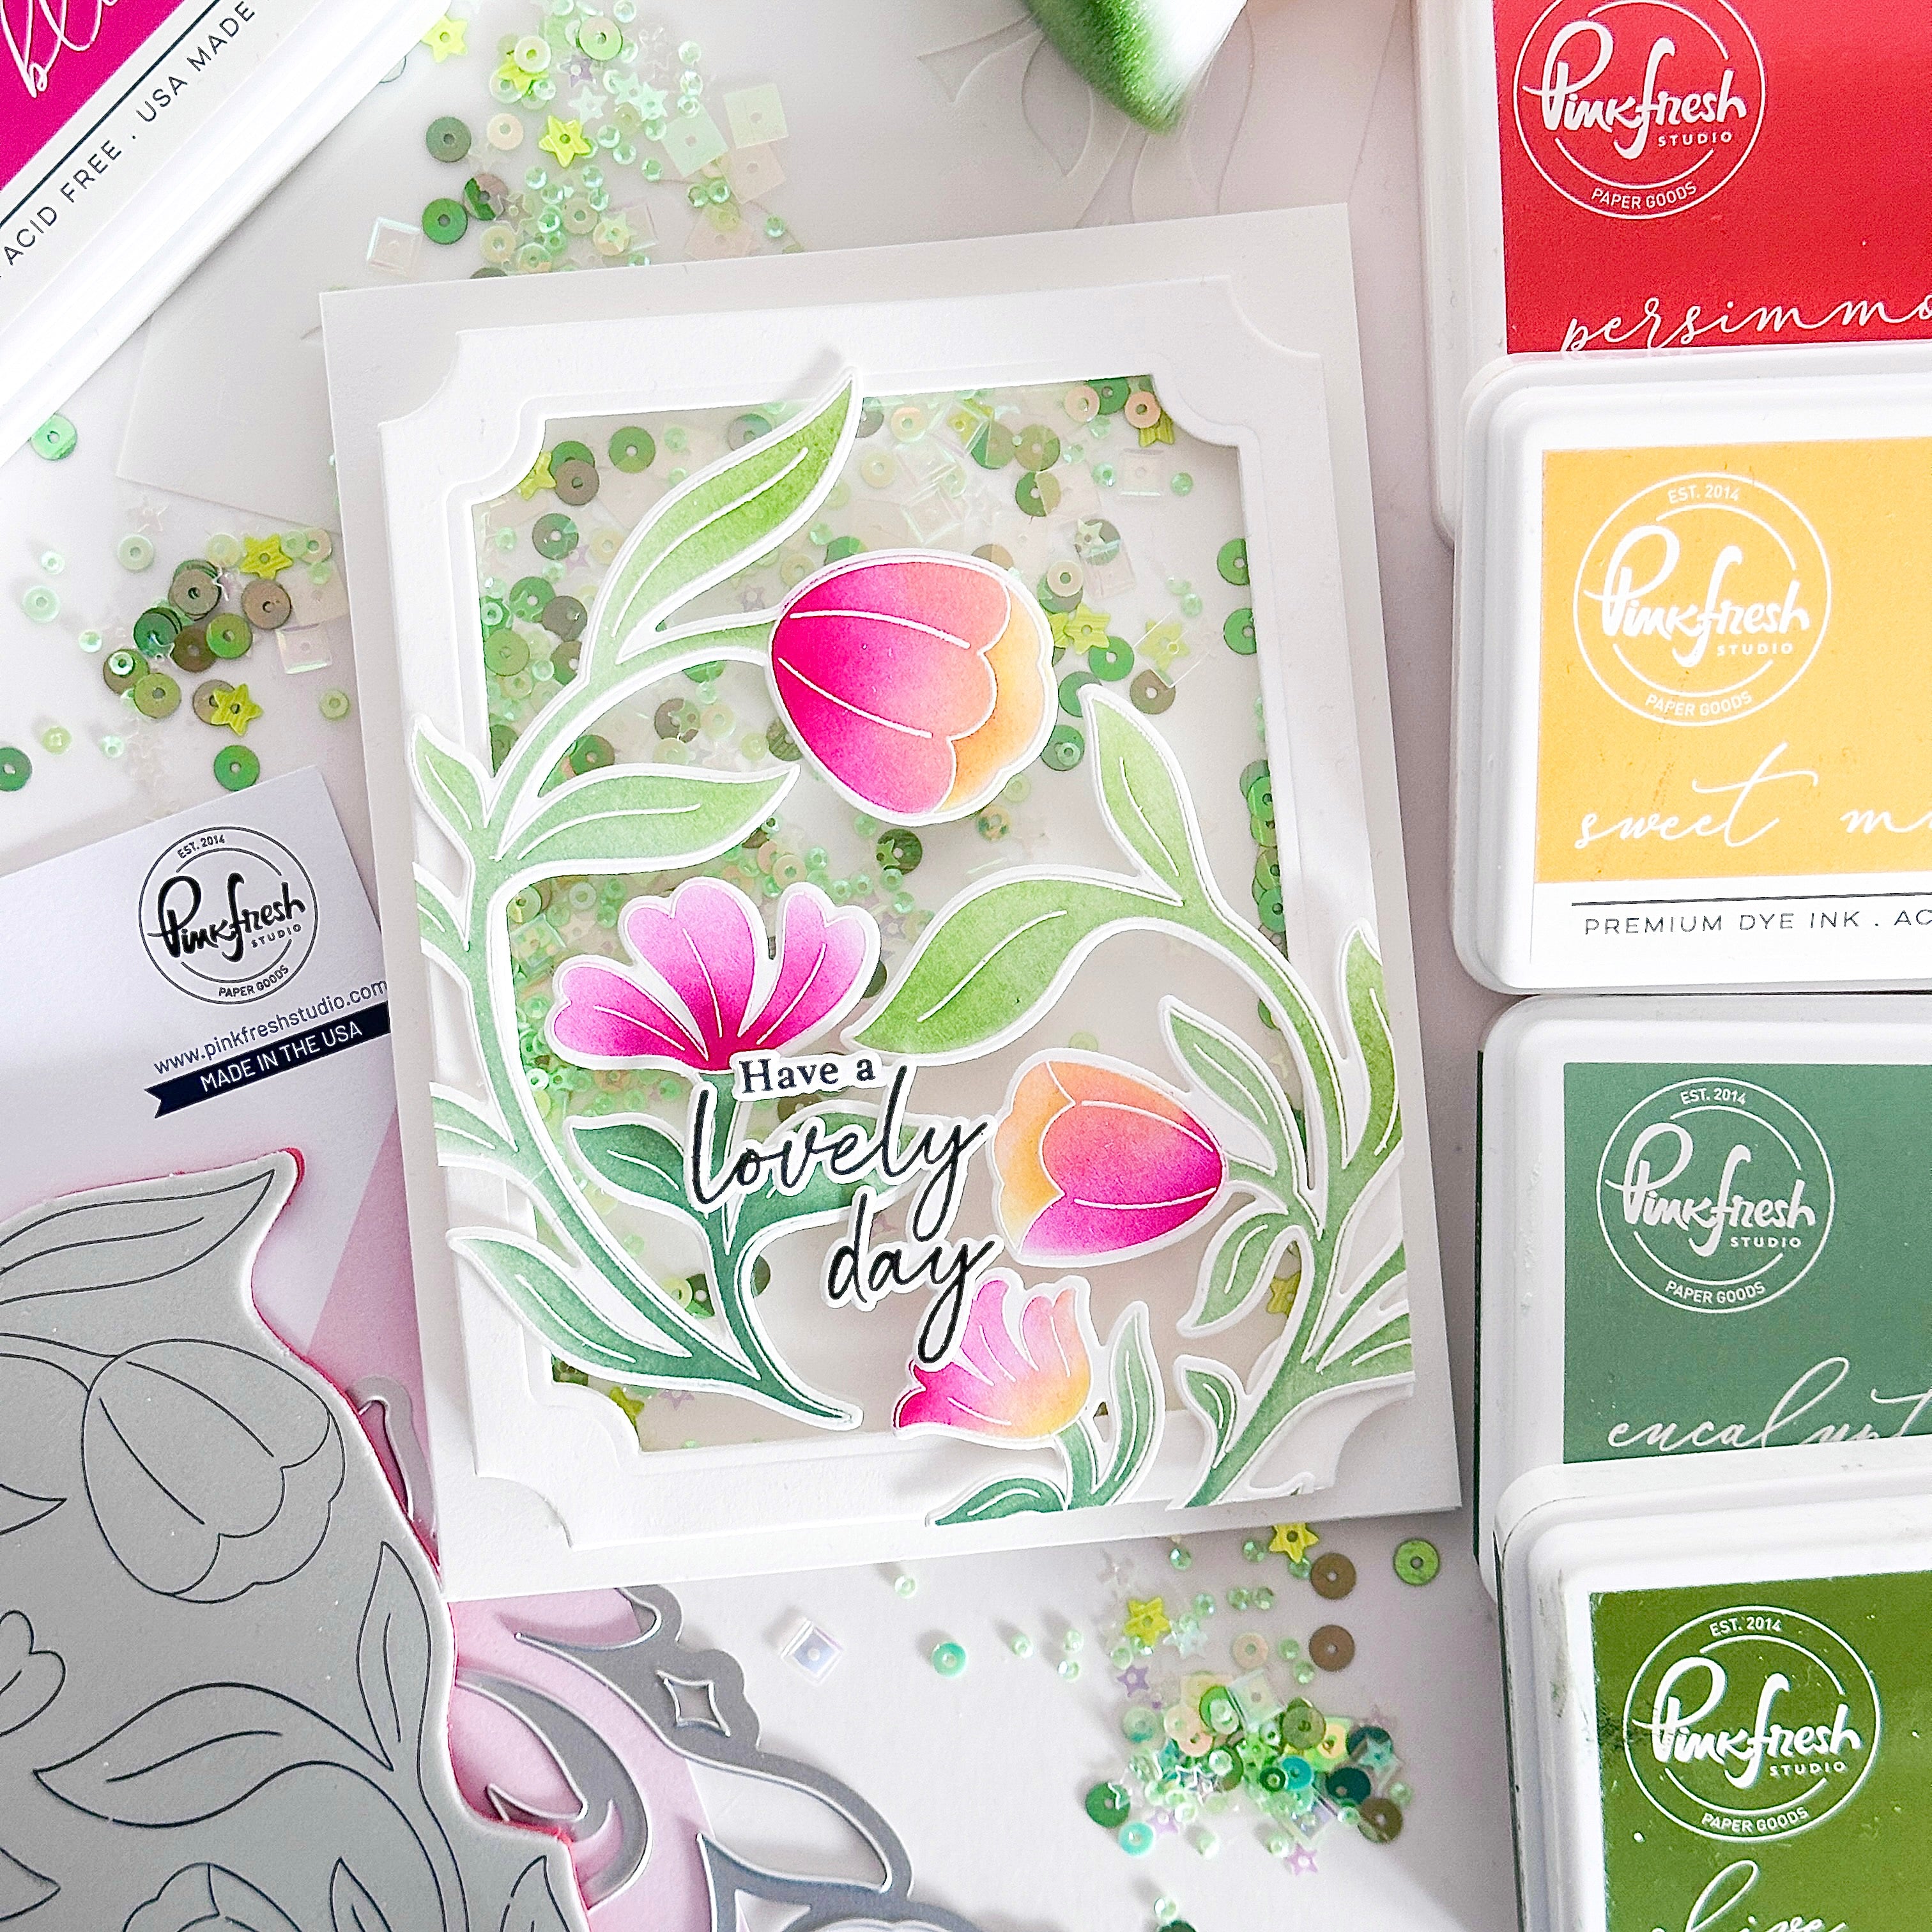
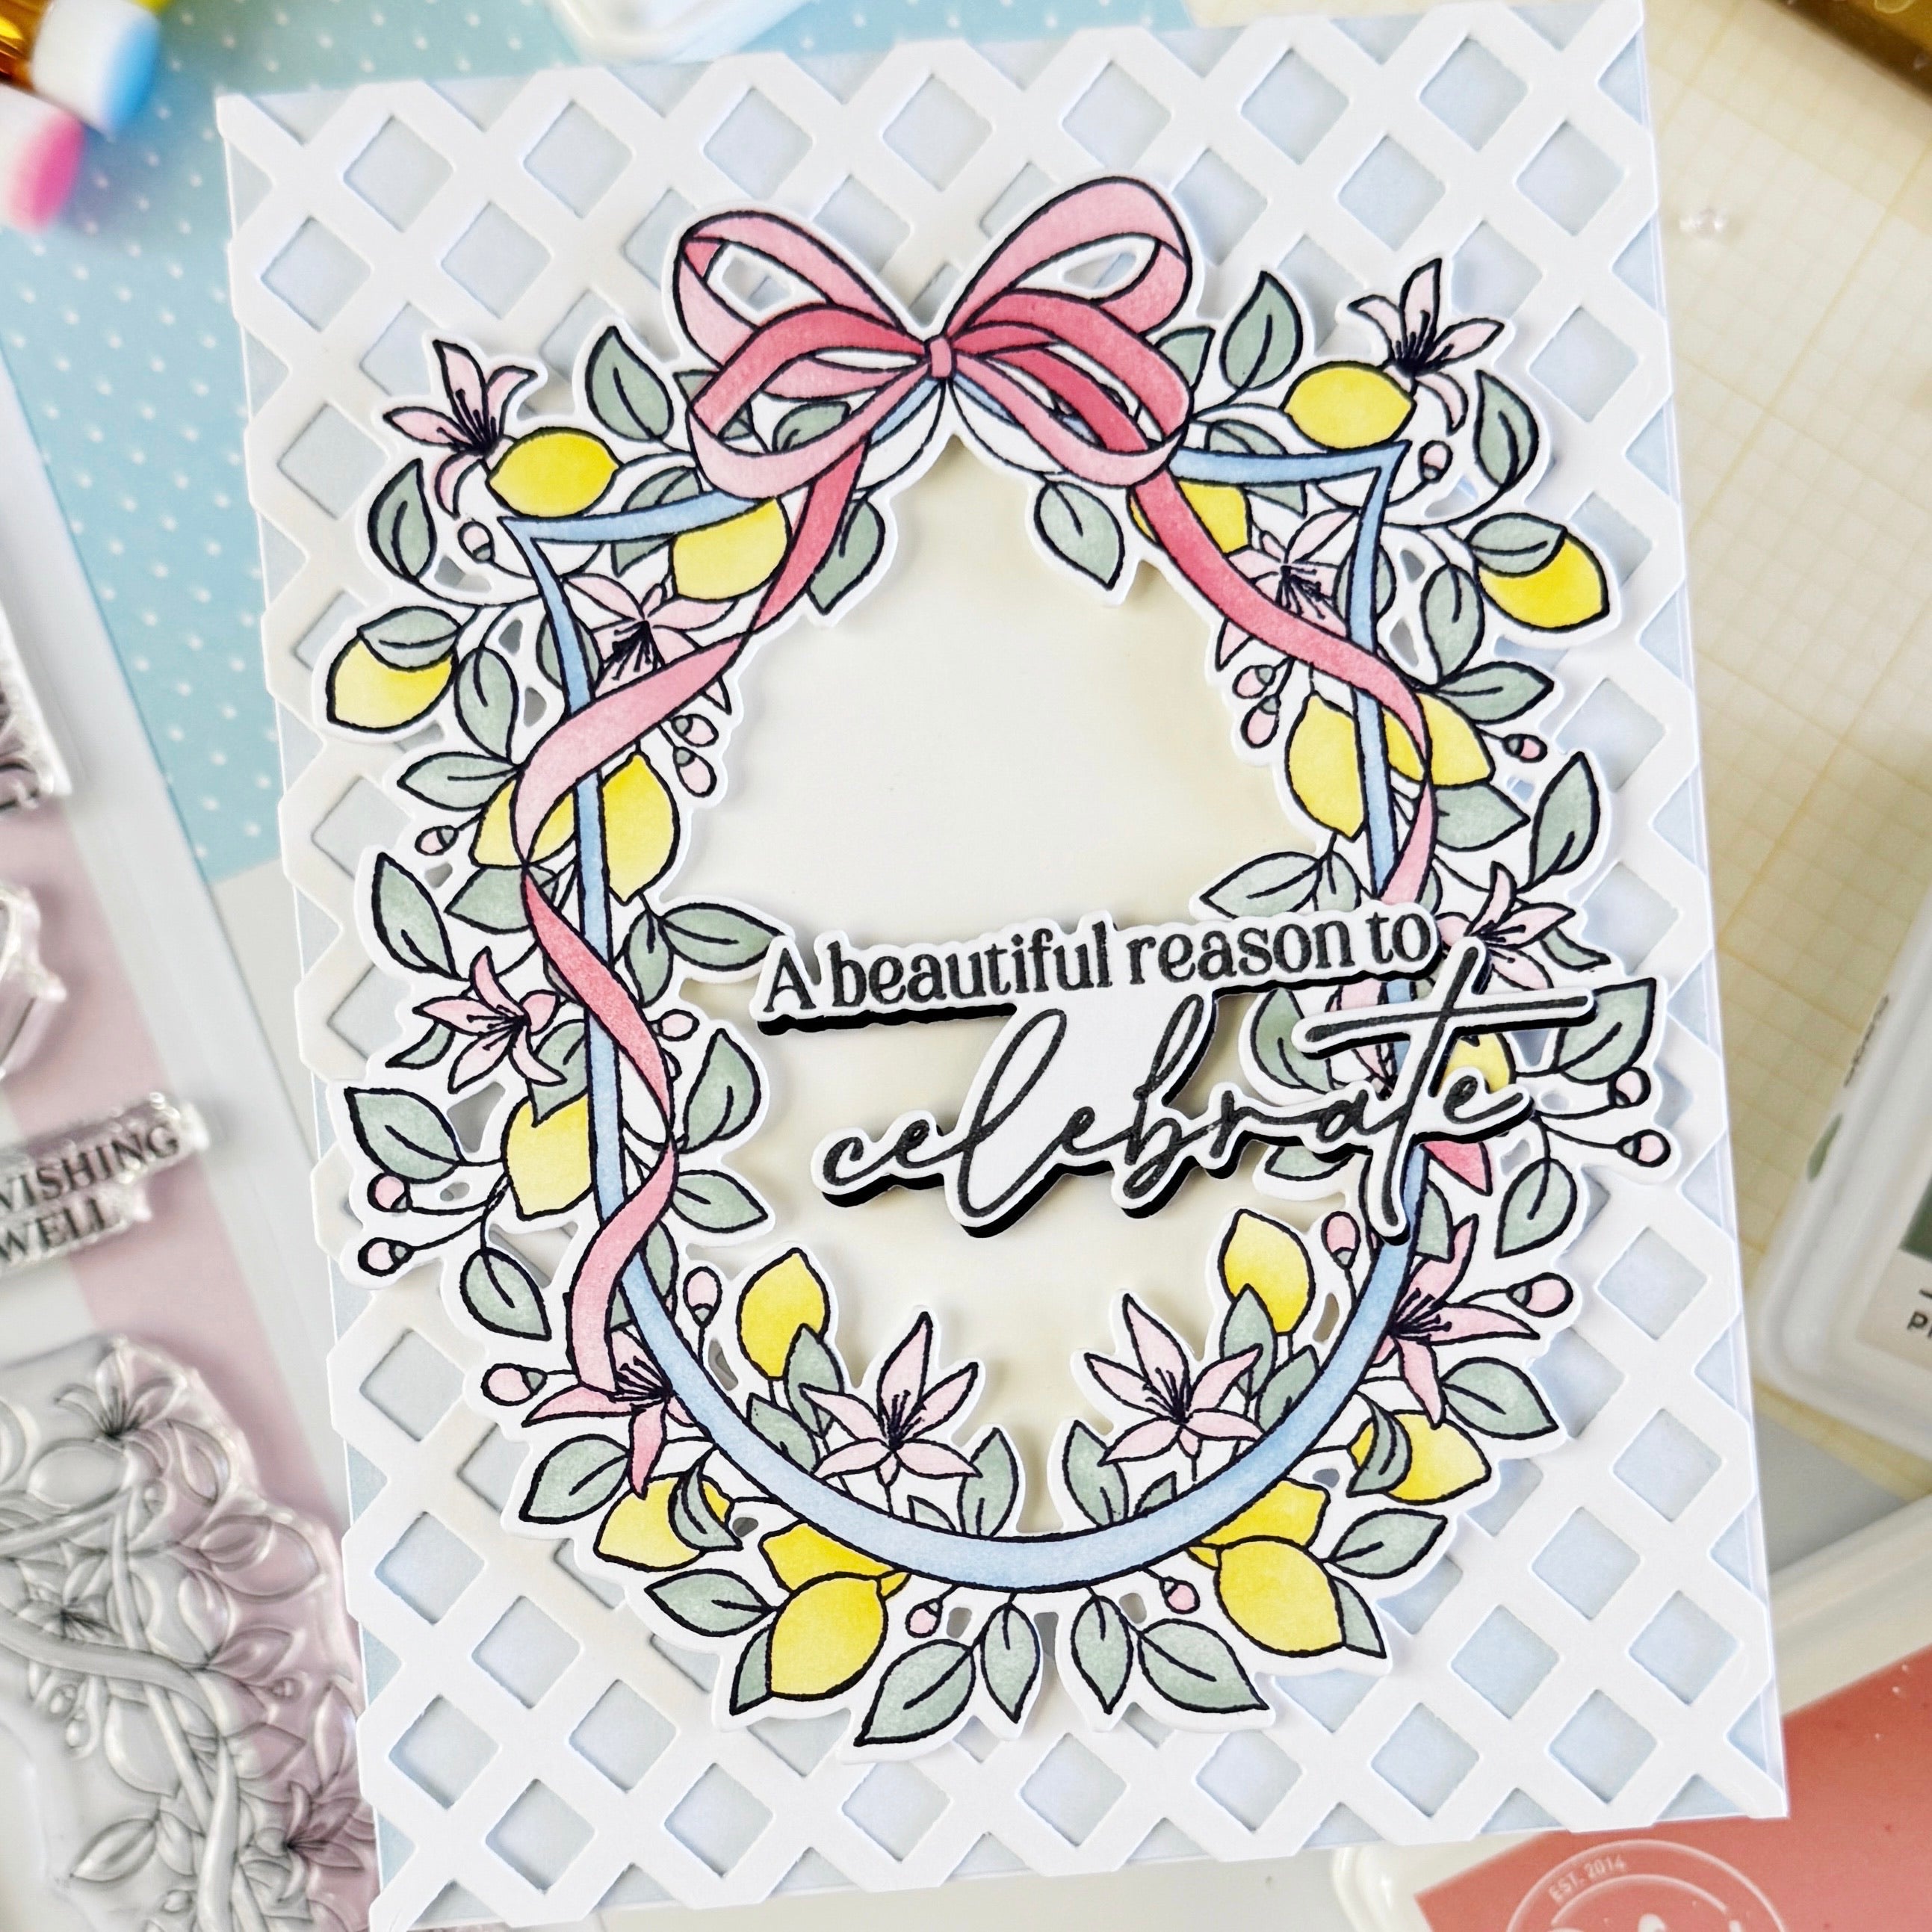
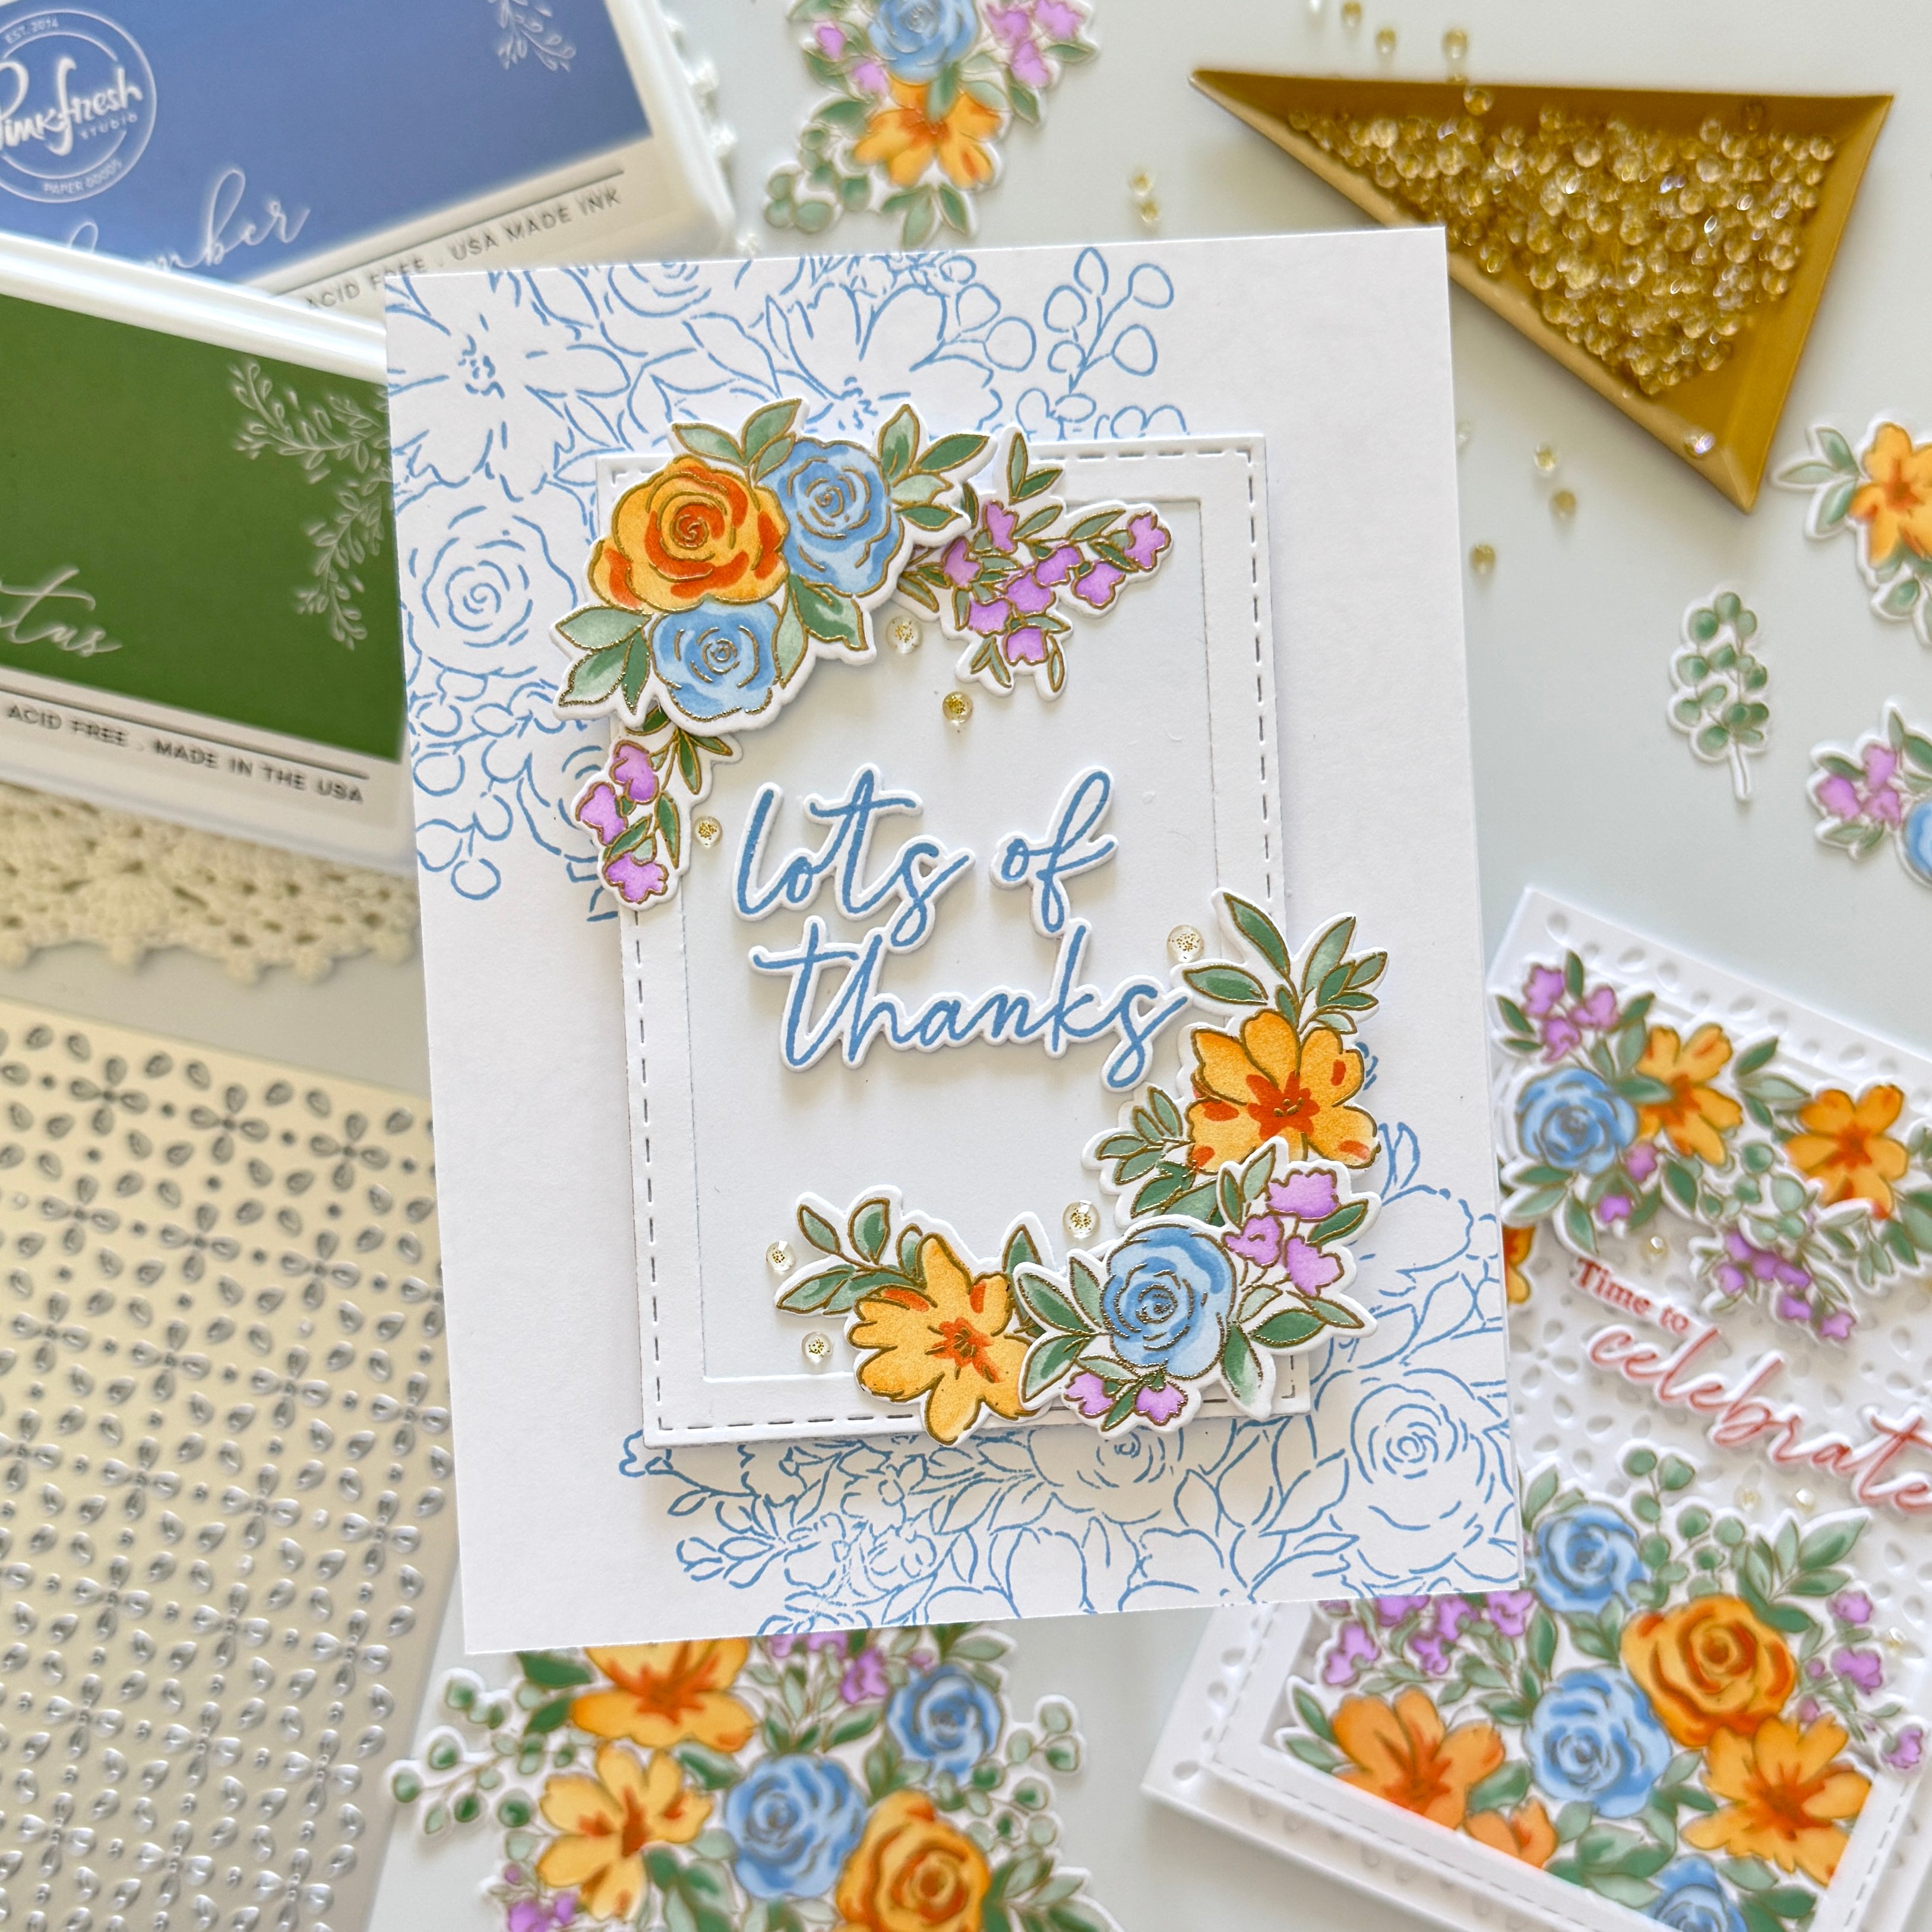
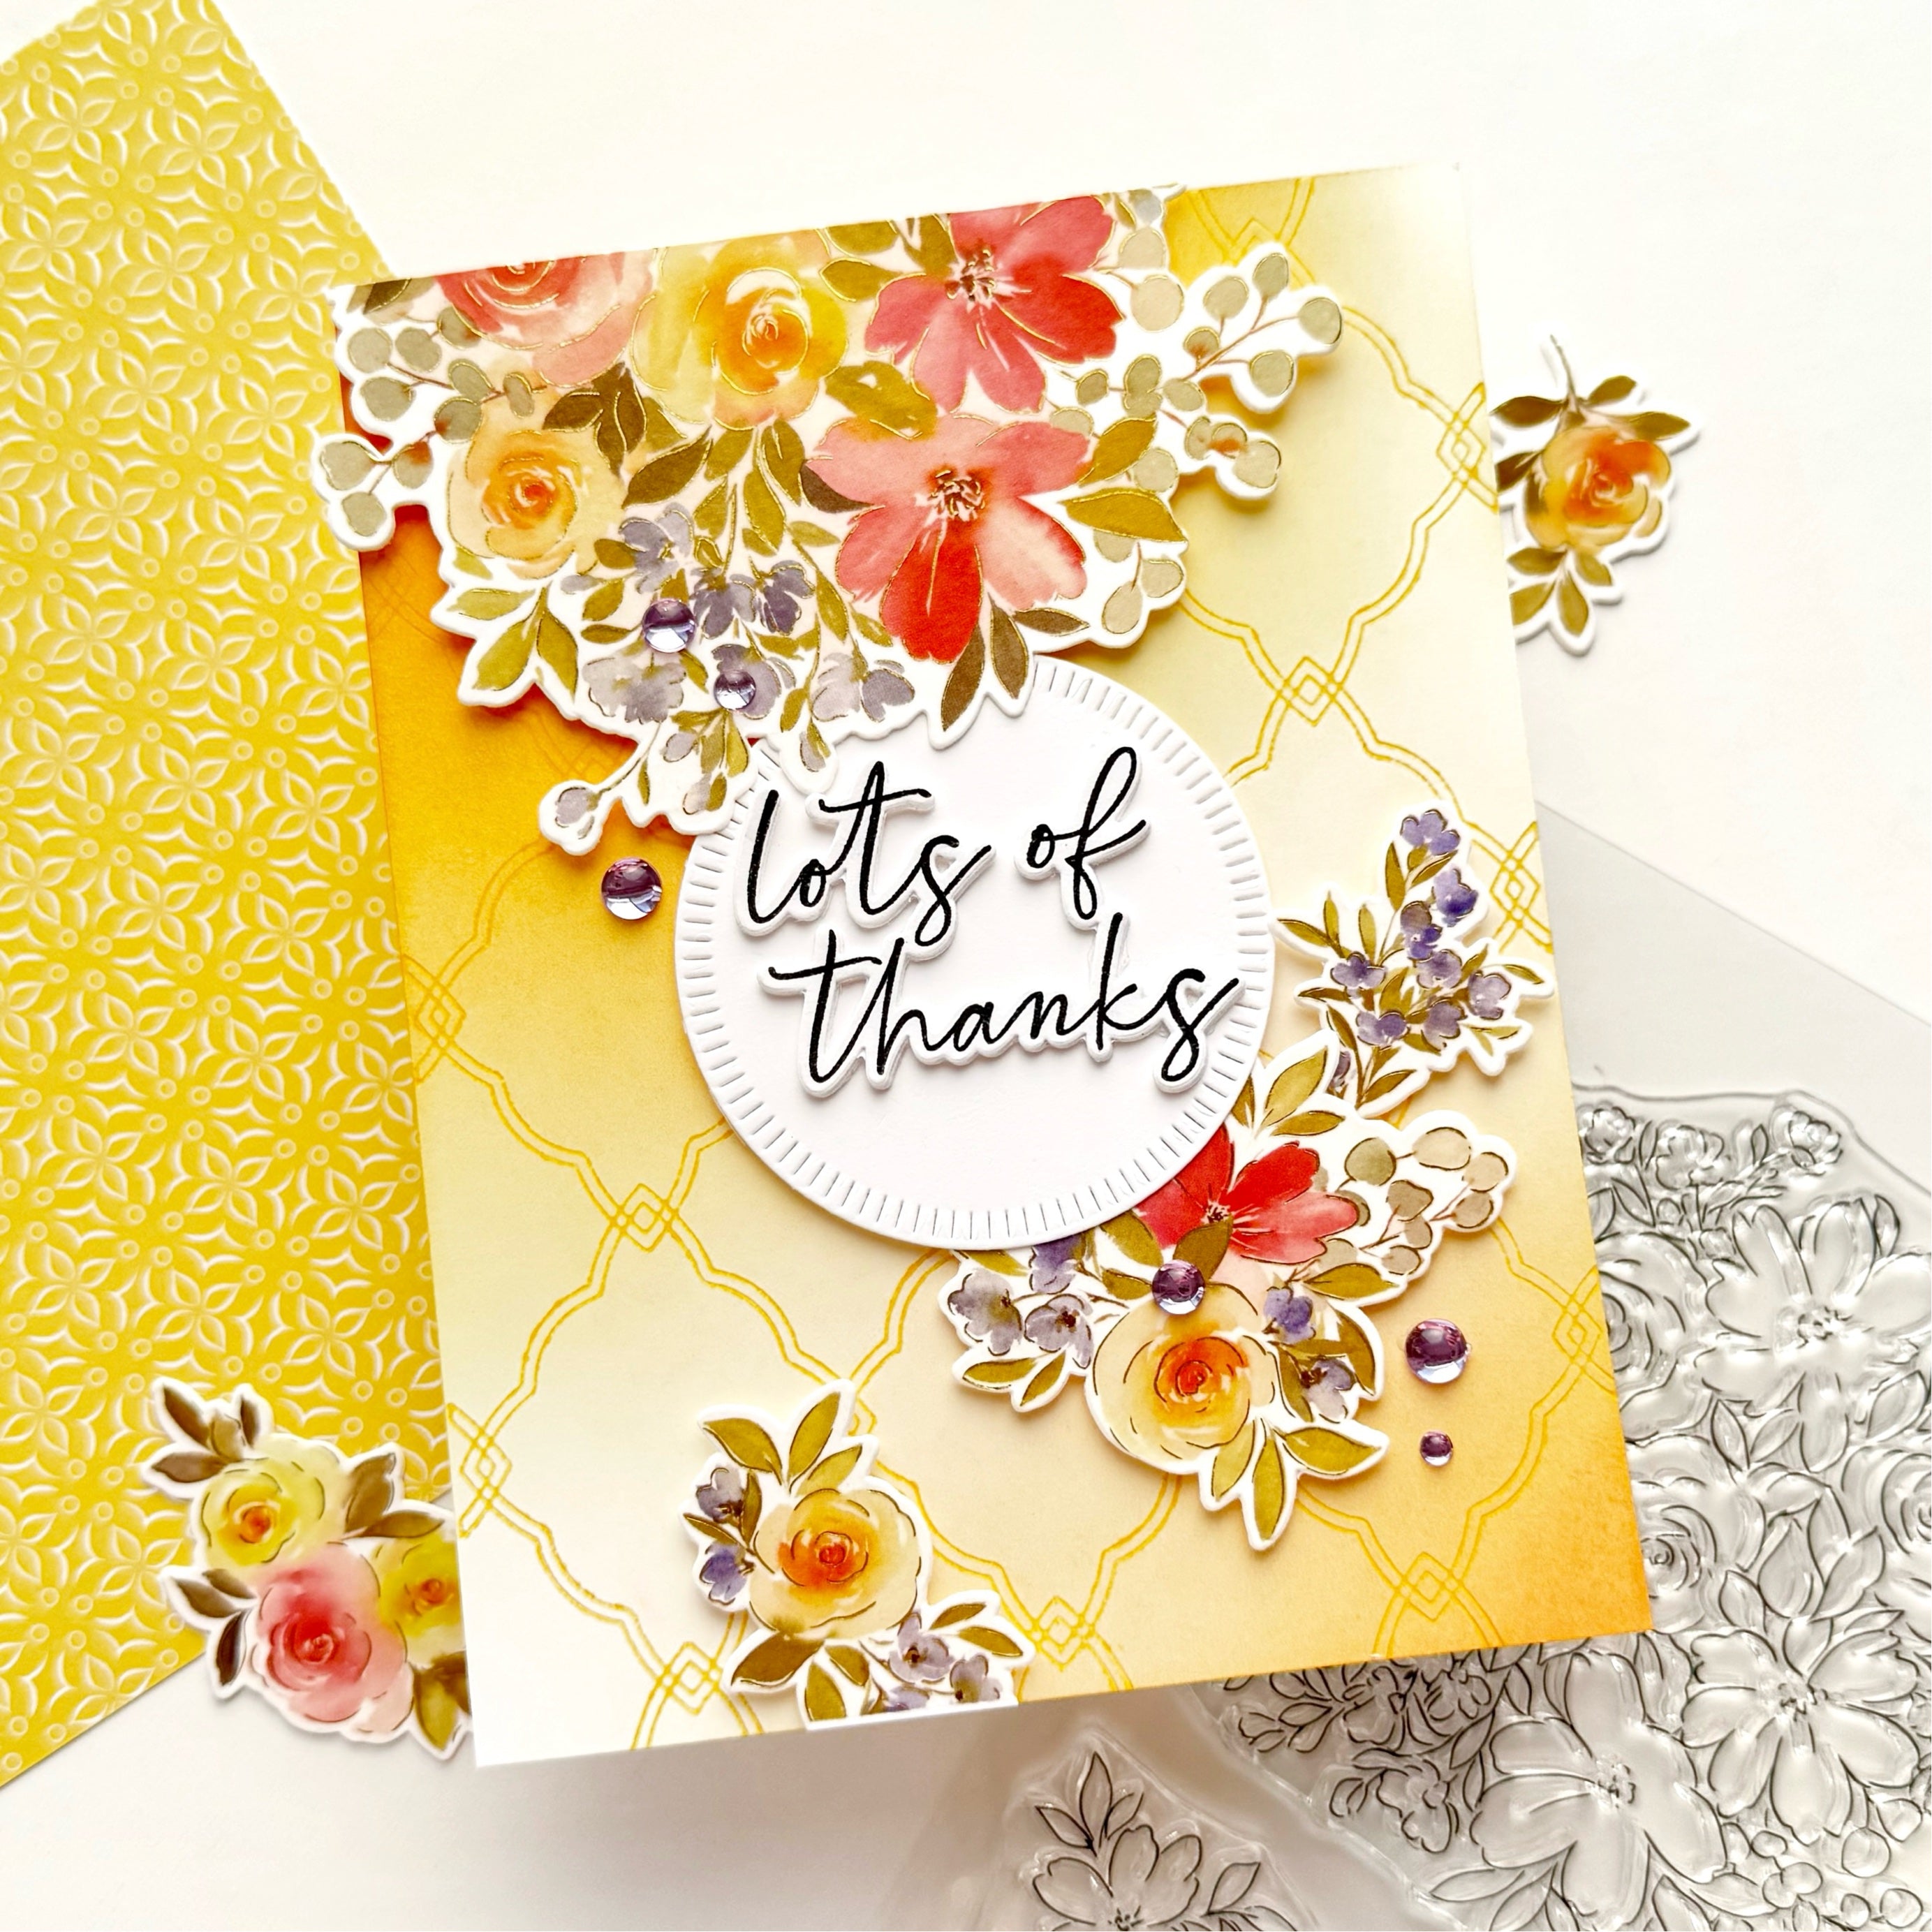
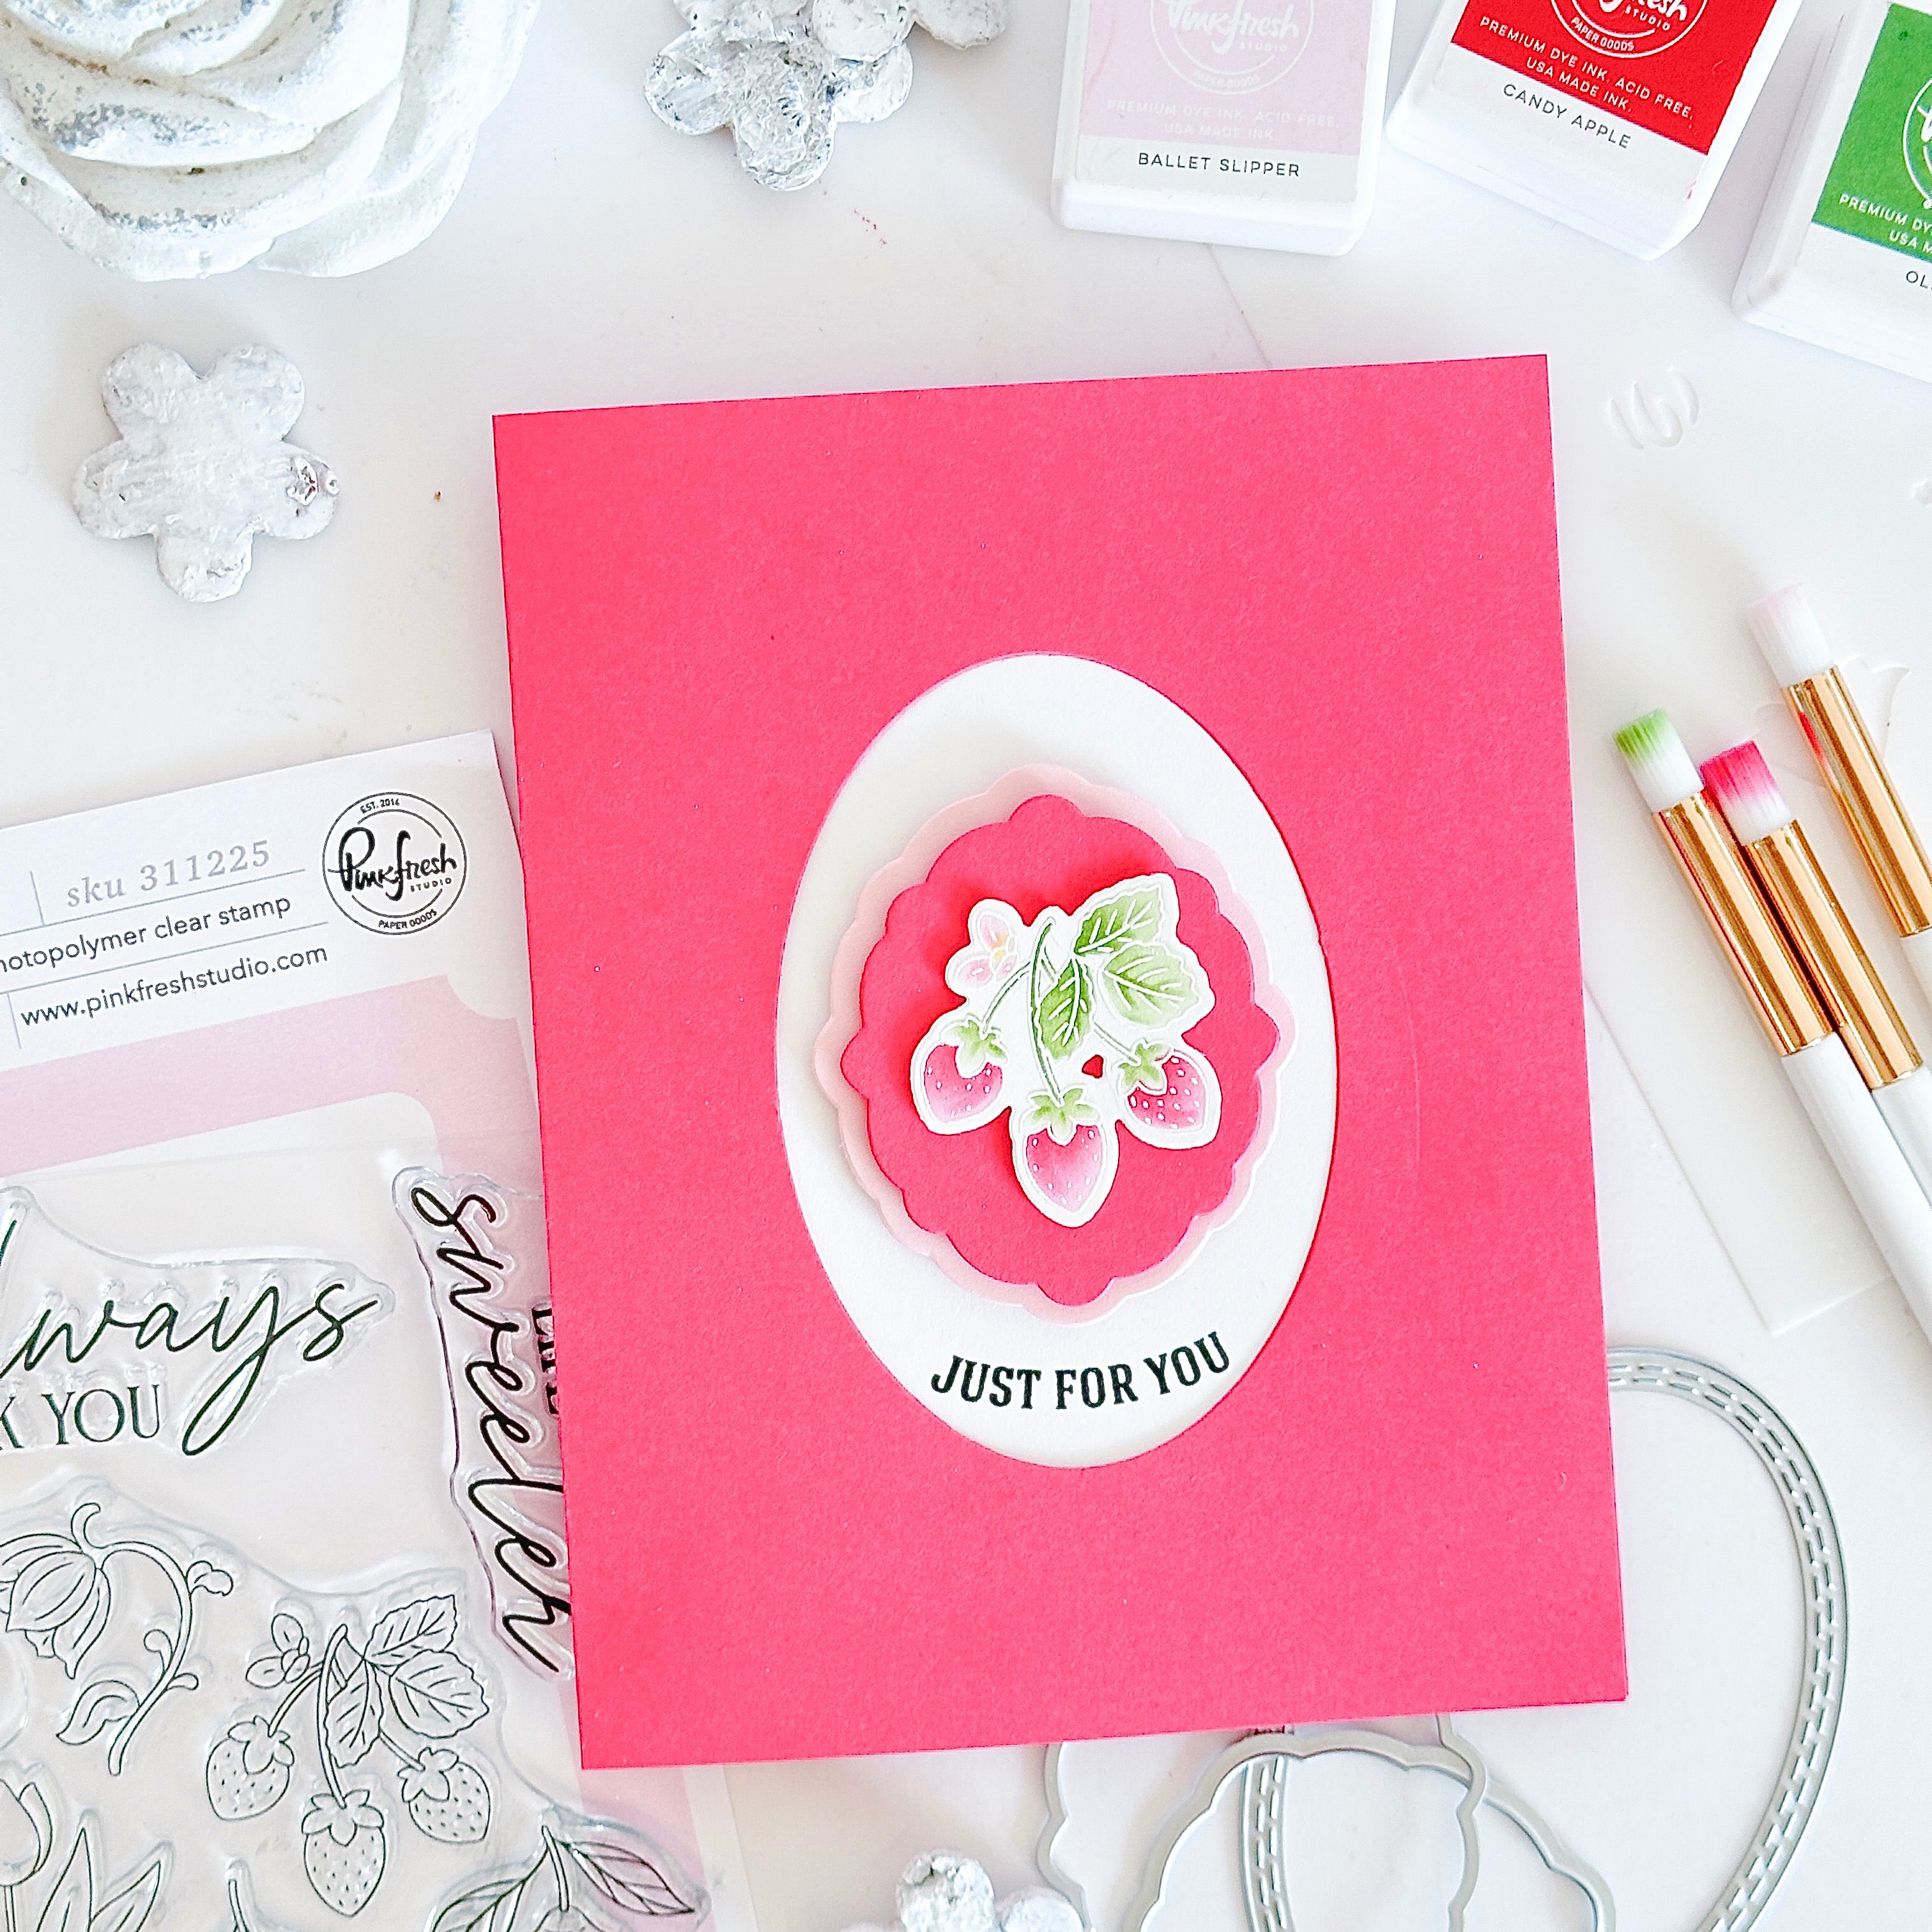
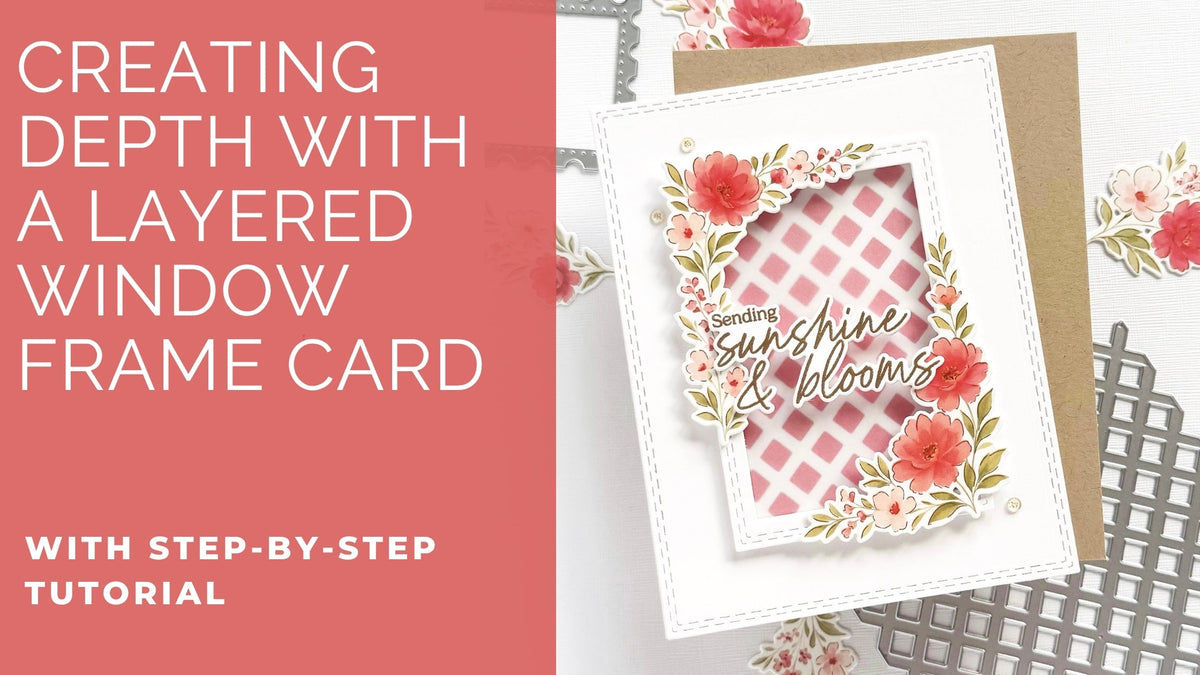
I’ve created two cards using Moonlit Blooms suite and the Diamond Lattice coverplate die from the new release, using each of them only once. You’ll see what I mean :) ! Let’s take a look at how I made them.
*Disclaimer: All products used are linked below as clickable images. If a product isn’t listed, it’s been discontinued.

Here's how I put it together:
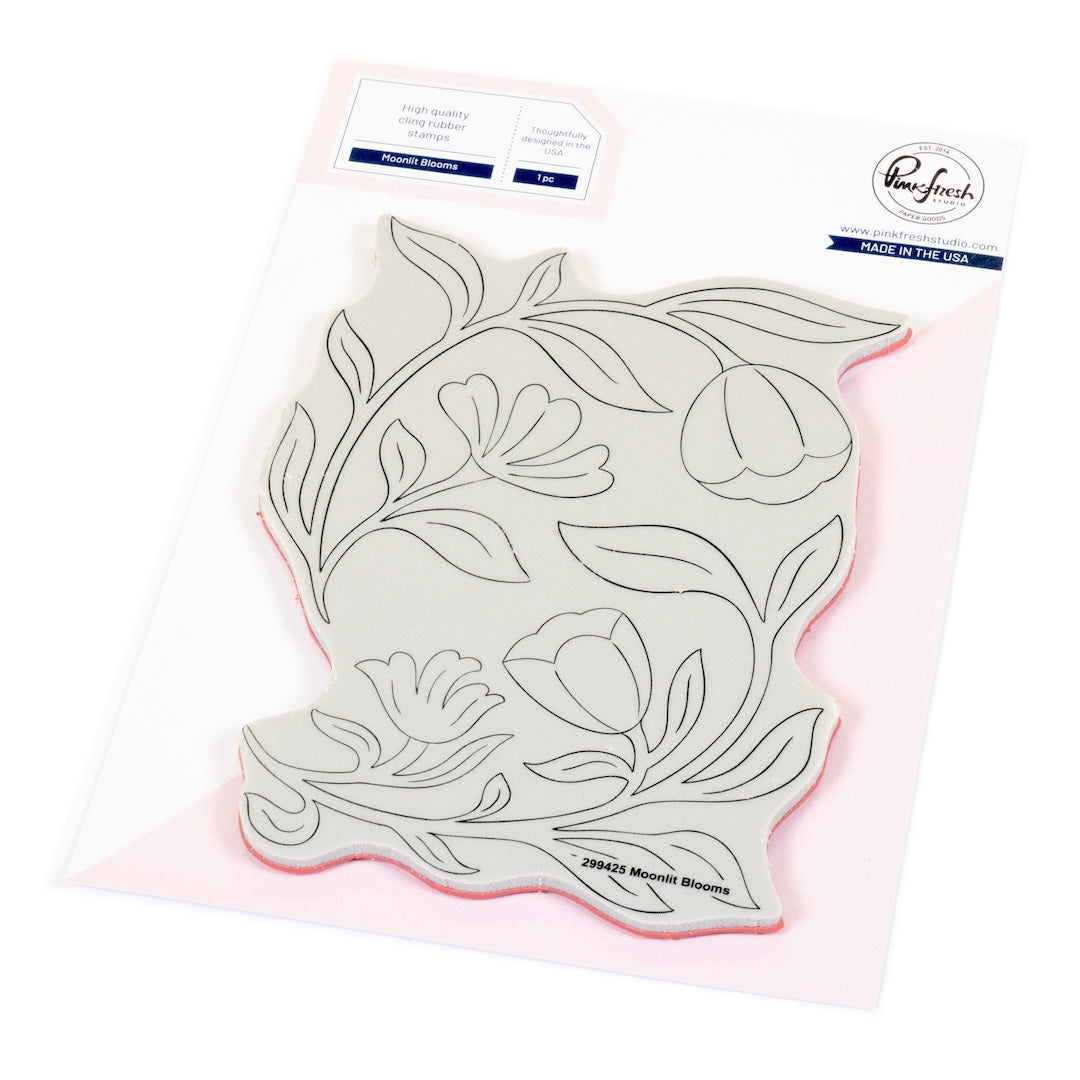
- Heat emboss the Moonlit Blooms image in white on white cardstock.
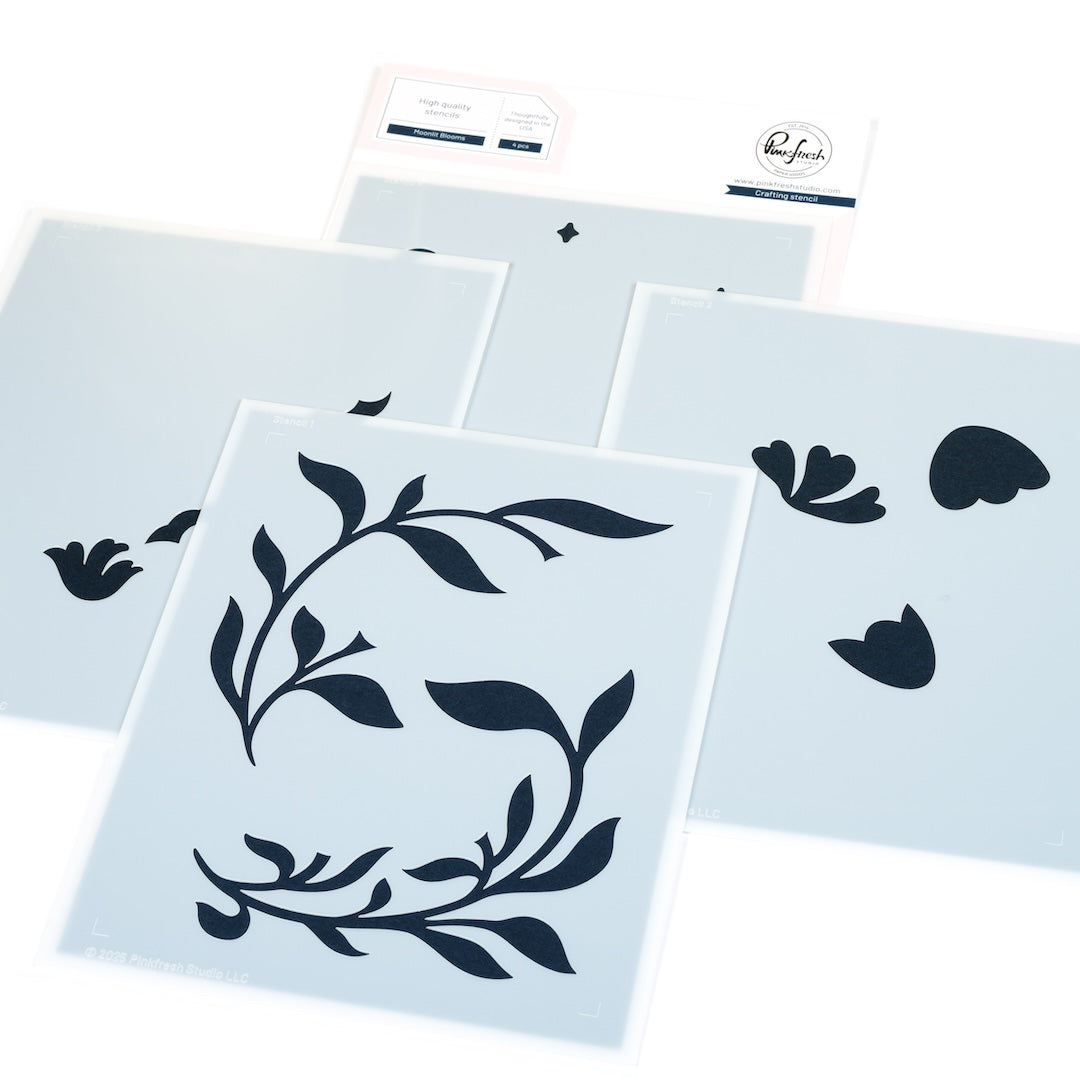
- Color the image using the coordinating stencils in the following ink colors:
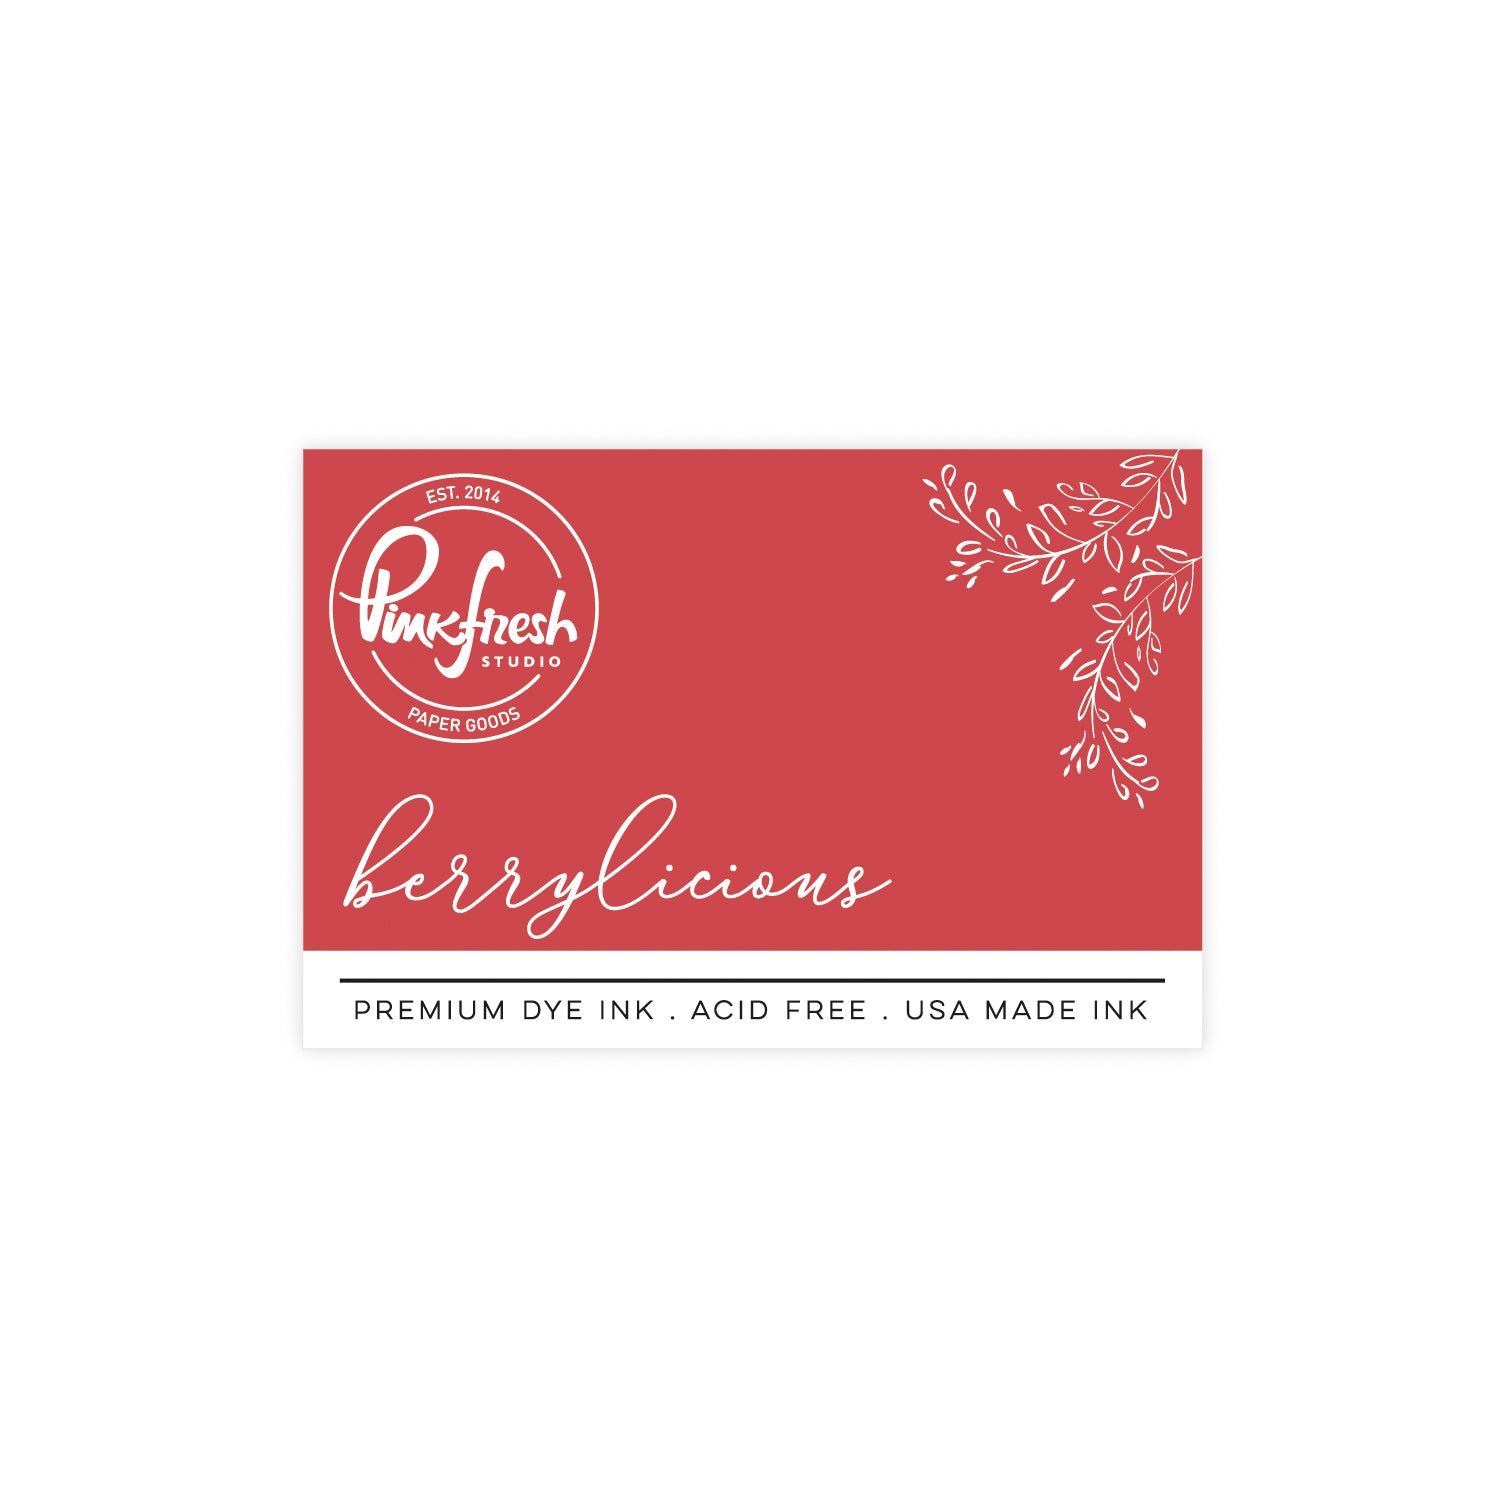
- Flowers: Coral Reef, Berrylicious, Mango Sorbet
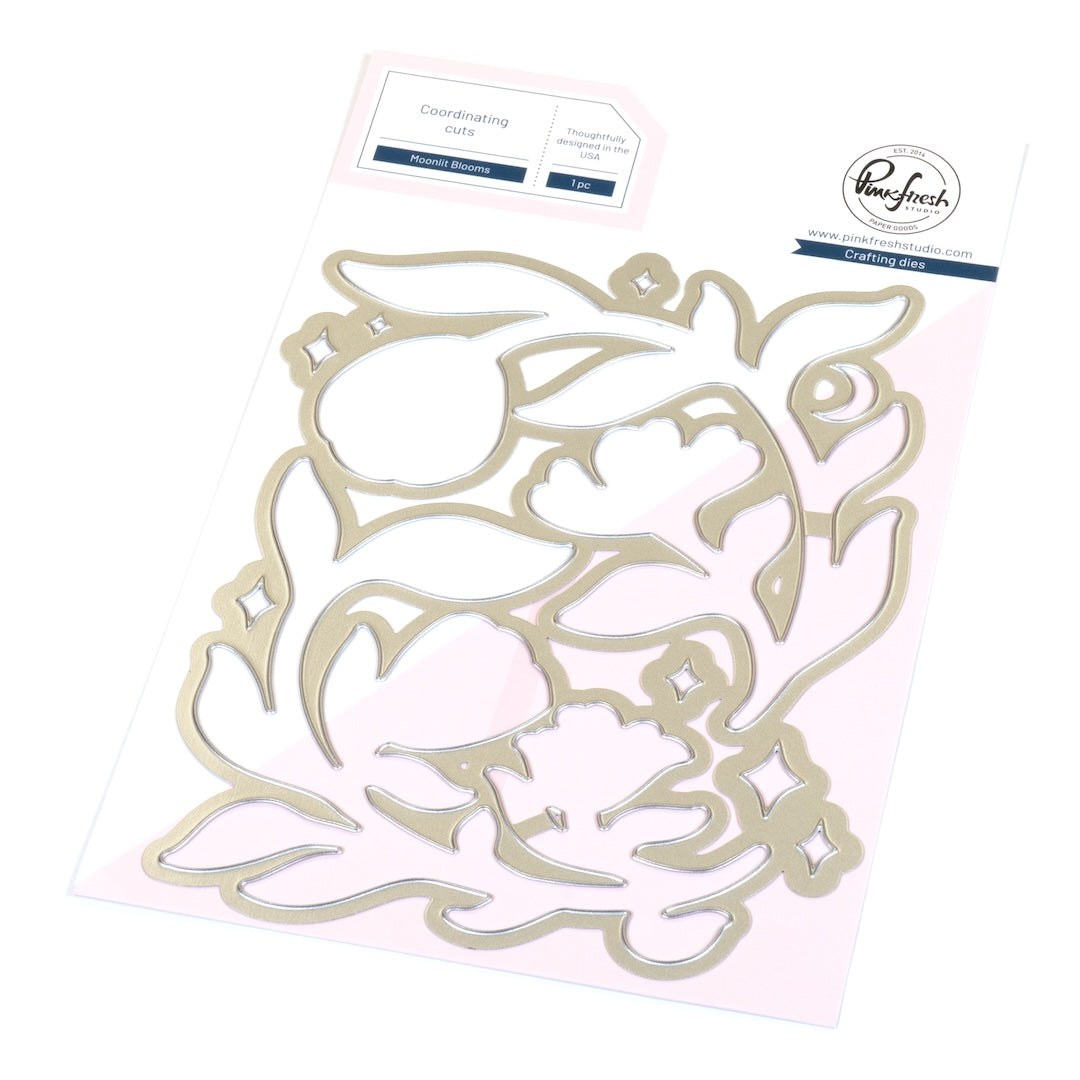
- Greenery: Blue Jay, Hydrangea - Die cut the image using the coordinating die.
- Transfer Berrylicious and Blue Jay ink onto an acetate sheet, spritz with clear water, and apply the color onto a mixed media paper panel for a soft watercolor effect.
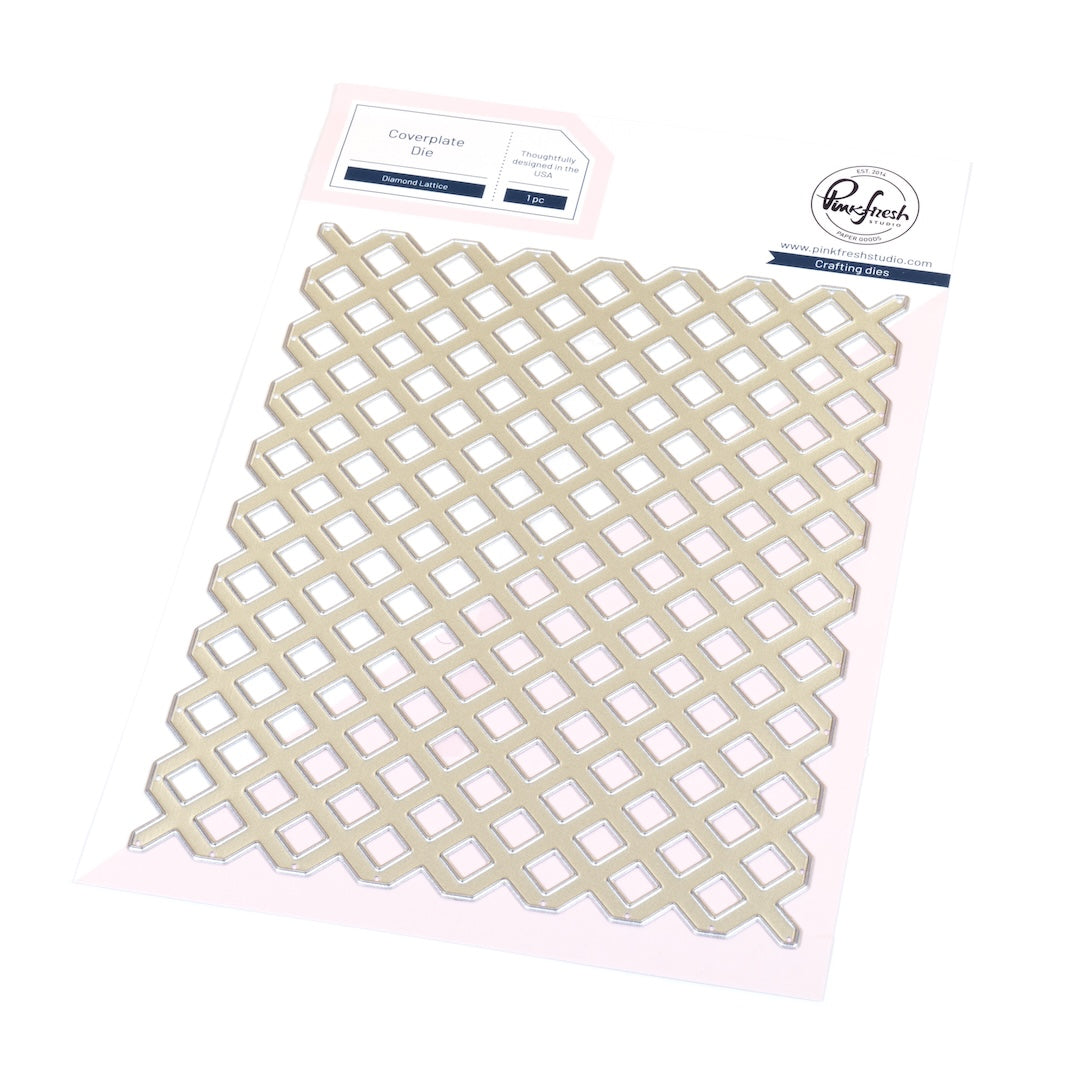
- Let the panel dry, then cut it using the Diamond Lattice die.
- Carefully remove the cutting plate and the die, secure the panel with a piece of Press'n Seal and adhere small pieces of foam tape to the back of the tiny square pieces.
- Adhere the small square pieces to a white cardbase, then pull out the lattice portion.
- Foam-mount the lattice piece onto another white cardbase to create the background for the second card.
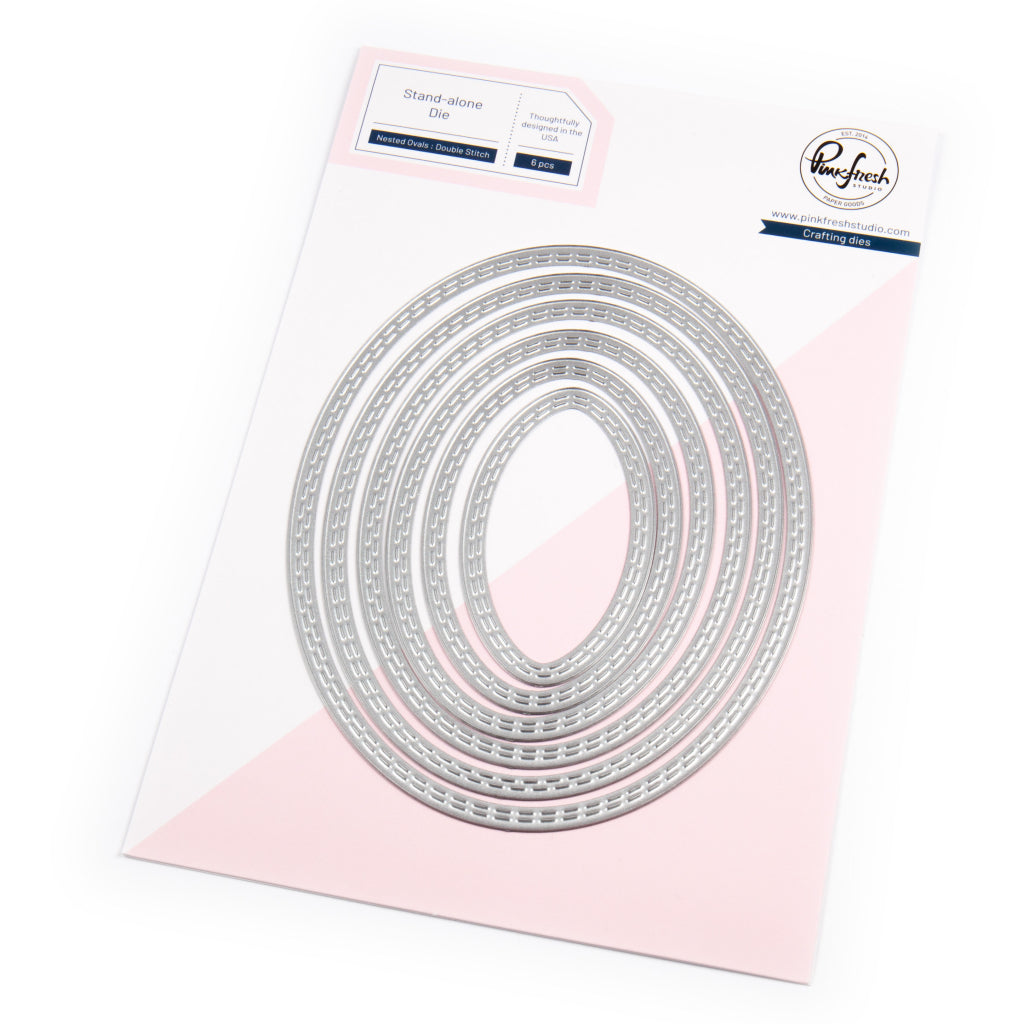
- Cut a white oval frame using the Nested Ovals: Double Stitch die, add the oval frame to the first card and the inner oval piece to the second card.
- Cut white greenery using the Fresh Florals die, add it to the oval frame of the first card before adding the larger floral image from the stenciled Moonlit Blooms.
- Lightly ink blend a piece of white cardstock in Blue Jay and cut it with the Moonlit Blooms coordinating die.
- Add the smaller Moonlit Blooms image to the second card, matting it with the die cut piece from 11. slightly offset and raised with foam tape.
- Add highlights to the flowers with a white gel pen.
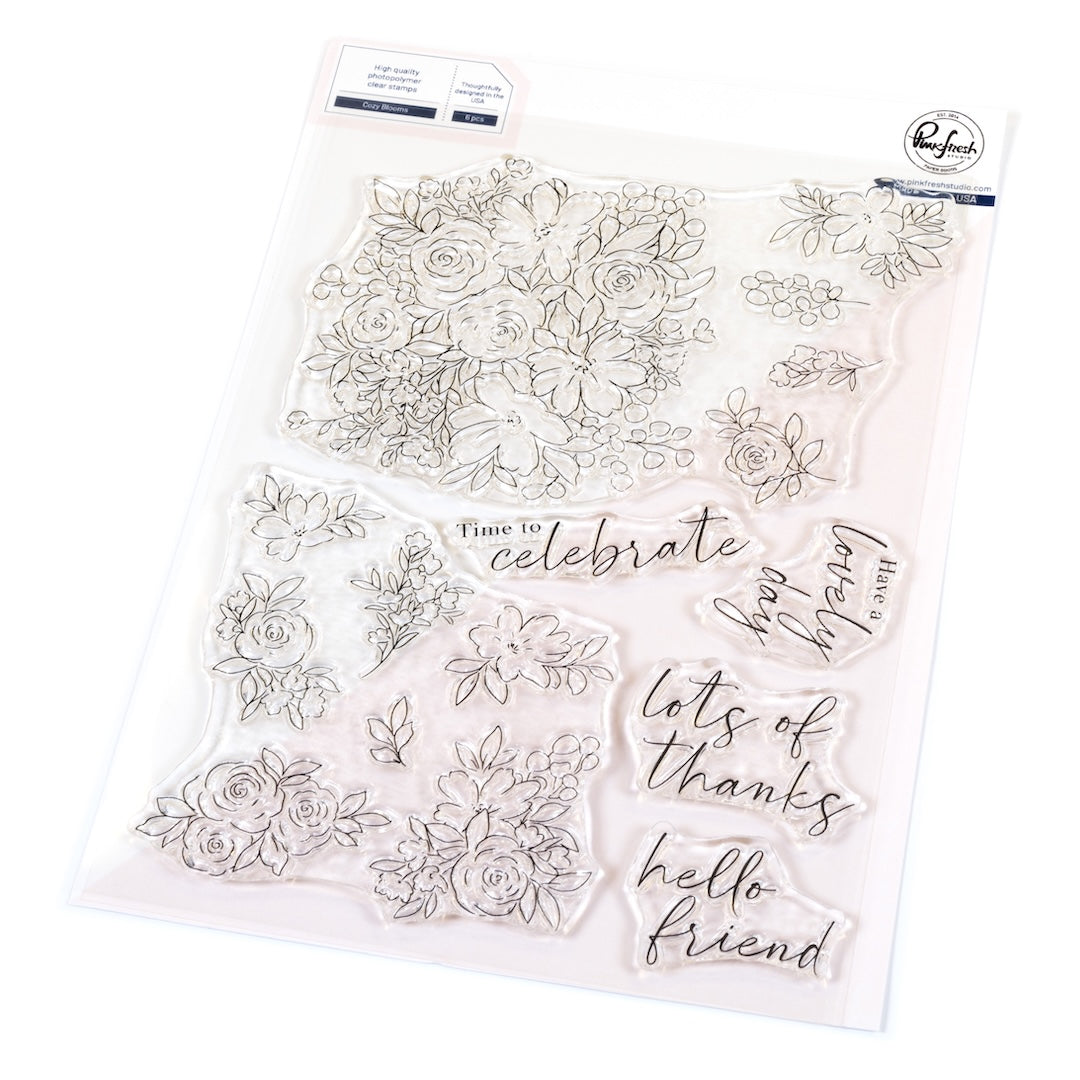
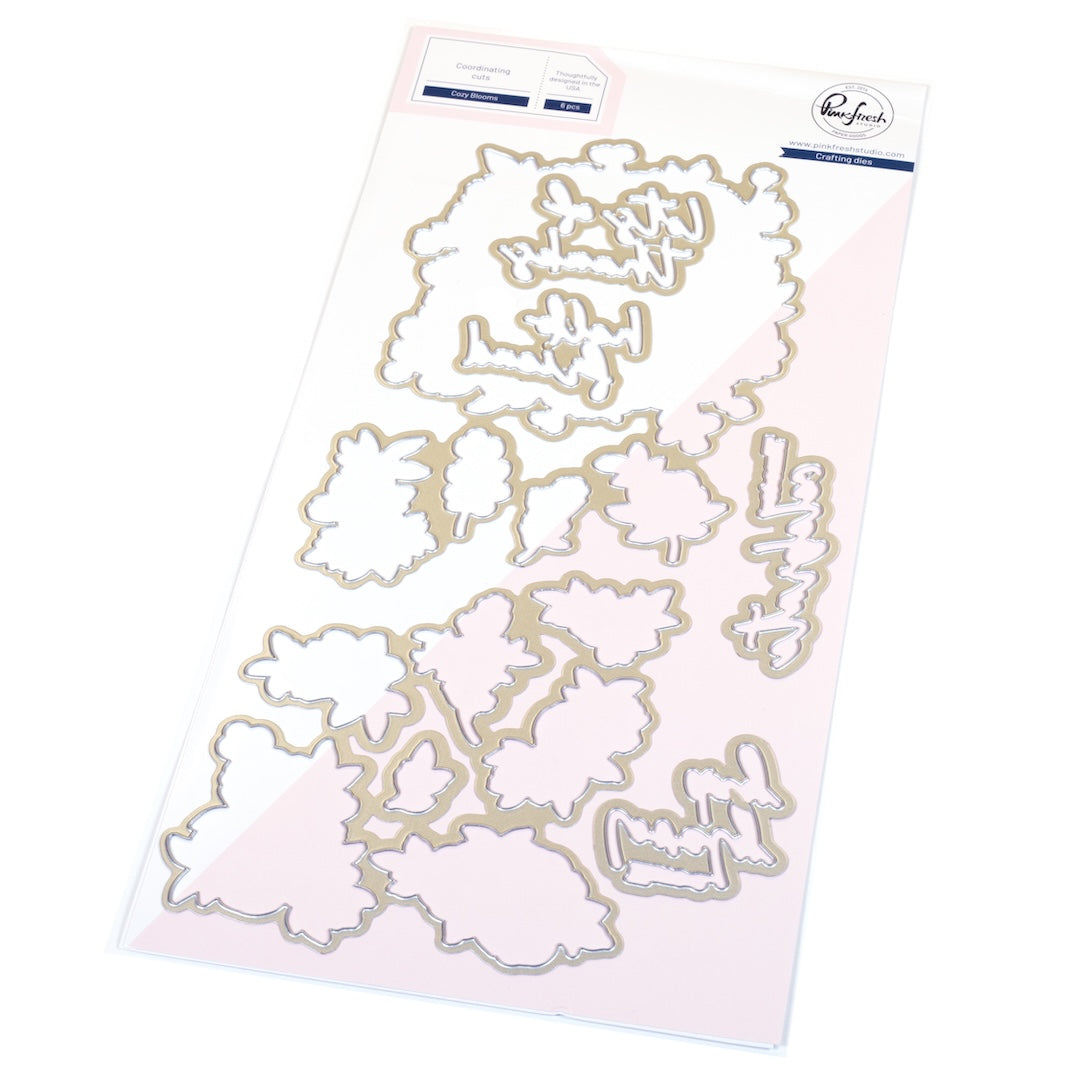
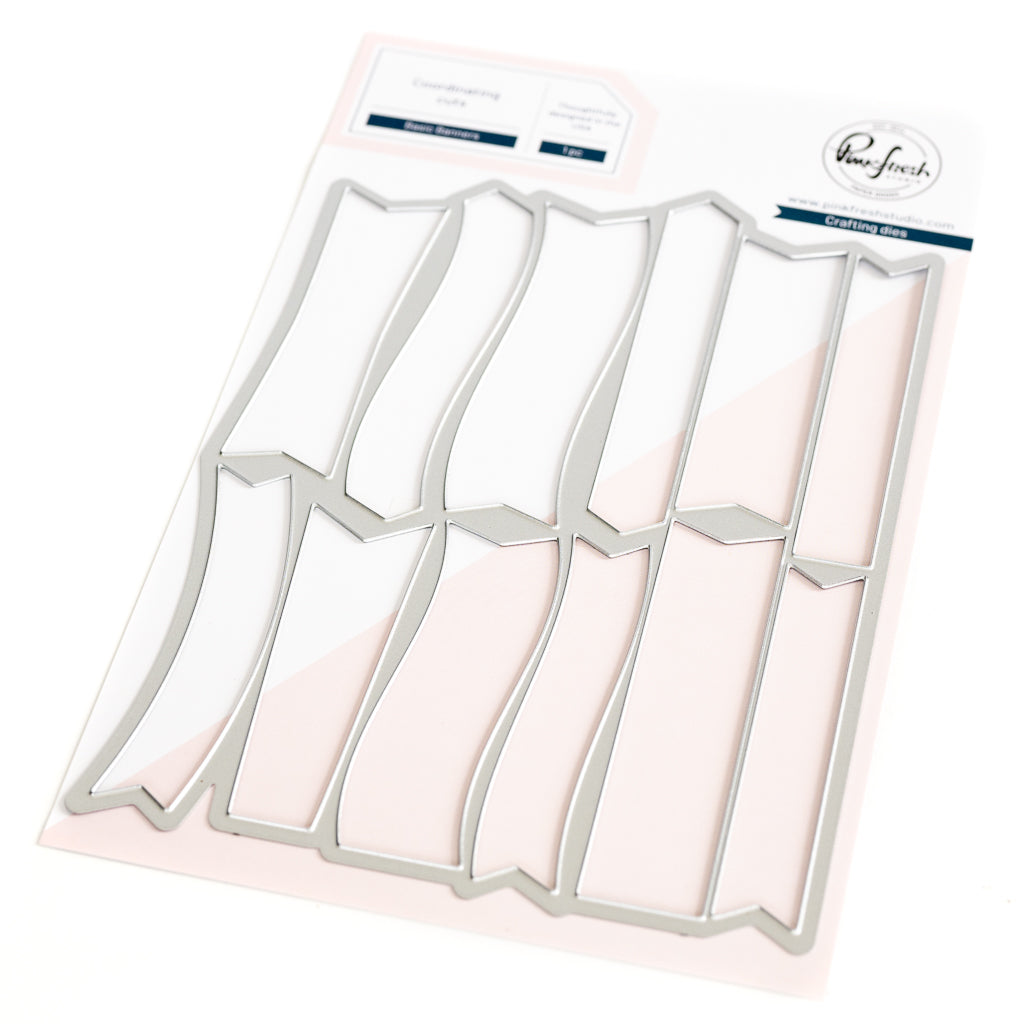
- Stamp the sentiments from the Cozy Blooms stamp set in Detail Black, cut them with the coordinating dies, and add them to the cards as shown in the picture - for the first card, mat the sentiment with a white banner cut using the Basic Banners die.
- Embellish the first card with two Ice Clear Drops on the oval frame, and the second card with three Sapphire Jewels for a finishing touch.


Tip1 Don’t discard your negative die-cuts! You can easily create a second card by using the leftover pieces.
Tip2 For a soft blended effect, use acetate or clear packaging to transfer ink onto paper. Using the ink smooshing technique, you can create a soft, organic watercolor effect with just your ink pads.
Thank you so much for stopping by! Be sure to hop along at the Flourish & Glow Release Blog Hop for more inspiration and gorgeous ideas from the team!
TaeEun
Recommended Products










































1 comment
Sue Crease
Stunning cards. Love how you have used both parts of the diecuts and cover plate
Leave a comment
All comments are moderated before being published.
This site is protected by hCaptcha and the hCaptcha Privacy Policy and Terms of Service apply.