
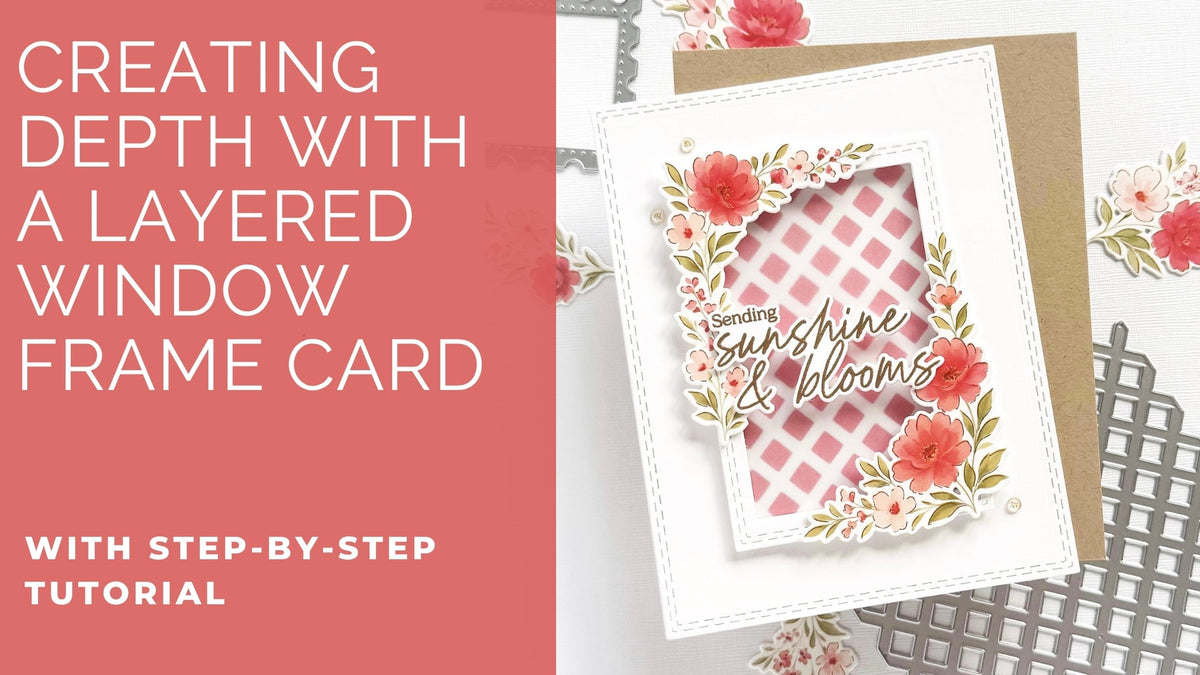
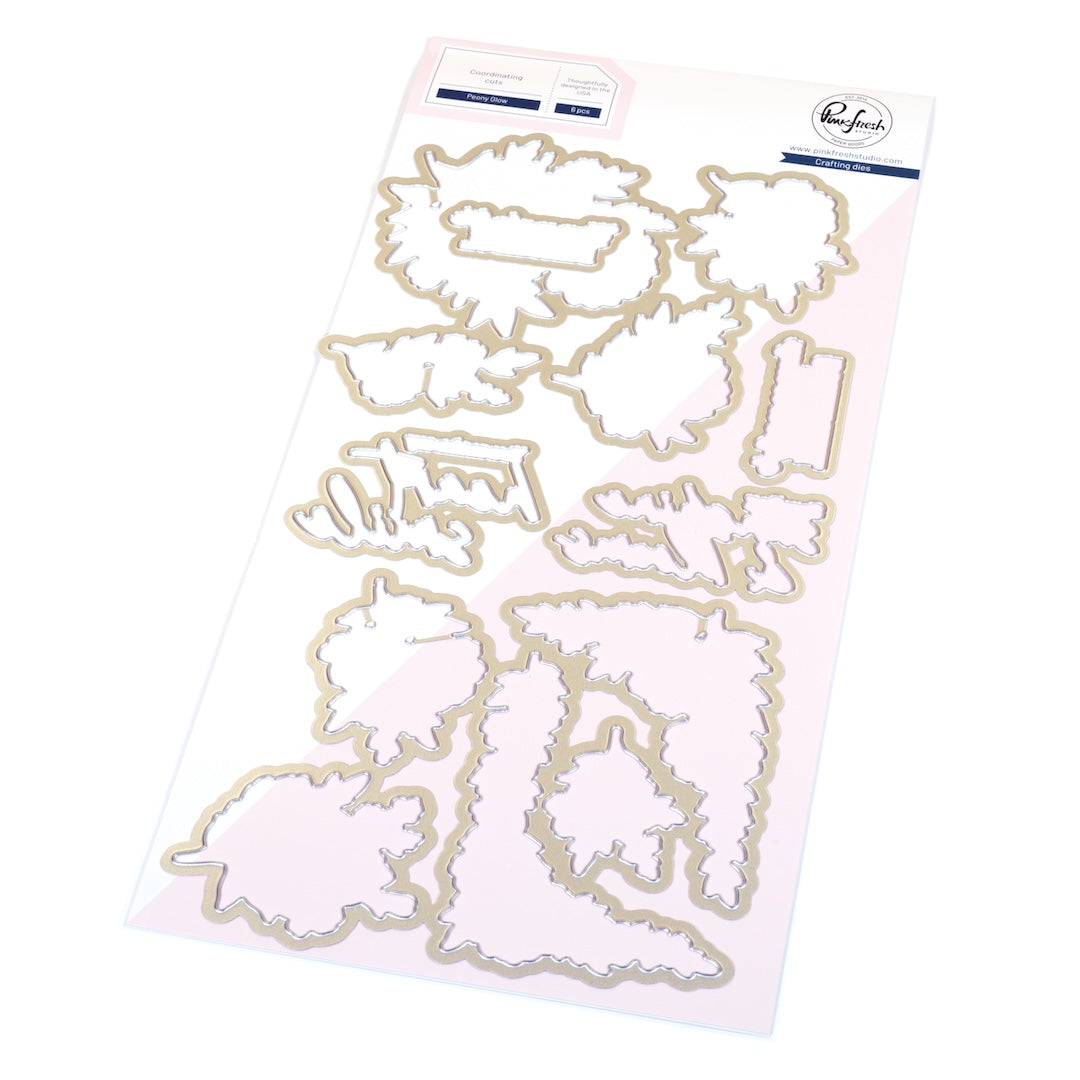
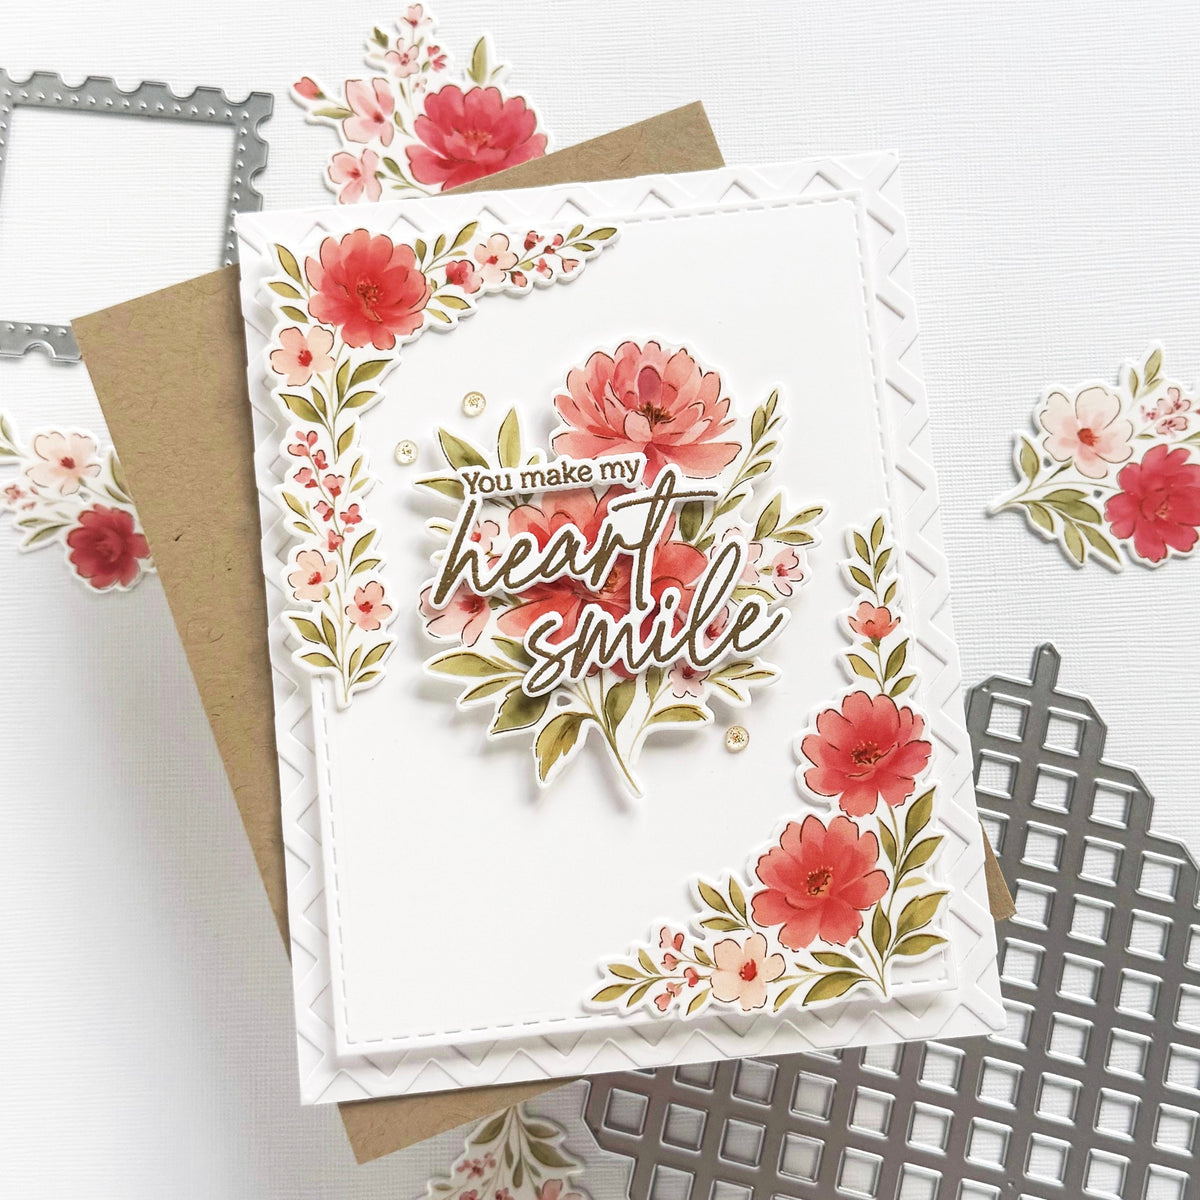
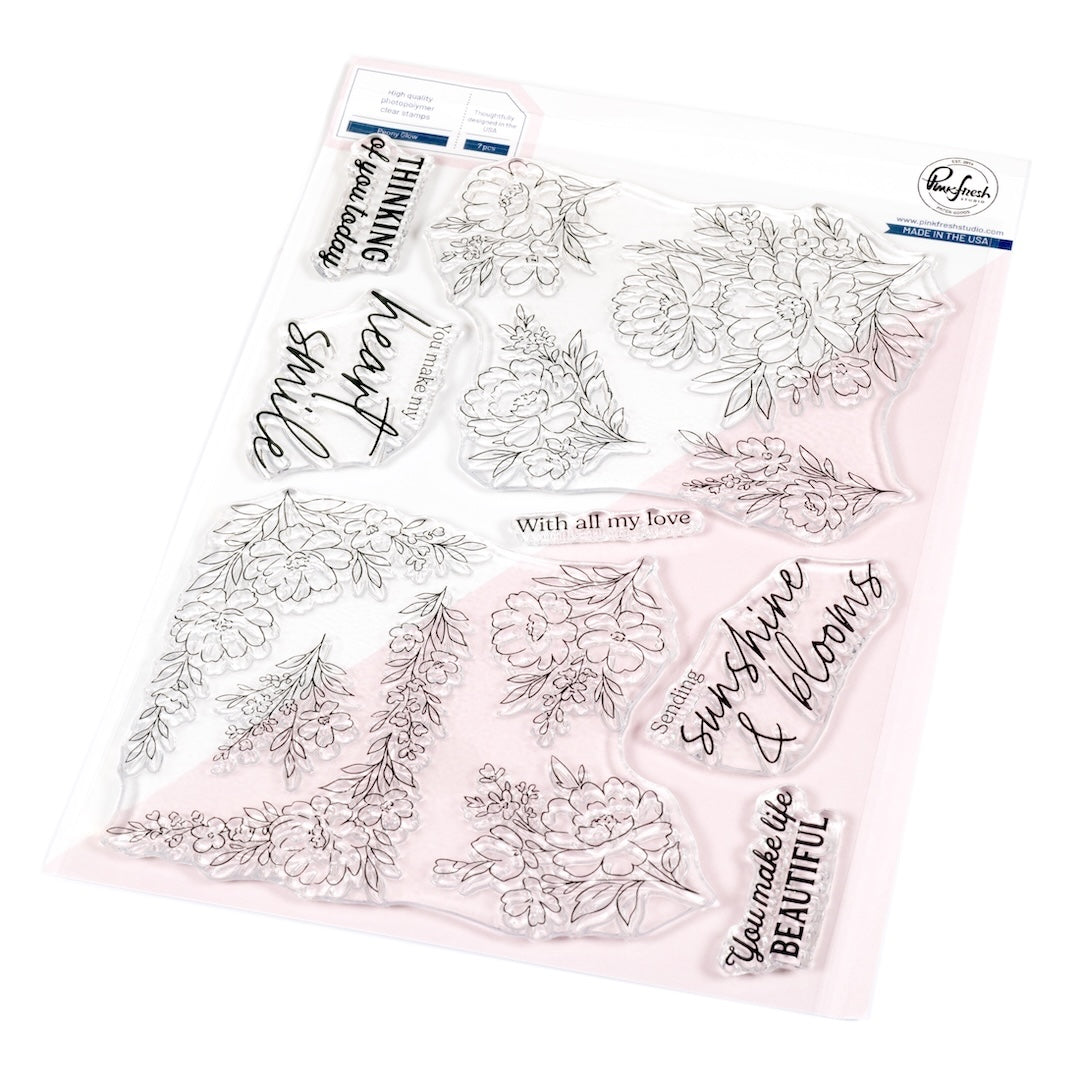
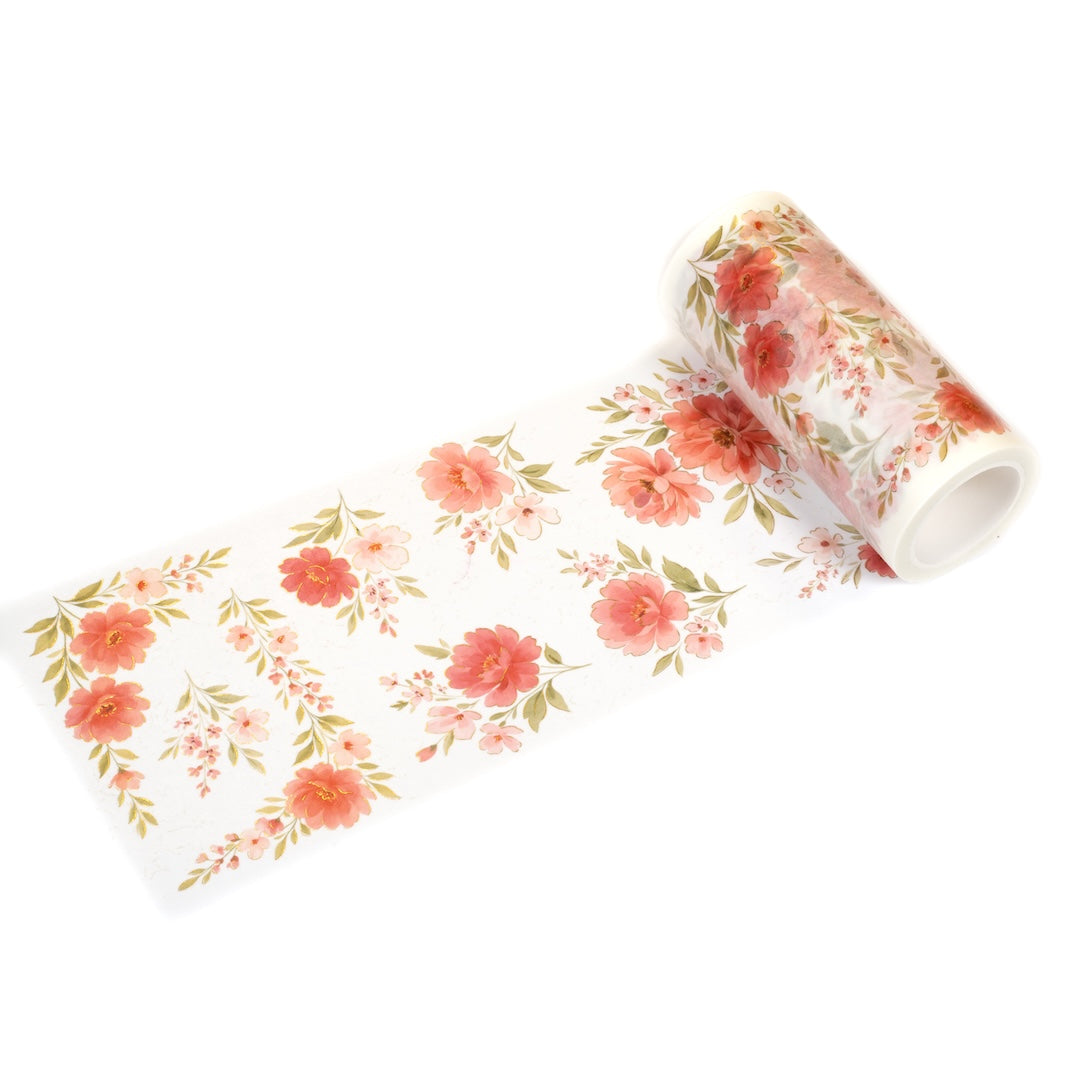
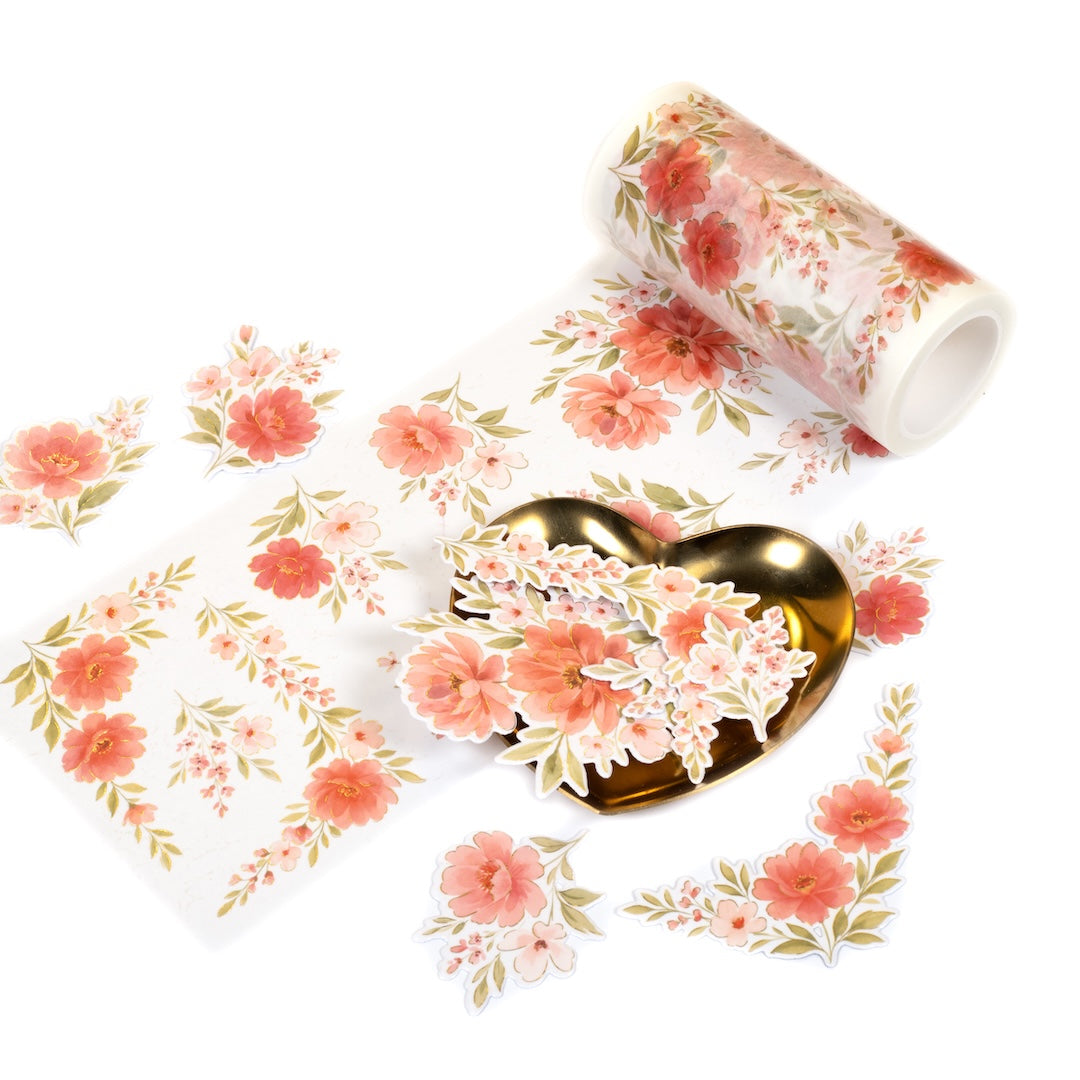
As cardmakers, we’re always searching for ways to add depth and elegance while keeping our designs clean. In today’s project, I’ll show you how to use our newest Washi tape suite, Peony Glow, complete with floral corners and coordinating dies, to frame your sentiment beautifully. With layered die-cut frames, vellum for soft diffusion, and plenty of white space, this card strikes the perfect balance of fresh, modern, and timeless design. Follow along for step-by-step instructions to recreate this versatile card.
*Disclaimer: All products used are linked below as clickable images. If a product isn’t listed, it’s been discontinued.

How to recreate this card:
- Cut and fold an A2 top-folding card base from white cardstock.
- Cut a piece of 4" x 5 1/4" white cardstock and ink blend it with a solid coat of Passion Fruit ink using a 1" blending brush. Set aside to dry.
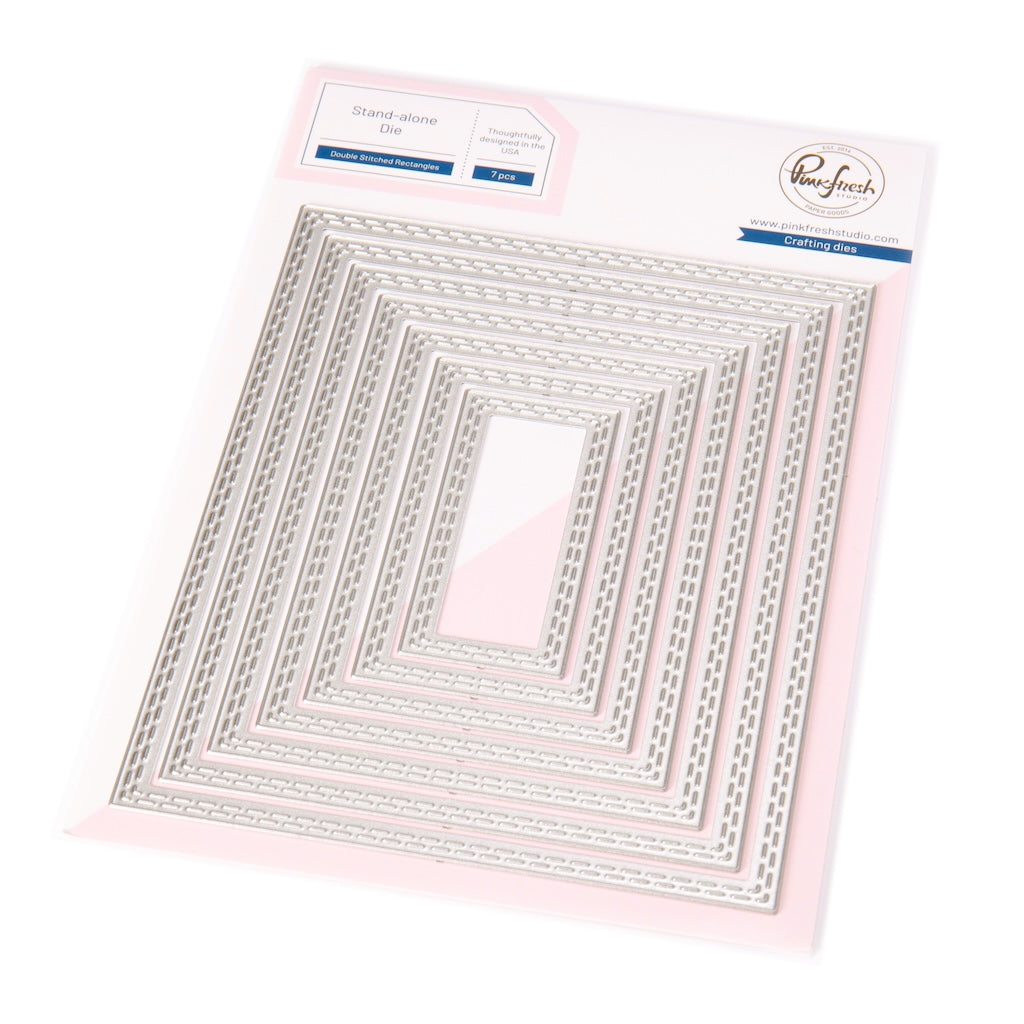
- Die cut white card stock using the largest die in the Double Stitched Rectangles die. Using the fifth-largest die, cut a rectangle in the center of the panel.
- Use the fourth-largest and fifth-largest dies from the same die set to create 3 matching frames. Adhere together.
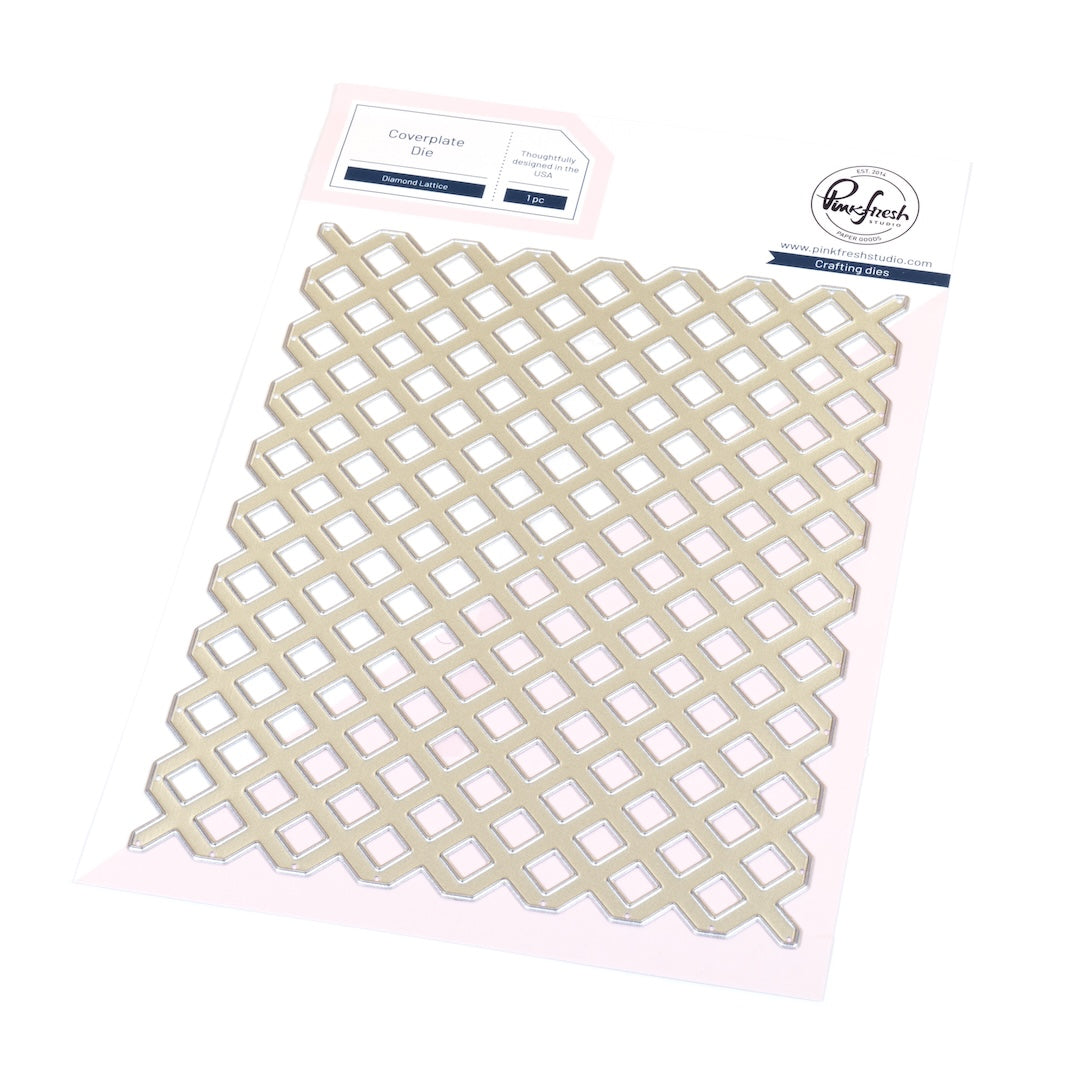
- Die cut Diamond Lattice coverplate die from white cardstock.
- Prep a piece of white cardstock with anti-static powder & stamp sentiment with embossing ink; Heat emboss with gold embossing powder; die cut and stack on 2 blanks.
- Adhere 1 panel of washi to white cardstock; die cut with coordinating dies. Stack with 2 blank die cuts.
- Adhere the ink-blended panel to the card base, then adhere the Diamond Lattice die cut over that.
- Cut a piece of lightweight vellum to 4" x 5 1/4" and adhere to the backside of the panel with the rectangle window cut out of it. Put foam tape around the perimeter of the backside of the panel and window. Adhere to the card.
- Adhere the stacked frame die cuts to the card using foam tape to frame the opening.
- Adhere the corner florals using liquid glue.
- Adhere just the left and right sides of the sentiment to the floral corners using liquid glue.
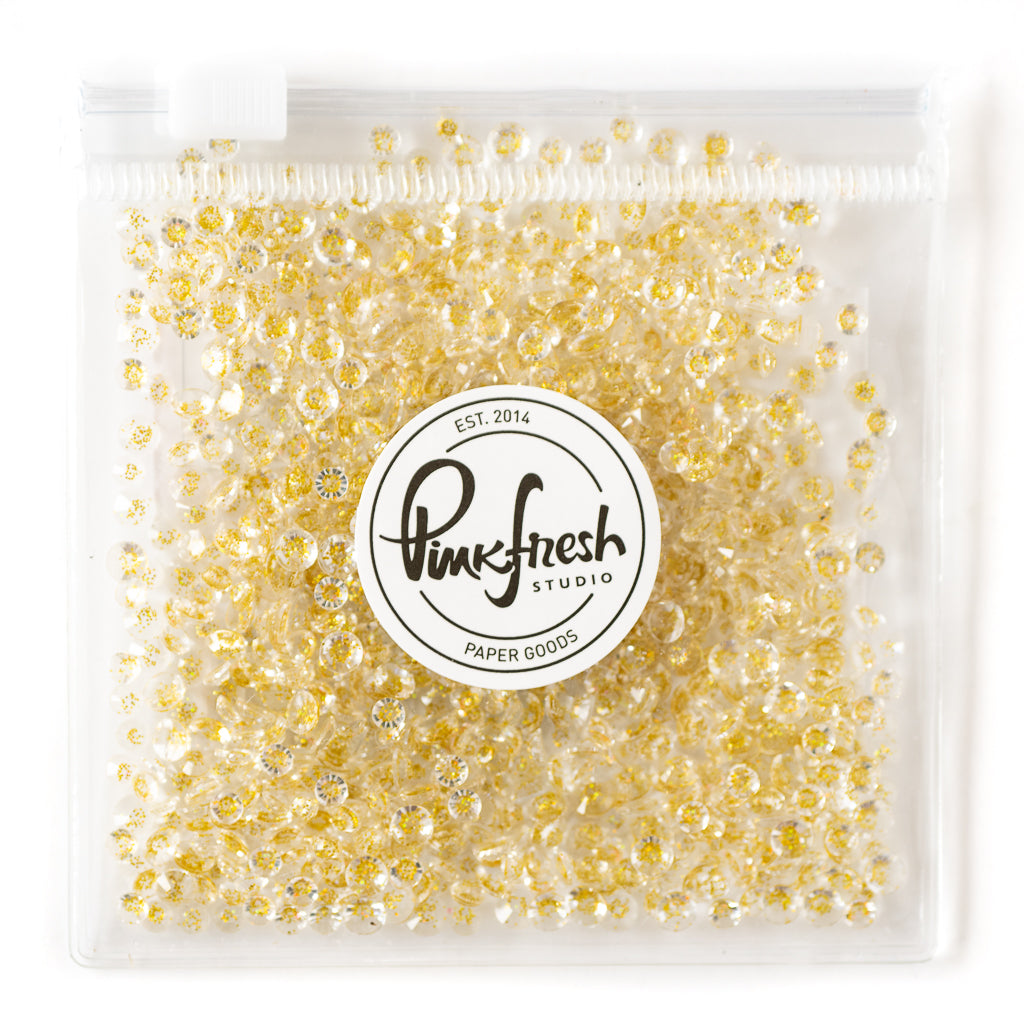
- Embellish with Clear with Gold Dust Gems.

I hope this tutorial inspires you to try framing your sentiments with Washi corners and layered depth. I’d love to see your take on this design—tag us on Instagram with your version, or leave a comment below with your favorite detail from this project.
Recommended Products



























1 comment
Melissa Dare
OMG I love this card! I cannot believe I said a week or 2 ago on a post Jody you should teach, being newer to Pink Fresh and not realizing that you already do lol. This is beautiful!
Leave a comment
All comments are moderated before being published.
This site is protected by hCaptcha and the hCaptcha Privacy Policy and Terms of Service apply.