
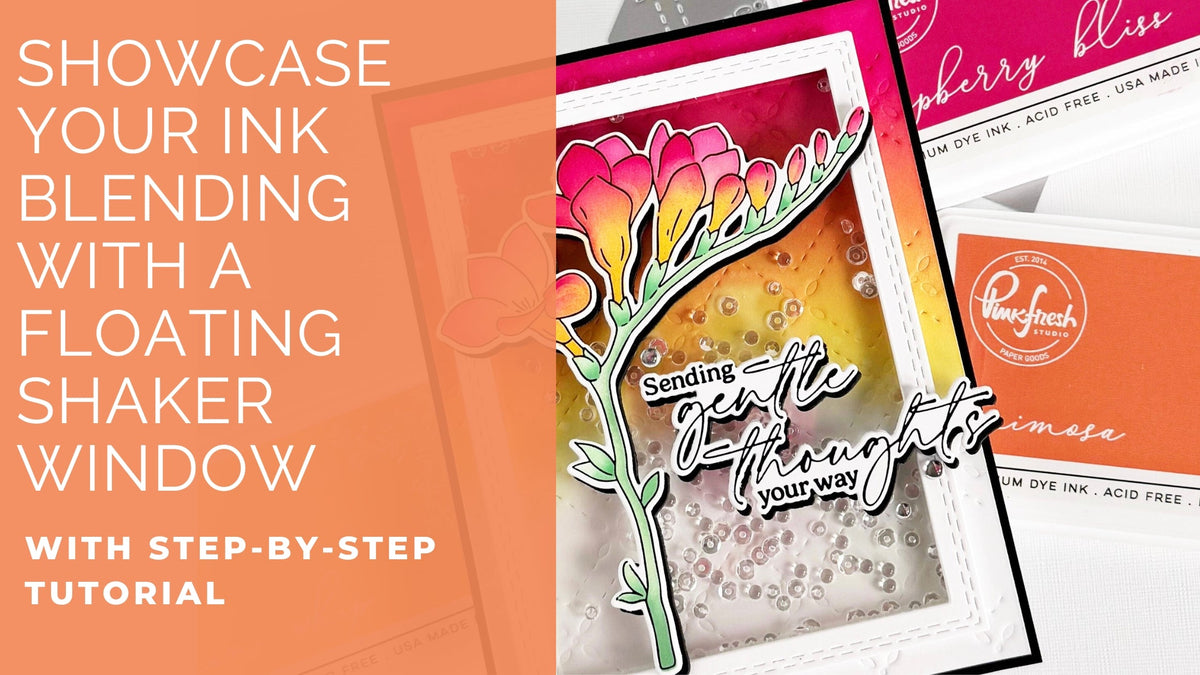
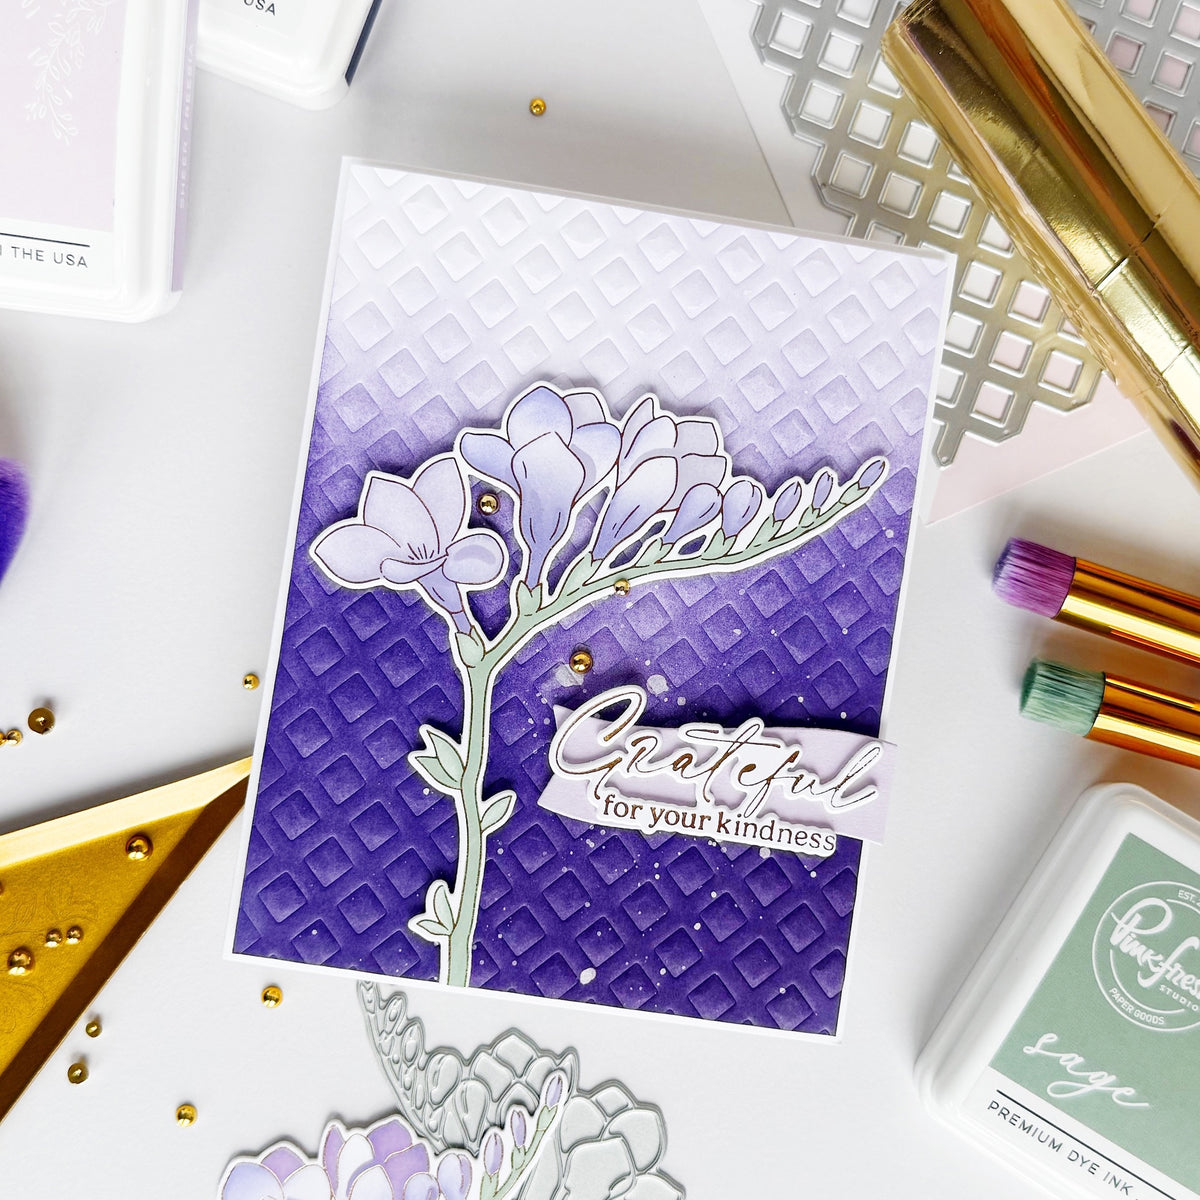
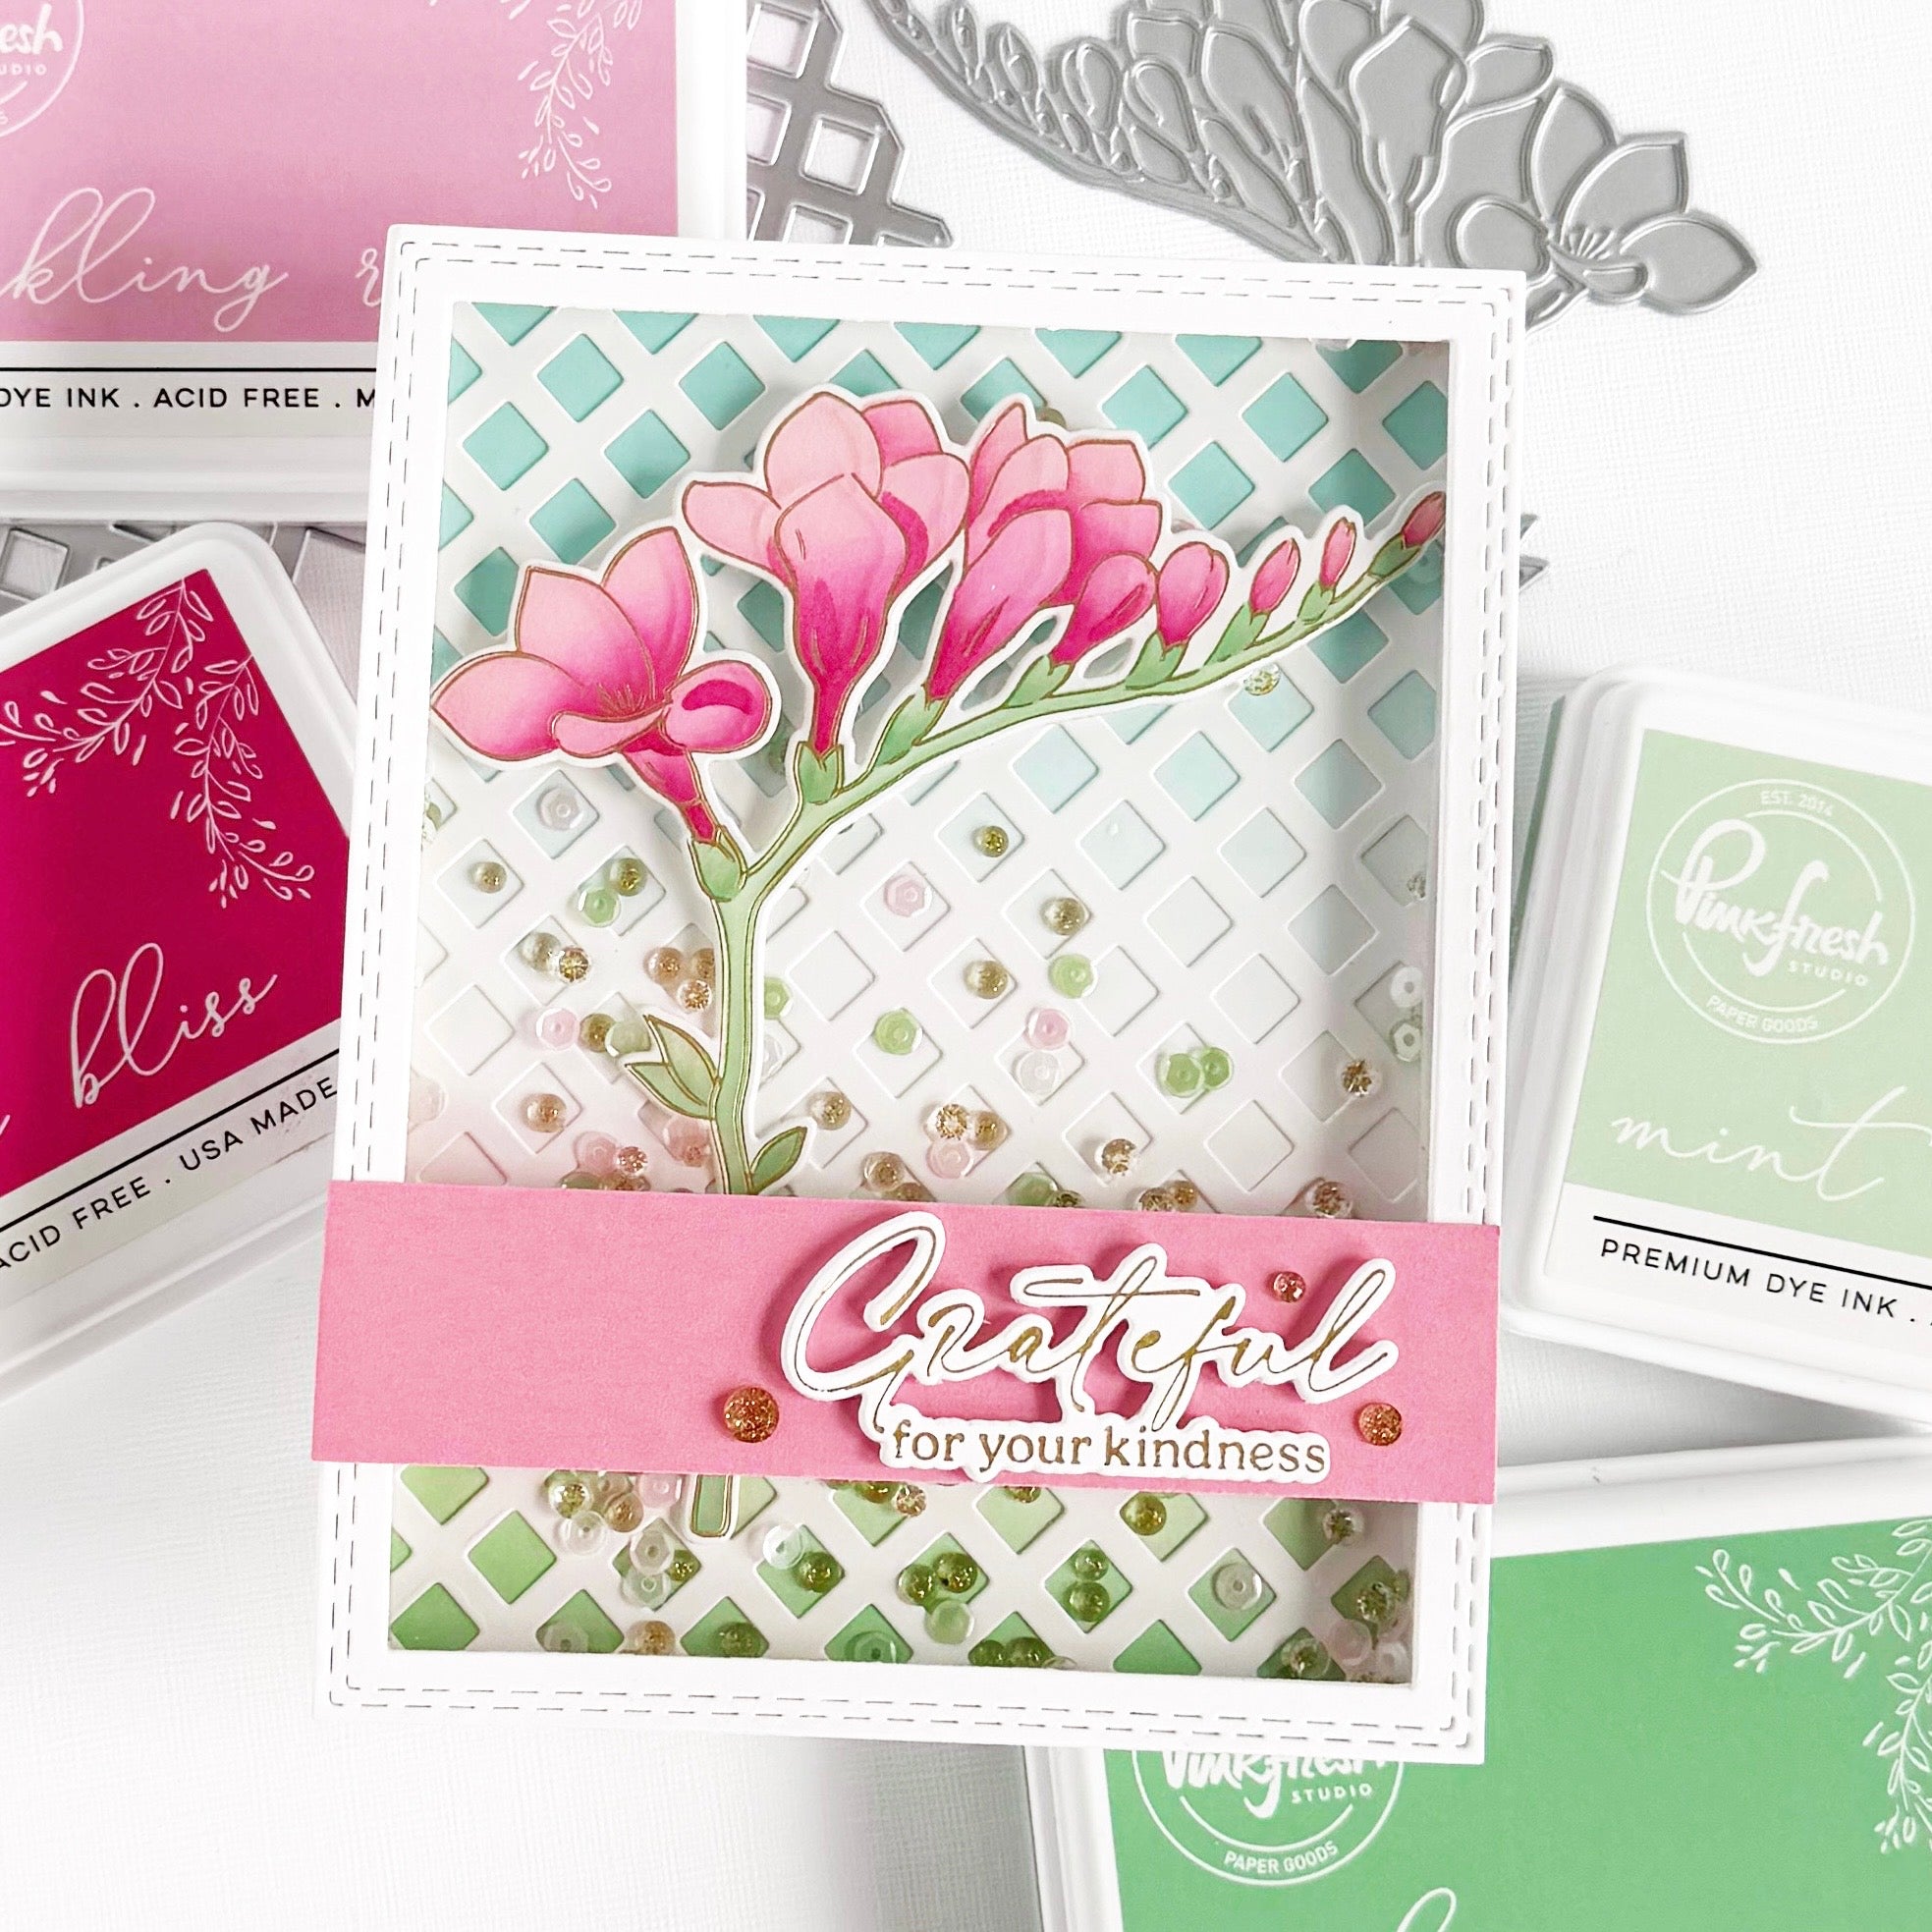
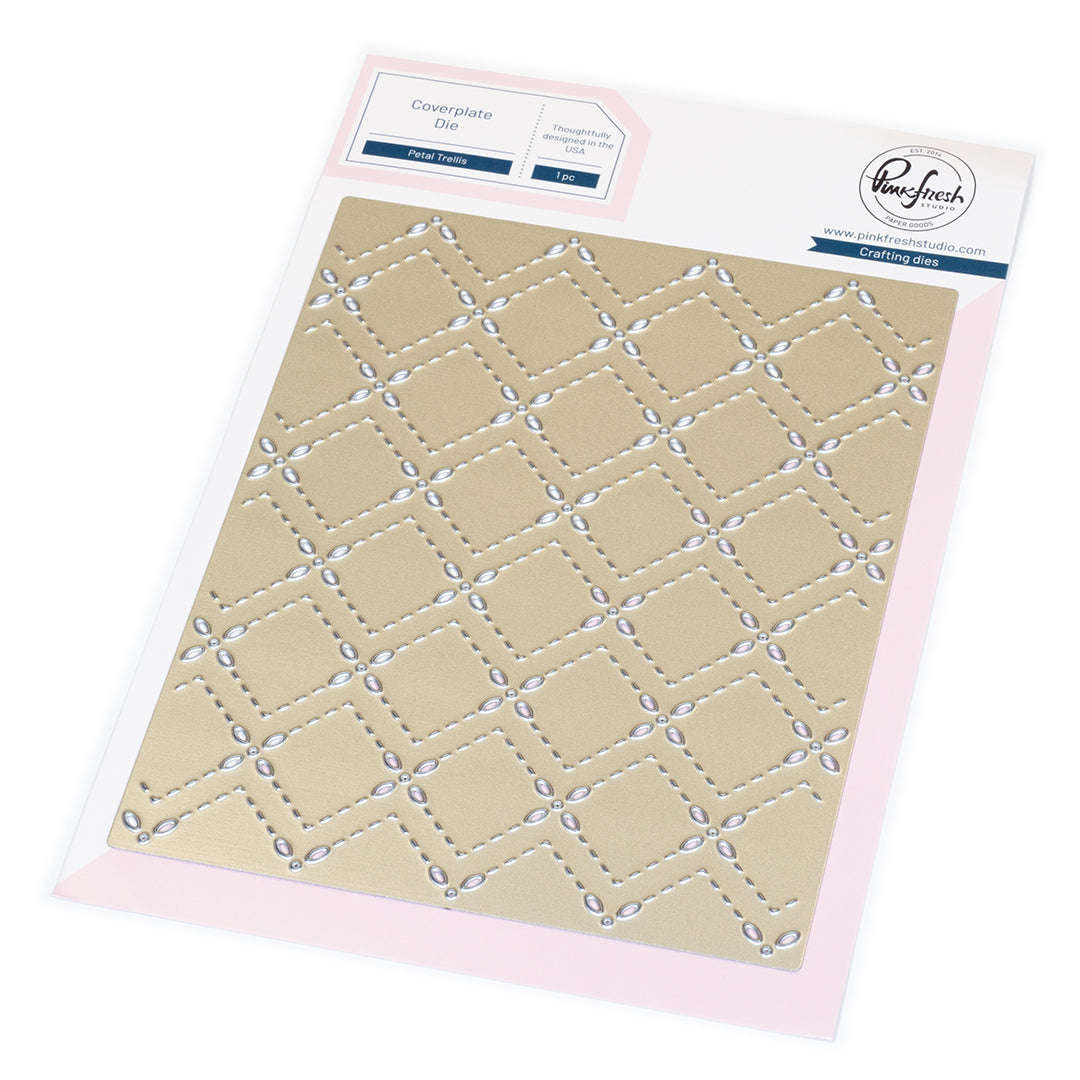
Floating shaker elements add instant movement and drama to a card, and the technique becomes even more striking when paired with bold, coordinated ink blending. For this design, I used the Freesia Flourish suite to create a vivid, uplifting card anchored by a fully independent shaker window—allowing the background’s ombré color to shine through unobstructed. The Petal Trellis dry-embossed pattern adds subtle texture behind the shaker, while the bright floral stem echoes the warm gradient of pink, coral, and yellow. The result is energetic, dimensional, and full of that extra pizzazz that makes handmade cards unforgettable.
*Disclaimer: All products used are linked below as clickable images. If a product isn’t listed, it’s been discontinued.

How to recreate this card:
- Create a top-folding card base from white cardstock.
- Cut a piece of A2 black cardstock. Adhere to the card base.
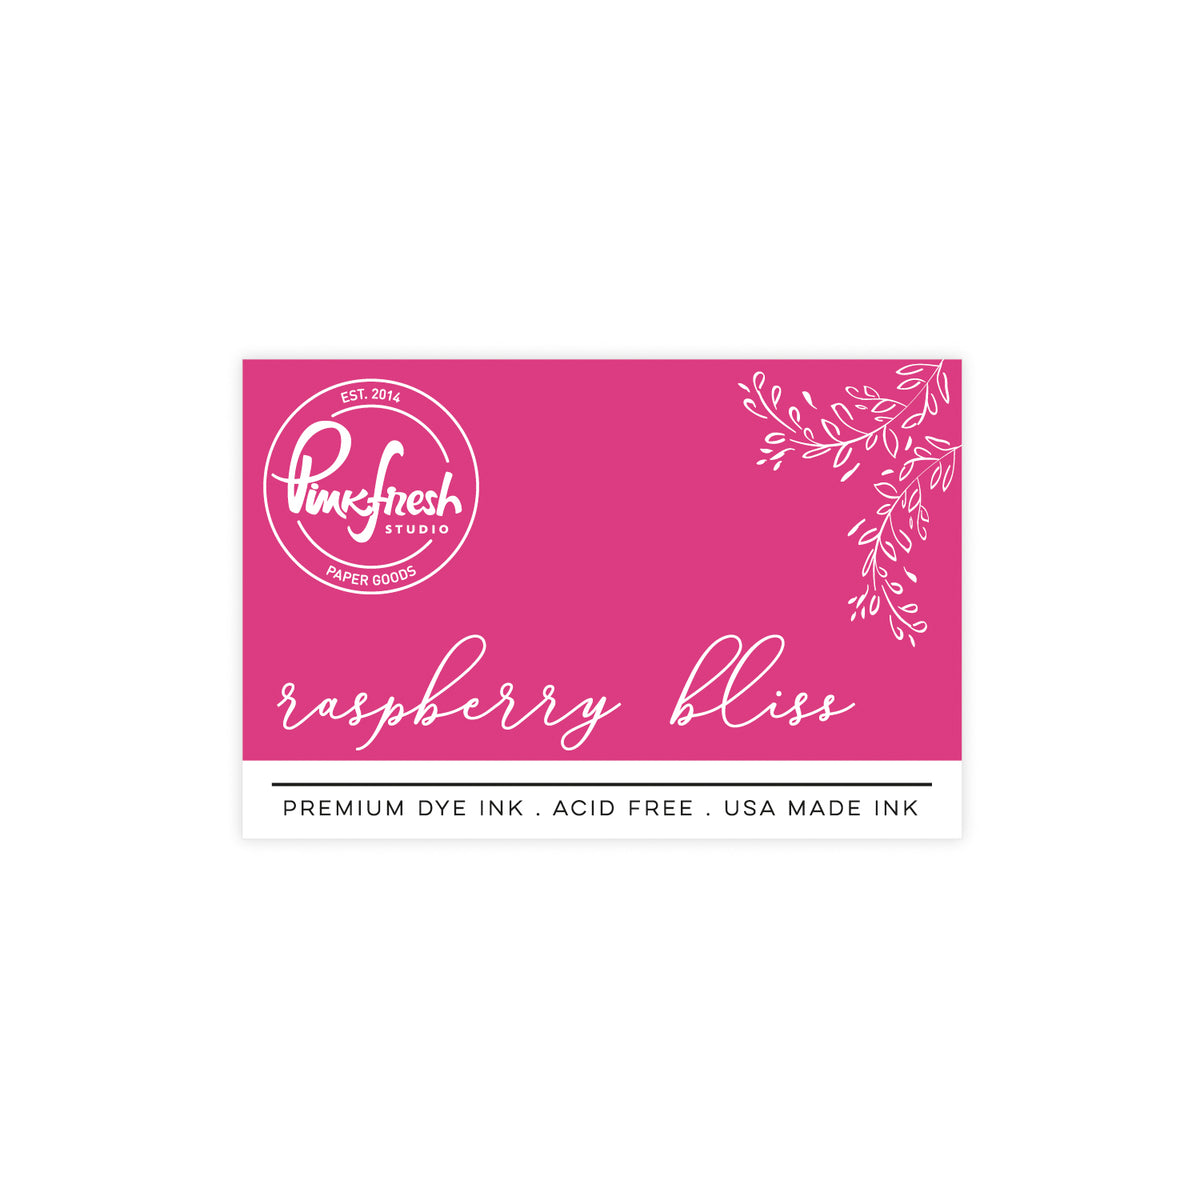
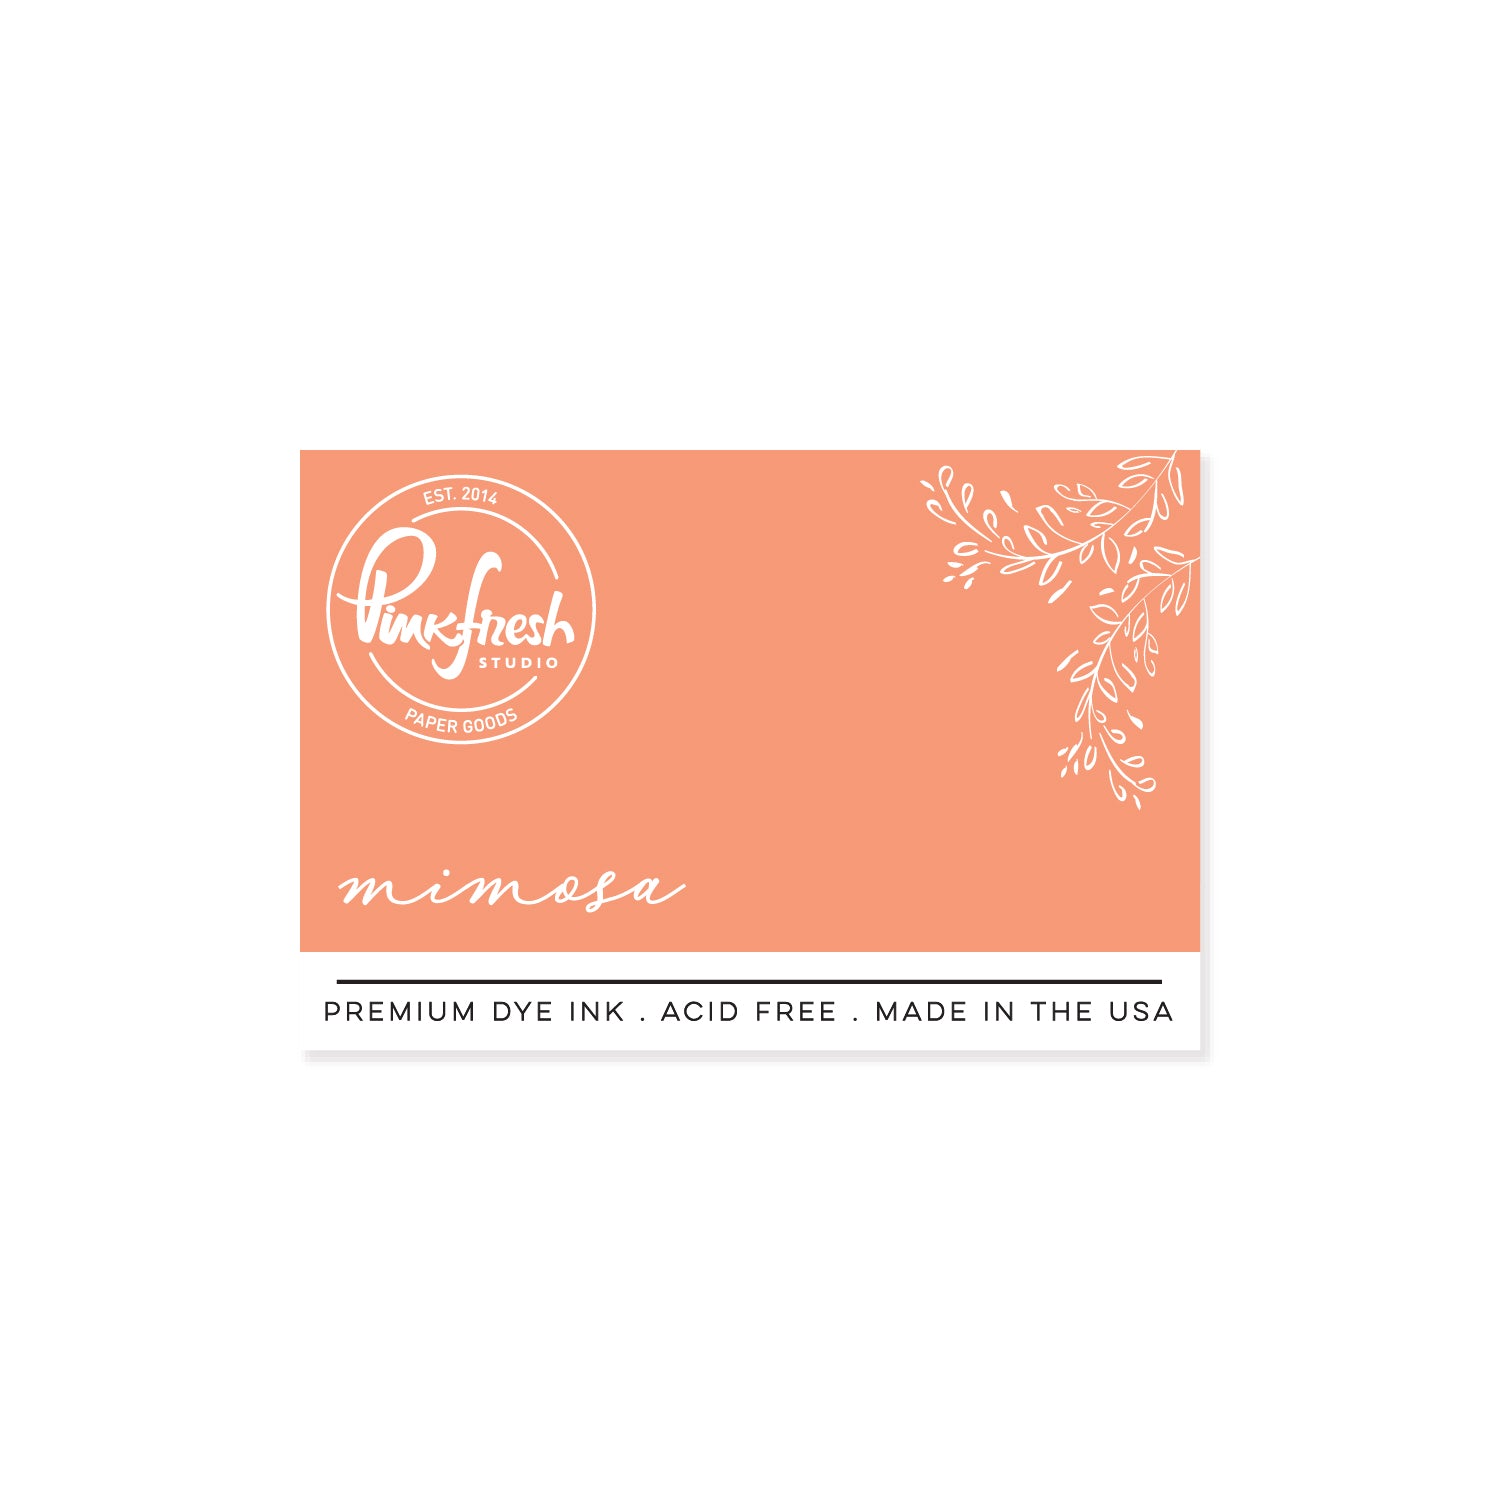
- Cut a piece of white cardstock to 4 1/8" x 5 3/8". Dry-emboss using the Petal Lattice coverplate. Ink blend the panel using Raspberry Bliss, Mimose, ,and Lemon Whip, allowing each color to blend into the next. Fade to white at the bottom third. Adhere to the card.
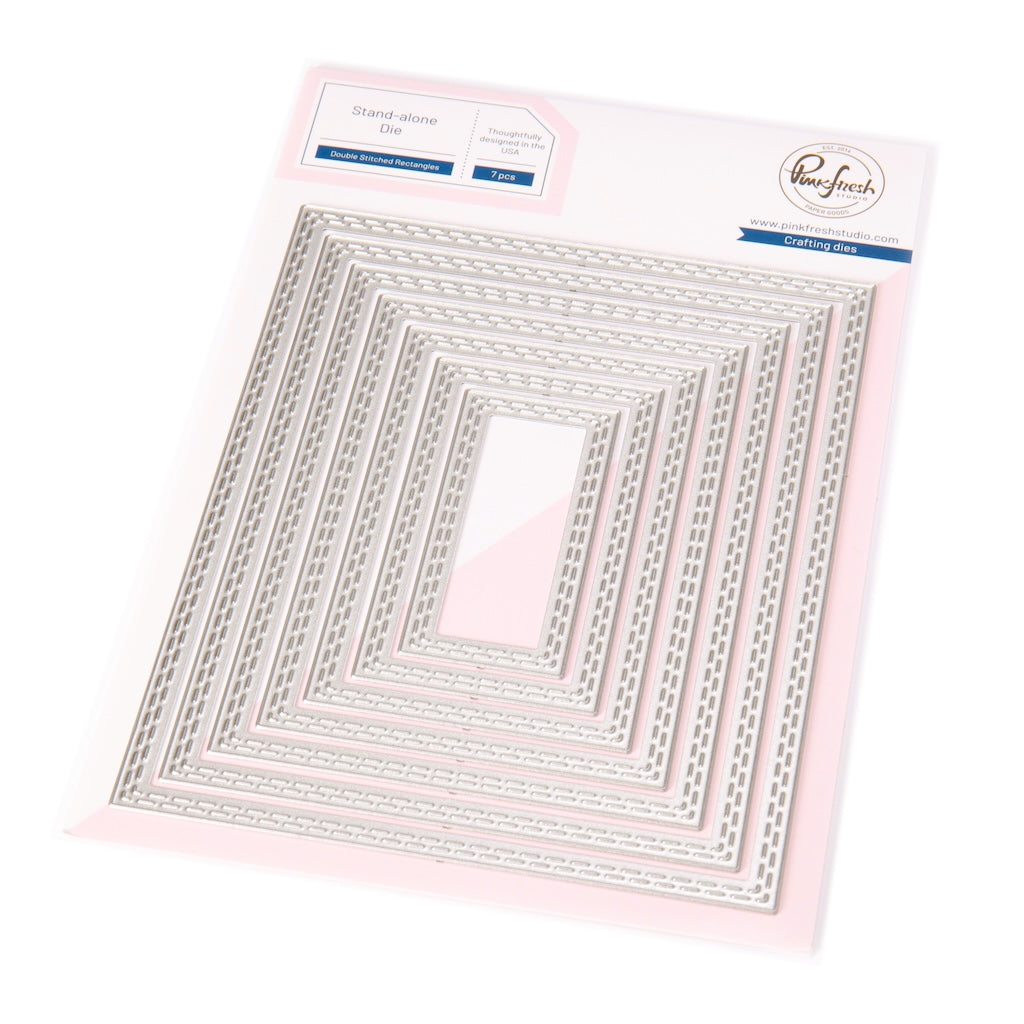
- Create (4) frames using the 2nd-largest and 3rd-largest Double Stitch Rectangle dies. Stack (2) frames together, so you end up with (2) double-stacked frames.
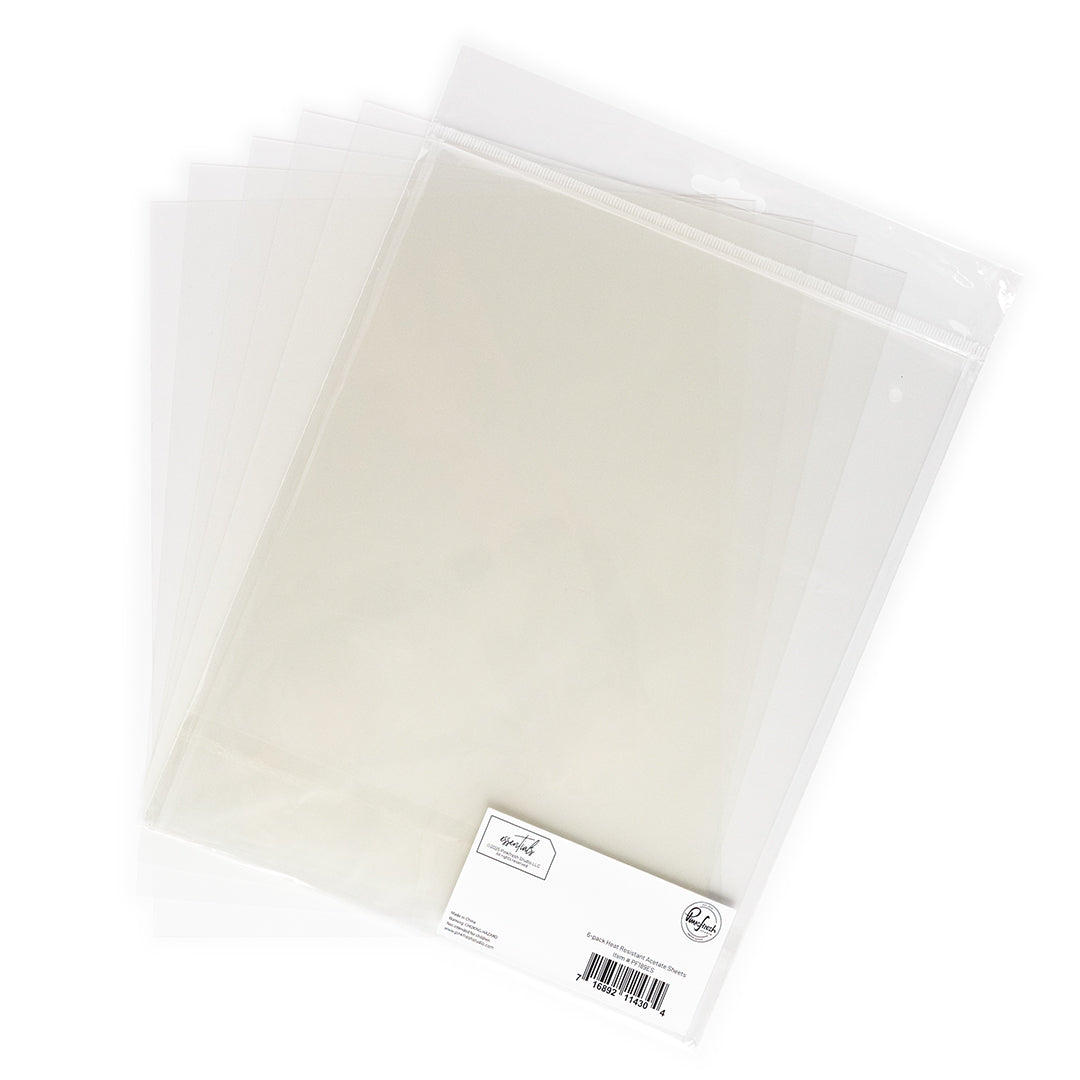
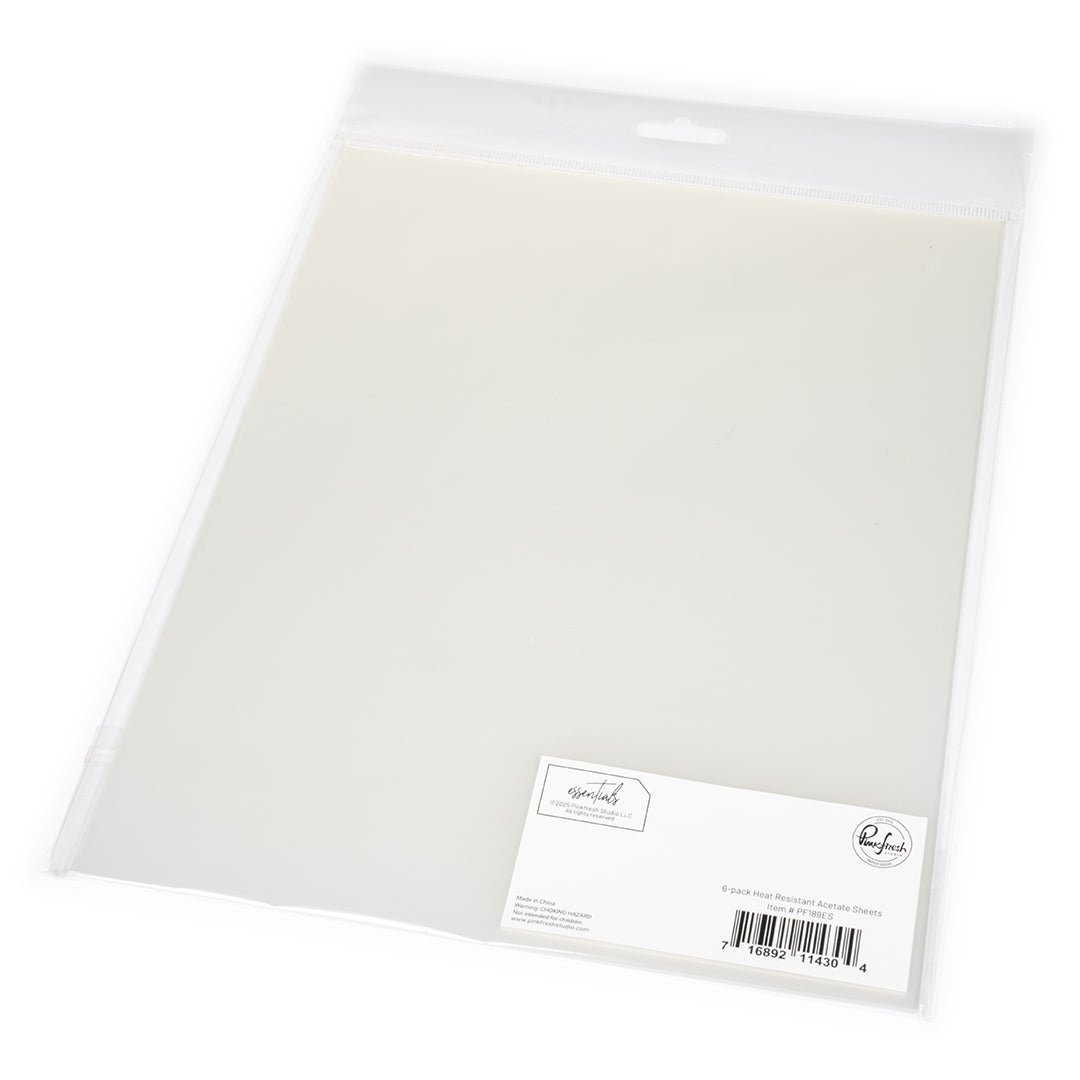
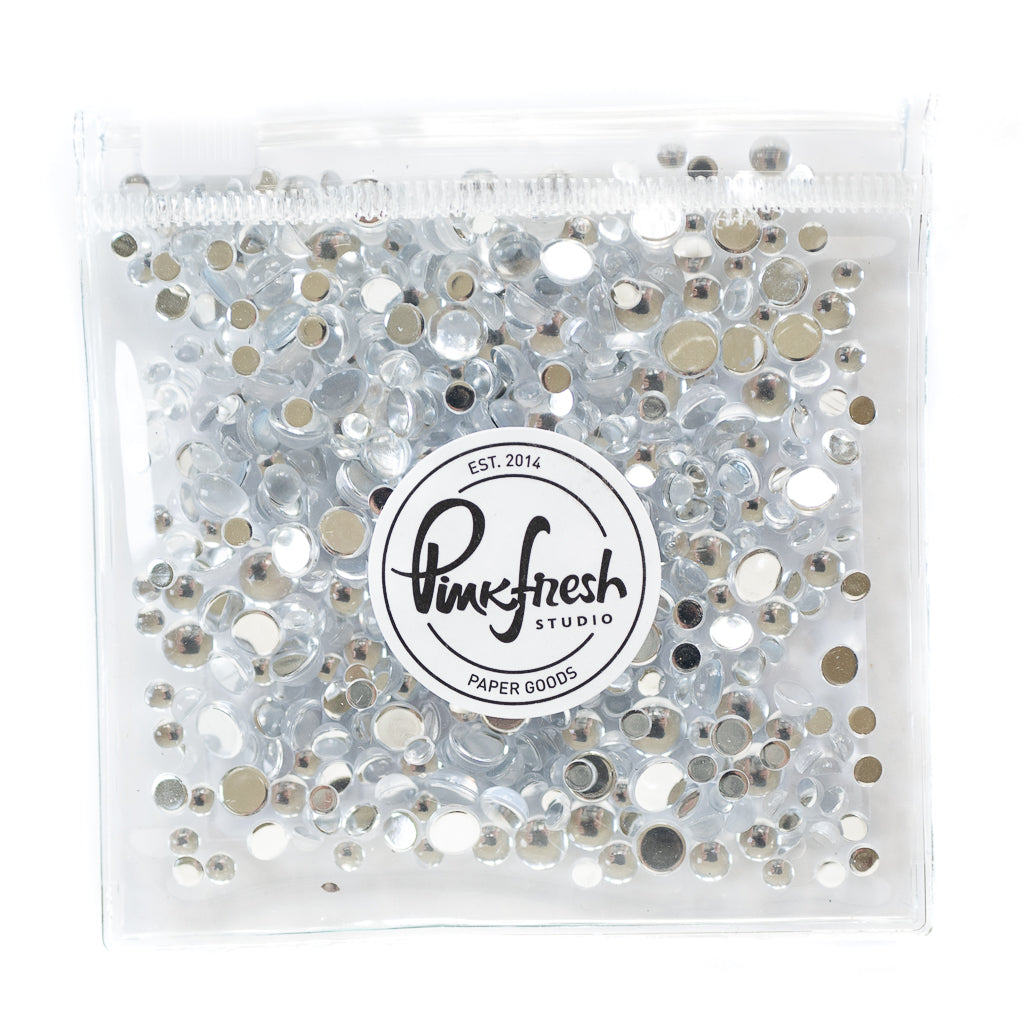
- On the back side of both frames, adhere acetate to cover the entire opening. On one frame, put thick foam tape around the perimeter, leaving no gaps. Add drops, sequins, or any other shaker bits of your choice. Put the second frame on top, lining up the frames perfectly. You now have your floating shaker window done!
- Adhere the shaker window to the center of the ink-blended panel on the card.
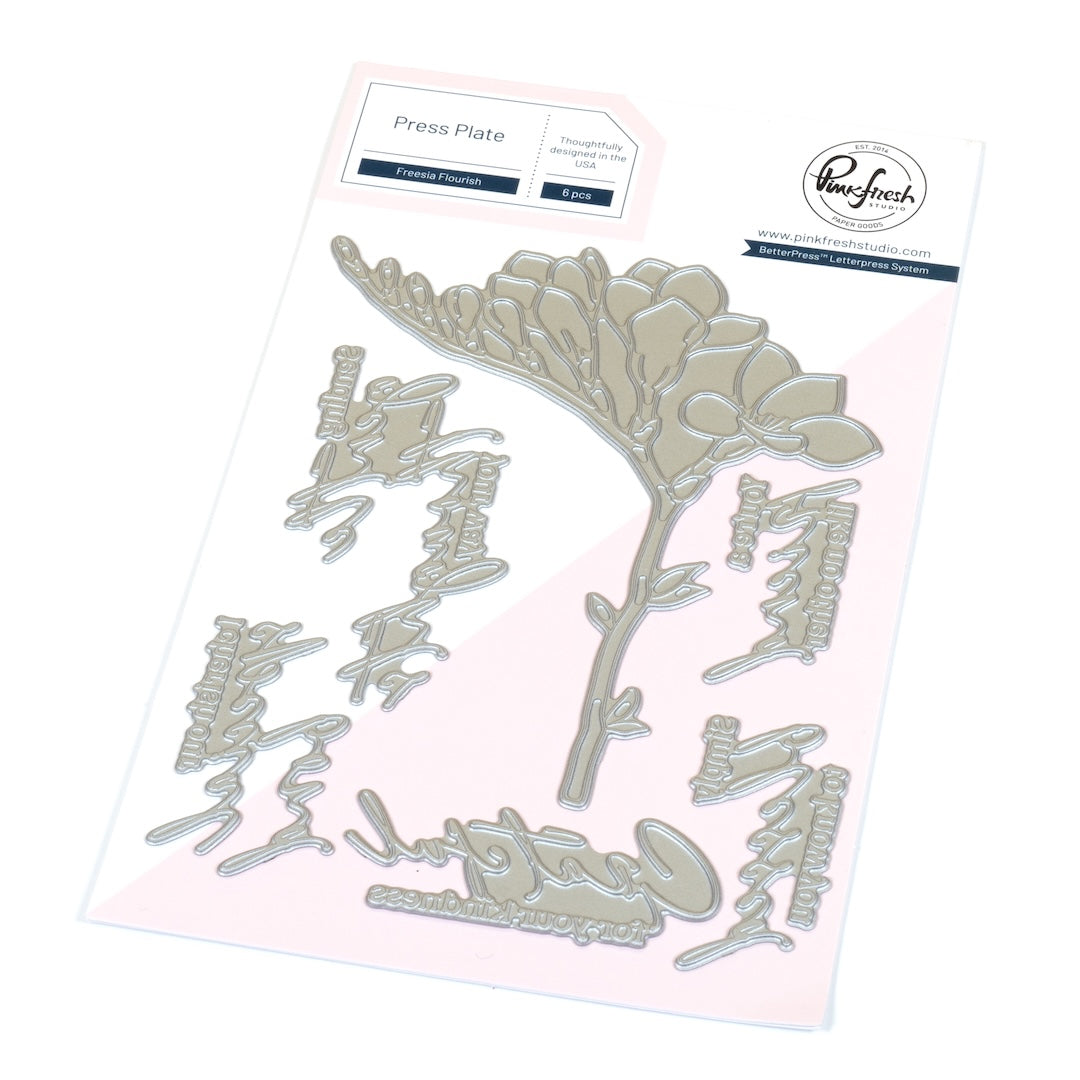
- Hot foil the image and sentiment in black on white card stock.
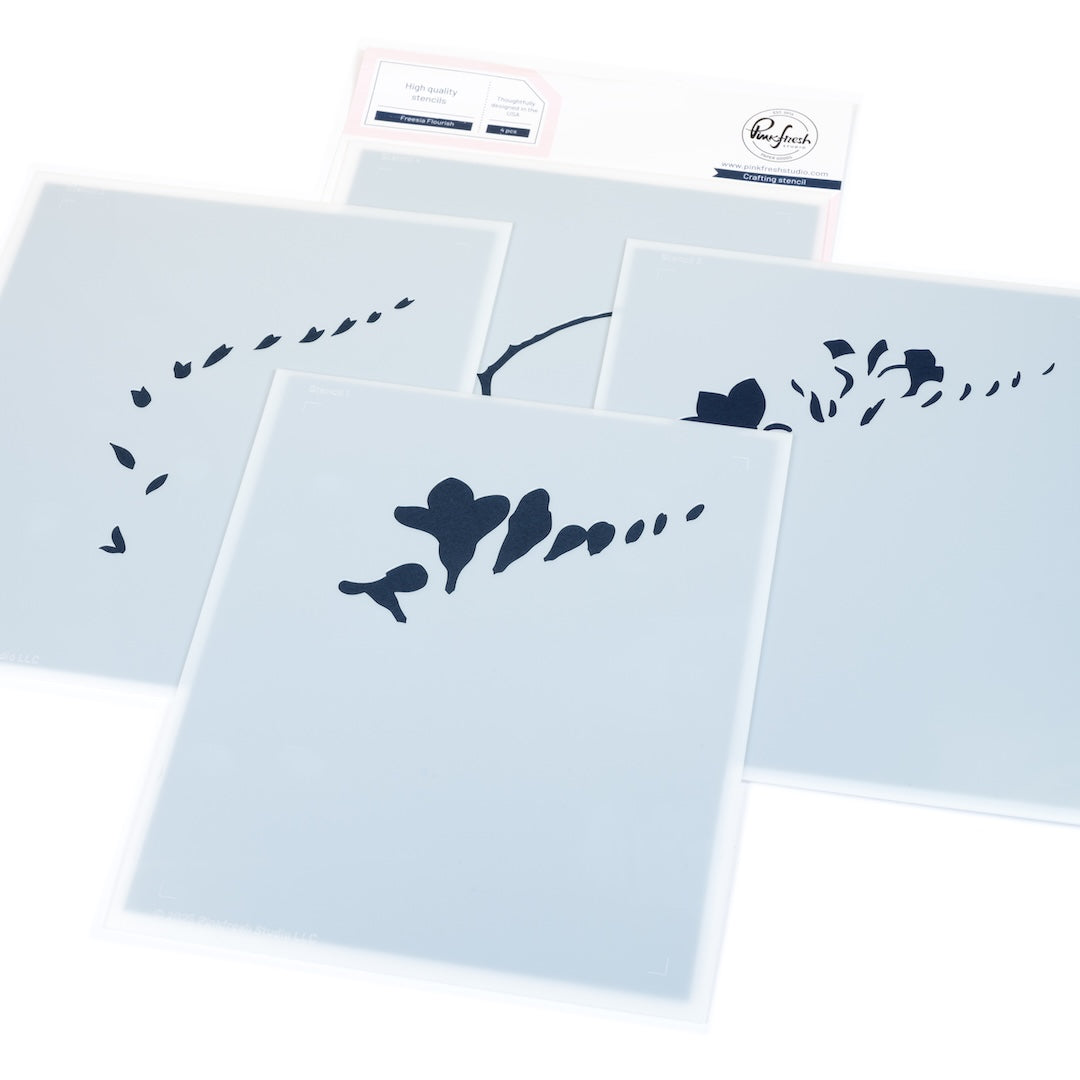
- Add color with the coordinating stencils:
- Stencils 1 & 2: Gradient blend from bottom up, Lemon Whip, Mimosa, Raspberry Bliss
- Stencils 3 & 4: Mint and Meadow
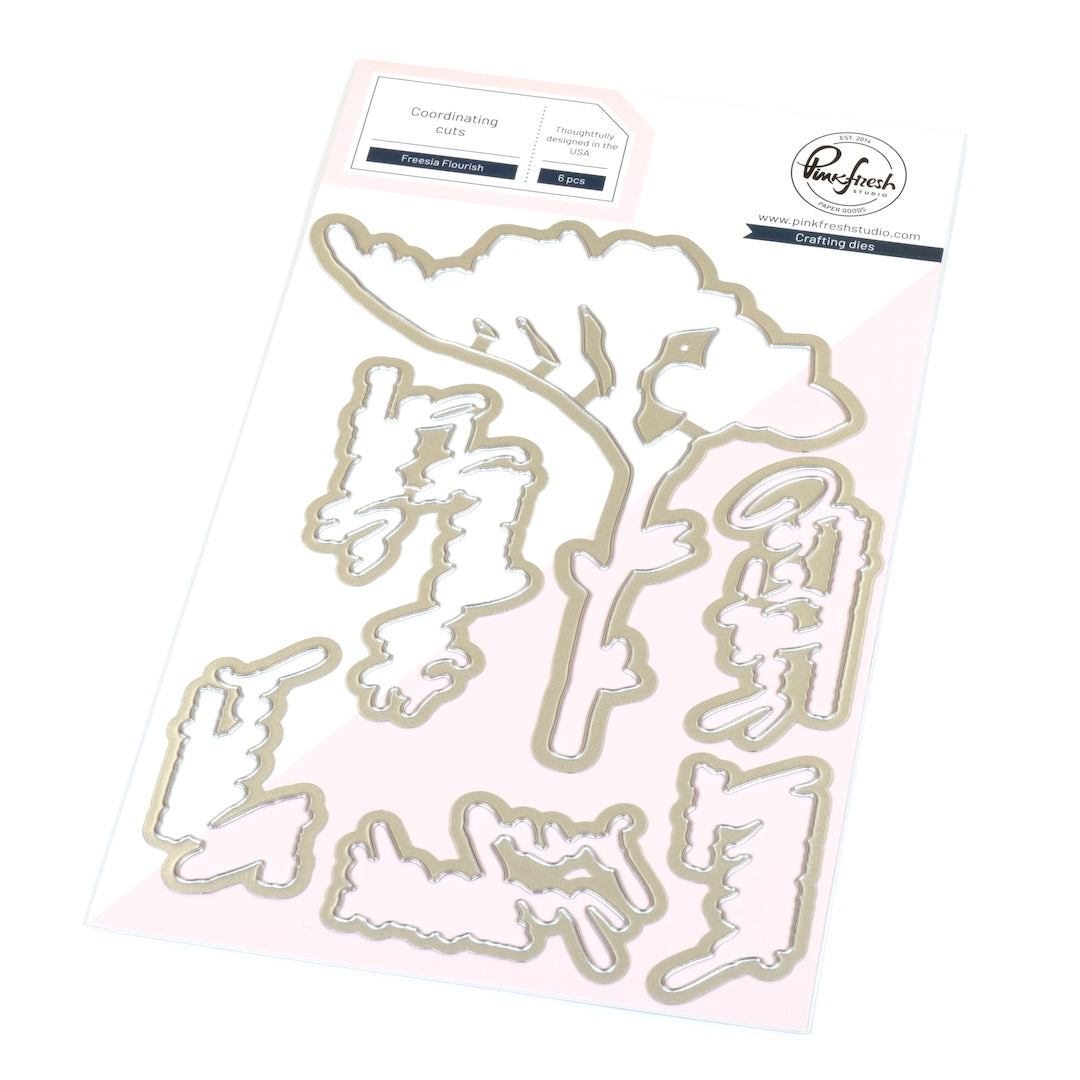
- Die cut the sentiment and image, and stack them with one white blank. The die cut black blanks and adhere the die cuts, offset.
- Adhere the freesia and sentiment to the frame and acetate using foam tape.


I hope this project inspires you to try a floating shaker window in your next card design! I’d love to see how you make it your own—share your version on Instagram and tag us, or leave a comment below with your favorite detail or any questions you may have.
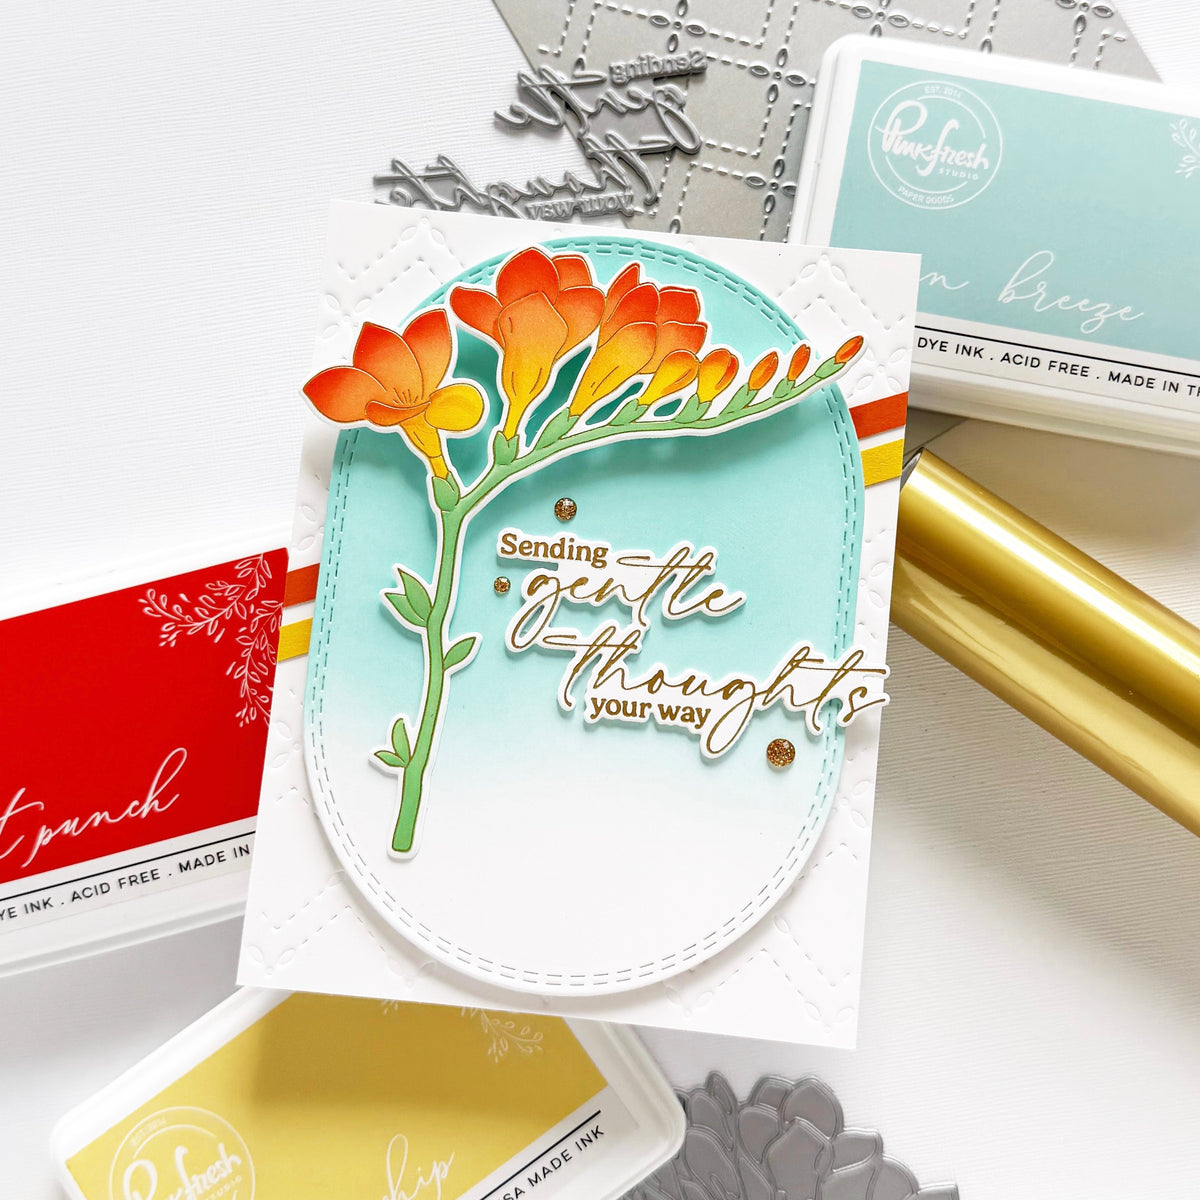
Ready to switch things up? Play with different filler materials—tiny stars, seed beads, confetti—for unique sparkle and sound. Give the floating shaker a new shape (circle, oval, or hexagon) to reinvent the layout while maintaining its vibrant energy.
Recommended Products



































Leave a comment
All comments are moderated before being published.
This site is protected by hCaptcha and the hCaptcha Privacy Policy and Terms of Service apply.