
Hello crafting friends!
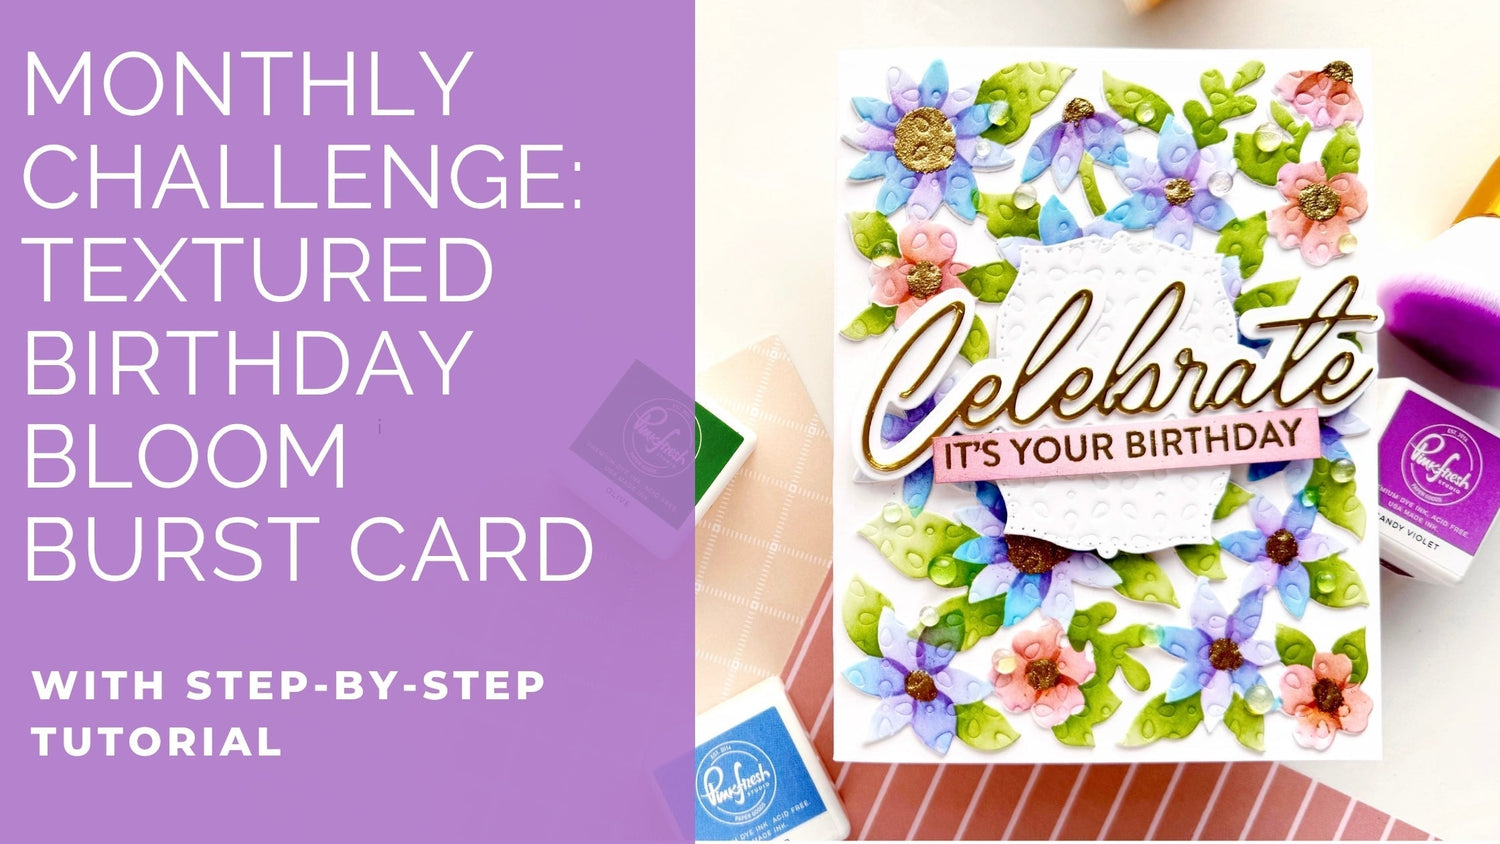
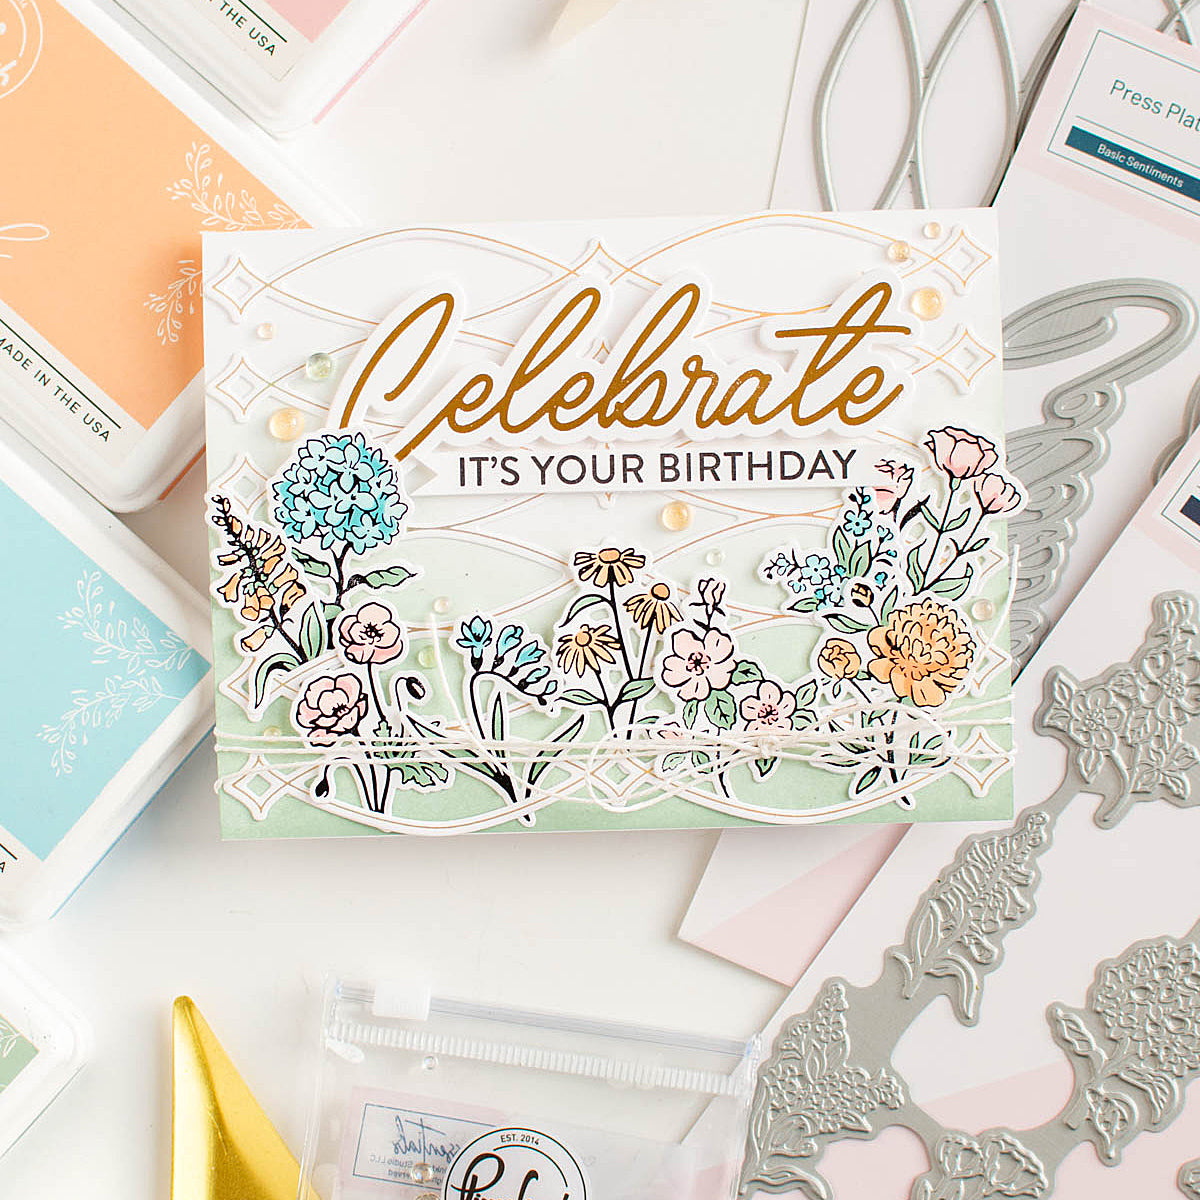
It's Steph back again, sharing a new card inspired by our October challenge - Texture and Shine! I love the idea of this theme and wanted to add layers upon layers of texture, and stretch myself to incorporate multiple different ways of adding shine.
I grabbed several products from the new Flourish and Glow release and let the fun colours and theme of this month guide me as I created.
*Disclaimer: All products used are linked below as clickable images. If a product isn't listed, it's been discontinued
 .
.
How to create this card:
-
Cut and fold an A2 side-folding card base from white cardstock.
-
Cut an A2-size panel of white cardstock.
-
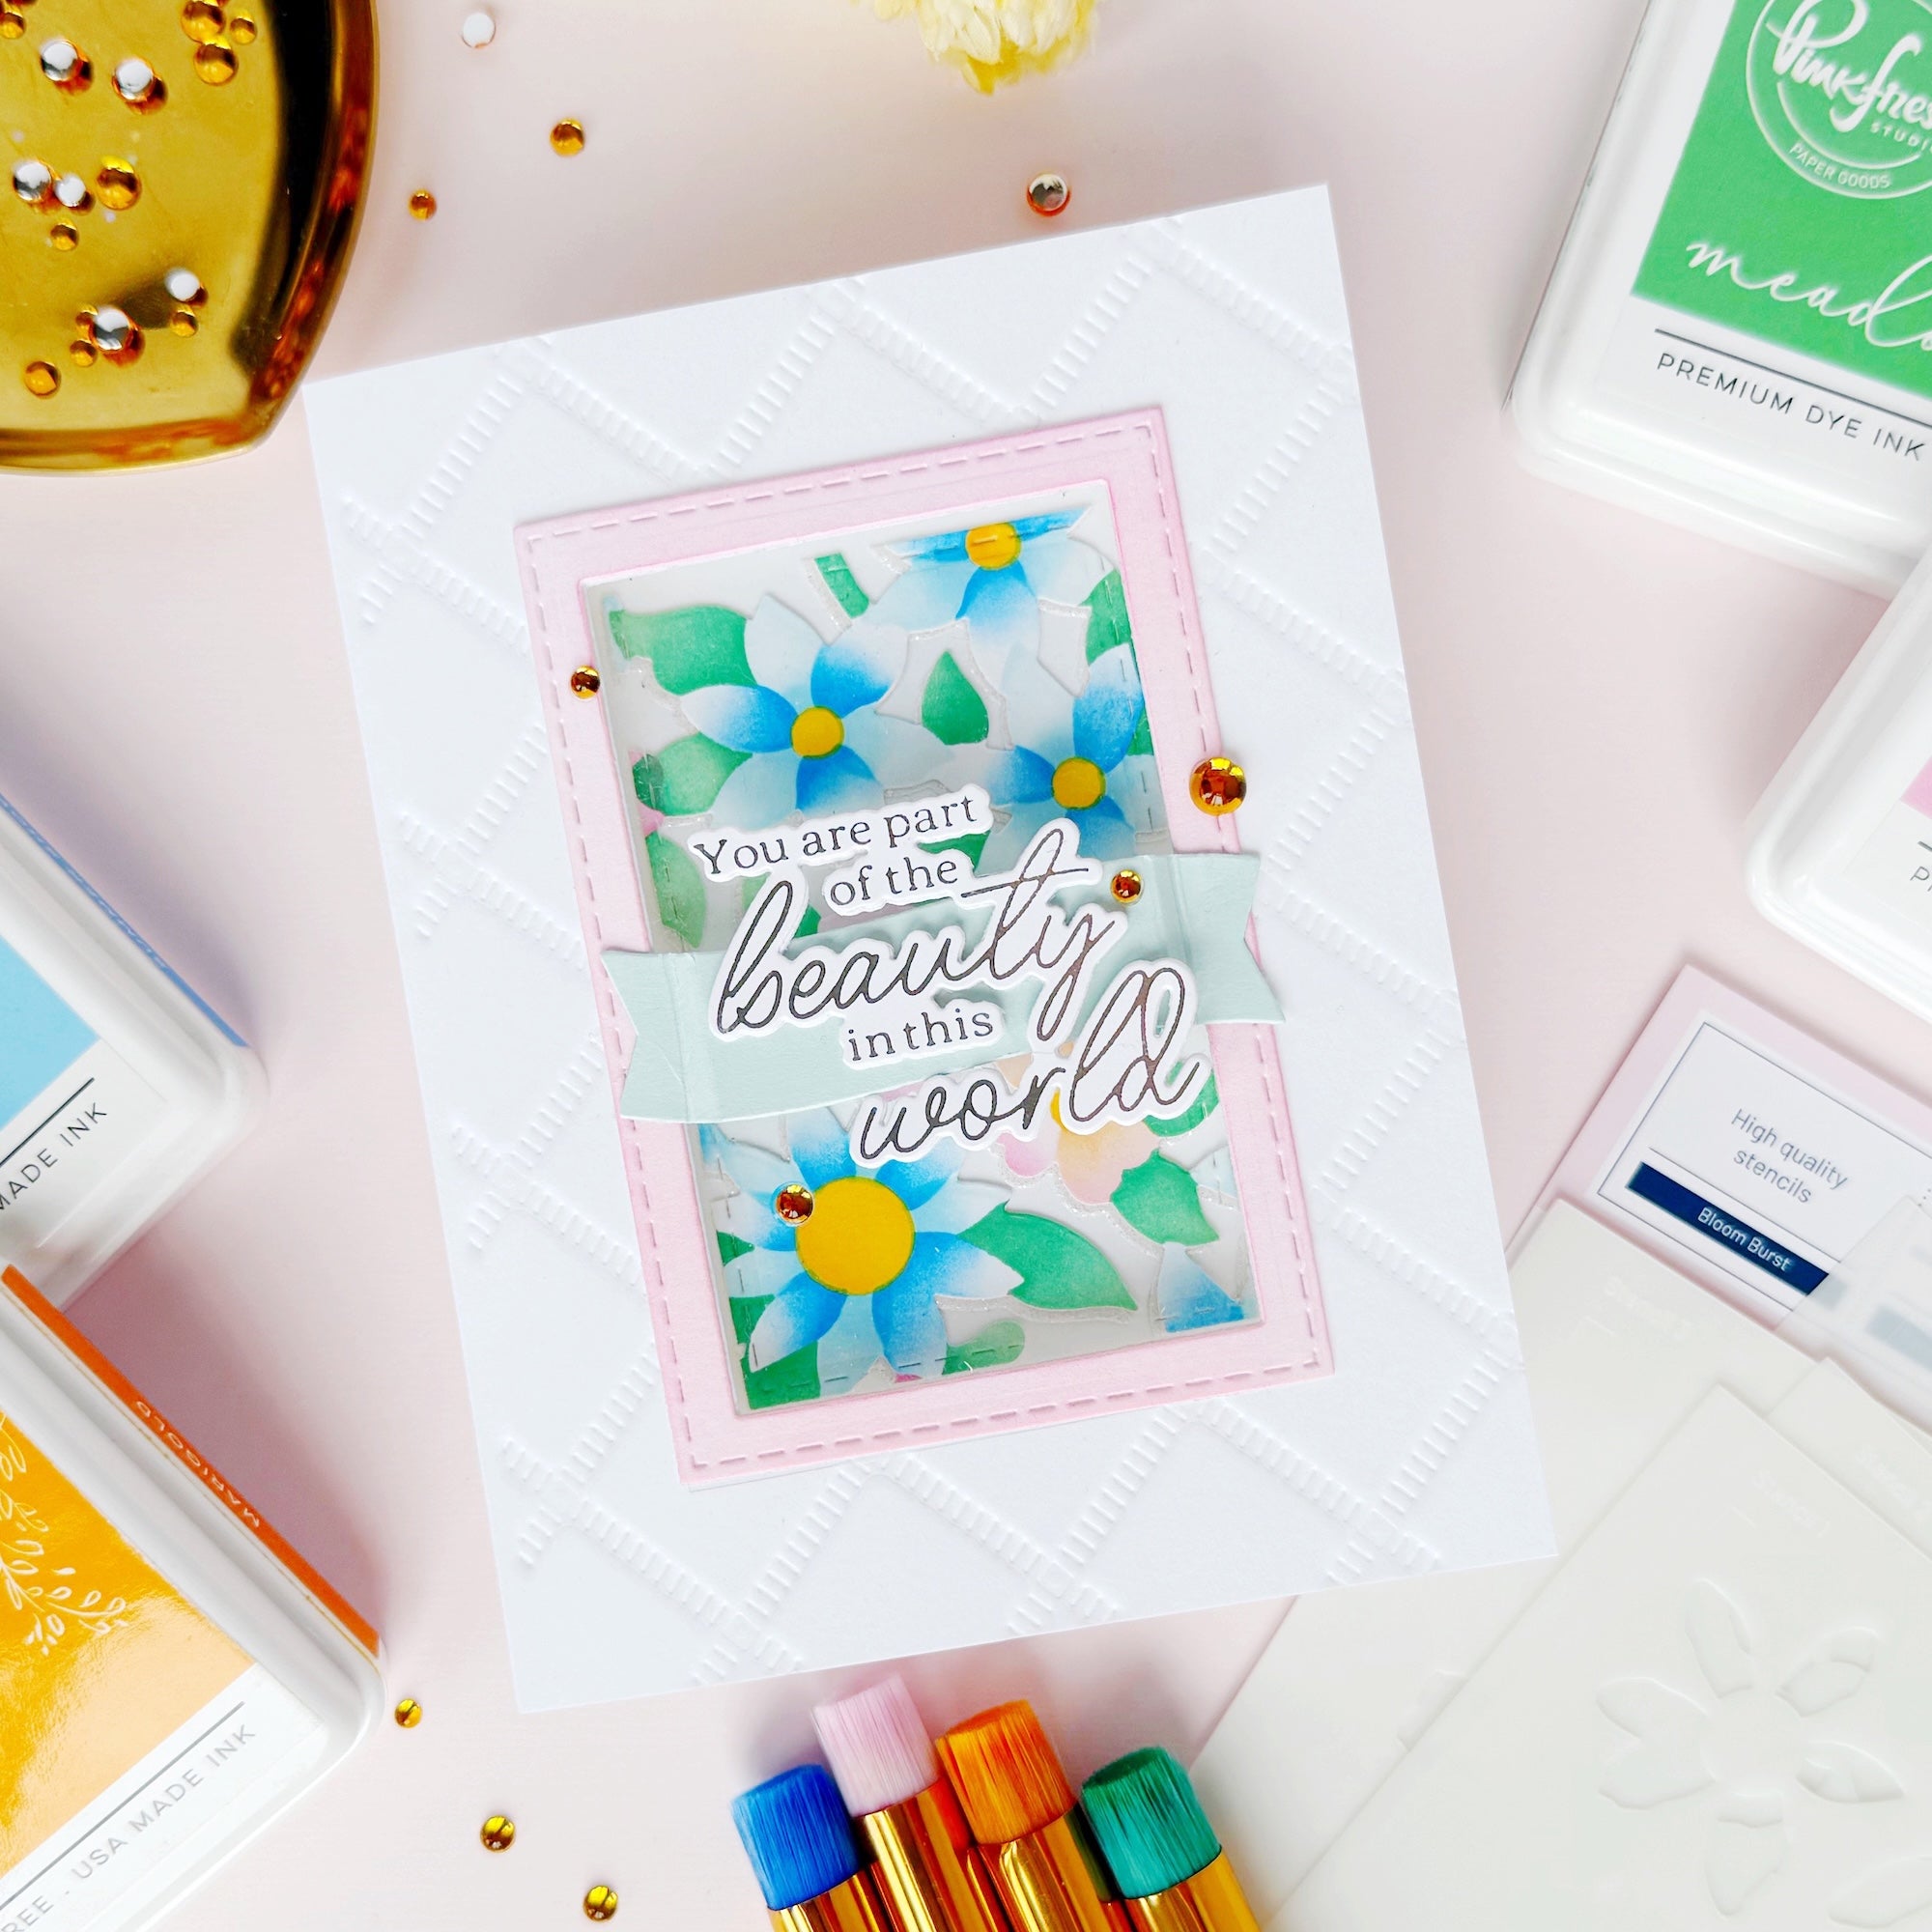
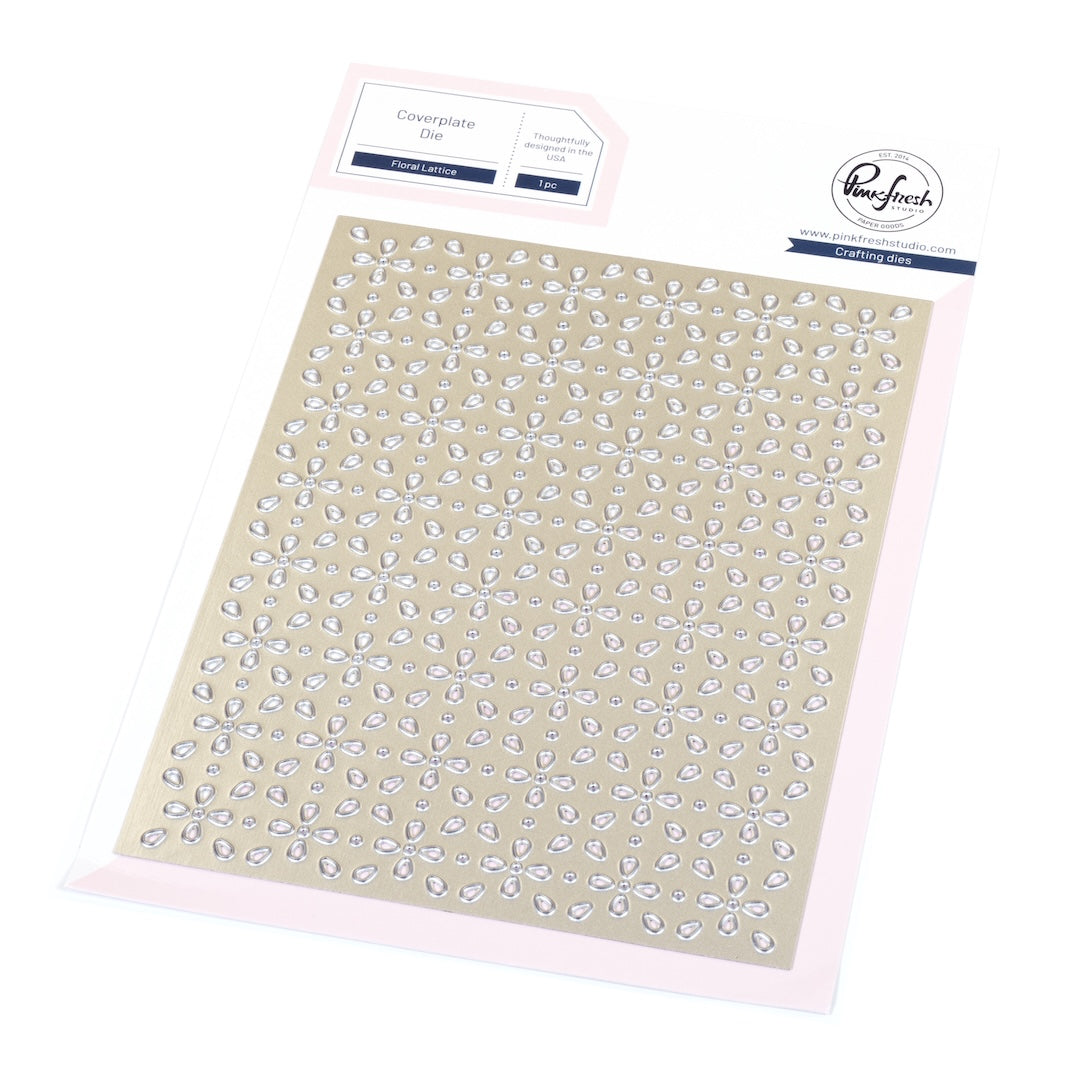
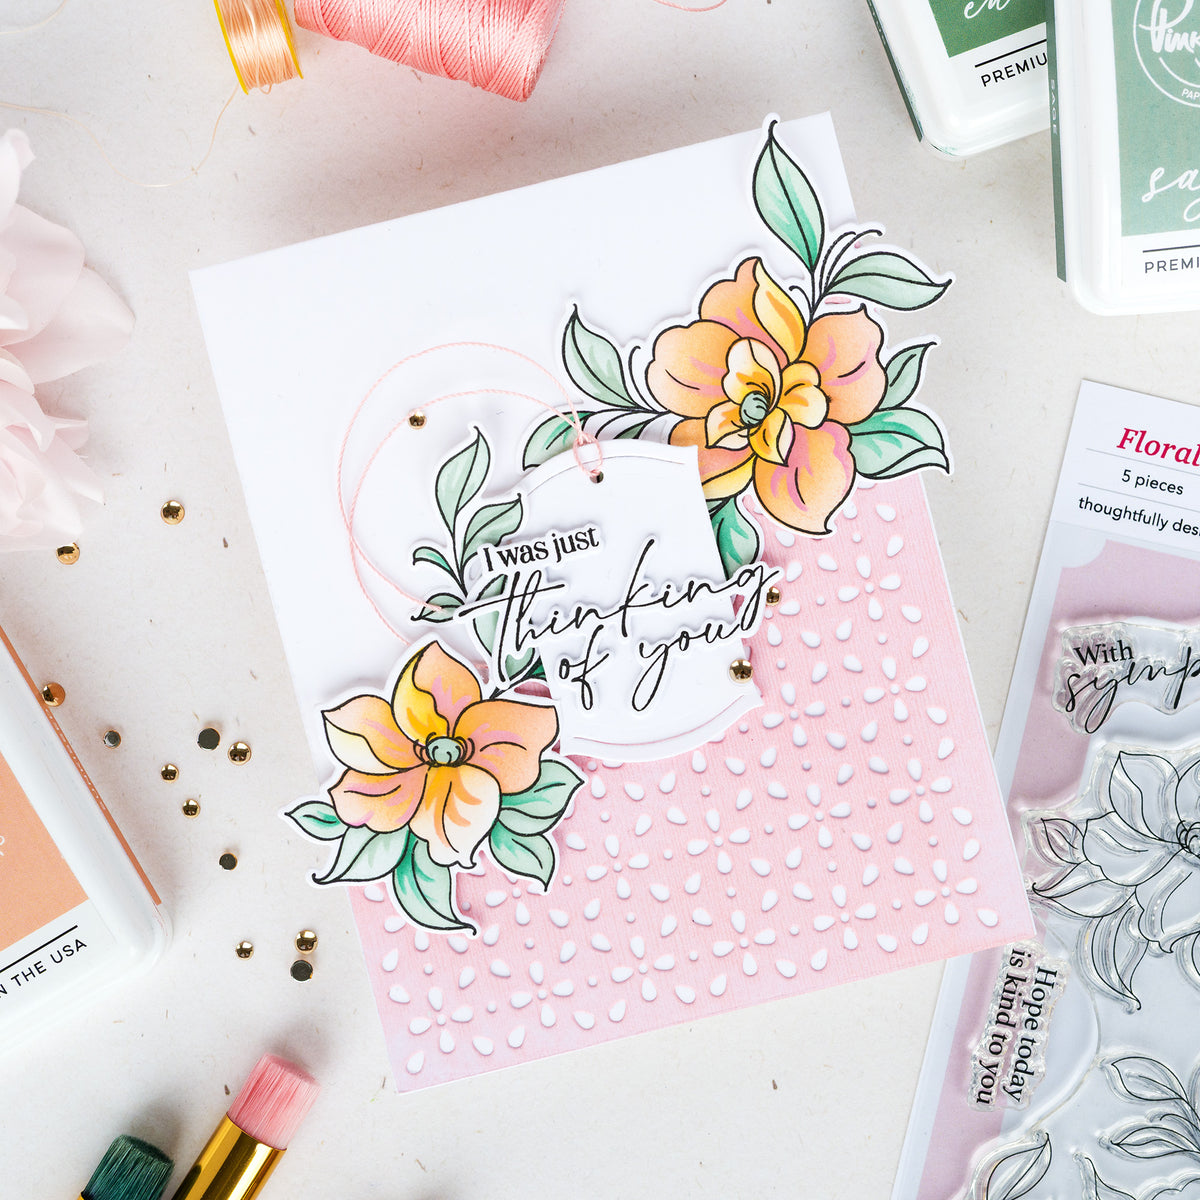
Dry emboss the panel using the Floral Lattice die and a die-cutting machine, with the corresponding plates for embossing your machine uses.
-
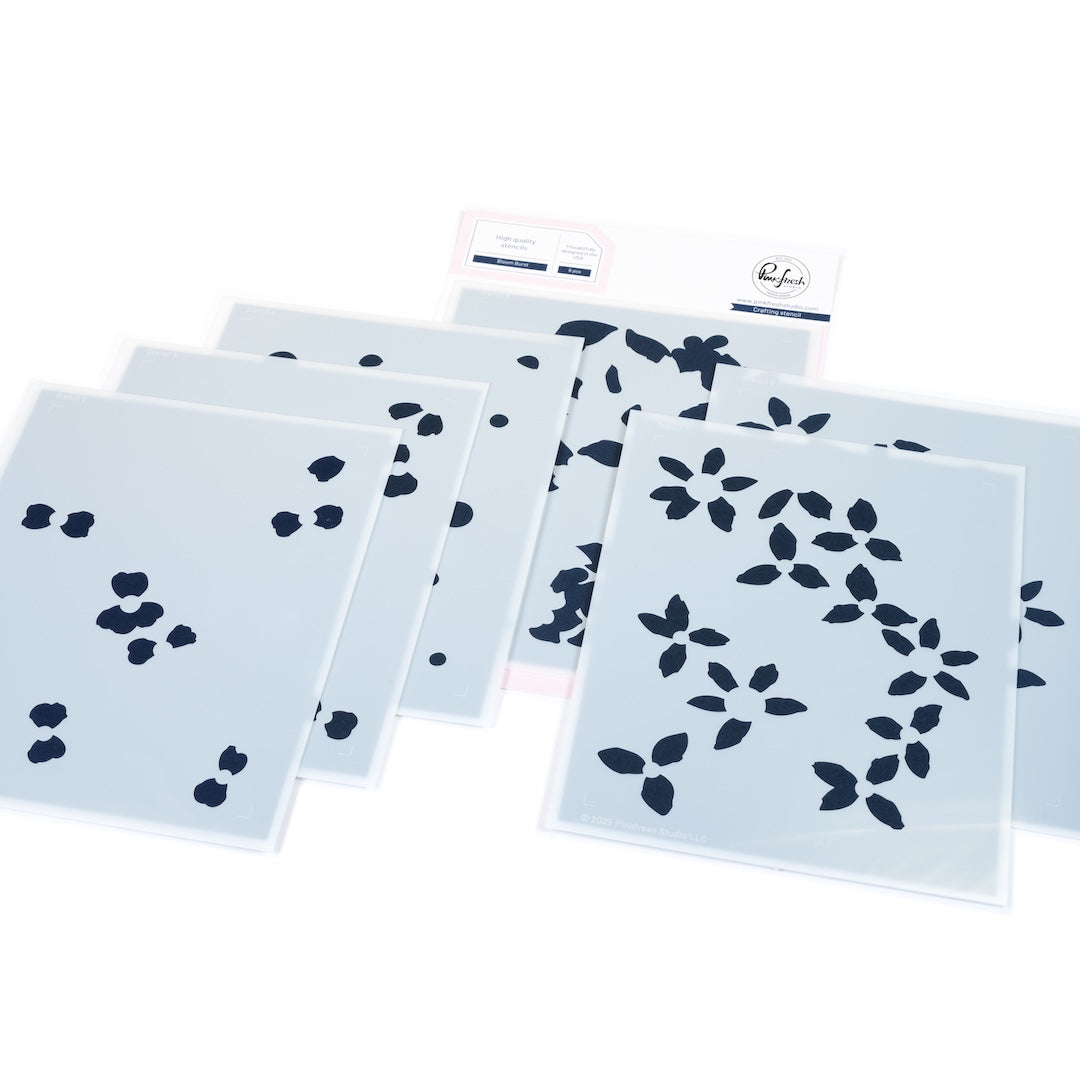
On the same panel, use the Bloom Burst stencil and ink blend the following inks:
-
Stencil 1: Slumber, Candy Violet (softly blending out from center)
-
Stencil 2: Candy Violet
-
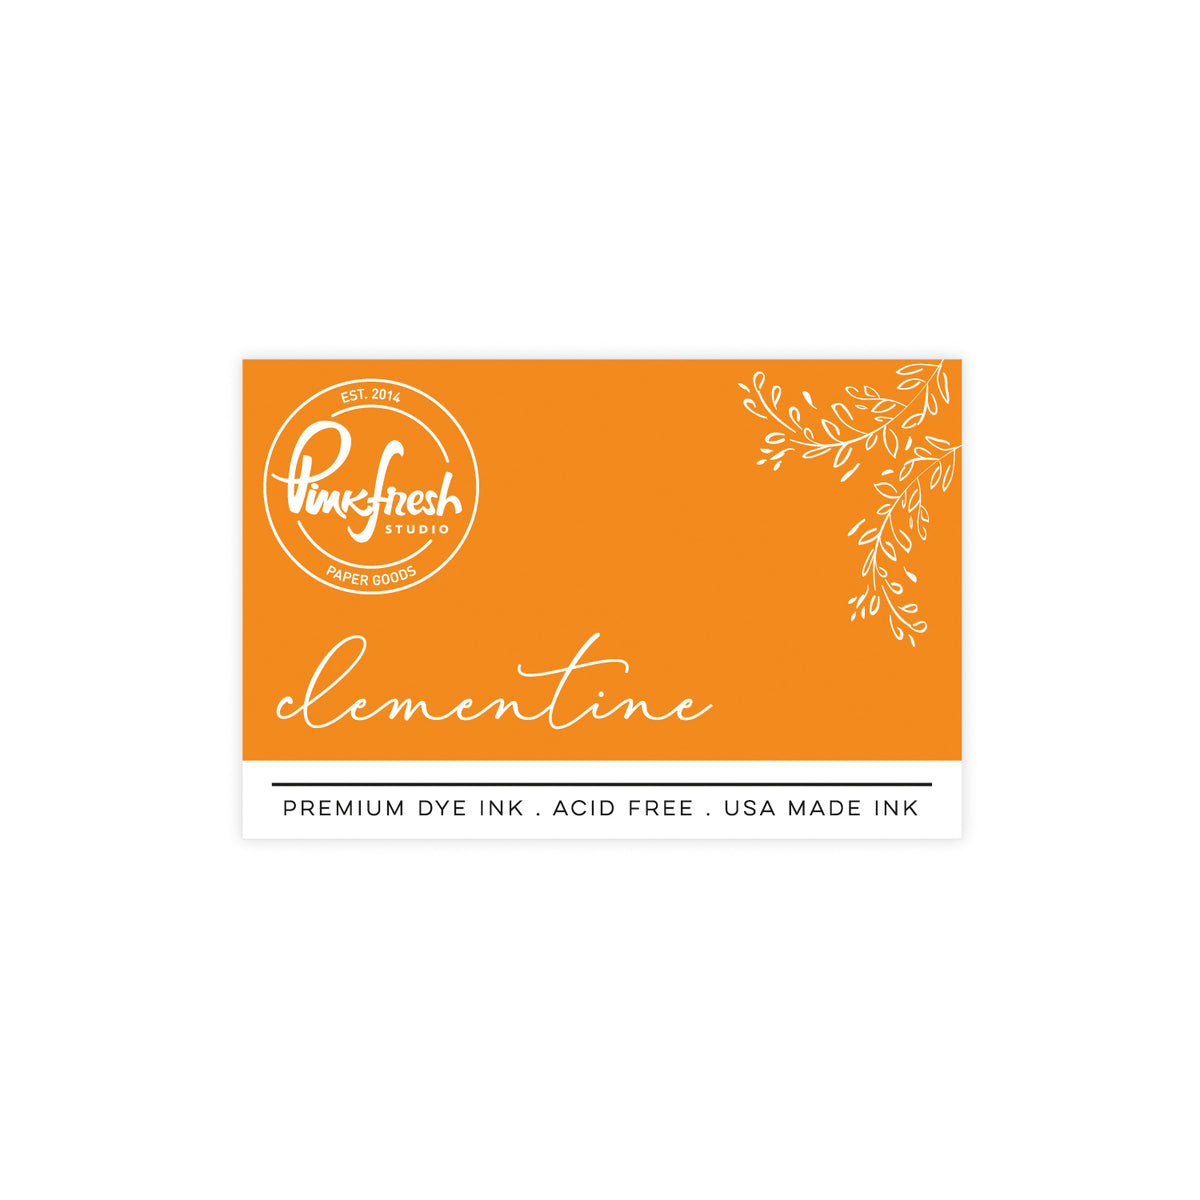
Stencil 3: Candy Violet, Clementine (softly blending out from center)
-
Stencil 4: Candy Violet, Clementine (softly blending out from center)
-
Stencil 5: Embossing ink and heat emboss with gold glitter embossing powder.
-
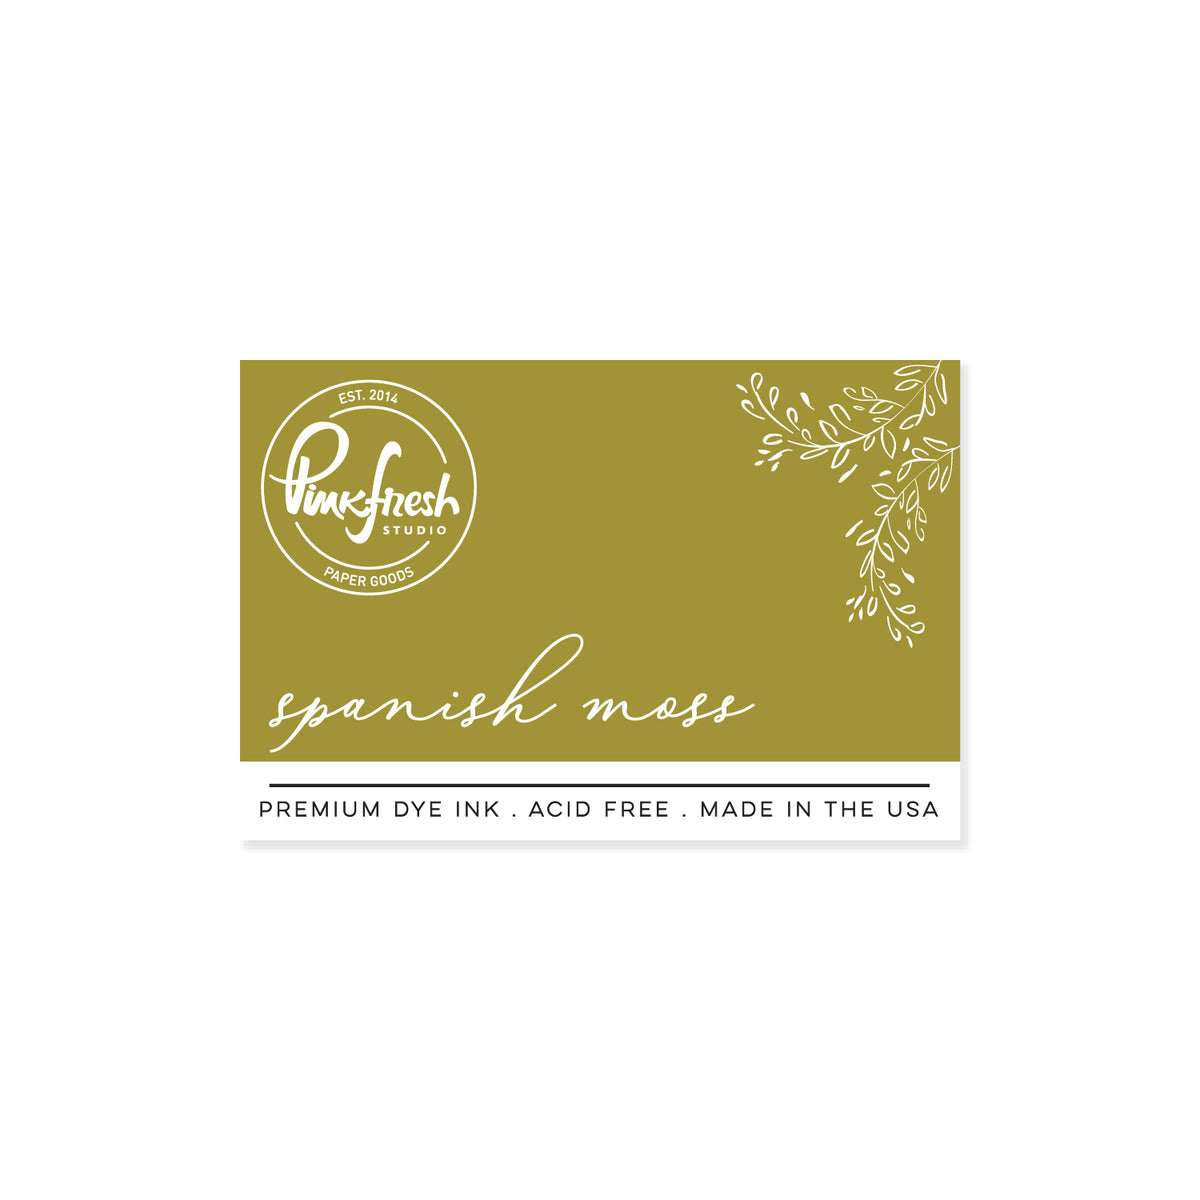
Stencil 6: Spanish Moss, Olive (softly blending out from center)
-
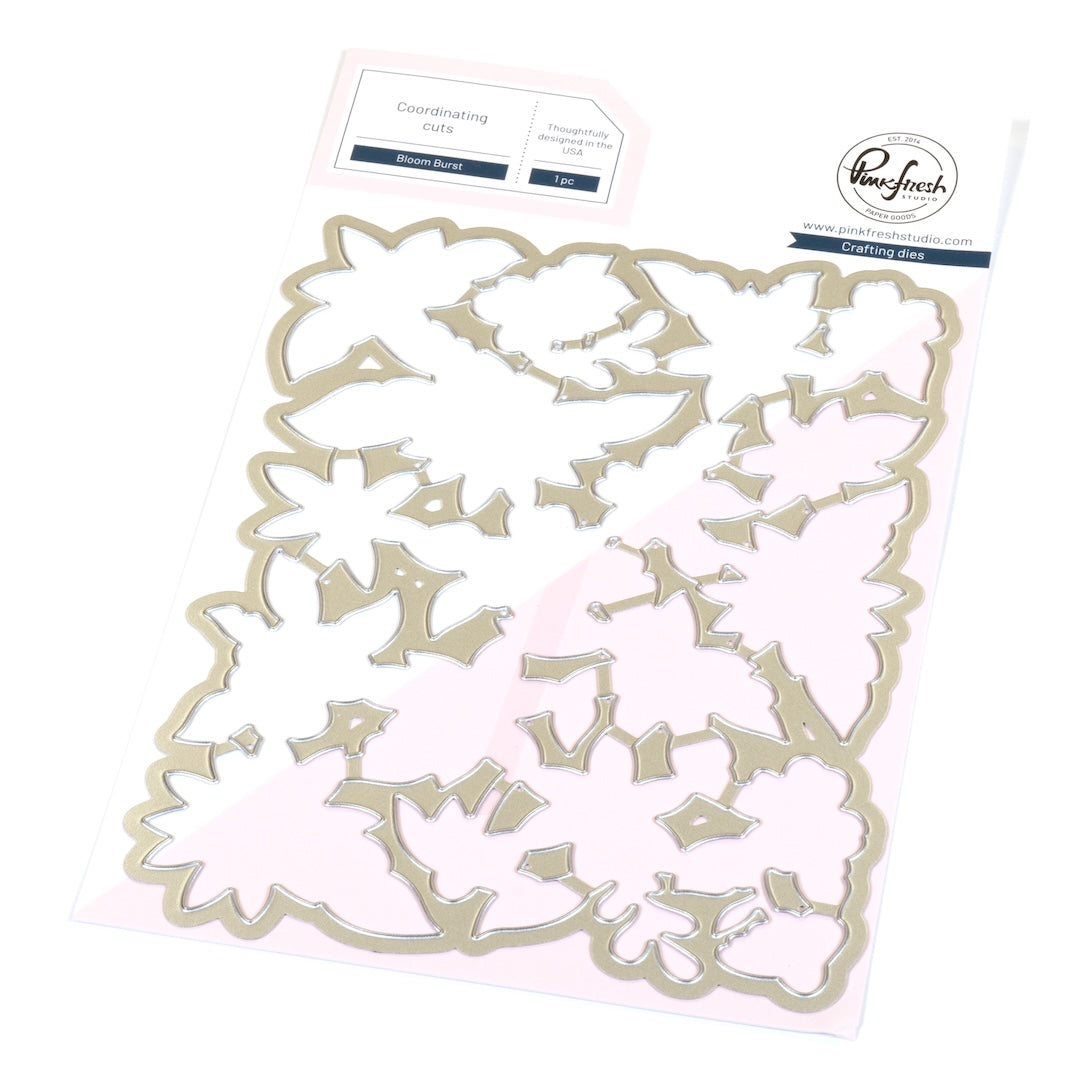
Die cut panel using the coordinating Bloom Burst die.
-
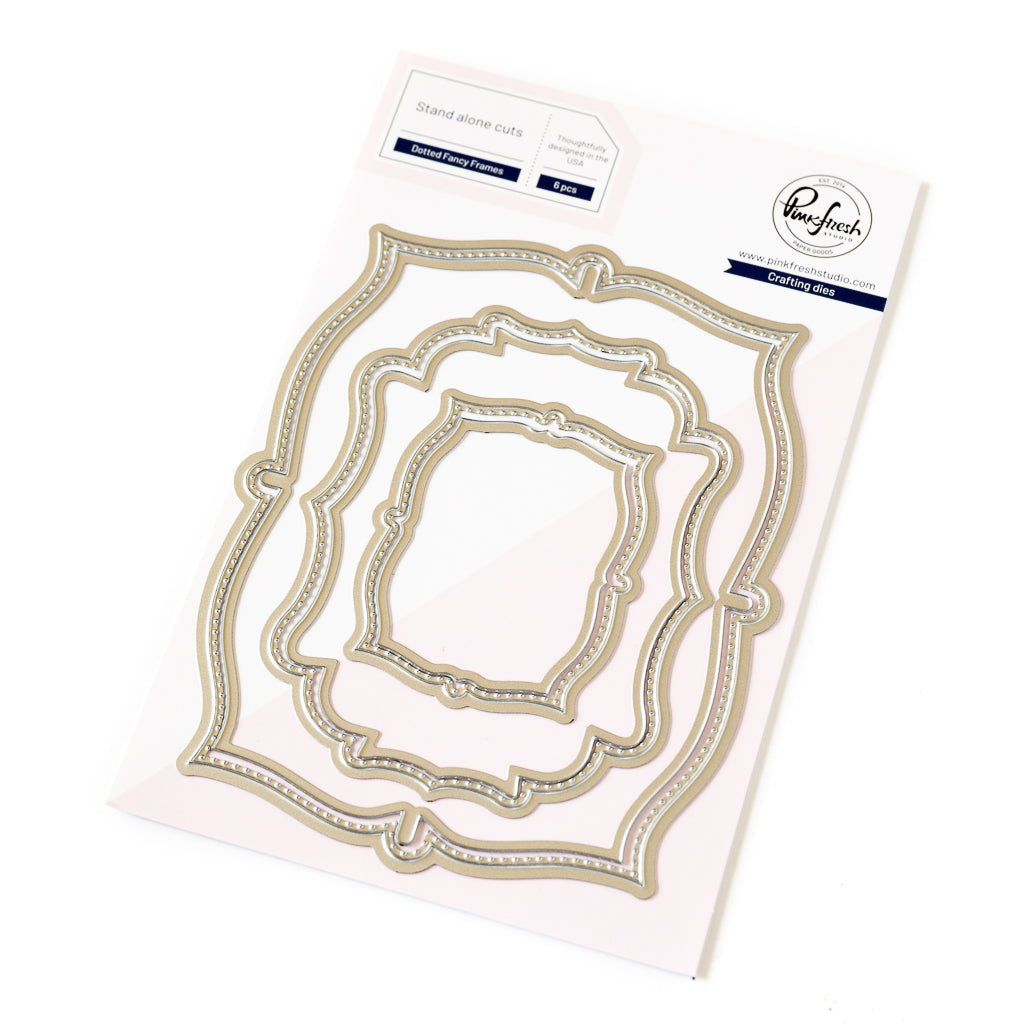
Die cut the smallest detailed frame die from the Essentials: Dotted Fancy Frames die set out of white cardstock.
-
Dry emboss the frame die cut using the Floral Lattice die.
-
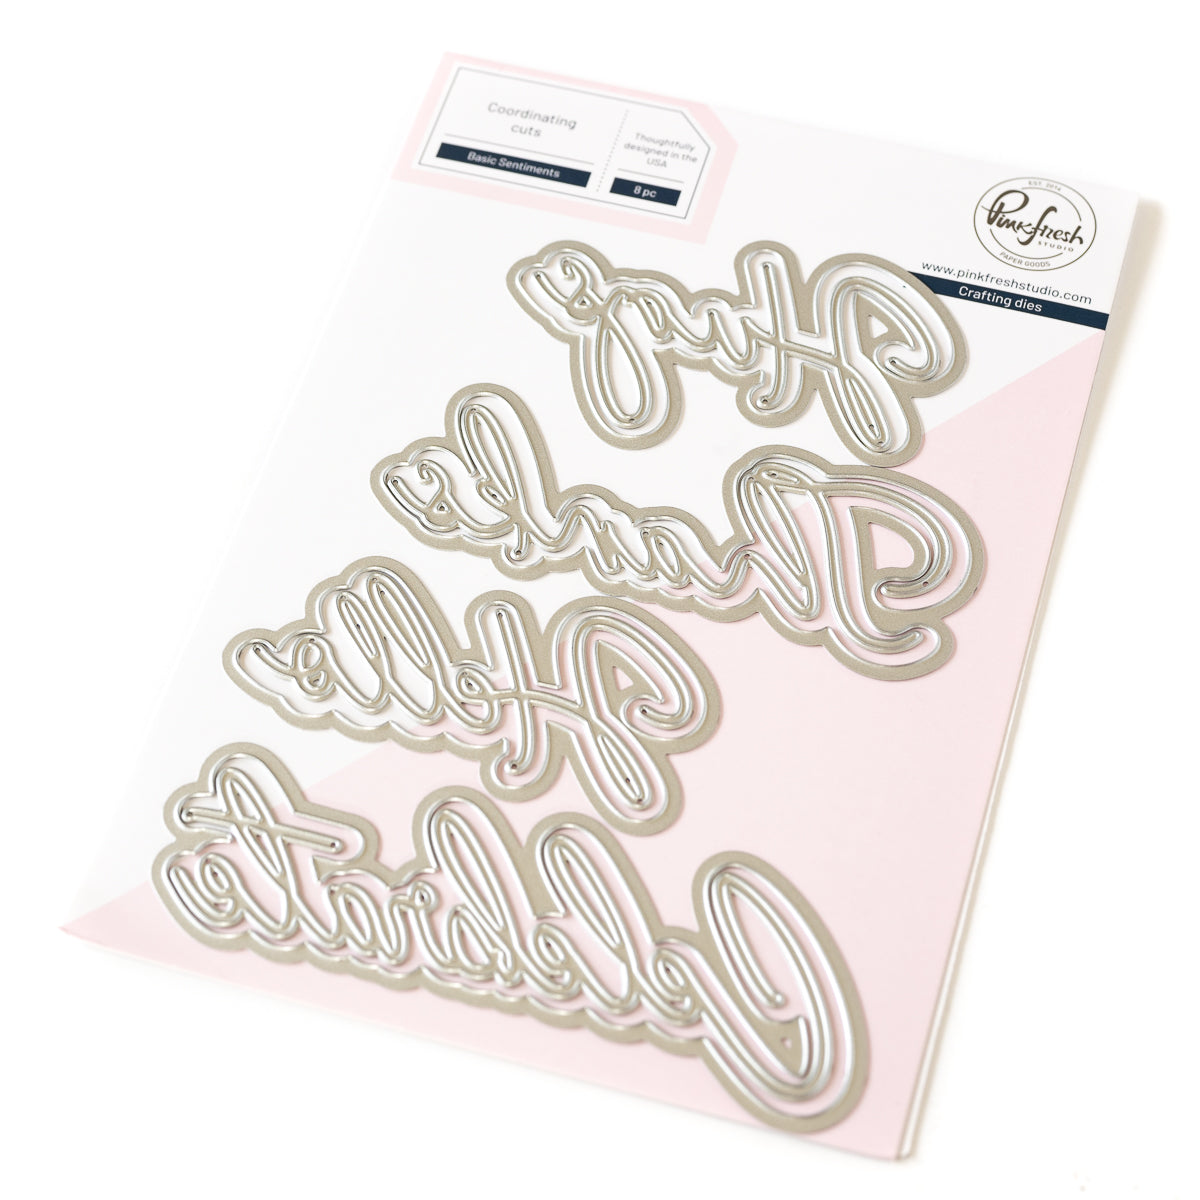
Die cut the "Celebrate" die from the Basic Sentiments die set from matte gold cardstock.
-
Repeat twice more with white cardstock, stack and adhere together for added dimension.
-
Die-cut the shadow layer from white cardstock and adhere it to the back.
-
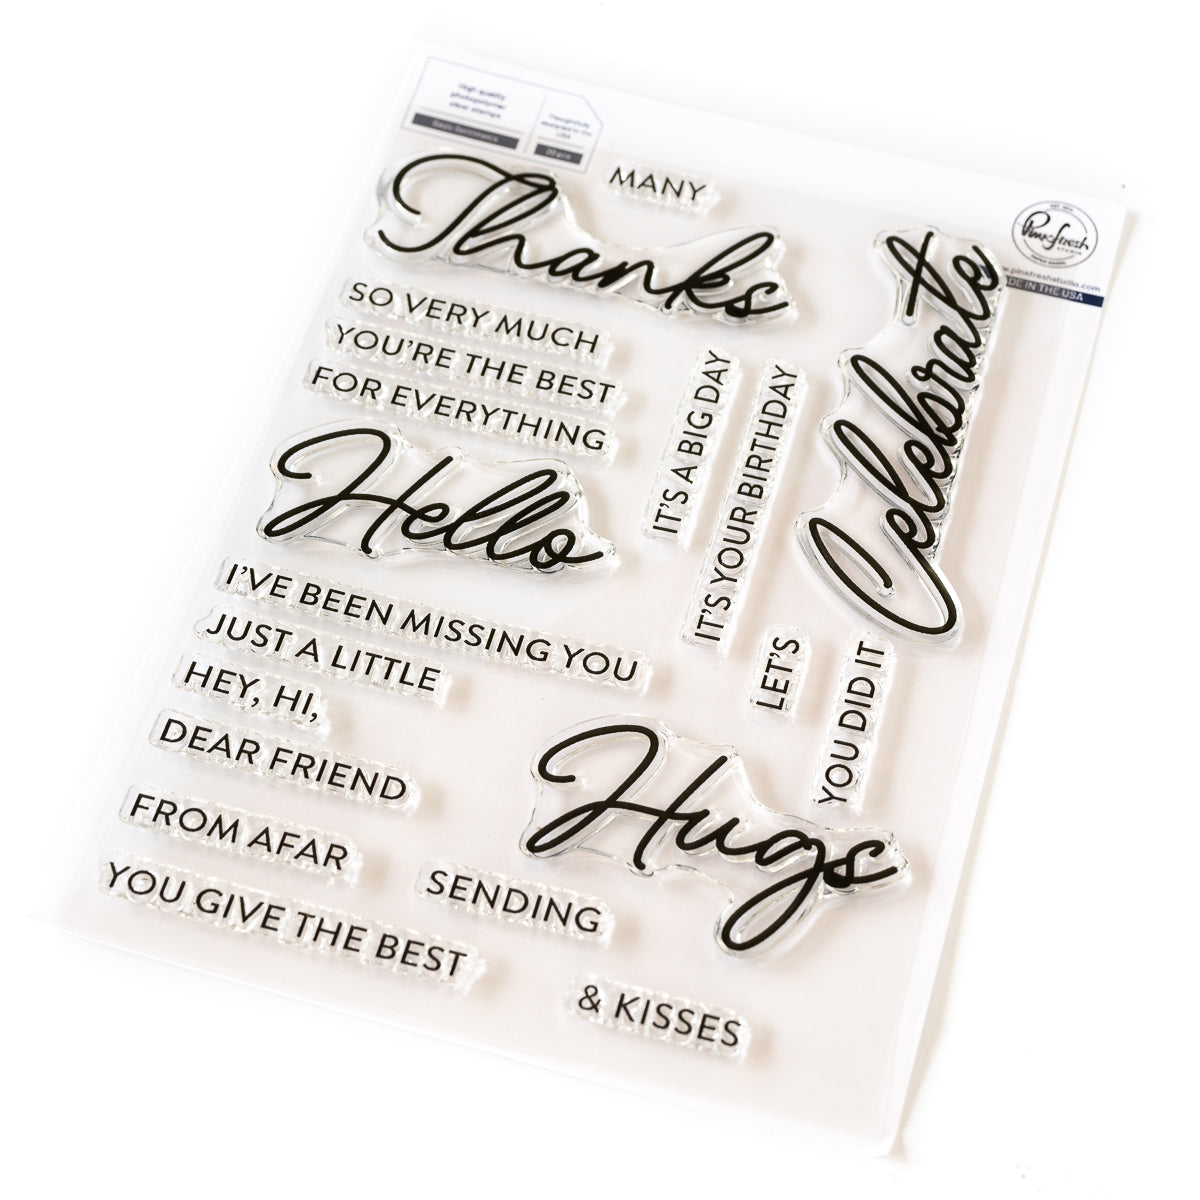
Stamp the "IT'S YOUR BIRTHDAY" greeting from the Basic Sentiments stamp set with embossing ink on a ⅜" x 3" strip of white cardstock.
-
Heat emboss with gold embossing powder for added shine.
-
Ink blend a soft layer of Candy Violet, then ink blend the edges with Clementine.
-
Use liquid glue to adhere the textured Bloom Burst die cut to your A2 card base.
-
Adhere the textured Dotted Fancy Frame to the center of the card with foam adhesive.
-
Use liquid glue to adhere the "Celebrate" die cut to the Dotted Fancy Frame.
-
Use thin foam adhesive to adhere the "IT'S YOUR BIRTHDAY" strip under the "Celebrate" die cut.
-
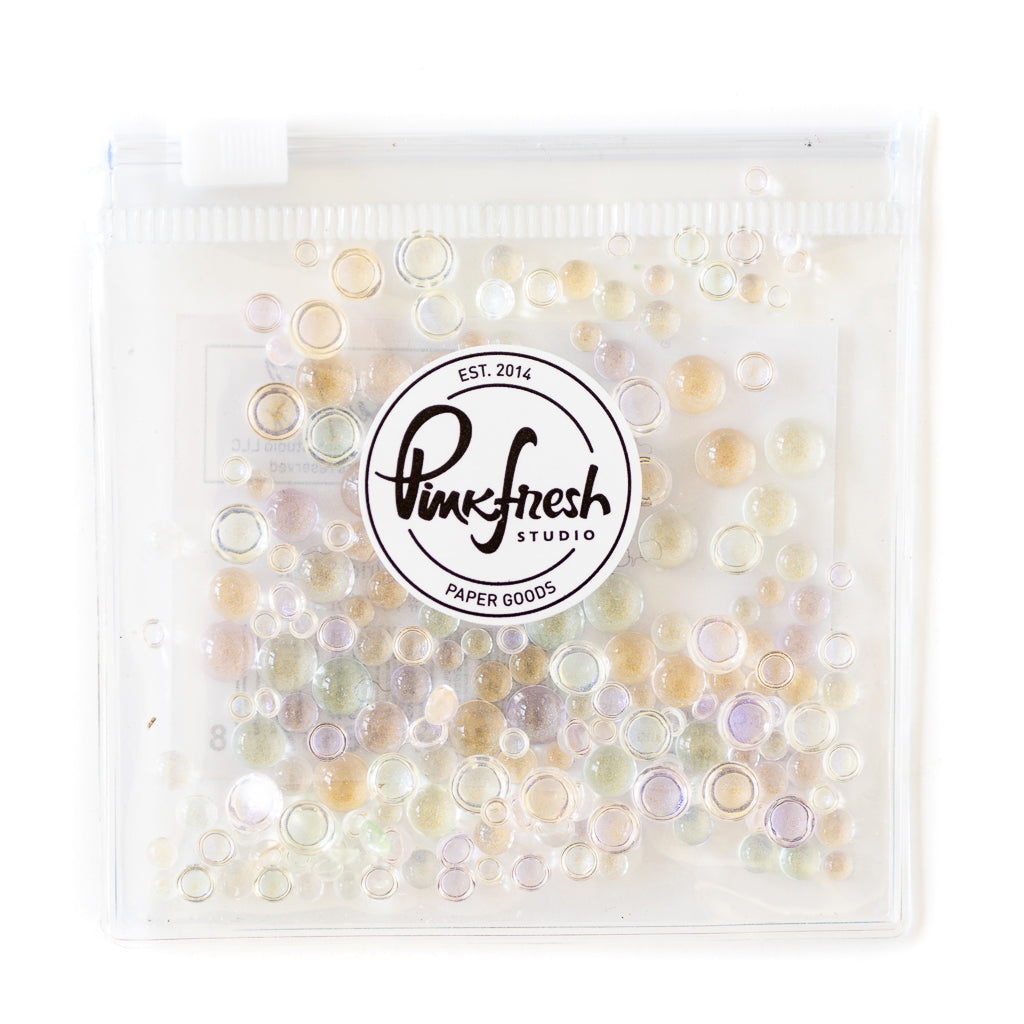
Add Dew Drops: Iridescent to the background for another shine element and to complete the card.

And there you have it—a vibrant, textured, and shiny birthday card that celebrates this month's challenge theme in full bloom!
I hope this project sparks some ideas for your next card. I'd love to hear your favourite ways to add texture in the comments below! Don't forget to tag us on social media so we can see your "Texture and Shine" creations.
Thanks for stopping by, and happy crafting!
Steph
Recommended Products

























1 comment
Marla Yadon
Some of the best floral color choices I’ve ever seen in a card. Absolutely stunning.
❤️❤️
Leave a comment
All comments are moderated before being published.
This site is protected by hCaptcha and the hCaptcha Privacy Policy and Terms of Service apply.