
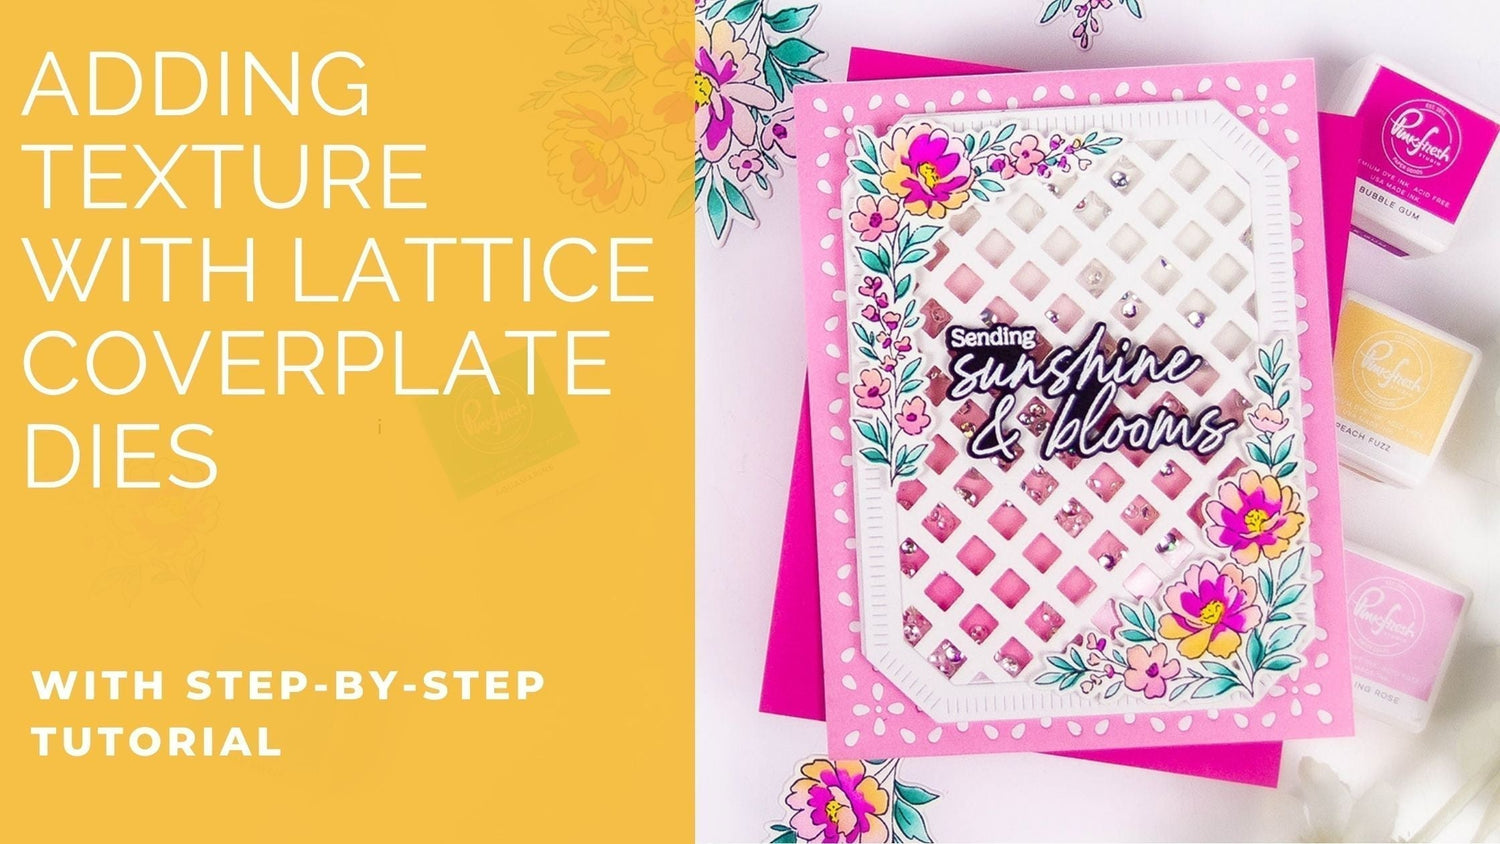
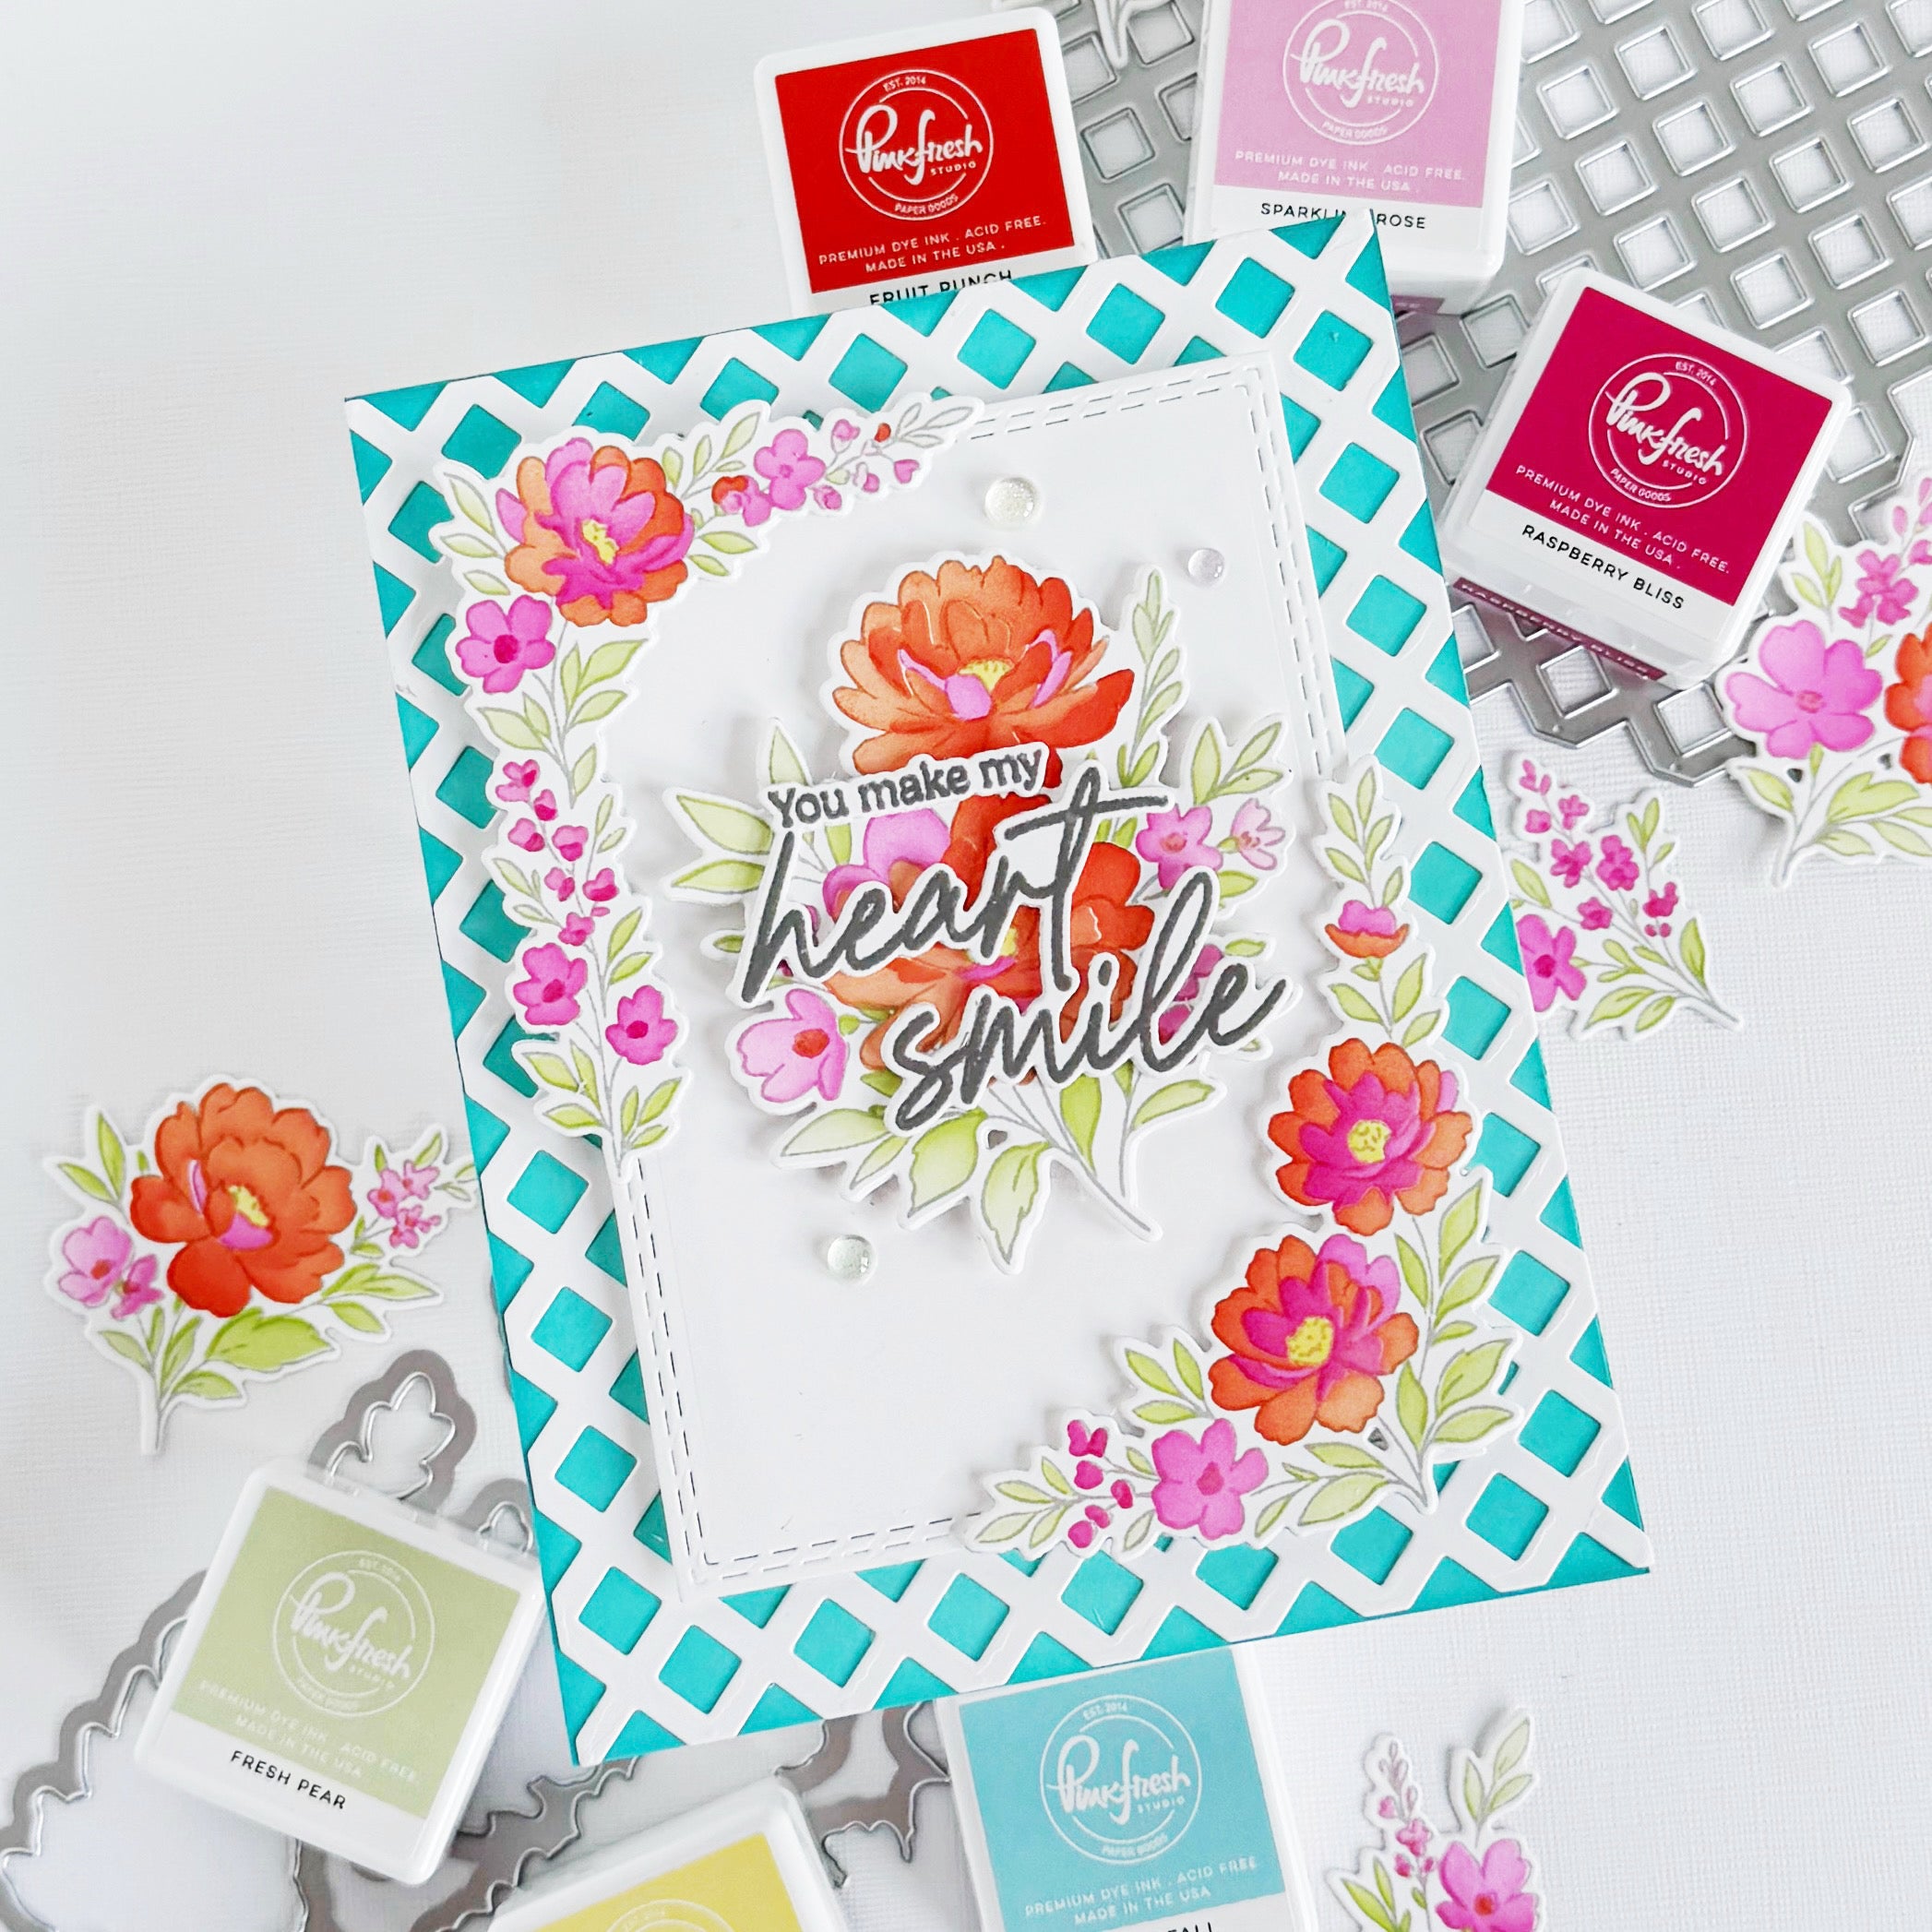
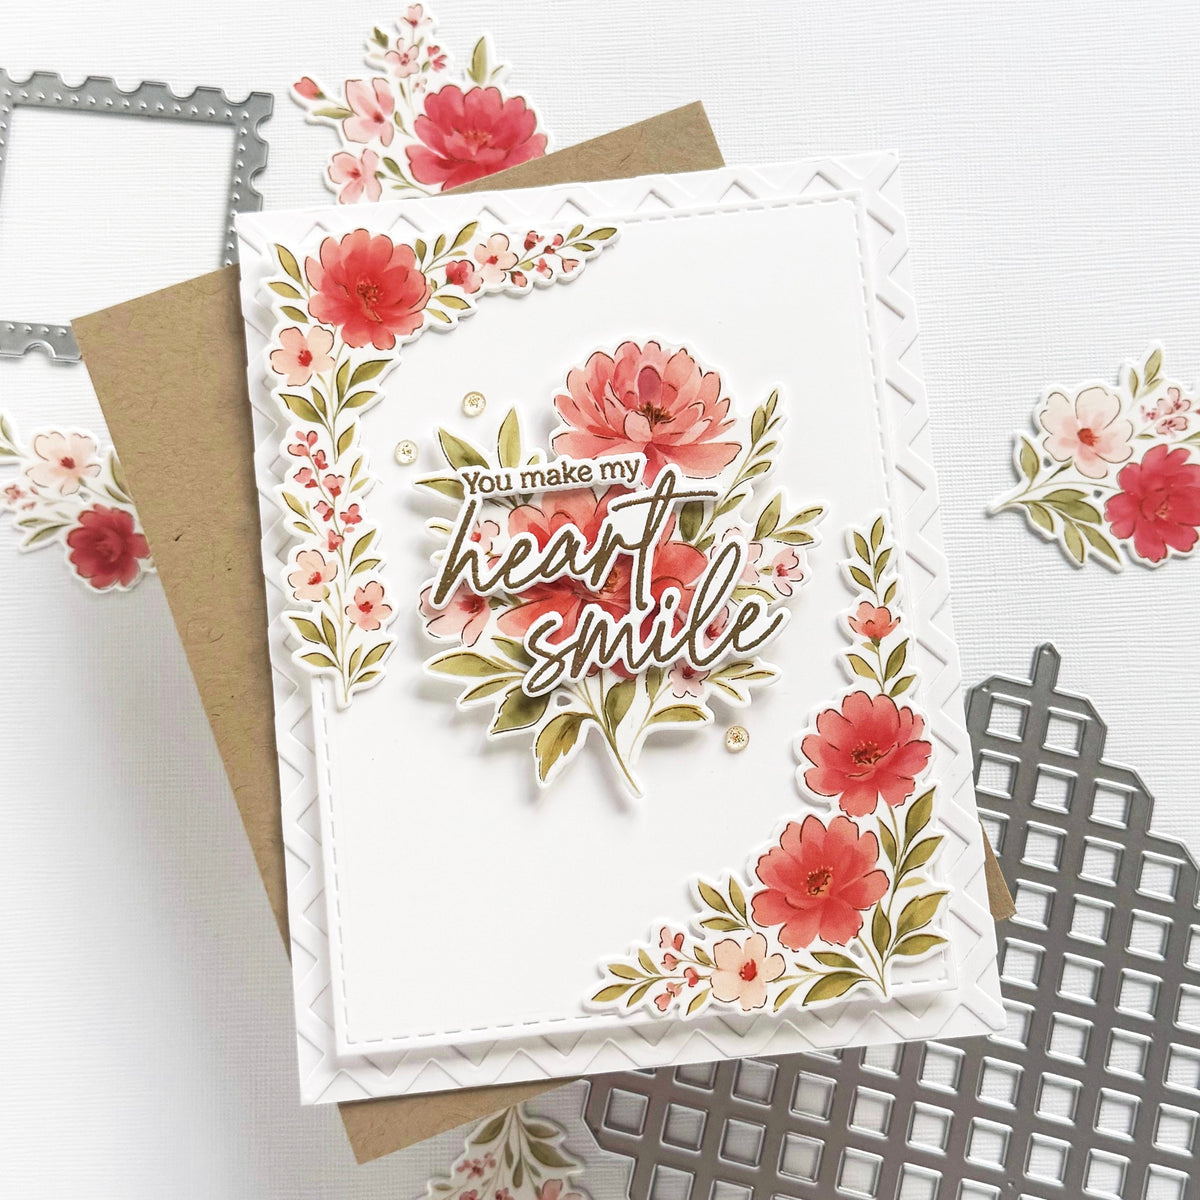
Hello friends! I hope you have been enjoying the stunning Flourish & Glow release as much as I have! One of my favorite product suites in this release is the Peony Glow set. I especially love the two L-shaped floral pieces that fit perfectly into any corner of your designs.
If you've been following my posts this year, you might be aware that I enjoy making shaker cards. I love adding that extra special touch and added shimmer to my projects when I have the time. However, the nice thing about shaker cards is that they don't have to be a shaker card. You can create this same card without adding the shaker component, and it would still look elegant and lovely because the products speak for themselves.
*Disclaimer: All products used are linked below as clickable images. If a product isn’t listed, it’s been discontinued

How to recreate this card:
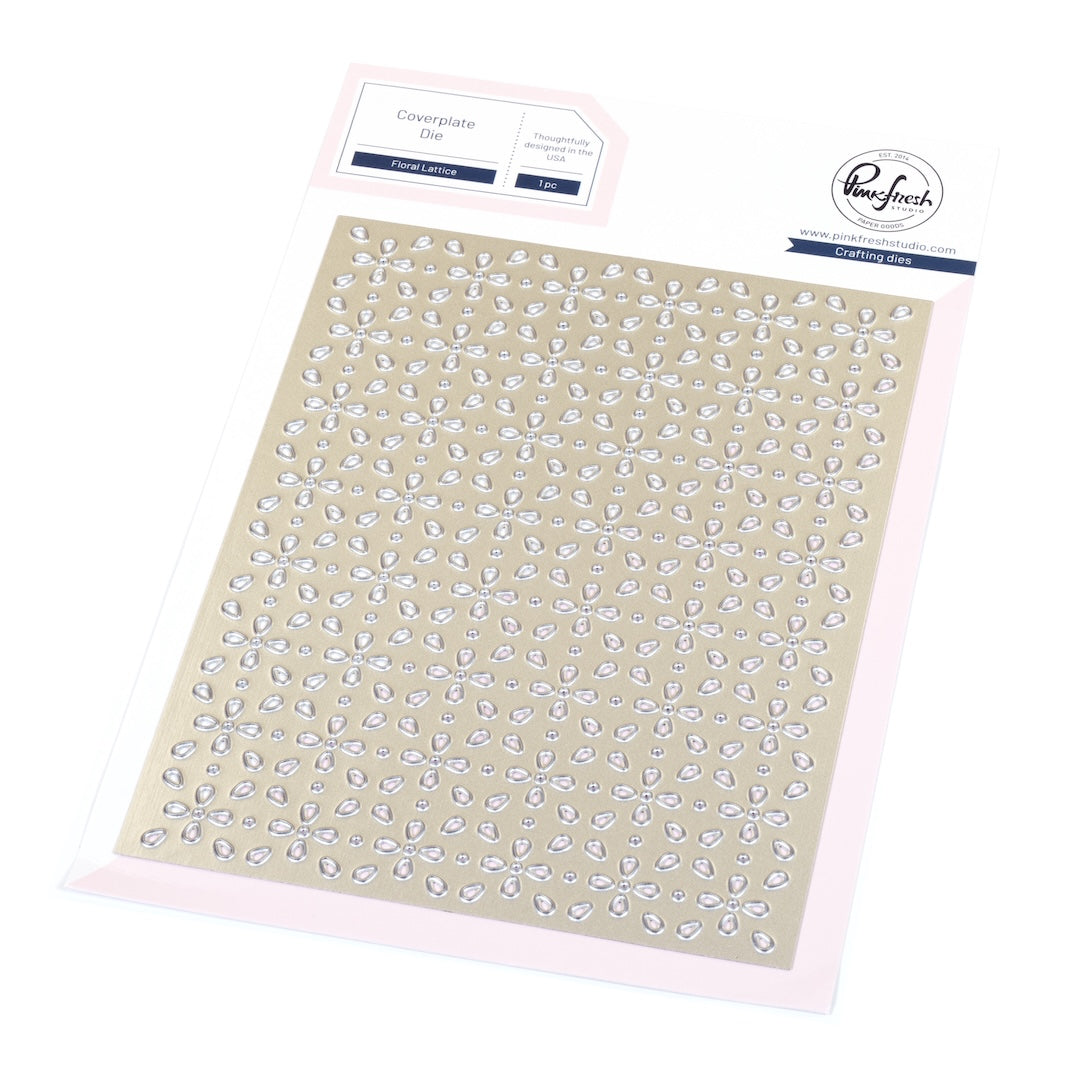
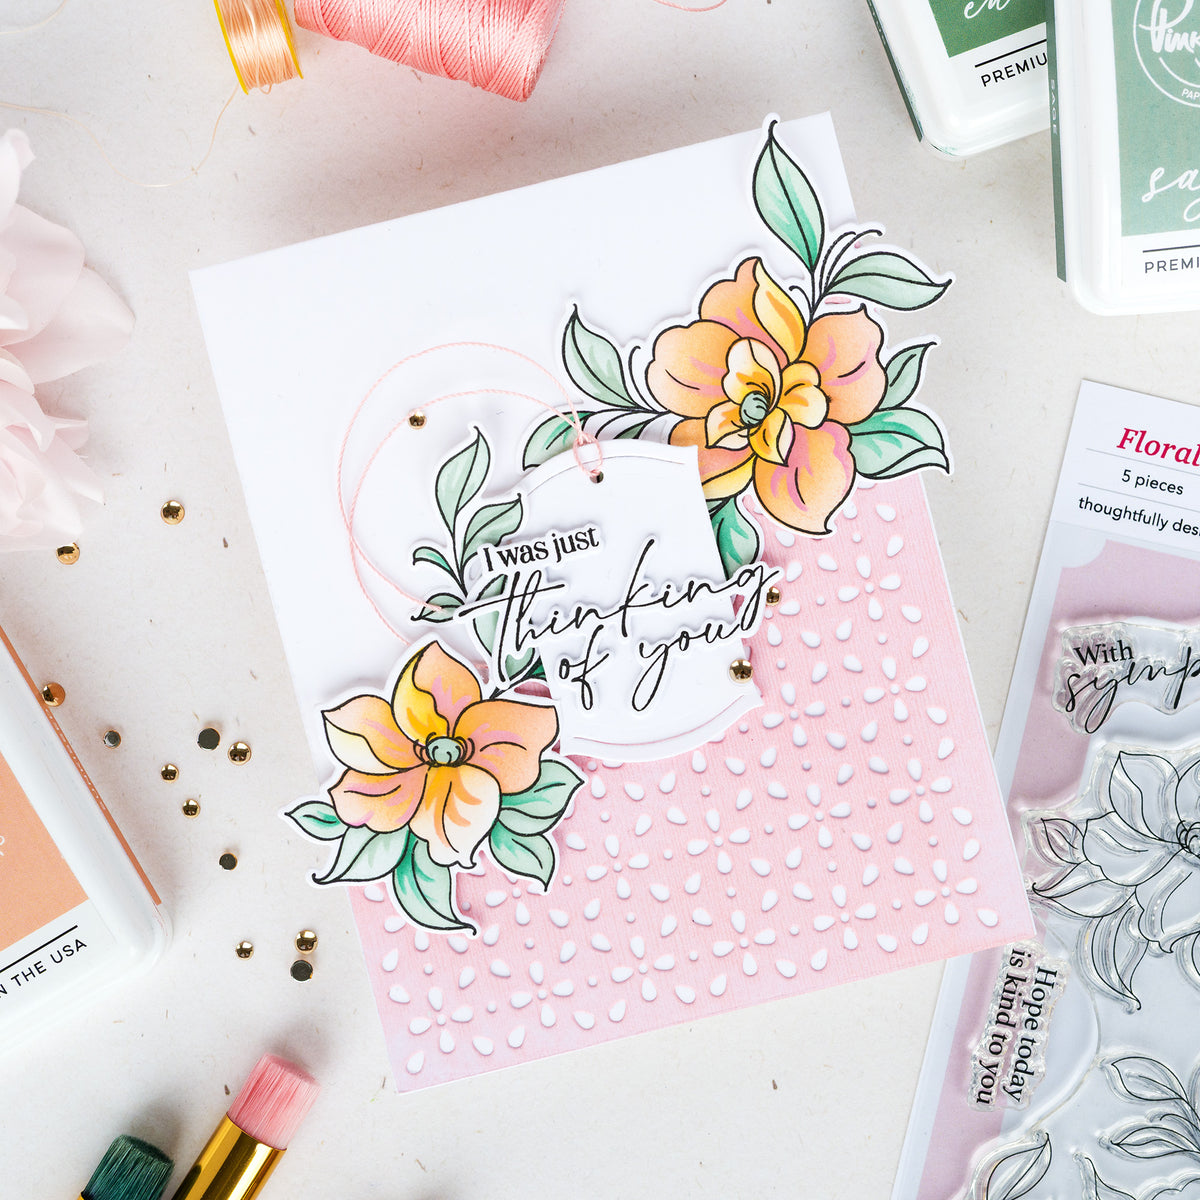
1. Trim a piece of light pink card stock to 4.25" x 5.5" and die cut it with the Floral Lattice Coverplate Die. Layer on top of 4.25" x 5.5" piece of white card stock.
2. Die cut a piece of smooth white card stock with the second largest die from the Blanket Stitched Octagons Die Set and lightly blend it with Sparkling Rose and Ballet Slipper Ink starting at the lower left corner and blending toward the top right corner, eventually fading to white. Attach this piece to your light pink card base.
3. Tape both the second and third largest dies from the Blanket Stitched Octagons Die Set to create a frame and use this taped piece to die cut five octagon-shaped frames from white card stock.
4. Glue four of the octagon frames together with liquid adhesive.
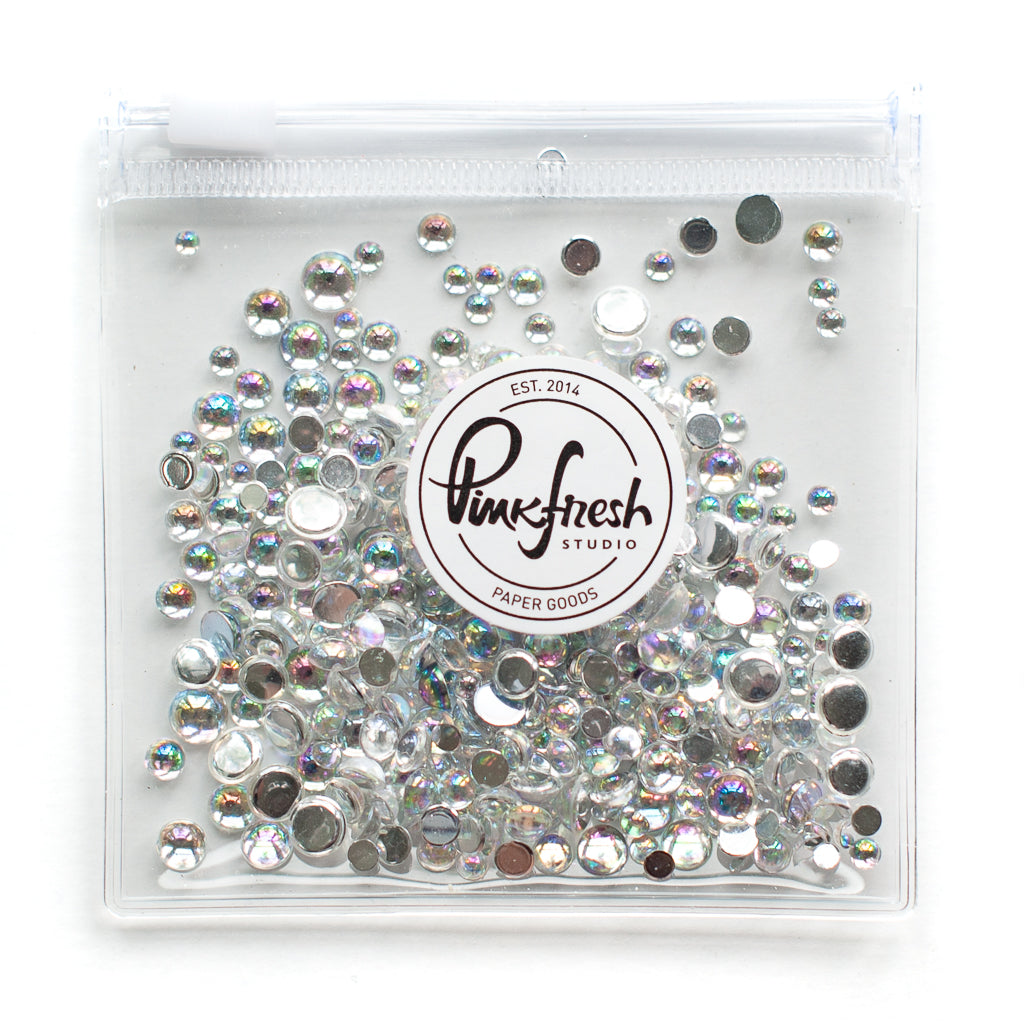
5. Adhere the frame on top of ink-blended octagon and add shaker embellishments to the inside
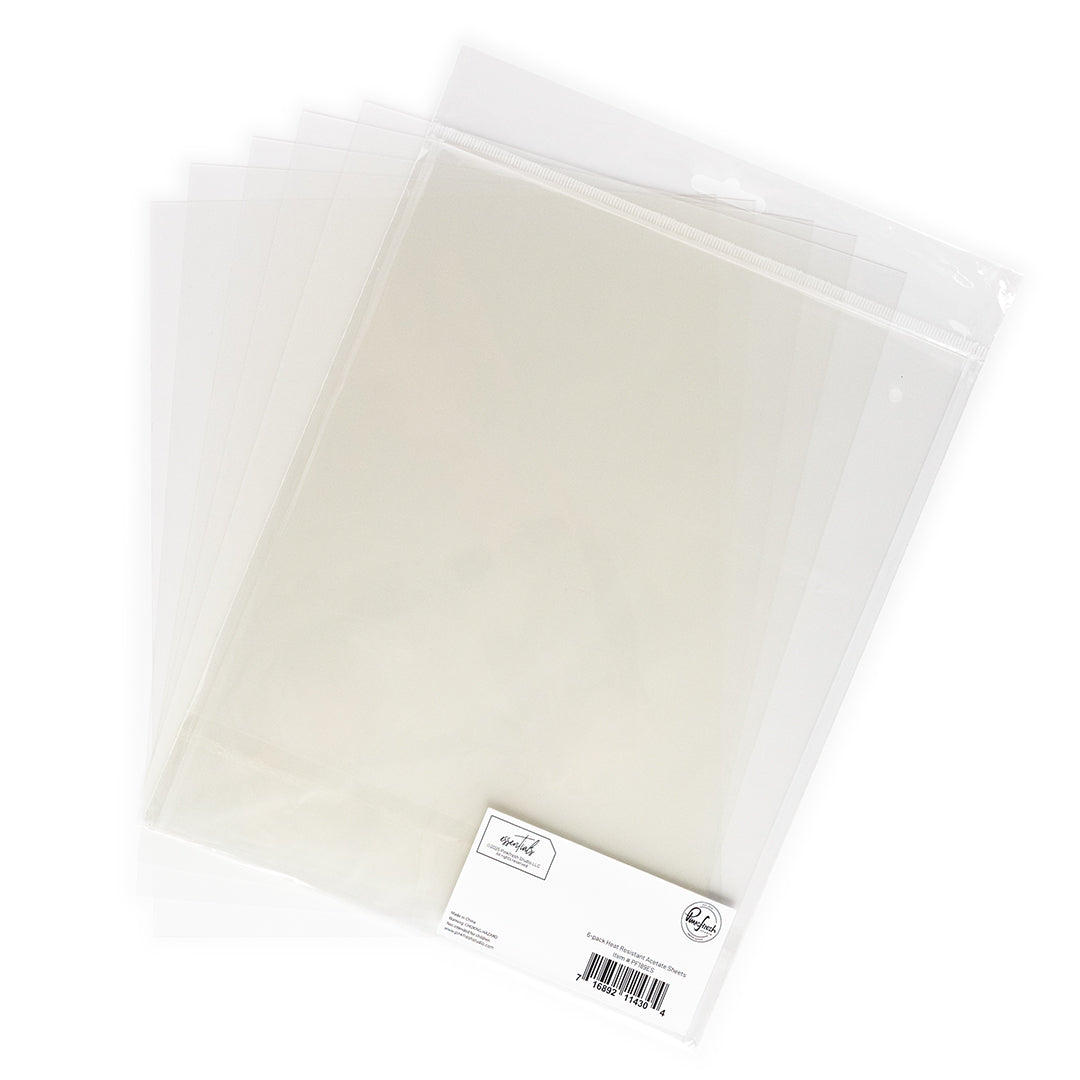
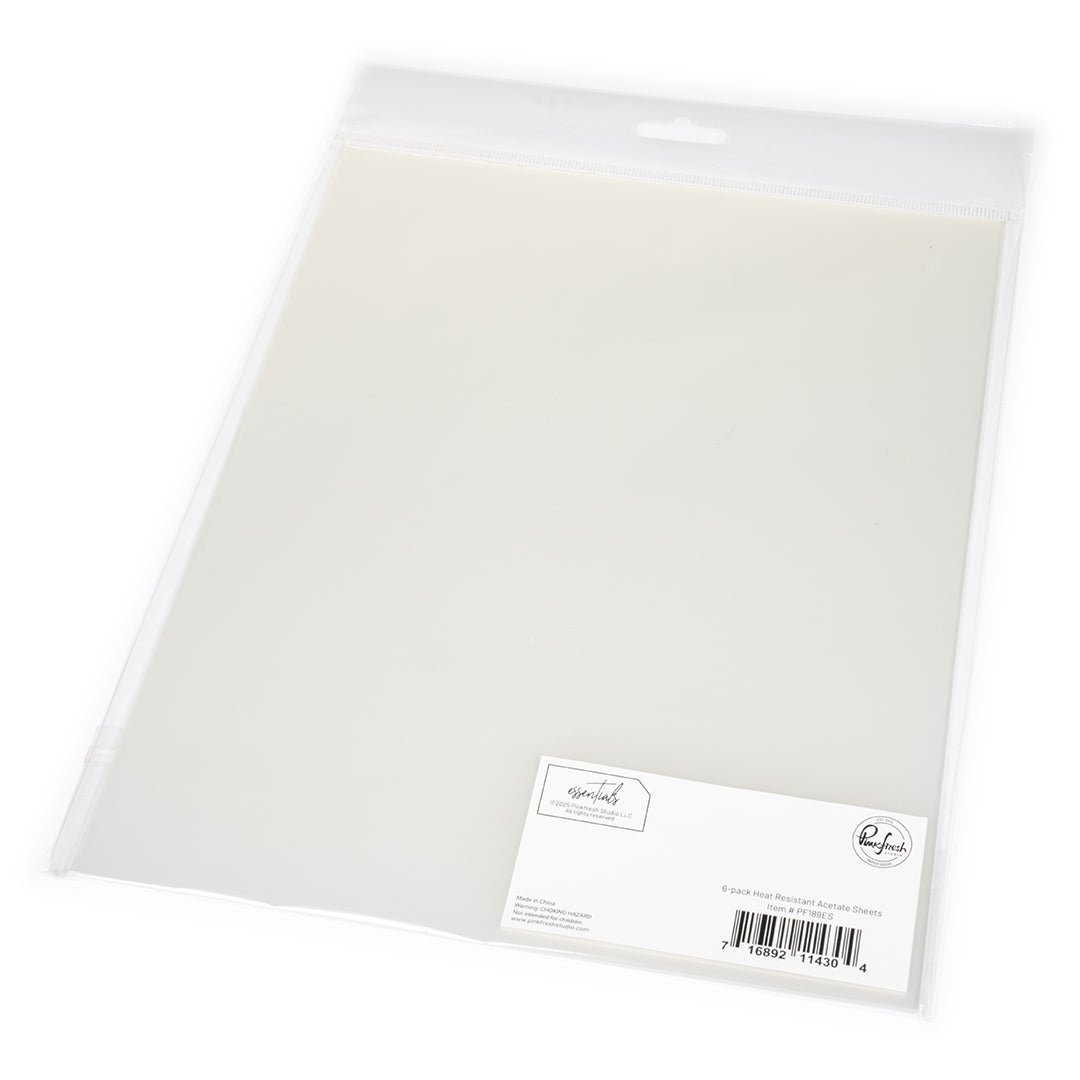
6. Use the second largest Blanket Stitched Octagons Die to die cut a clear piece of acetate to glue over the top of the octagon frame base and seal in the shaker embellishments.
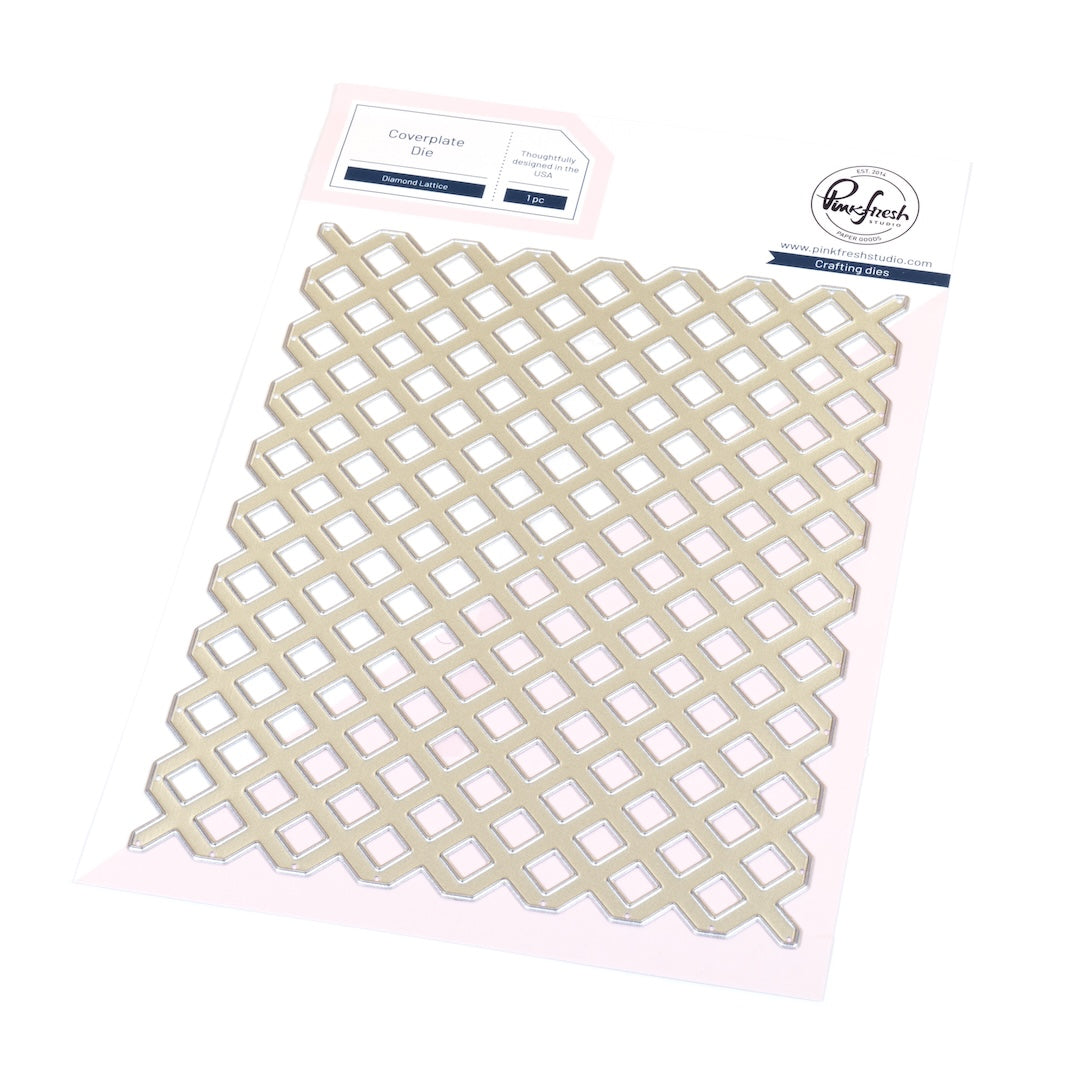
7. Die cut a 4.25" x 5.5" piece of white card stock with the Diamond Lattice Coverplate Die.
8. Run this lattice piece through your machine one more time with the second largest of the Blanket Stitched Octagon Dies and glue this lattice piece on top of the piece of clear acetate.
9. Adhere last octagon frame on top of the entire octagon piece for a clean, finished look.
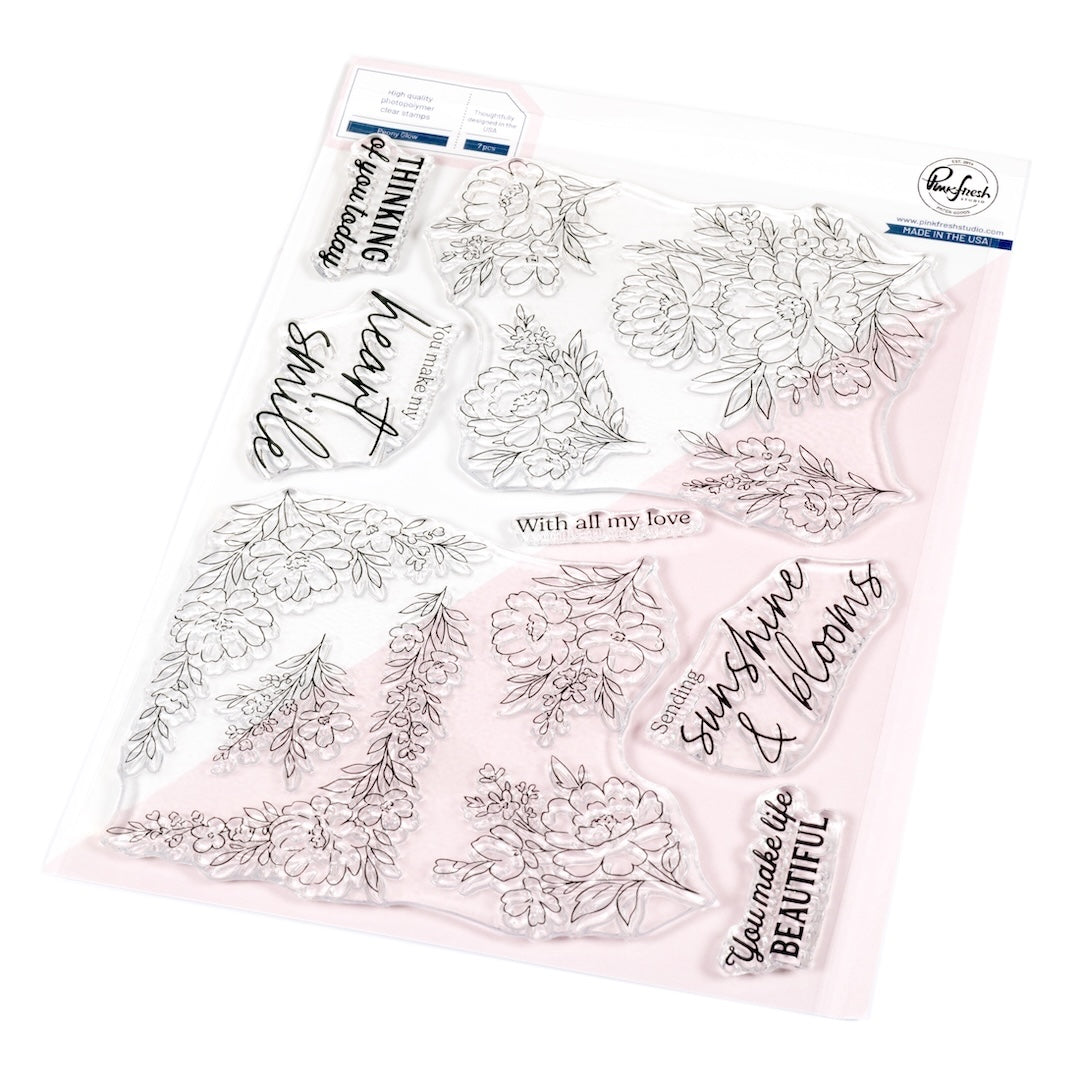
10. Stamp the florals from the Peony Glow Stamp Set with Detail Black Ink onto a piece of white card stock.
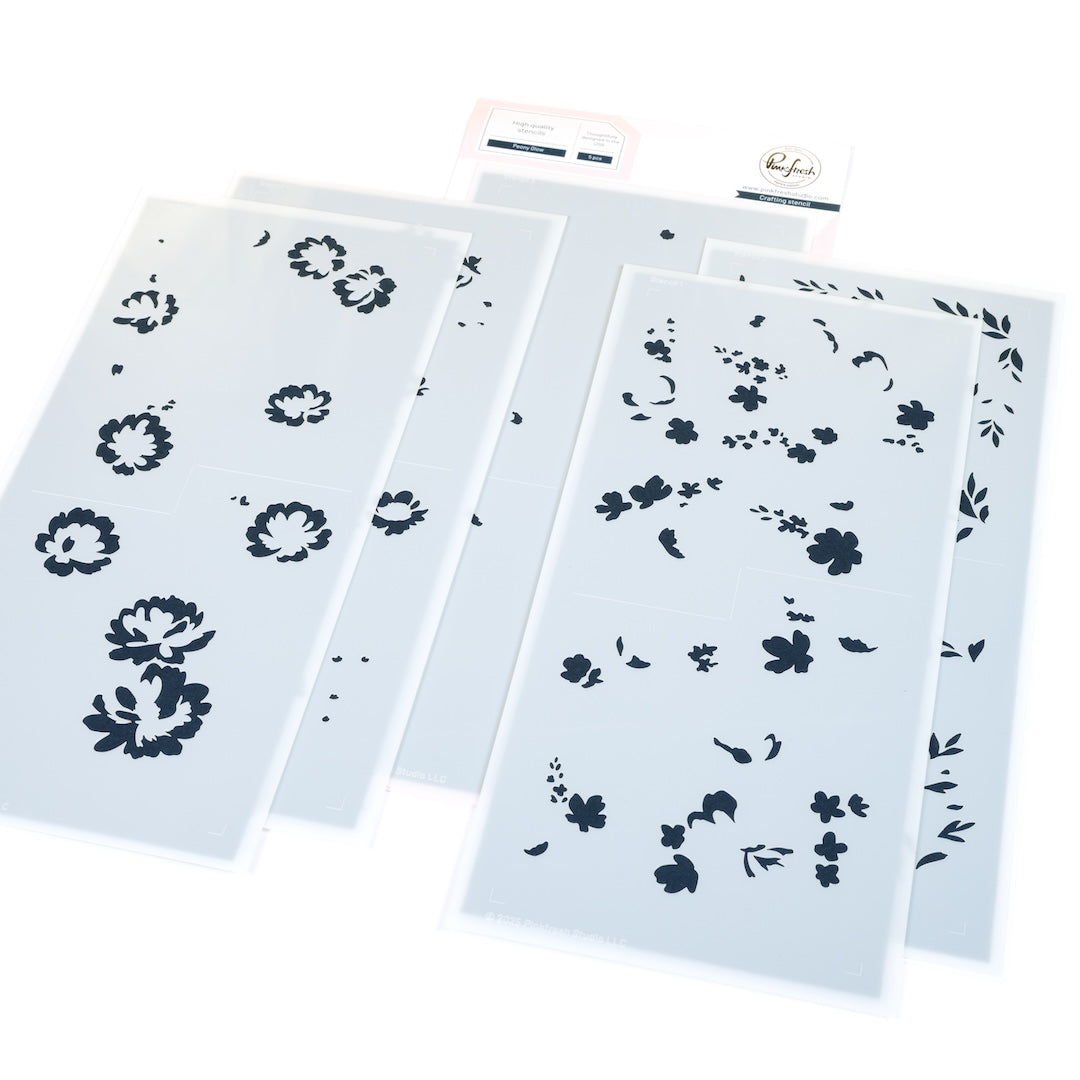
11. Add color to the images using the coordinating Peony Glow Stencil Set and the following Pinkfresh Studio Inks:
- Stencil 1: Cherry Blossom, Sparkling Rose
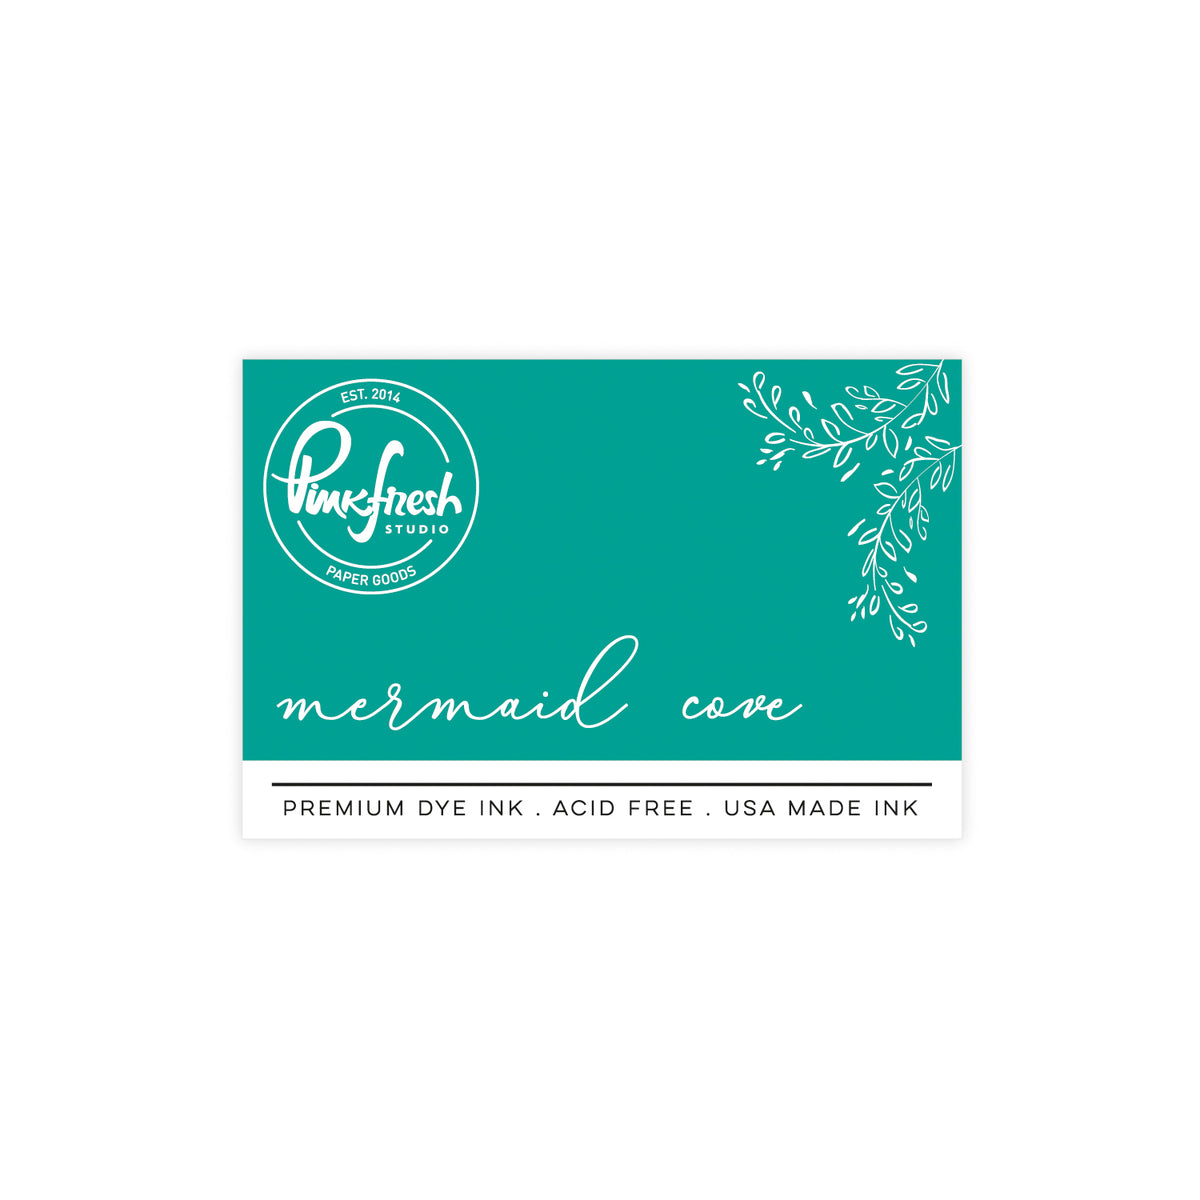
- Stencil 2: Ocean Breeze, Mermaid Cove
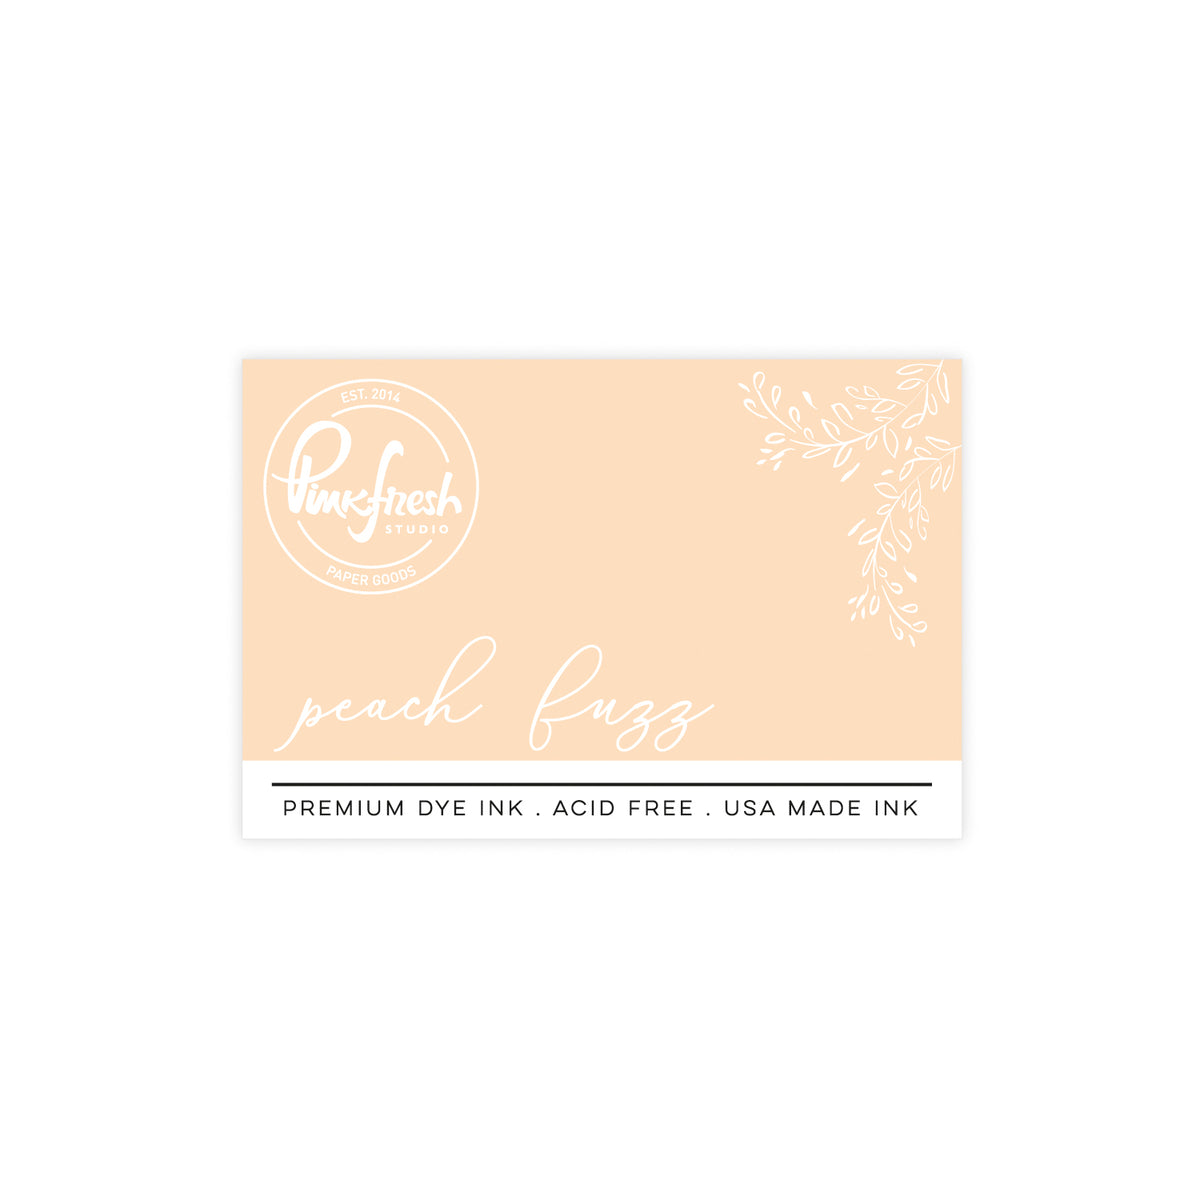
- Stencil 3: Ballet Slipper, Peach Fuzz
- Stencil 4: Bubble Gum
- Stencil 5: Sunshine
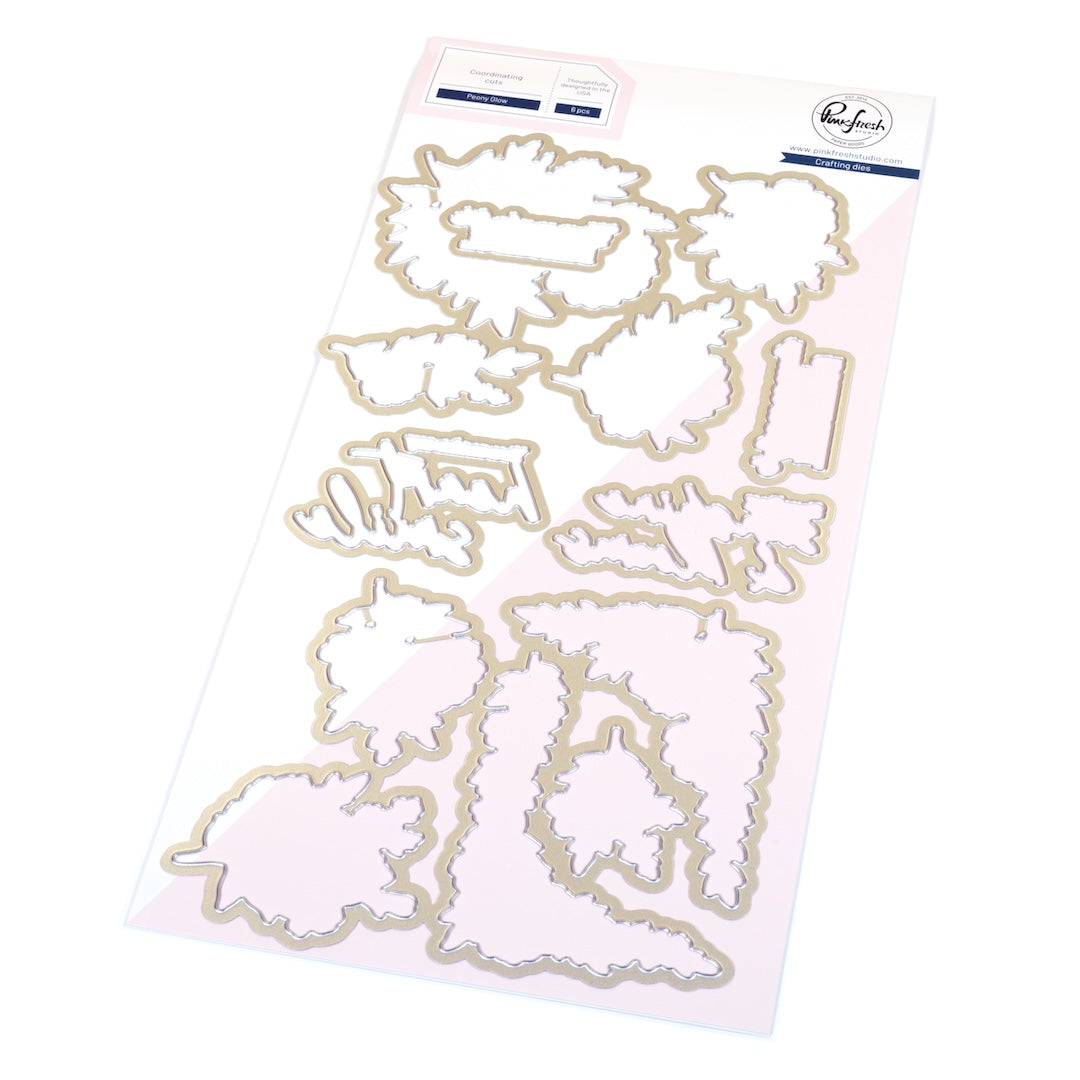
12. Die cut the florals using the coordinating Peony Glow Die Set.
13. Adhere corner floral pieces to the corners of the octagon frame with dimensional foam tape for extra depth.
14. To finish, heat emboss a sentiment from the Peony Glow stamp set with fine detail white embossing powder onto a sheet of black card stock and die cut with the coordinating dies.

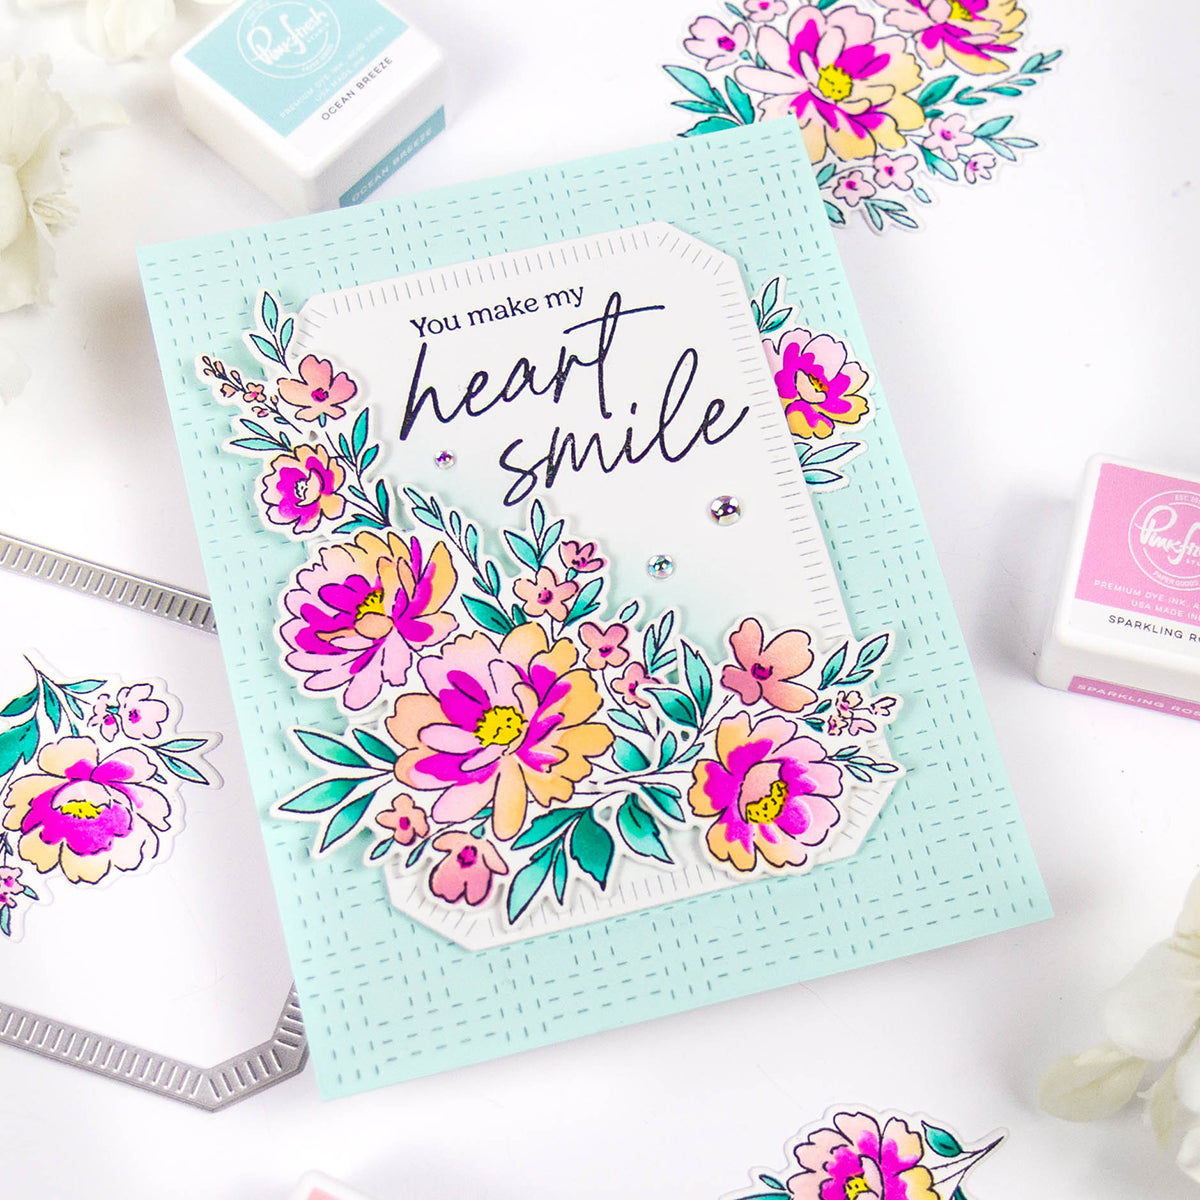
I really like all of the details and texture on my card today and hope that you do too! I also love how the florals really pop on the corners of the octagon frame.
I would love to see what you create! Make sure to tag us on Instagram with your personal creations using these products!
Please feel free to leave a comment below as well as any questions you may have.
- Rachel
Recommended Products



























2 comments
Marla Yadon
Michele M
Leave a comment
All comments are moderated before being published.
This site is protected by hCaptcha and the hCaptcha Privacy Policy and Terms of Service apply.