
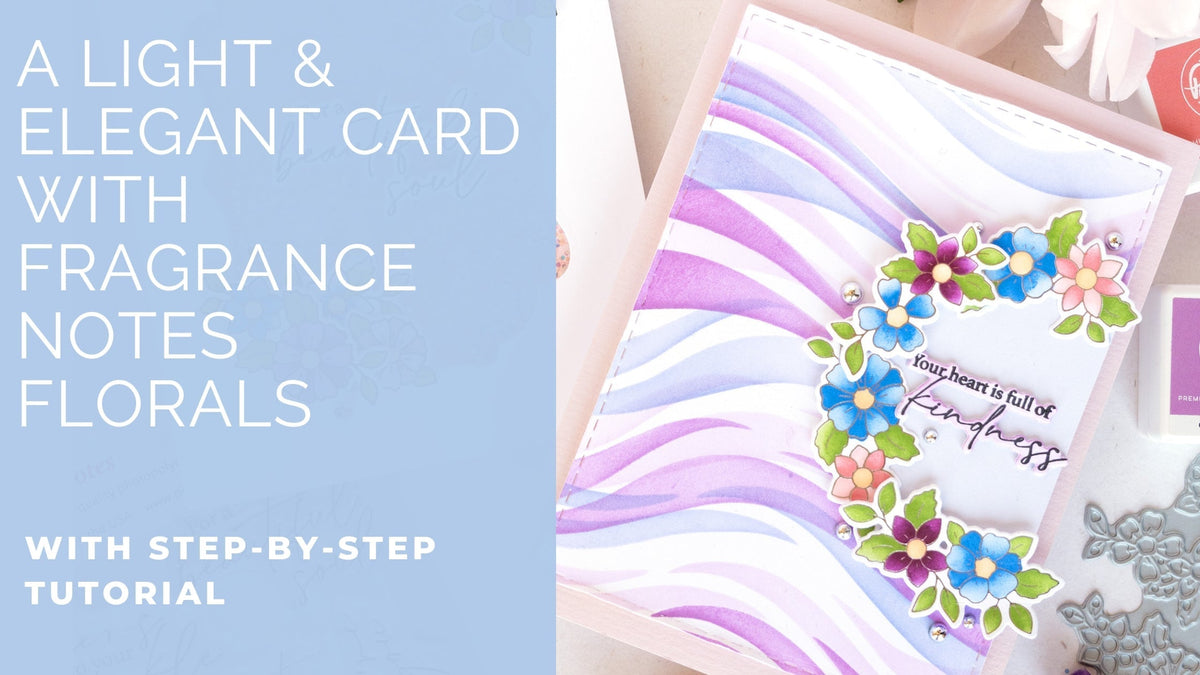
Hi Pinkfresh Studio fans! It's Kathleen on the blog today & I wanted to share a card that I made with some leftovers from a recent YouTube Live session on the Pinkfresh Studio channel.
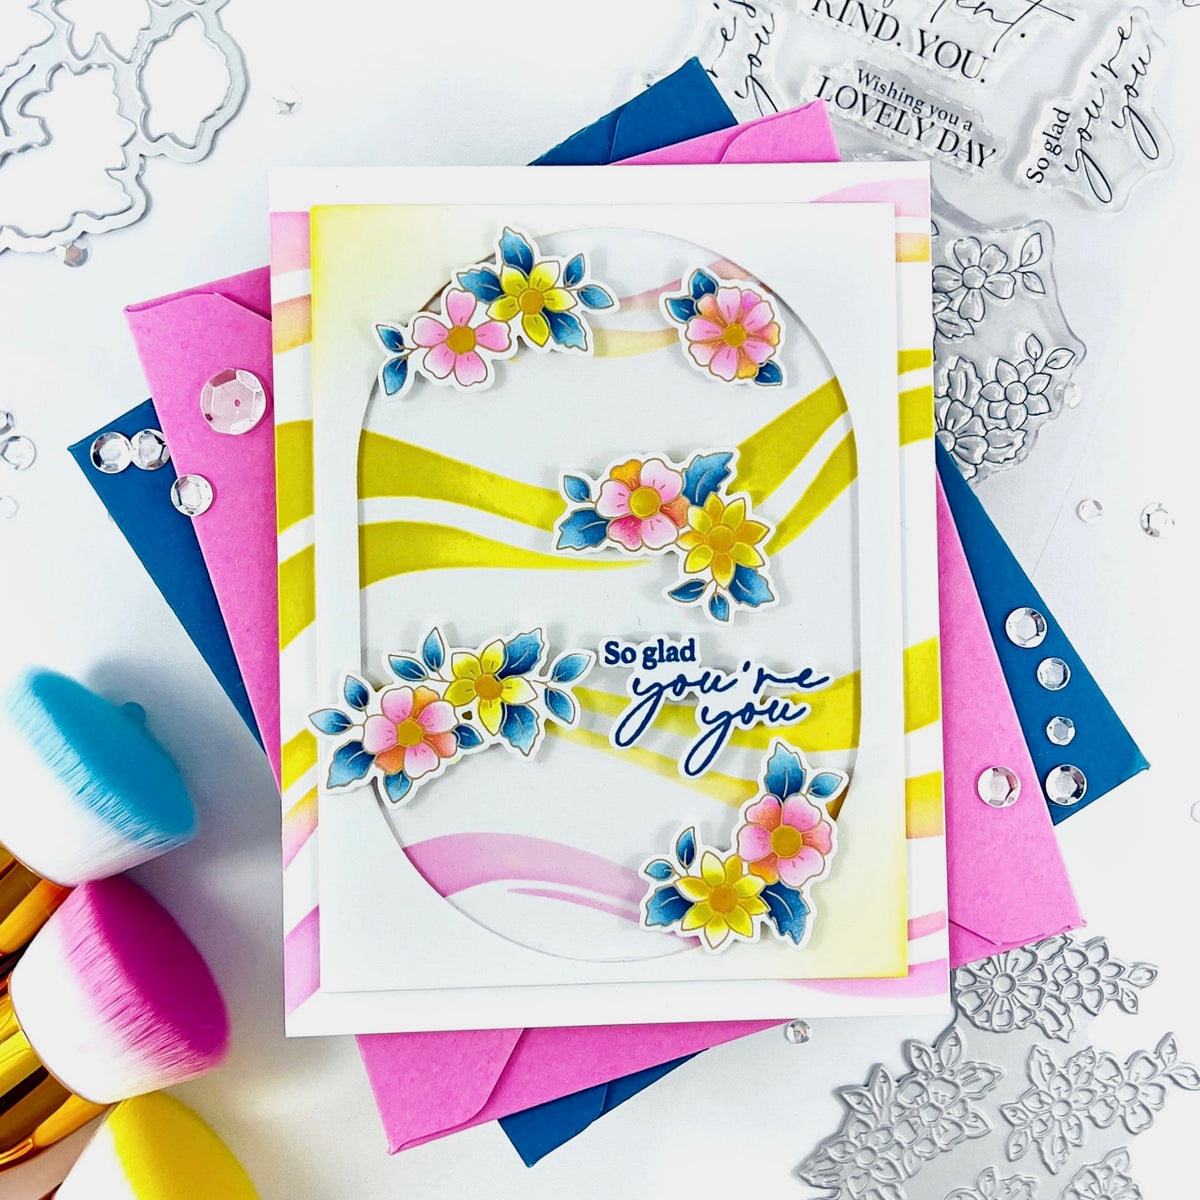
In that YouTube Live session I shared different ideas for creating backgrounds using the different products in the gorgeous new Fragrance Notes product suite. One of them was to create a tone-on-tone stamped background, which I ended up using for a fun shaker card. Make sure to watch the replay if you want to see how to recreate that card.
If you’re not familiar, we go live on our YouTube channel every Tuesday at noon CT for a fun, 60-minute cardmaking session—complete with amazing inspiration, lively chat, and of course, giveaways! So don't miss out!
If you missed the Live session, you can watch the replay below (or click to watch full screen):
*Disclaimer: All products used are linked below as clickable images. If a product isn’t listed, it’s been discontinued.

After the Live session I still had quite a few pieces left over, so I created this second card with it. Let's take a look at how you can recreate it:
-
Preparation:
- Prepare (1) top or side-folding A2 card base from soft pink cardstock (or ink blend a white card base with Ballet Slipper).
- Cut (2) A2 panels from white cardstock.
-
Stenciled Background & Circle Diecut:
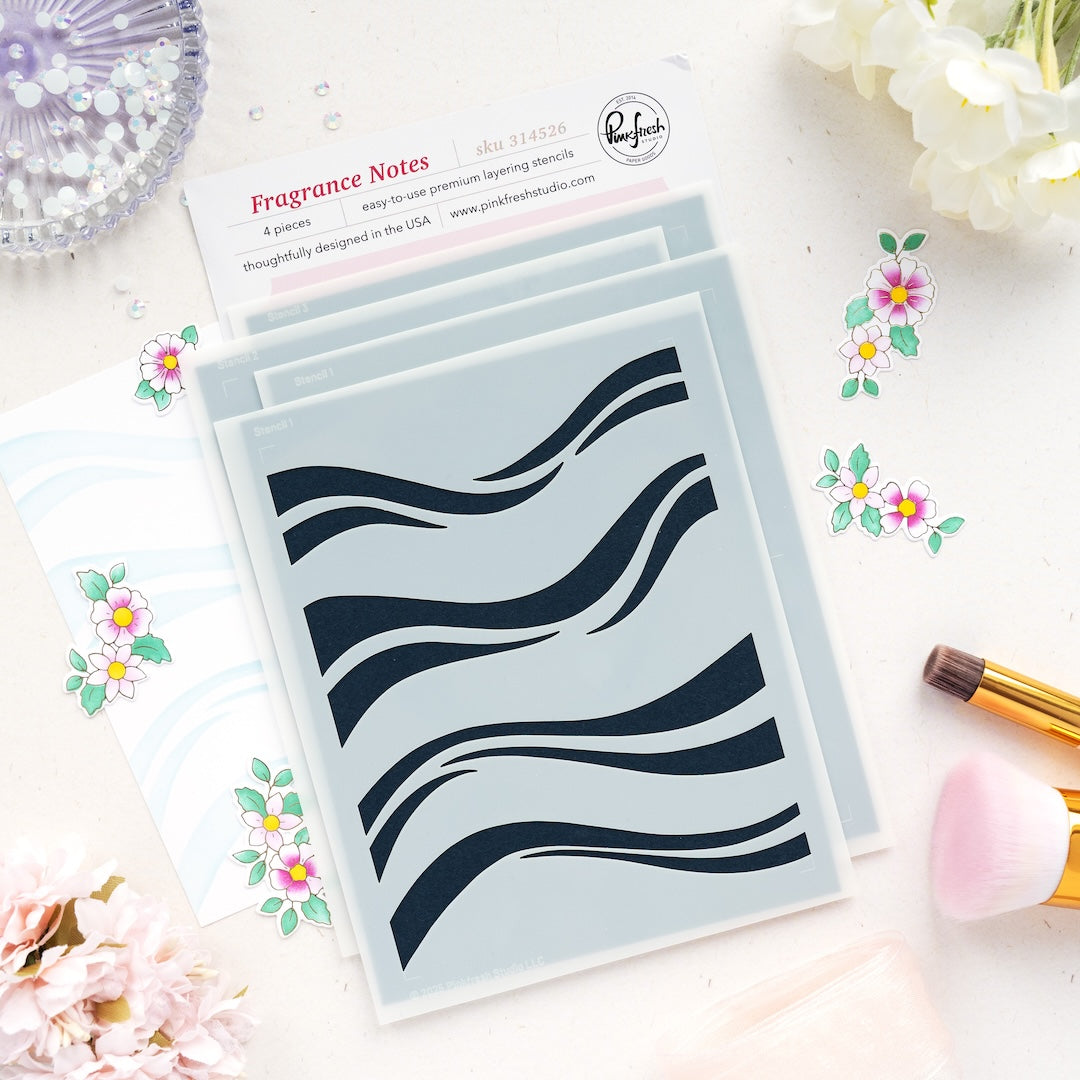
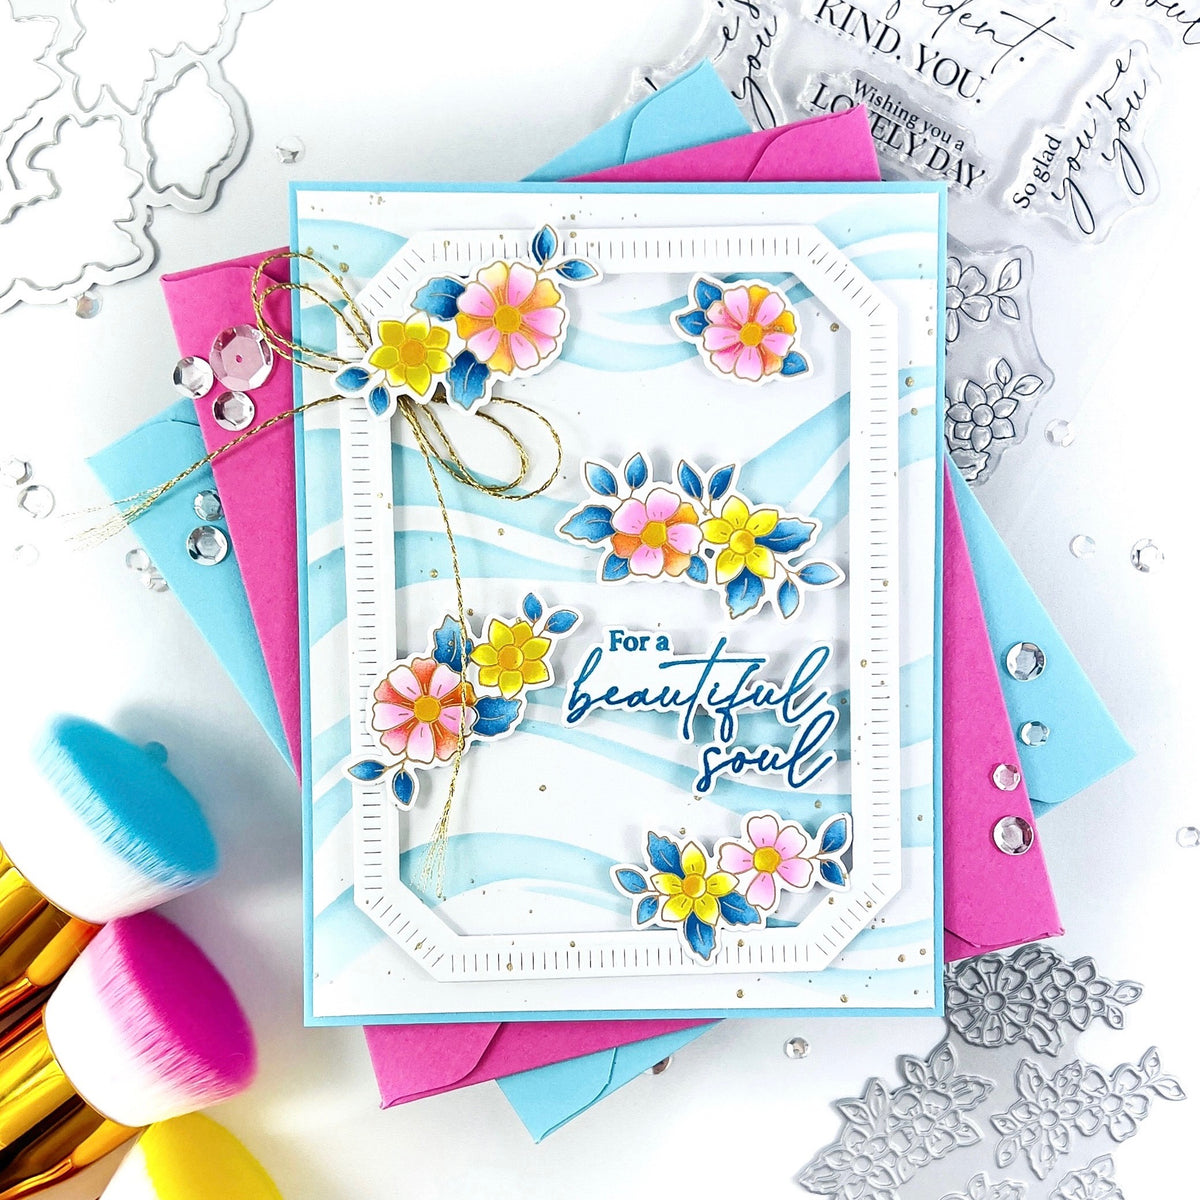
- Use Stencil 1 (wavy lines) from the Fragrance Notes stencils & ink blend one A2 panel.
- First ink blend with Soft Lilac, then shift the stencil up slightly and ink blend with Candy Violet. Clean the stencil, turn it 180° degrees and ink blend lightly with Blue Jay.
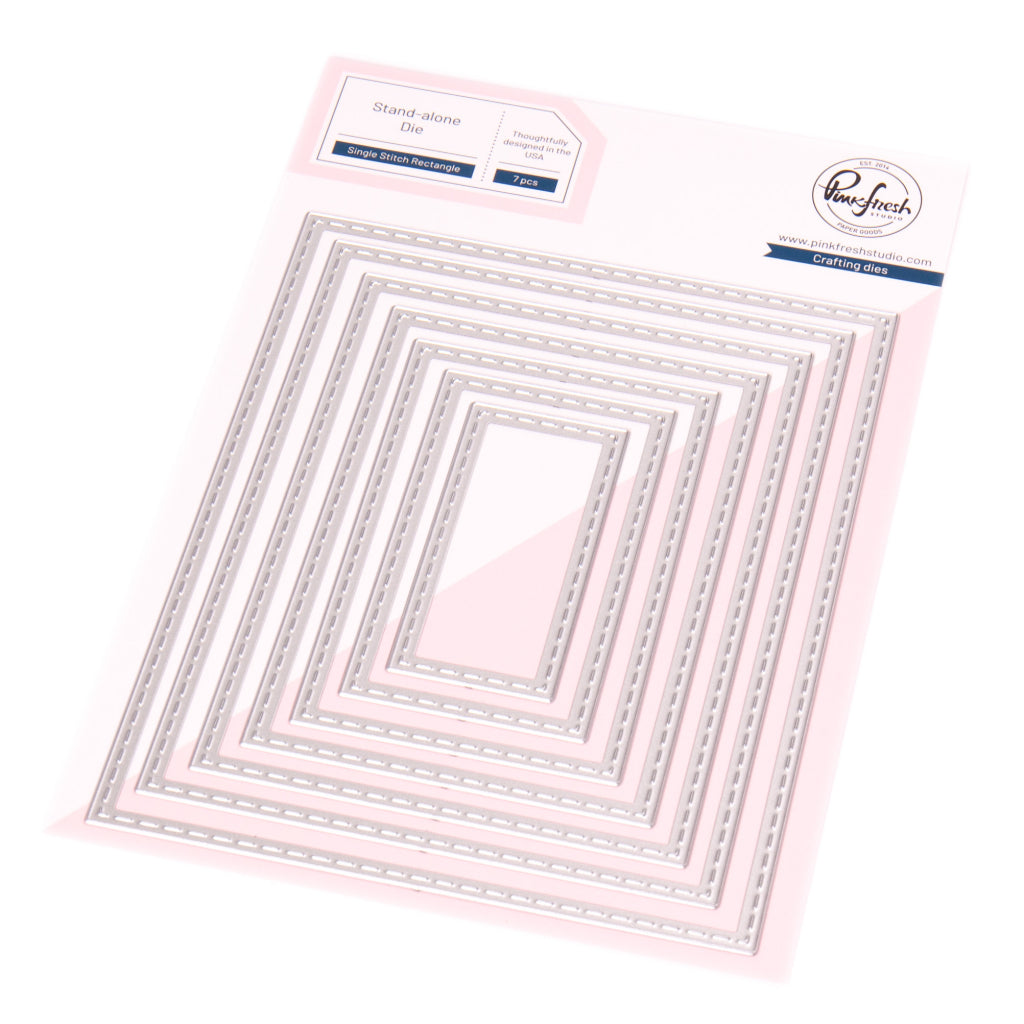
- Die cut the ink-blended panel with the second-largest Single Stitch Rectangle die & foam mount centered on the card front.
- Die cut a circle with approx. 2.75" diameter & trim off about 1" on one side. Foam mount onto the ink-blended panel, lining up the straight edges.
-
Fragrance Notes Florals:
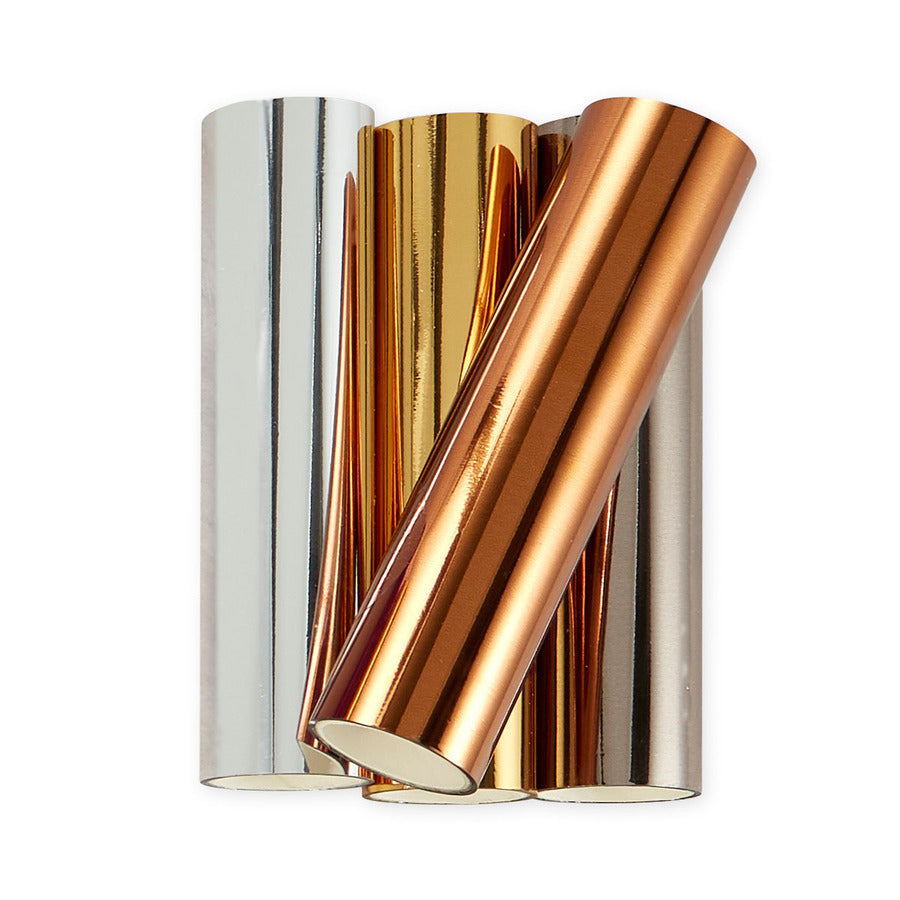
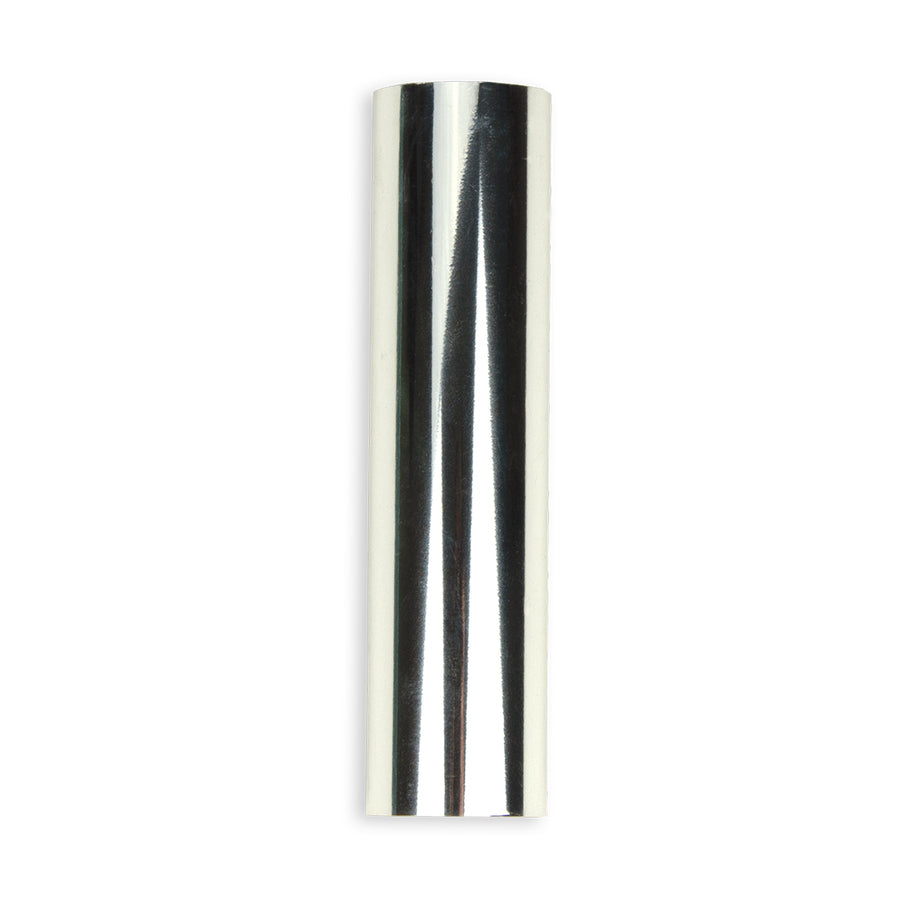
- Hot foil the Fragrance Notes image press plate with silver foil on one half of the second A2 panel.
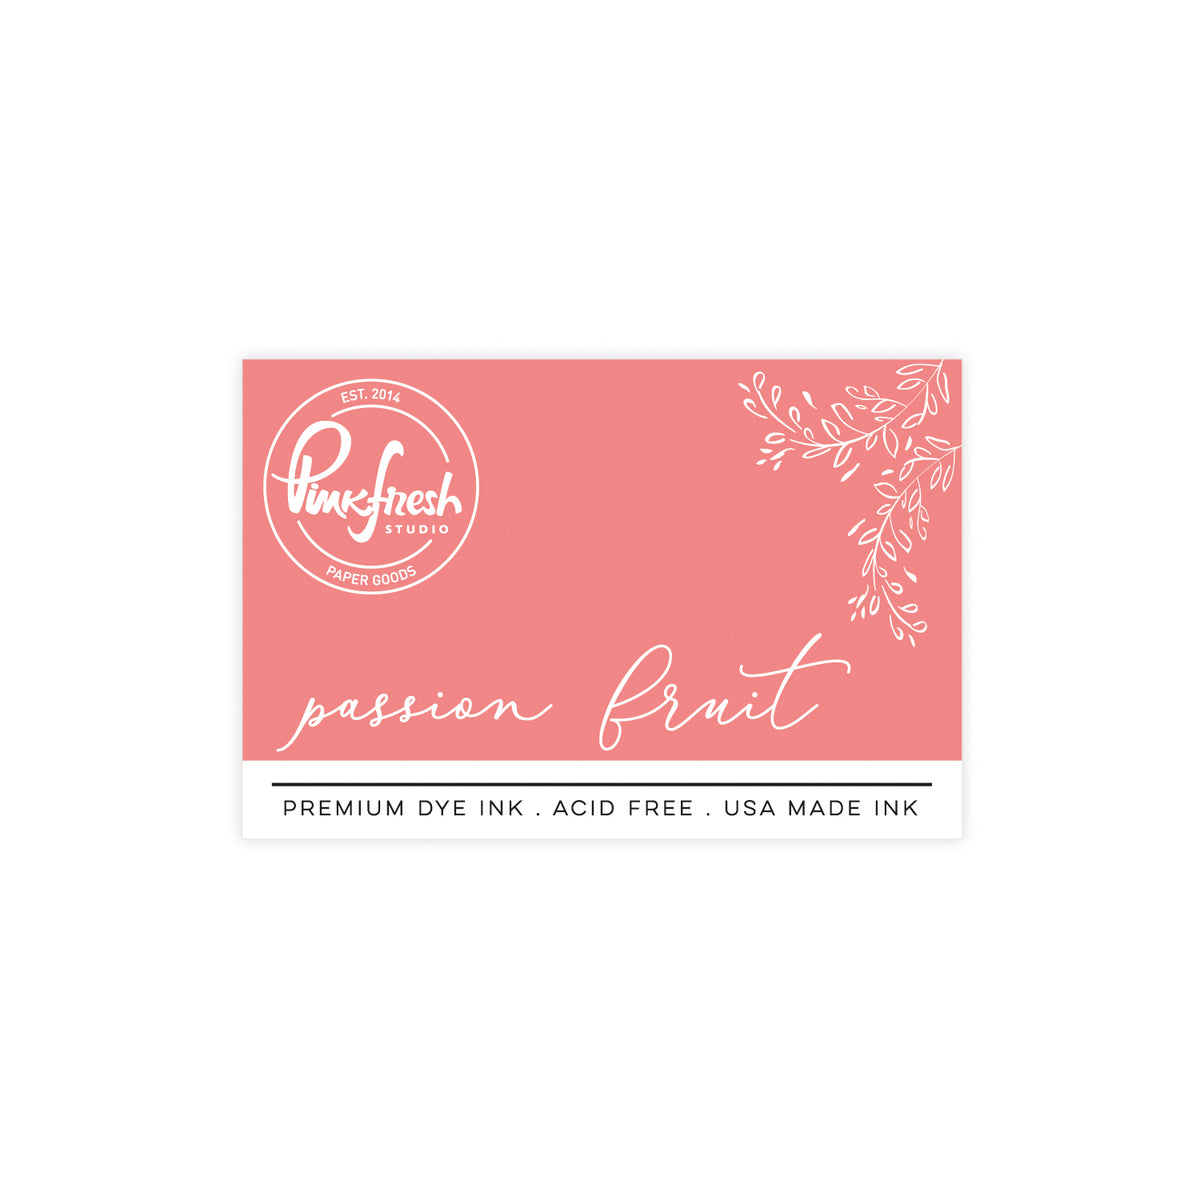
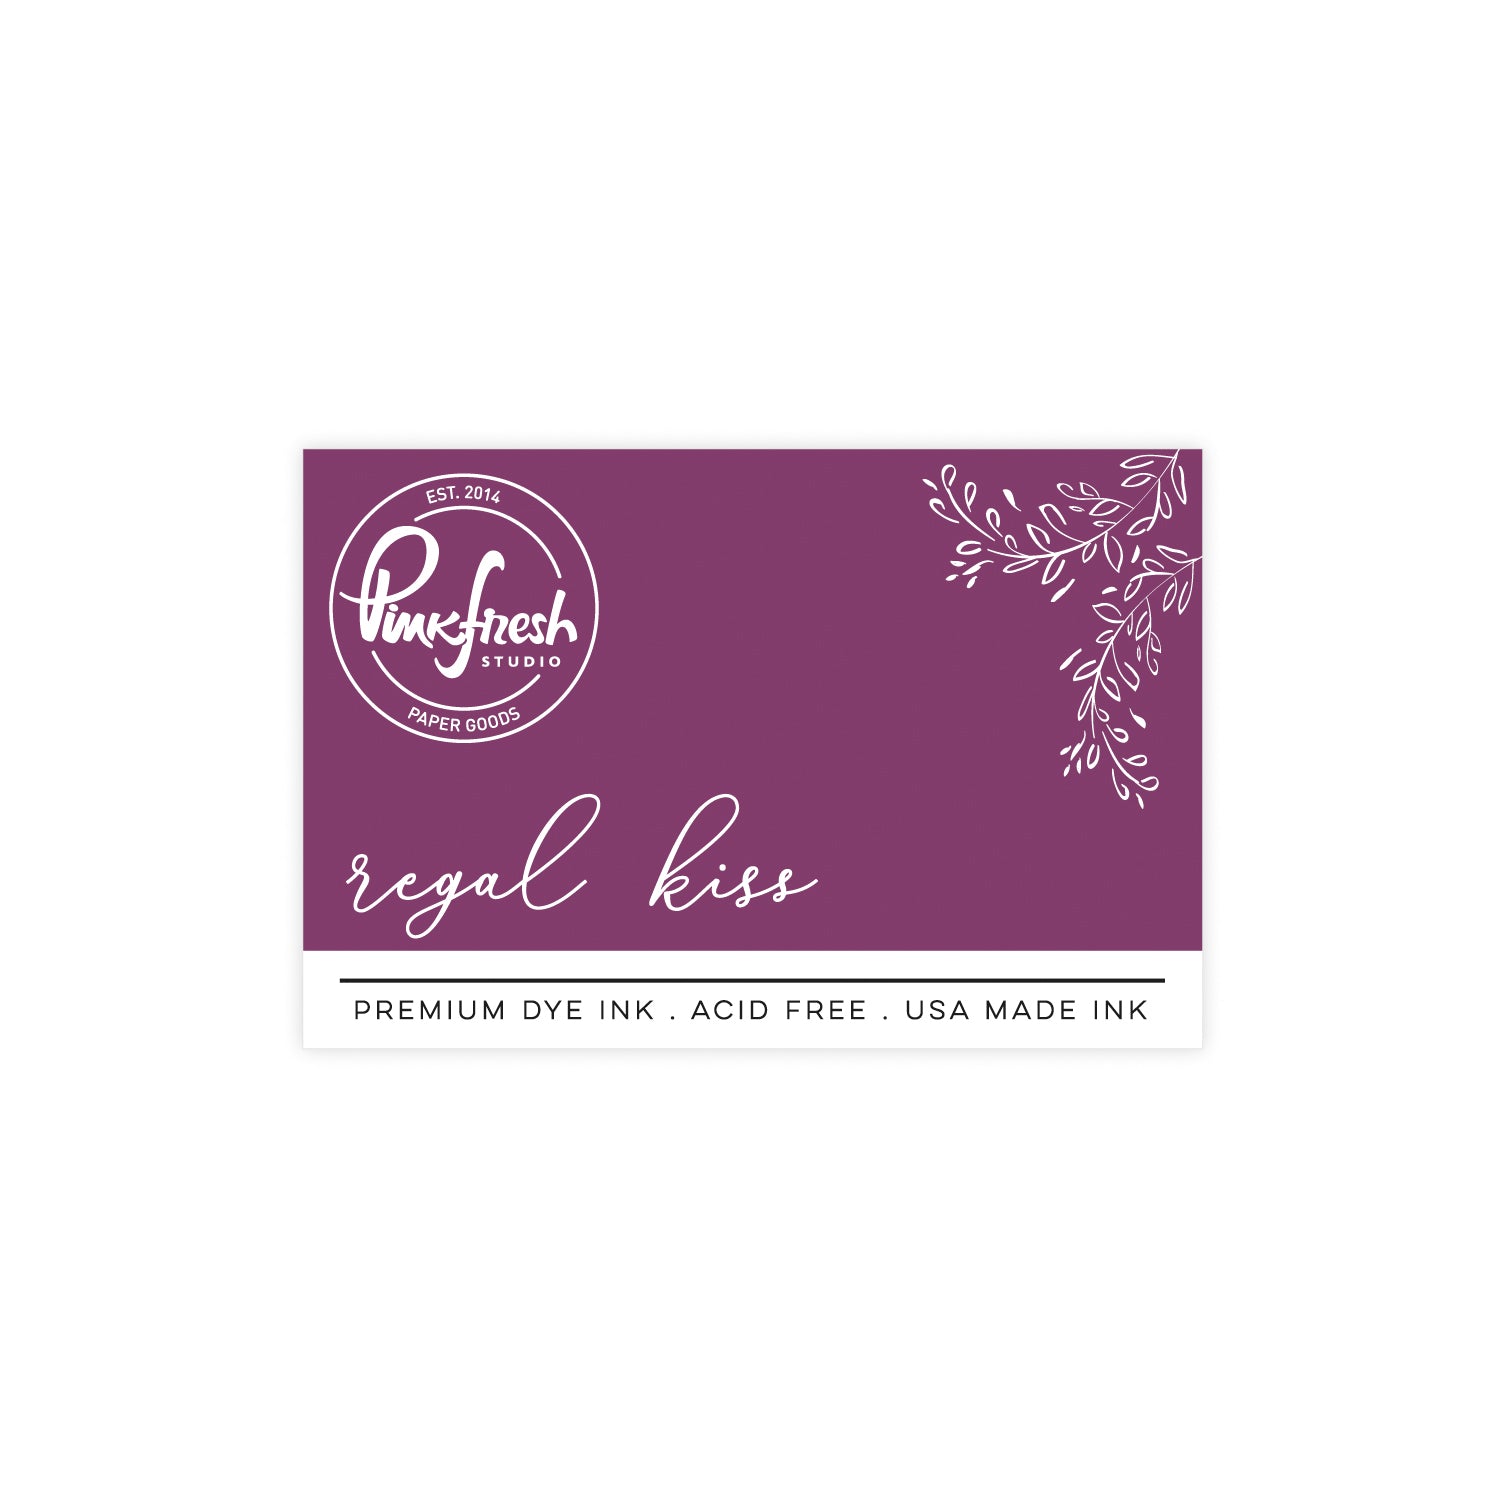
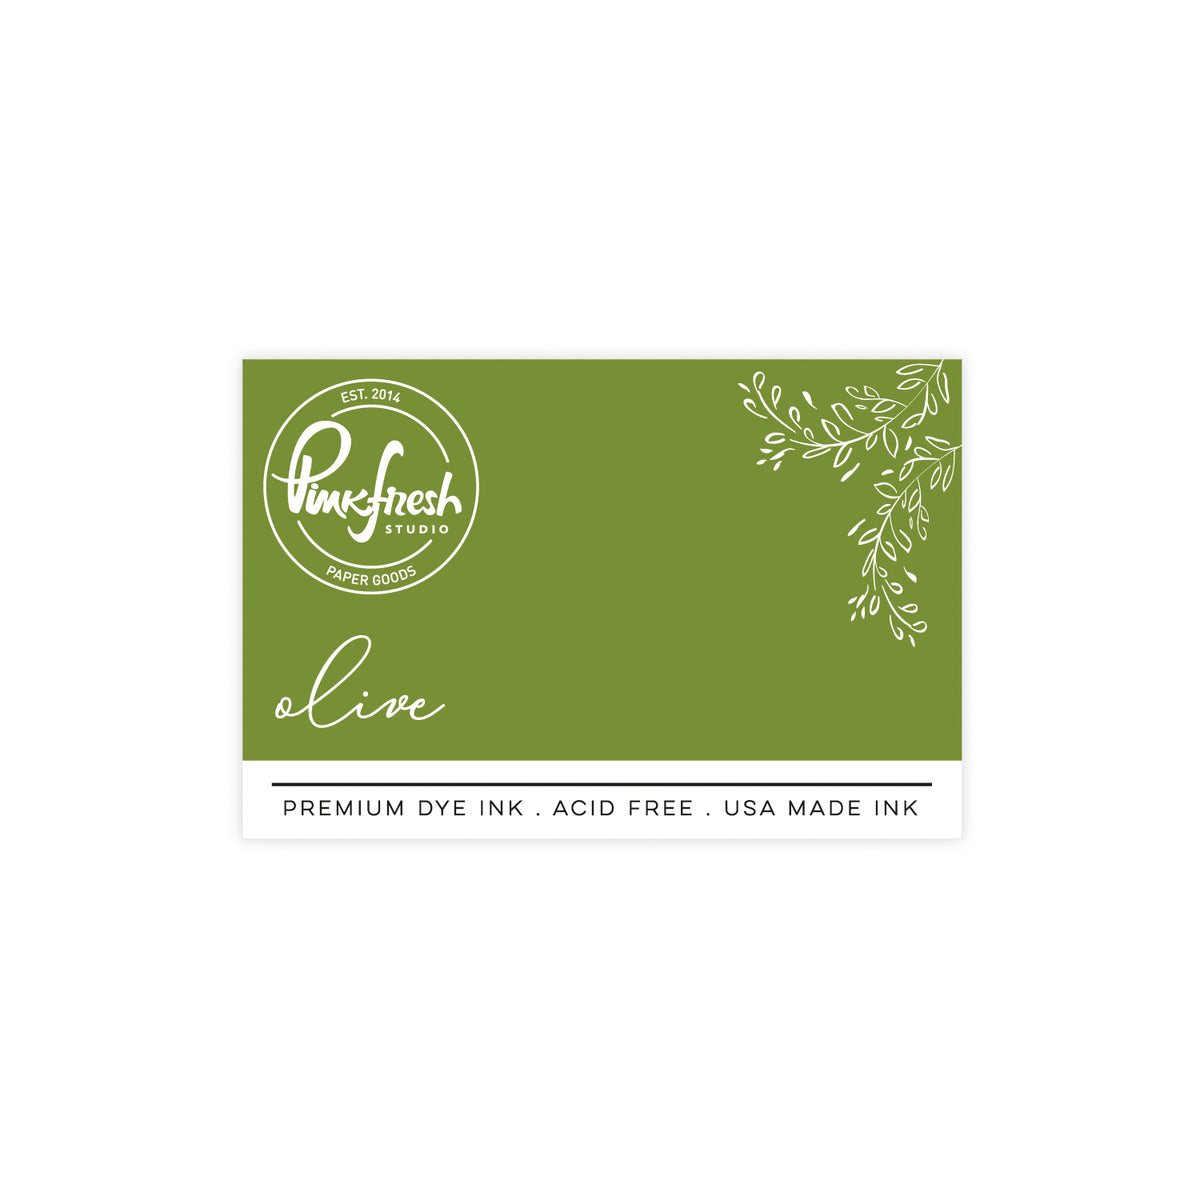
- Ink blend using the coordinating layering stencils. Use Olive for the leaves, Peach Fuzz for the flower centers, and Coral Reef, Passion Fruit, Regal Kiss, and Blue Jay for the flowers.
-
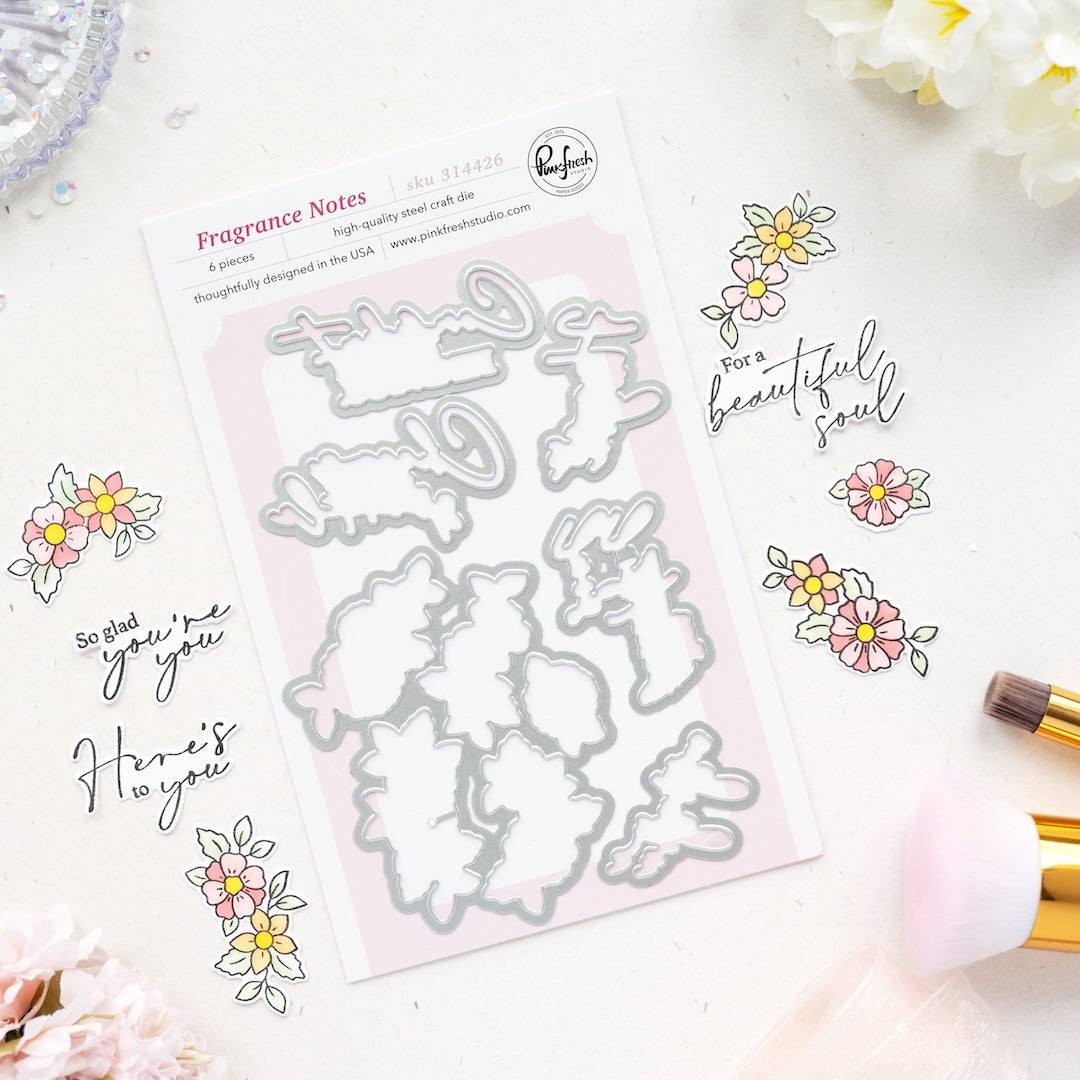
Die cut using the coordinating die & arrange around the white circle diecut. Use foam adhesive for some floral elements to add dimension.
-
Sentiment:
- Stamp "Your heart..." in Detail Black on a piece of white cardstock. Die cut & layer with (2) blank pieces. Ink blend lightly with Soft Lilac.
- Adhere onto the circle diecut.
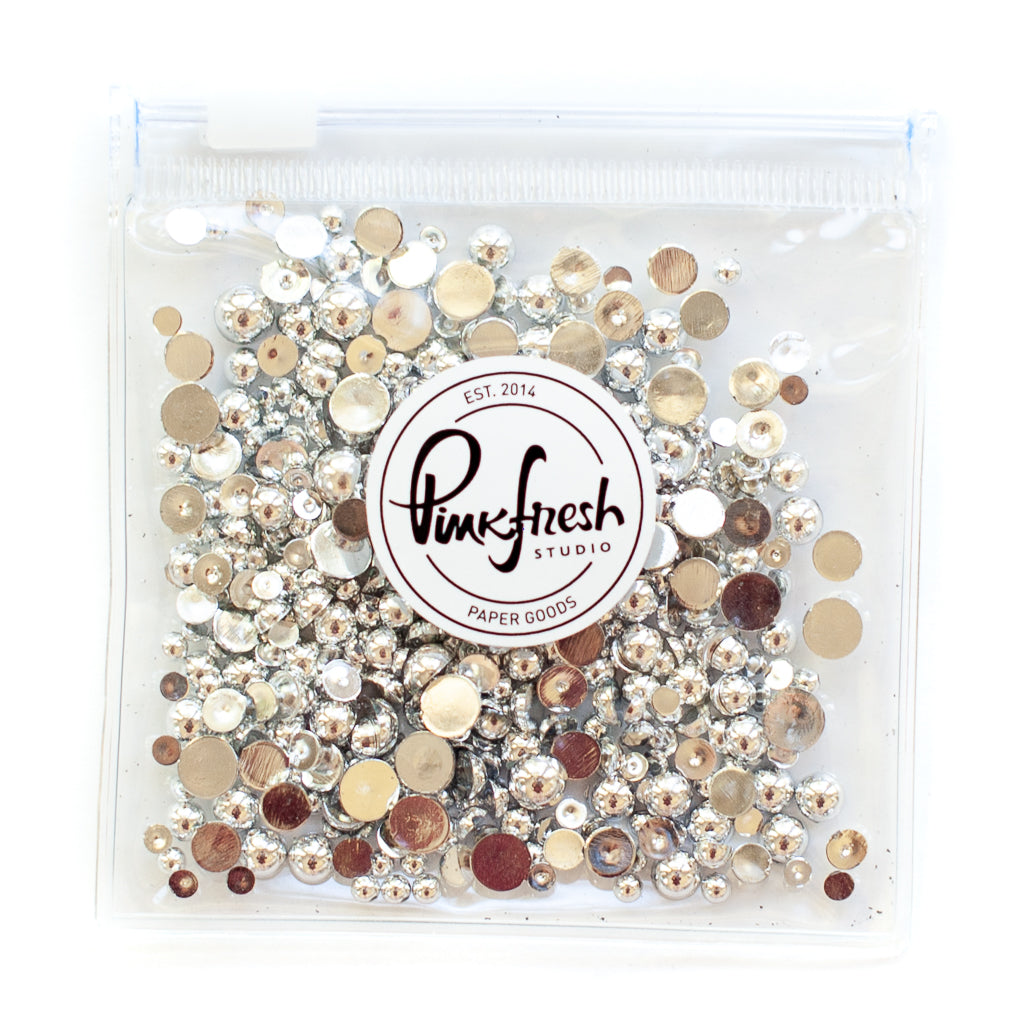
- Embellish to your liking using Metallic Pearls in silver.
This background was 100% inspired by my wonderful DT-mate Karin. When I saw how she had used this wavy stencil, my jaw dropped to the floor! 😄

Make sure to watch the YouTube Live replay where I shared more ideas for creating backgrounds using the Fragrance Notes set (but of course you can use these ideas with pretty much any product suite in your stash)!
And as always, we’d love to see what you create—don’t forget to tag us on social media (@pinkfreshstudio and @cardsandconfetti) so we can admire your amazing work.
Thanks so much for stopping by today & I hope you feel inspired to try these ideas!
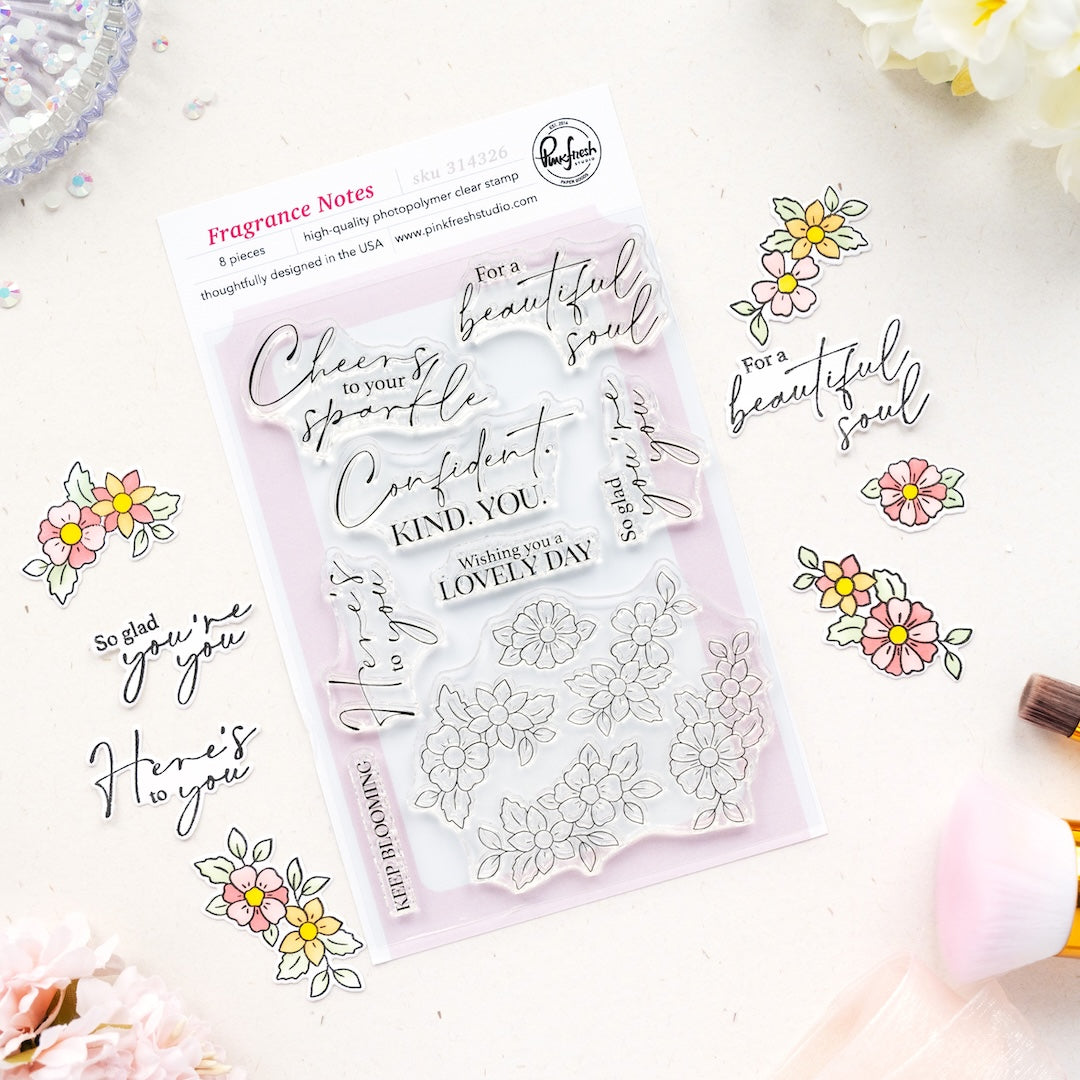
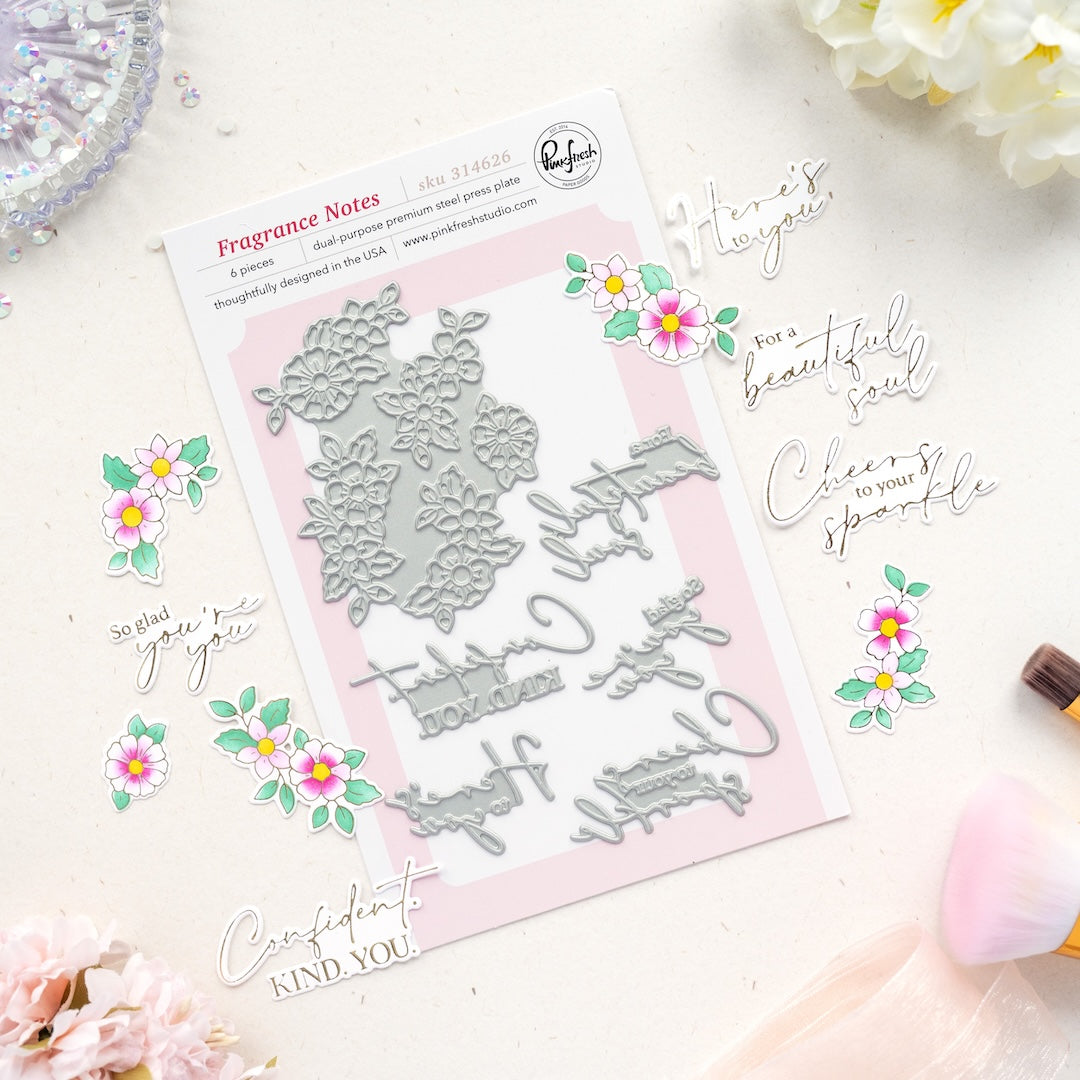
Recommended Products
















































1 comment
Sue Crease
This is so darn pretty. What a great way to use the tiny flowers in sets. X
Leave a comment
All comments are moderated before being published.
This site is protected by hCaptcha and the hCaptcha Privacy Policy and Terms of Service apply.