
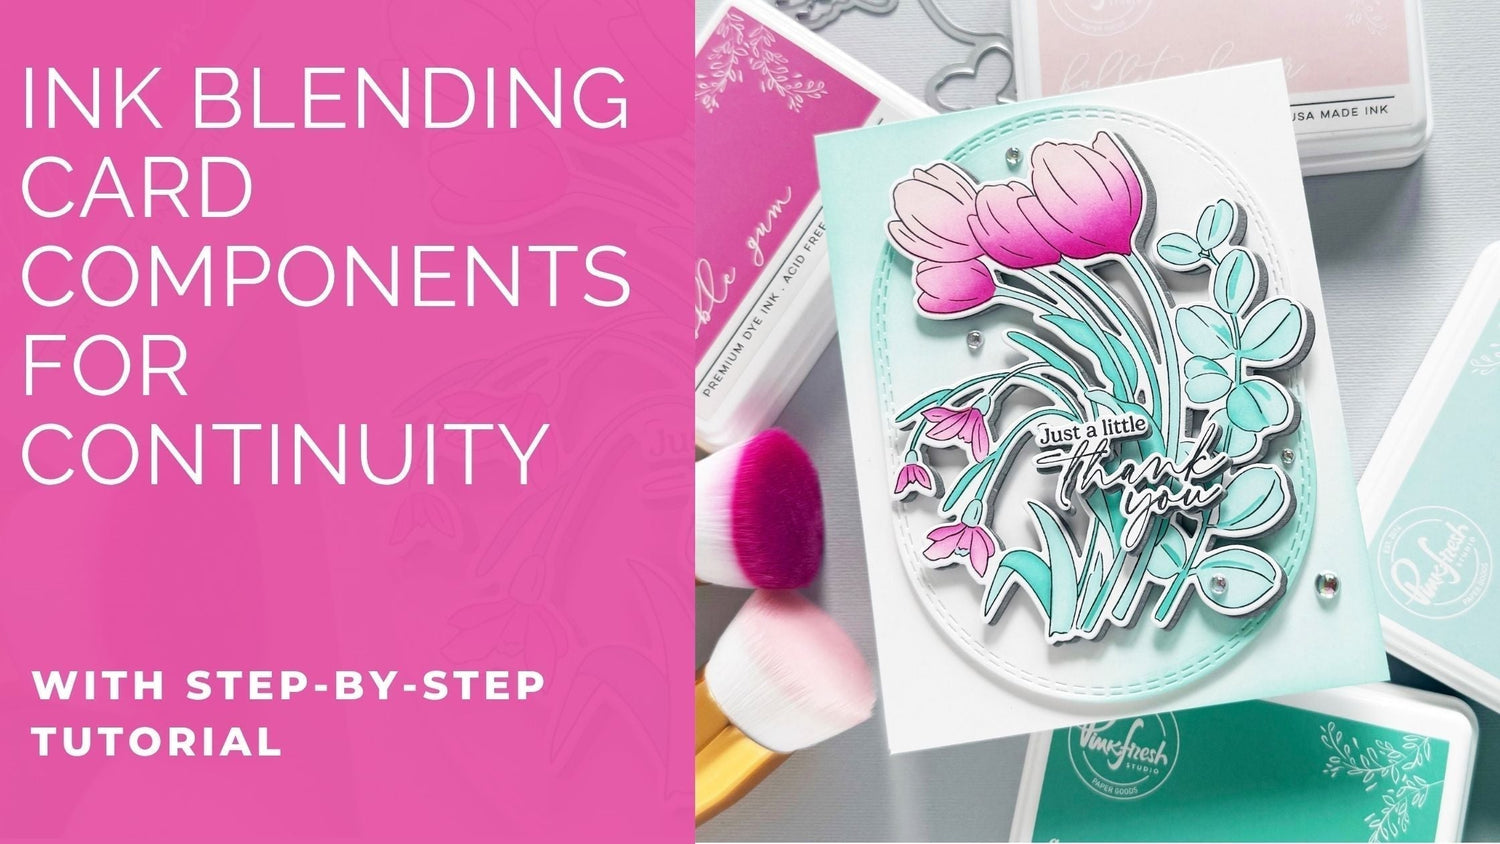
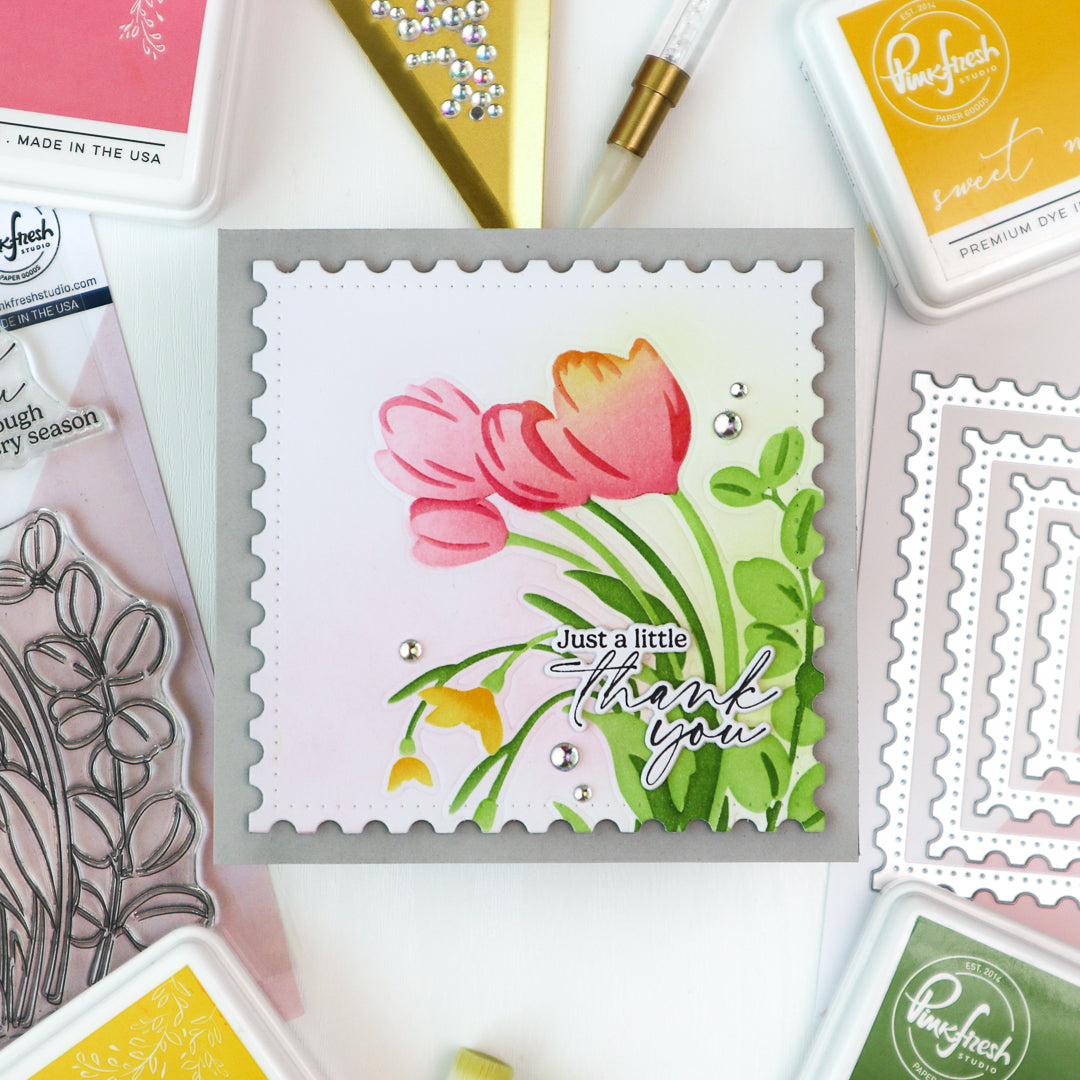
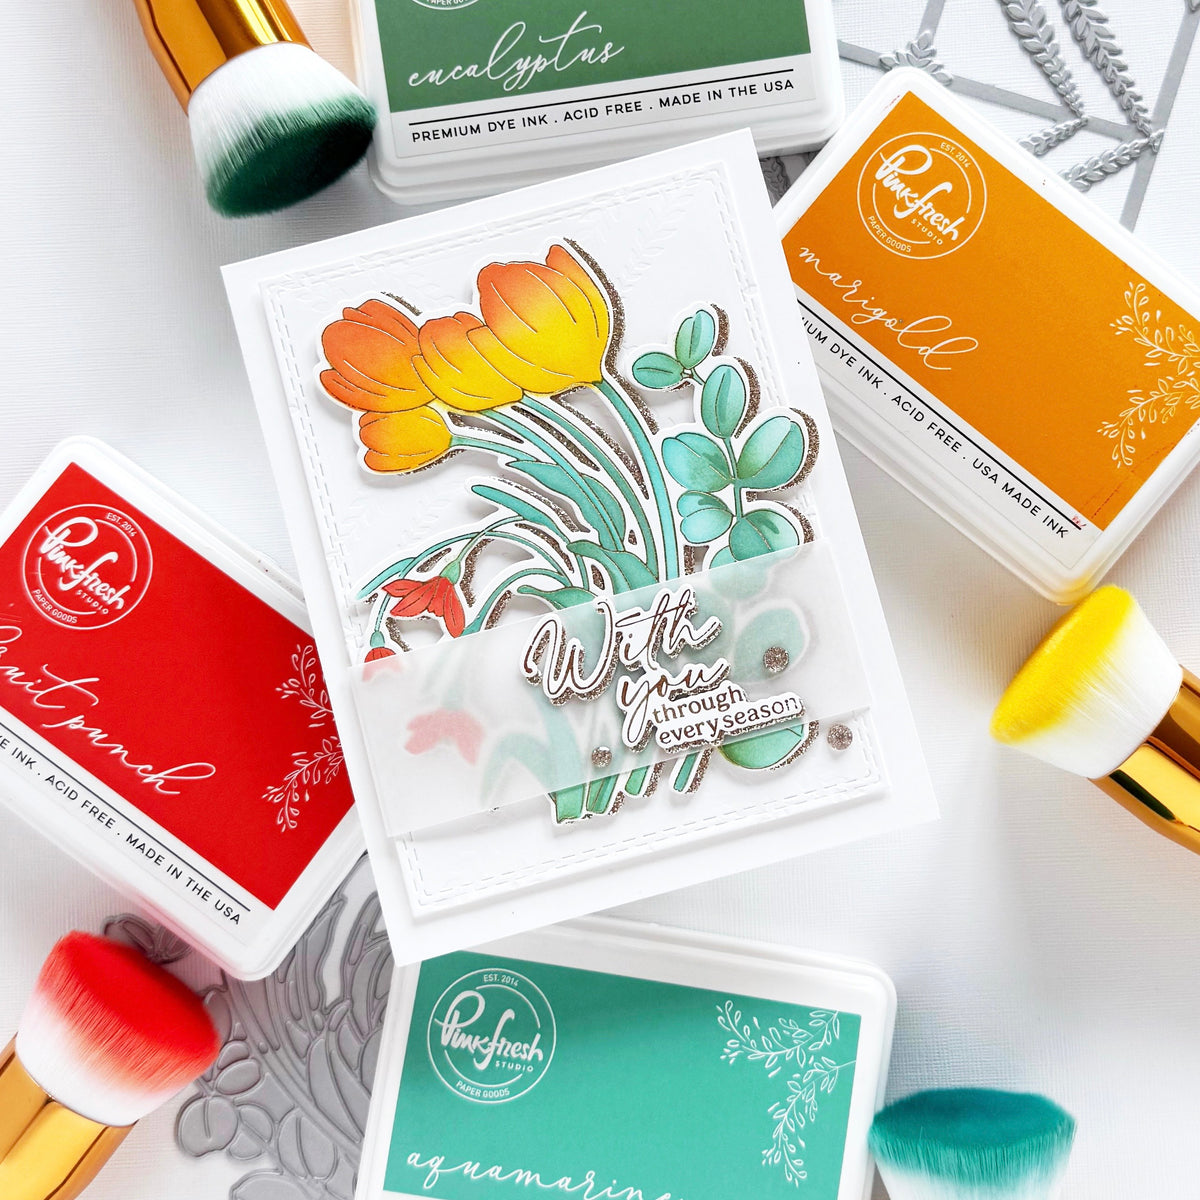
Hey friends, it's Jody here on the blog (first time!) and today I have a beautiful project with the Timeless Tulips product suite for you!
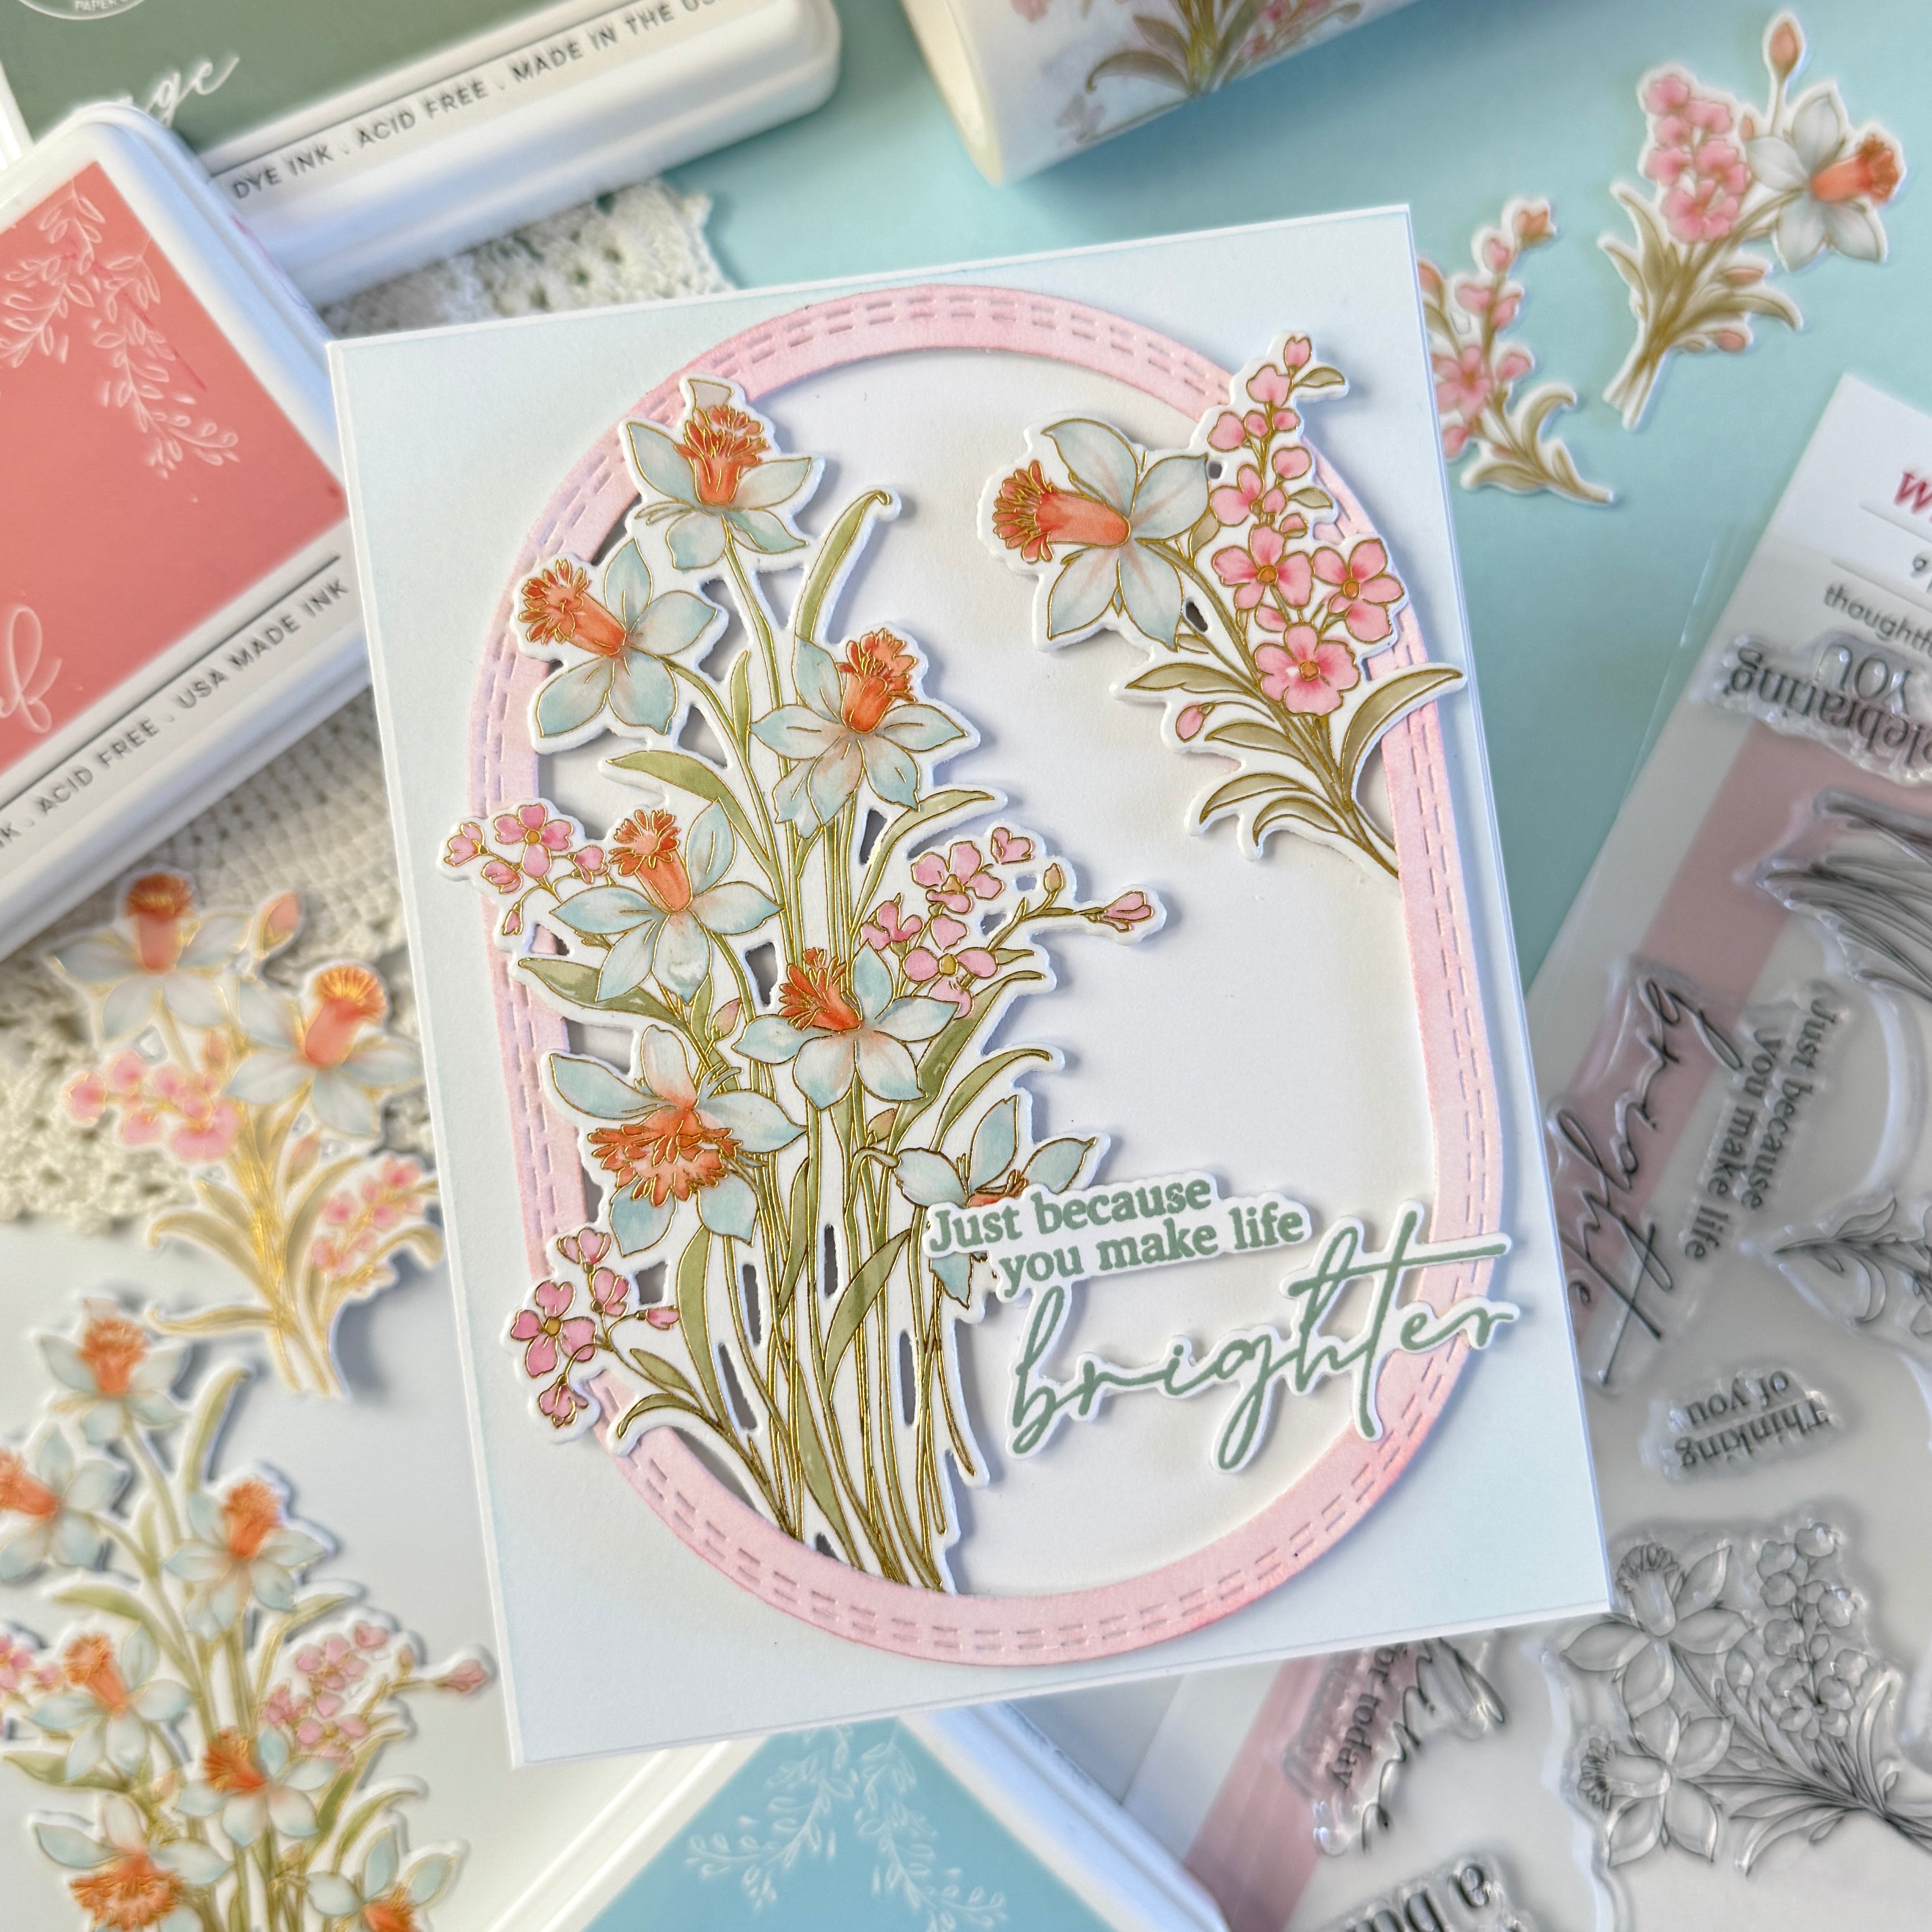
Want a seamless look on your card? Ink blending to the rescue! From your card base, to layered panels, to your focal image, ink blending will carry you through! Follow along as I show you how ink blending creates continuity on your card.

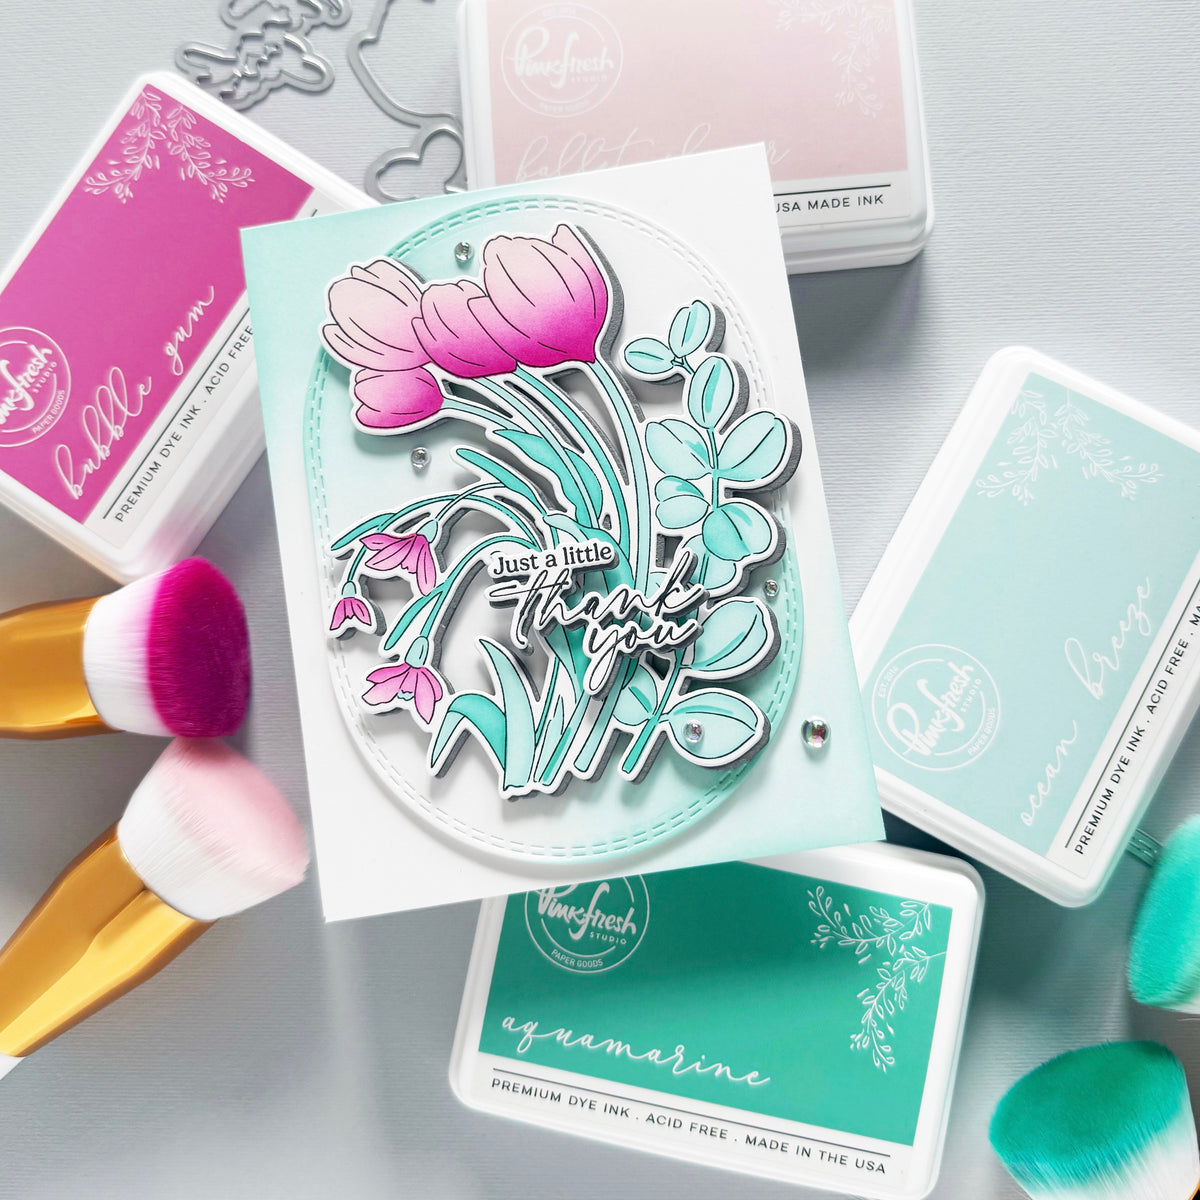
Here's how you can recreate this card:
- Cut and fold an A2 top-folding card base from white cardstock.
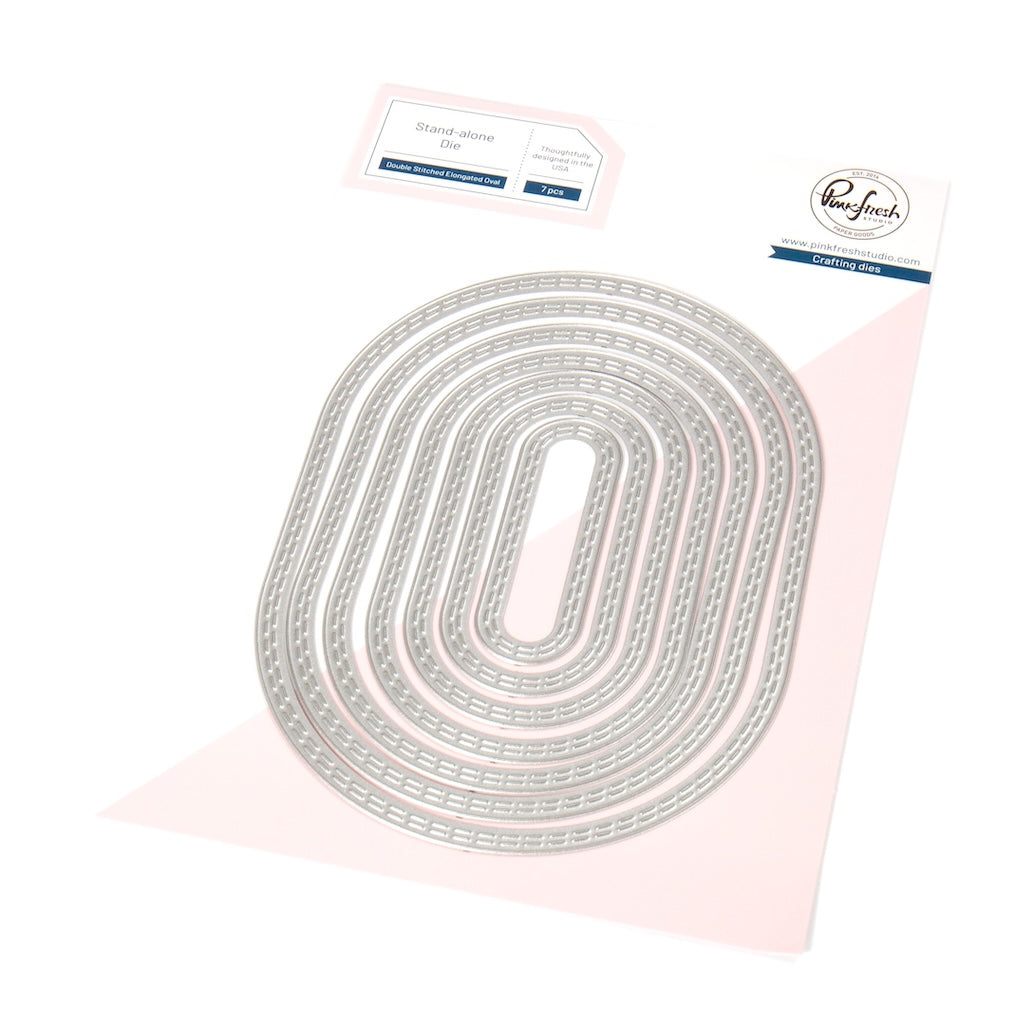
- Die cut a white panel with the largest Essentials: Double Stitched Elongated Oval die.
- Softly ink blend with Ocean Breeze on the upper left-hand and the lower right-hand sides of the oval and card base.
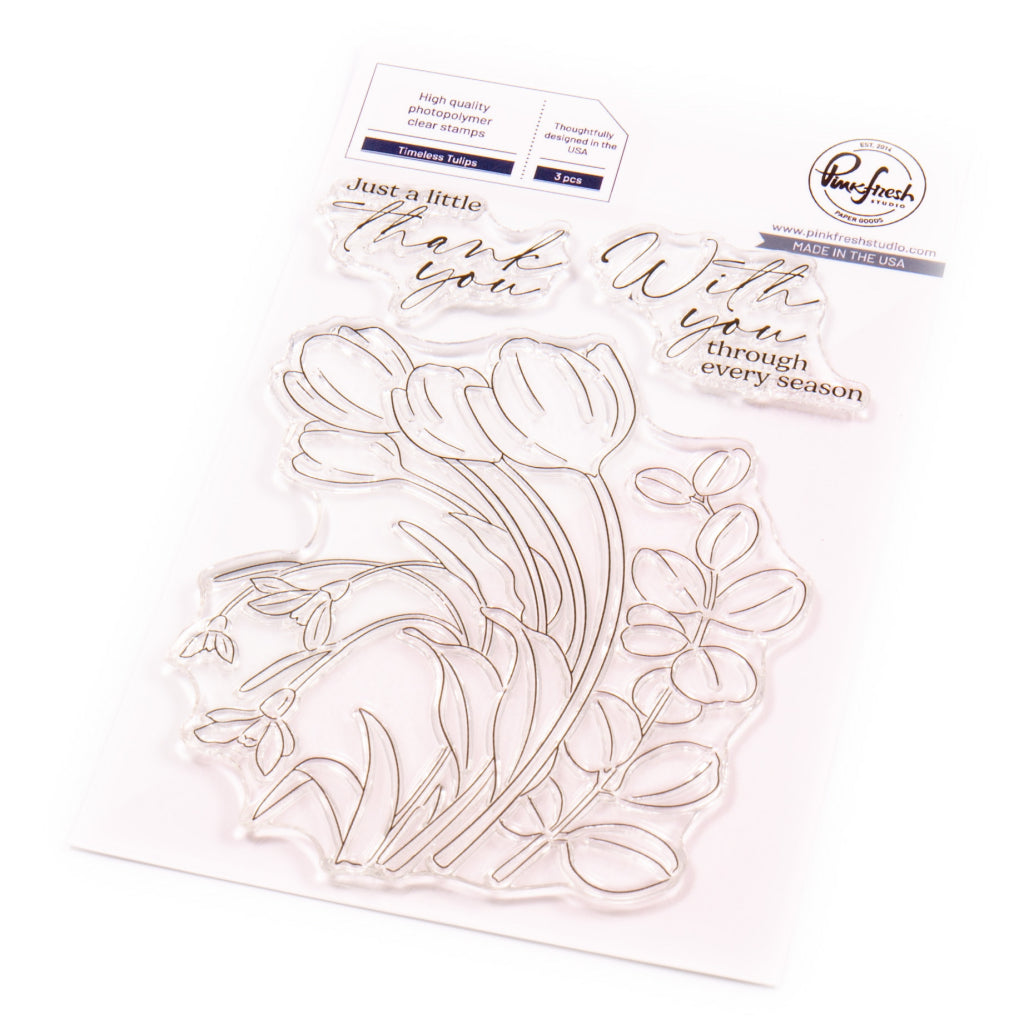
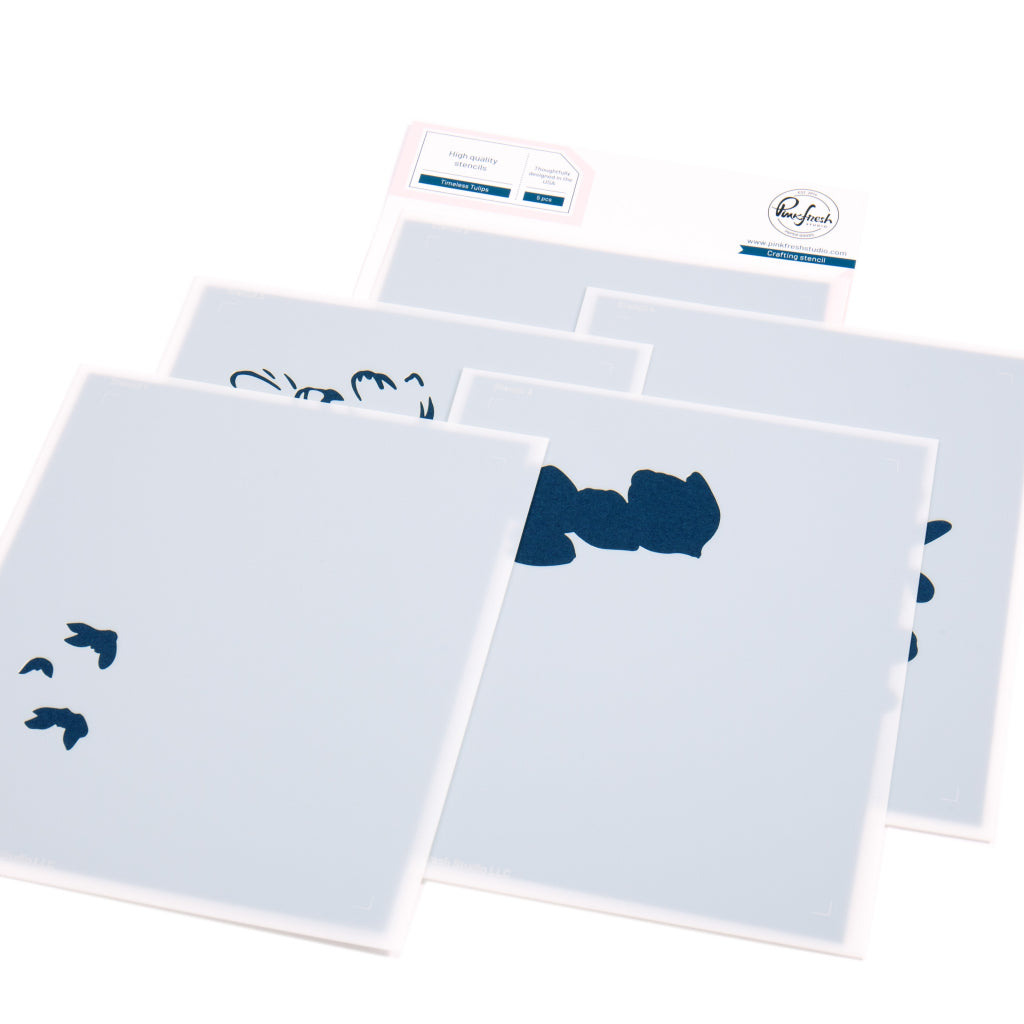
- Stamp the tulips & sentiment on white cardstock using black ink. Add color using the coordinating stencils:
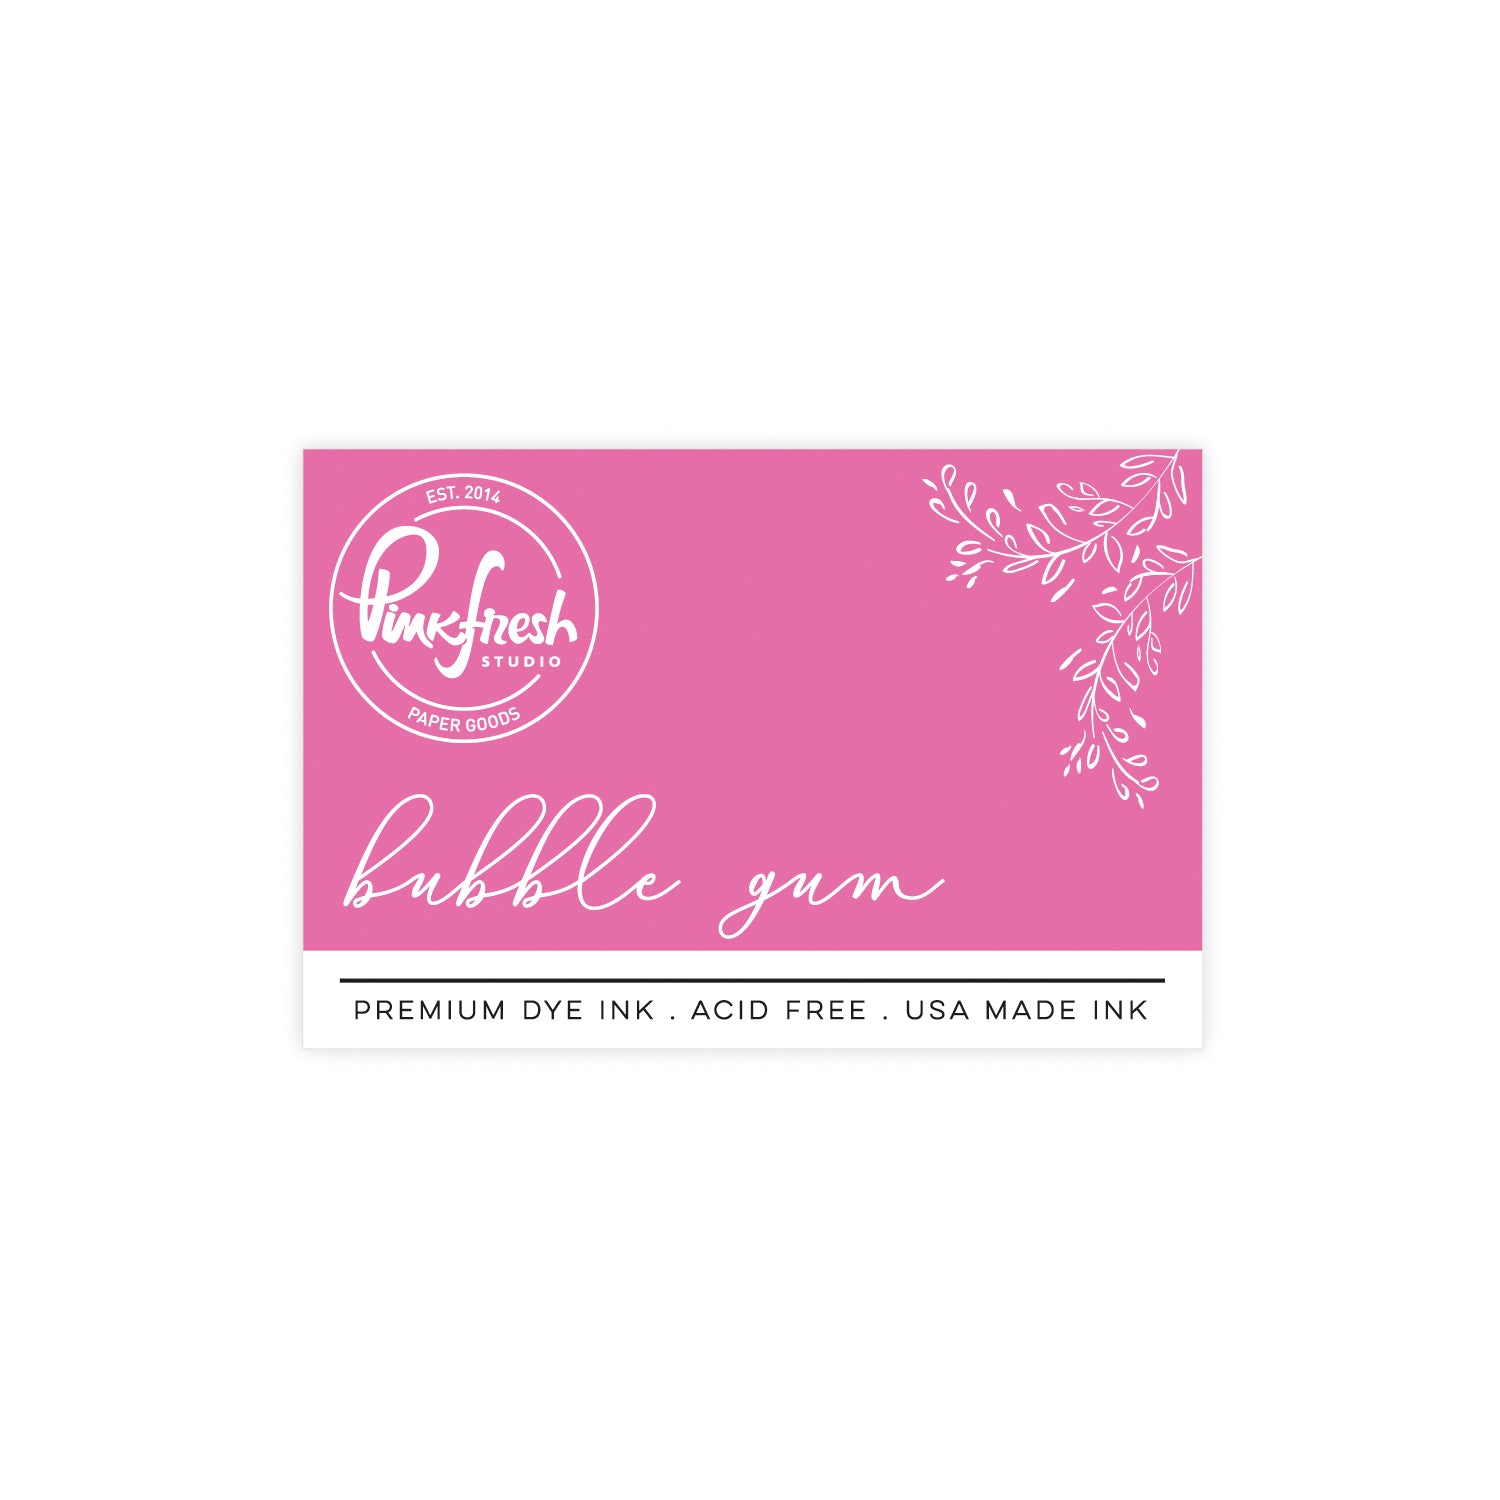
- Stencils 1 & 2: Ballet Slipper, Bubble Gum
- Stencil 3: skip
- Stencil 4: Ocean Breeze
- Stencil 5: Aquamarine
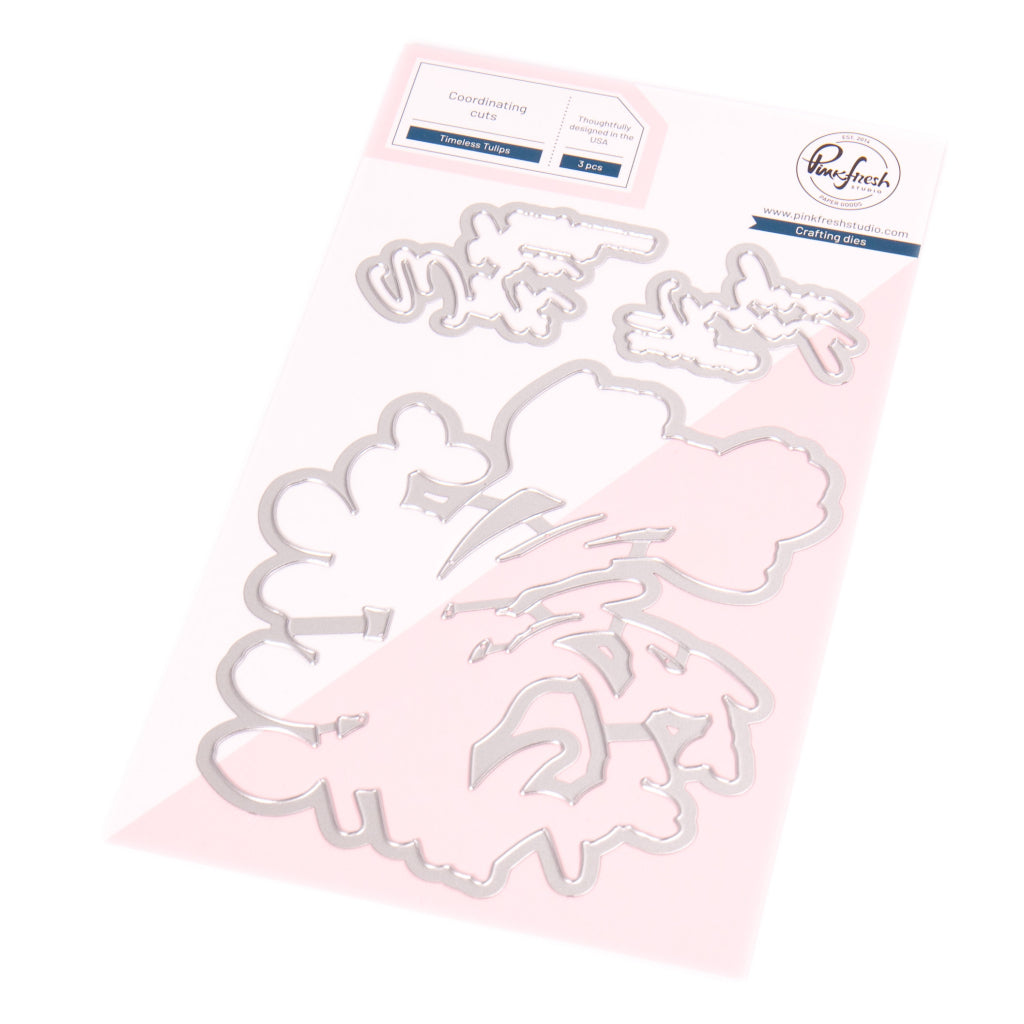
- Die cut the tulips and sentiment with the coordinating die, and another die cut from gray cardstock. Adhere the colored layer, offset, to the gray layer.
- Adhere the flowers to the center of the oval panel with foam tape.
- Adhere the sentiment to the flowers with foam tape.
- Adhere the panel to the card base using foam tape.
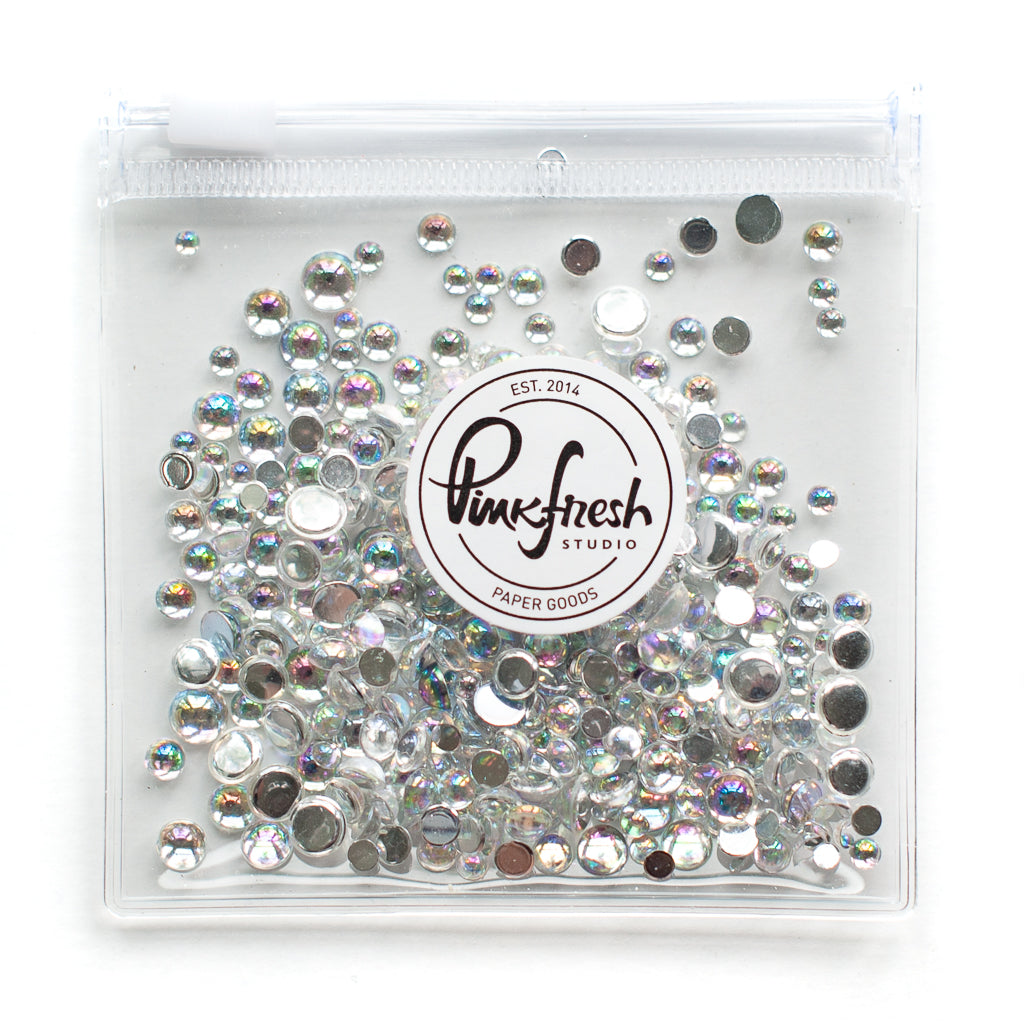
- Embellish with clear drops.

Isn’t it amazing how 4 ink colors pack such a punch (we’re not counting Detail Black)?! Switch up the colors and give it a try yourself! When you’re done, you can sit back and enjoy the fruit of your labor! Pro tip: the 1” blending brushes are a must! Ink blending has never been easier with them.
If you are inspired by this tutorial and create a card, please tag us on social media so we can admire your creation! Have a wonderful day!
-Jody
Recommended Products































1 comment
Mariette
Leave a comment
All comments are moderated before being published.
This site is protected by hCaptcha and the hCaptcha Privacy Policy and Terms of Service apply.