
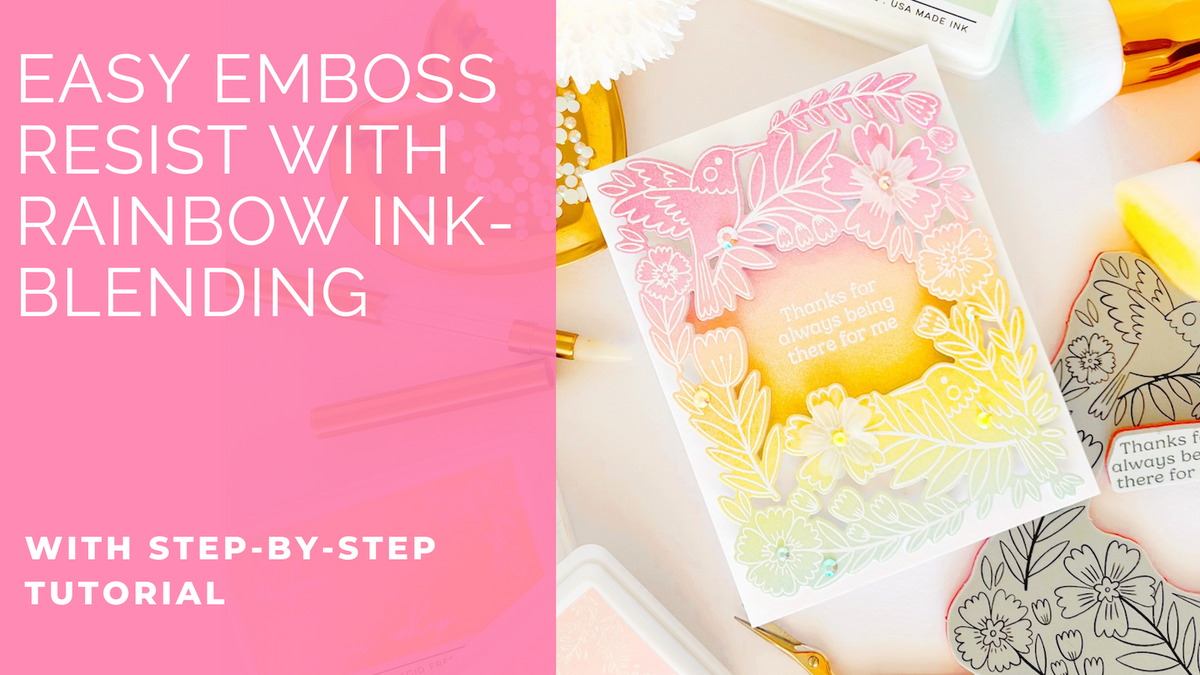
Hello & happy Monday, friends! I hope you all had a wonderful, creative weekend and you got to play with some of your favorite products!
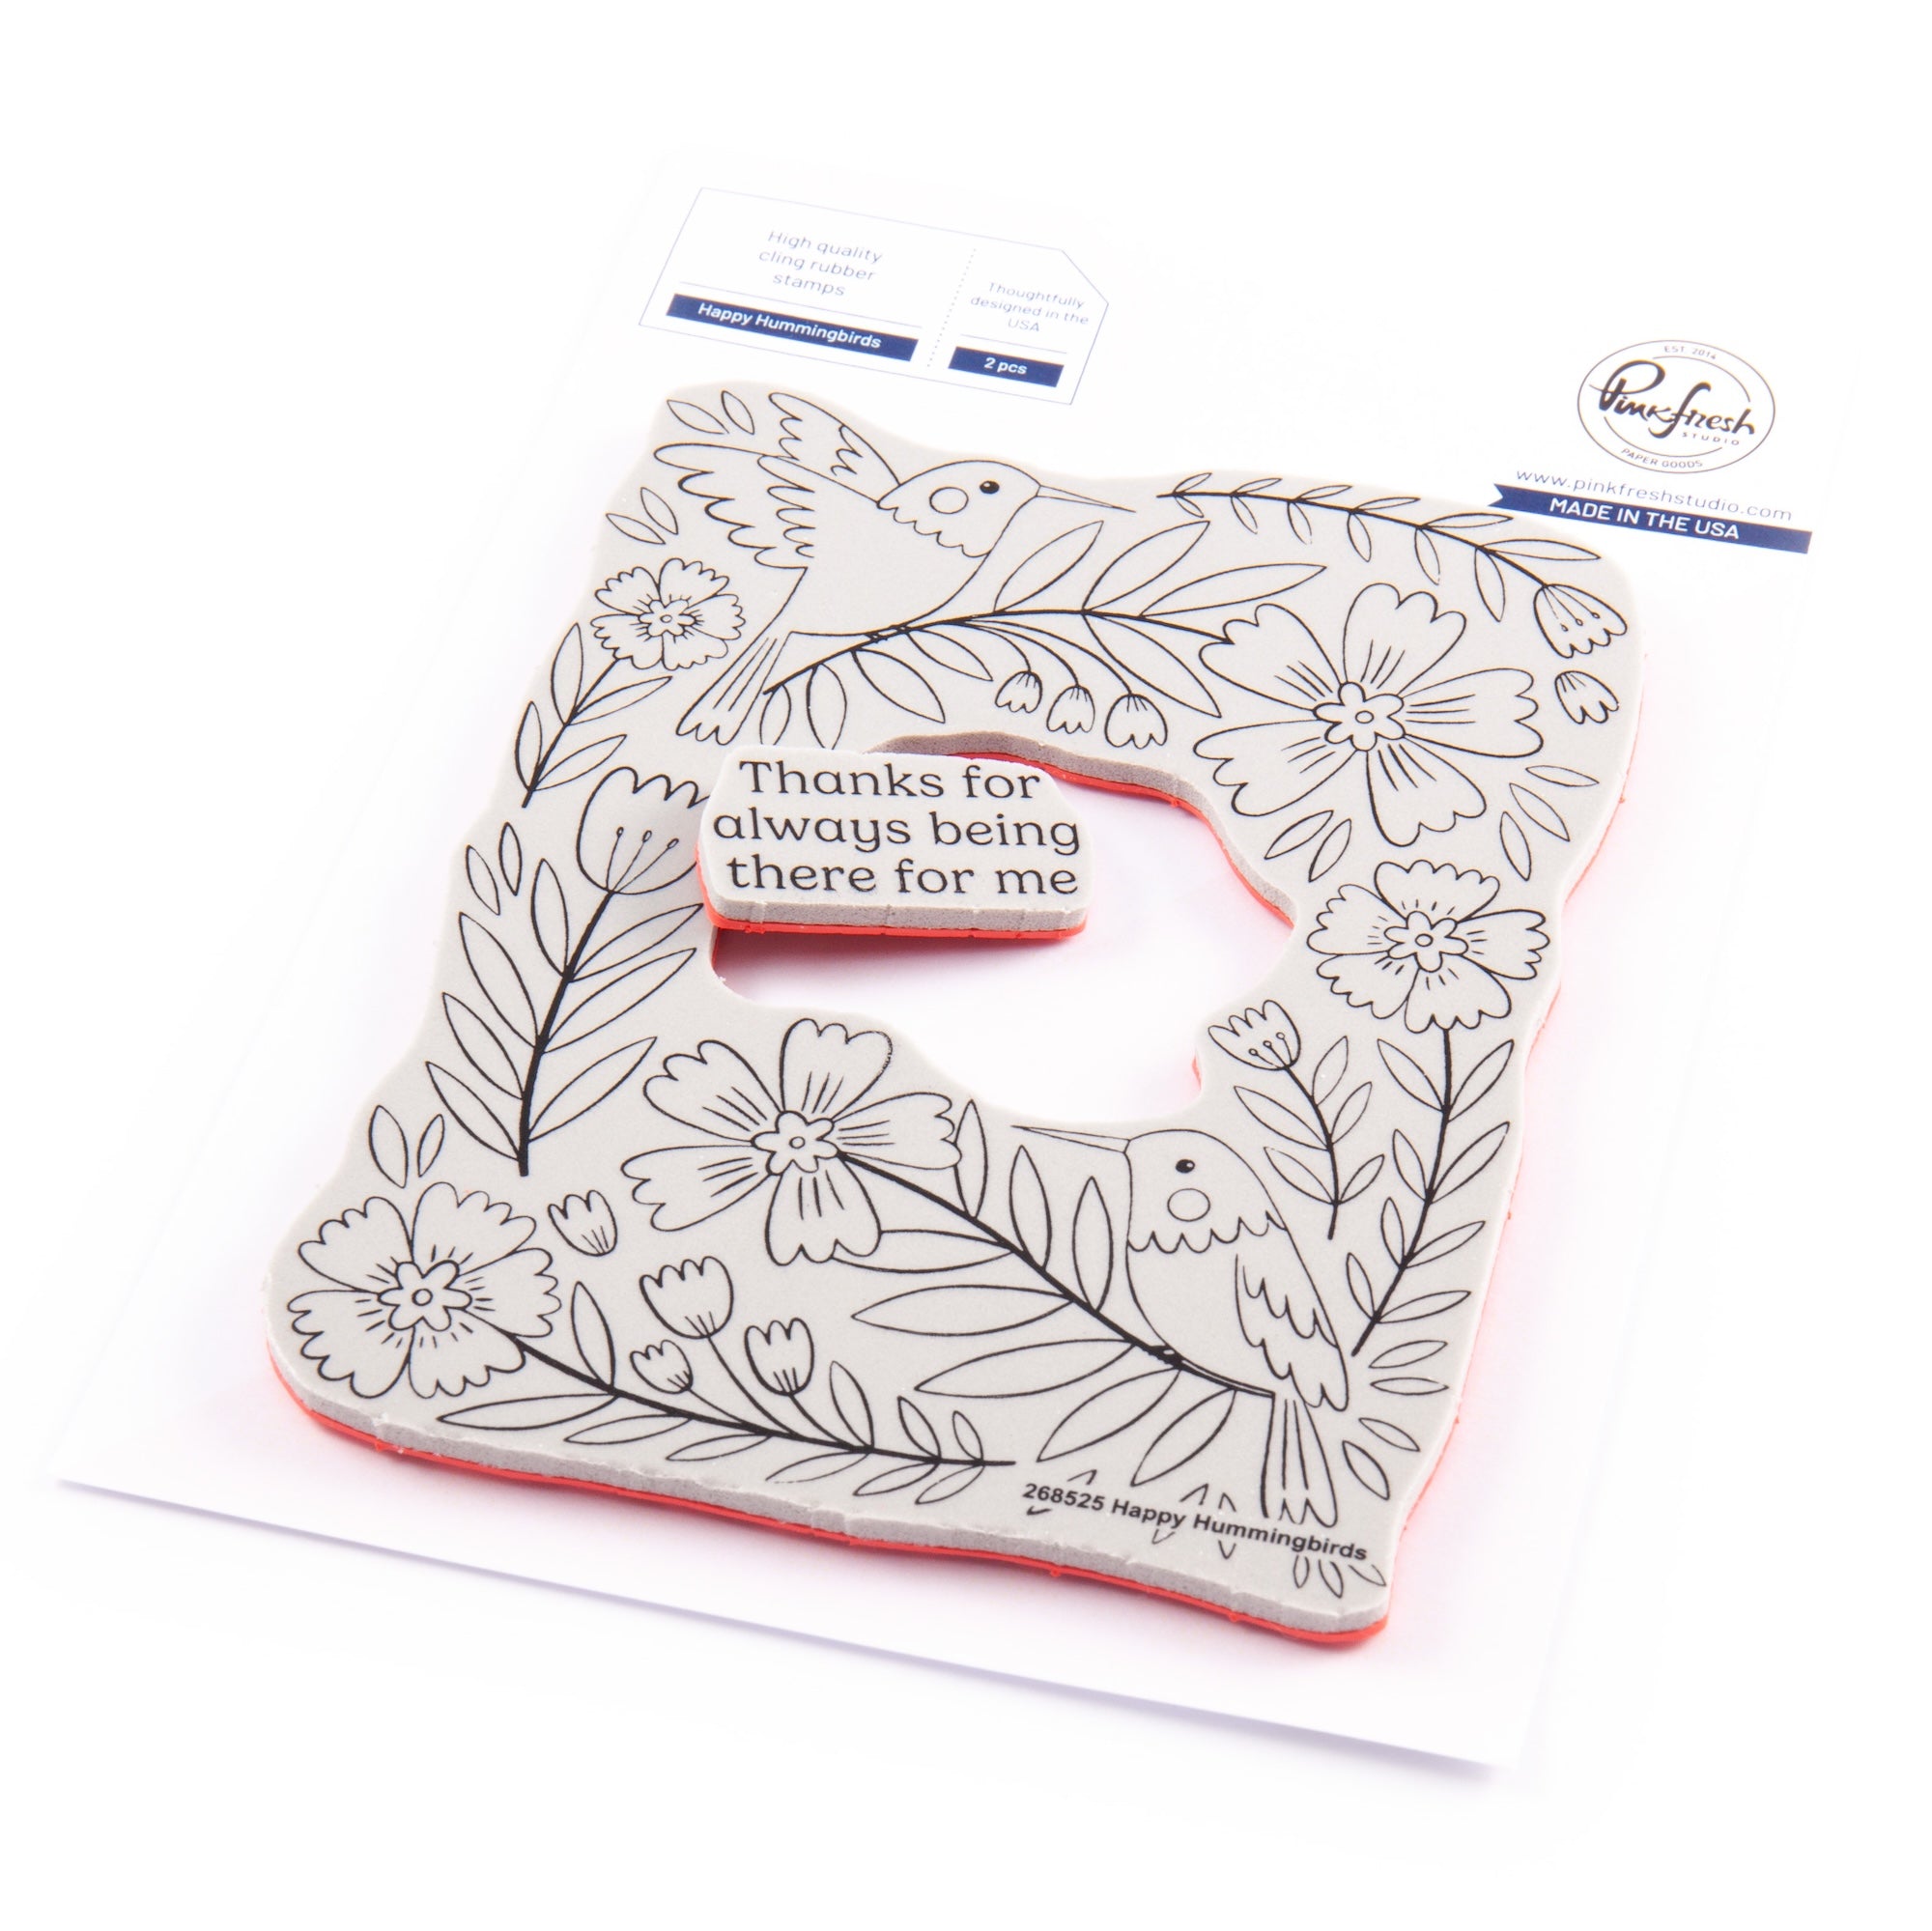
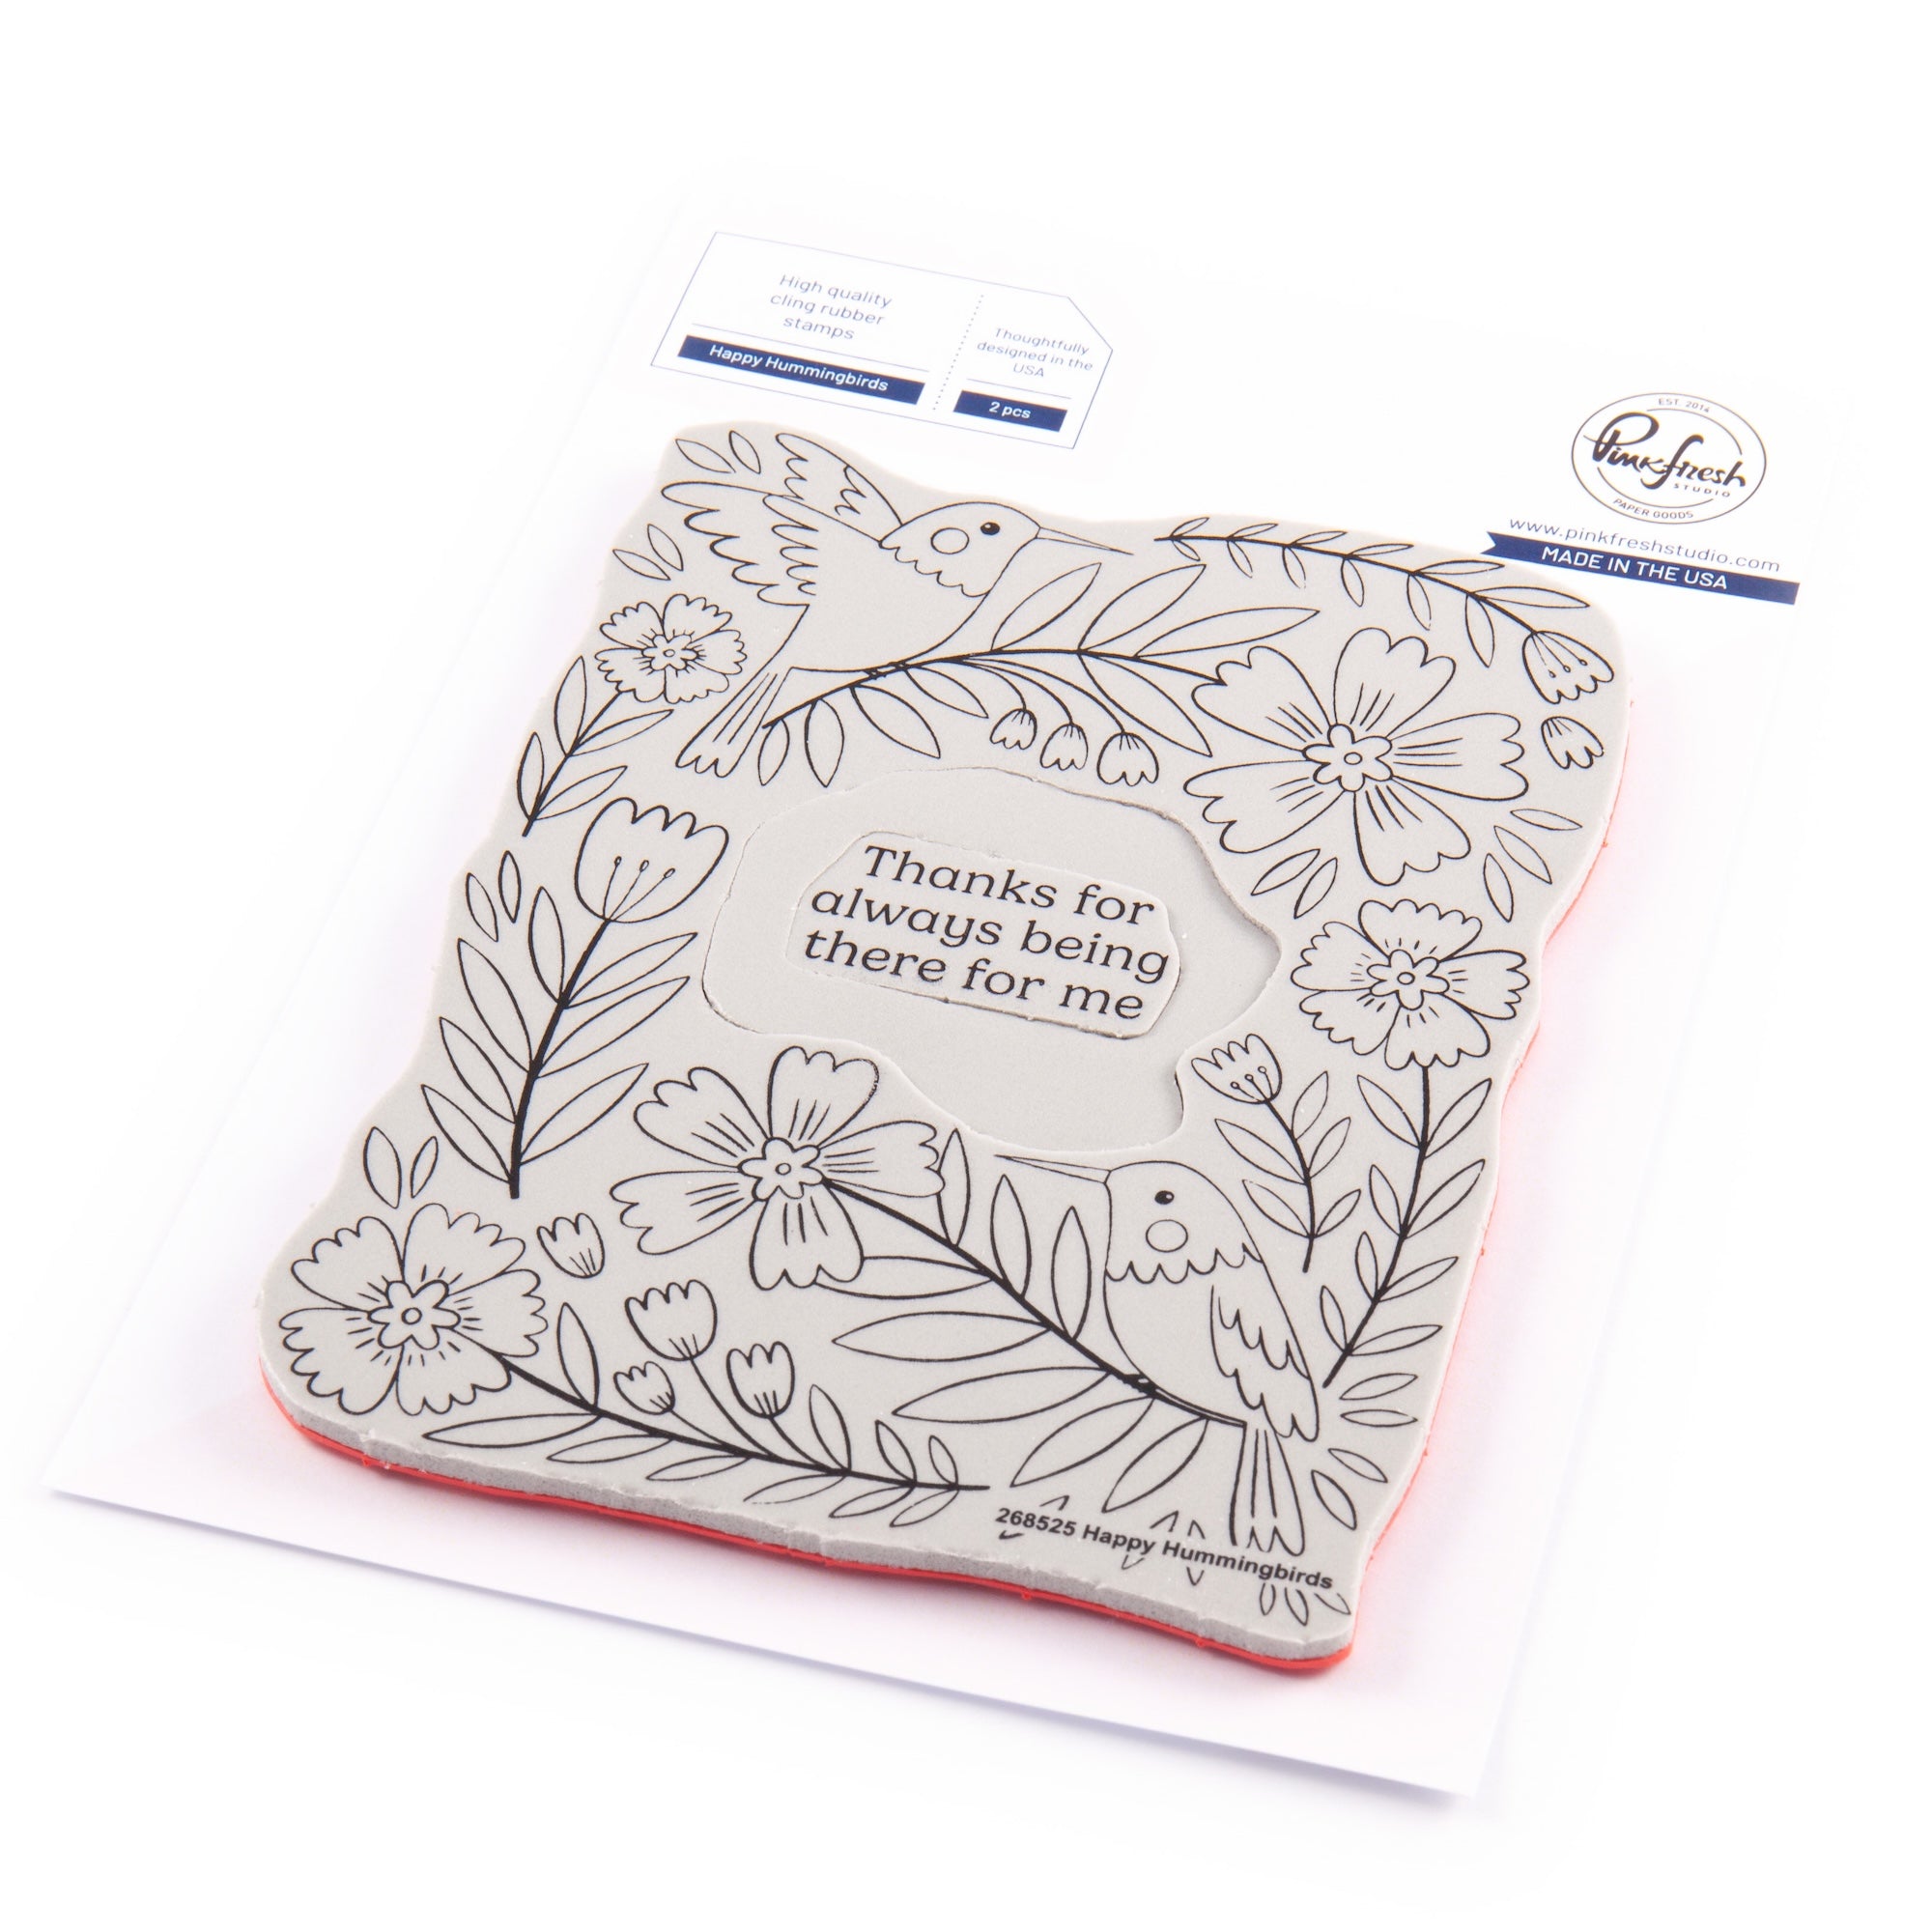
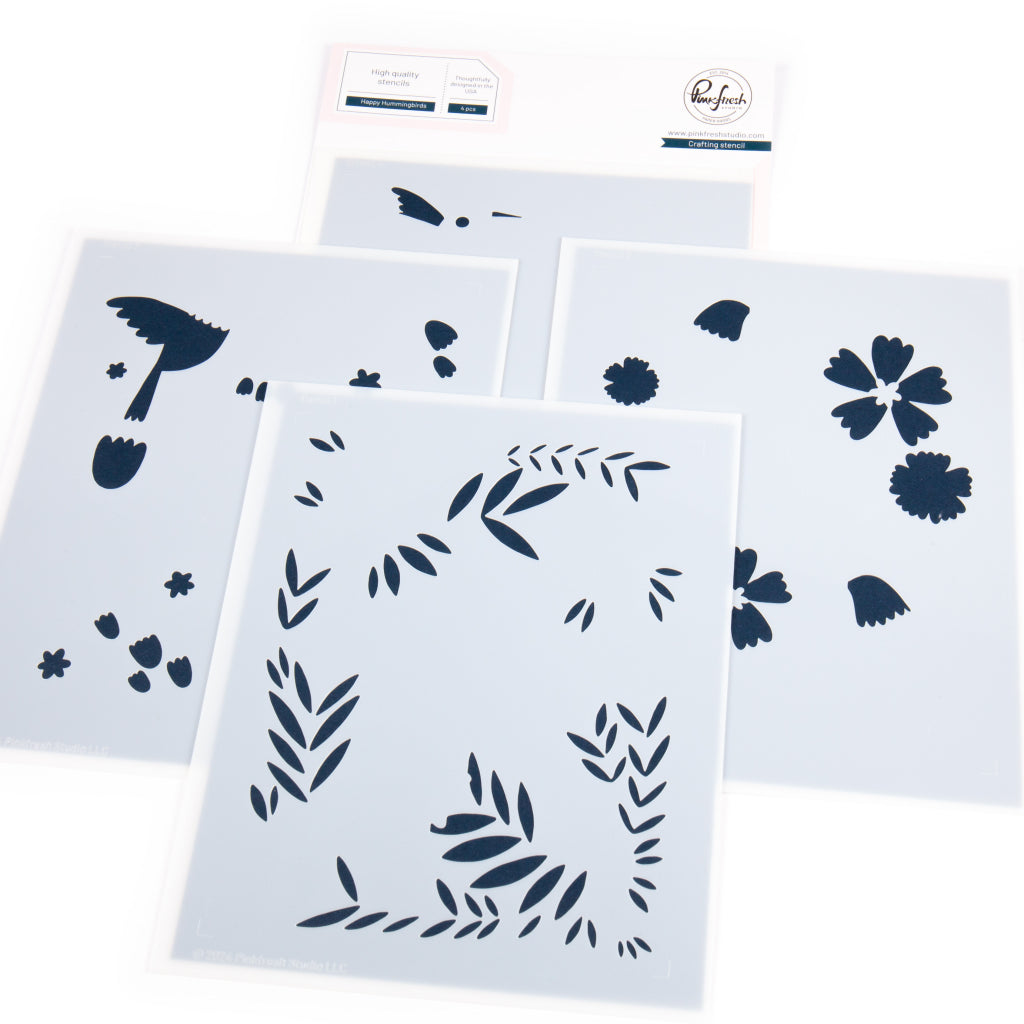
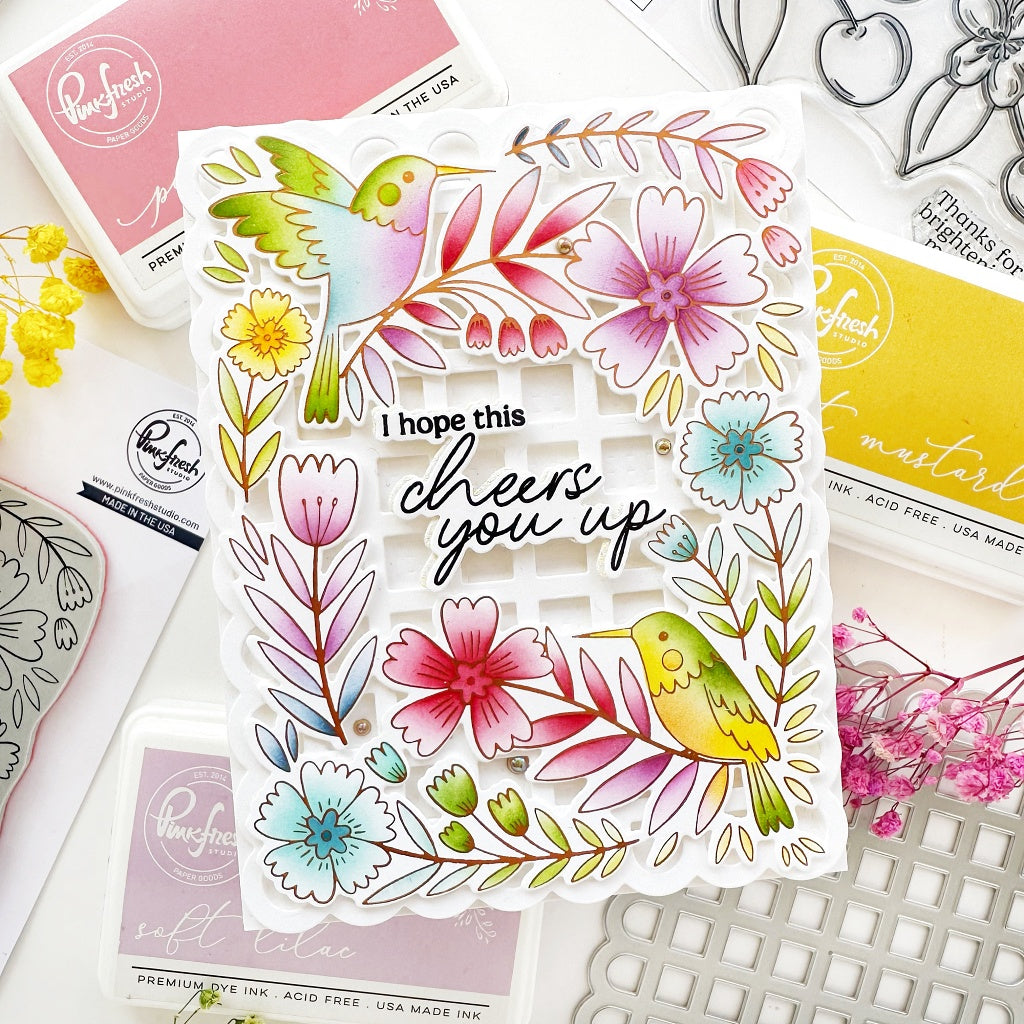
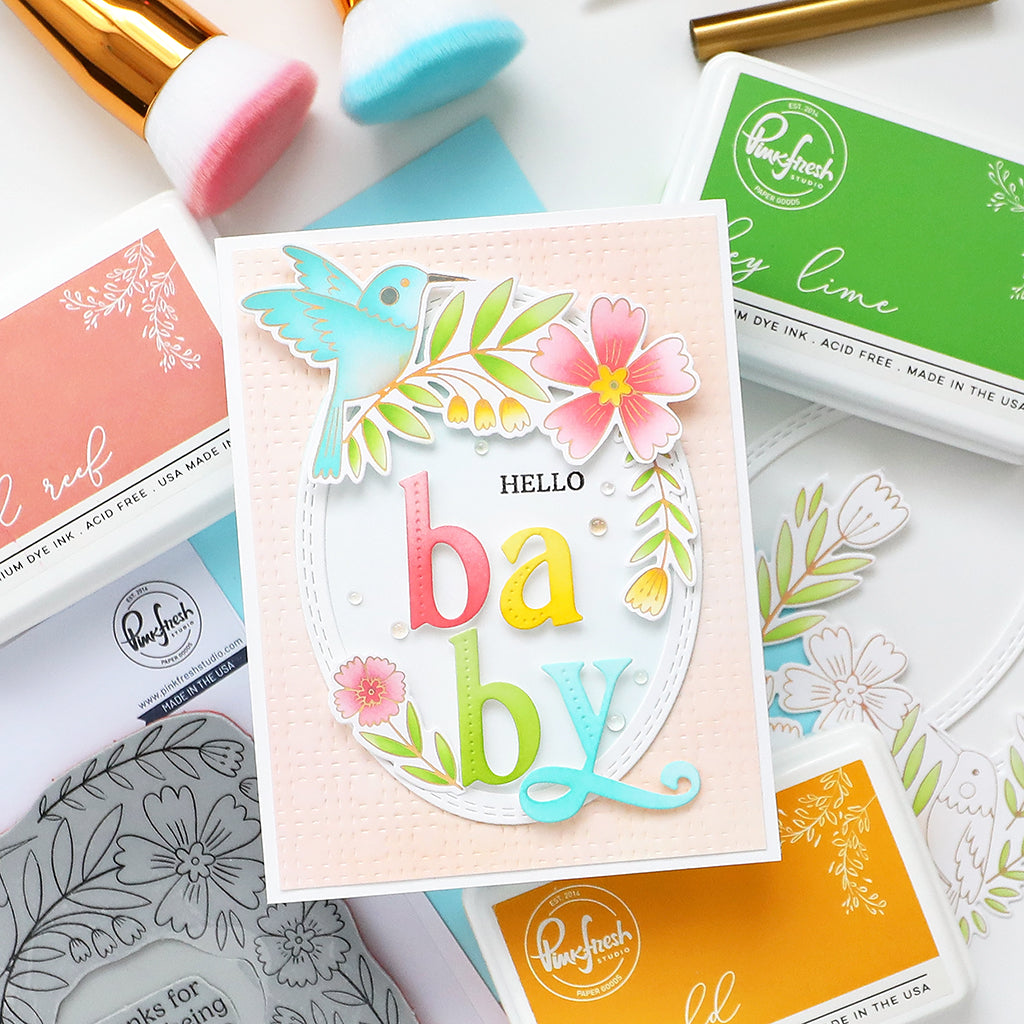
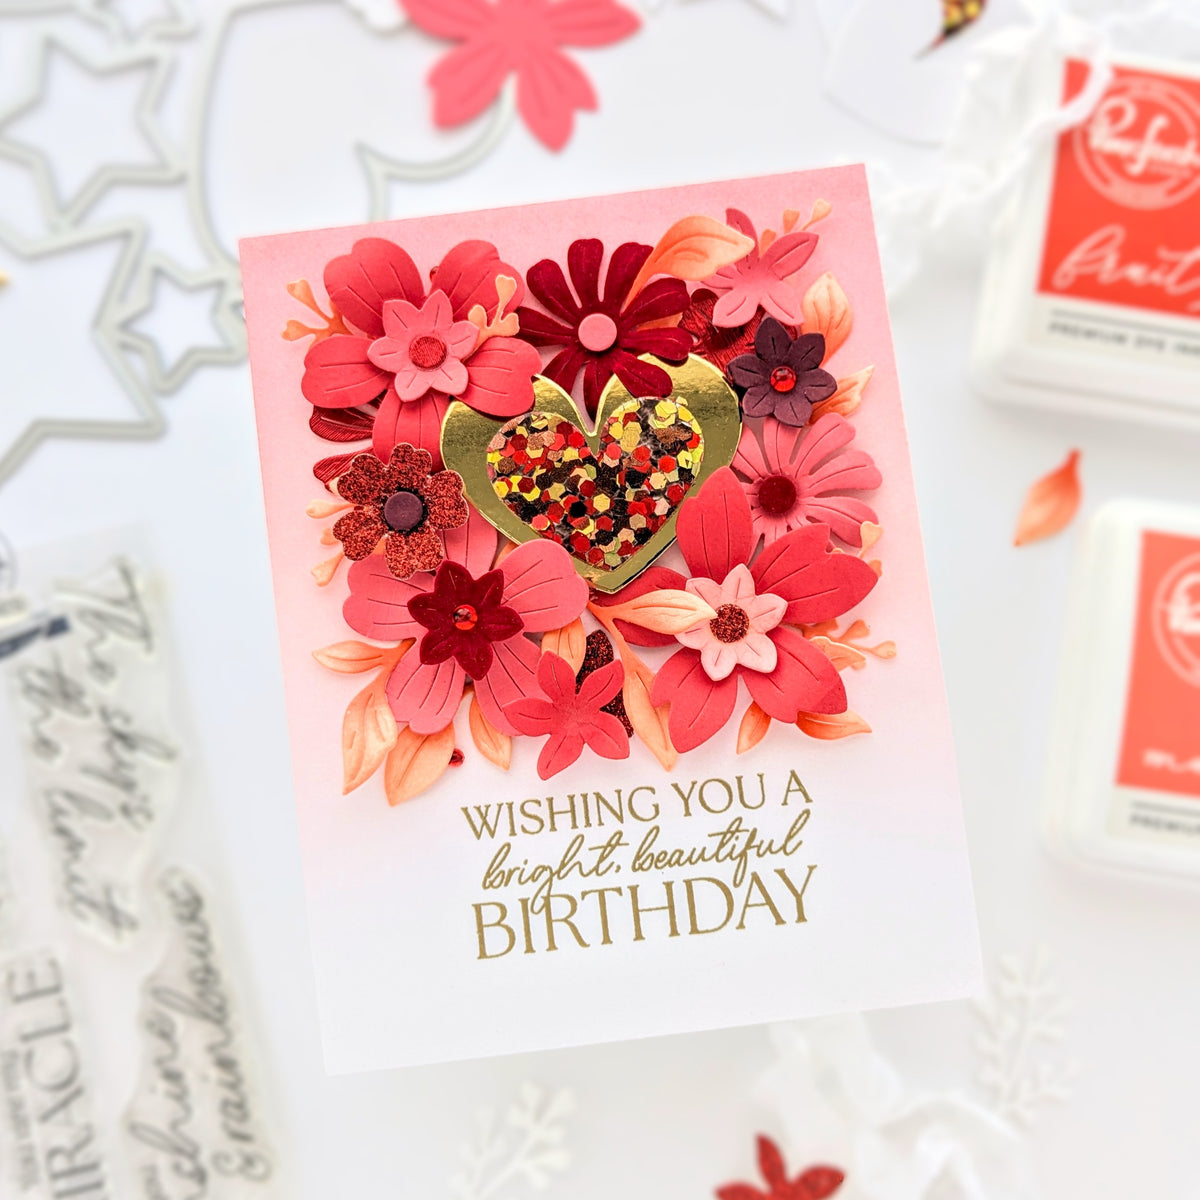
Today I wanted to share a really quick and easy technique with you that still packs a punch: Emboss resist combined with rainbow ink blending. For my card I used the Happy Hummingbird product suite from our Pure Bliss release, but this would work with any stamp set.
*Disclaimer: All products used are linked below as clickable images. If a product isn’t listed, it’s been discontinued.

Here's how to create this card:
- Cut & fold an A2 card base (top- or side-folding) from white cardstock.
- Cut a piece of white cardstock slightly larger than A2 size & place in a stamp positioner tool. Place the Happy Hummingbird stamp (with sentiment) inside.
- Treat the cardstock with anti-static powder, then stamp the image and sentiment with embossing ink.
- Heat emboss with white detail embossing powder (or a color of your choice).
- Using a 1" blending brush, apply Cherry Blossom, Ballet Slipper, Peach Fuzz, Lemon Whip, Mint, and Ocean Breeze from top to bottom. Blend where colors meet using both shades for a seamless transition.
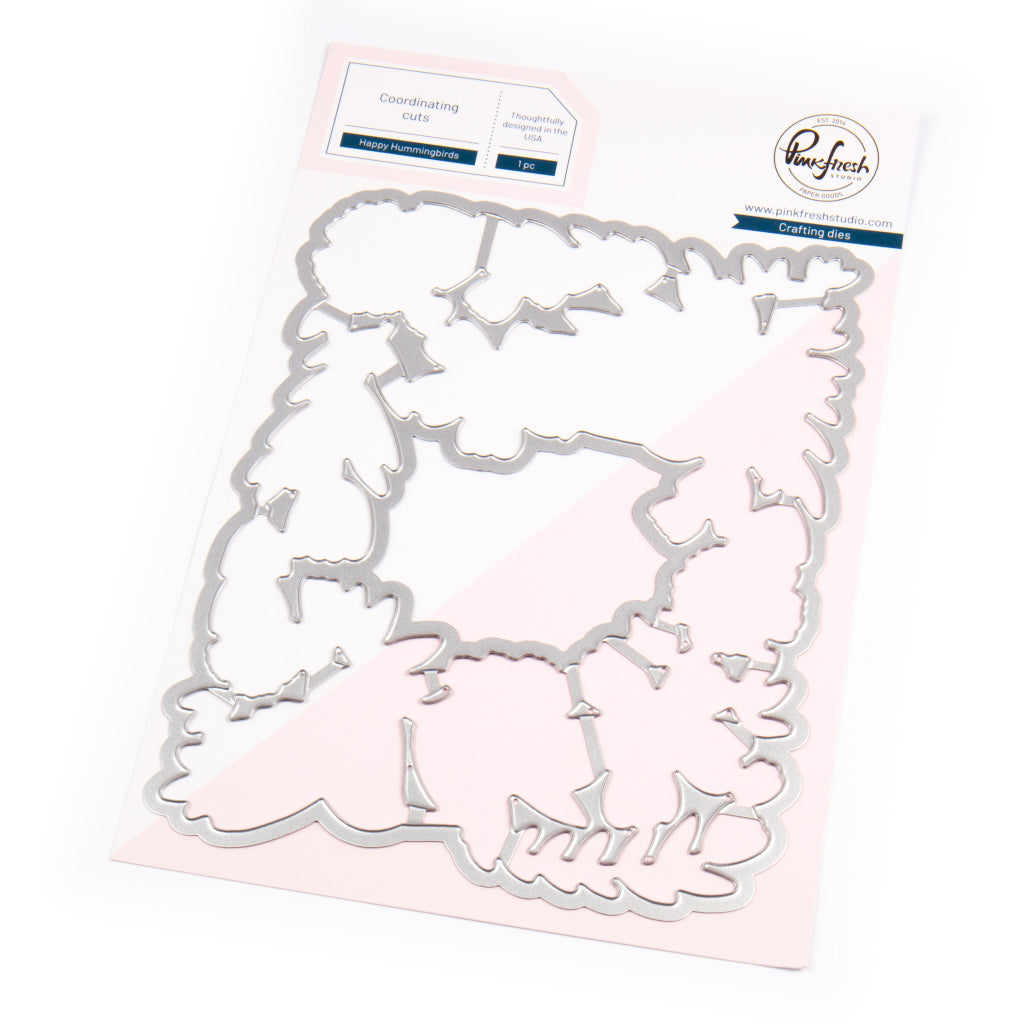
- Die cut using the coordinating die. Keep the inner piece with the sentiment.
- Add foam adhesive to the back of the die-cut image (excluding the sentiment) and attach it to the card base.
- Inlay the sentiment die-cut and adhere it flat to the card base.
- Embellish with jewels in matching colors in a tone-on-tone fashion (i.e. yellow on yellow, pink on pink, etc.)
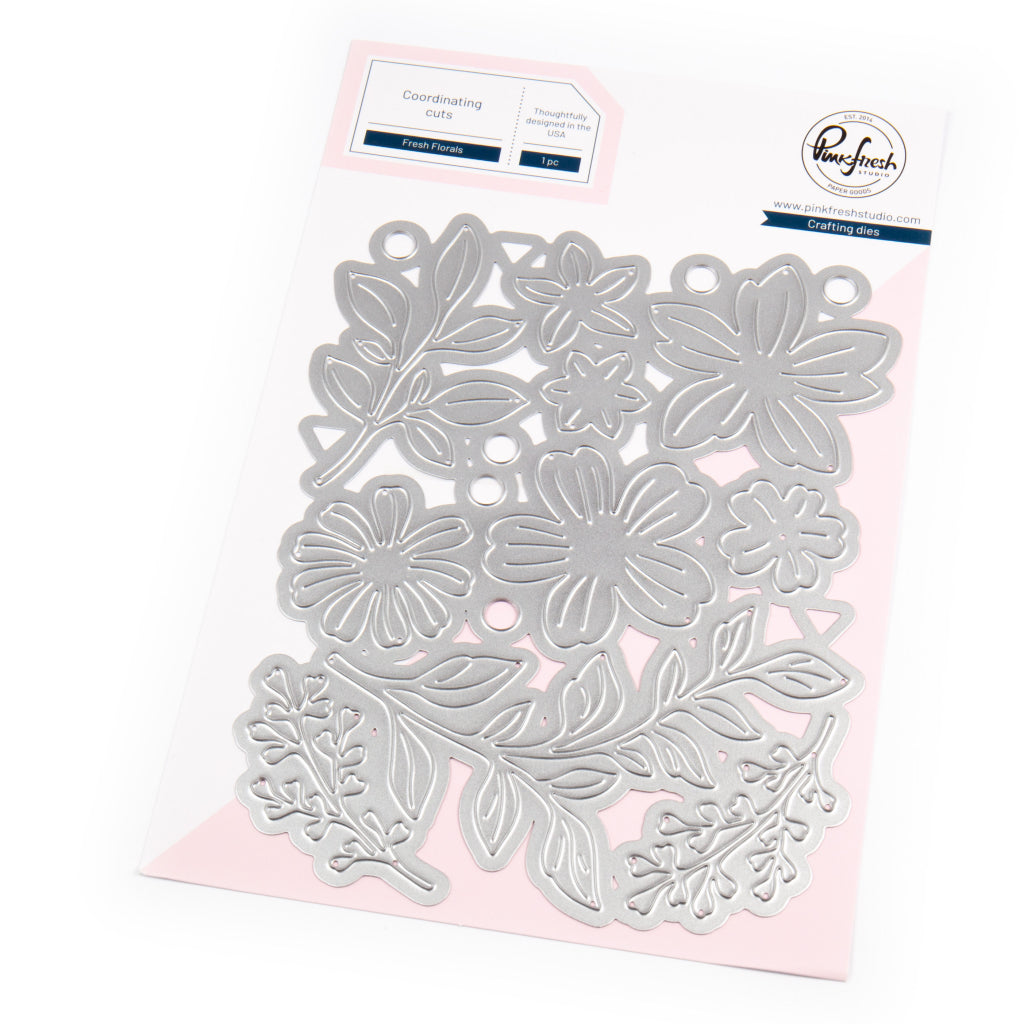
For added texture, I adhered vellum flowers die-cut with the Fresh Florals die over some of the heat embossed flowers, then place jewels in the centers for a bit more sparkle.

This card took less than 20 minutes to make, but the rainbow ink-blending and dimension give it a big impact. You can easily switch up the color scheme—try a monochrome ombré or a bolder rainbow—or use different stamps. For a fun twist, repeatedly stamp a smaller image to create a background and use the emboss resist technique. The possibilities are endless!
If you are inspired by this tutorial and create a card, please tag us on social media so we can admire your creations! Have a wonderful week!
- Kathleen
Recommended Products























Leave a comment
All comments are moderated before being published.
This site is protected by hCaptcha and the hCaptcha Privacy Policy and Terms of Service apply.