
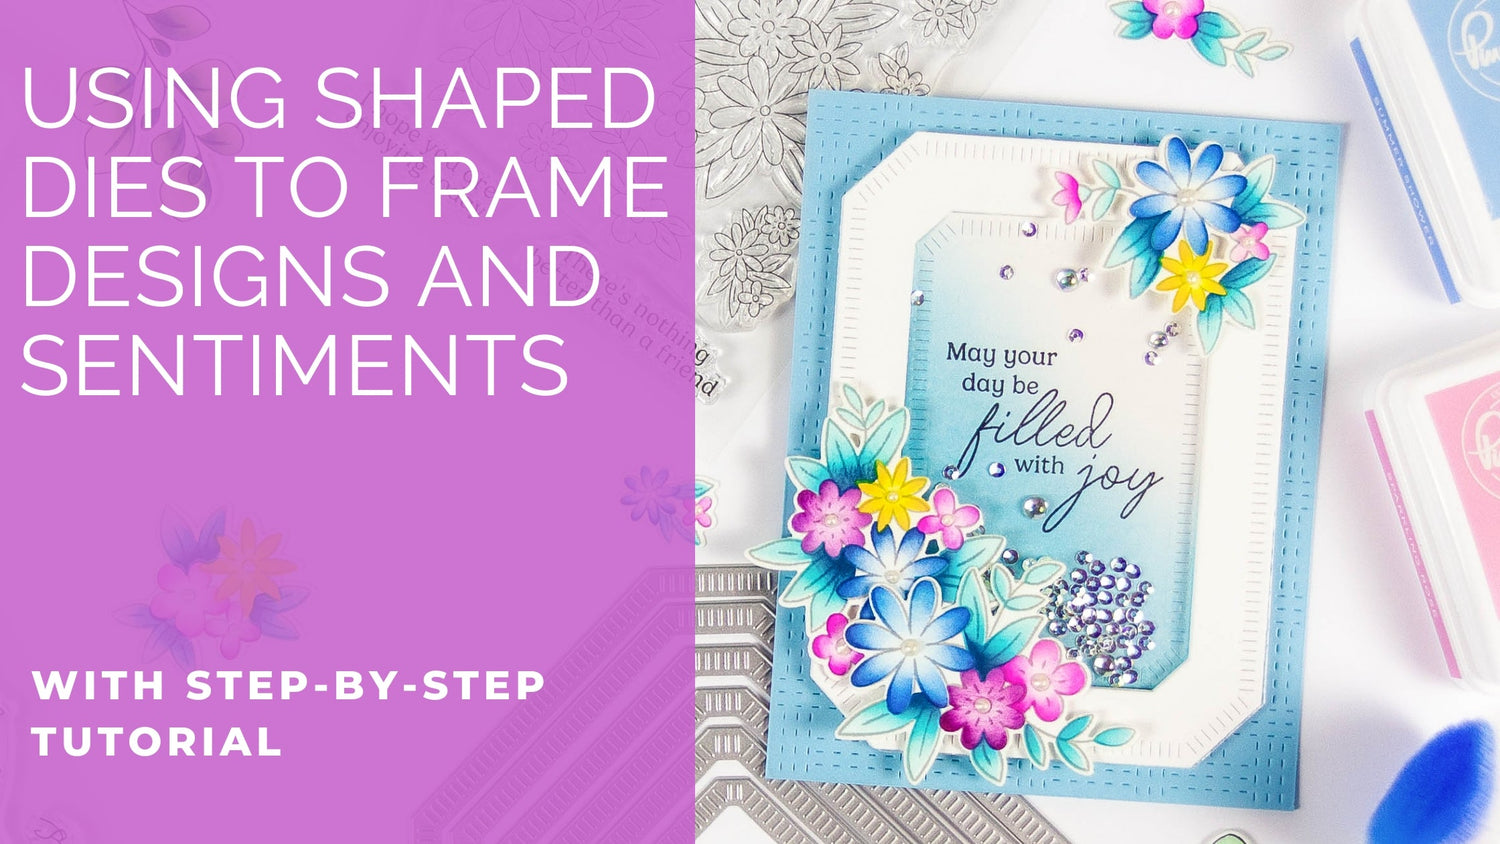
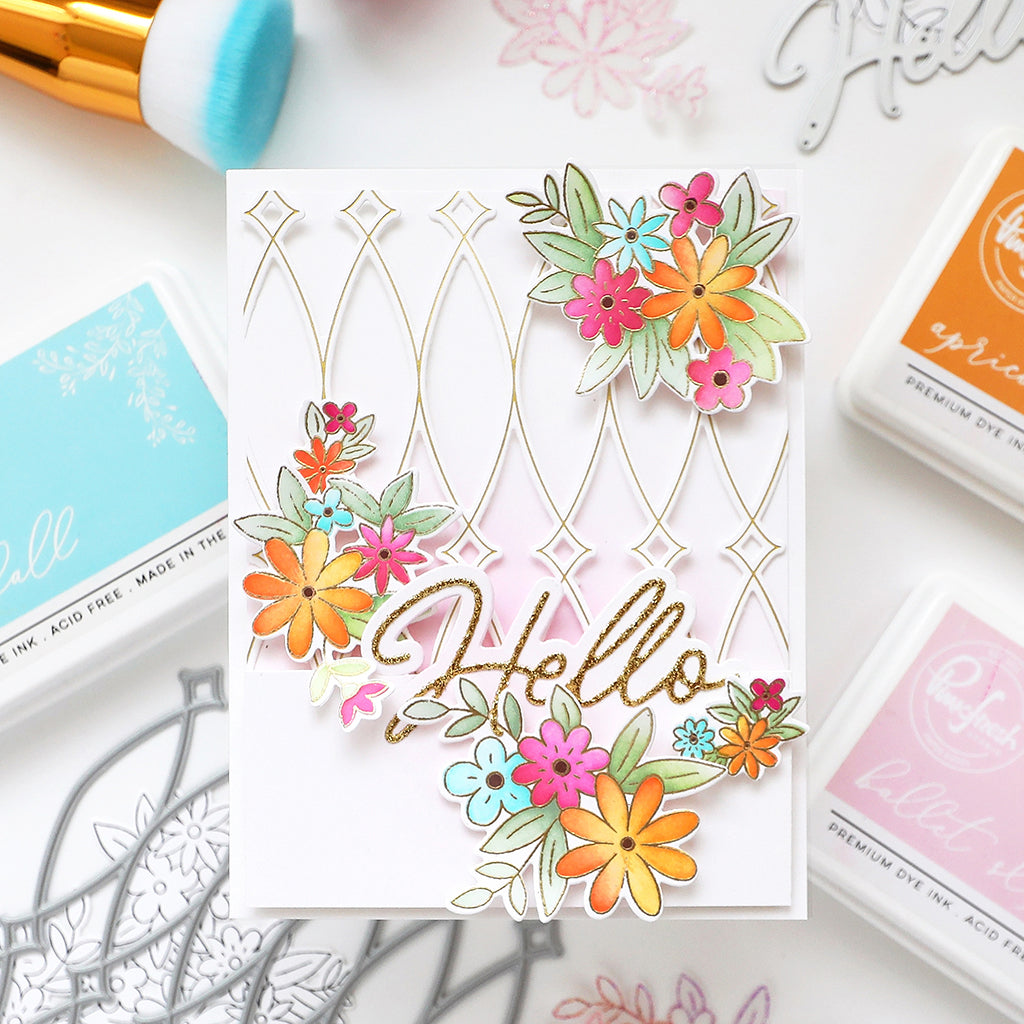
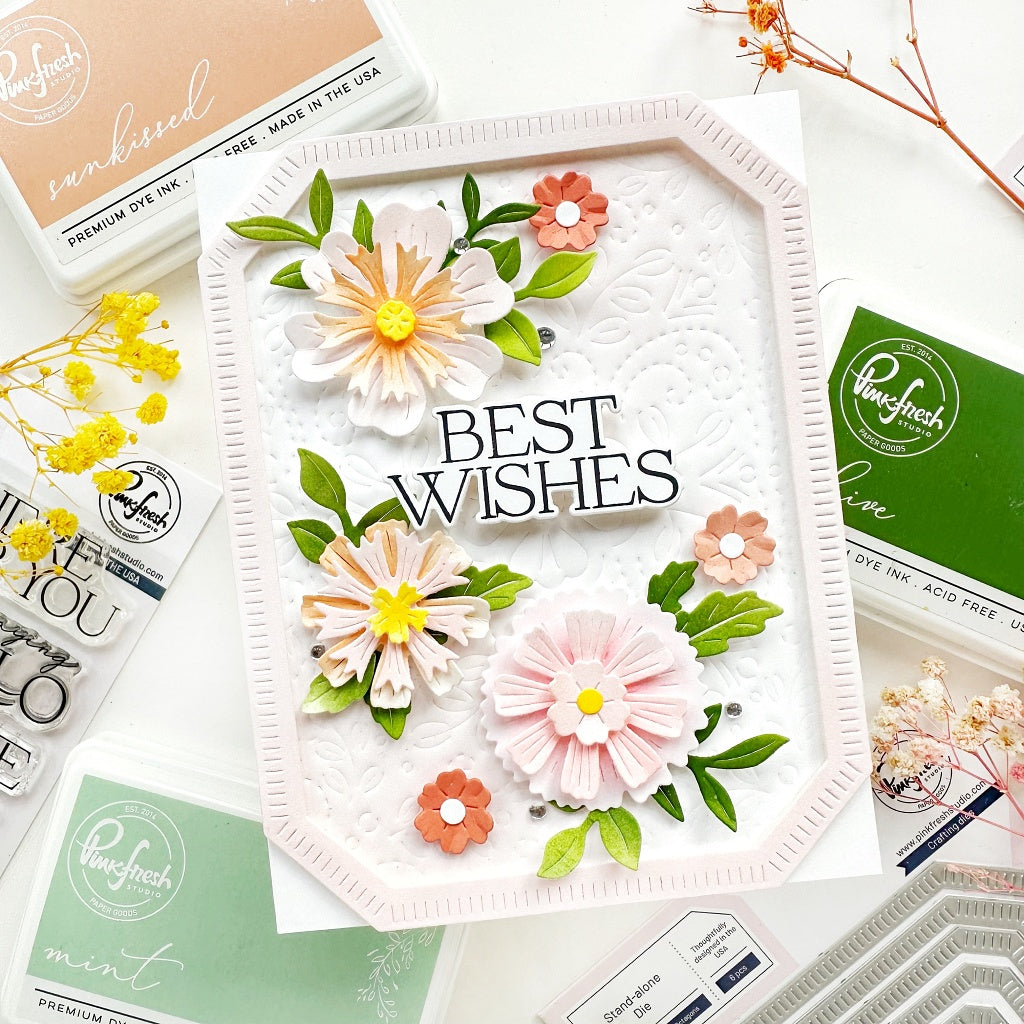
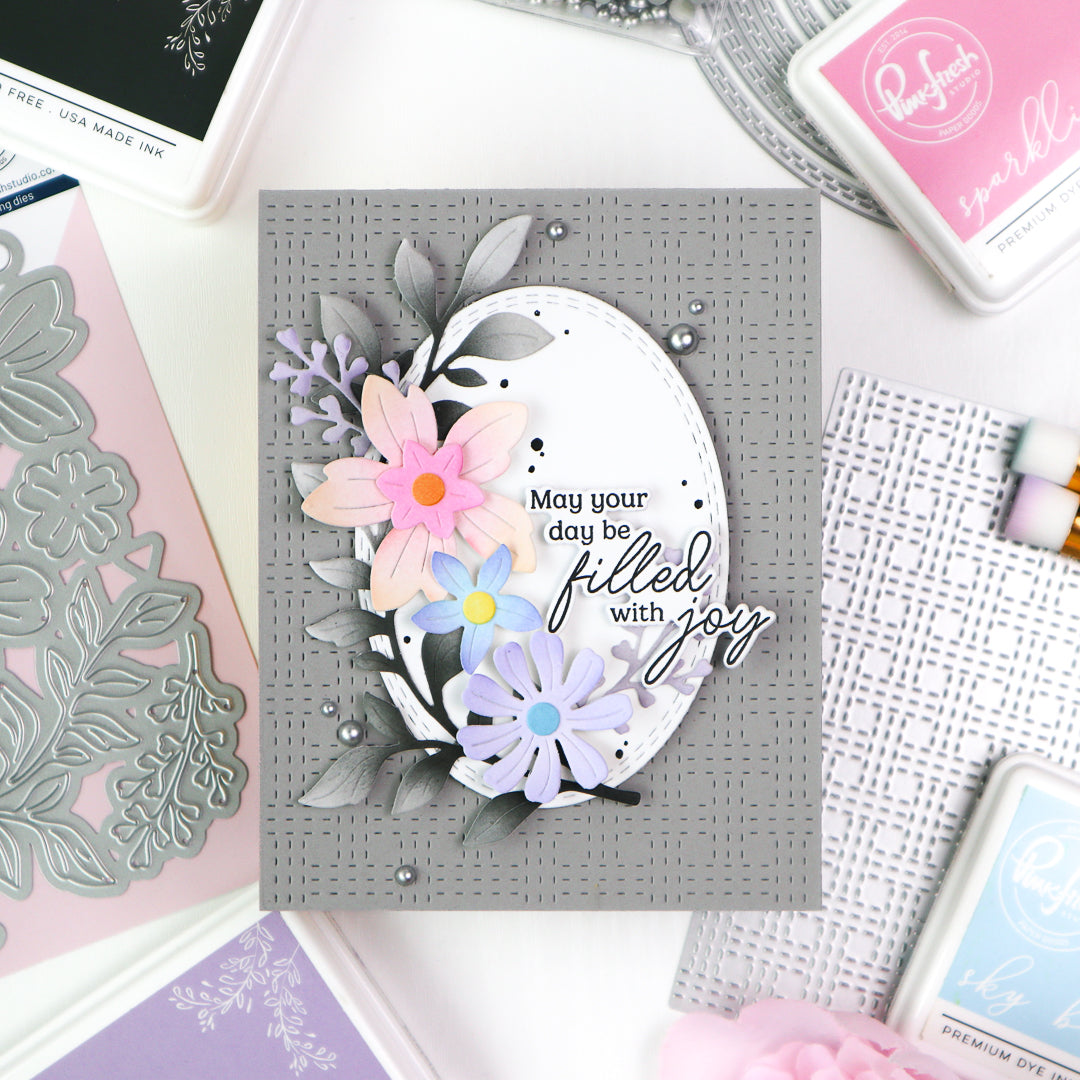
Hello crafty friends! It's Rachel here with a shaker card that features some beautiful florals mixed with some shaped dies and a textured background plate.
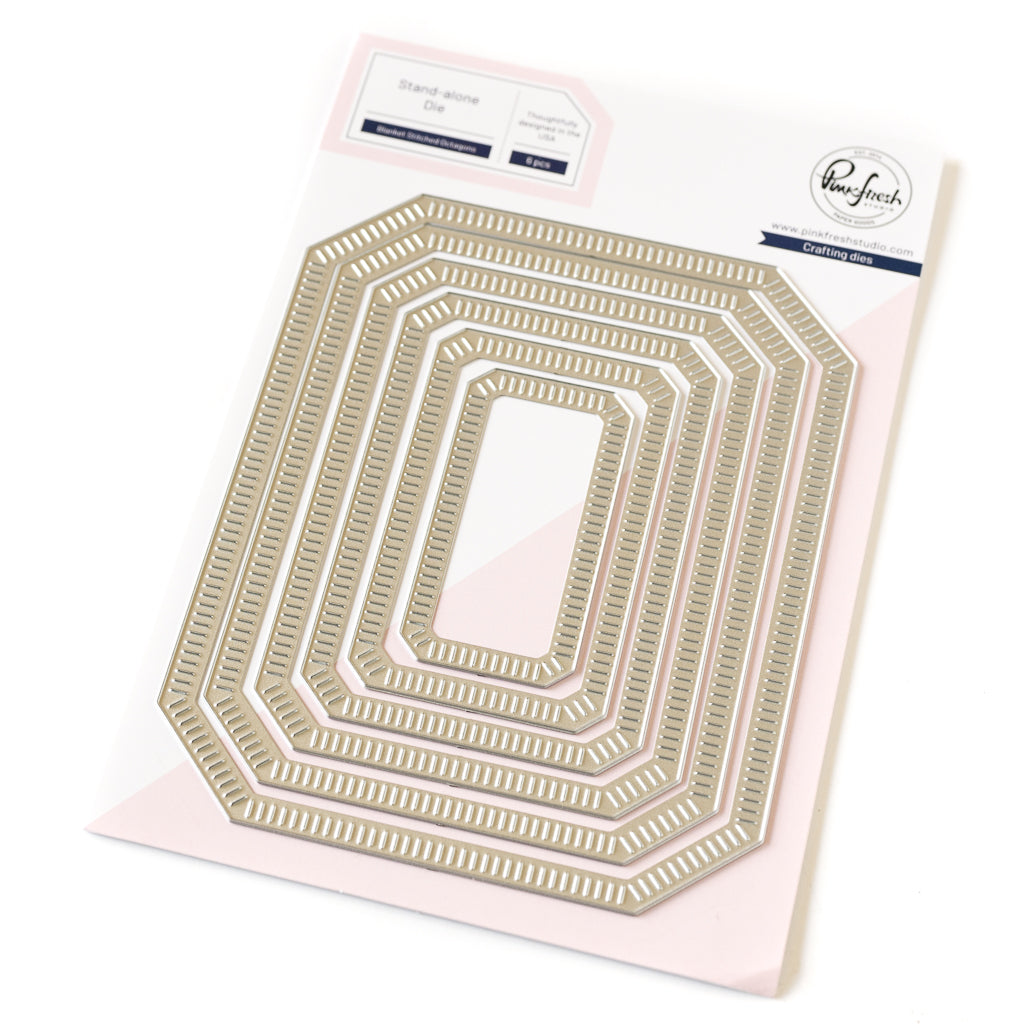
I really enjoy using shaped dies to create frames for shaker cards as well as provide a focal point for images and sentiments.
*Disclaimer: All products used are linked below as clickable images. If a product isn’t listed, it’s been discontinued
 How to recreate this card:
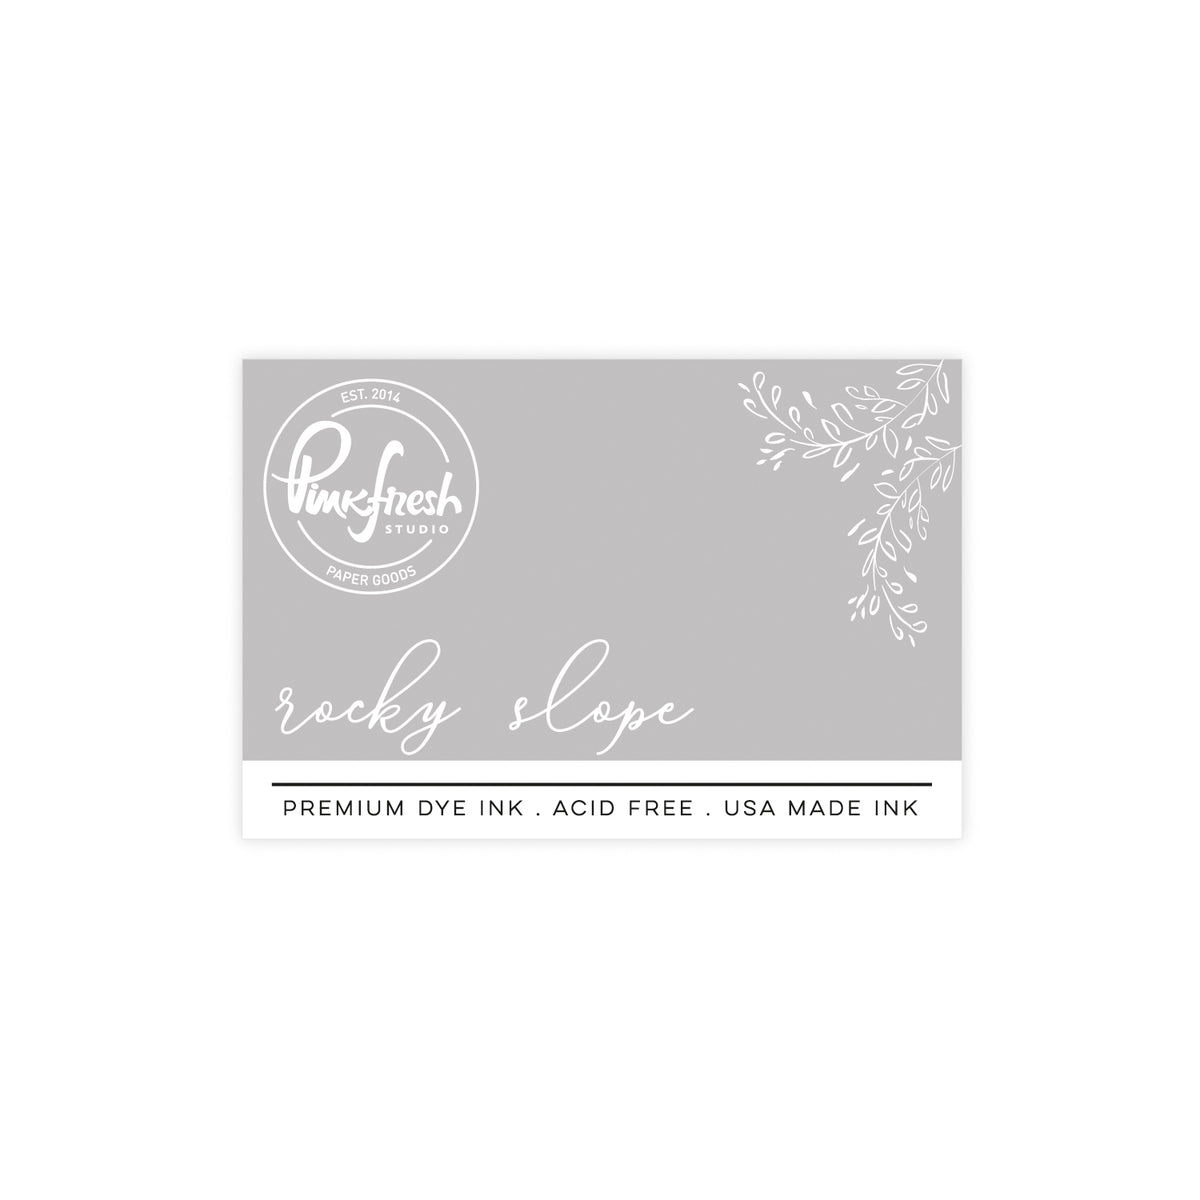
1. Use the Cheerful Blossoms Stamp to stamp your floral images onto a sheet of white card stock with some Rocky Slope Ink (I used Neenah Classic Crest Solar White 110lb).
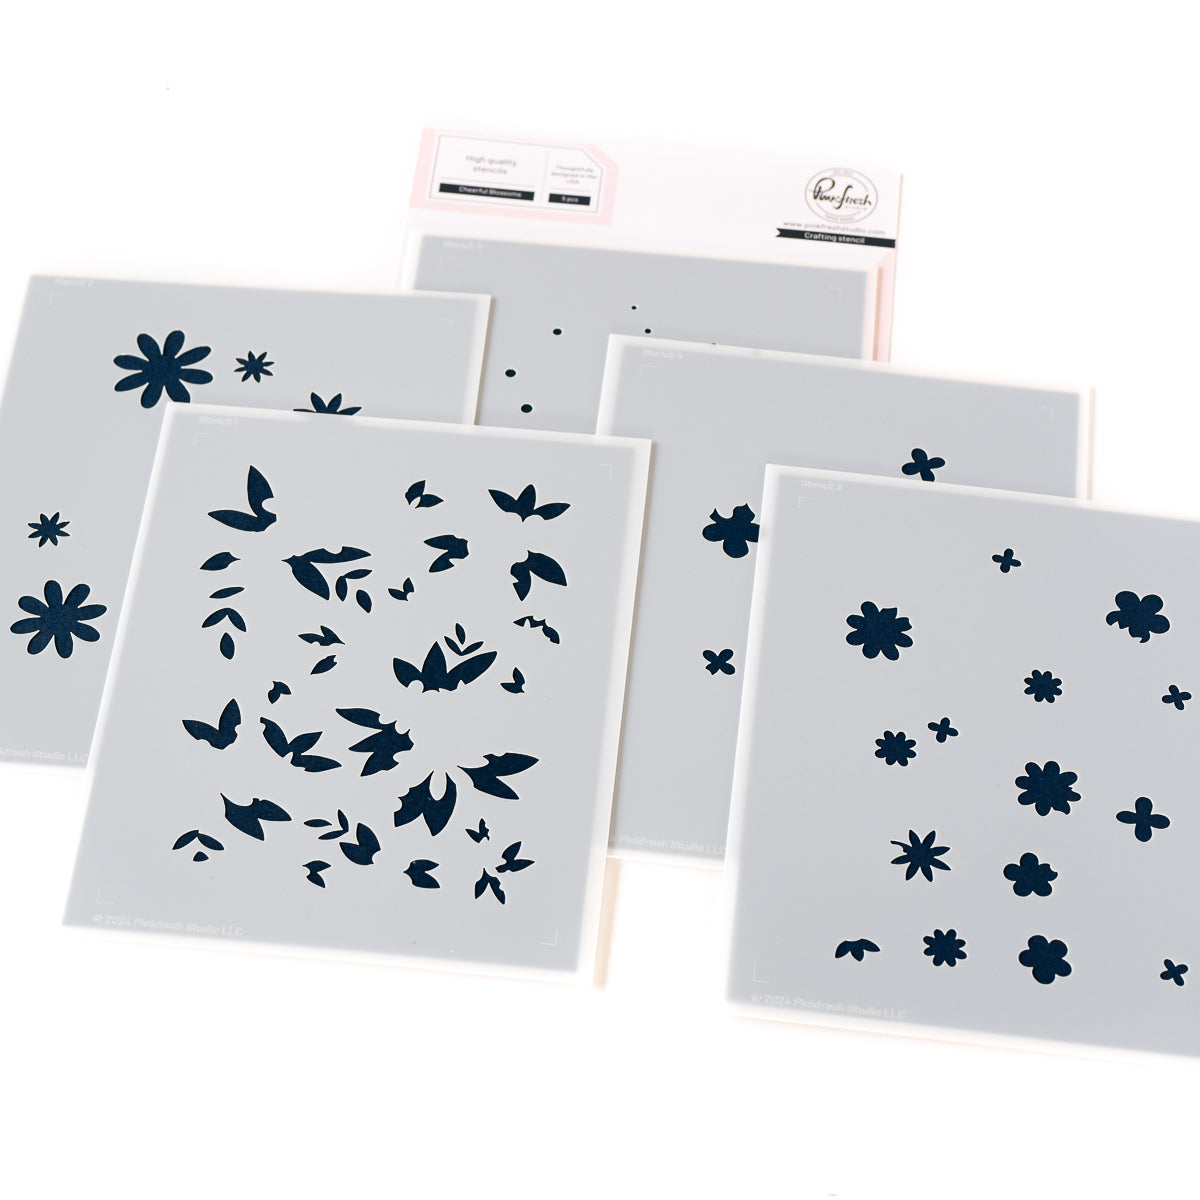
2. Blend color onto your images using the coordinating Cheerful Blossoms Stencils and Pinkfresh Blending Brushes.
3. Use the following Pinkfresh Studio ink colors to achieve the same look as my card or use whatever colors you desire to get a different look.
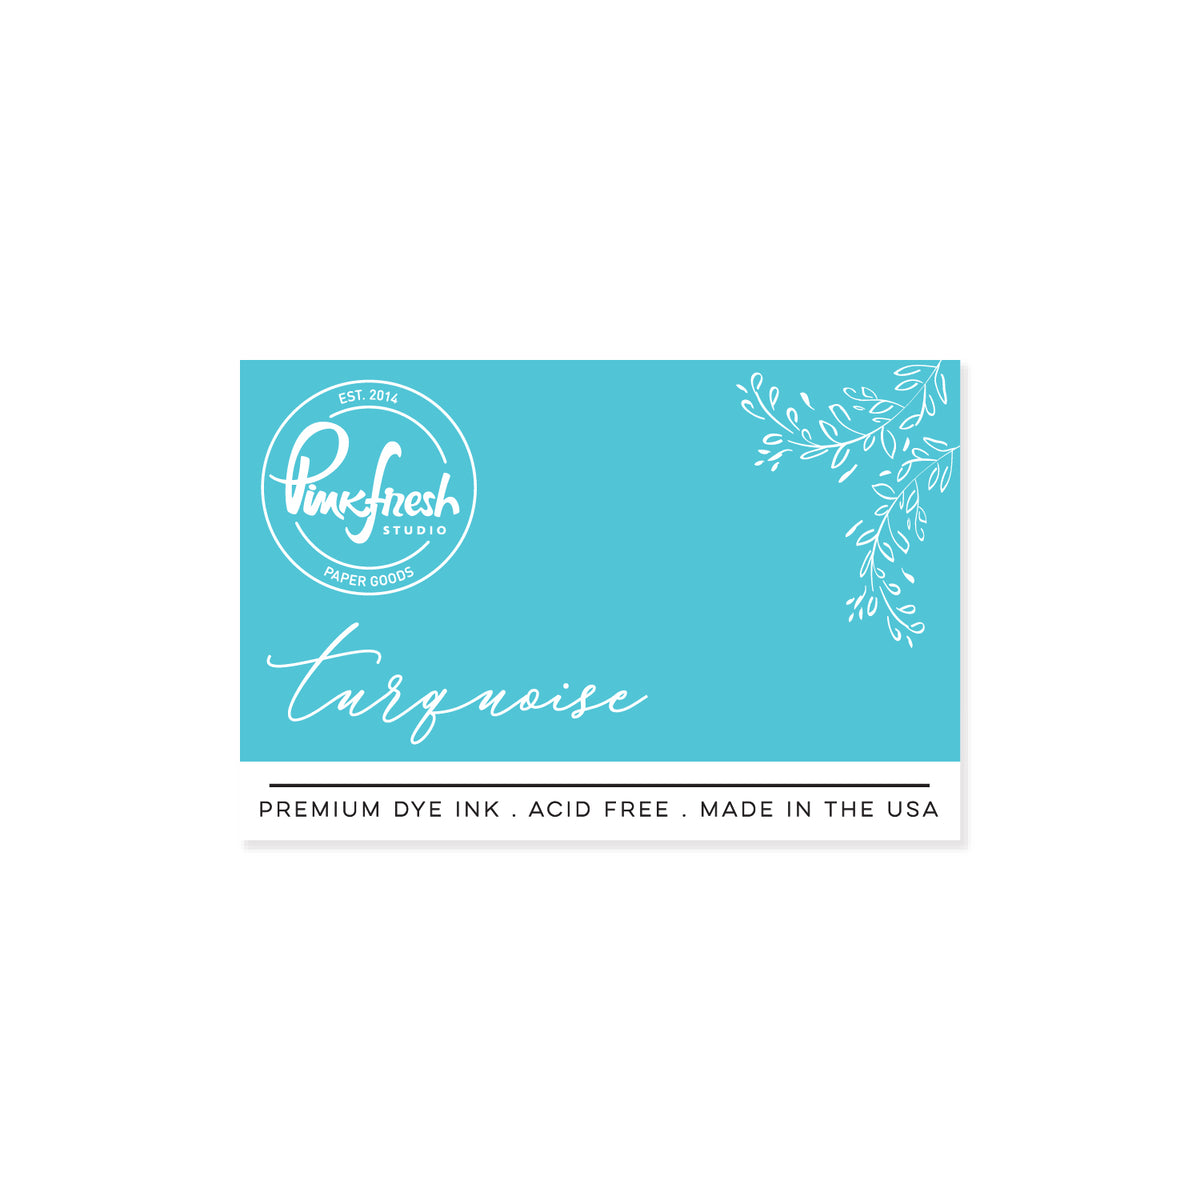
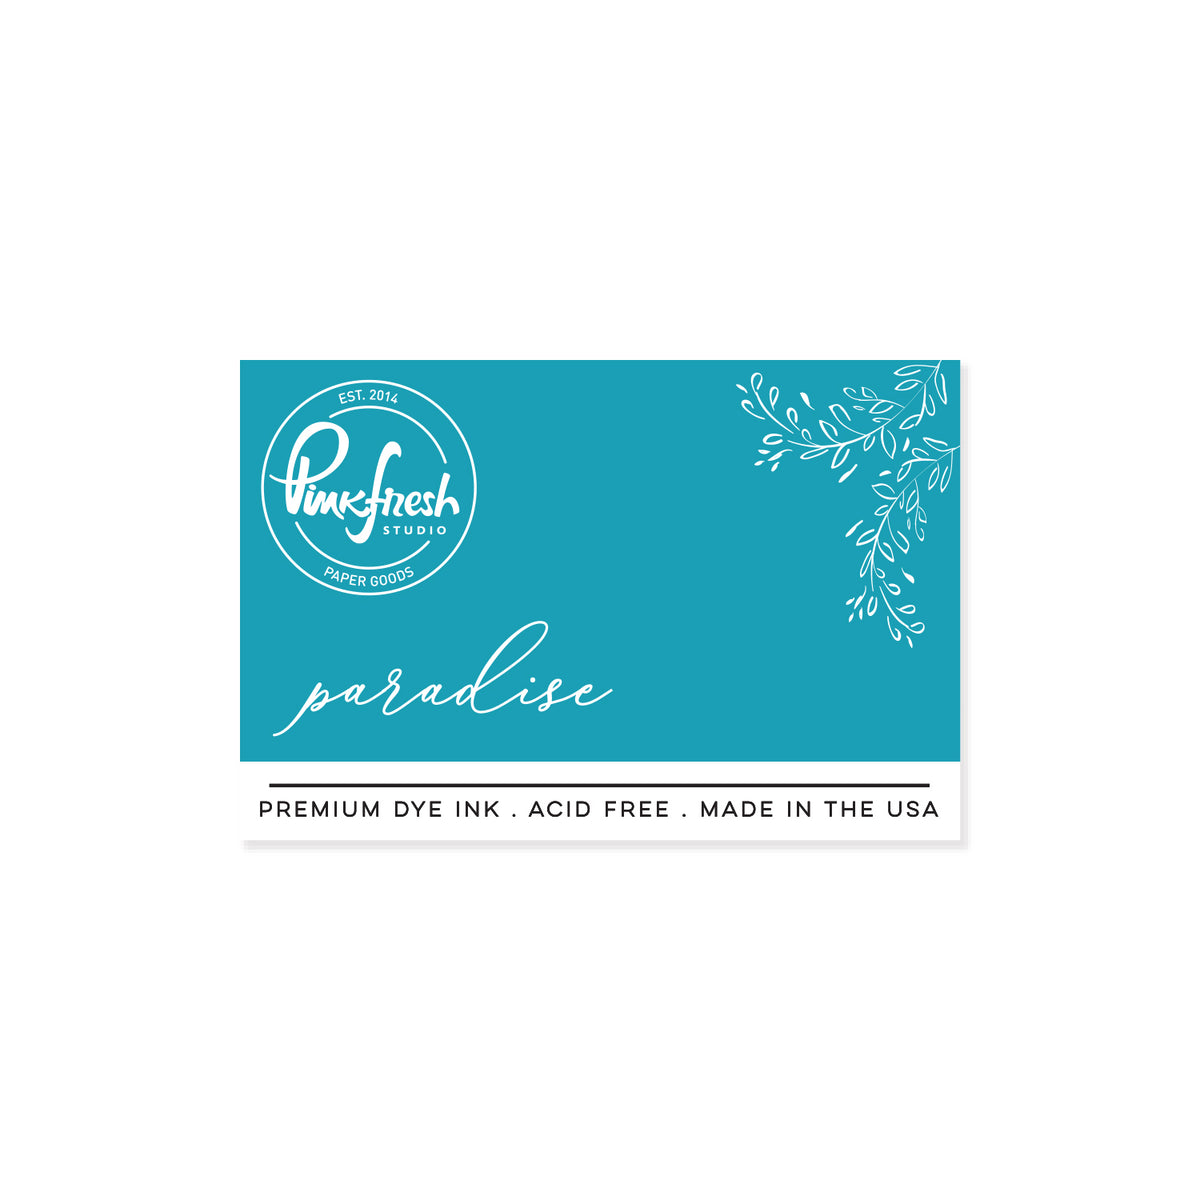
- Stencil 1: Waterfall, Turquoise, Paradise
- Stencil 2: Summer Shower, Seaside, Storm, Sunshine, Marigold
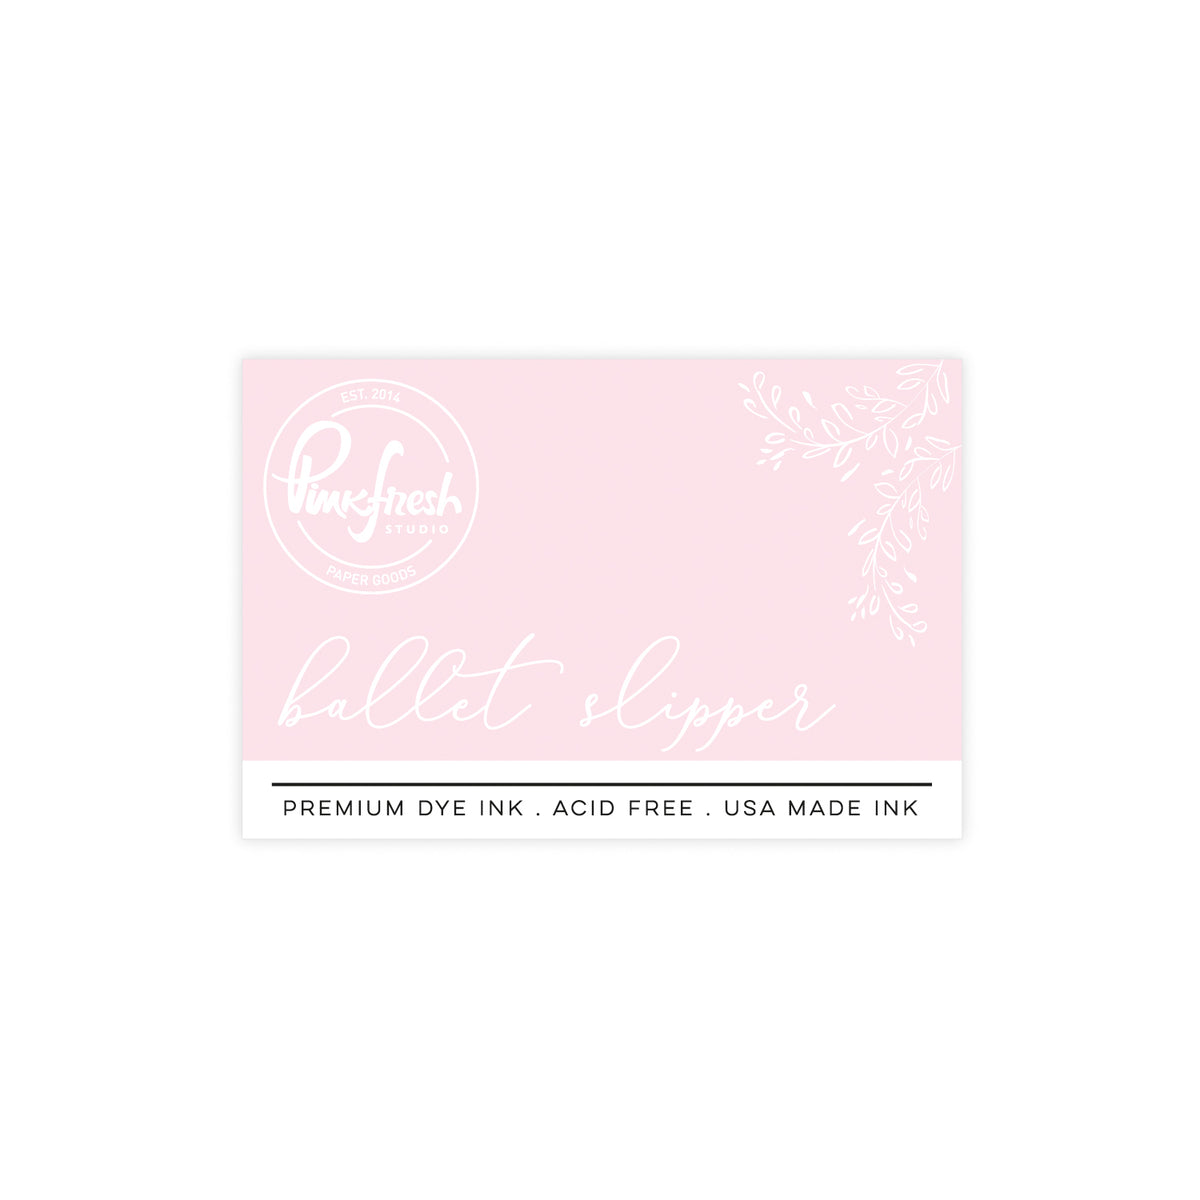
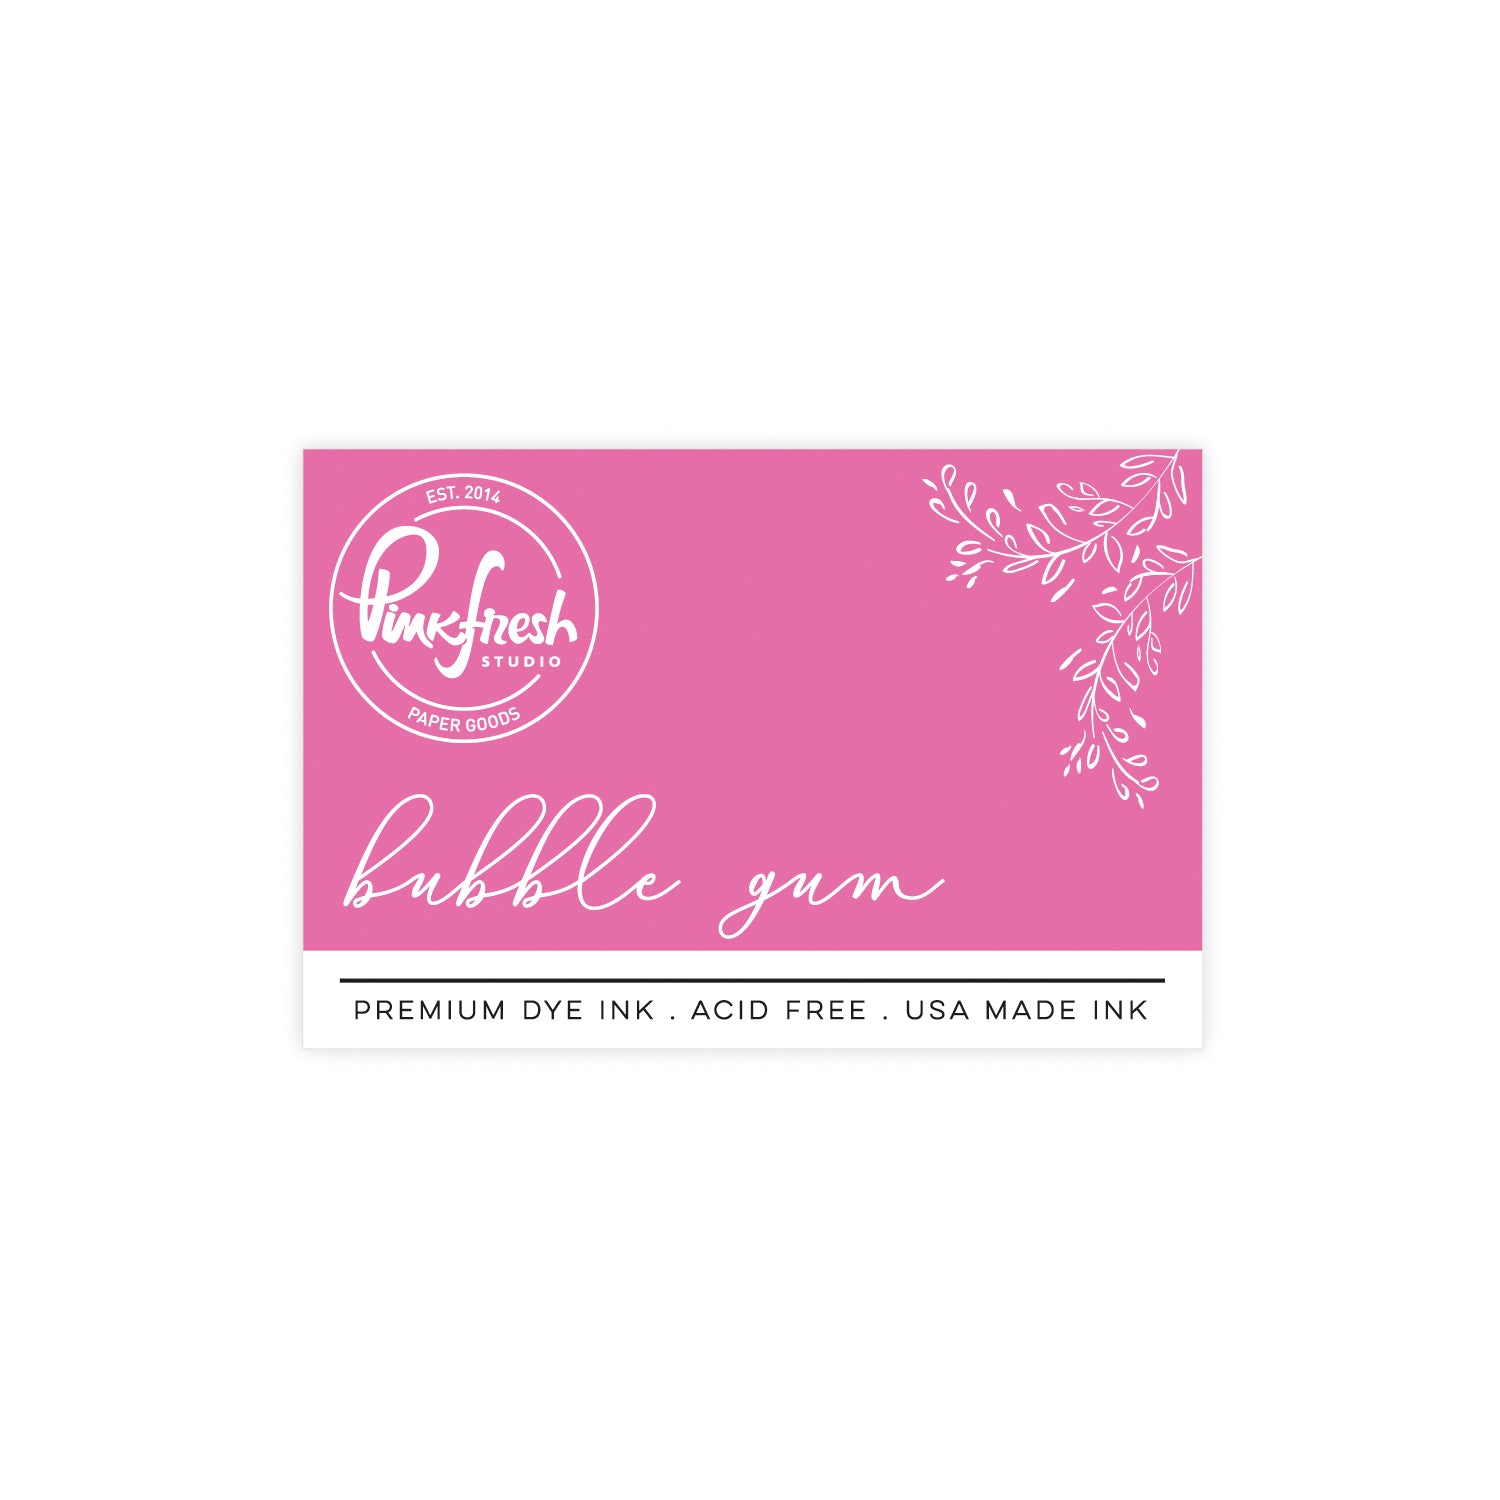
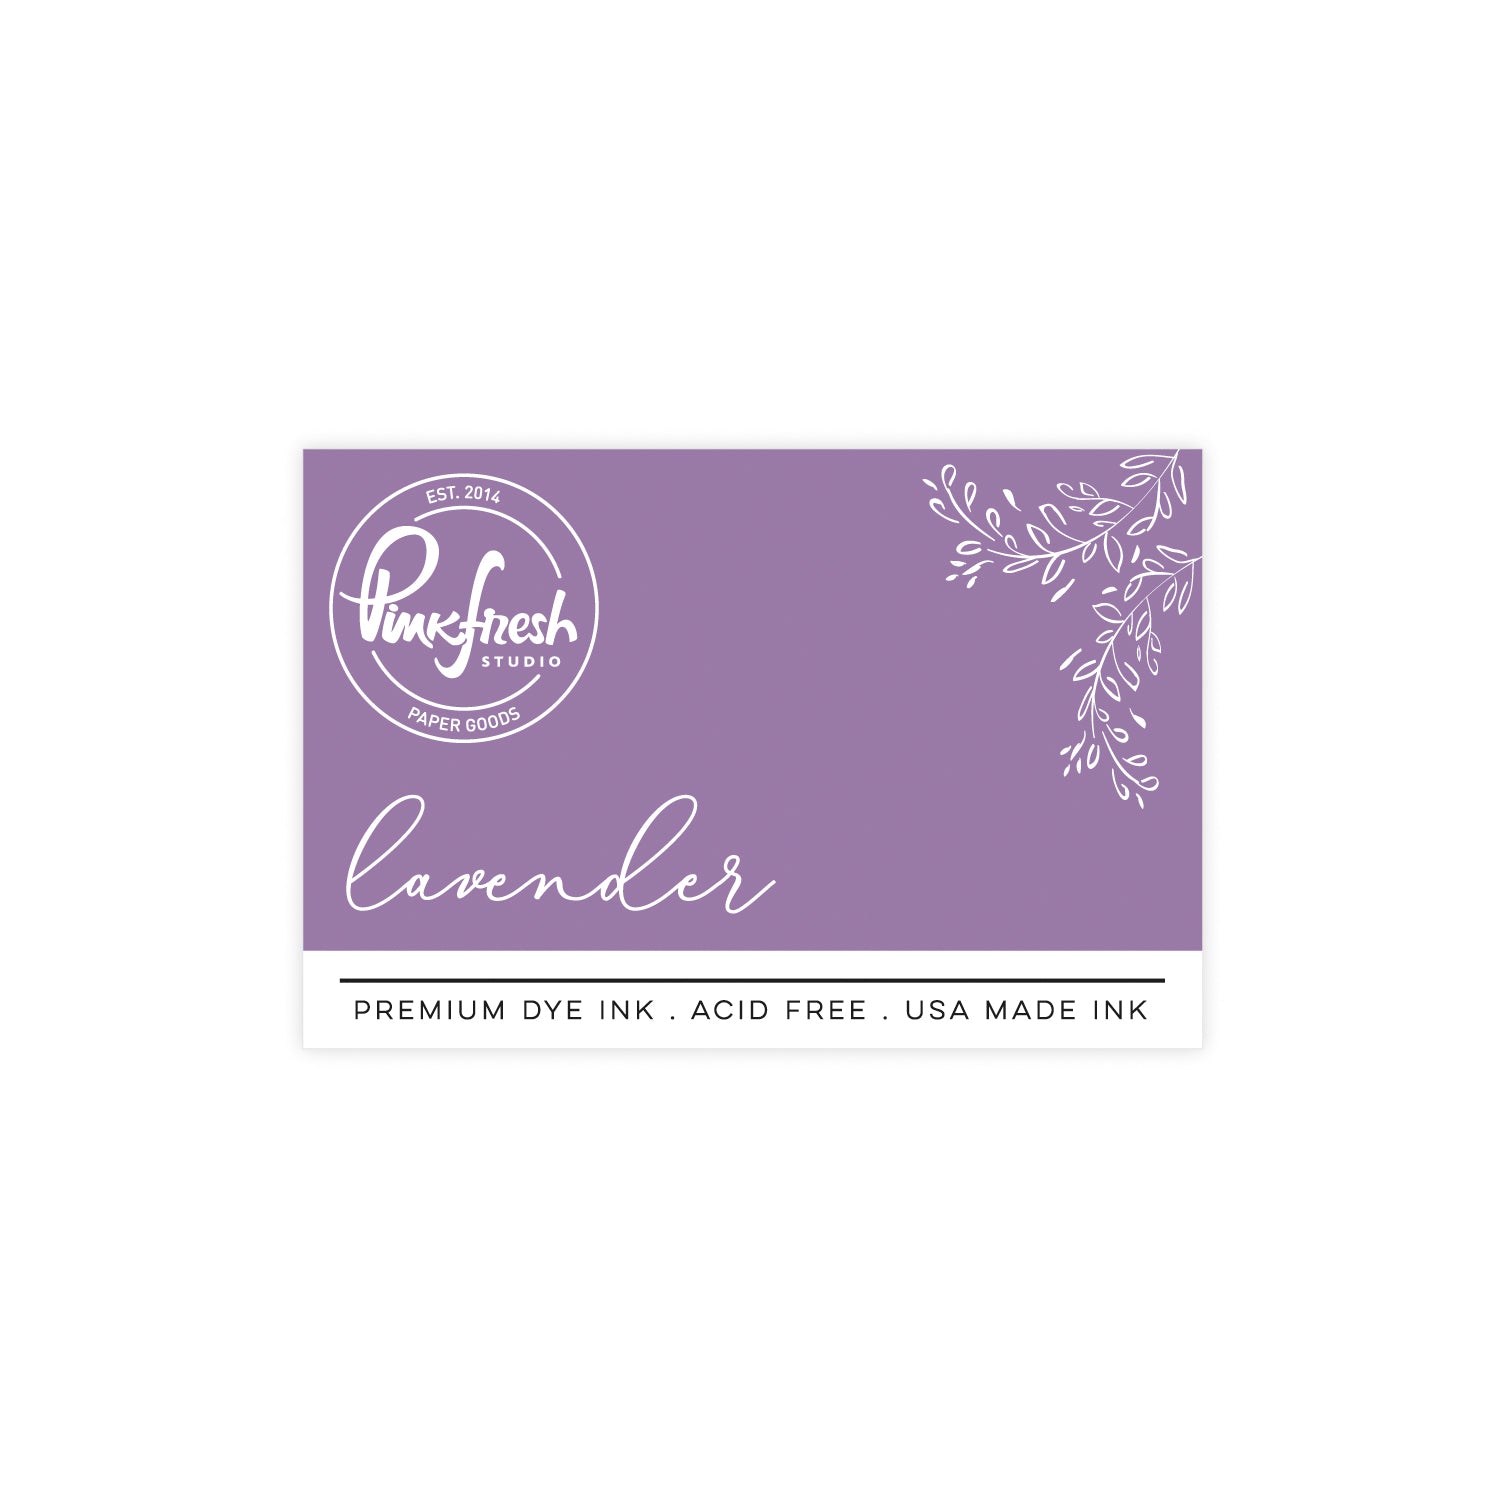
- Stencil 3: Ballet Slipper, Sparkling Rose, Bubble Gum, Soft Lilac, Candy Violet, Lavender
- Stencil 4: Ballet Slipper, Sparkling Rose, Soft Lilac, Candy Violet, Sunshine, Marigold
- Stencil 5: I ended up not using this stencil and instead added liquid pearl drops to the center of each flower to give them a little bit of dimension.
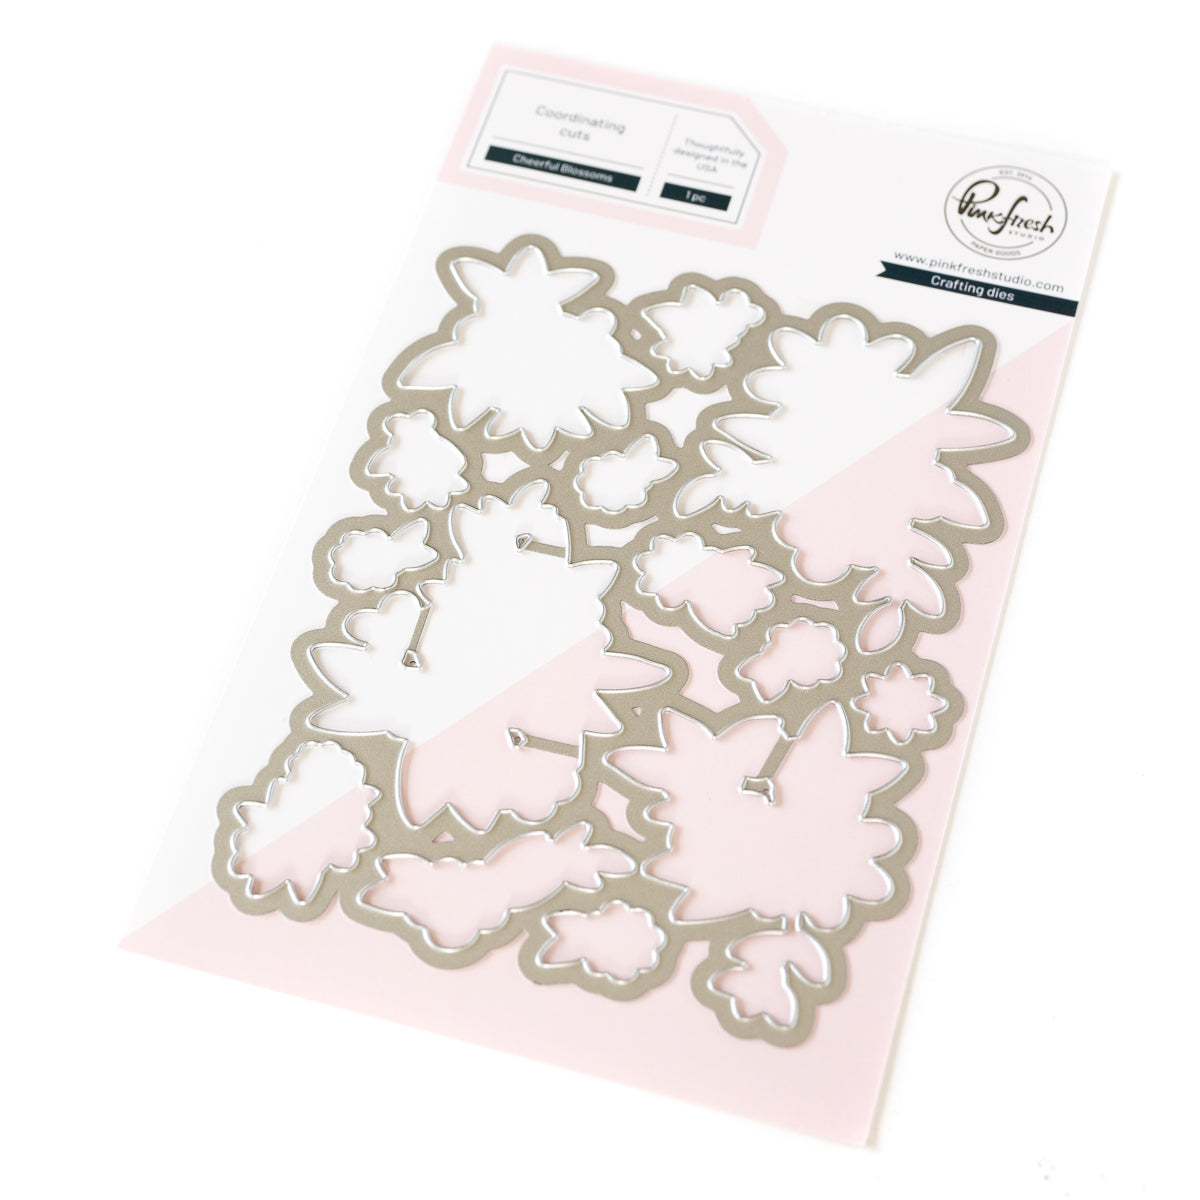
4. Die cut your florals using the coordinating Cheerful Blossoms Die Set.
5. Trim a piece of blue card stock to 4.25" x 5.5" for your card base. (You can later layer this onto whatever folding A2-sized card base you want.) Run this piece through your die cutting machine with the Stitched Basket Weave Cover Plate Die for added texture.
5. Use the 2nd and 4th largest dies from the Blanket Stitched Octagon Die Set to die cut six octagon shaped frames from white card stock and glue five of them together to create a dimensional frame.
6. Attach this octagon frame to your blue card base with liquid adhesive.
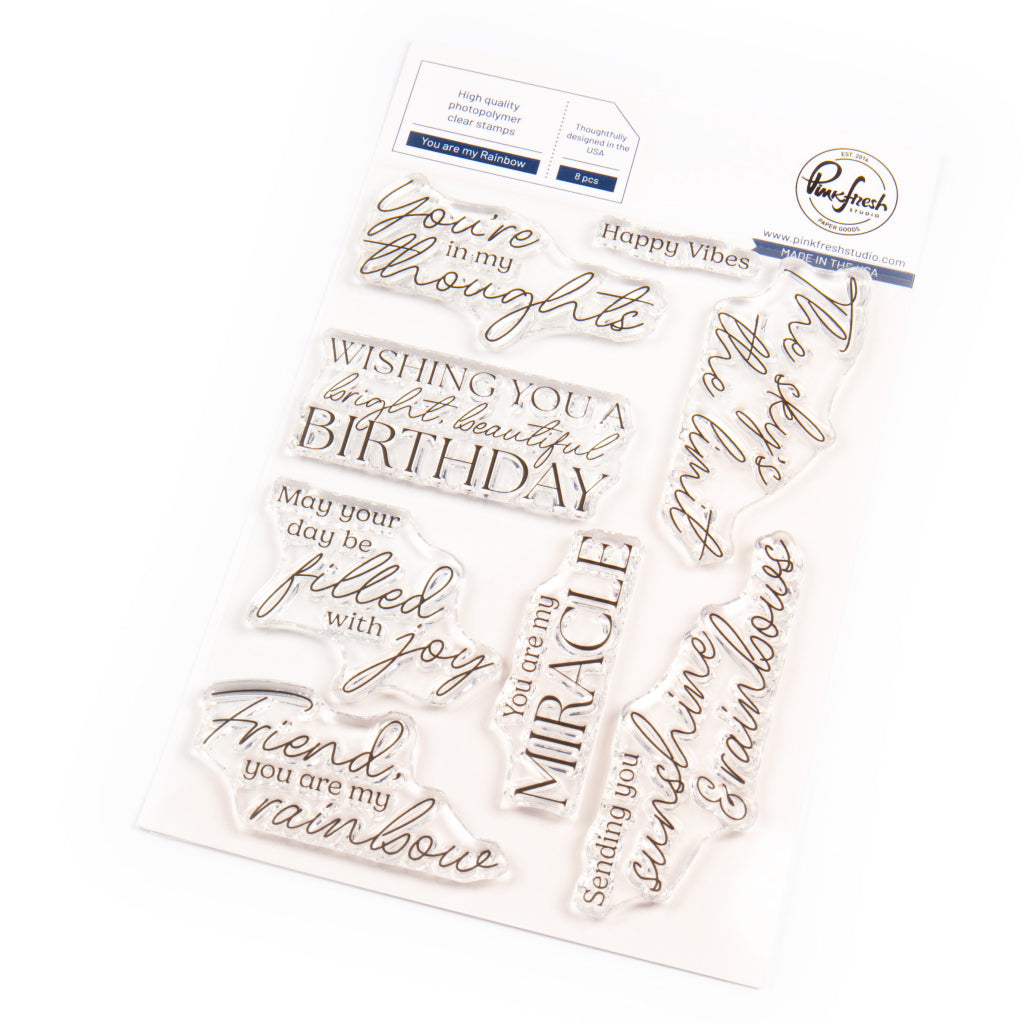
7. Lightly blend a small octagon with Summer Shower Ink and stamp your sentiment in the center of it prior to adhering it inside of your octagon frame. (I used the You are my Rainbow Stamp Set for my sentiment.)
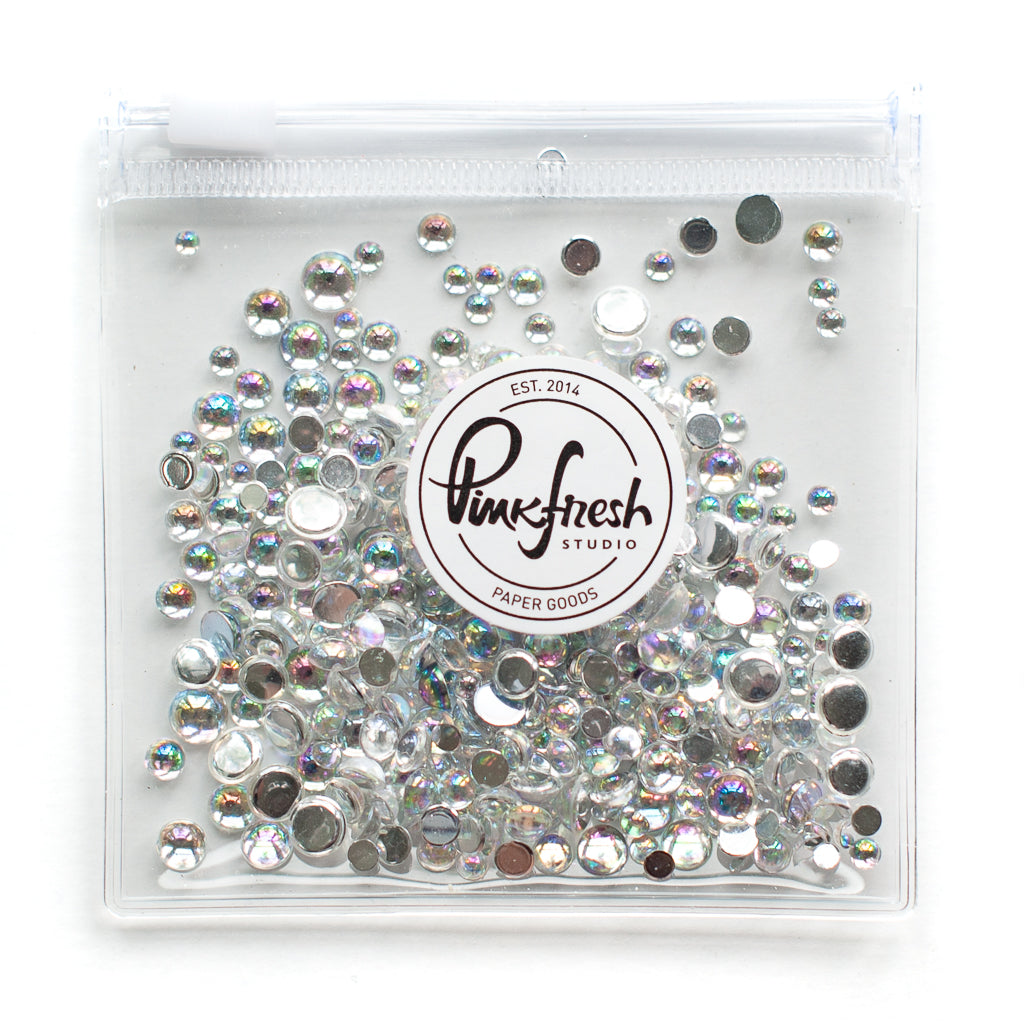
8. Add your embellishments inside of your frame and seal them off with a piece of clear acetate that has been die cut with the 2nd largest octagon die.
9. Glue your last frame on top of the acetate and add your florals on top of the frame with some dimensional foam tape.

I hope you enjoyed my card today! I usually use black ink for my stamped images, but I decided to go for a slightly softer look for my outline to allow the colors to pop a little bit more.
I would love to see what you create! Make sure to tag us on Instagram with your own creations using these products!
Please feel free to leave a comment below as well as any questions you may have.
Wishing you all a lovely day and Happy Independence Day to those who celebrate!
- Rachel
Recommended Products
























1 comment
Sue Crease
This is just gorgeous 😍
Leave a comment
All comments are moderated before being published.
This site is protected by hCaptcha and the hCaptcha Privacy Policy and Terms of Service apply.