
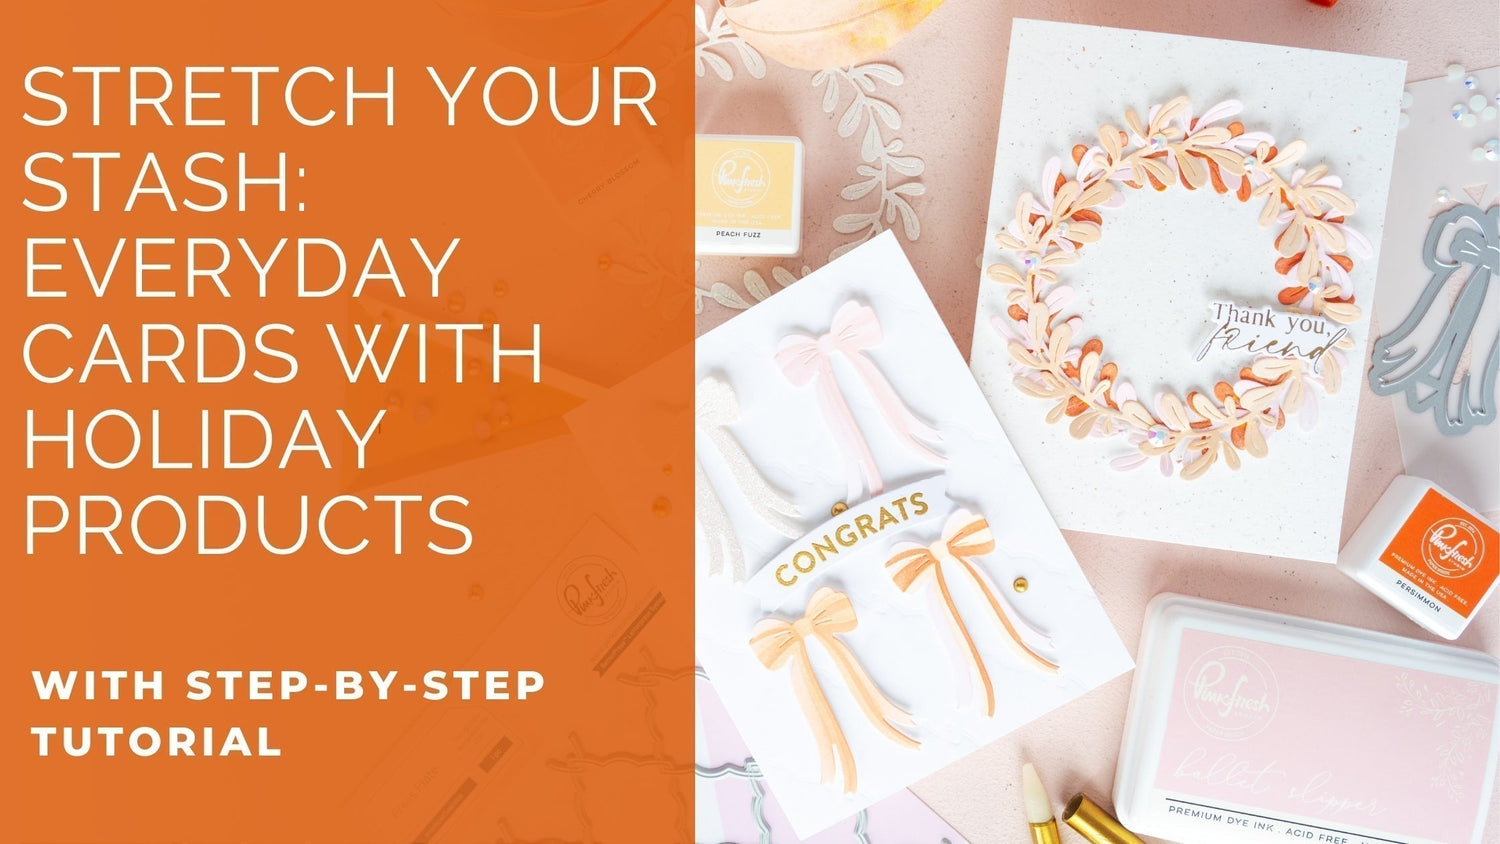
Hey friends, happy Monday! Kathleen here, and I’ve got a fun twist for you today. One of my favorite creative challenges is finding new ways to stretch my stash—taking products that were designed for a specific season or theme and giving them fresh life year-round. For this post, I reached for a holiday-themed product and used it to create two everyday cards that work well beyond the holiday season.
If you caught my YouTube Live last week, you might remember I shared how the very same product can easily transition into fall with a warm, seasonal card design. Today, I’m keeping that momentum going with two step-by-step tutorials so you can see how versatile your supplies can be.
By the way, we go live every Tuesday at noon CT for a fun, 60-minute cardmaking session—complete with amazing inspiration, lively chat, and of course, giveaways! So don't miss out!
*Disclaimer: All products used are linked below as clickable images. If a product isn’t listed, it’s been discontinued.

Here's how you can recreate the cards. First up, the wreath card:
- Cut and score an A2 card base (top or side-folding) from light gray/cream/off-white cardstock. (I used a ready-made card base from light gray cardstock with rose gold speckles.)
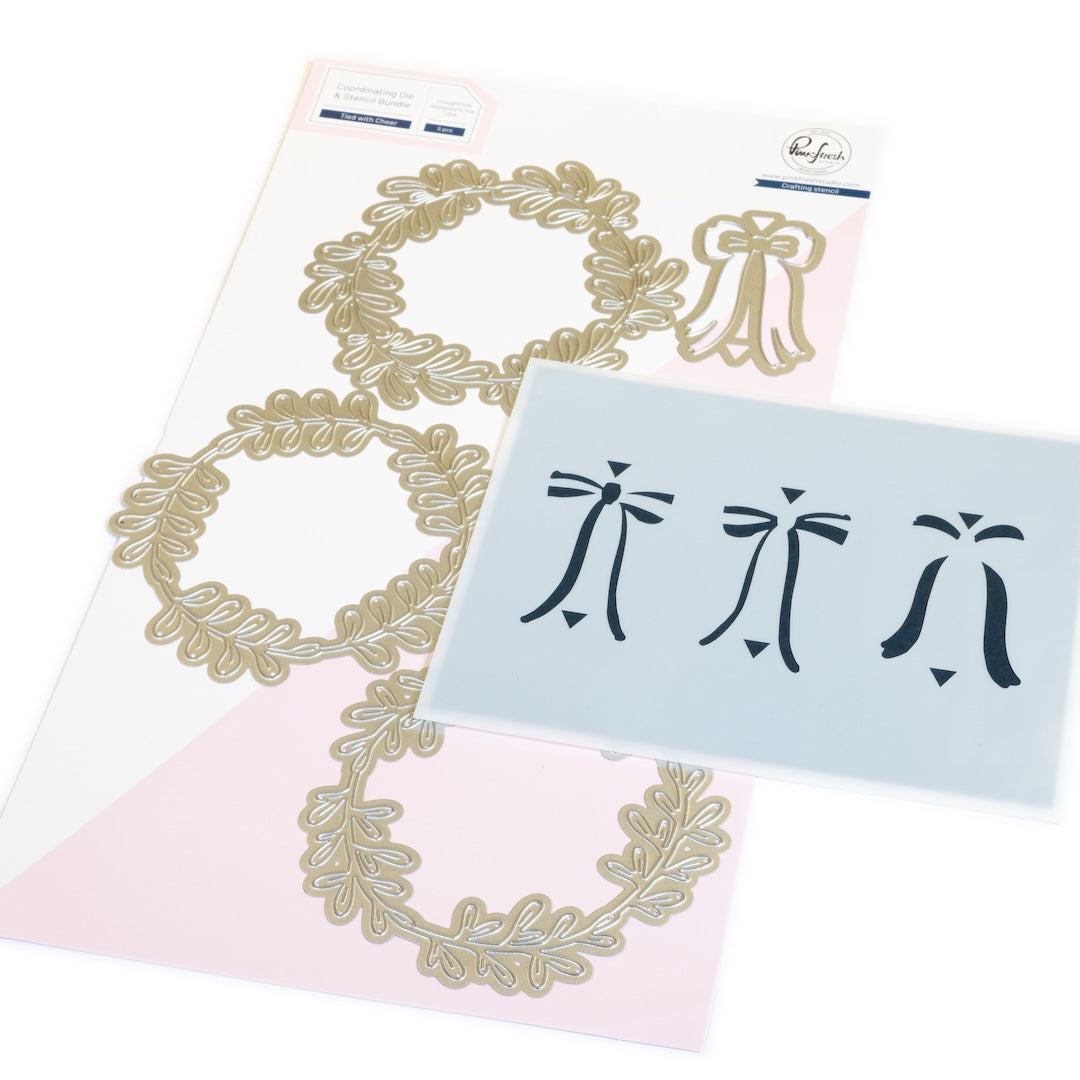
- Die cut the (3) wreaths with the Tied with Cheer die from white cardstock.
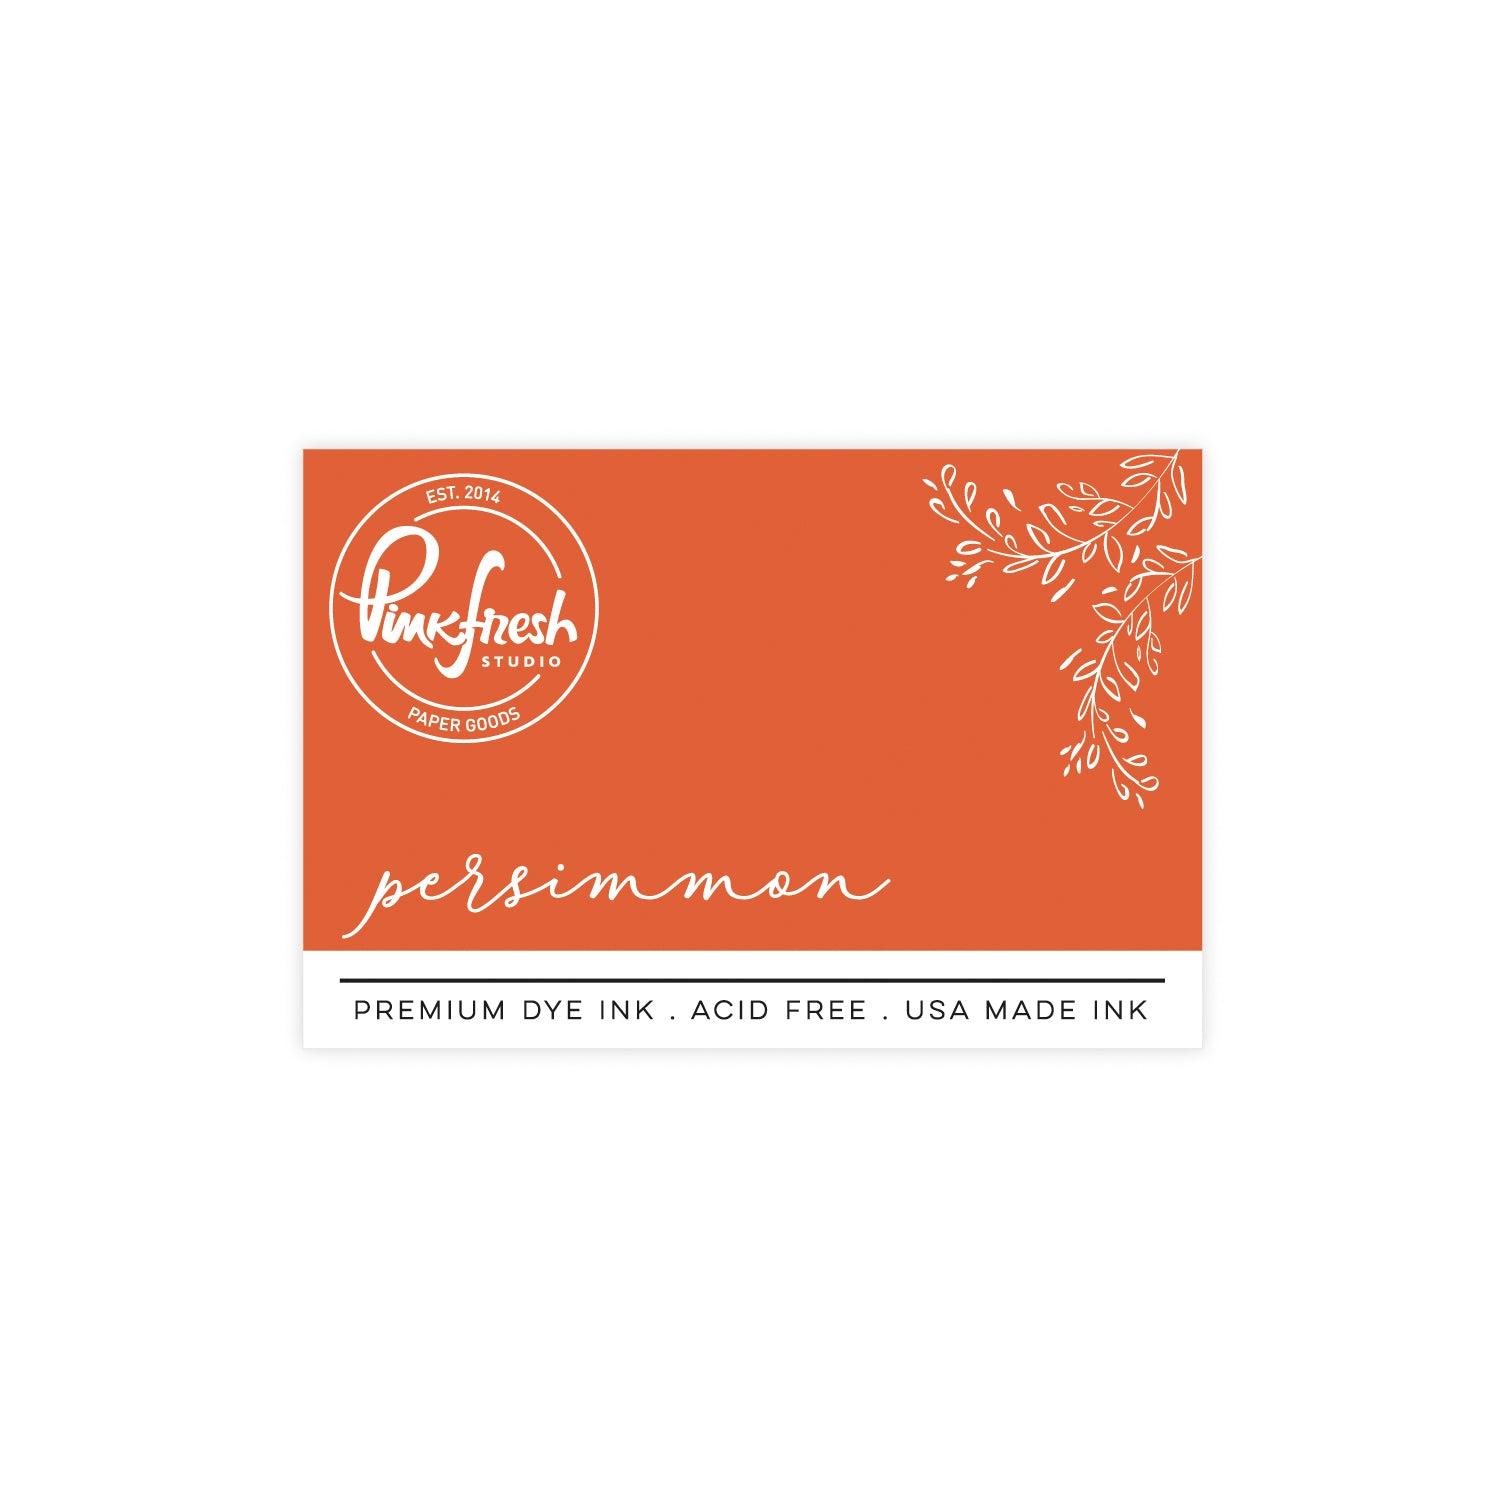
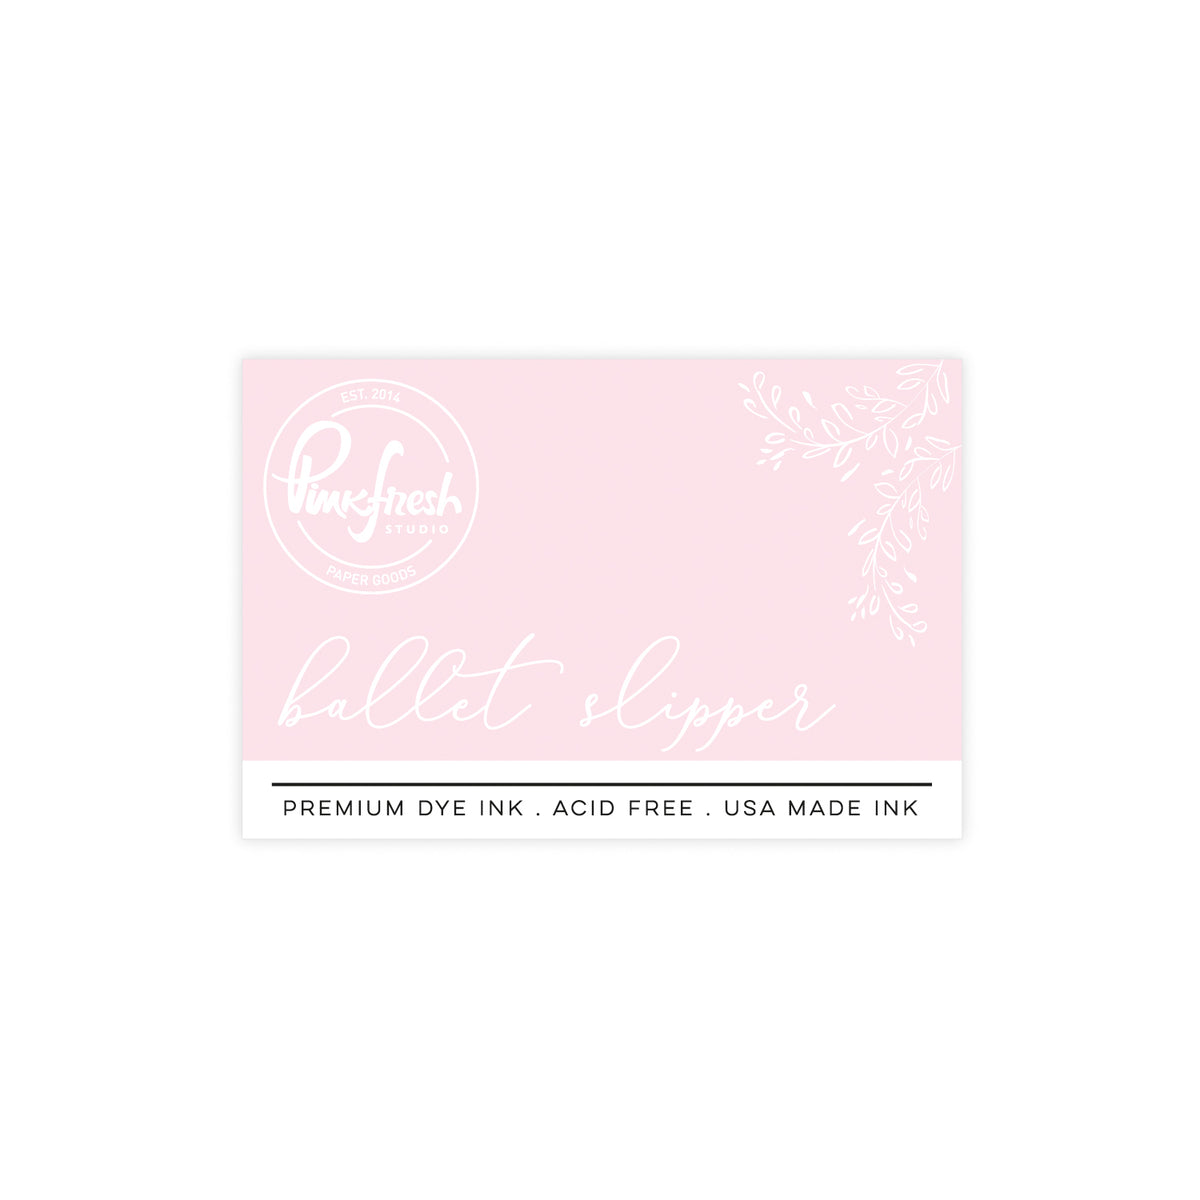
- Ink blend one with Persimmon, one with Ballet Slipper, and one with Peach Fuzz.
- Adhere them centered onto the card base using liquid adhesive. Start with Persimmon on the bottom, then Ballet Slipper, then Peach Fuzz on top.
- Embellish with Jewels in Glacier.
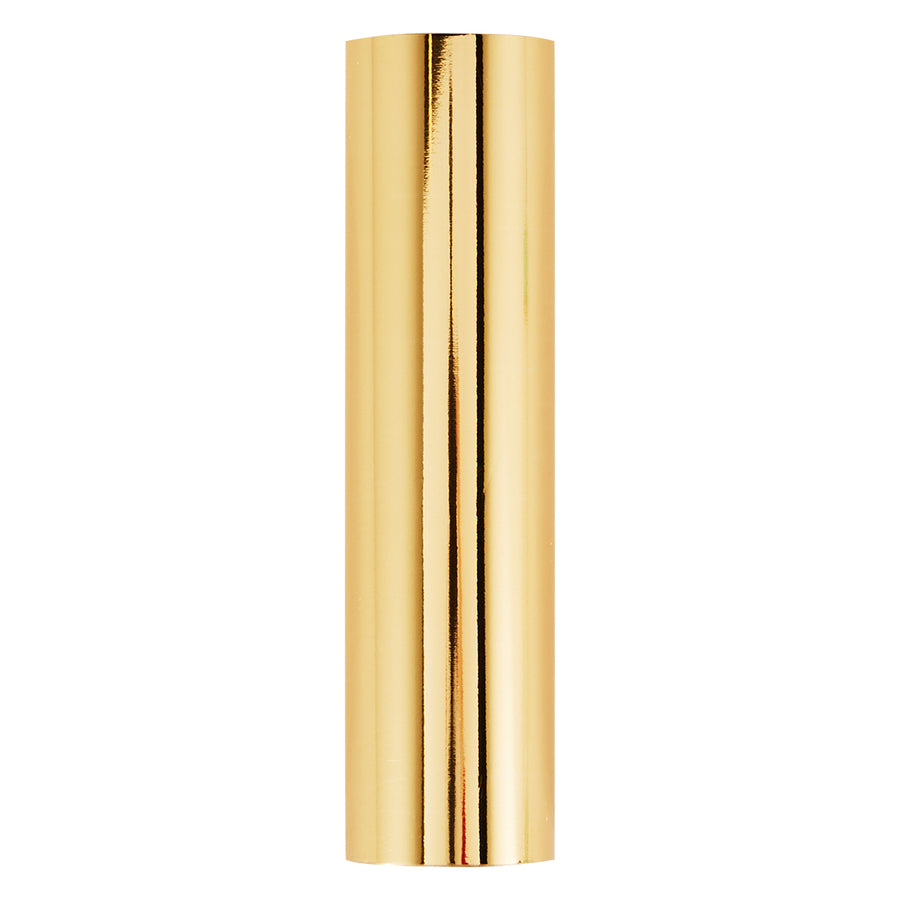
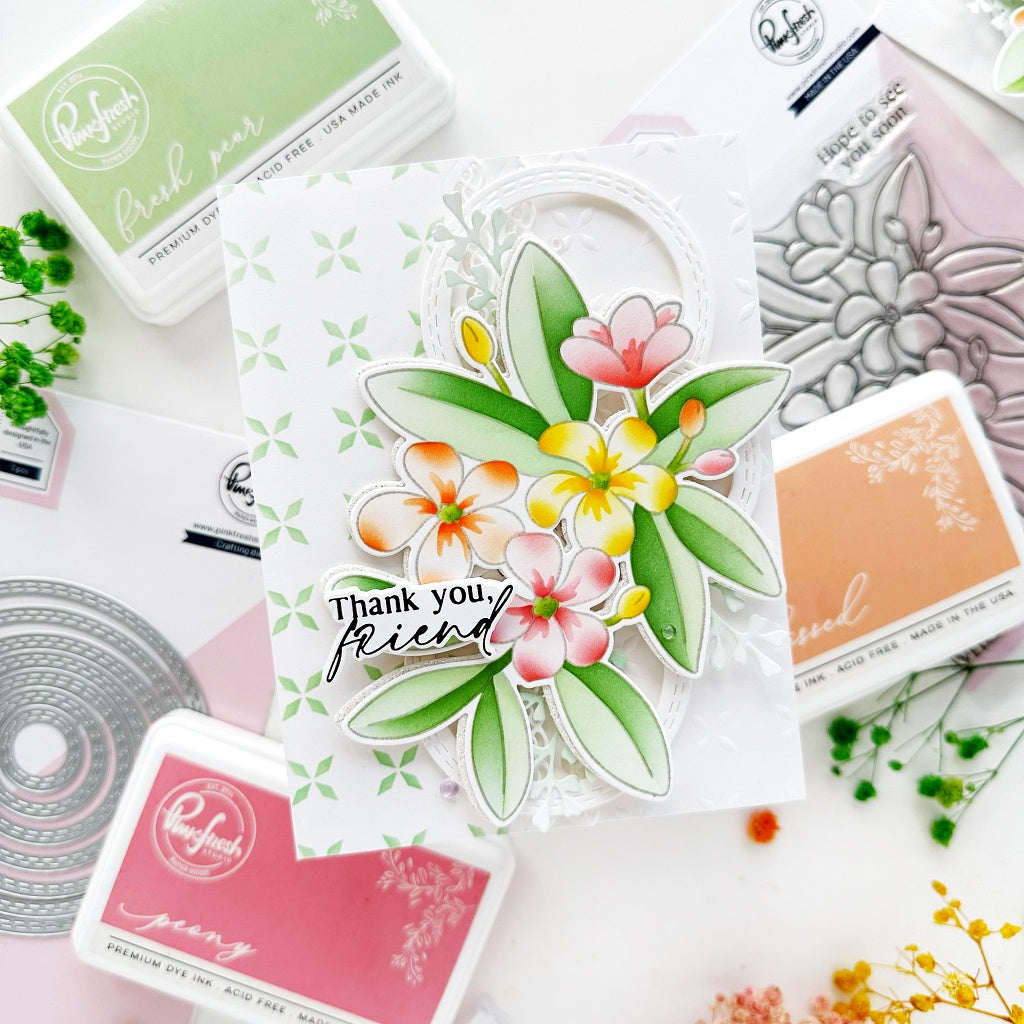
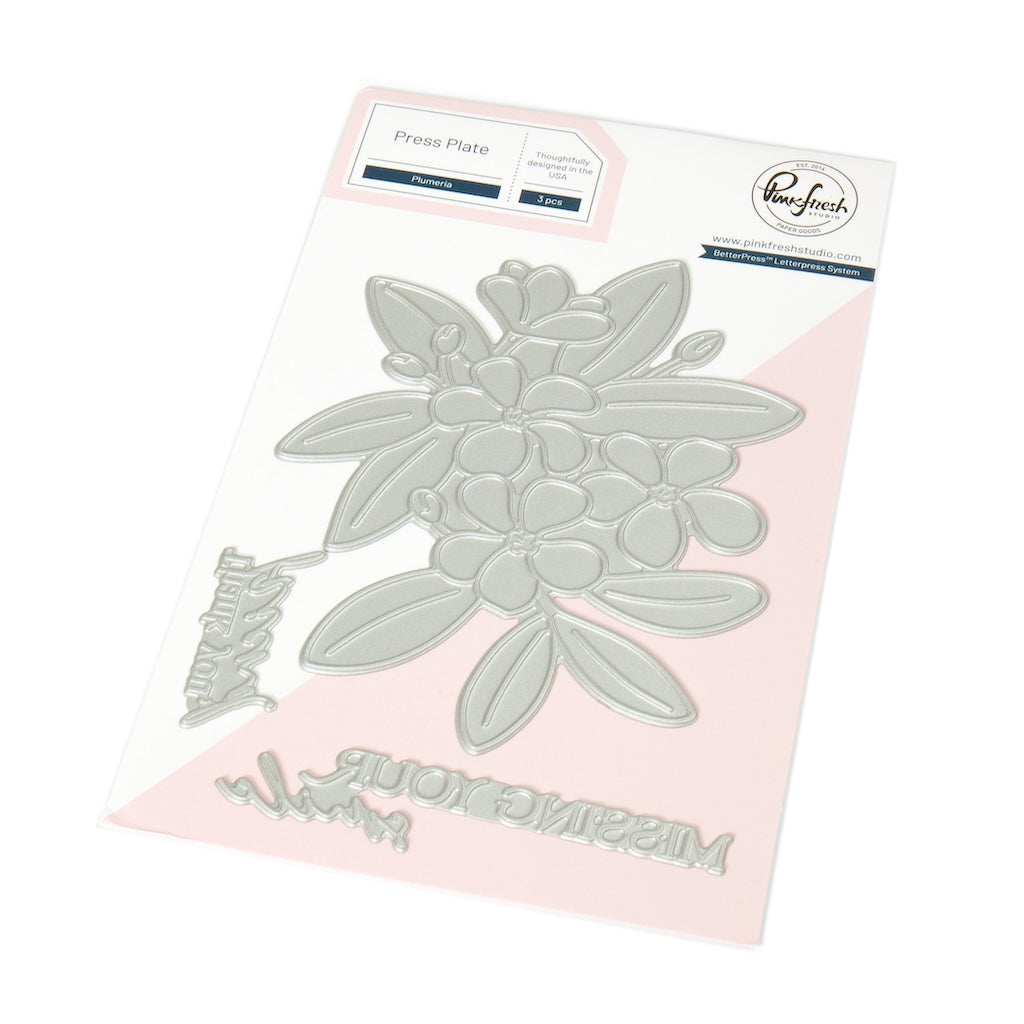
- Add a sentiment of your choice to the wreath. I used a hot-foiled "Thank you, friend" made with the Plumeria press plate and gold foil.

- Cut and score an A2 card base (top or side-folding) from white cardstock.
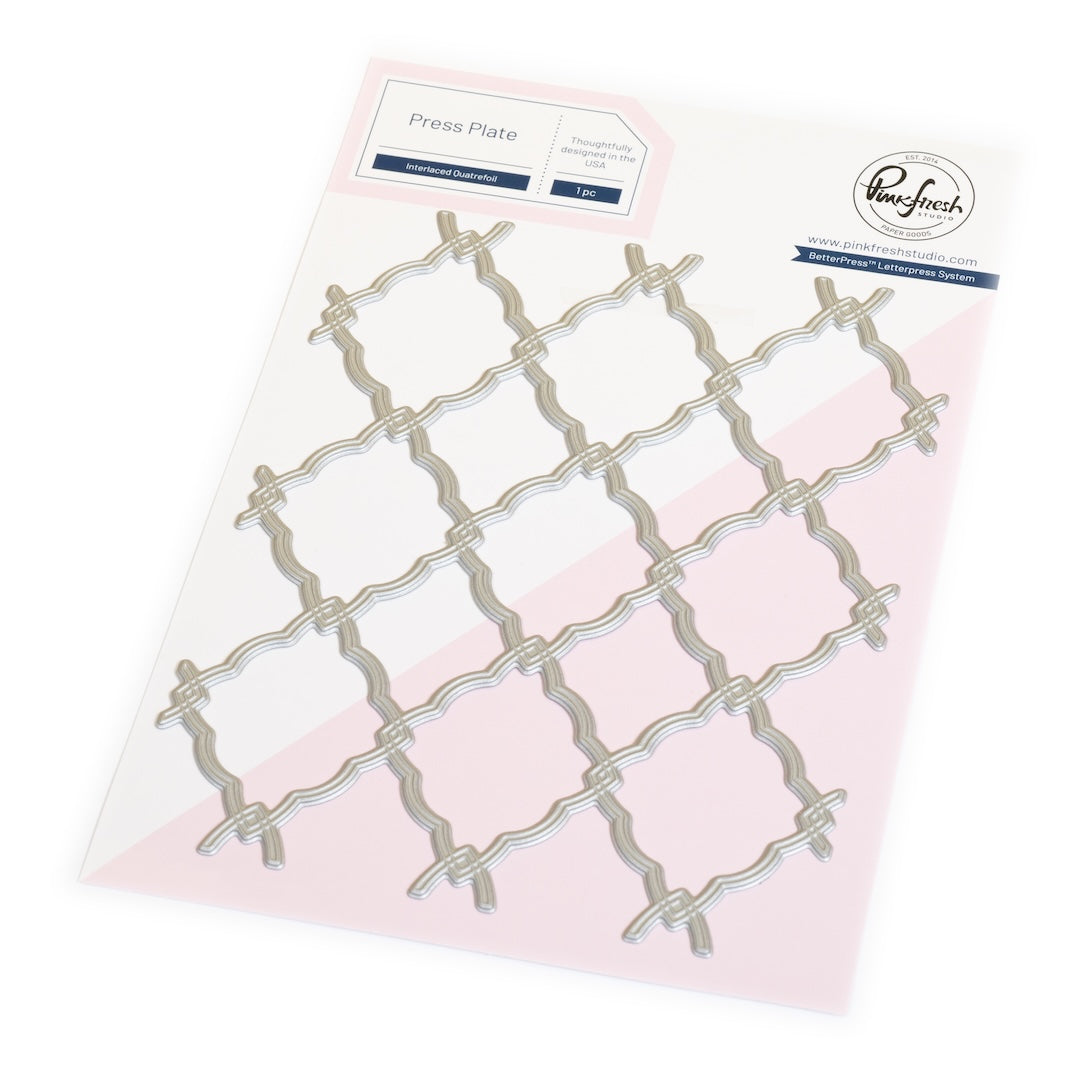
- Dry emboss the card front with the Interlaced Quatrefoil press plate.
- Ink blend the bow from the Tied with Cheer stencil & die set (3) times.
- Bow 1: Use Ballet Slipper for all layers, with varying intensity.
- Bow 2: Use Peach Fuzz for all layers, with varying intensity.
-
Bow 3: Use Peach Fuzz, Ballet Slipper, and Persimmon (light hand) for one layer each.
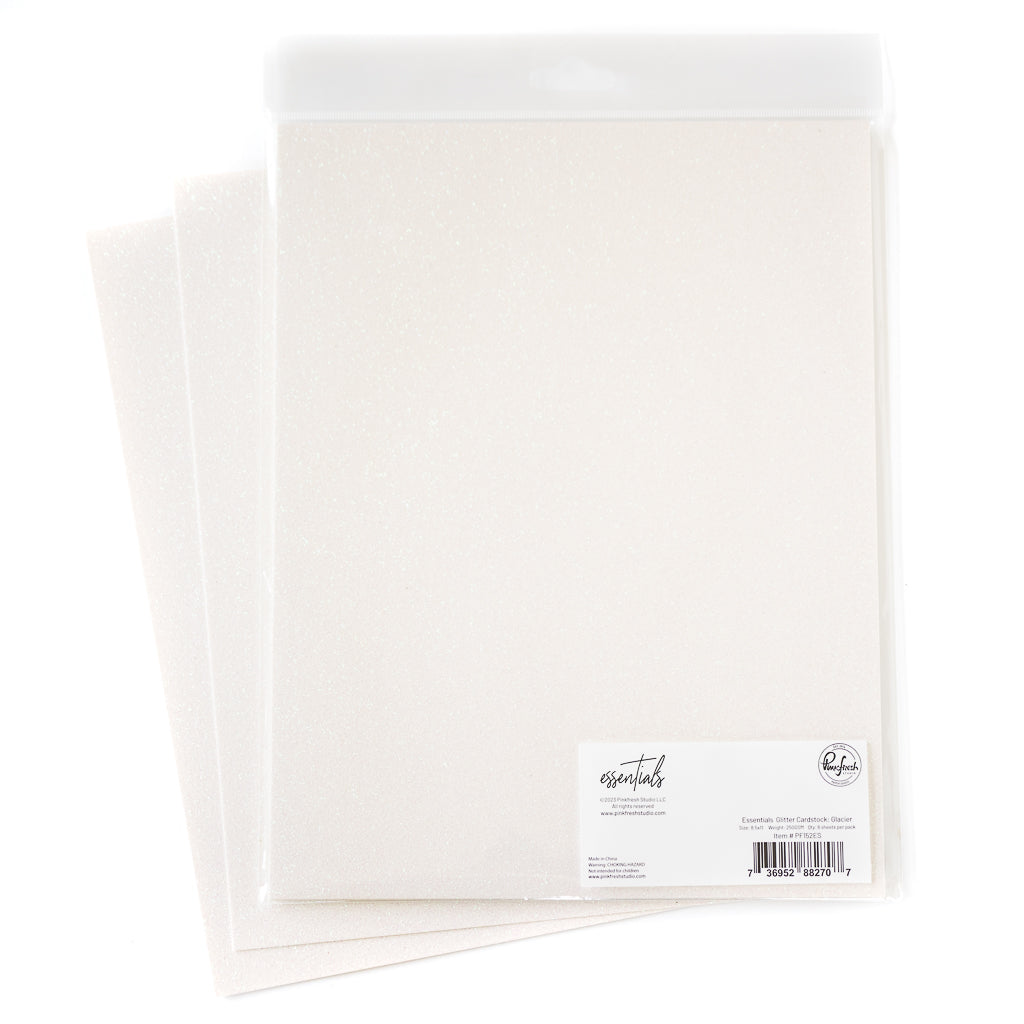
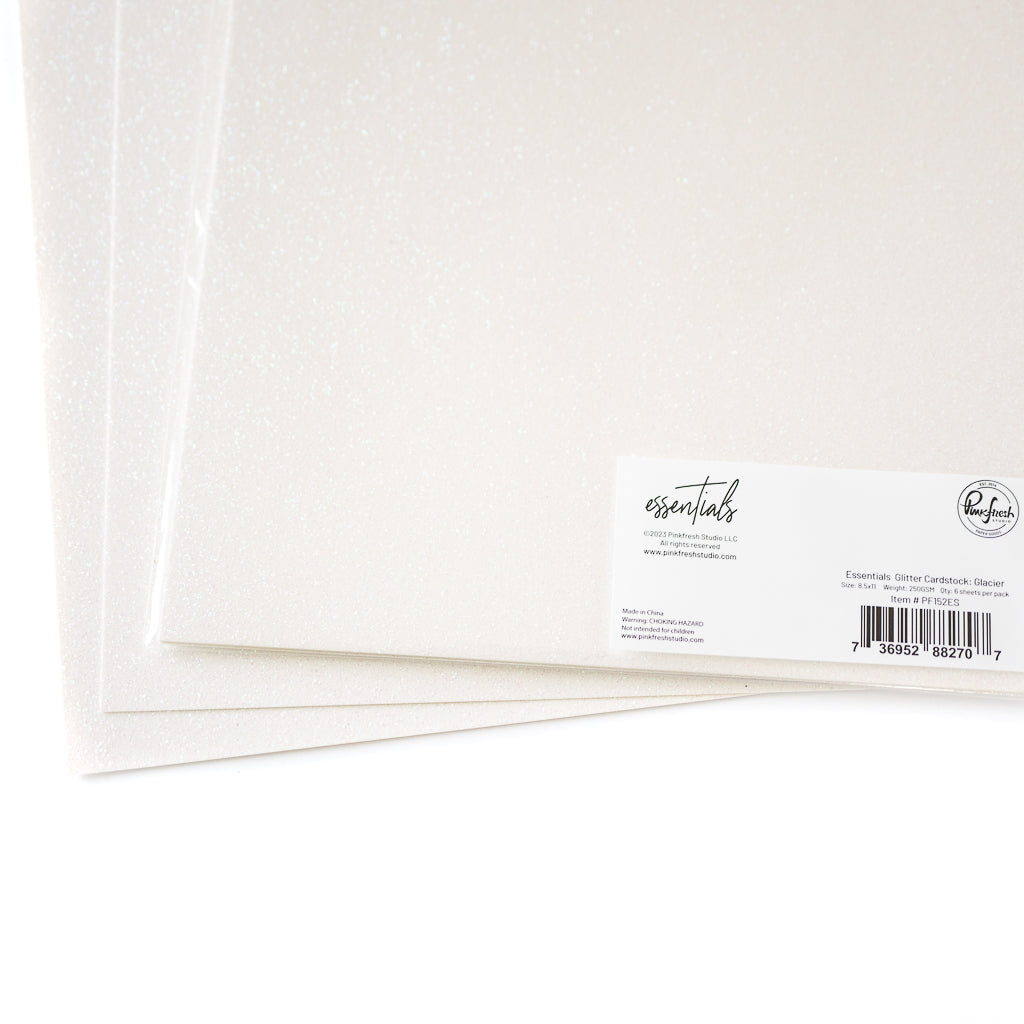
- Die cut using the coordinating die. Die cut a 4th bow from Glacier glitter cardstock.
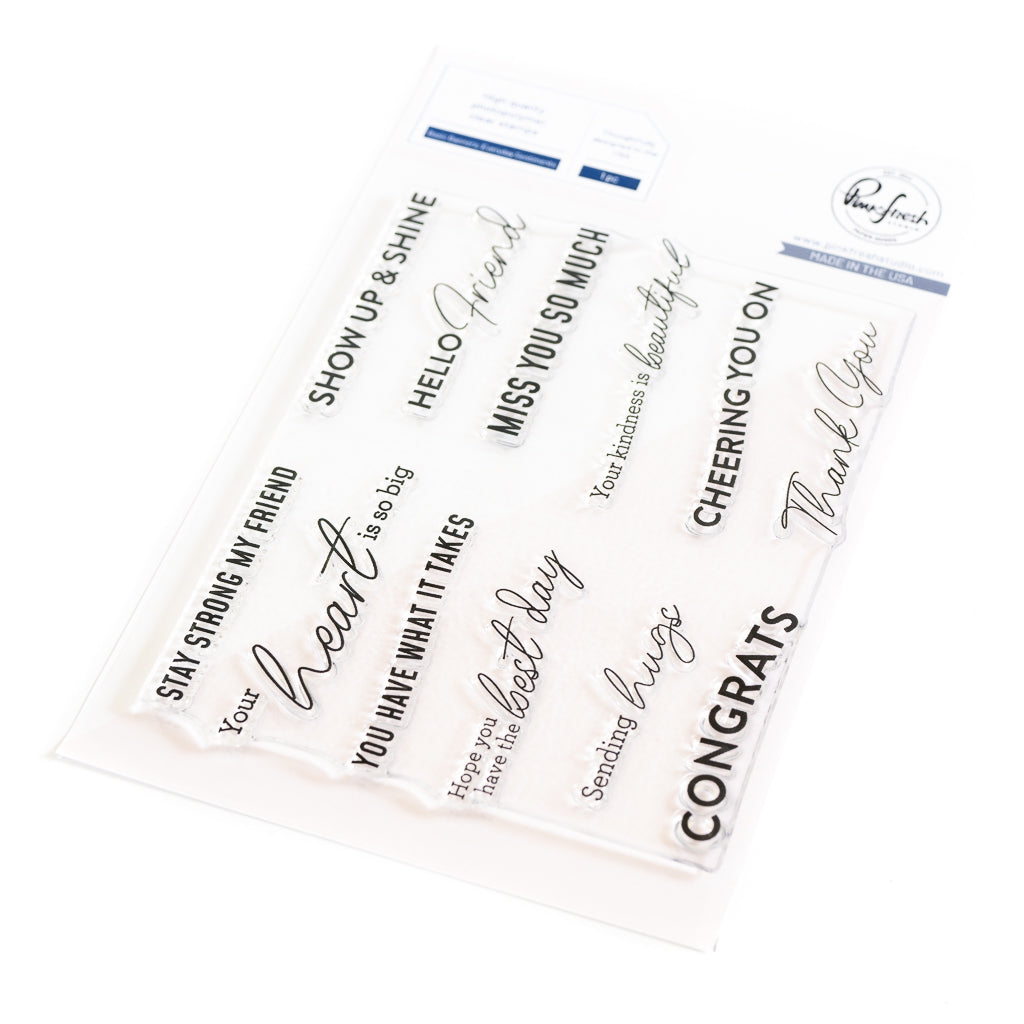
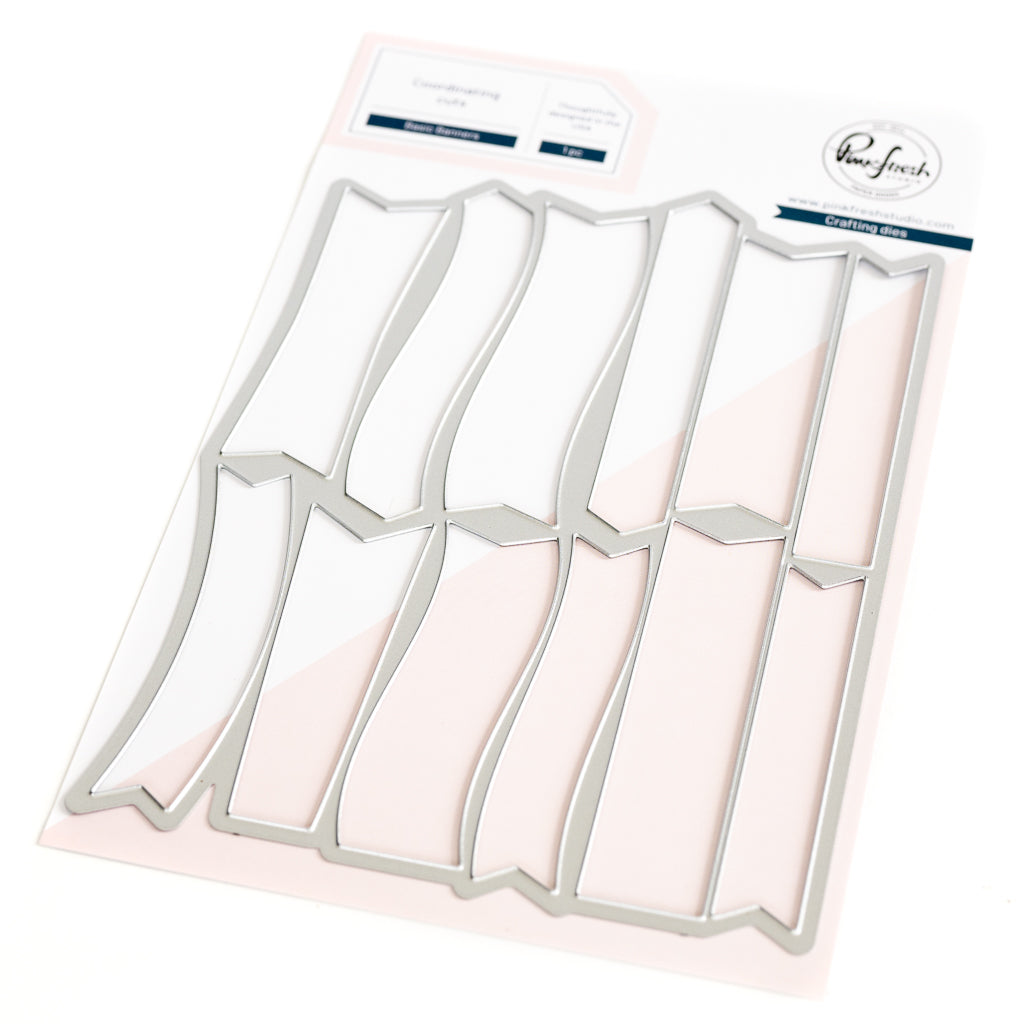
- Adhere sentiment of your choice in centered on the dry-embossed card front. (I used a gold heat-embossed "congrats" made with the Basic Banners: Everyday Stamp, and coordinating die)
- Adhere the bows in a grid above and below the sentiment.
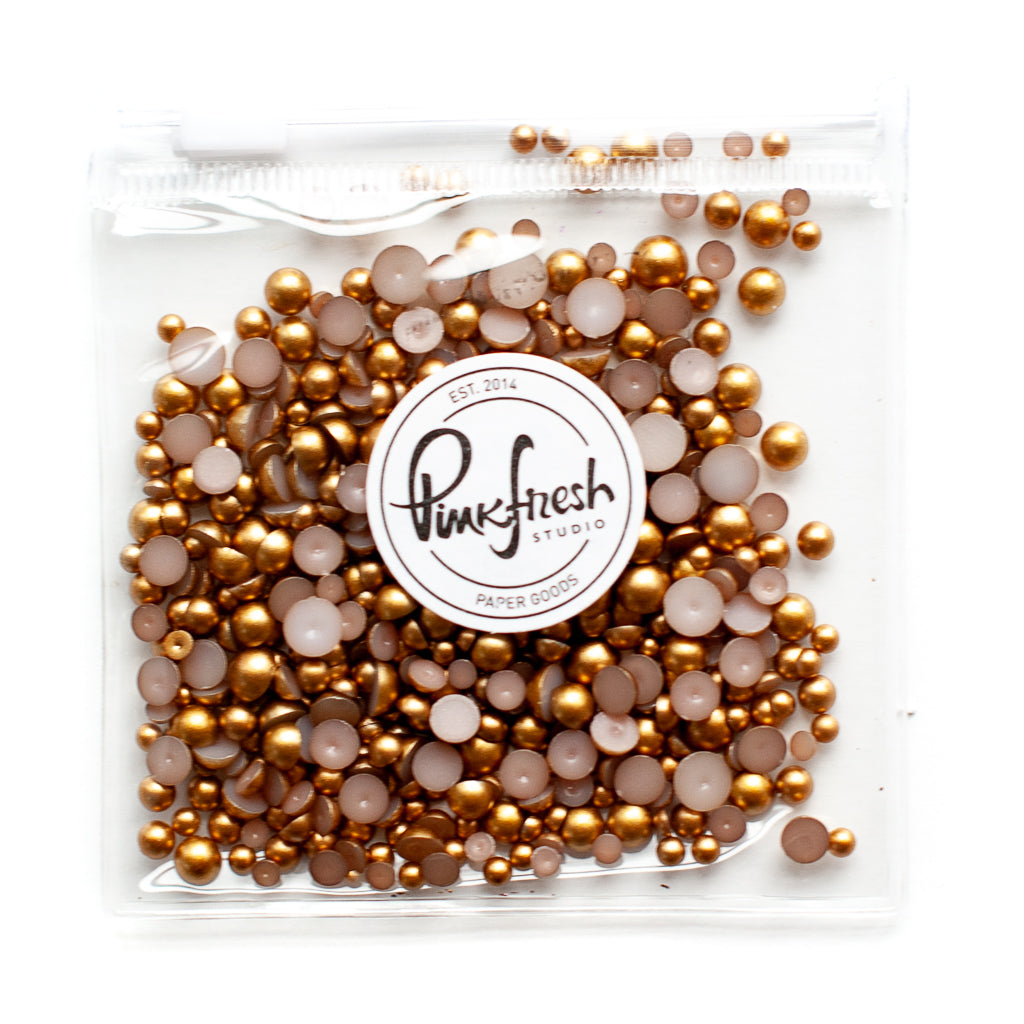
- Embellish with Metallic Pearls in Matte Gold.

And here is the replay of last week's YouTube Live, where I used the Tied with Cheer stencil & die set to create a fun autumnal shaker wreath:
I hope you enjoyed these ideas for getting more out of your seasonal products! 😊
We always love seeing what you create, so please make sure to tag us on social media when you post a project inspired by this!
Have a wonderful rest of the week!
-Kathleen
Recommended Products











































1 comment
Rosy Newlun
These soft pastel colors are extremely attractive and really do change the theme for the wreath and the bows to year round.
Leave a comment
All comments are moderated before being published.
This site is protected by hCaptcha and the hCaptcha Privacy Policy and Terms of Service apply.