
Hello friends!
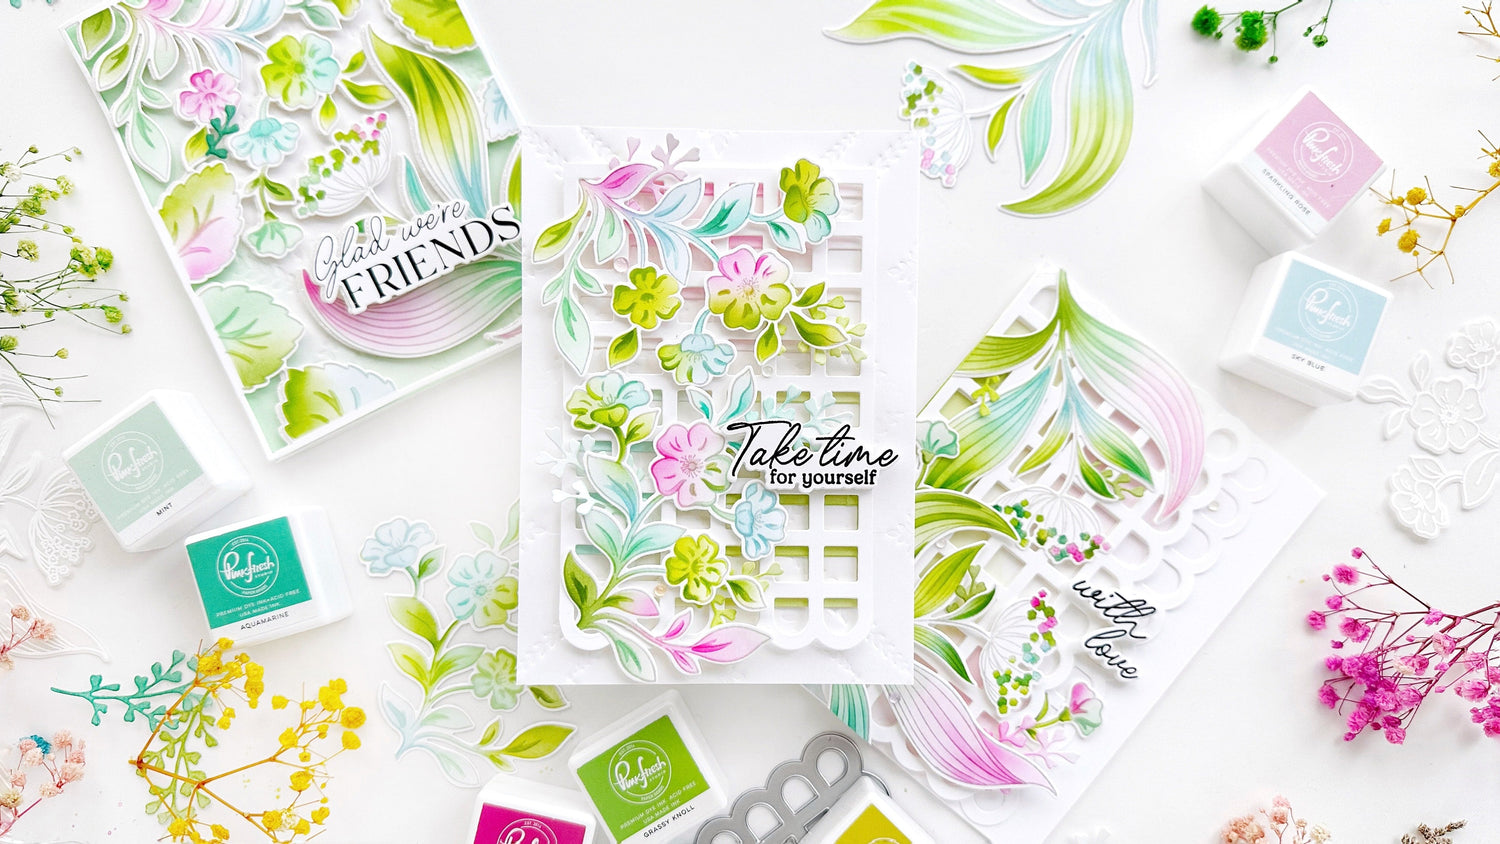
I'm up on the Pinkfresh blog again with a fun set of cards using one of my favorite color combination: pink, blue and green. The idea behind these projects is basically have fun ink blending and adding some diecut elements offsetting them a bit. I had so much fun trying our this technique that I ended up with three cards:

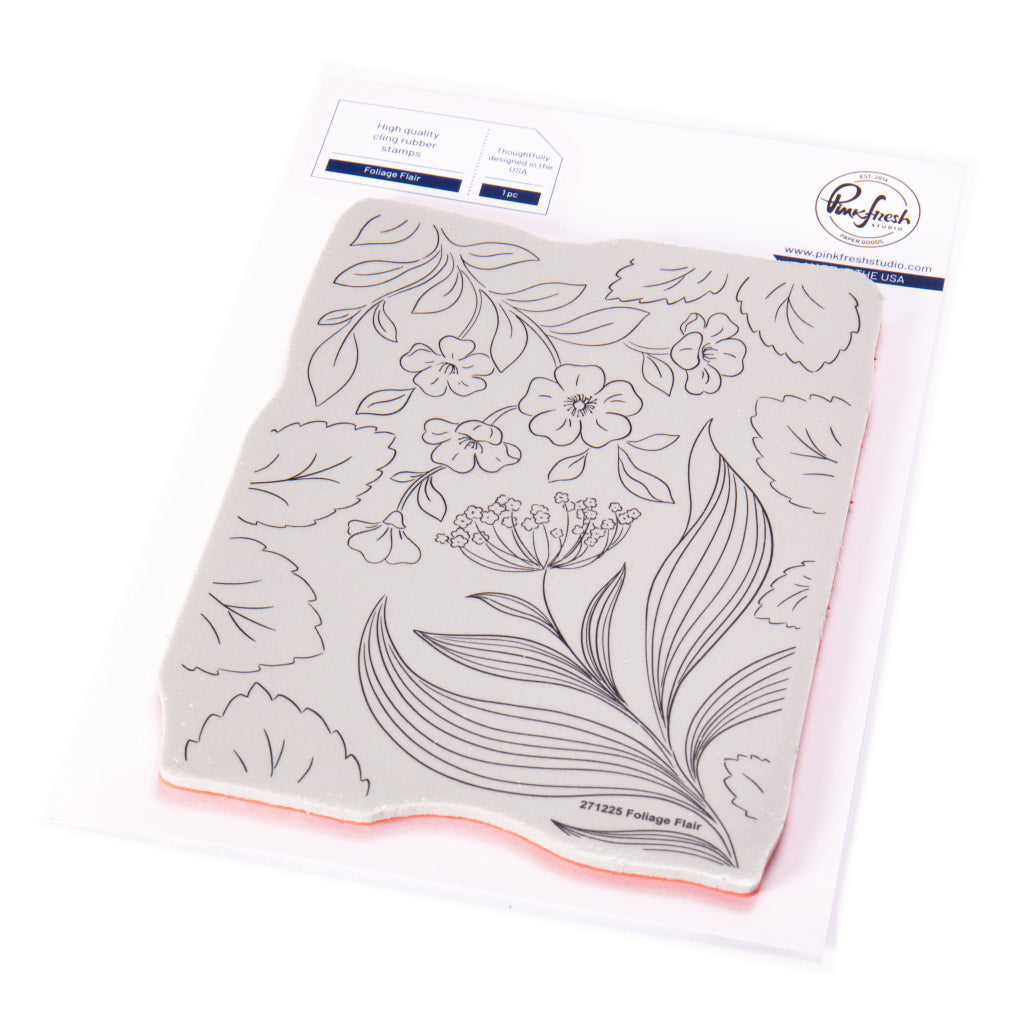
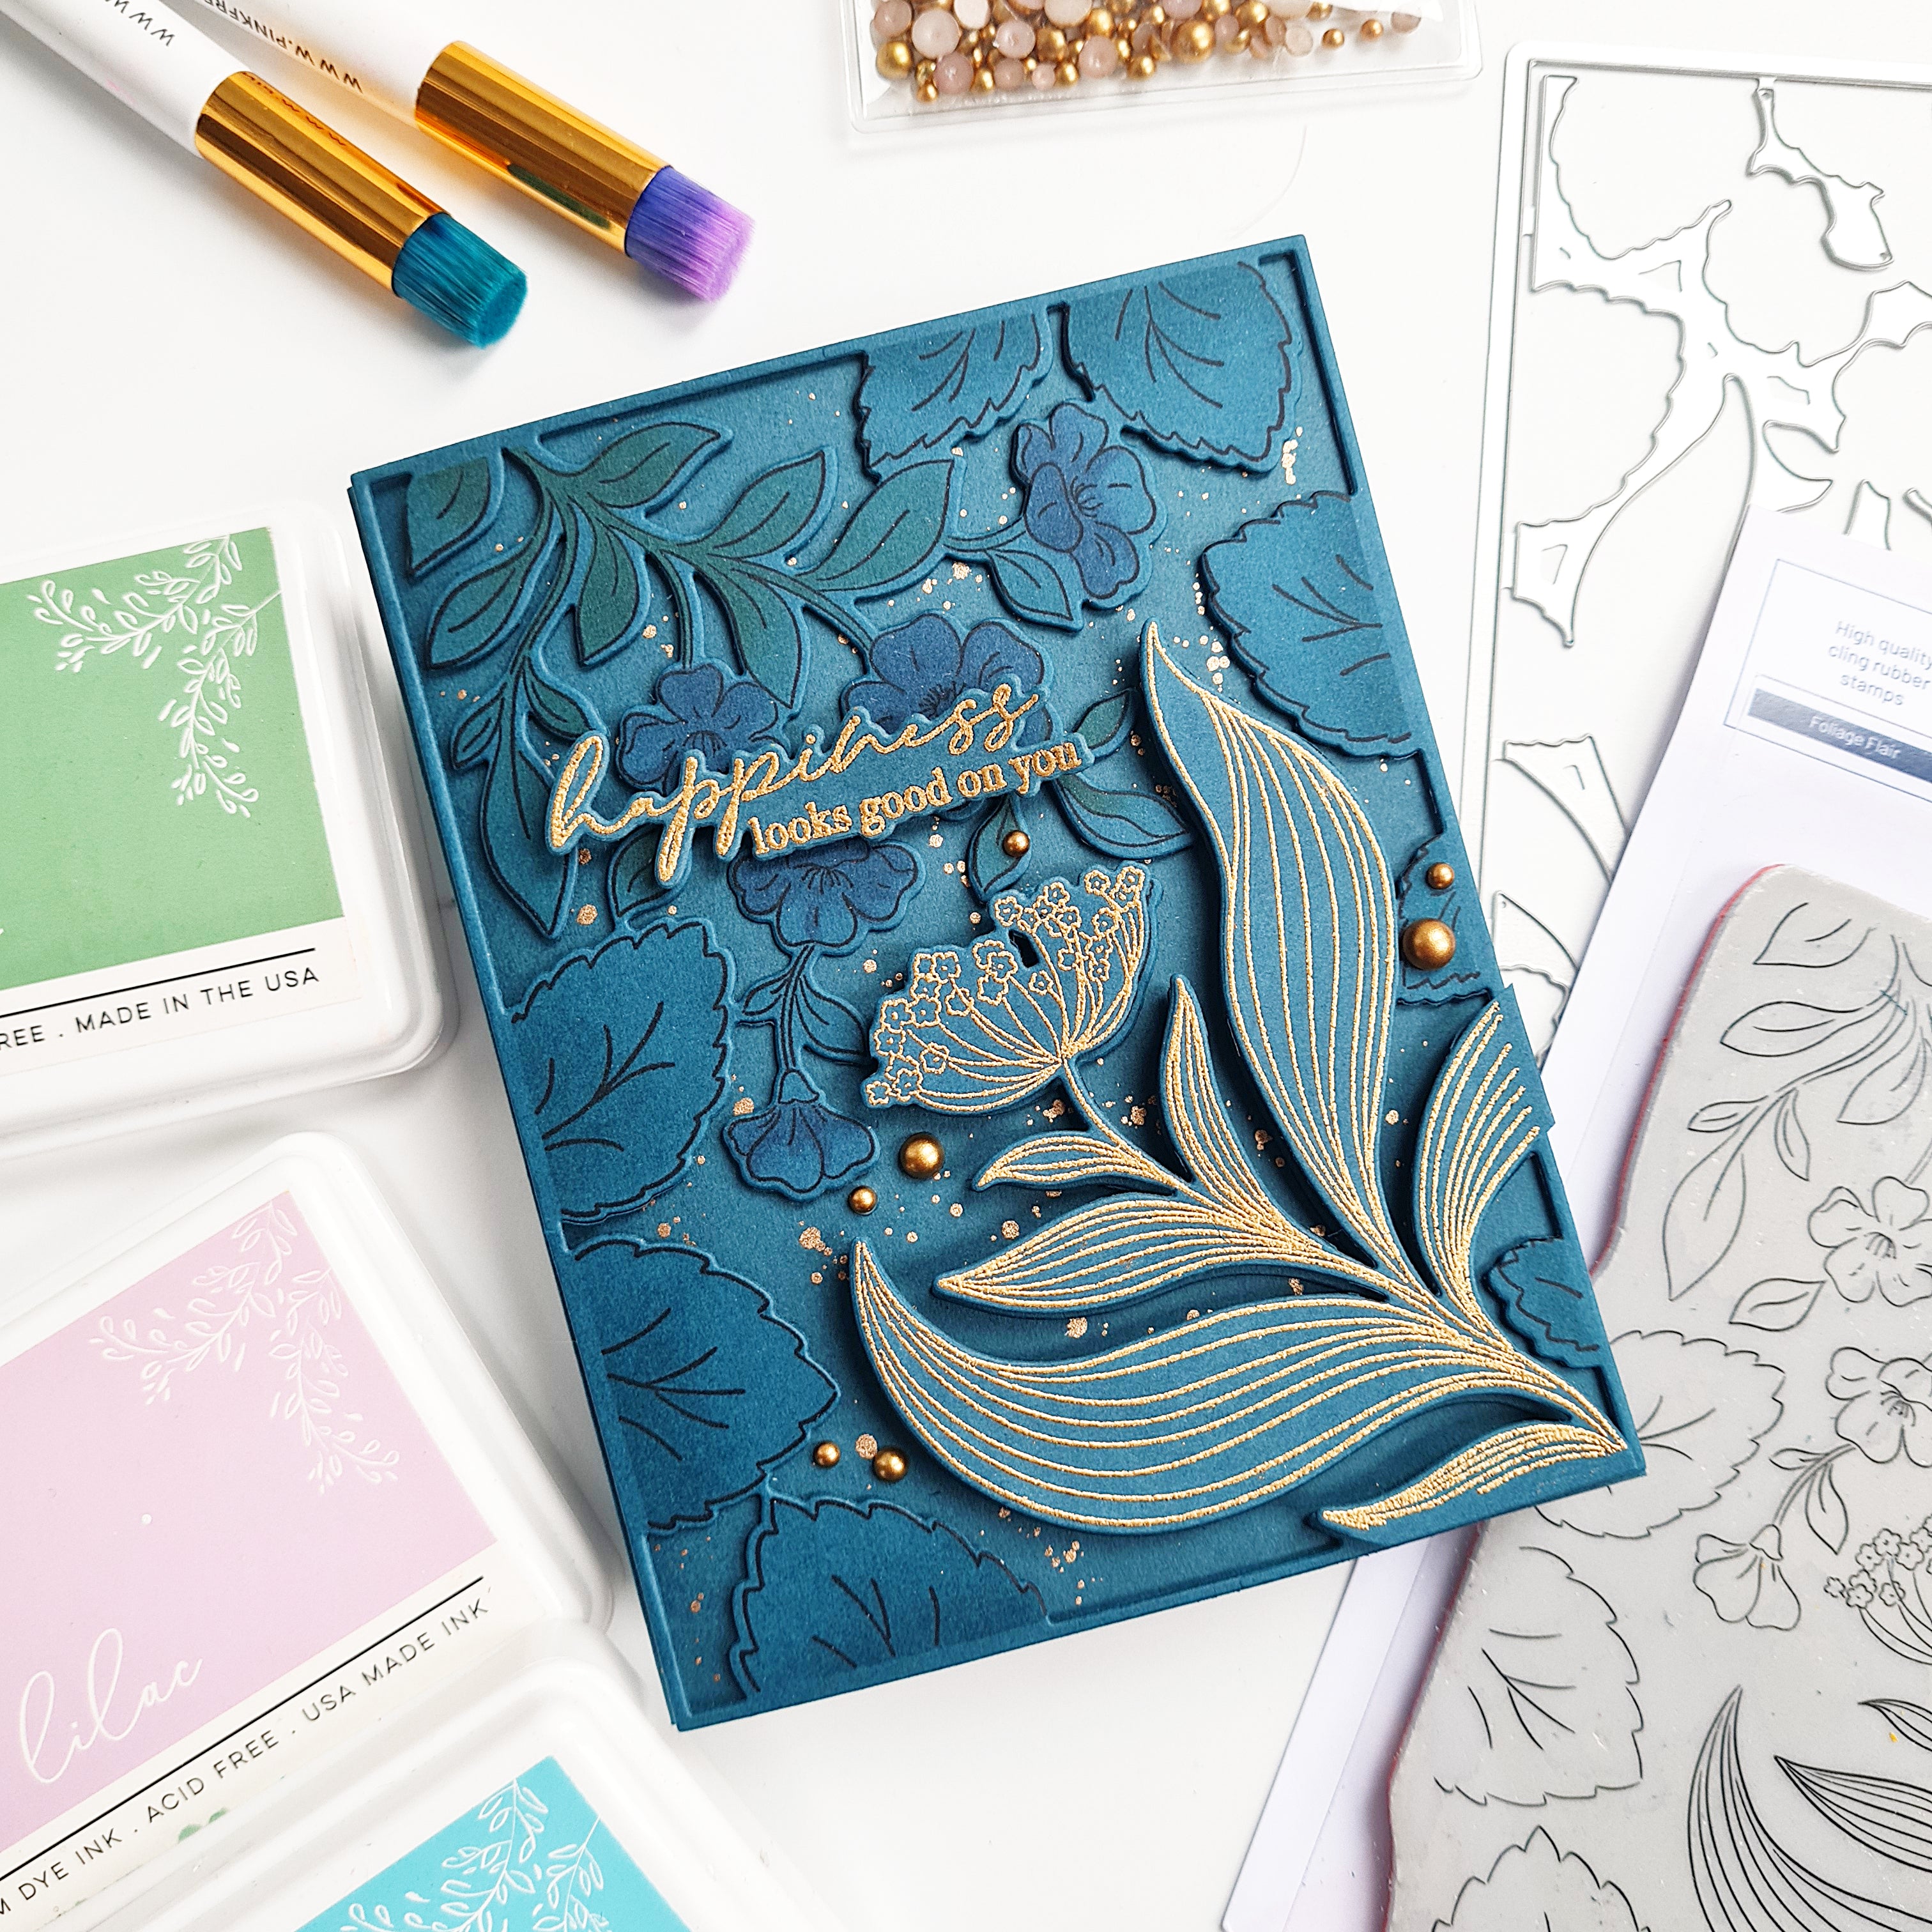
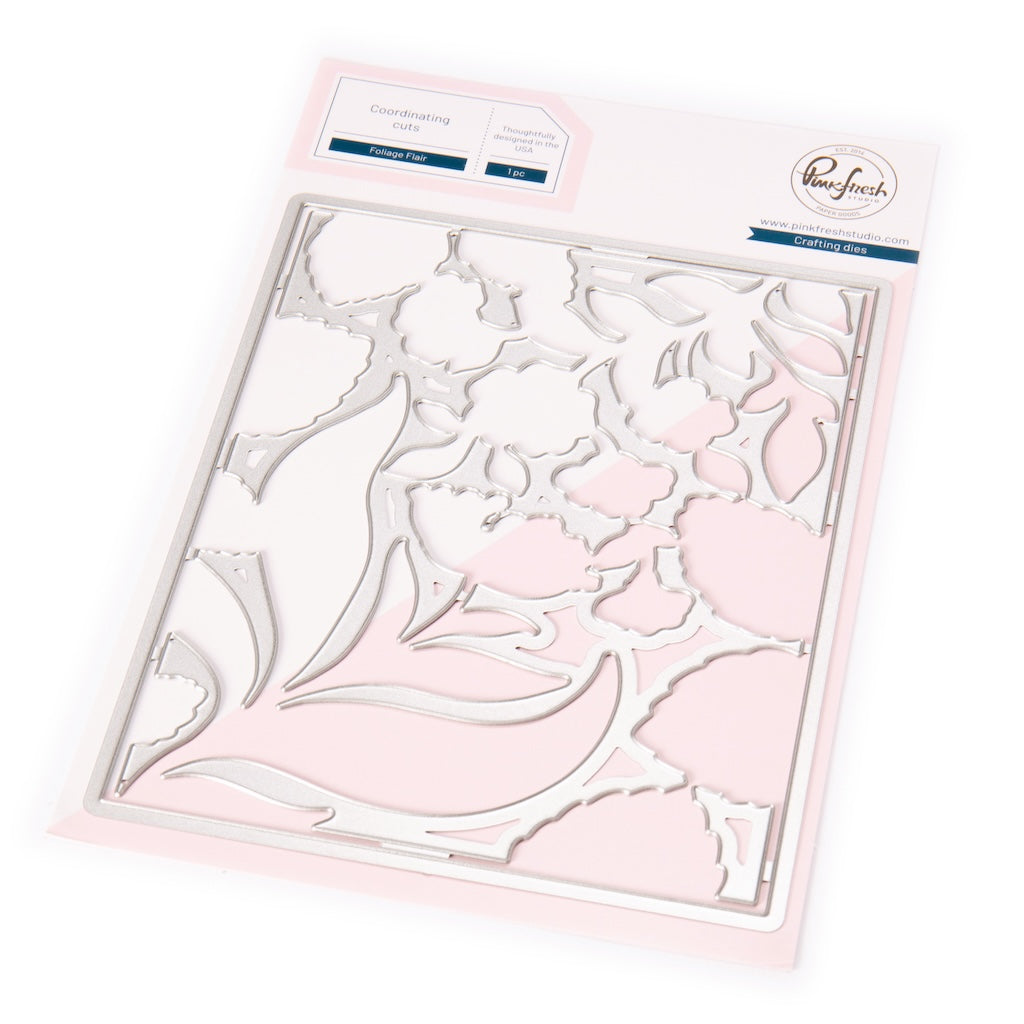
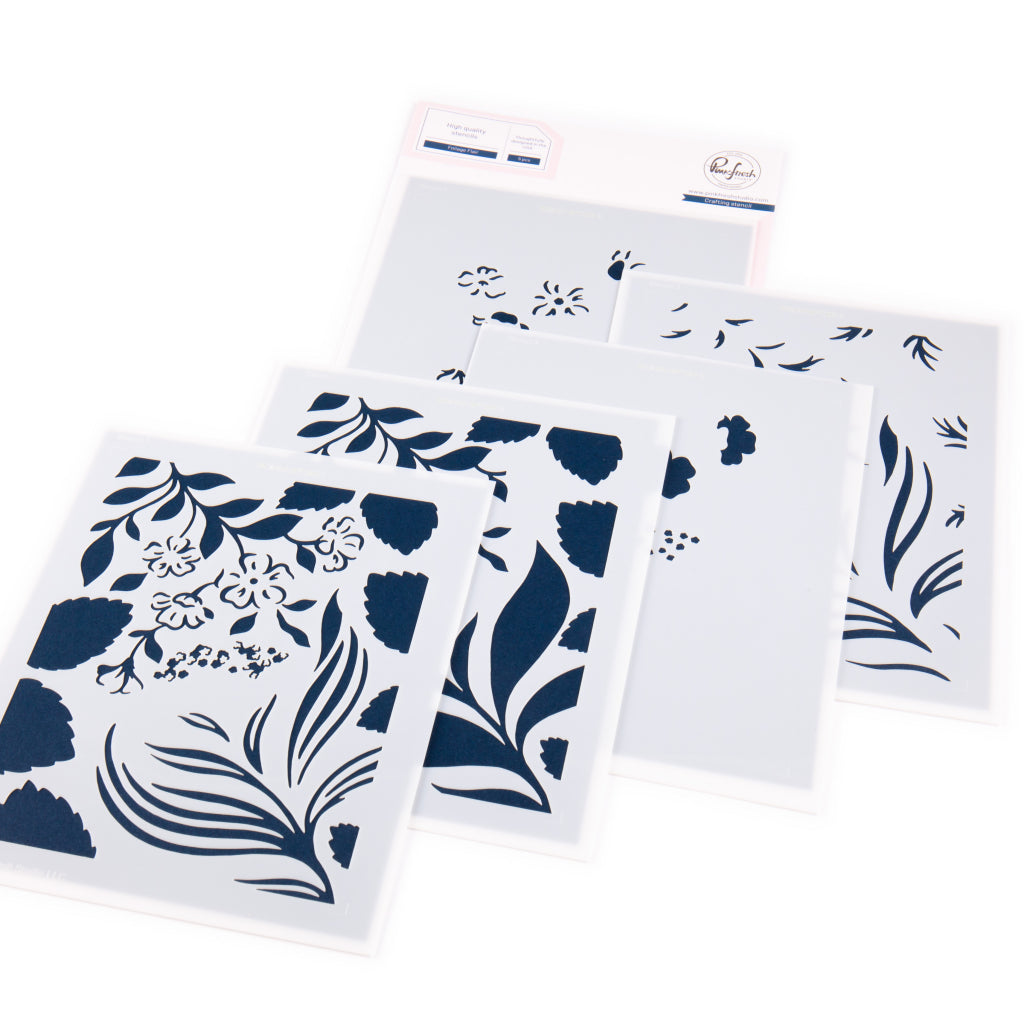
For these projects I'll be using the new Foliage Flair Cling stamp along with its coordinating die and stencils.
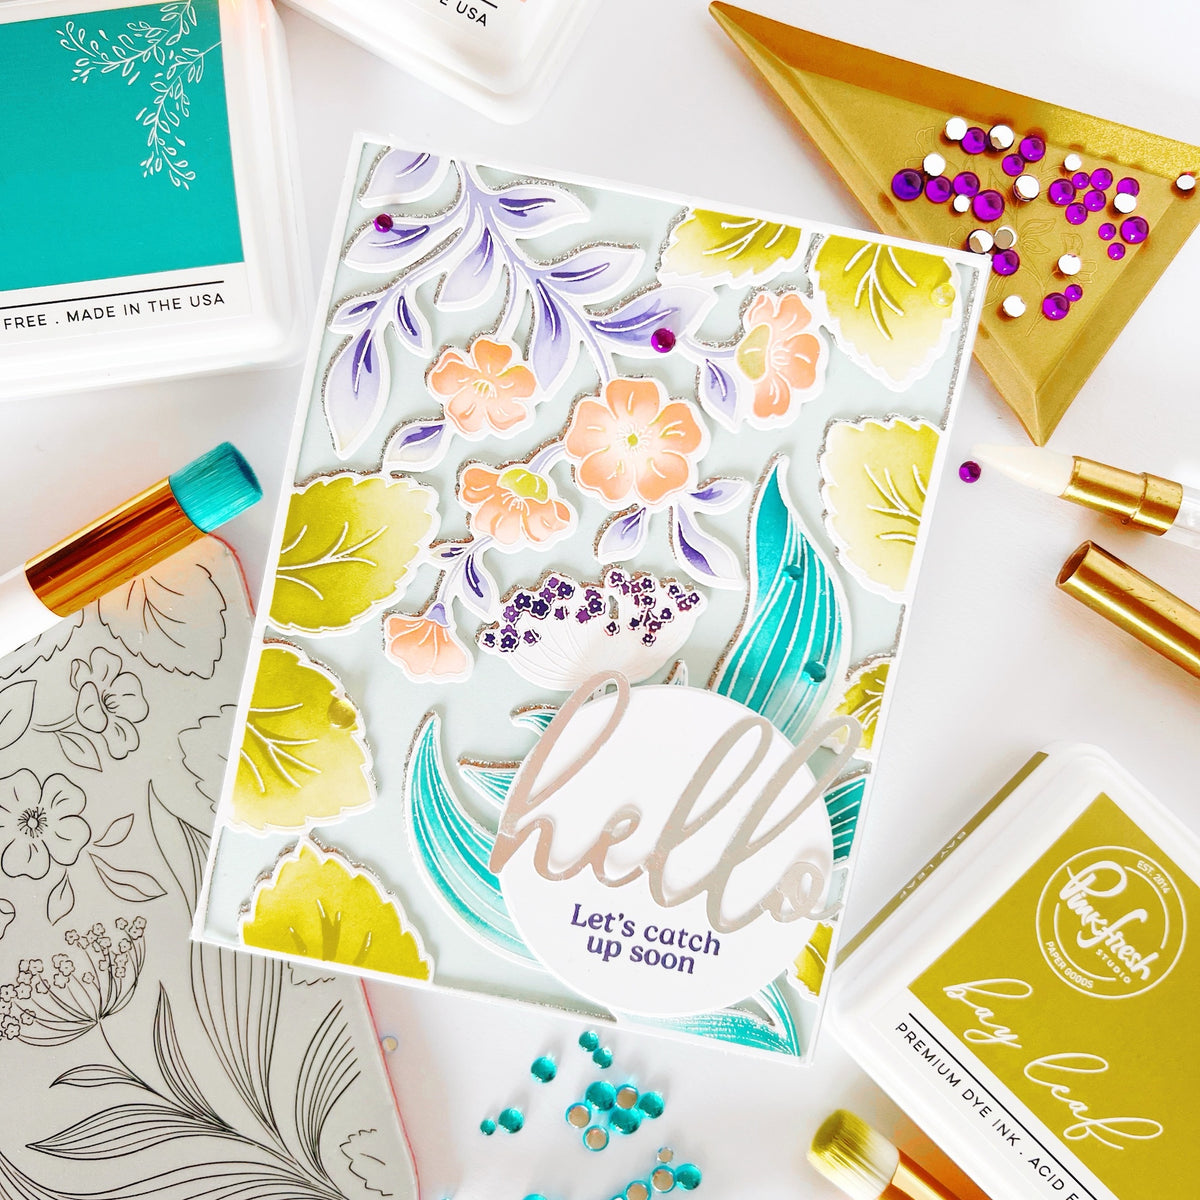
For my first design I used the complete image of the stamp following these steps:
- Place the Foliage Flair cling stamp in your stamping platform and ink it up with Rocky Slope ink. You can leave the stamp if you want to restamp the image again with Detail Black it once the ink blending is done.
- Use the coordinating stencils to add color to this gorgeous foliage with; Mint, Aquamarine, Tidal Pond, Spruce Tips, Citron, Grassy Knoll, Olive, Sky Blue, Sparkling Rose and Raspberry ink. Feel free to add ink randomly on different areas of this stamp. You just have to be careful not to mix pinks and greens so you don't get muddy colors.
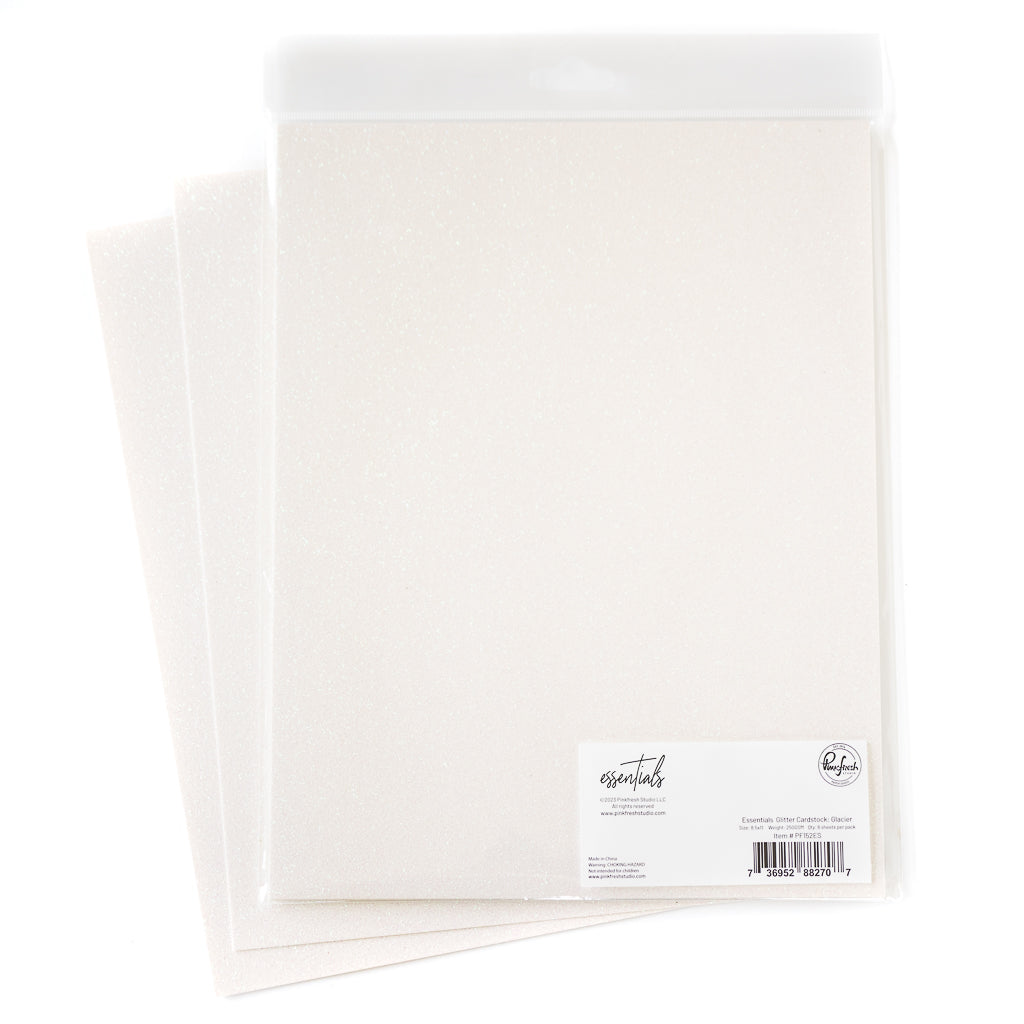
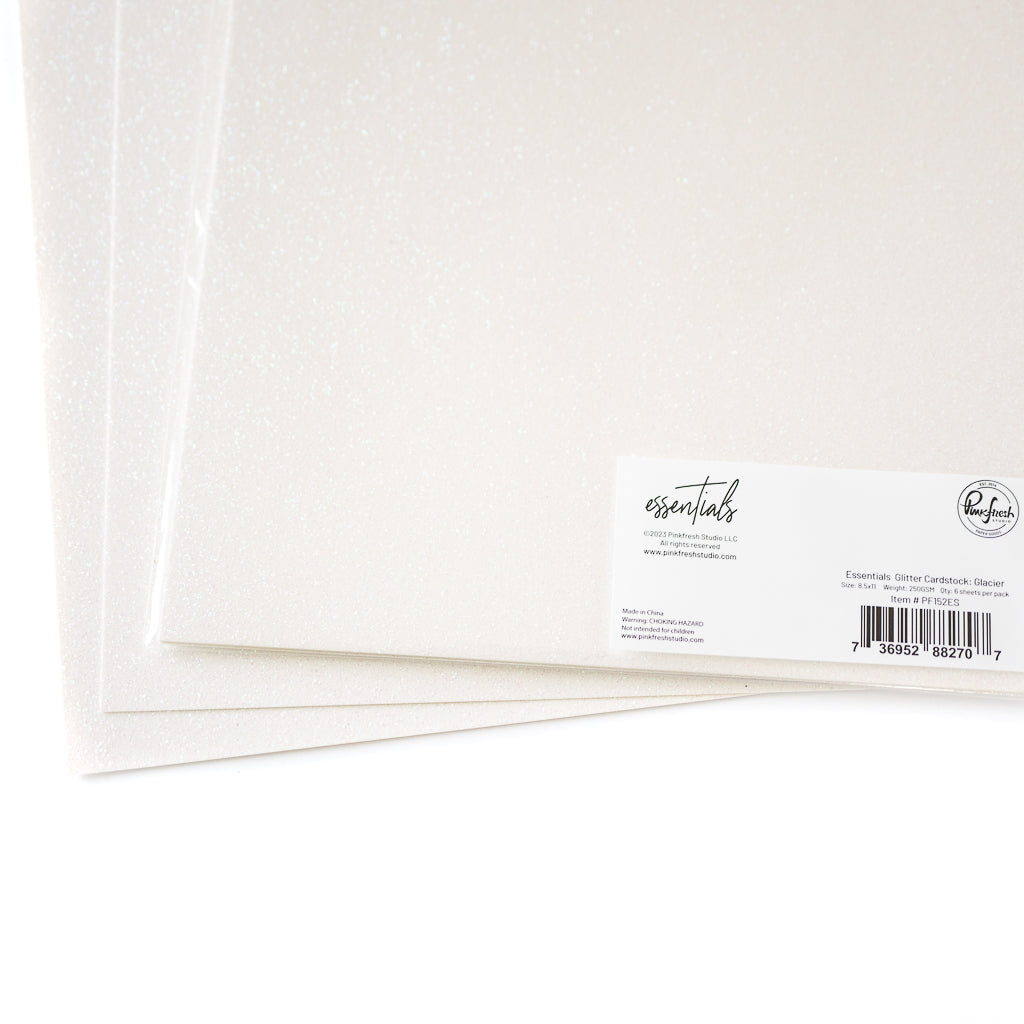
- Cut out these images with the coordinating die. Use the coordinating die to cut out another diecut out of Glacier Glitter cardstock.
- Adhere these two diecuts offsetting the glitter cardstock a bit so it is visible and adds some interest.
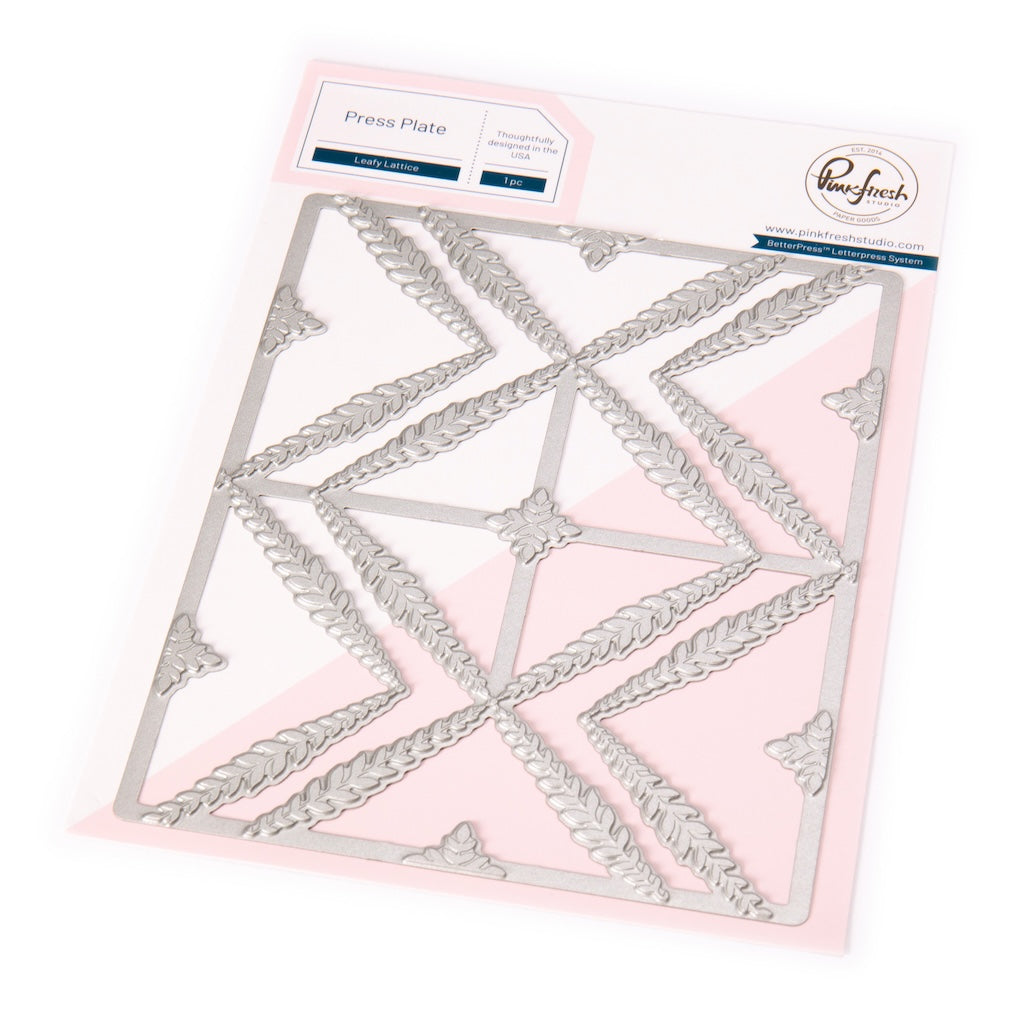
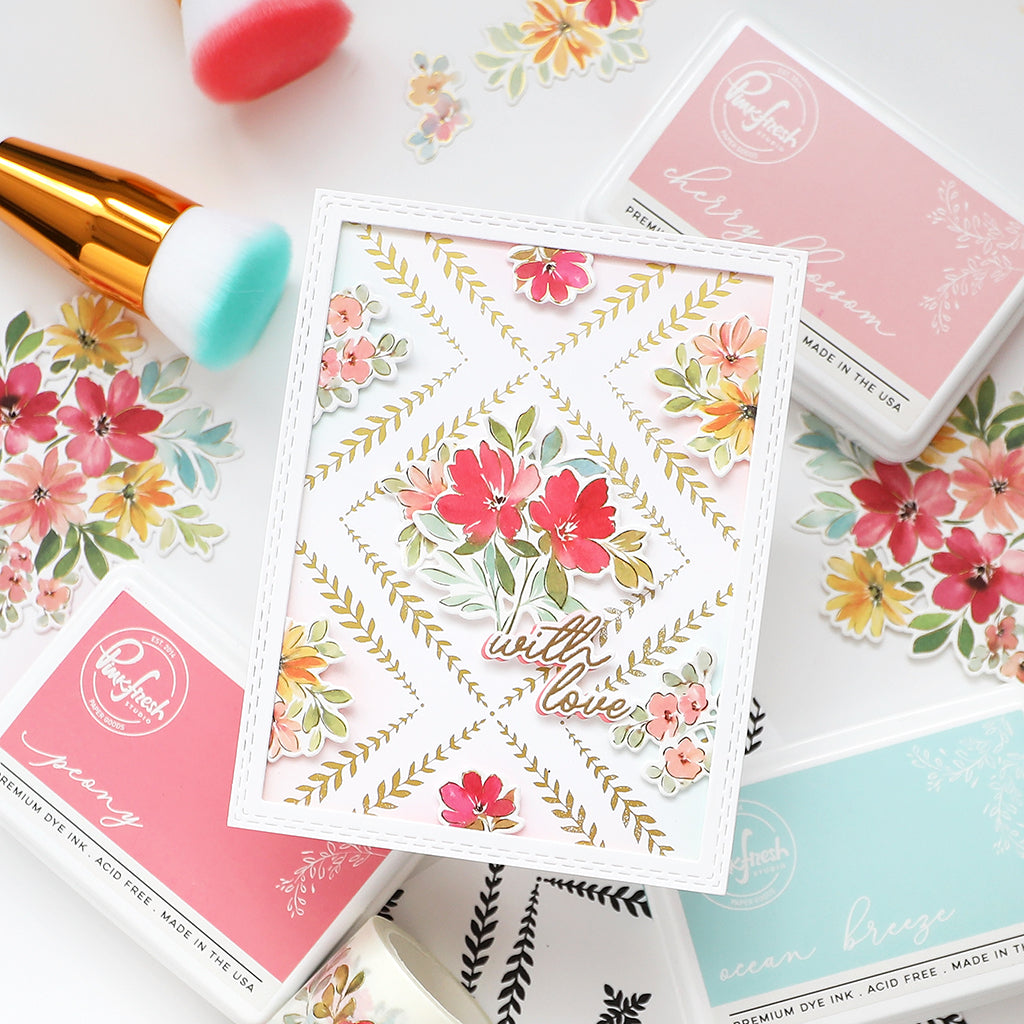
- Cut out an A2 panel and add some Mint ink on the edges. Then use the new Leafy Lattice Press Plate to dry emboss the pattern of this press plate onto your mint panel.
- Foam mount your Foliage Fair colored diecut onto this mint panel and adhered it to your cardbase.
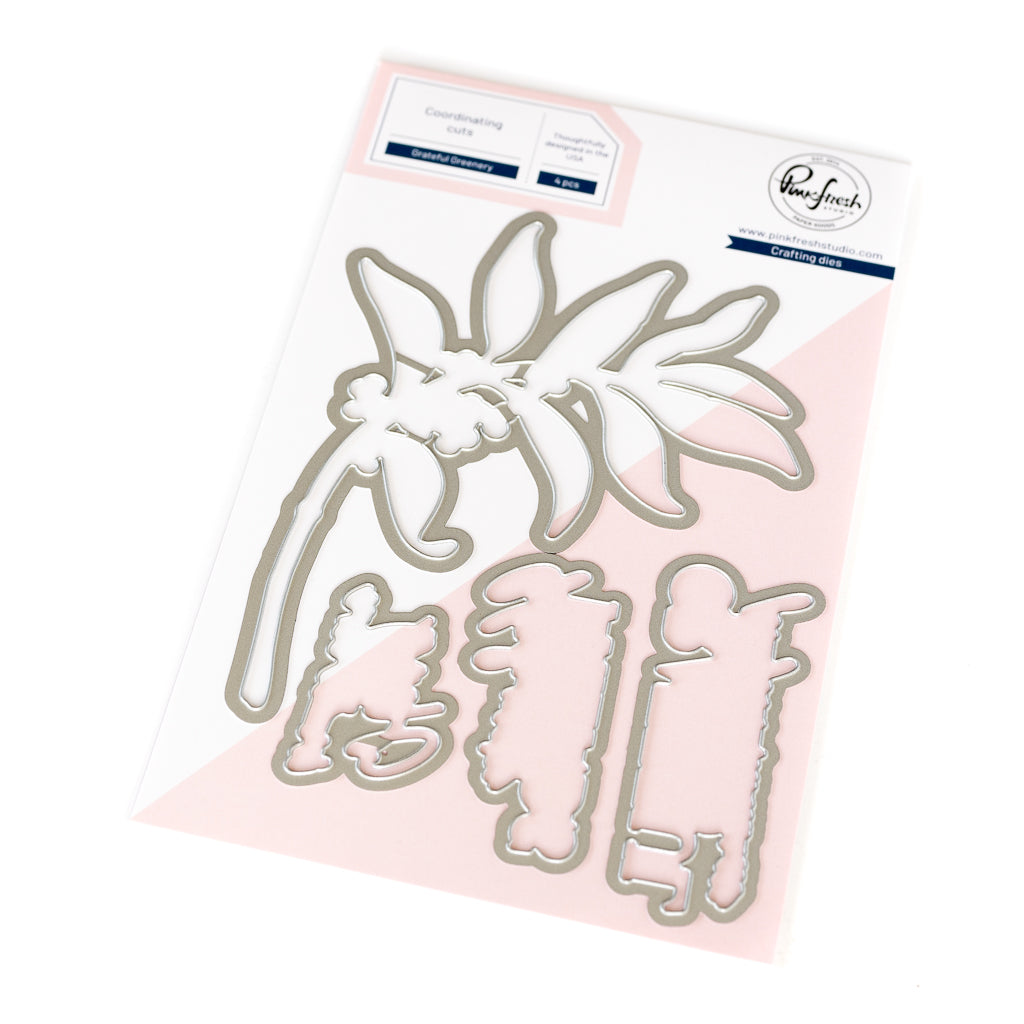
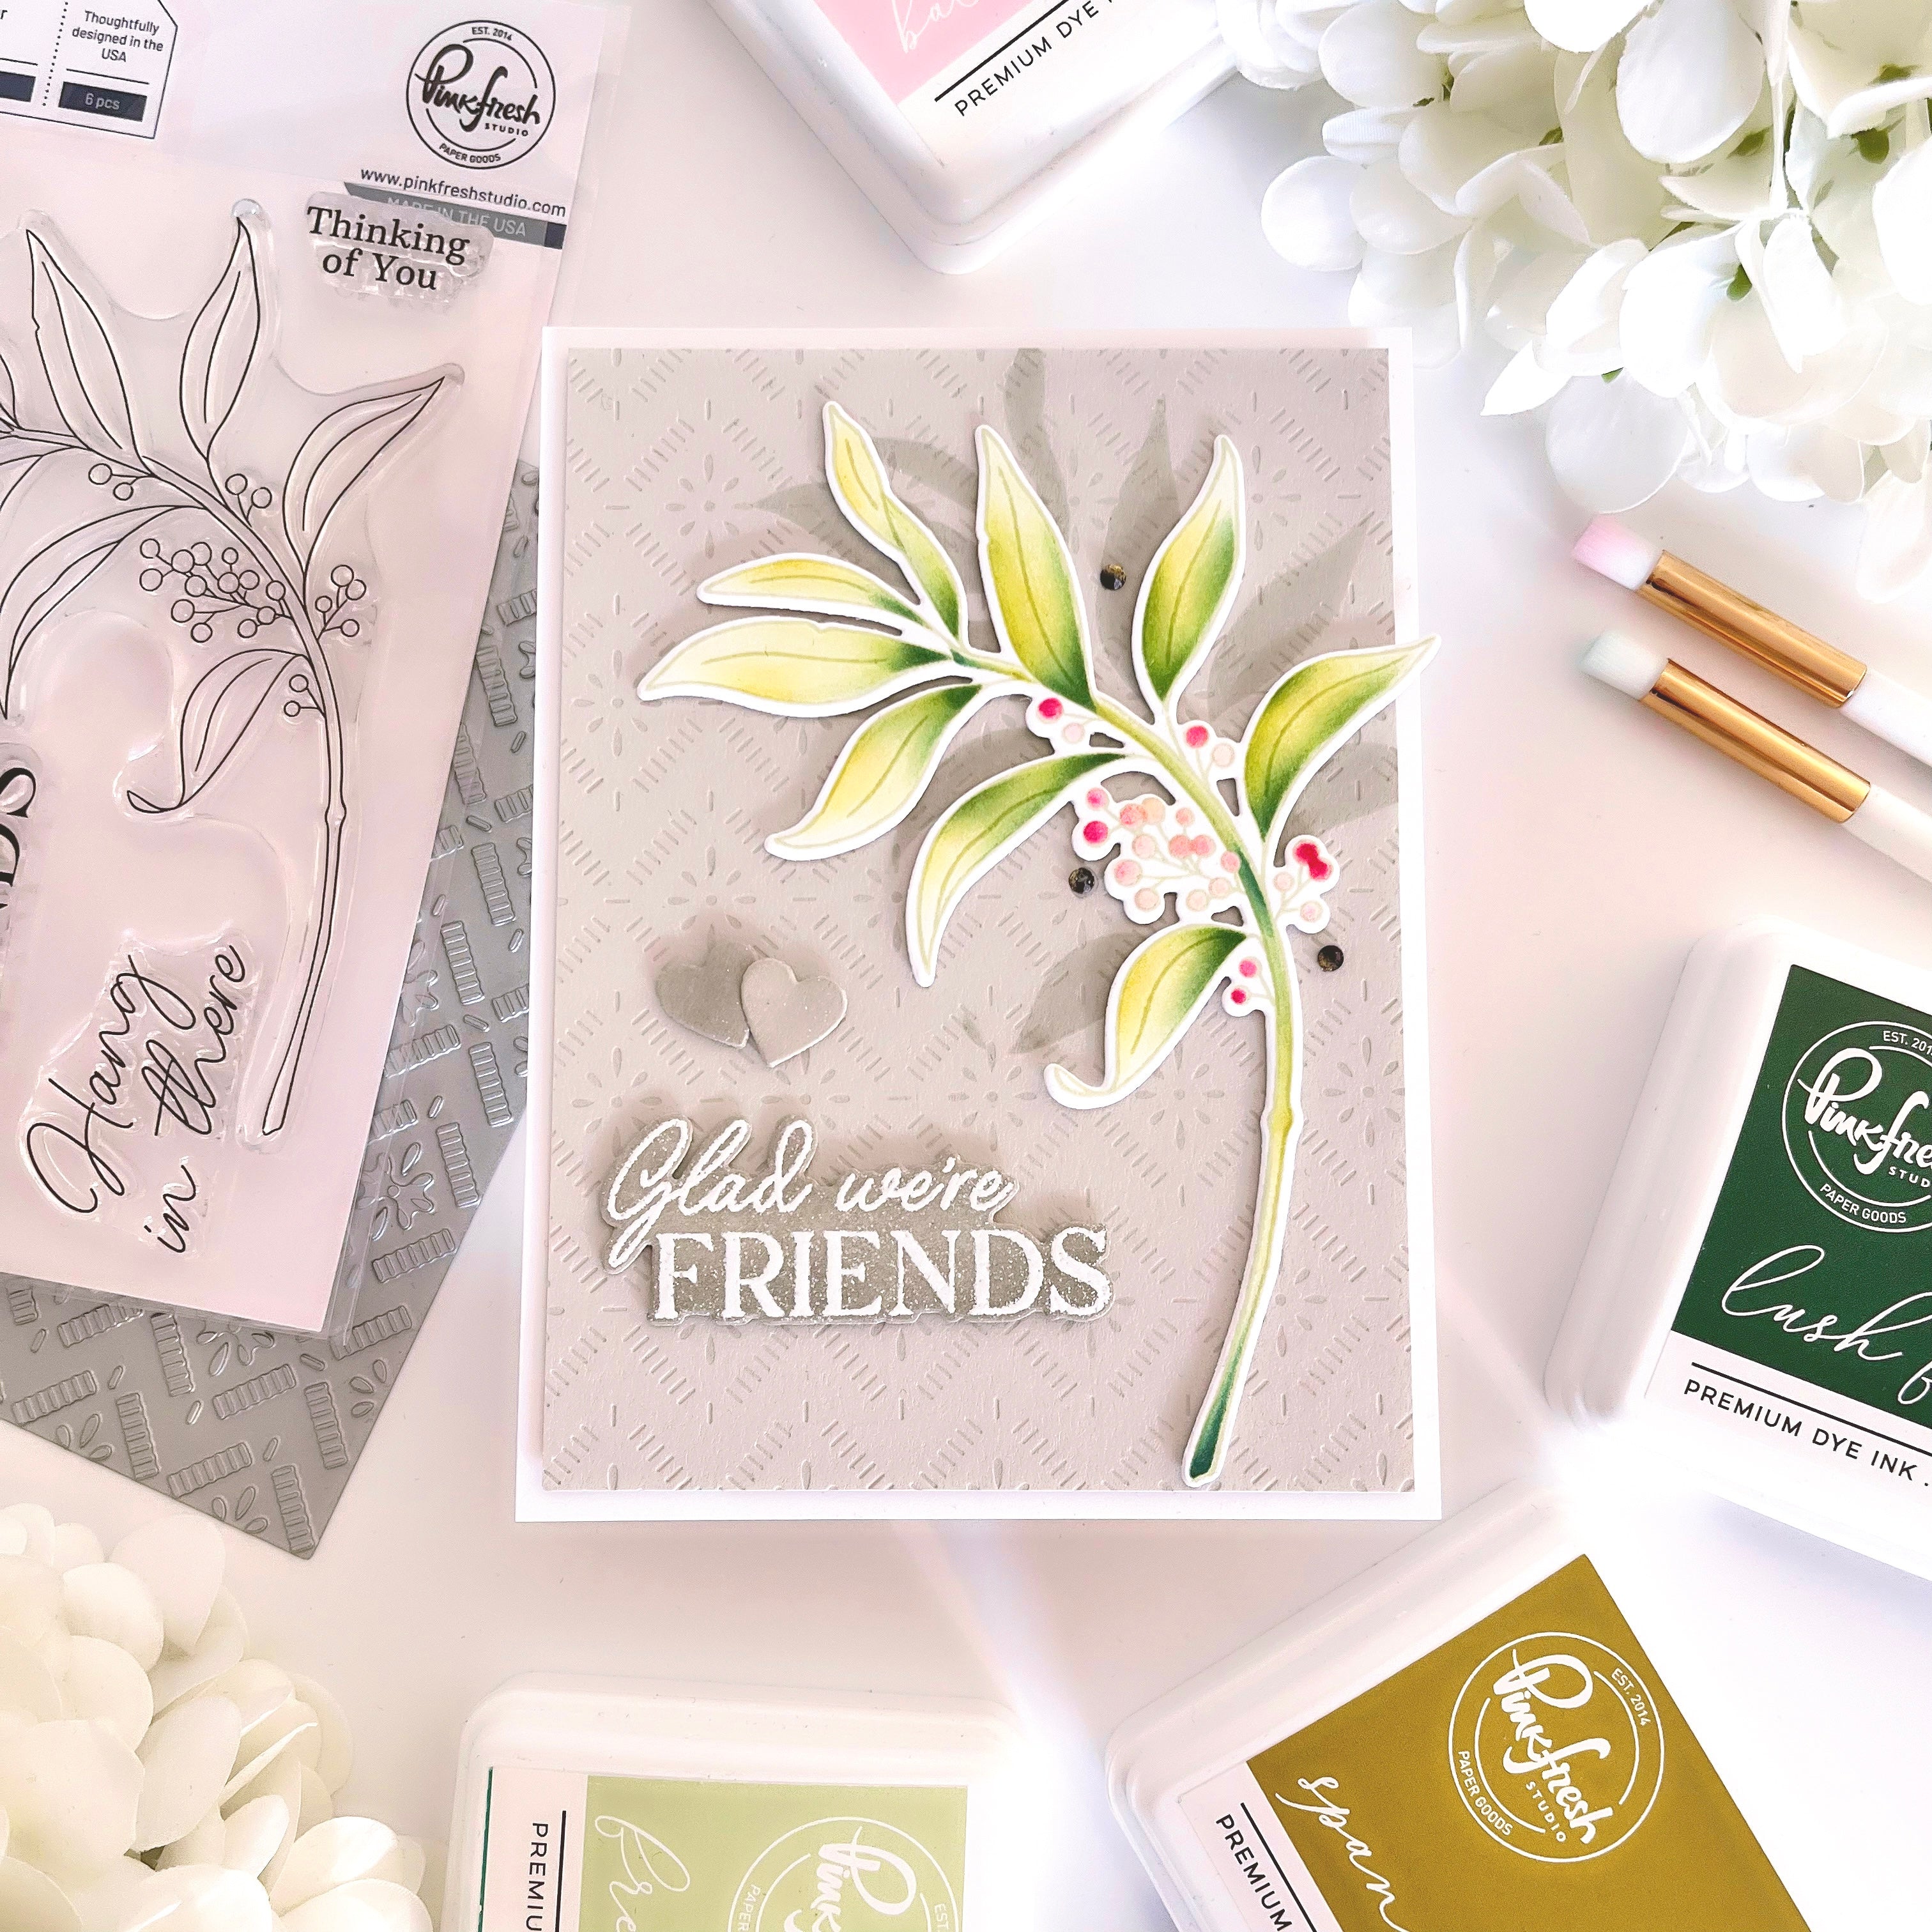
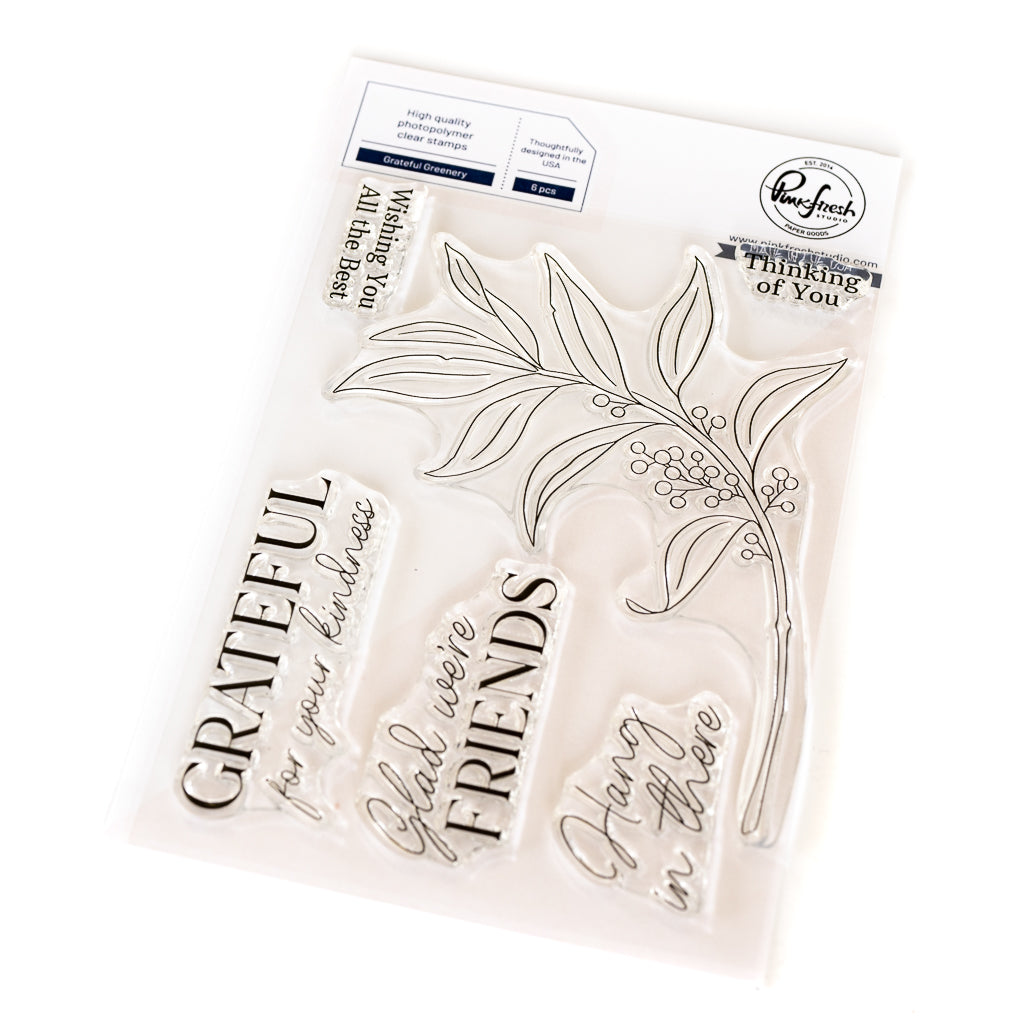
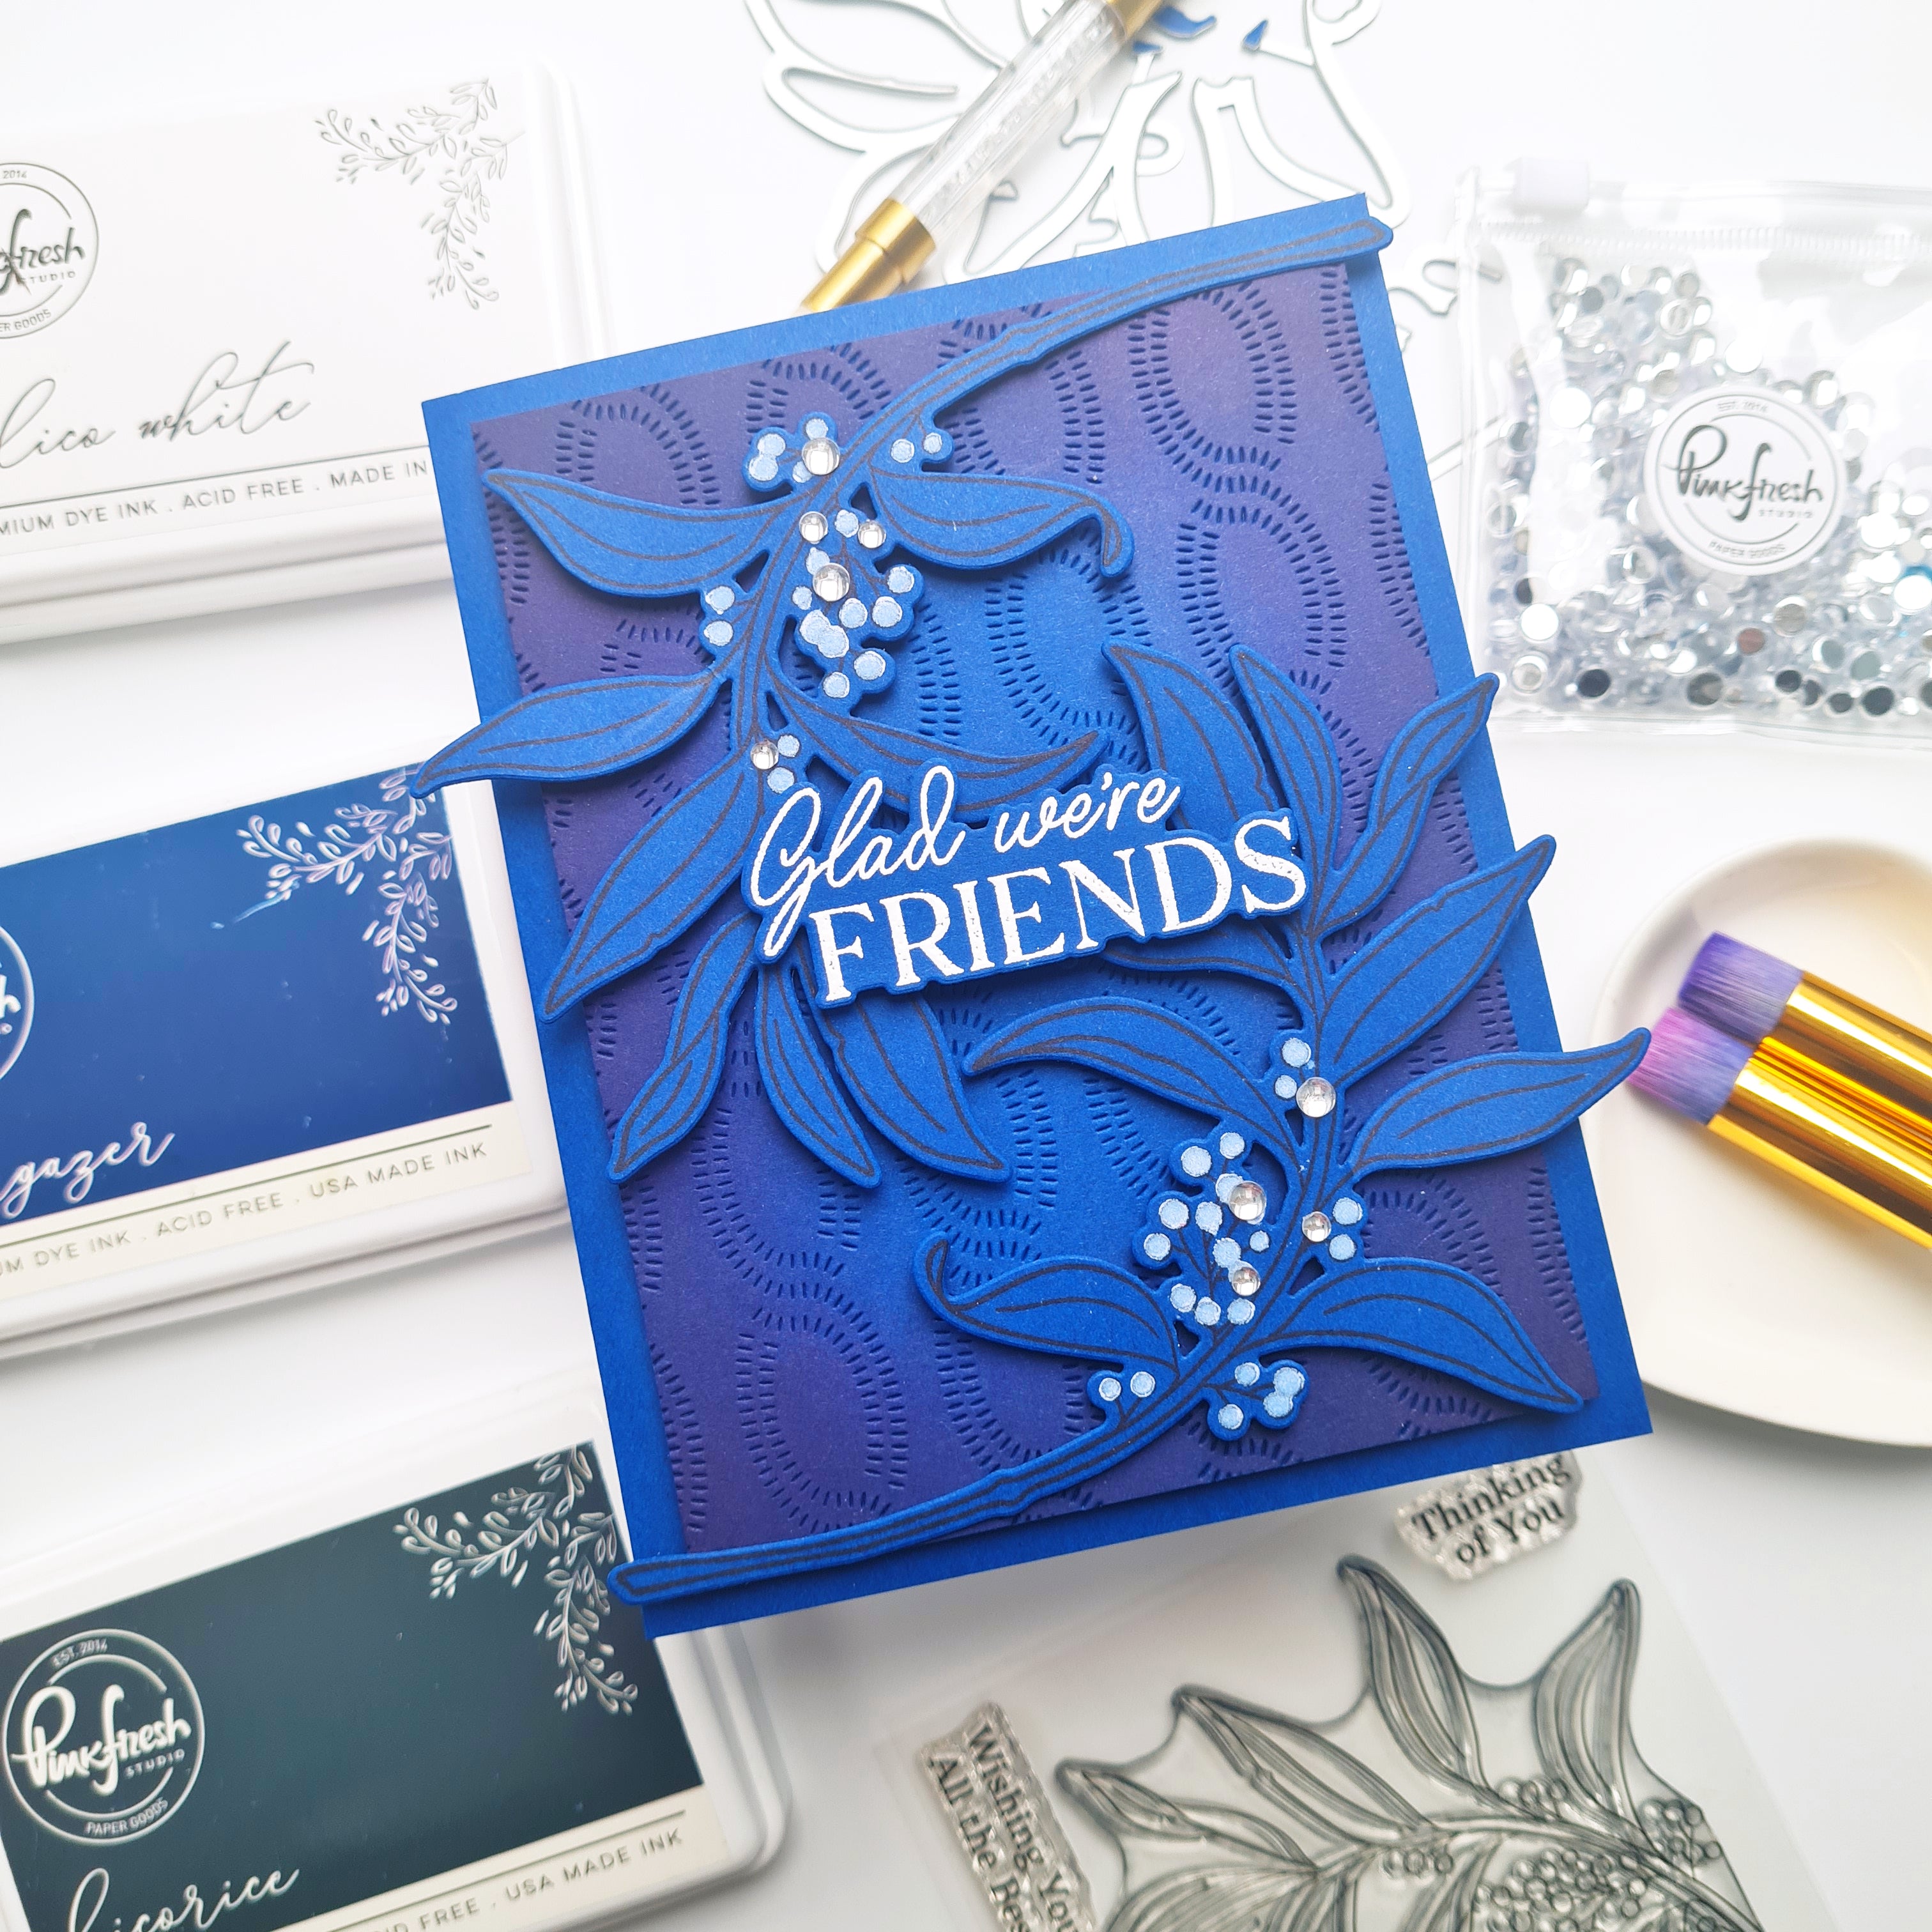
- Stamp your sentiment from the Grateful Greenery with Detail Black ink and cut it out with the coordinating die. Cut out an extra layer of this sentiment out of Glacier Glitter cardstock. Adhere this glitter layer to your sentiment offsetting it a bit and foam mount it onto your front panel.

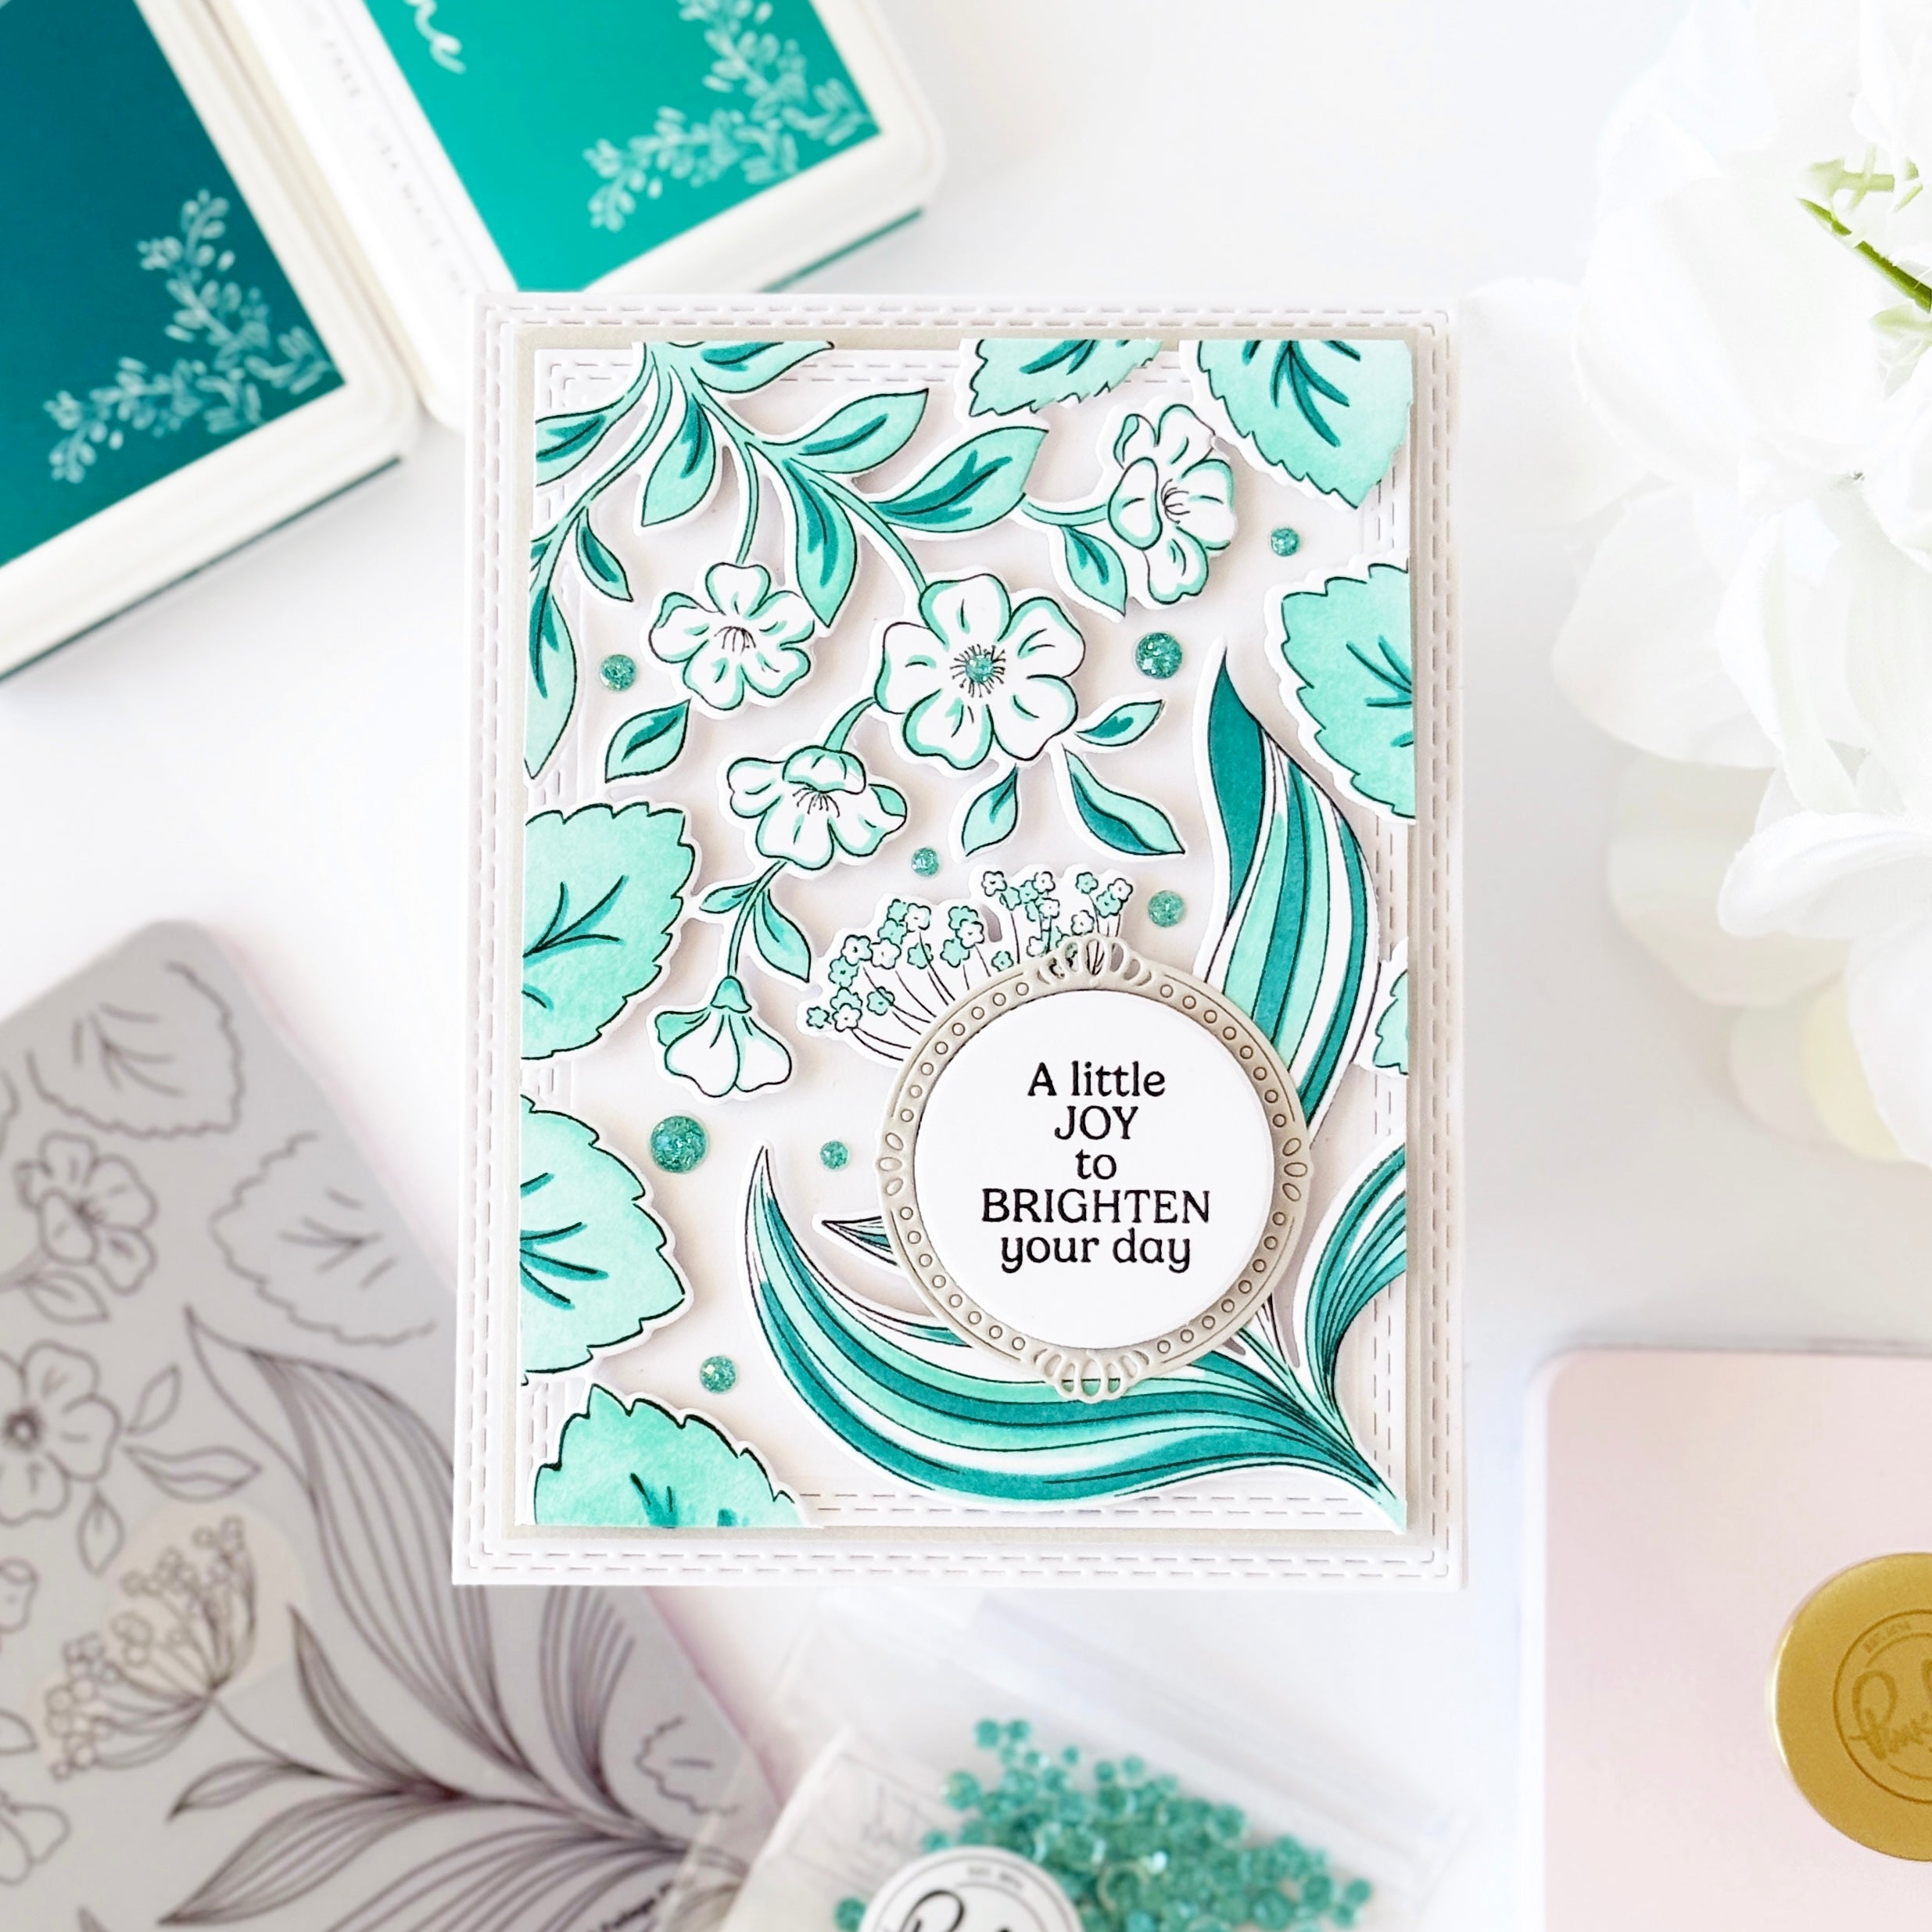
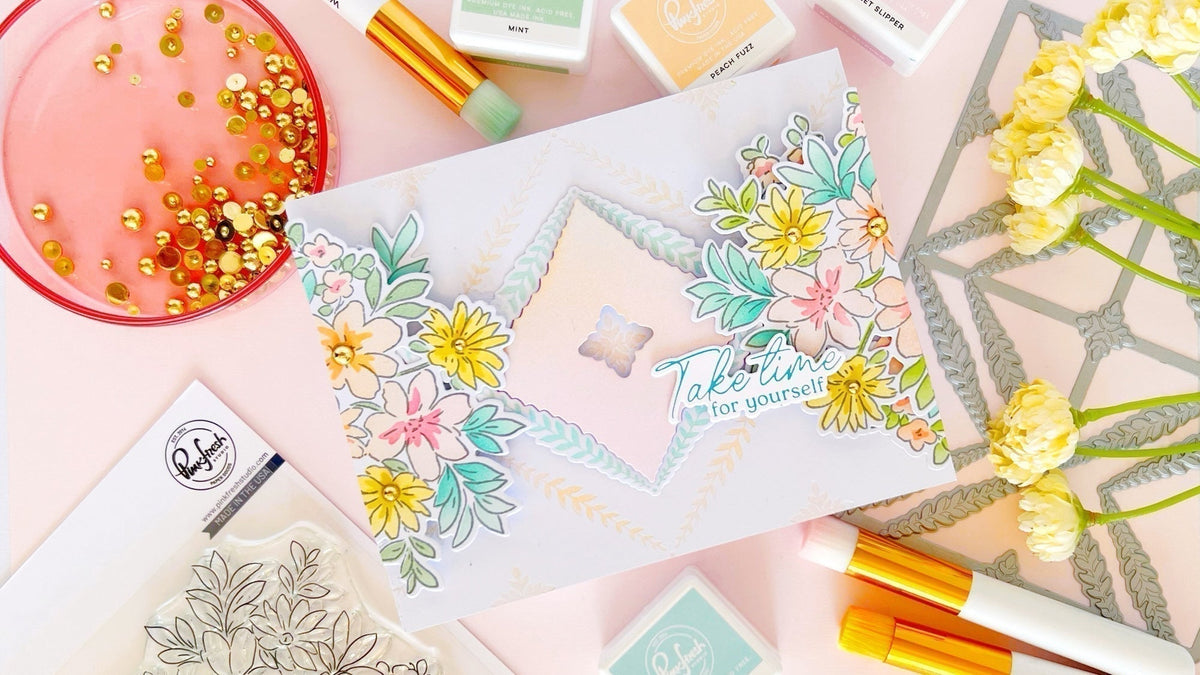
For my second project I used two panels of this Foliage Flair set in a different way:
- Follow the steps 1 and 2 from the first card and create two panels.
- Cut out these images with the coordinating die and fussy cut the two main images of each panel with your scissors. We'll use the branches with the small flowers and leaves to create this card.
- Use your 1" blending brushes to ink blend an A2 panel with Aquamarine, Sparkling Rose and Grassy Knoll
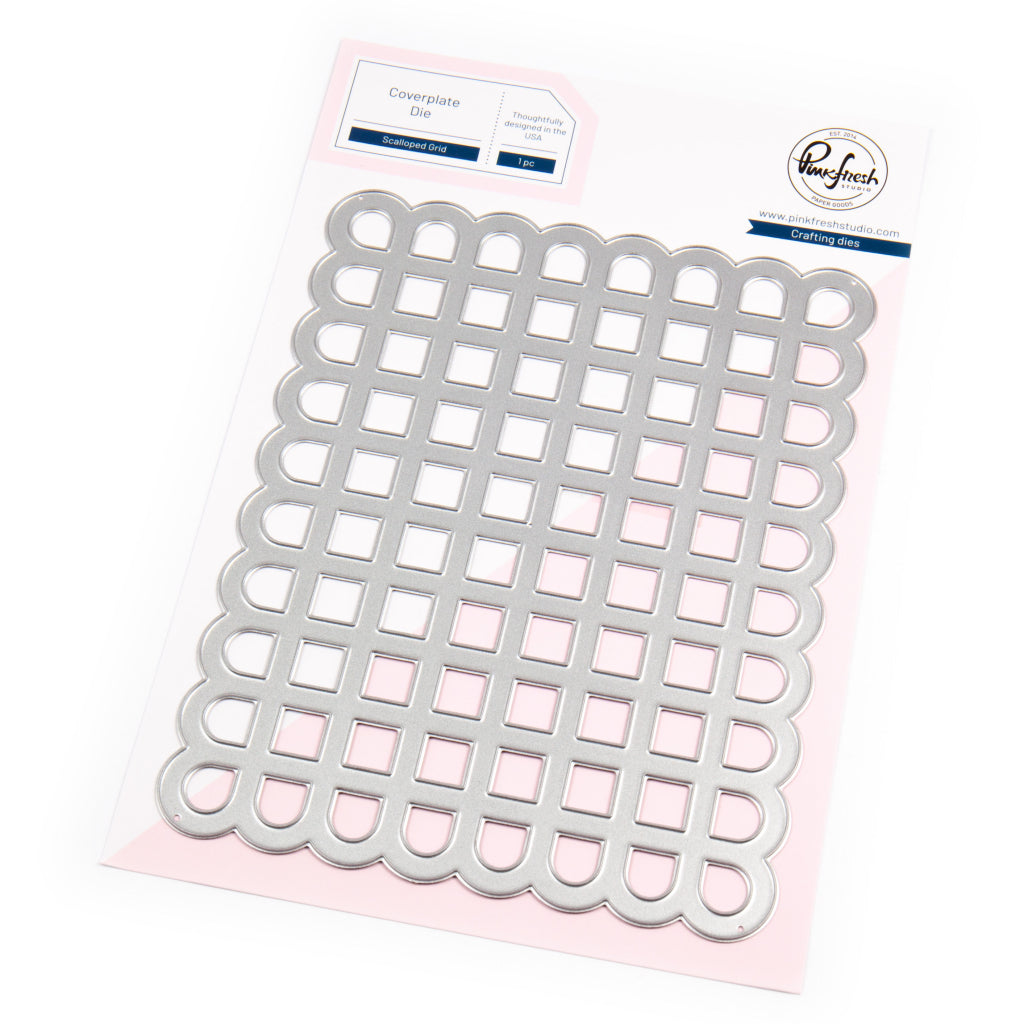
- Use the Scalloped Grid Coverplate die to cut out this panel and an extra white panel out out white cardstock.
- Use your paper trimmer to cut out three edges of these grid panels.
- Foam mount your images onto your white grid panel and then adhere it to your colored grid panel offsetting it a bit as shown in the photo.
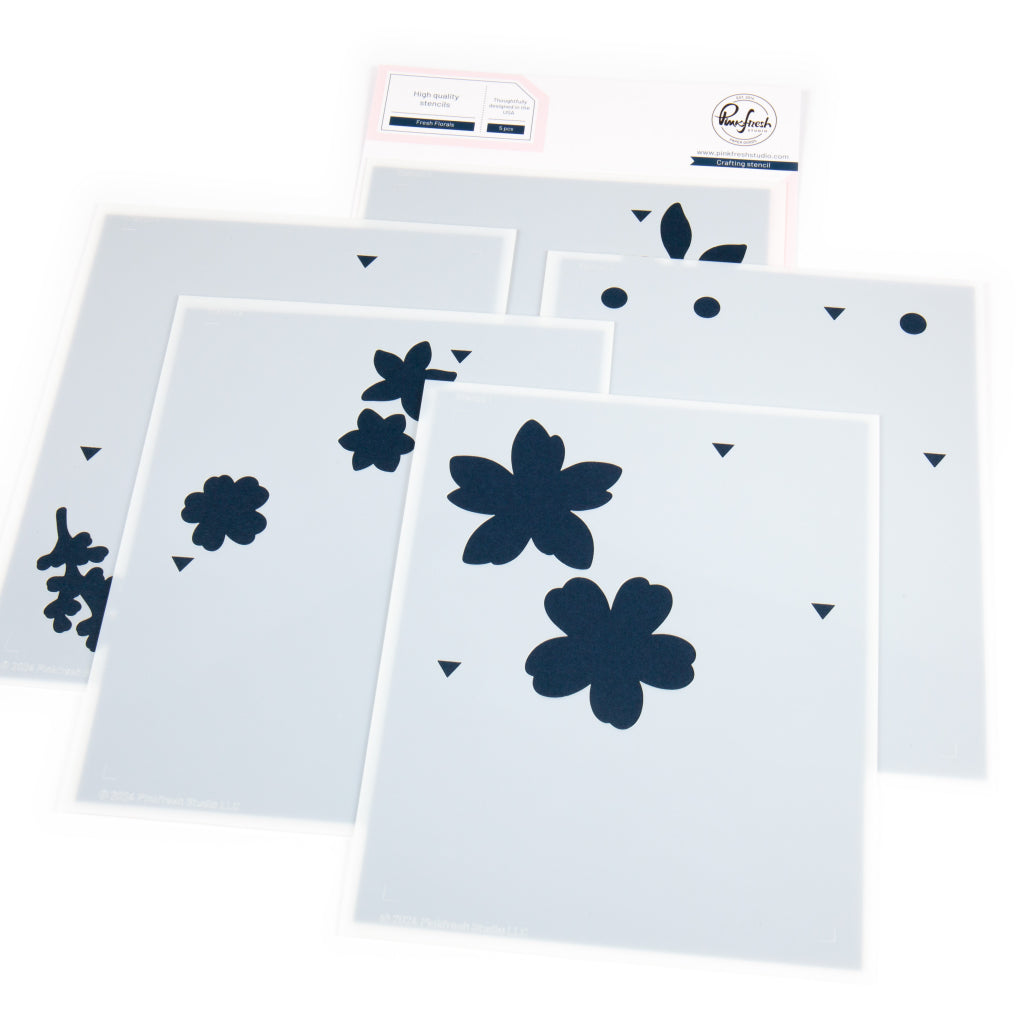
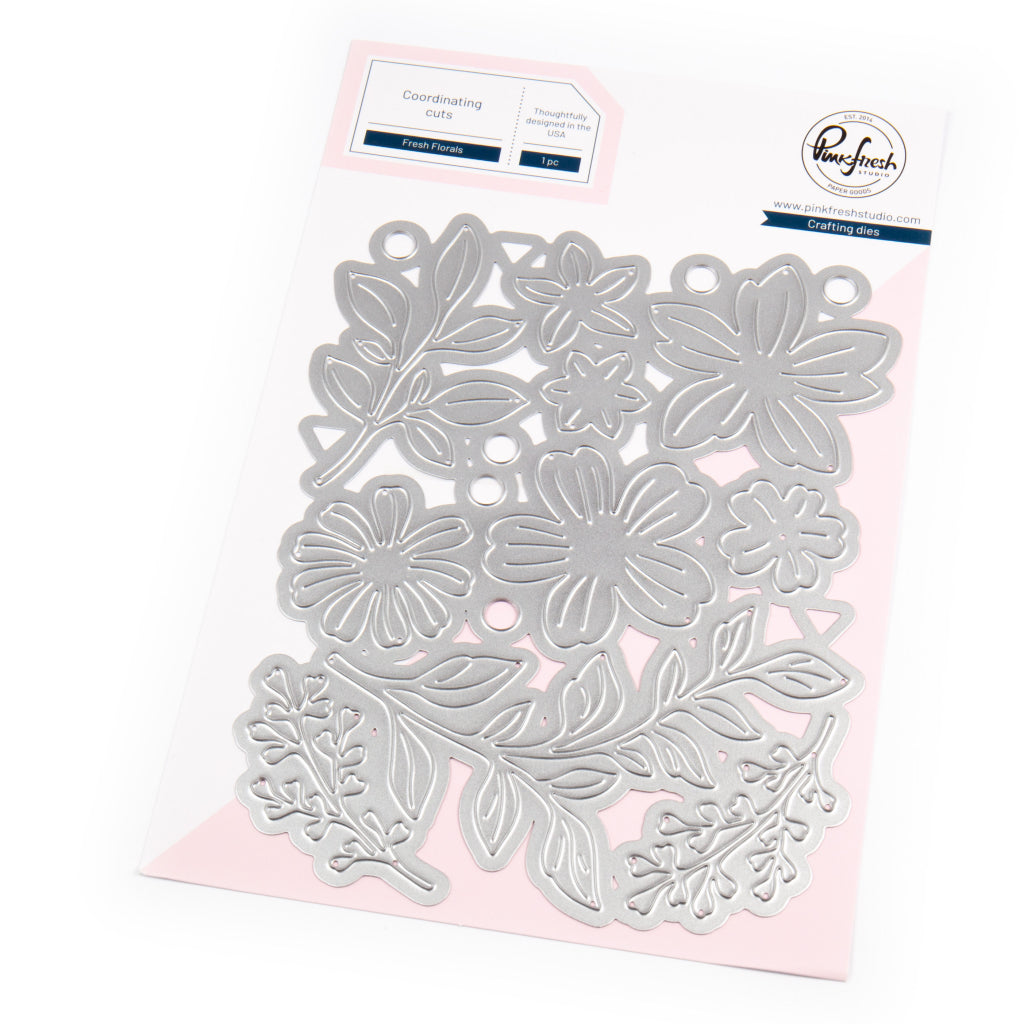
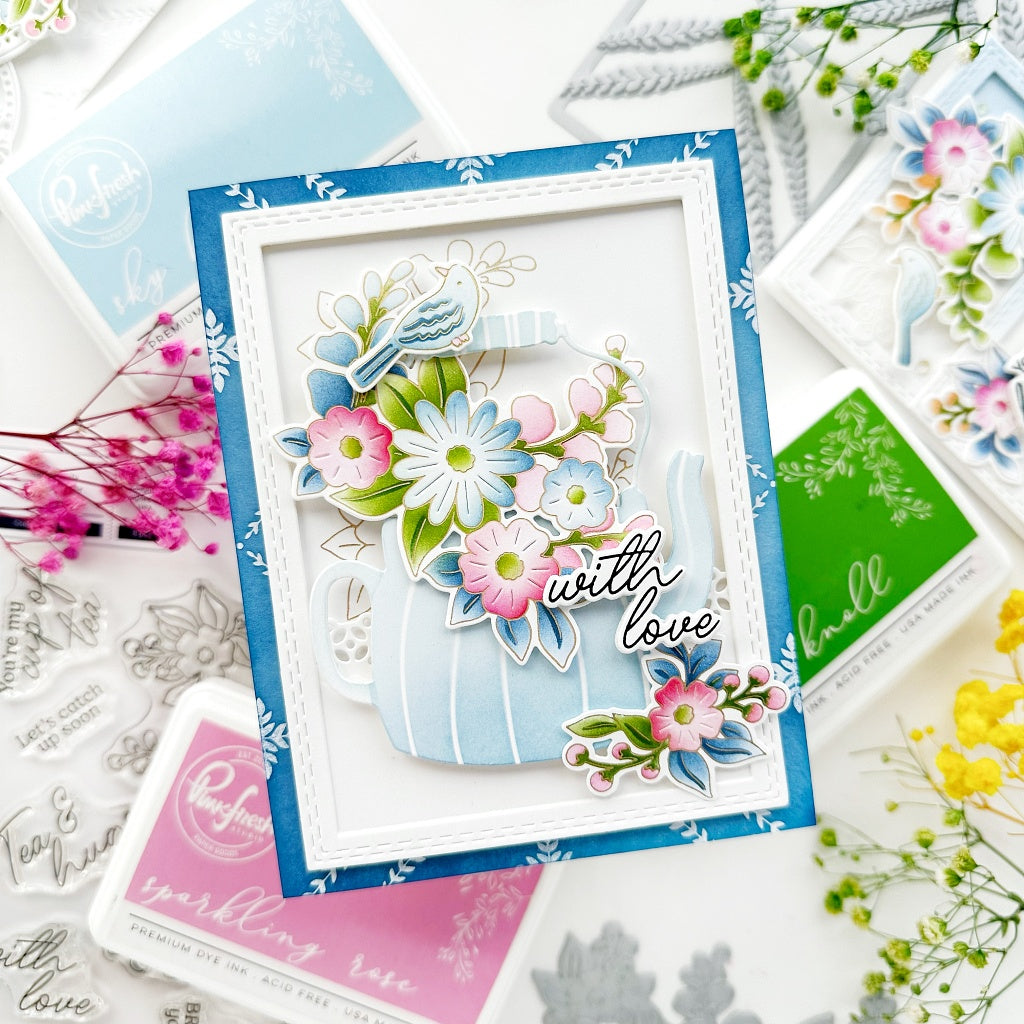
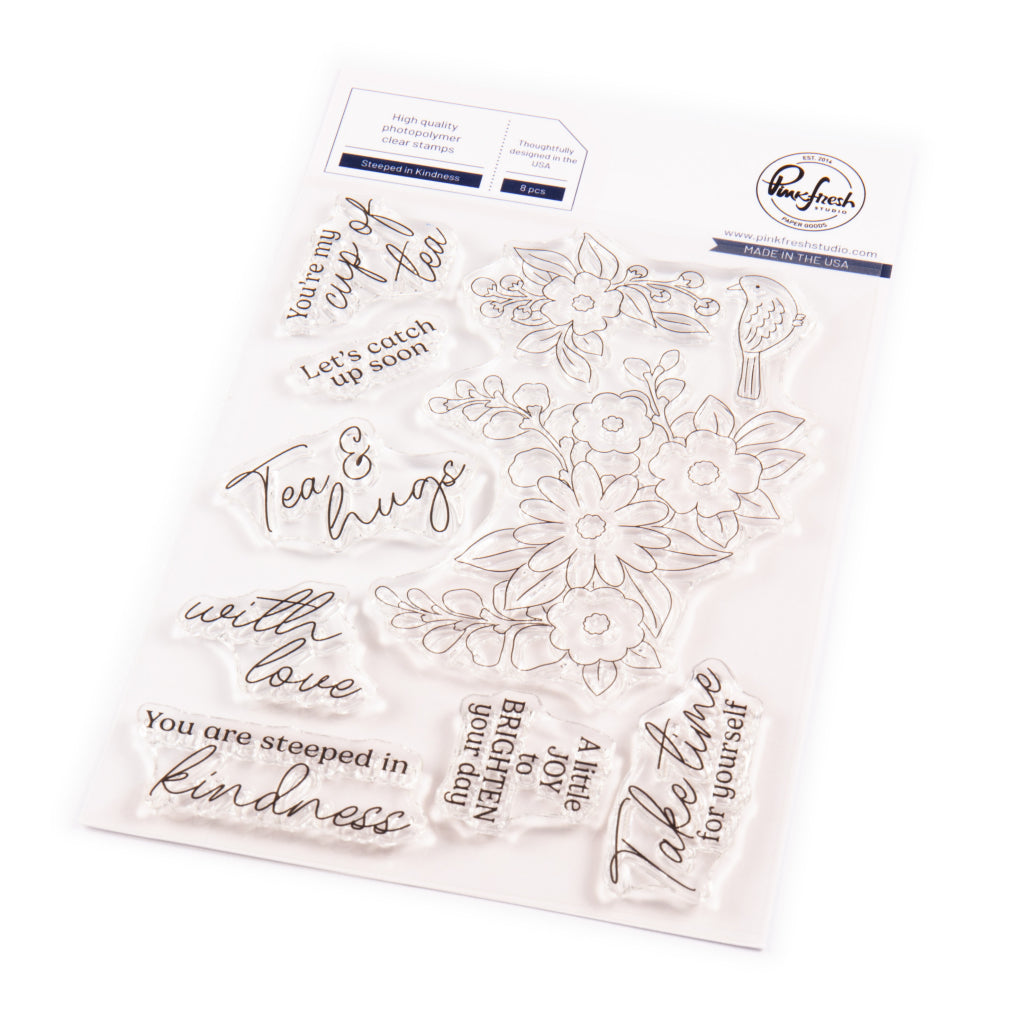
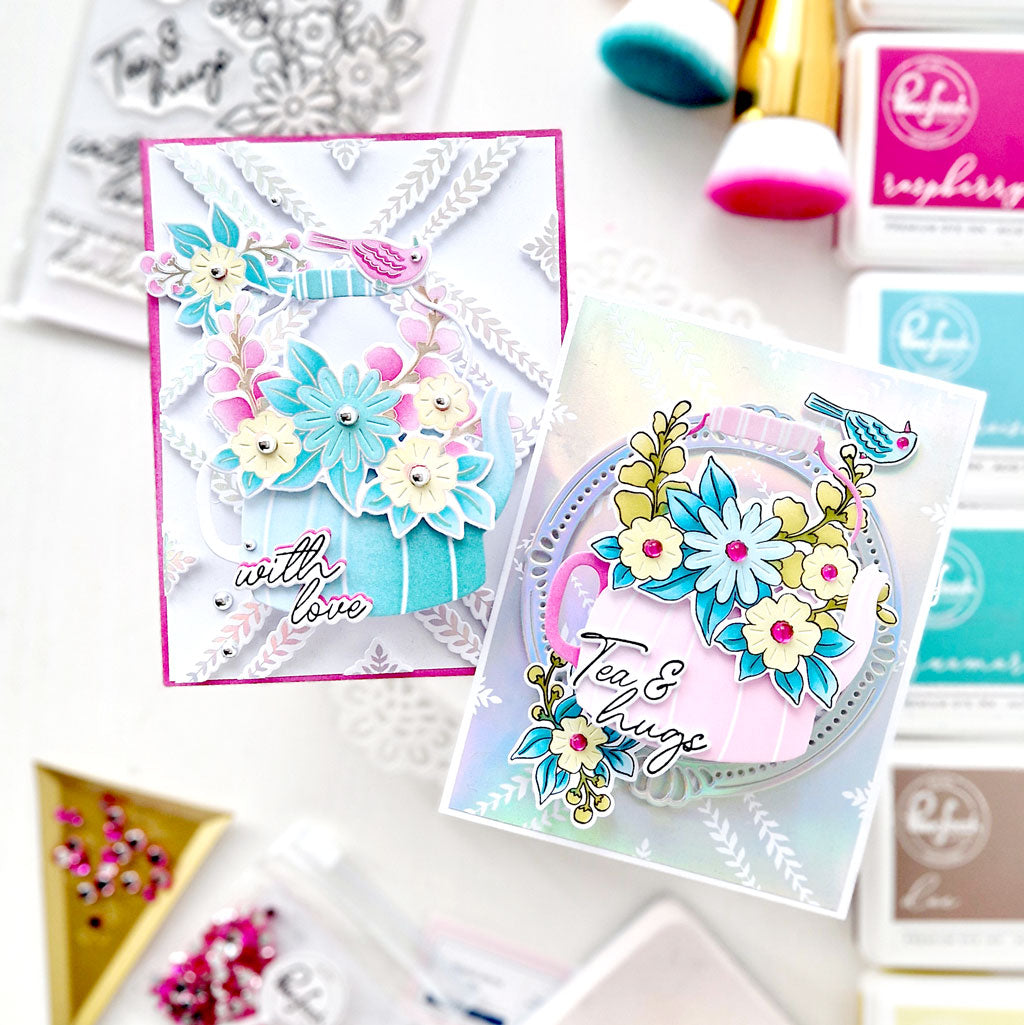
- Stamp your sentiment from the Steeped in Kindness stamp set with Detail black ink and add some extra foliage using colored diecuts from the Fresh Florals die set.
- Dry emboss your front panel with the Leafy Lattice Press Plate and adhere your grid panel piece on top.

I still had two leftover greenery pieces so I went ahead and created my third card:
- Cut out two grid panels with the Scalloped Grid Coverplate out of white cardstock.
- Trim one row of one of the panels and two rows of the other one.
- Foam mount these two panels and adhere them onto an A2 cardbase.
- Arrange the foliage pieces onto your front panel along with some leftovers flowers from the set and tuck some diecut greenery from the Fresh Florals die set.
- Stamp your sentiment from the Steeped in Kindness stamp set in Detail Black ink and foam mount it onto your front panel.

I hope these color combo and ideas inspire you to create.
Thank you so much for stopping by and happy crafting!
Raquel
Recommended Products








































2 comments
Annette Gordon
Tammi Barrick
Leave a comment
All comments are moderated before being published.
This site is protected by hCaptcha and the hCaptcha Privacy Policy and Terms of Service apply.