
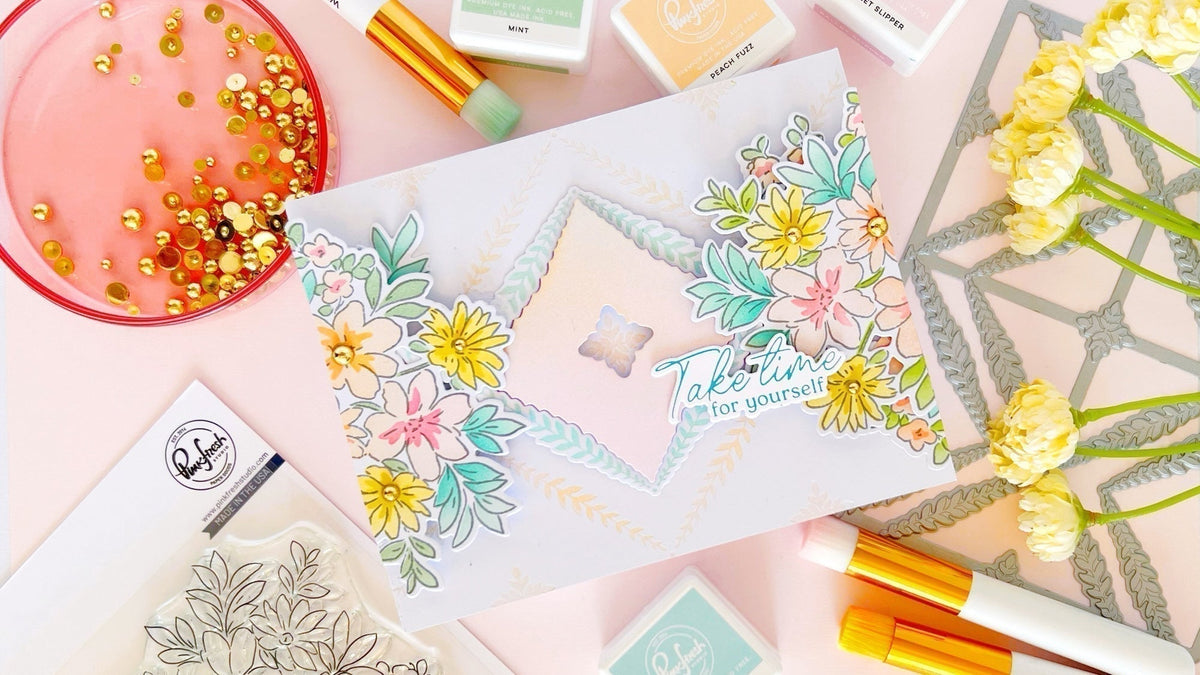
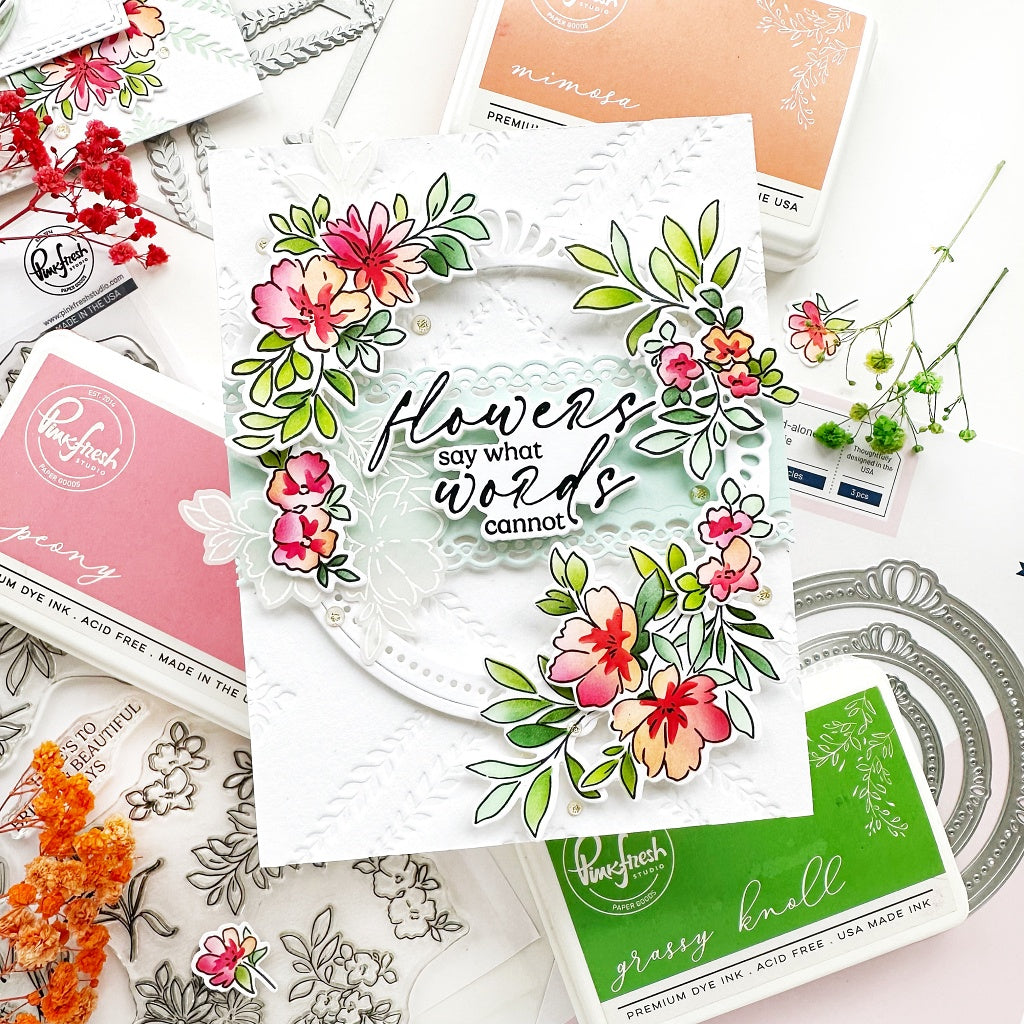
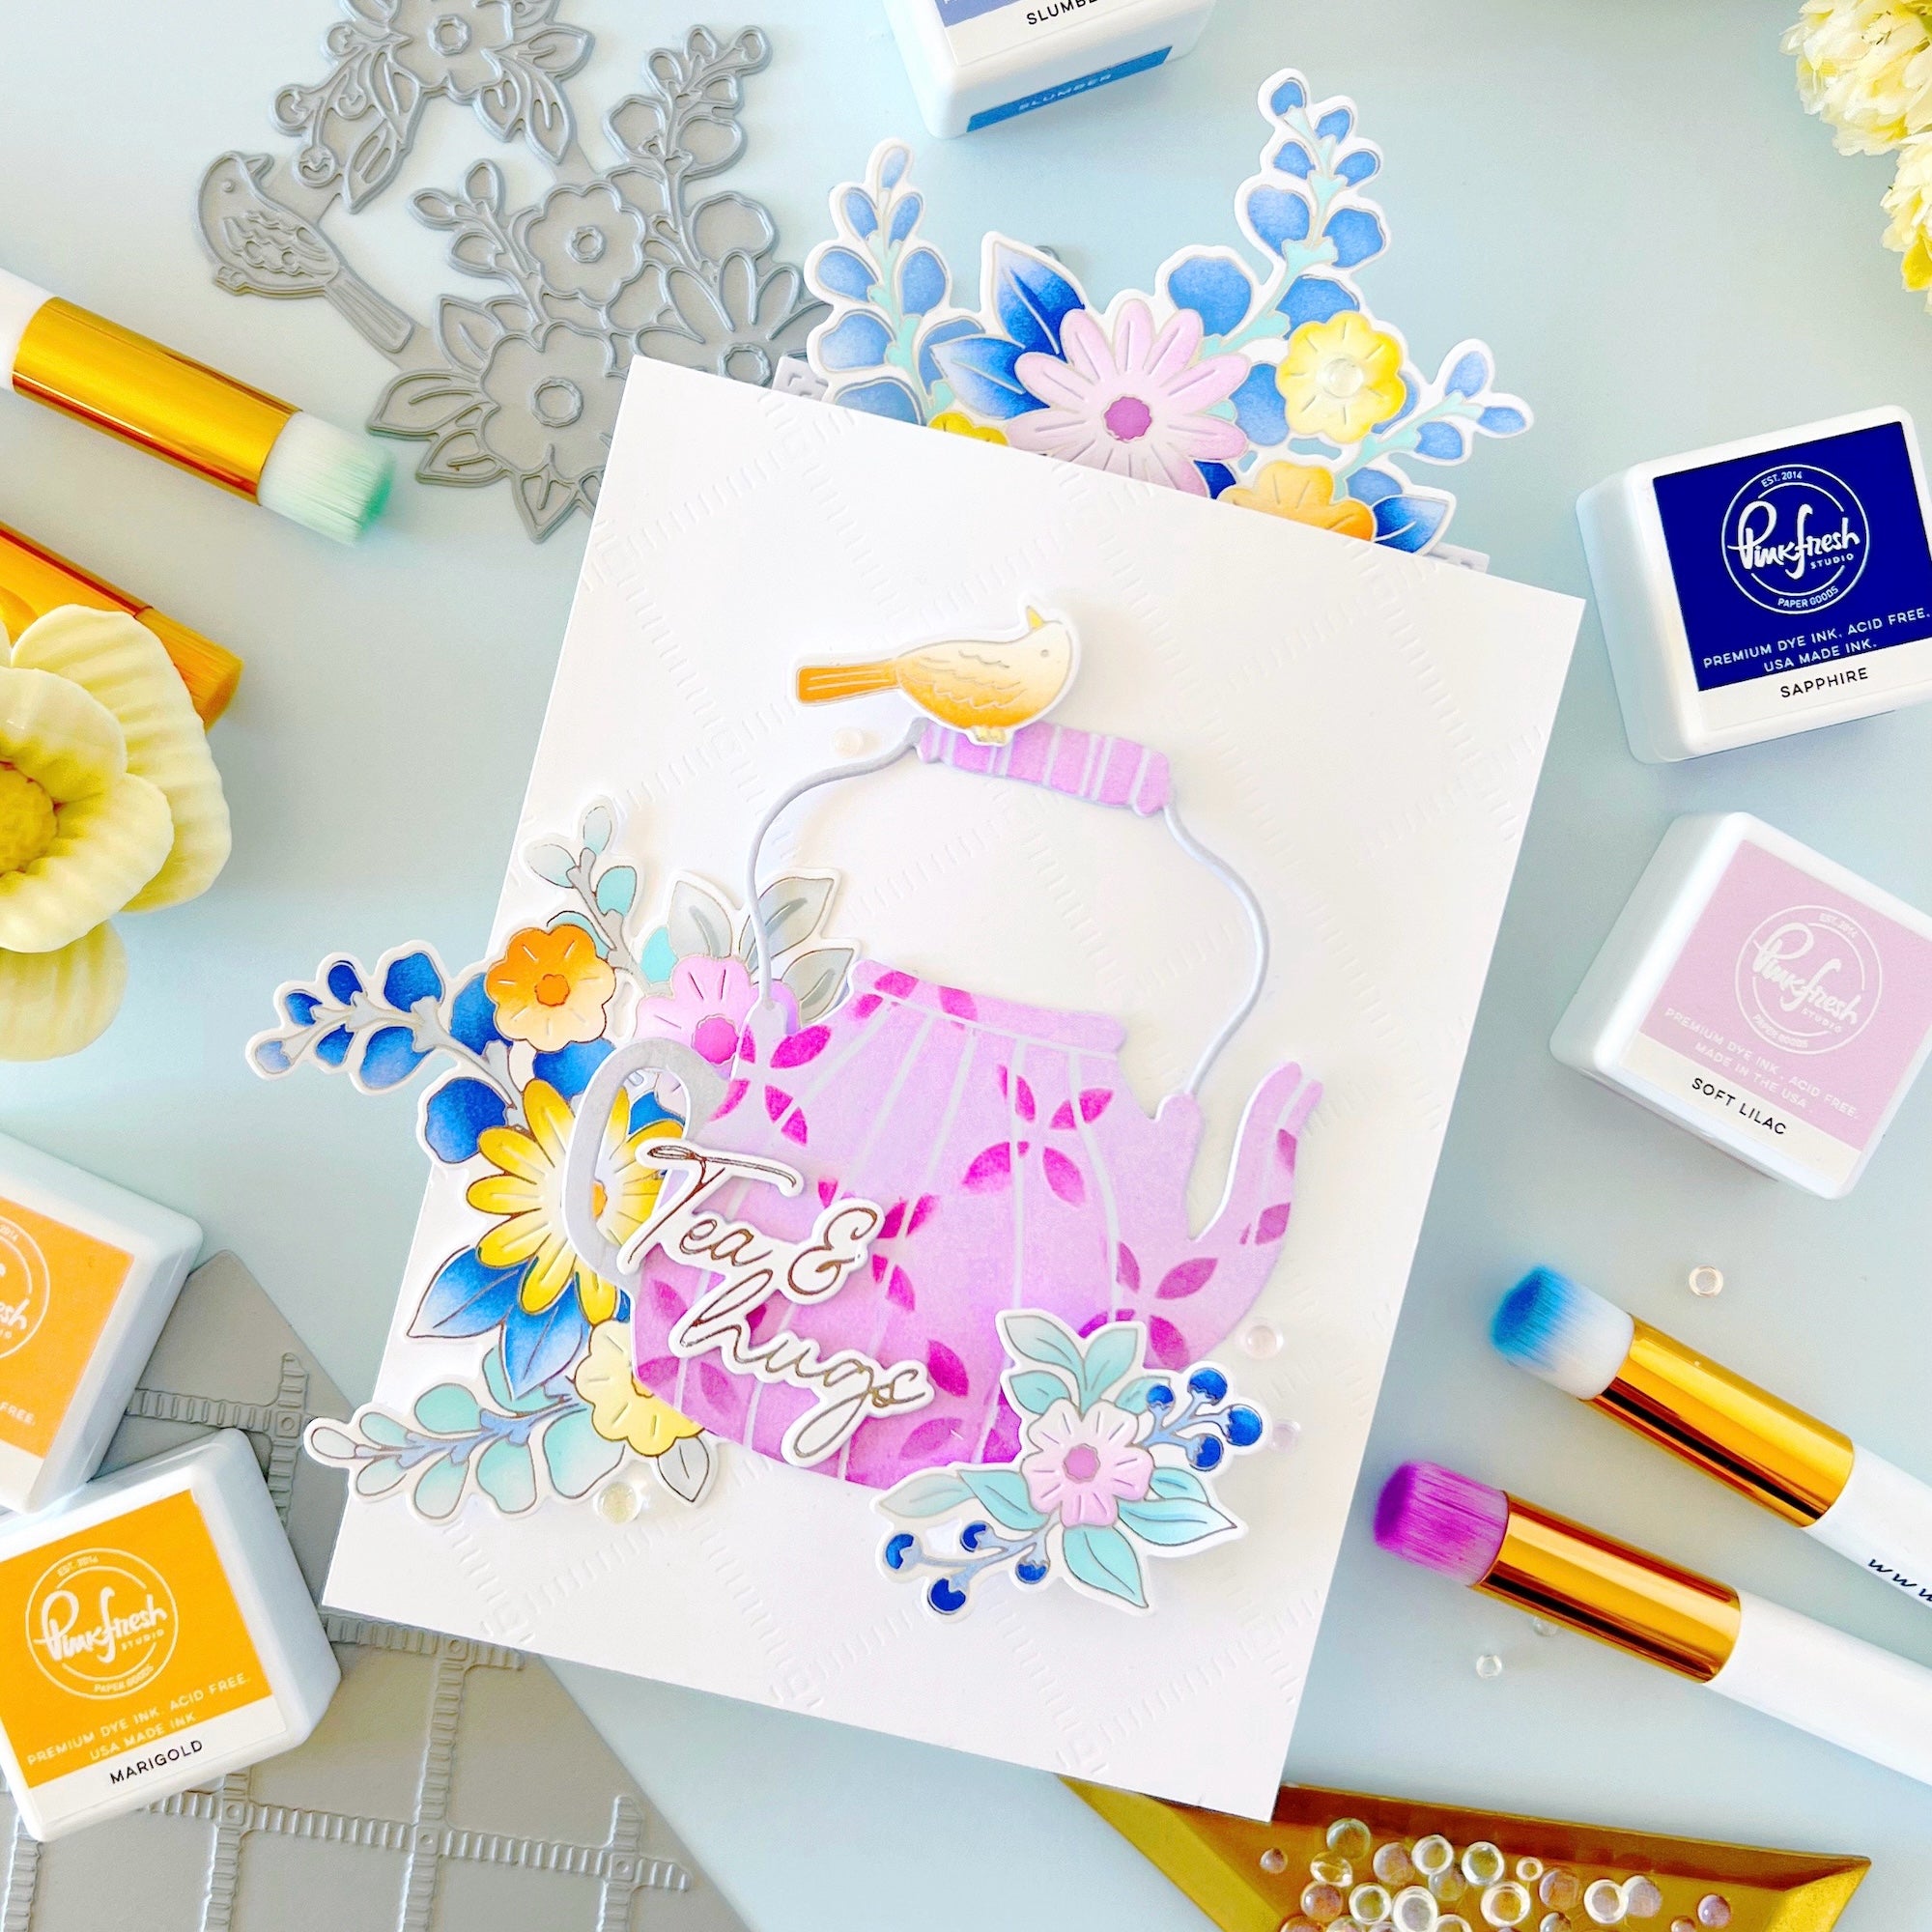
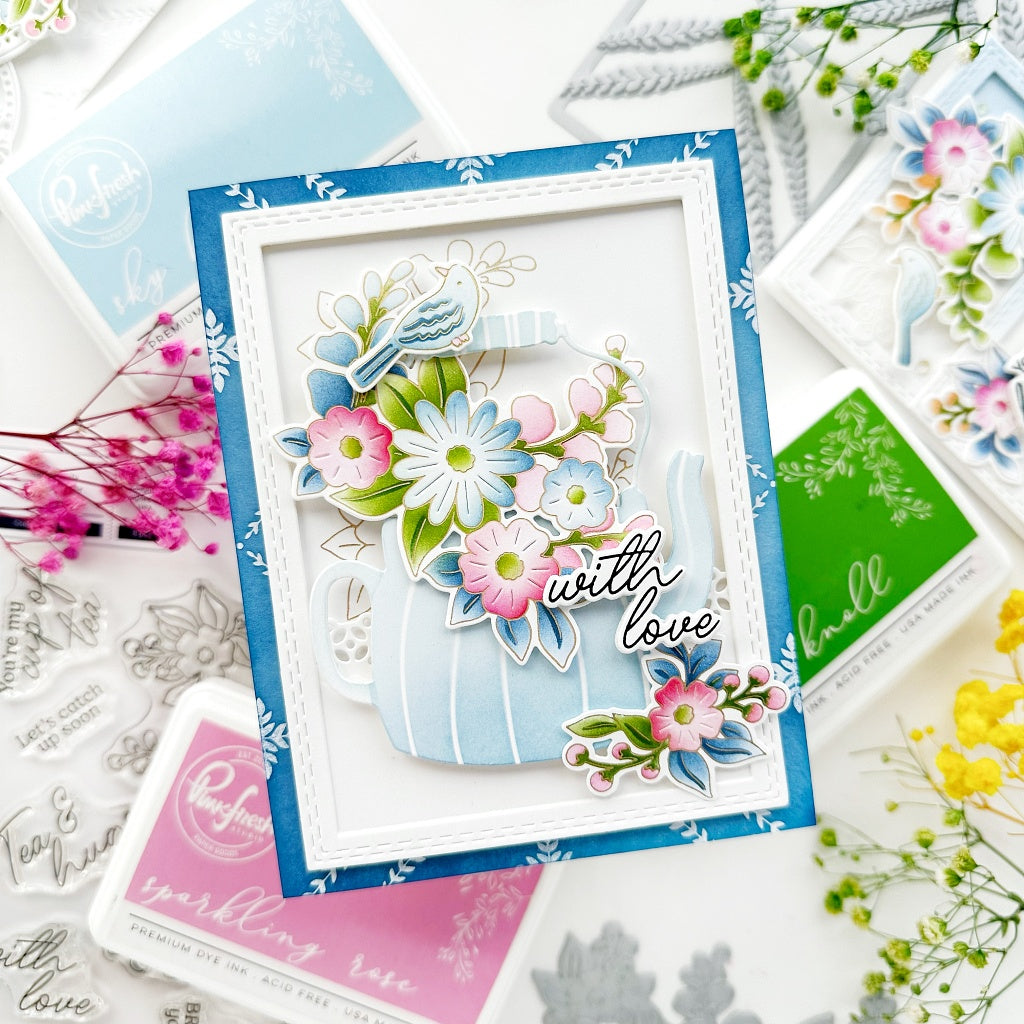
Spring is in the air, and what better way to celebrate than with a soft, pastel-infused card full of delicate layers and floral elegance? Today, I (Kathleen) am excited to share a project that brings together subtle ink blending, intricate die cuts, and a touch of shimmer to create a beautifully dimensional design.
Whether you're new to layering stencils & techniques, or a seasoned cardmaker, this step-by-step tutorial will guide you through the process of crafting a card that’s perfect for any occasion. Let’s dive in and bring this spring-inspired creation to life! 🌸✨
*Disclaimer: All products used are linked below as clickable images. If a product isn’t listed, it’s been discontinued.

Let's see how this card came together:
-
Prepare the Base: Cut an A2 side-folding card base from white cardstock.
-
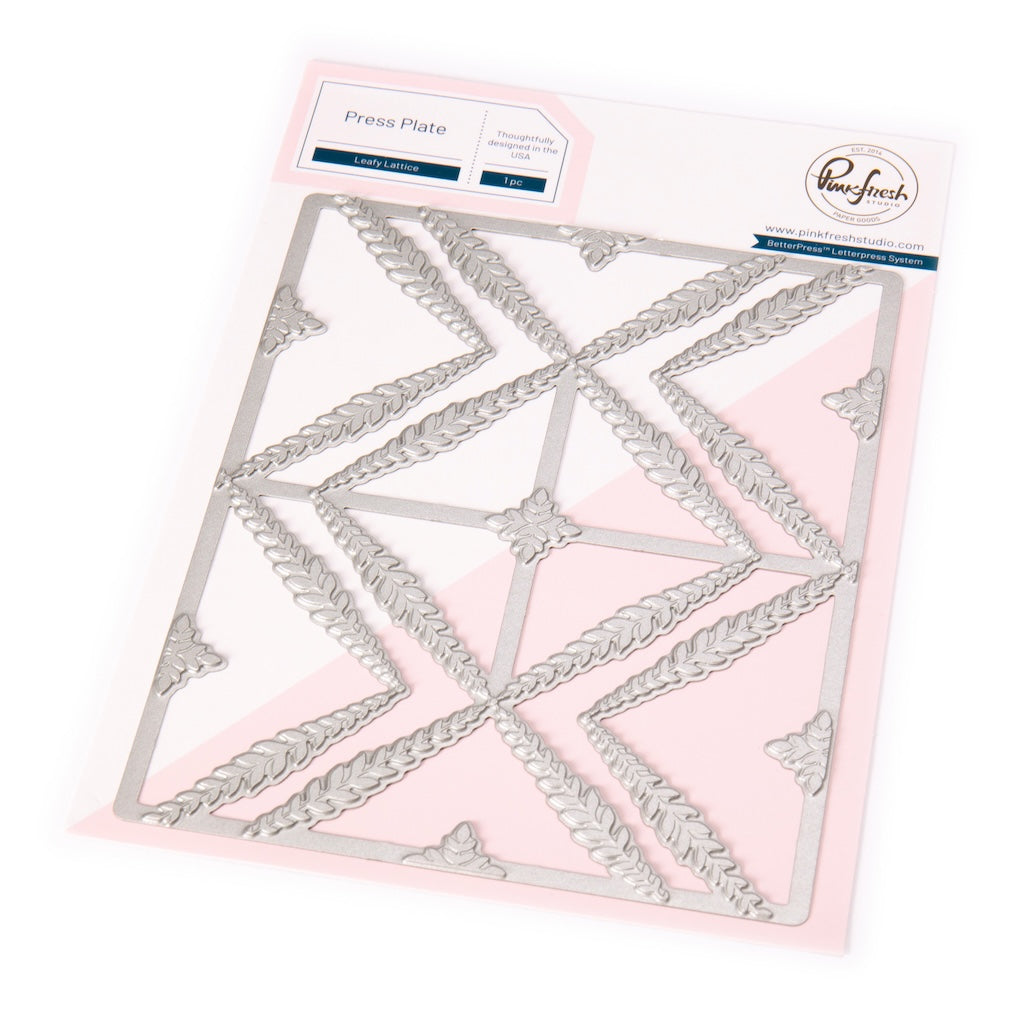
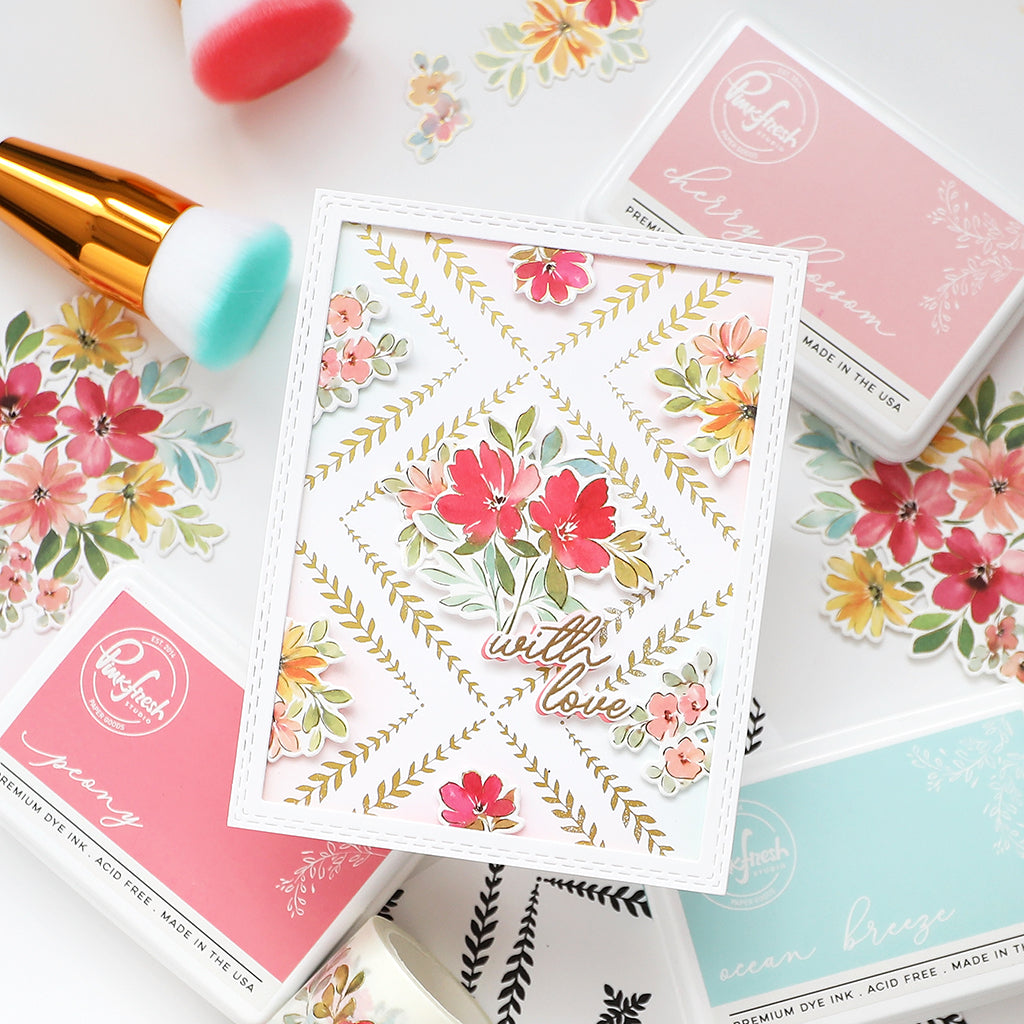
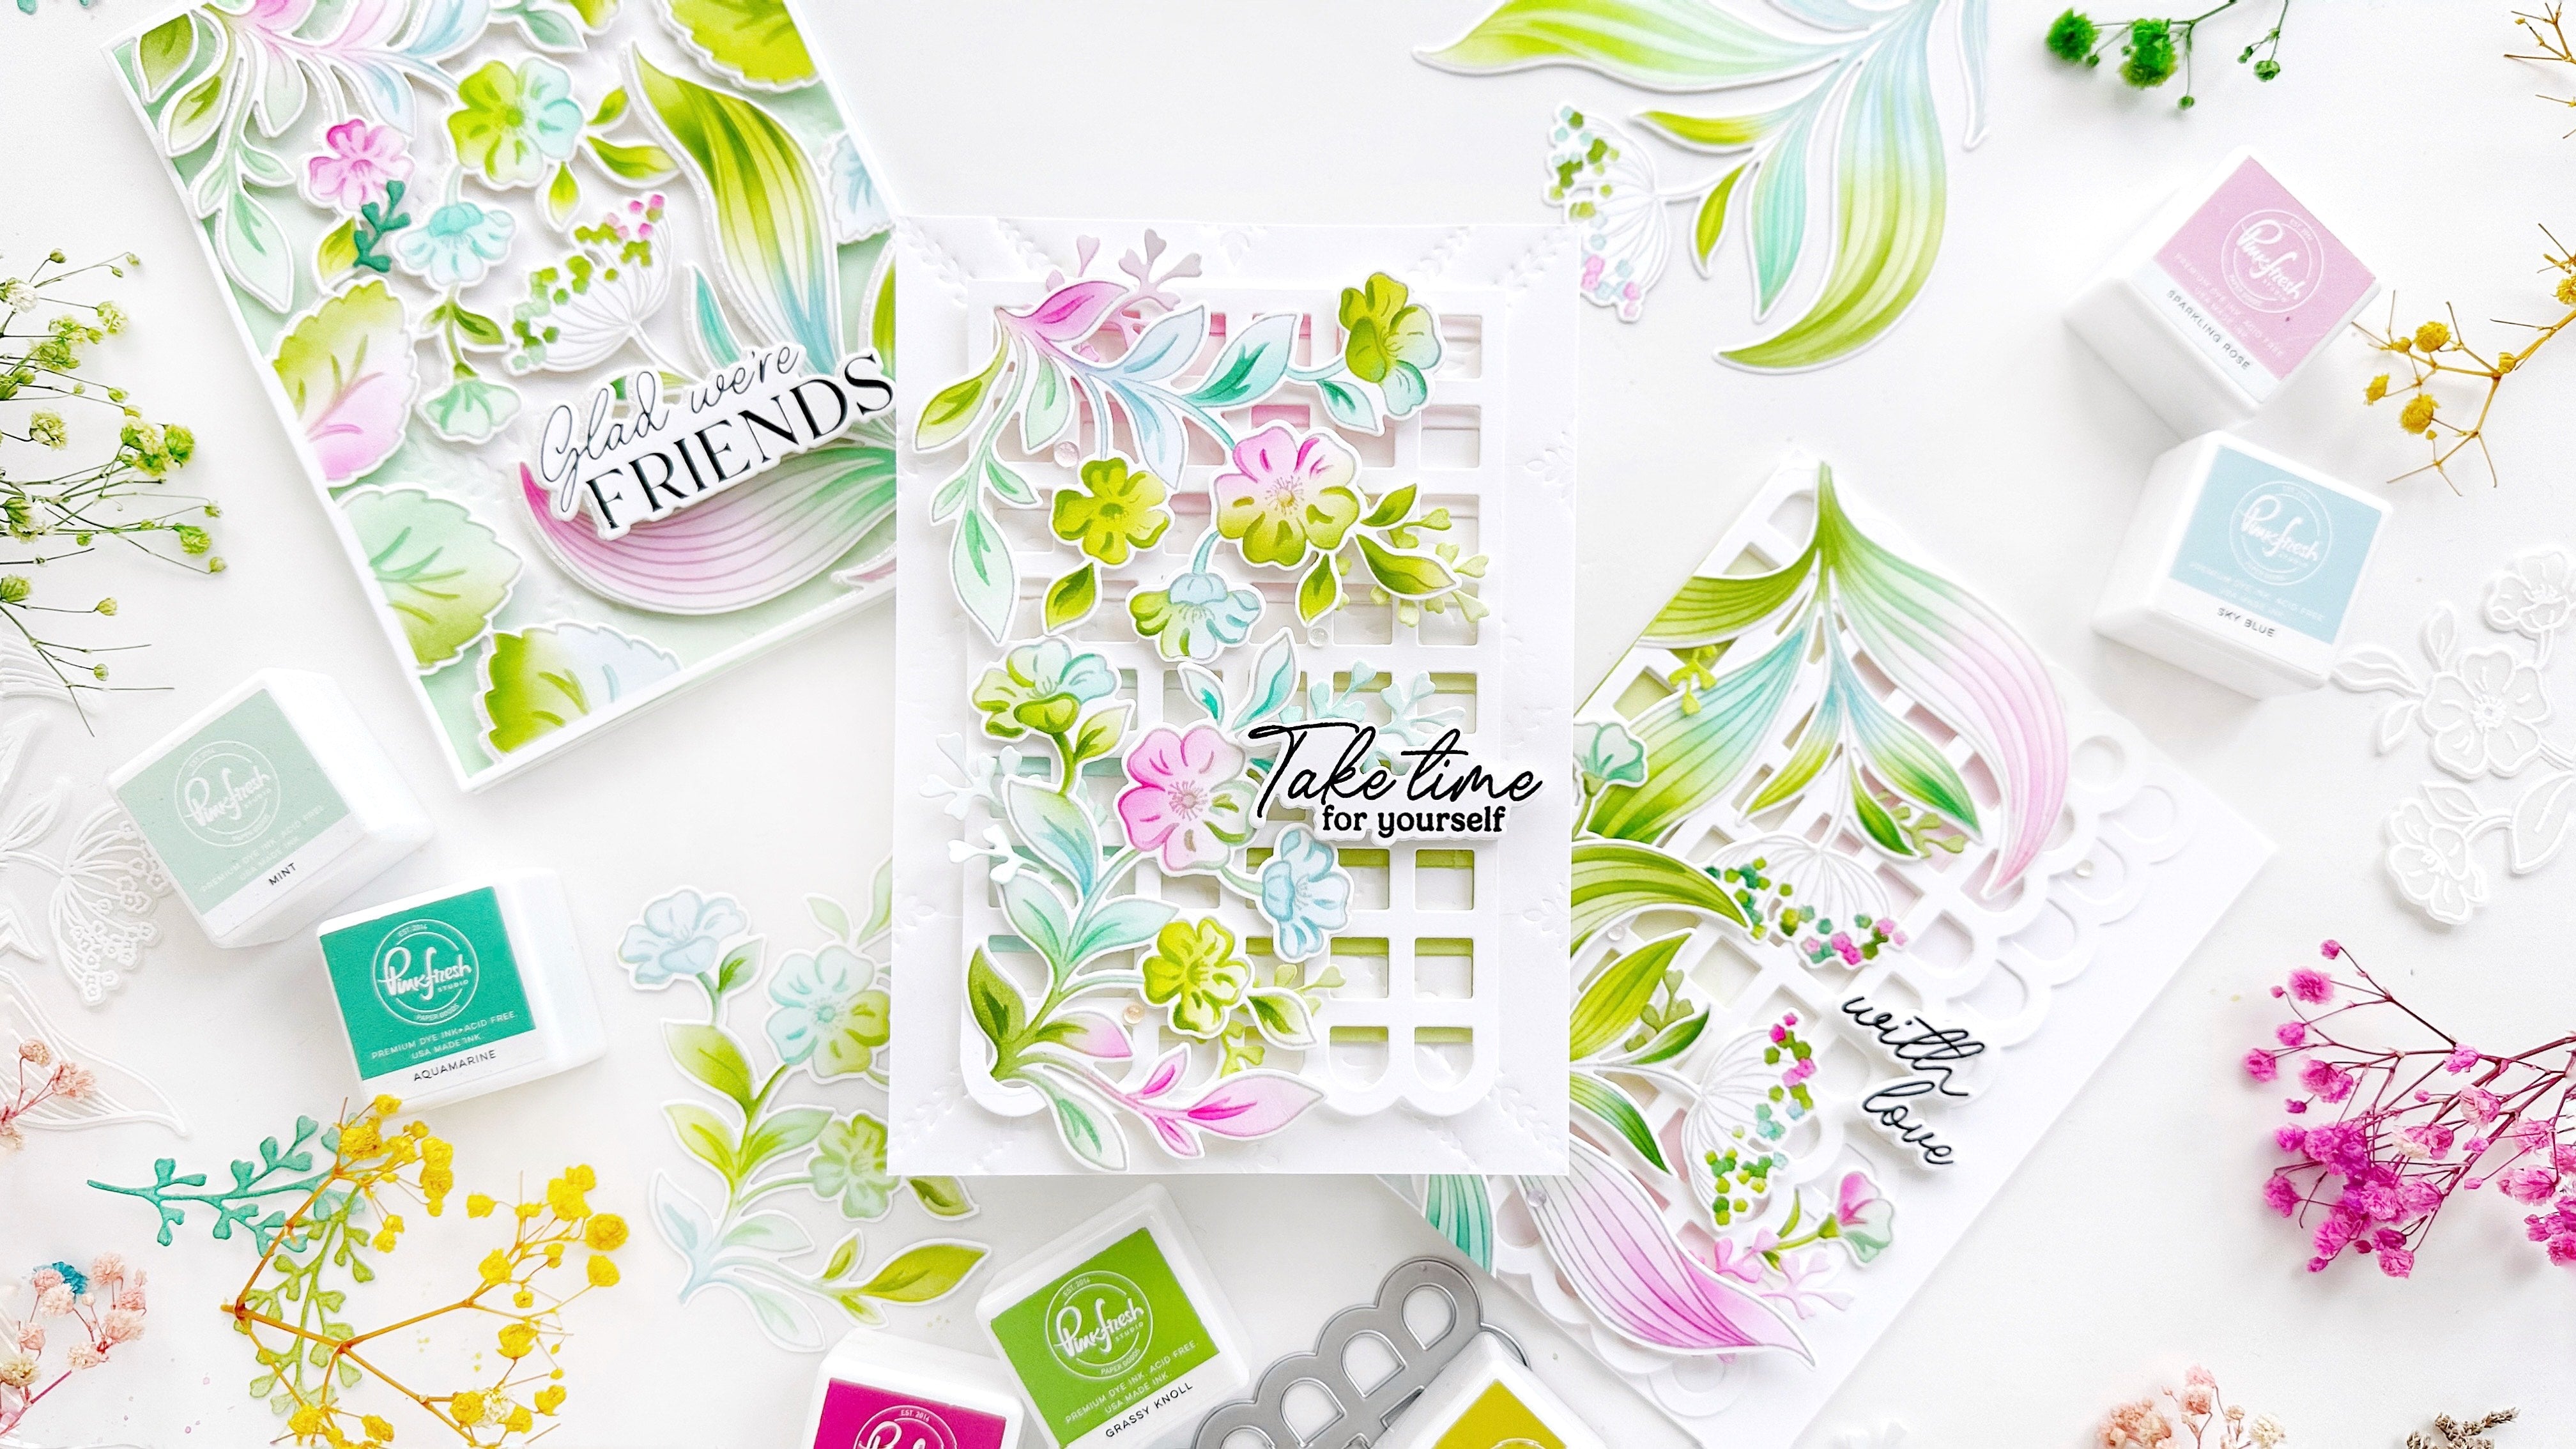
Card Front: Ink the Leafy Lattice press plate lightly with Peach Fuzz & Cherry Blossom ink, and press it onto the white card base using the BetterPress system.
-
Leafy Lattice die cut:
-
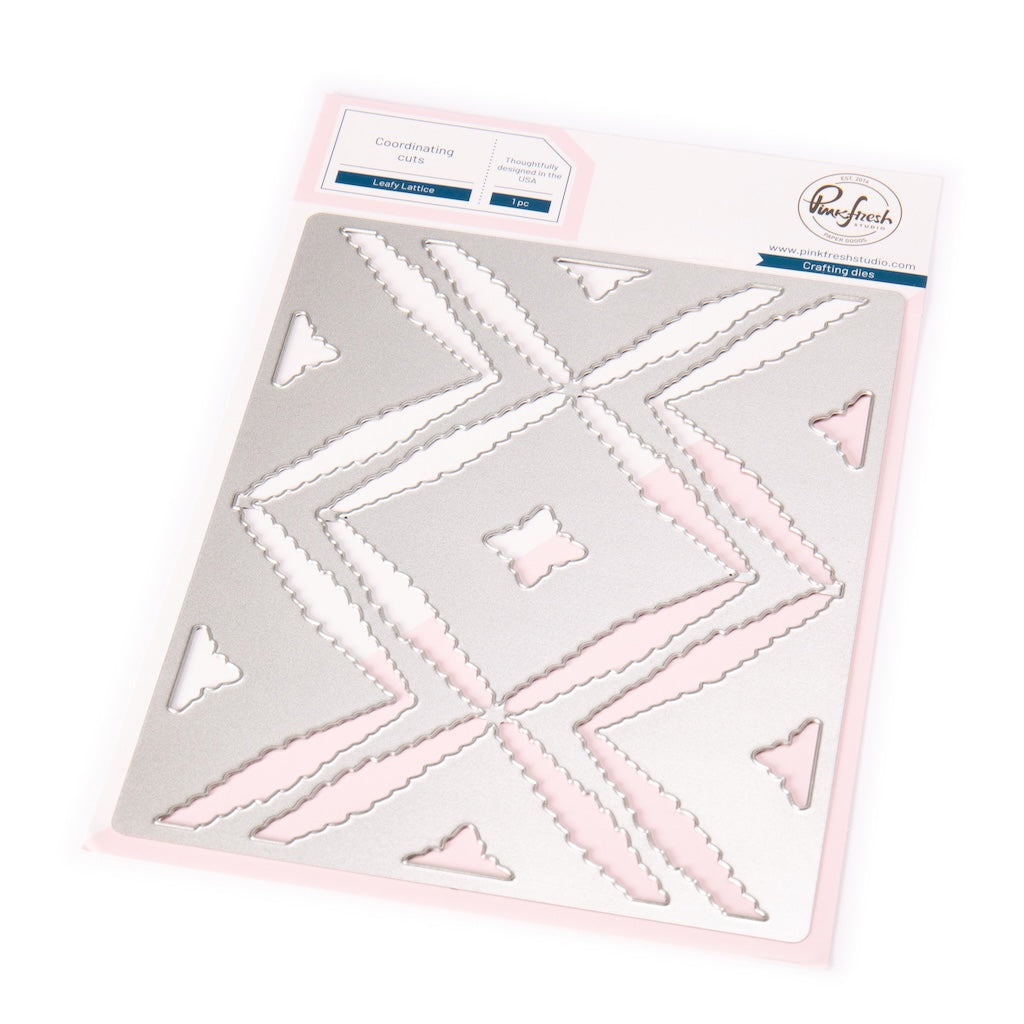
Lightly ink up the Leafy Lattice press plate again, this time with Mint & Ocean Breeze, and press it onto a separate piece of white cardstock. Die cut with the coordinating die.
-
Adhere the largest lattice die cut piece to the card base in the same spot as the peach/cherry blossom pressed version.
-
Ink blend the white die cut center piece with Peach Fuzz & Cherry Blossom.
-
Adhere it to the center of the card using foam adhesive.
-
-
Flowers for the Soul:
-
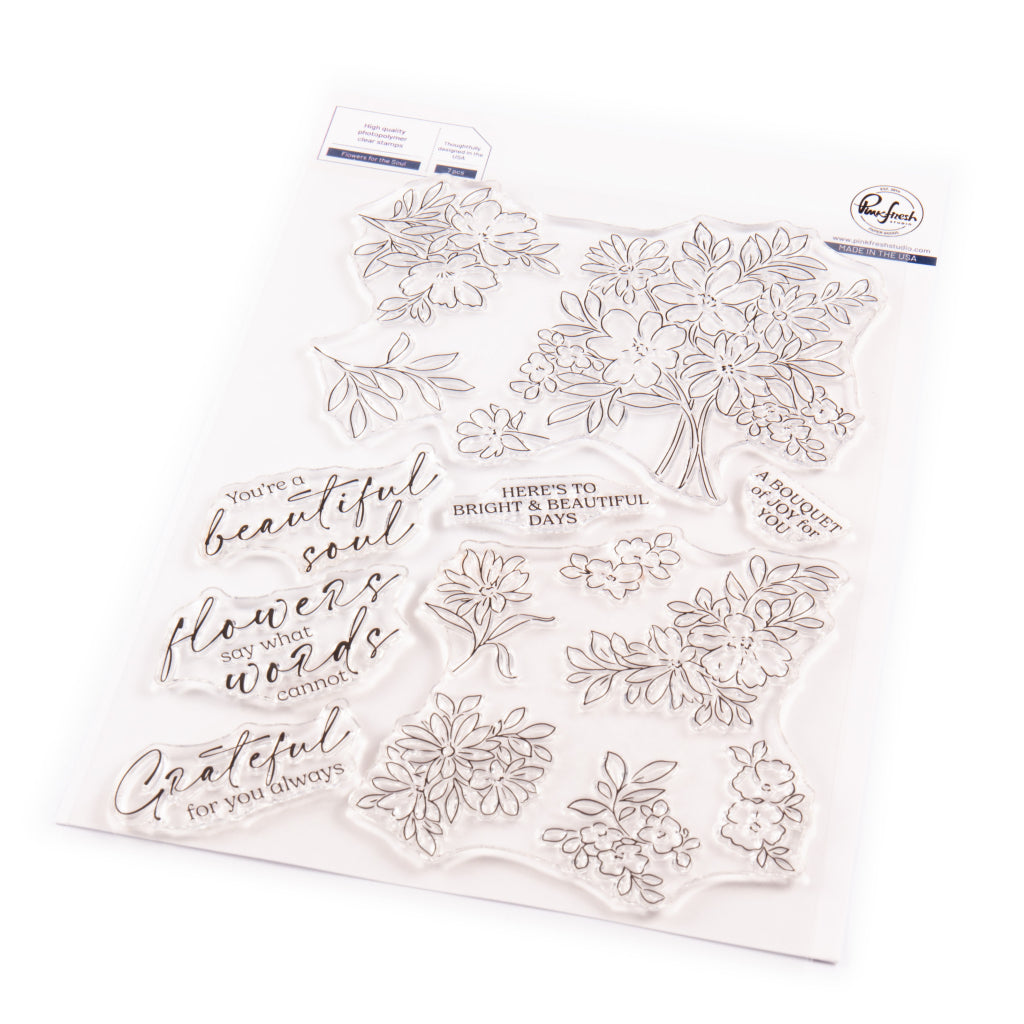
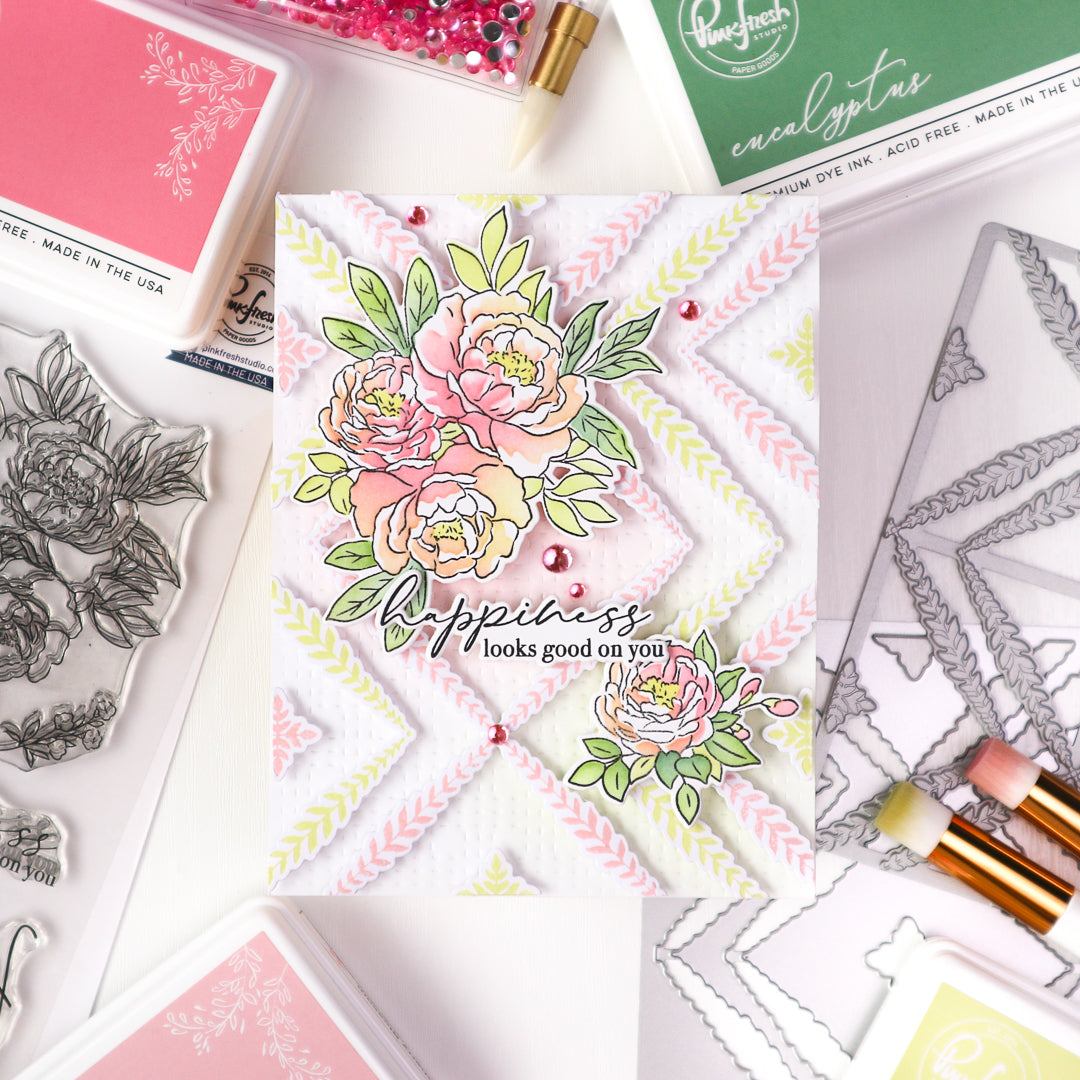
Stamp the upper floral stamp (the one with the large bouquet) using Rocky Slope ink twice on two separate pieces of white cardstock.
-
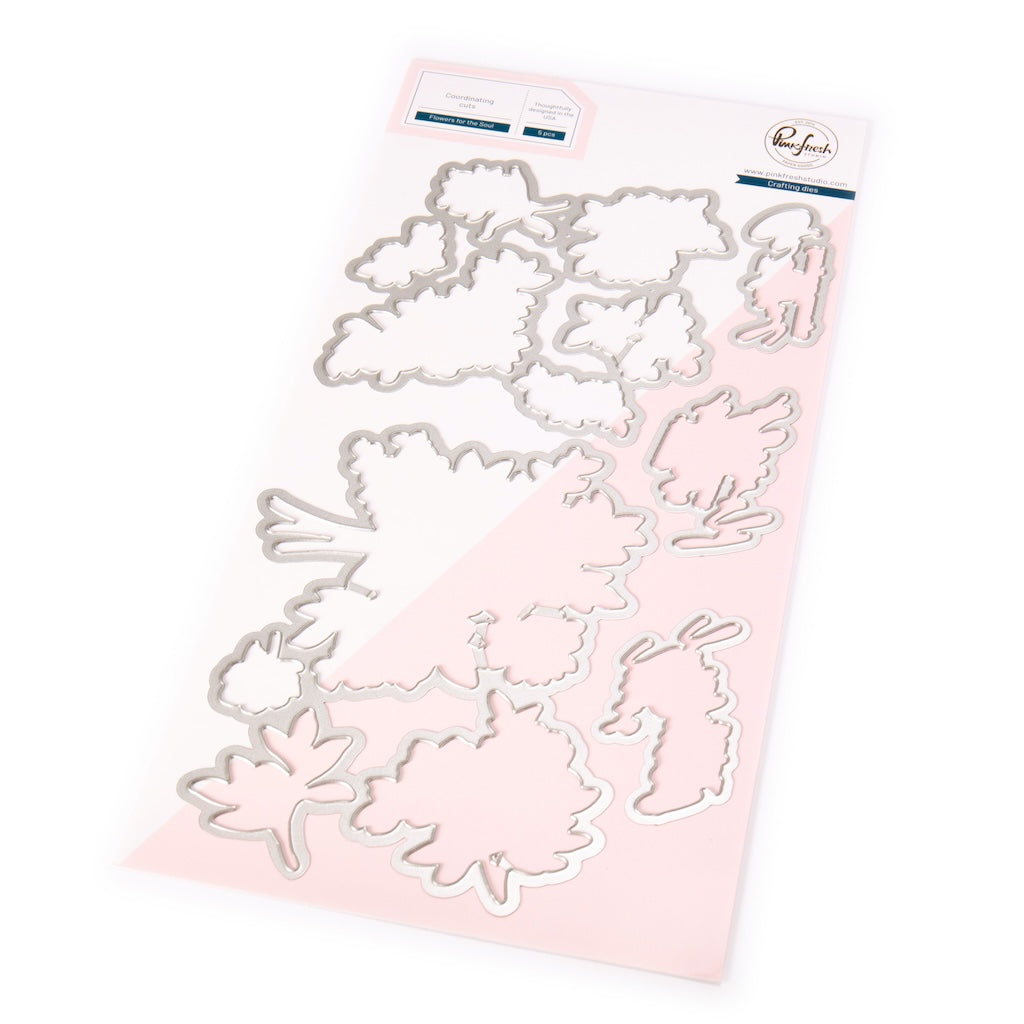
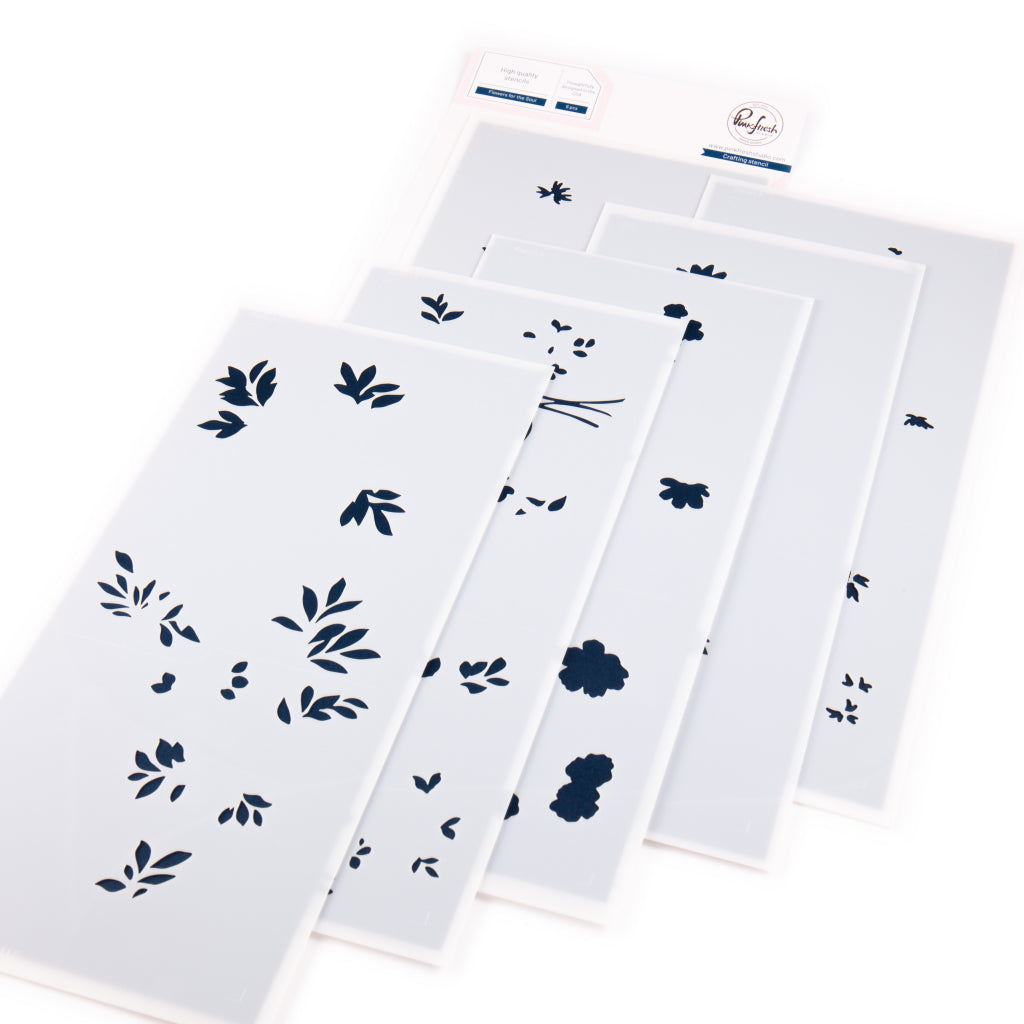
Use the coordinating layering stencils to color in the stamped images with the following colors, then die cut using the coordinating dies:
-
-
Stencil 1: Mint & Aquamarine
-
Stencil 2: Fresh Pear
-
Stencil 3: Peach Fuzz & Cherry Blossom
-
Stencil 4: Lemon Whip
-
Stencil 5: Apricot & Peony
-
Stencil 6: Sweet Mustard
-
-
- Adhere the two largest floral die cuts with foam adhesive on the left and right side of the card & cut off the excess. Tuck some of the smaller die cuts behind the large clusters.
-
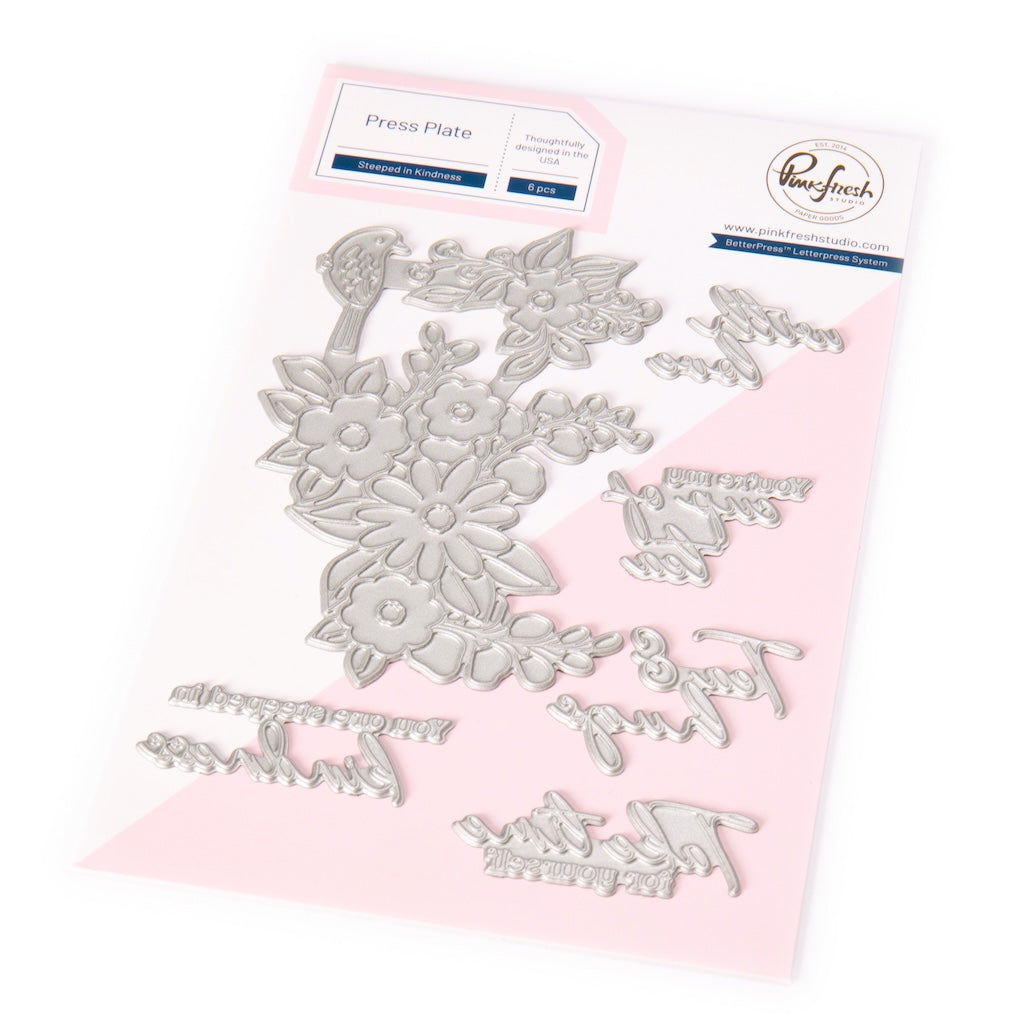
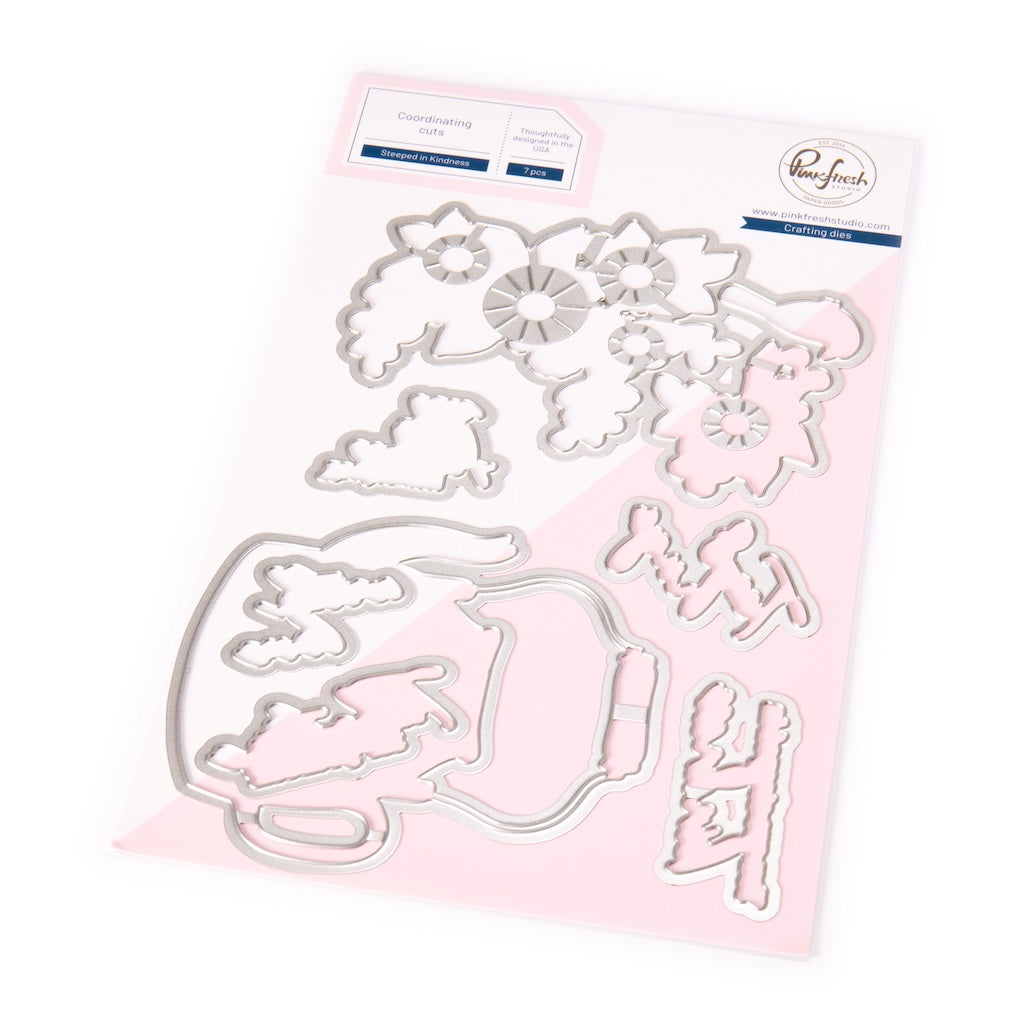
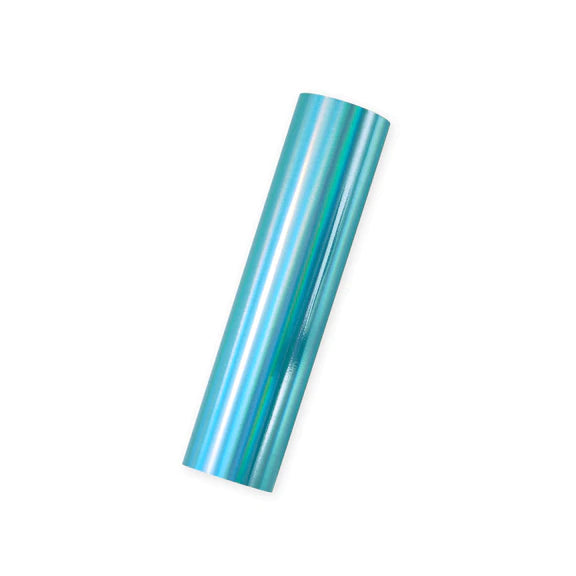
- Sentiment: Hot foil the "Take time for yourself" sentiment using the Steeped in Kindness press plates & Moondust glimmer foil onto white cardstock, die cut and adhere it to the card.
- Finishing Touches: Embellish to your liking. I added Gold Metallic Pearls to some flower centers.
Enjoy your beautifully layered and dimensional card! 💖🌸✨

I hope this tutorial has inspired you to create your own soft and elegant spring-themed card! The combination of delicate ink blending, layered die cuts, and subtle embellishments adds so much depth and charm to any design.
If you give this technique a try, we’d love to see your creations—be sure to tag us on social media so we can admire your beautiful work. Thanks for stopping by, and happy crafting! 🌸✨
Recommended Products




























1 comment
Tammi Barrick
Leave a comment
All comments are moderated before being published.
This site is protected by hCaptcha and the hCaptcha Privacy Policy and Terms of Service apply.