
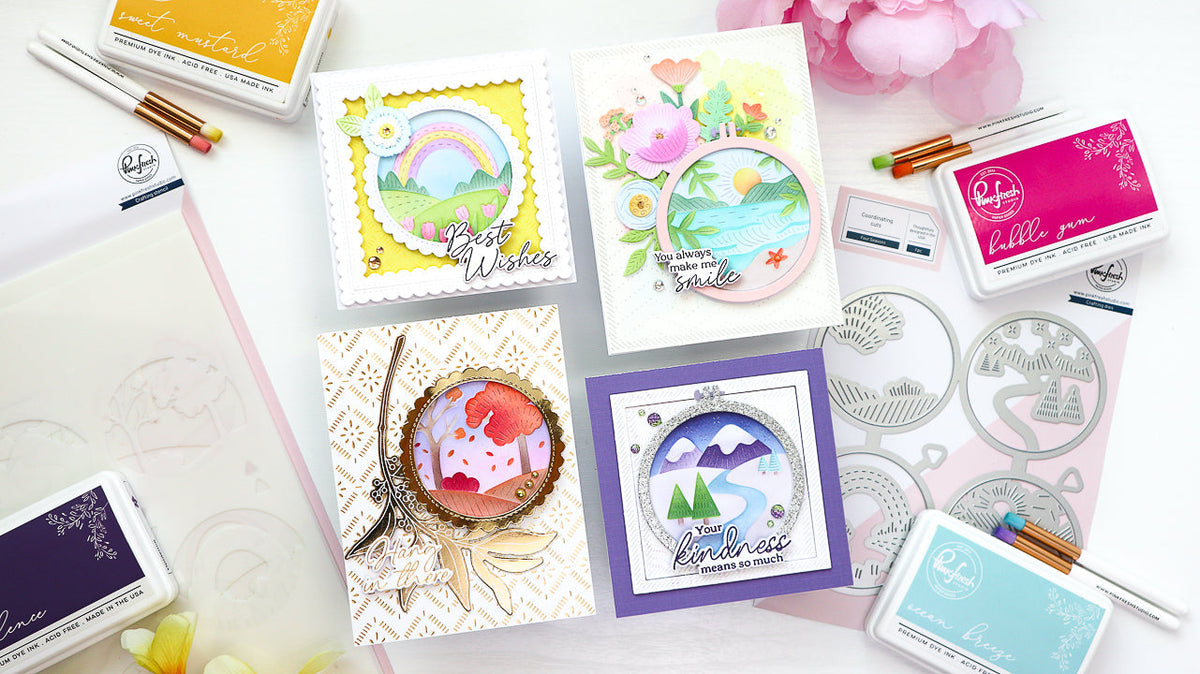
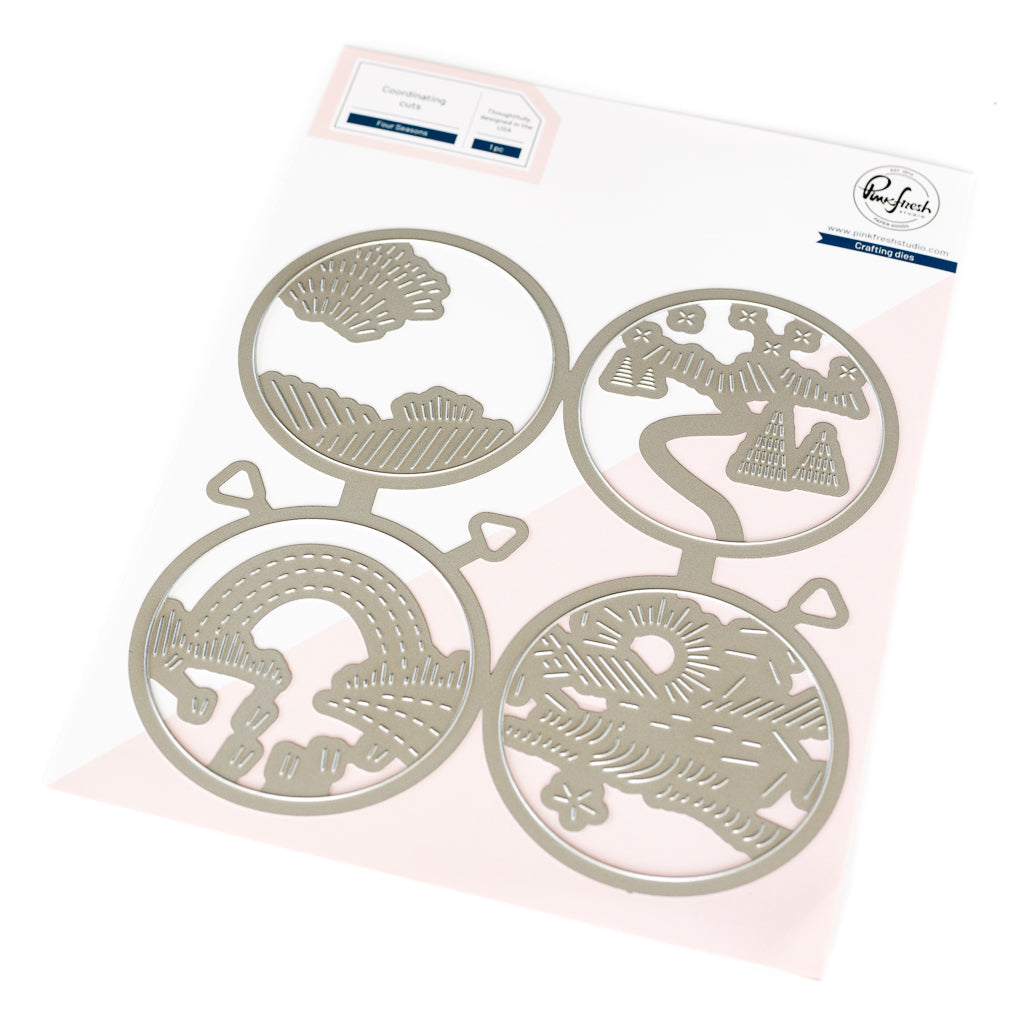
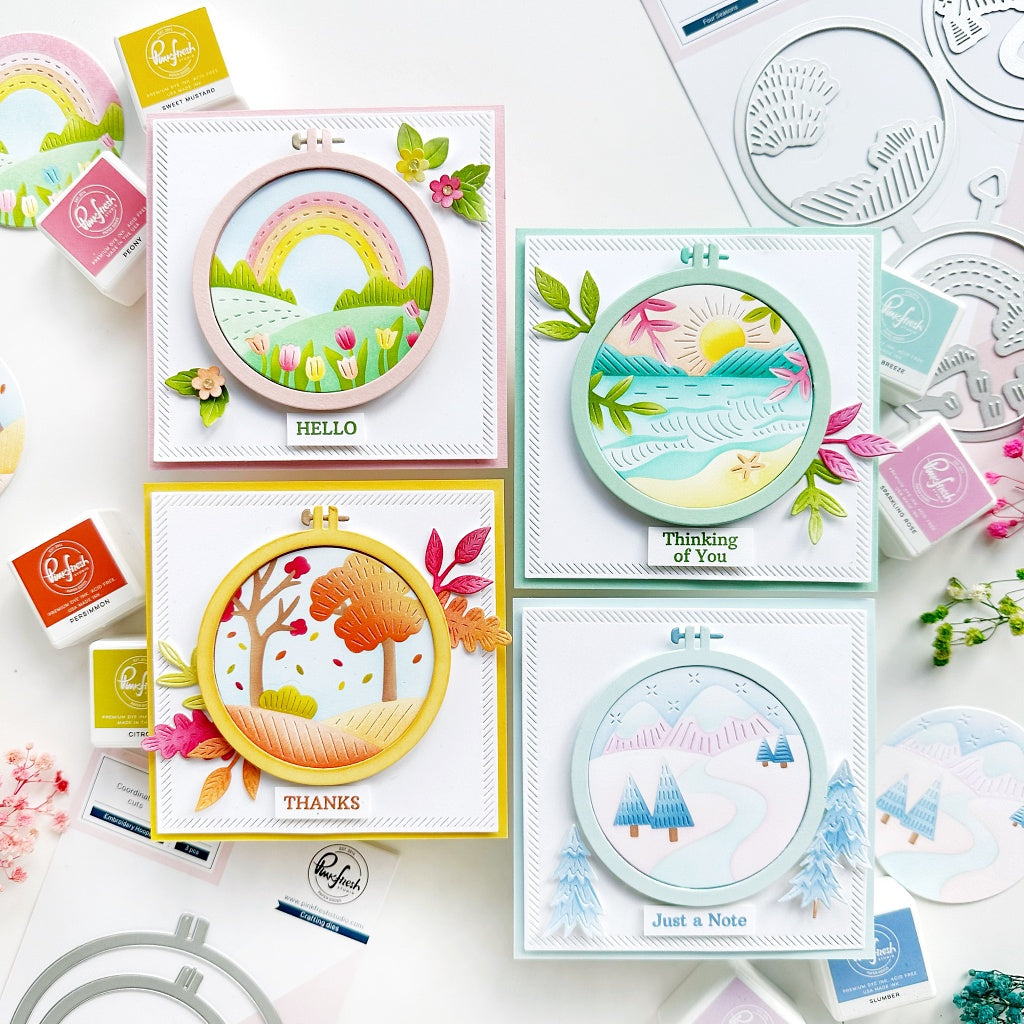
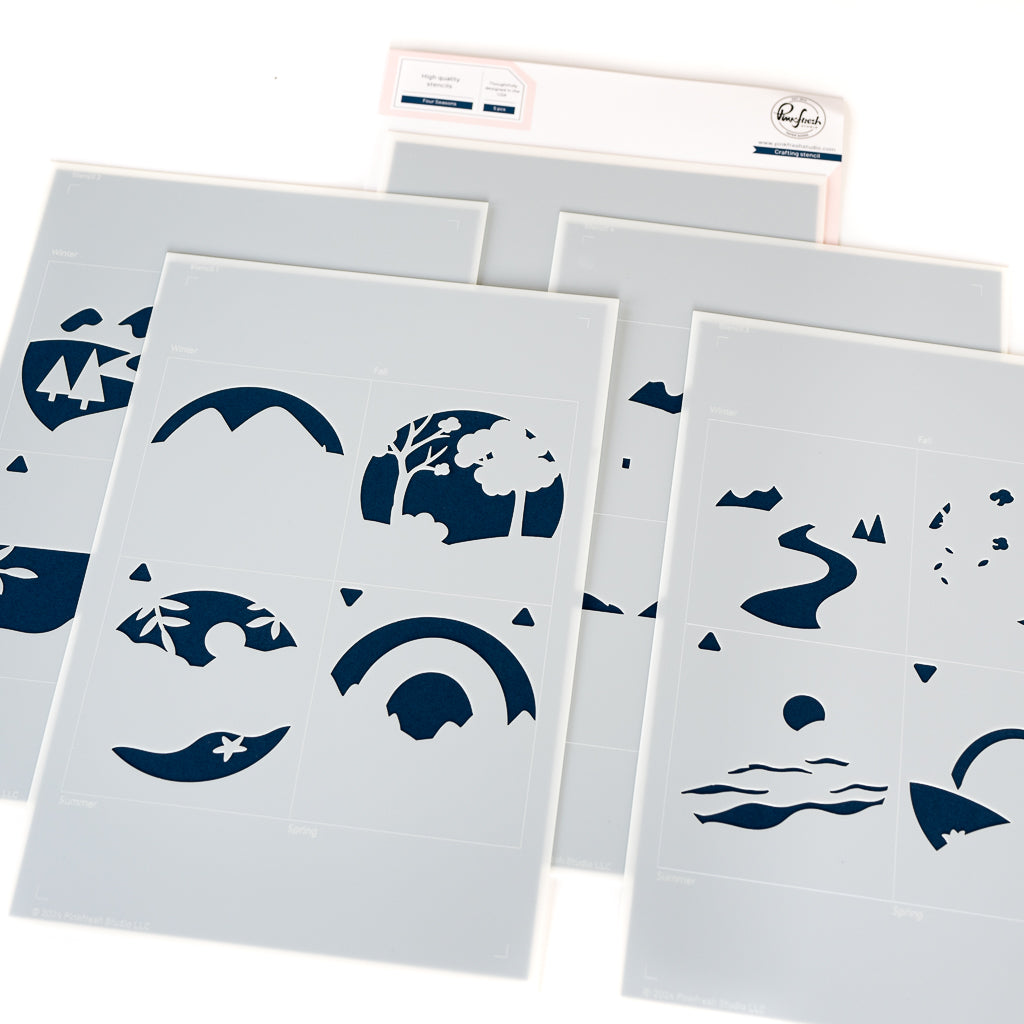
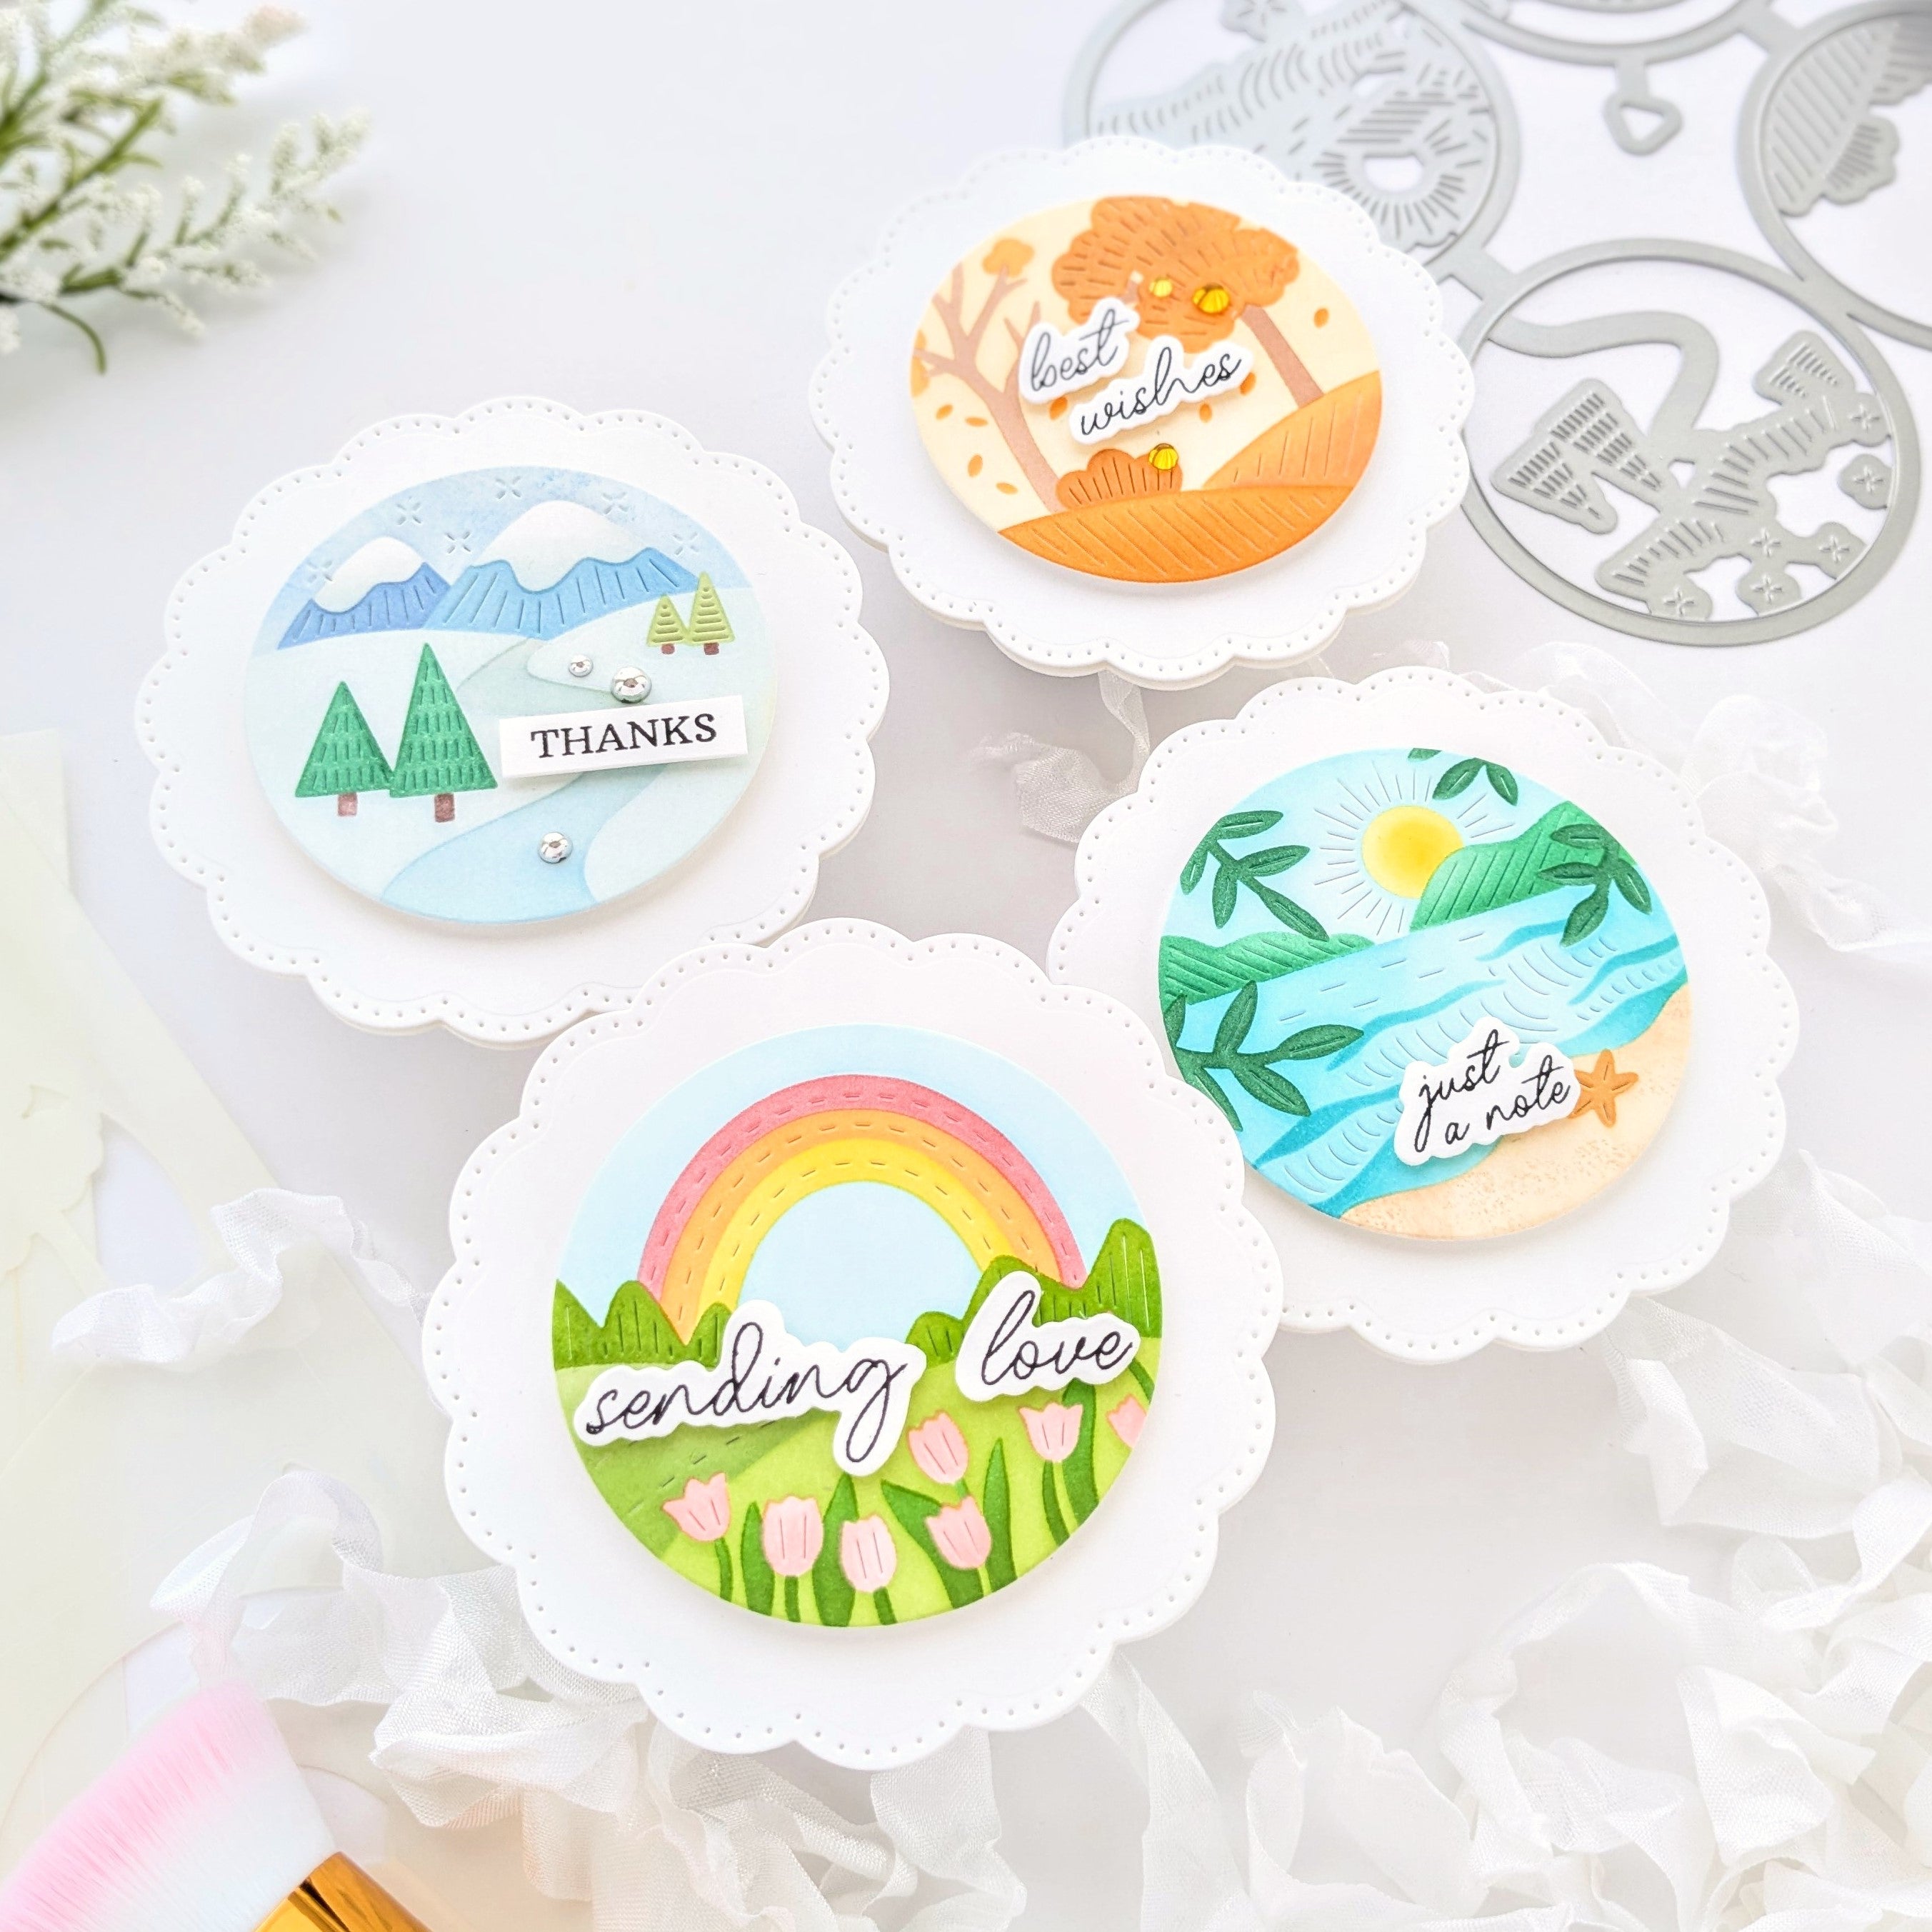
Hi Pinkfresh friends! Hope you’re having a great week so far! Have you had a chance to hop along at the Beautiful Life Release Instagram Hop ? Today, I want to showcase the Four Seasons product suite and the Embroidery Hoop die from the new release. The Four Seasons stencil set includes four circular images, each representing a season. This means you can create four different cards with the set, or you can choose one part of the stencil to create a single card. I used all the images to create four cards!
*Disclaimer: All products used are linked below as clickable images. If a product isn’t listed, it’s been discontinued.

To start, stencil the four scenes from the Four Seasons set onto a white panel. (Ink colors are listed in the order of winter, fall, summer, and spring)
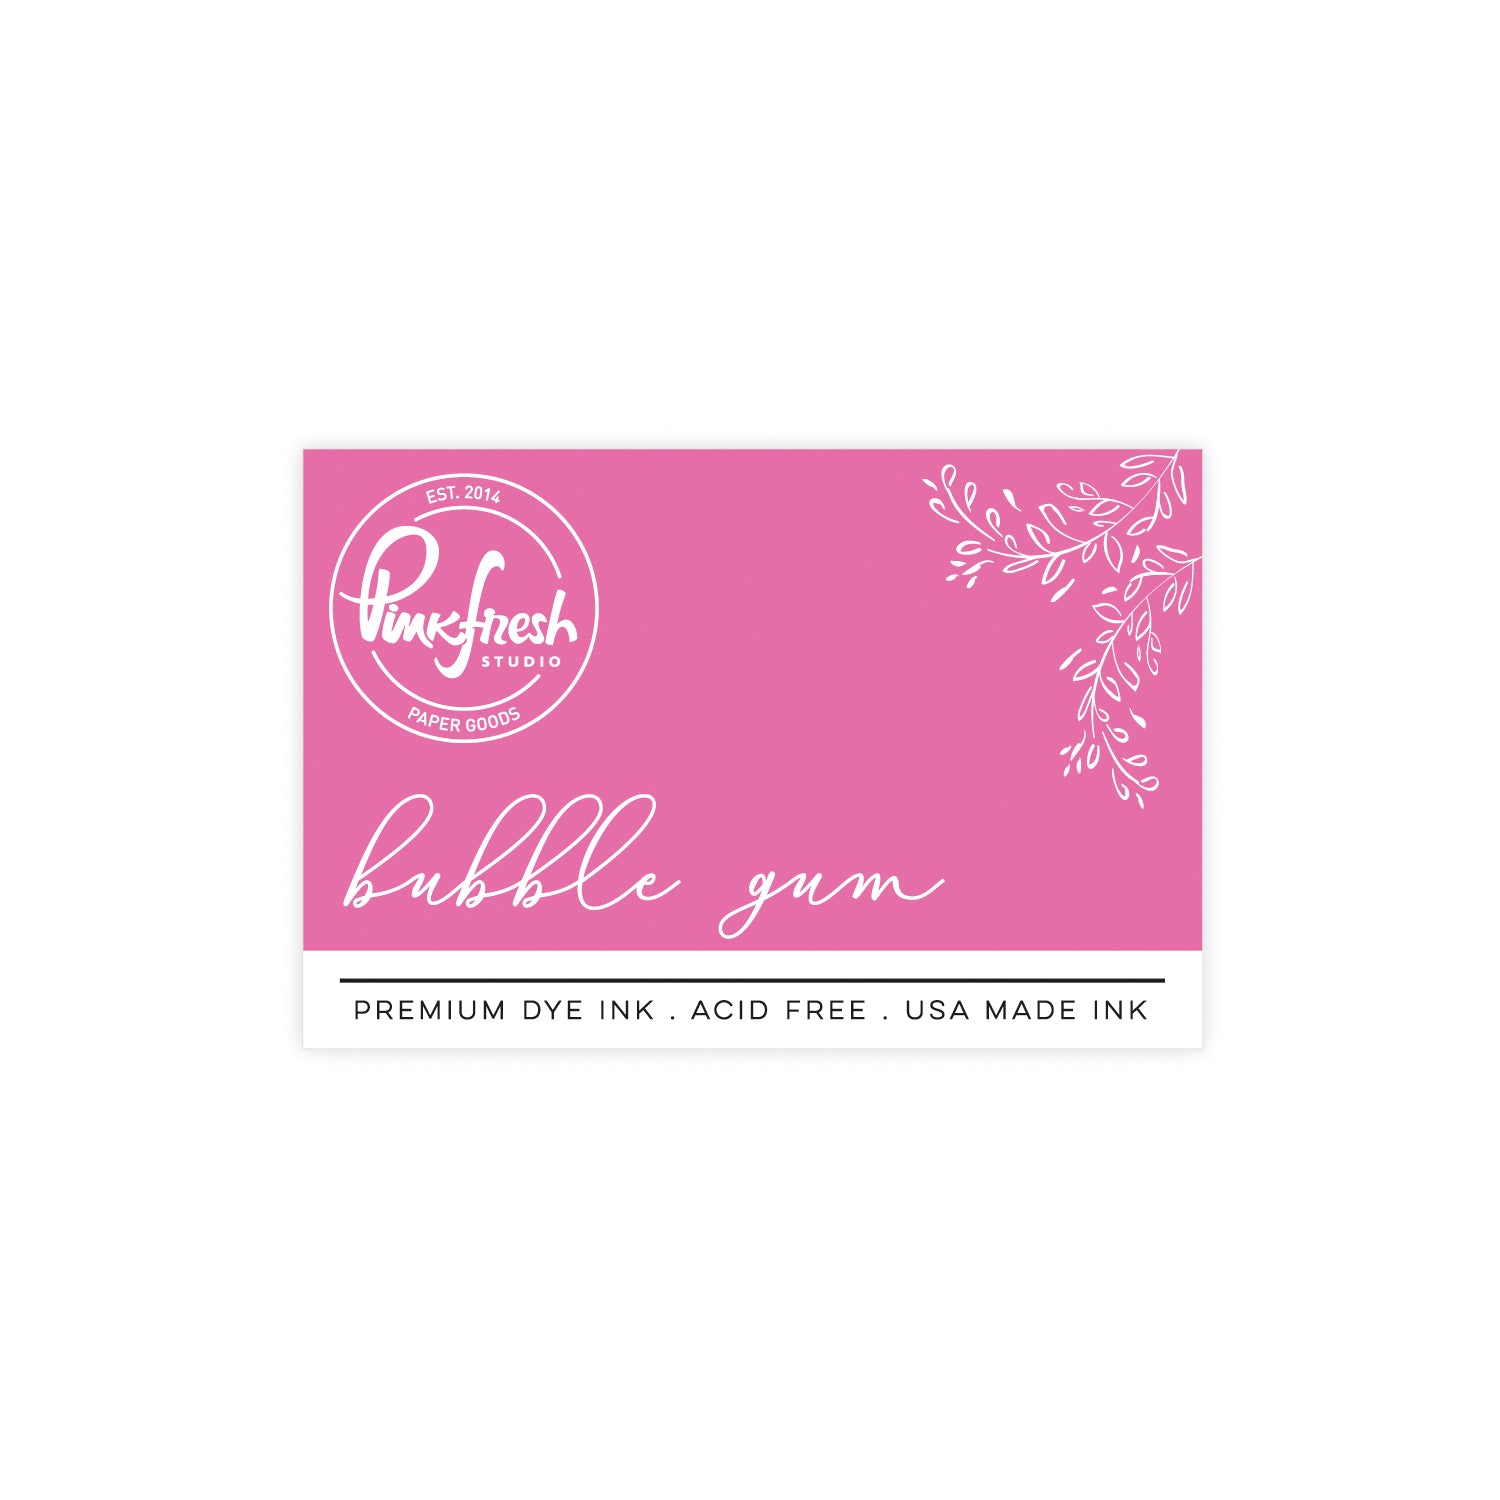
- Stencil 1 : Opulence, Sapphire/ Bubble Gum, Lavender/ Summer Shower, Sky Blue, Warm Buff/ Summer Shower, Sky Blue
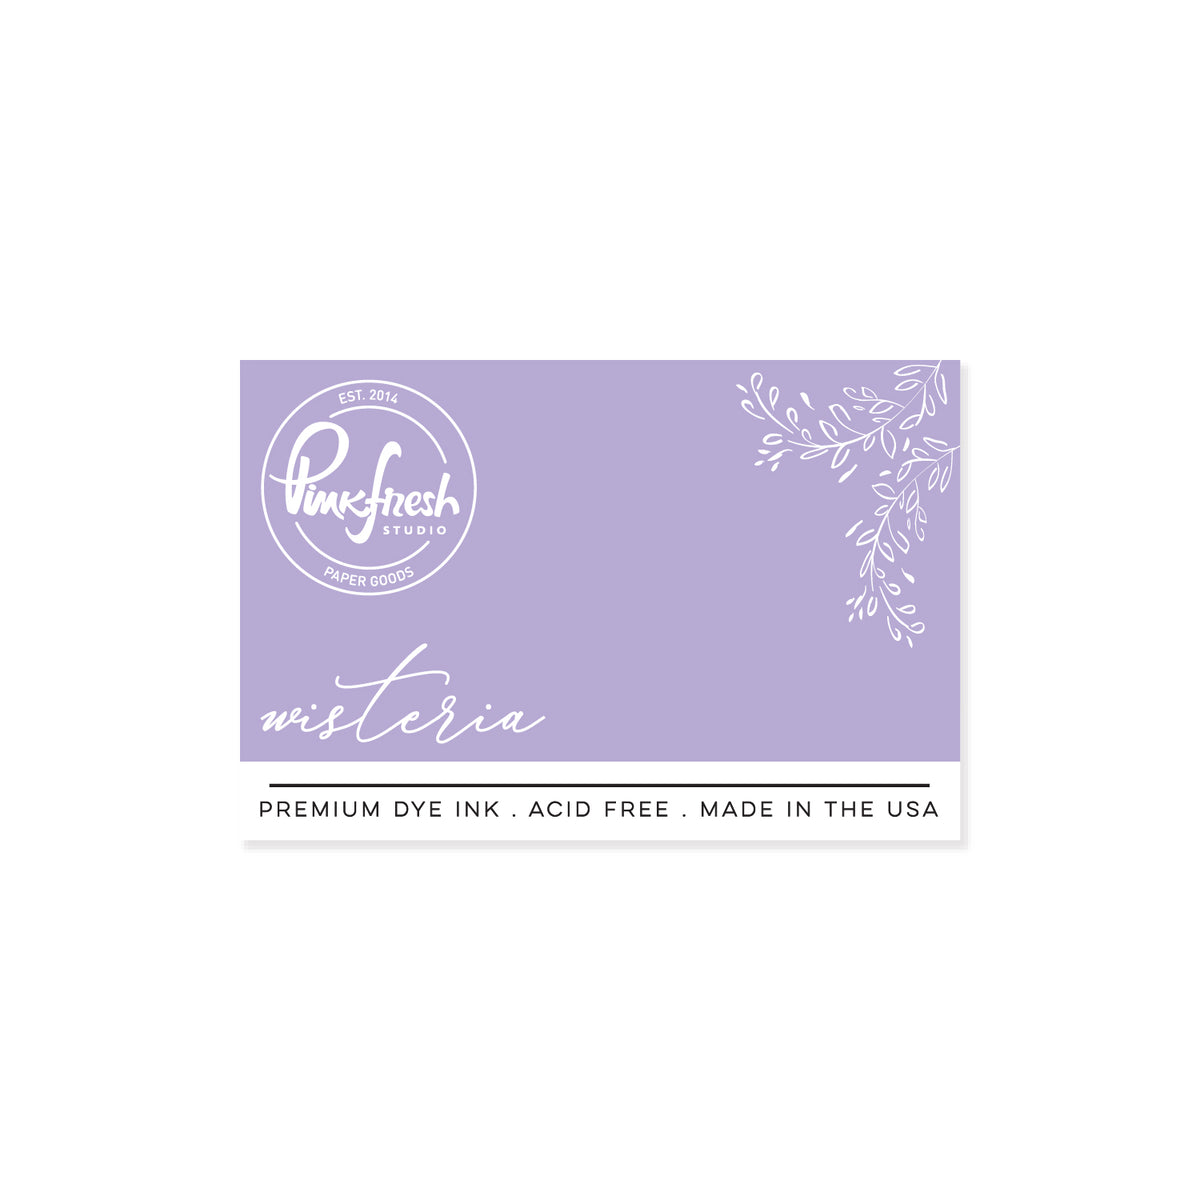
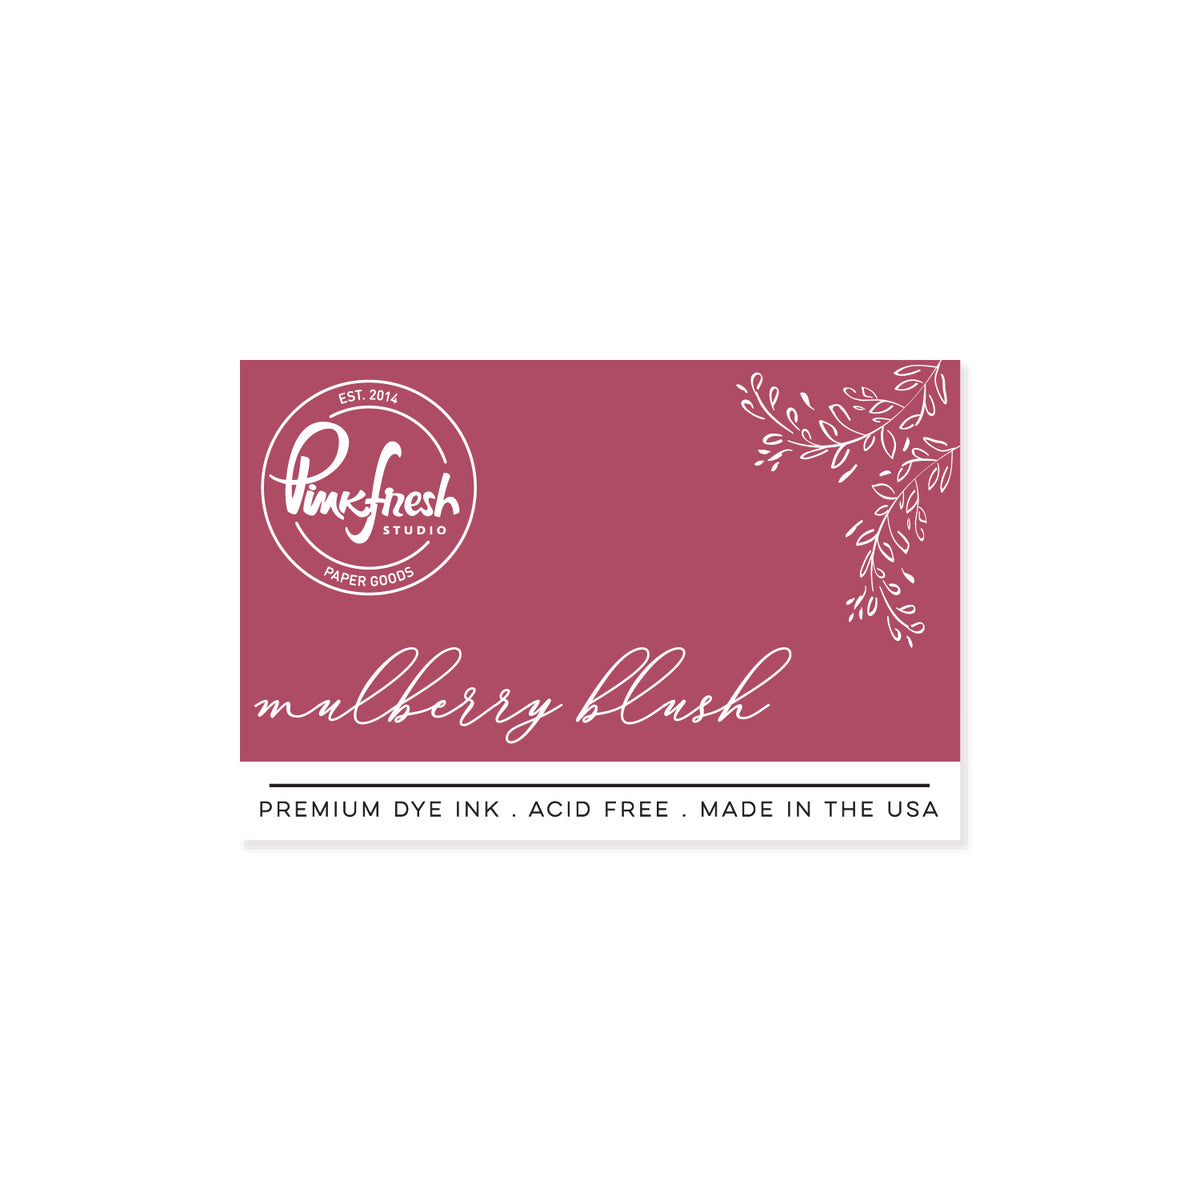
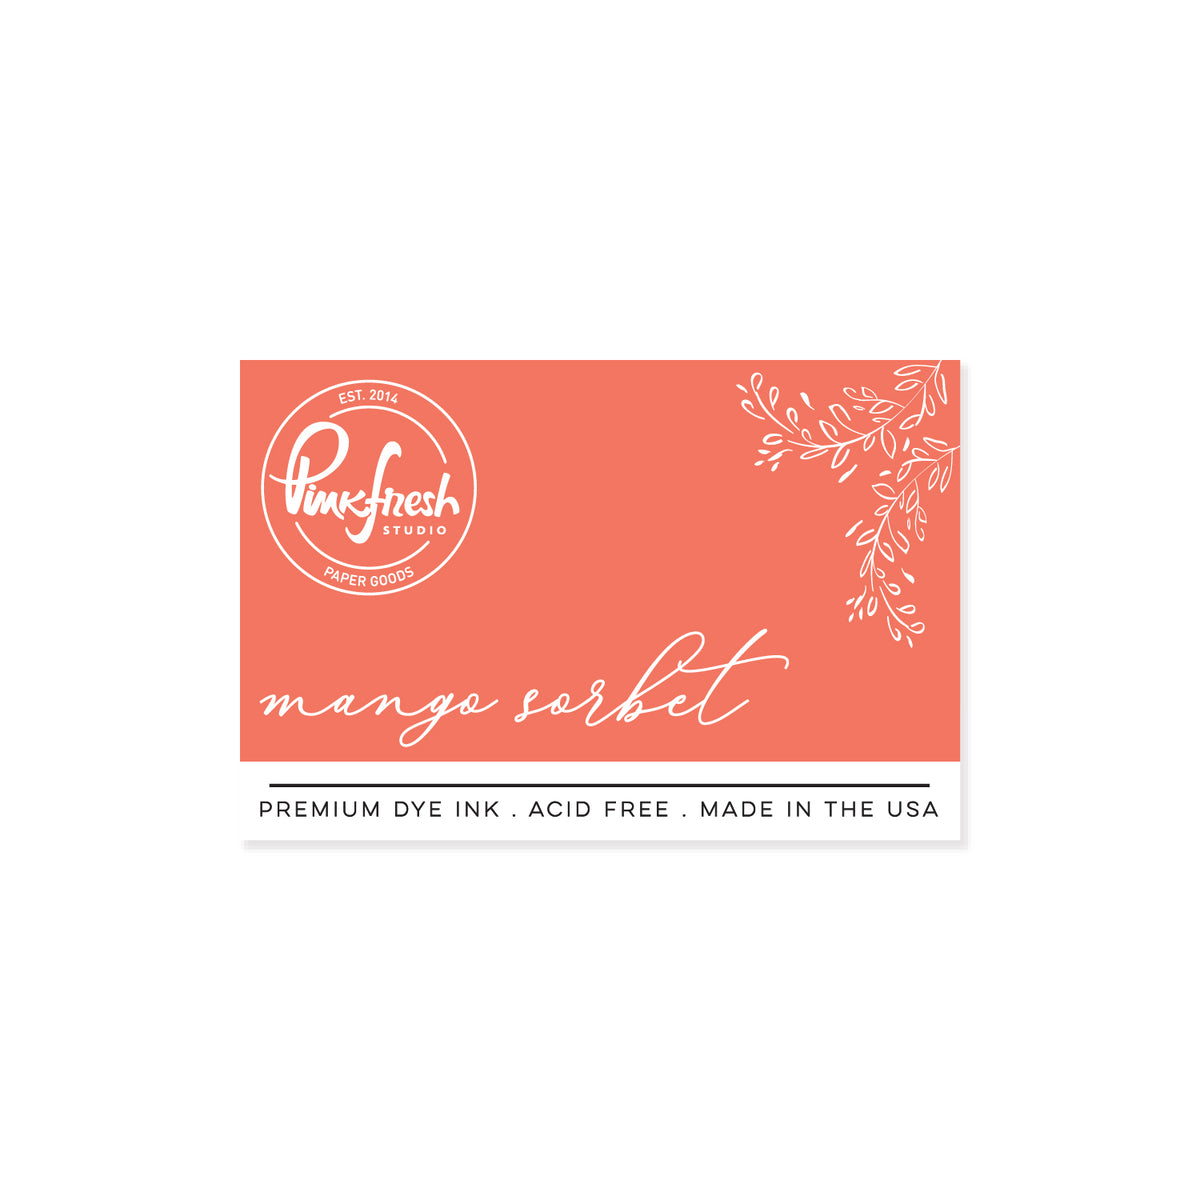
- Stencil 2 : Wisteria/ Mango Sorbet, Mulberry Blush, Warm Buff/ Ocean Breeze, Turquoise / Grassy Knoll, Lavender
- Stencil 3 : Waterfall, Opulence/ Warm Buff, Mimosa/ Ocean Breeze, Turquoise, Sweet Mustard, Mimosa/ Sunshine, Ocean Breeze (mixed for the grass)
- Stencil 4 : Opulence, Doe/ Doe, Gathered Twig/ Mango Sorbet, Eucalyptus/ Grassy Knoll, Eucalyptus
- Stencil 5 : Grassy Knoll/ Mulberry Blush/ Grassy Knoll, Eucalyptus/ Sparkling Rose
Die cut the Four Seasons images using the coordinating one piece die and set them aside.
Here is how you can craft the Four Seasons Cards!
Spring card

- Press the Dashing Daisies on yellow cardstock in Sweet Mustard, cut it into a 4” x 4” square, and adhere it to a 4.25” x 4.25“ white cardbase.
- Add the Spring scene to the center of the card.
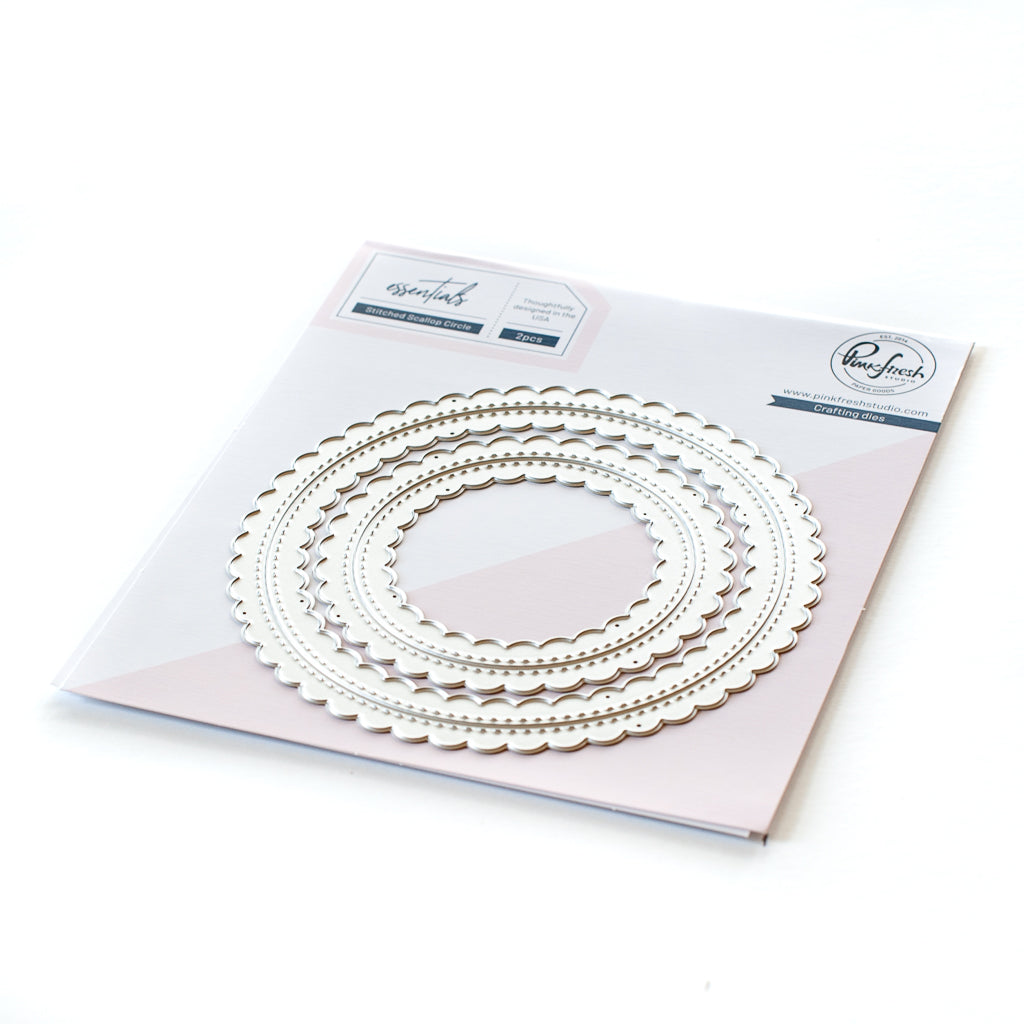
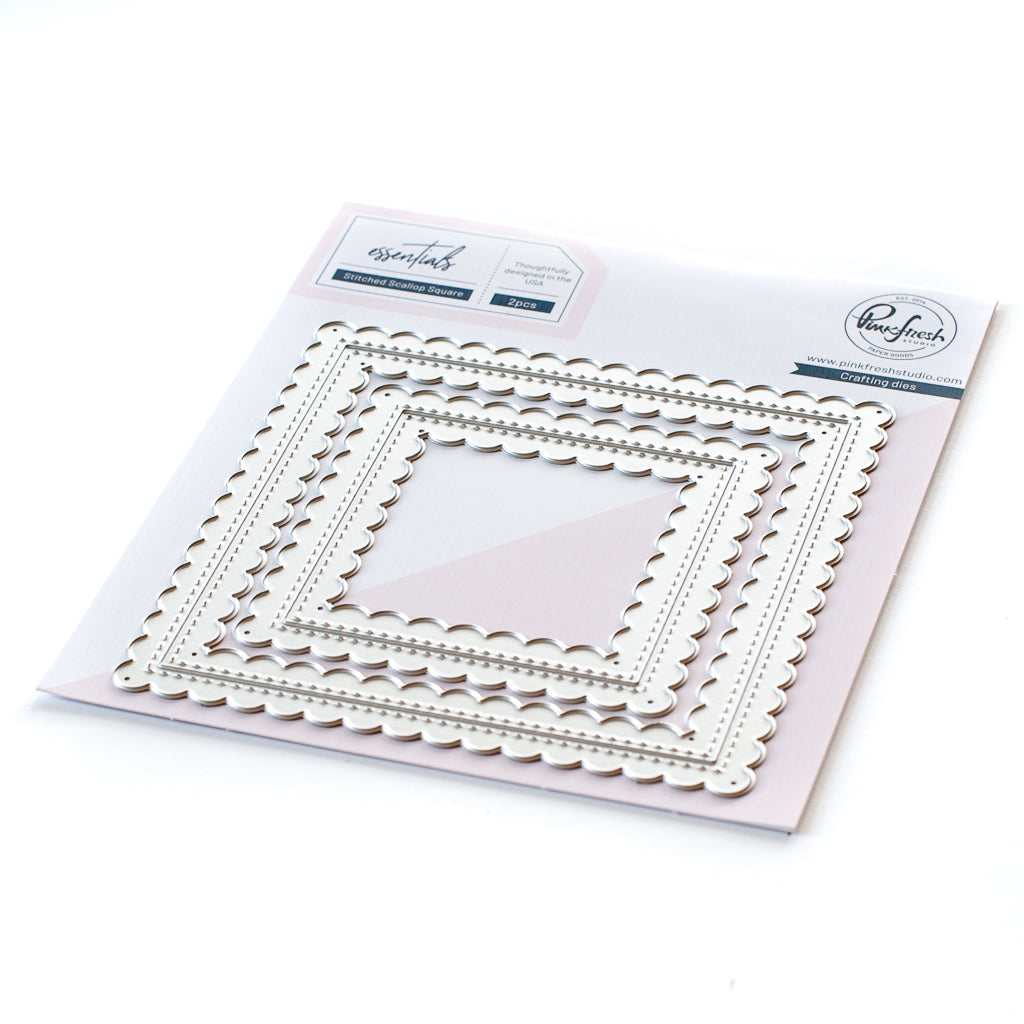
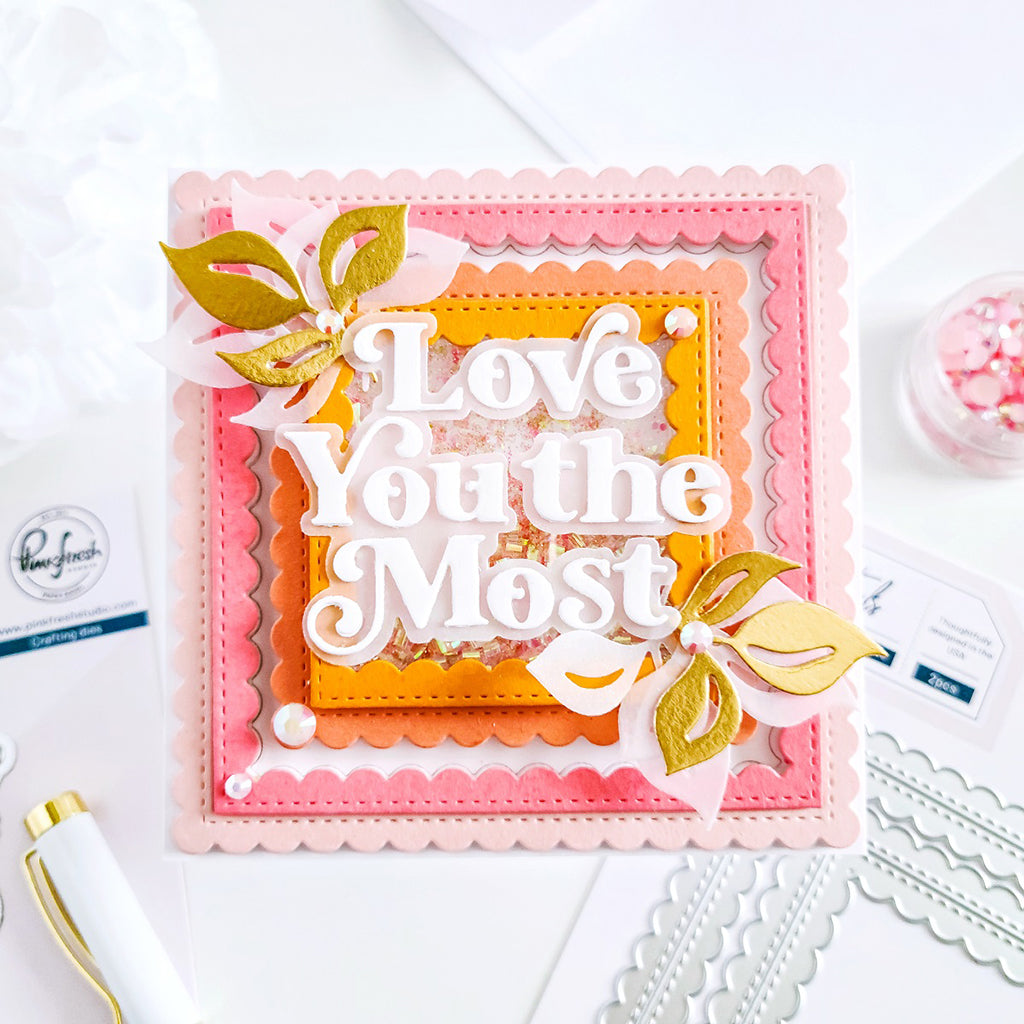
- Cut the Stitched Scallop Circle and Stitched Scallop Square from white cardstock.
- Mount the outer Stitched Scallop Circle frame around the Spring scene and the Stitched Scallop Square frame as a border using foam tape.
- Embellish the circular frame with a flower stenciled in Sky Blue, Sunshine and Grassy Knoll using the Garden Party suite, then die cut it.
- Press the sentiment from the Playful Petals Press Plate in Detail Black, die cut it, and add it to the card.
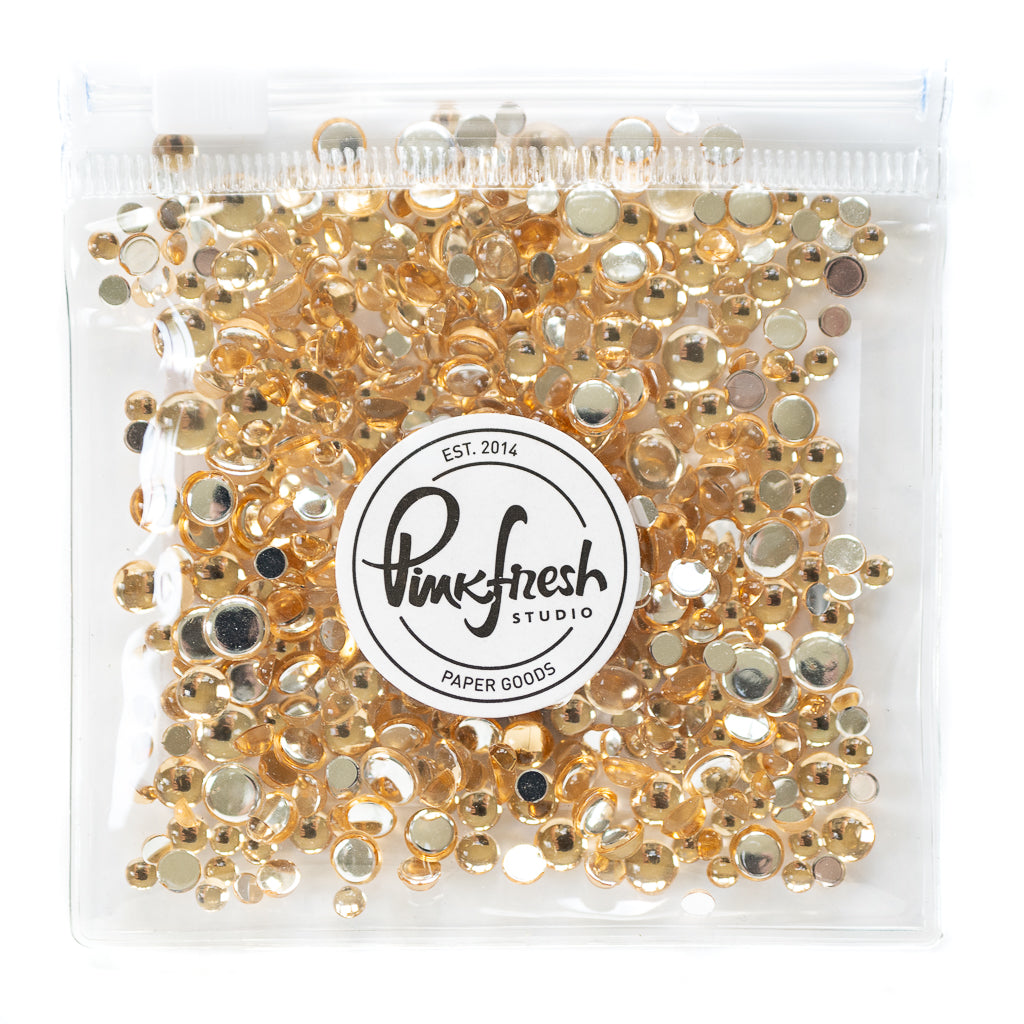
- Finish the card with three Champagne Clear Drops

Summer Card

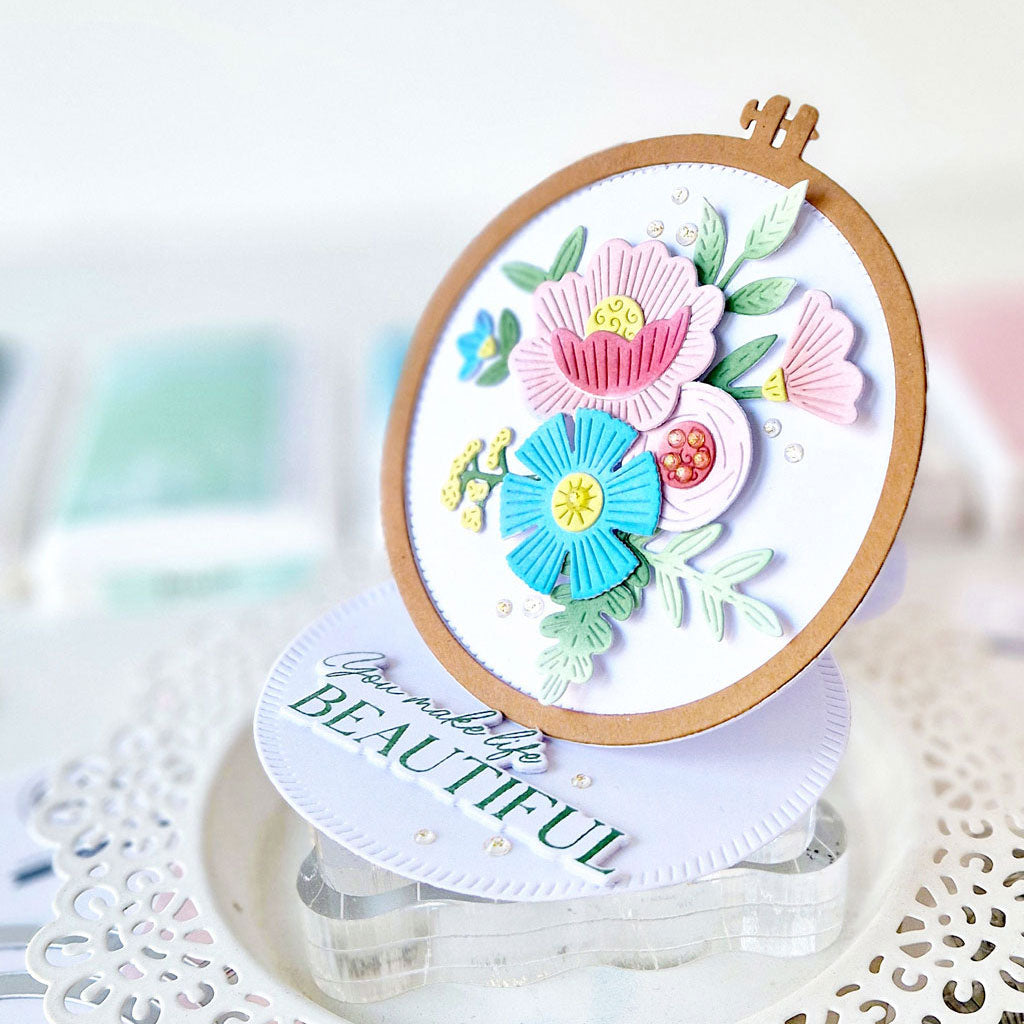
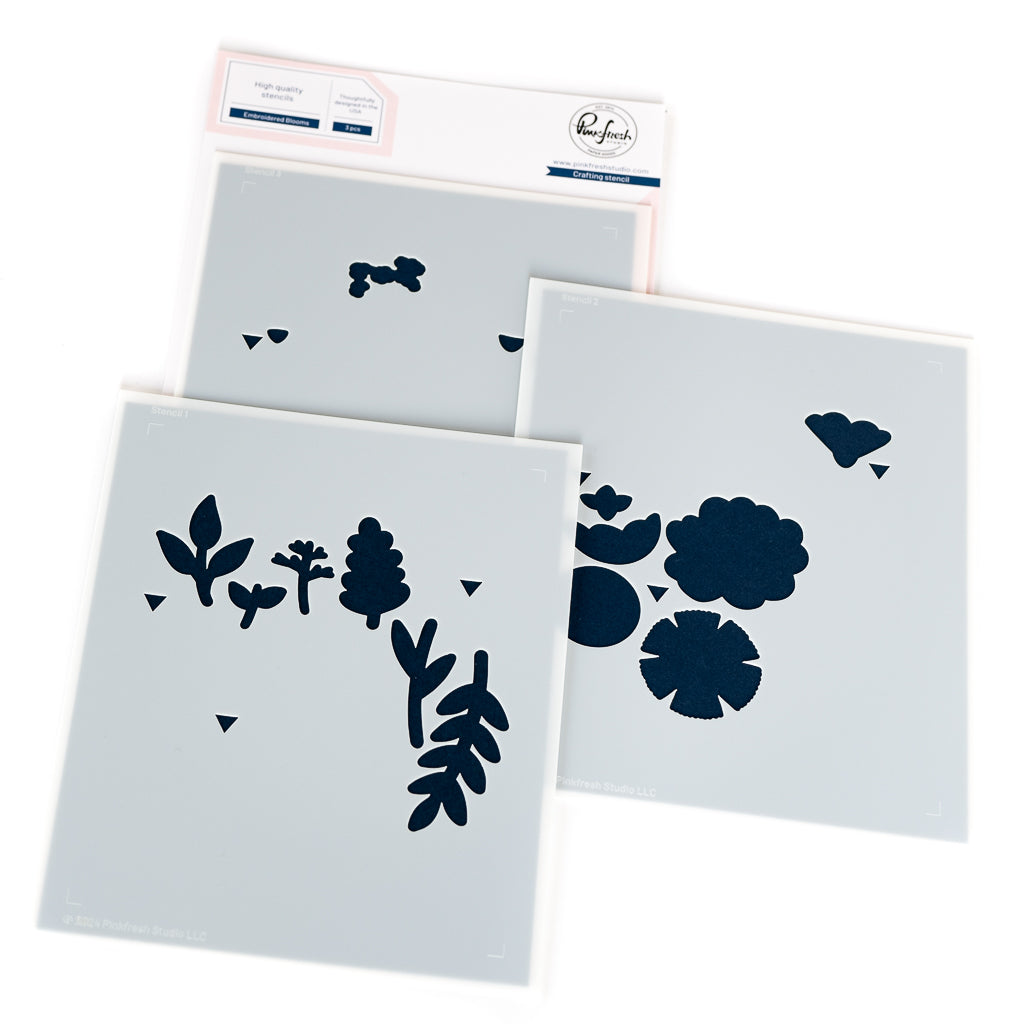
- Stencil the Embroidered Blooms
- Stencil 1 : Grassy Knoll, Meadow, Eucalyptus
- Stencil 2 : Sparkling Rose, Bubble Gum, Apricot, Mimosa, Summer Shower
- Stencil 3 : Sweet Mustard, Apricot
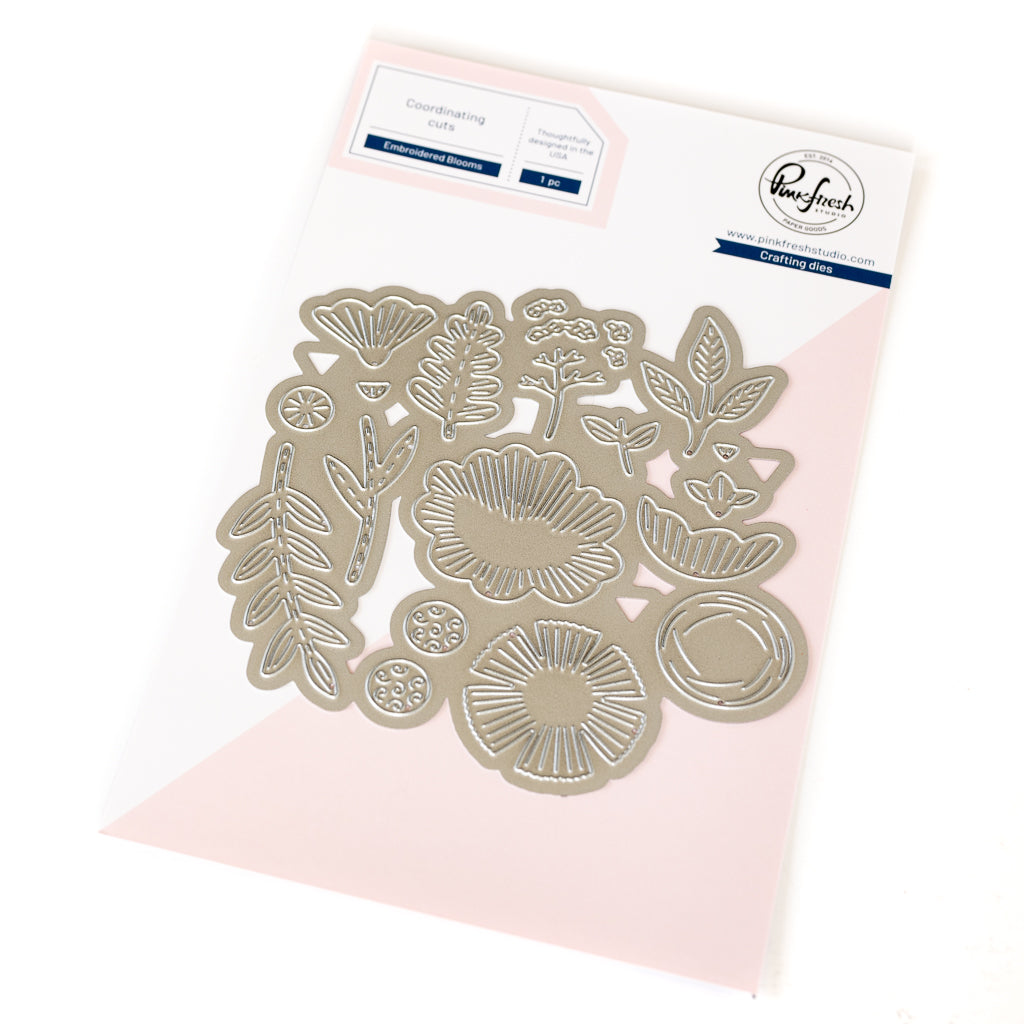
- Die cut the Embroidered Blooms using the coordinating die and set them aside.
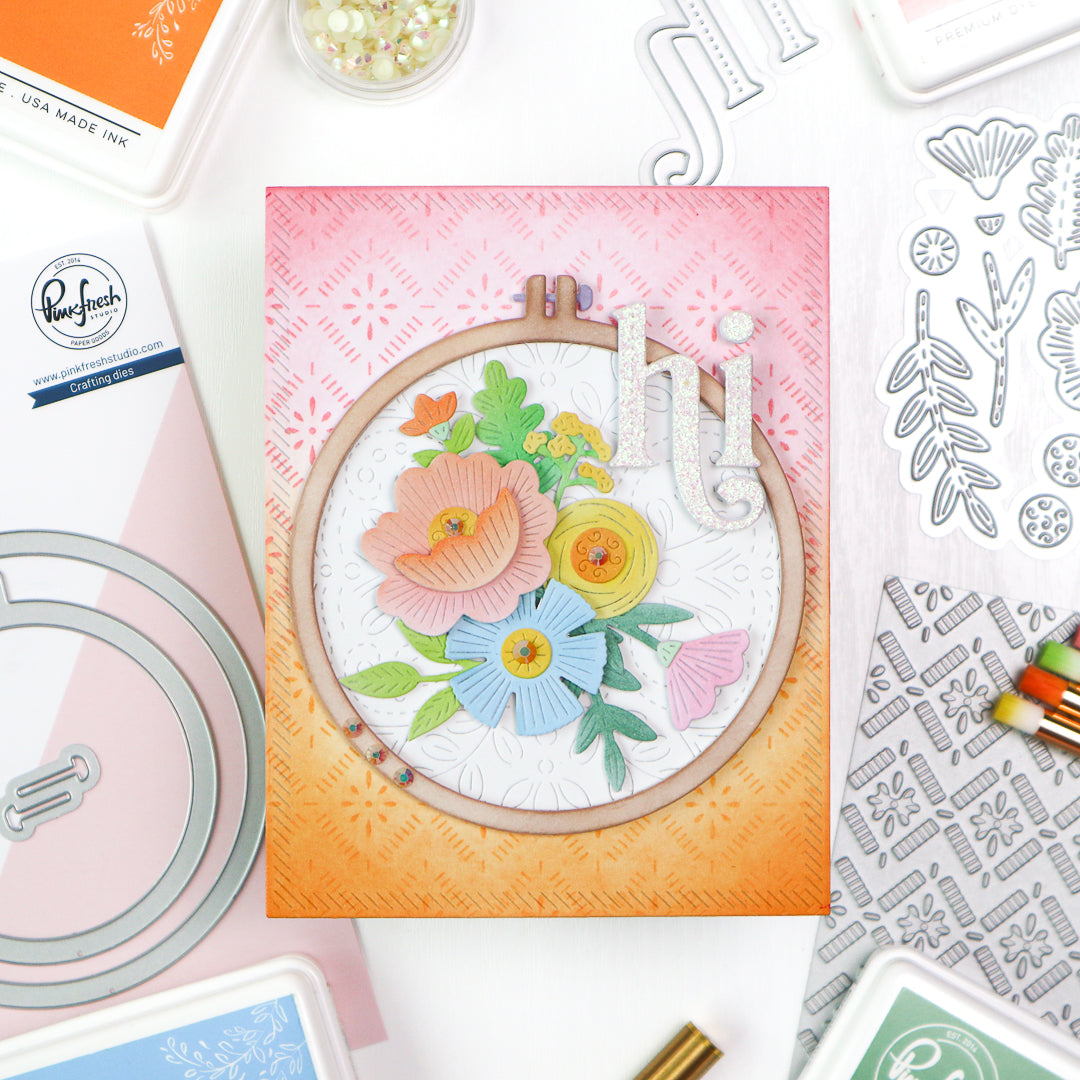
- Watercolor a mixed media panel with Sky Blue, Lemon Whip, Ballet Slipper, and Bubble Gum watercolors (the watercolors will be released soon). Then, die cut it using the Dotted Chevron and Nested Rectangles: Diagonal Stitch dies.
- Arrange the Embroidered Blooms in the upper left corner of the card as shown in the picture.
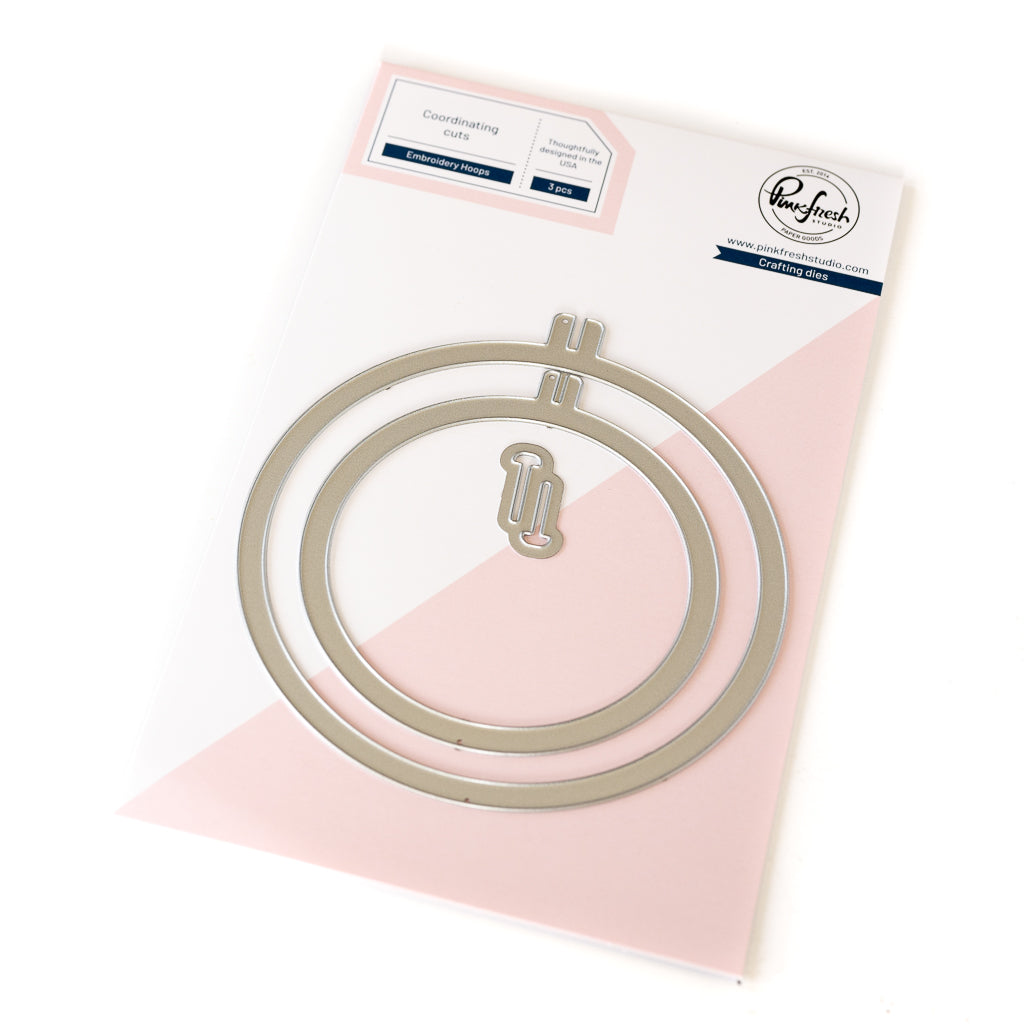
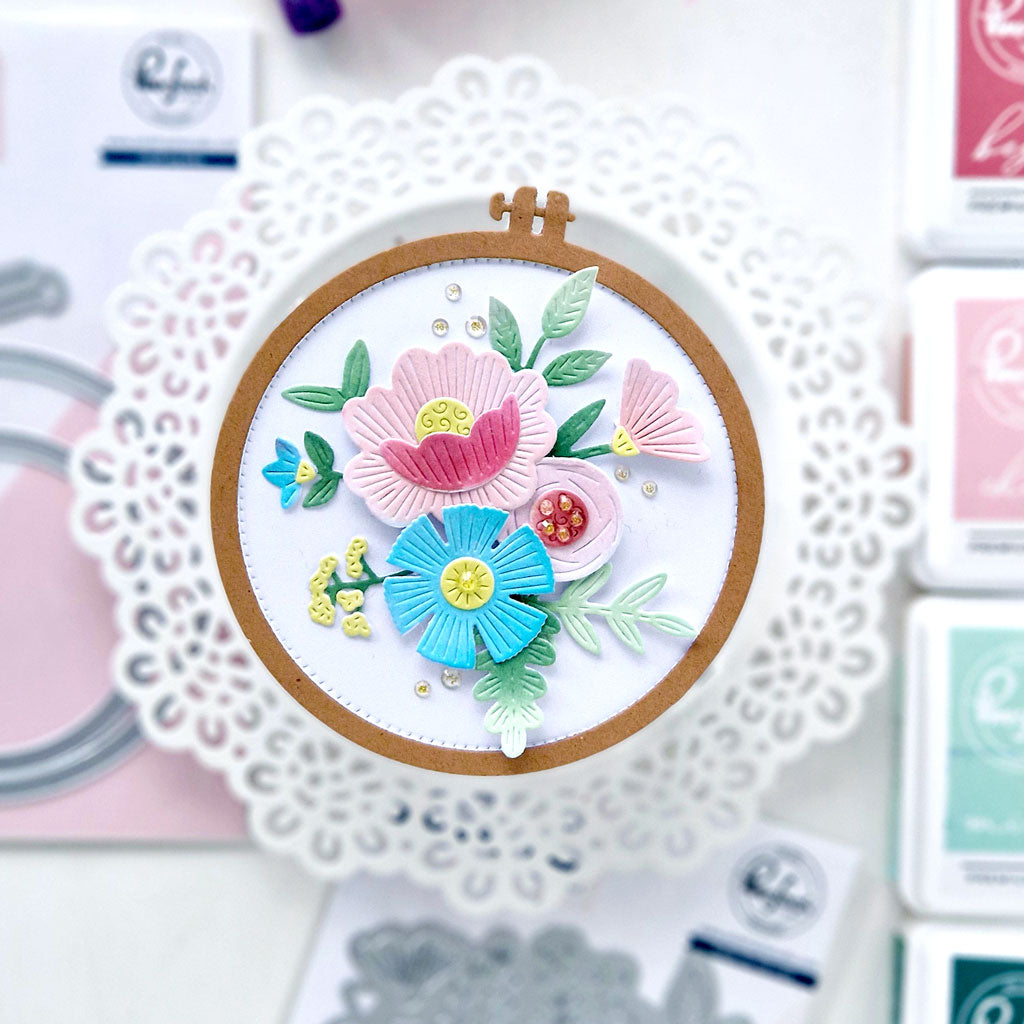
- Add the Summer Scene and the Embroidery Hoop die cut from light pink card stock. For added dimension, layer it with a white Embroidery Hoop.
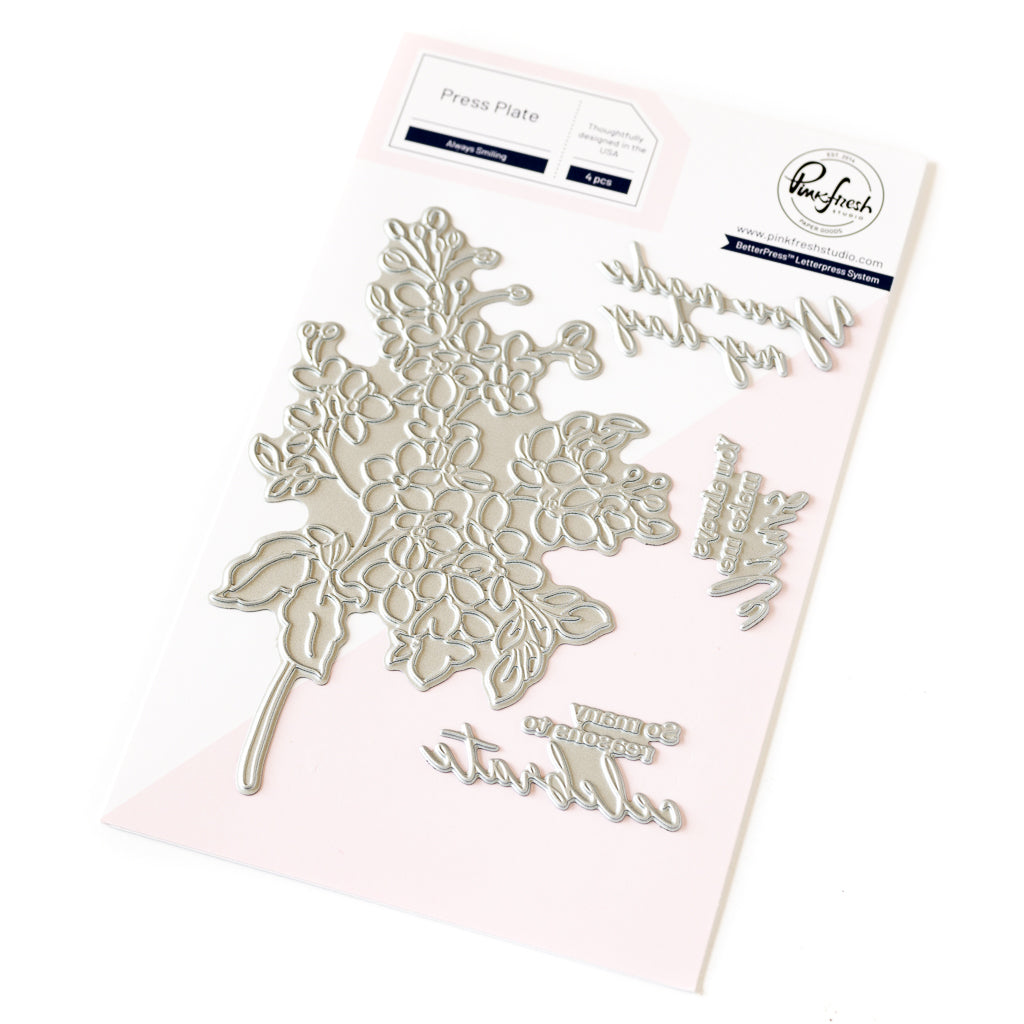
- Press the sentiment from the Always Smiling Press Plate in Detail Black, die cut it with the coordinating die and add it to the card.
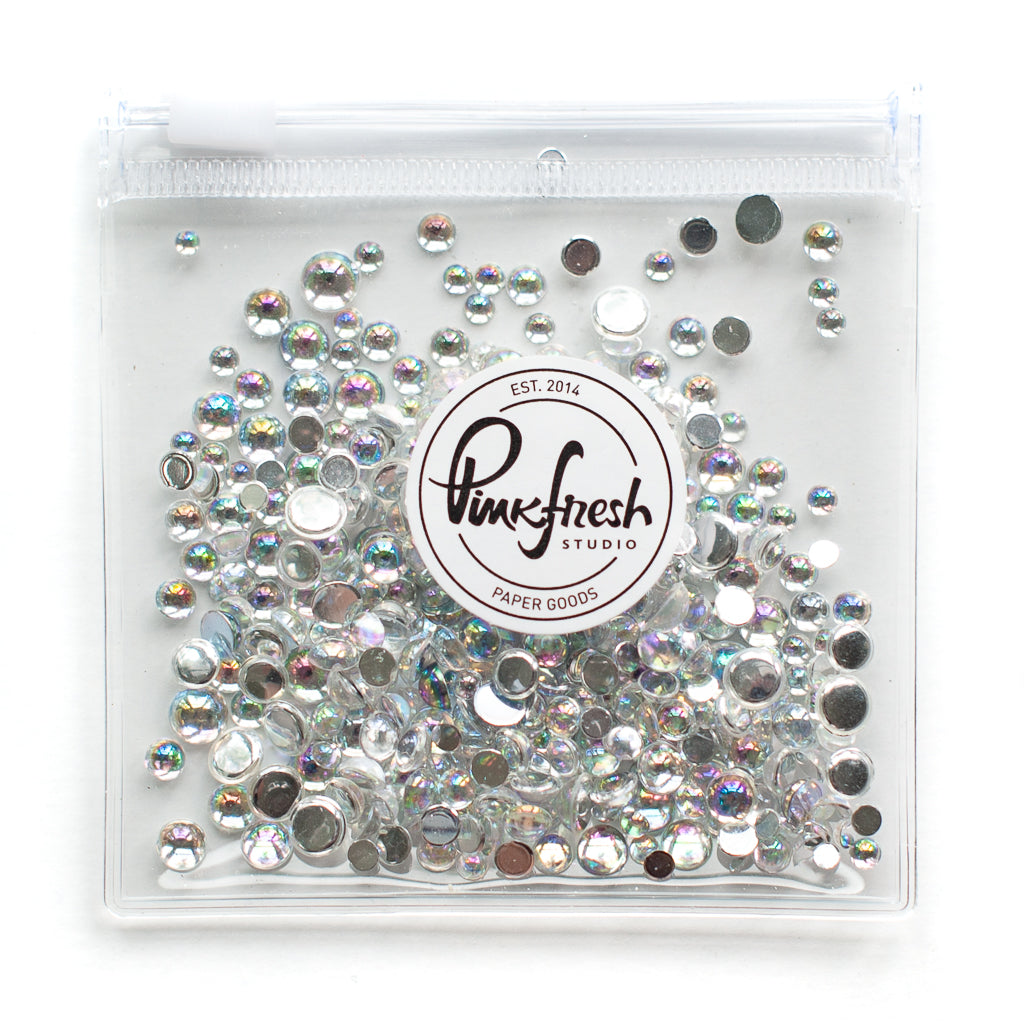
- Finish with a few Iridescent Clear Drops

Fall Card

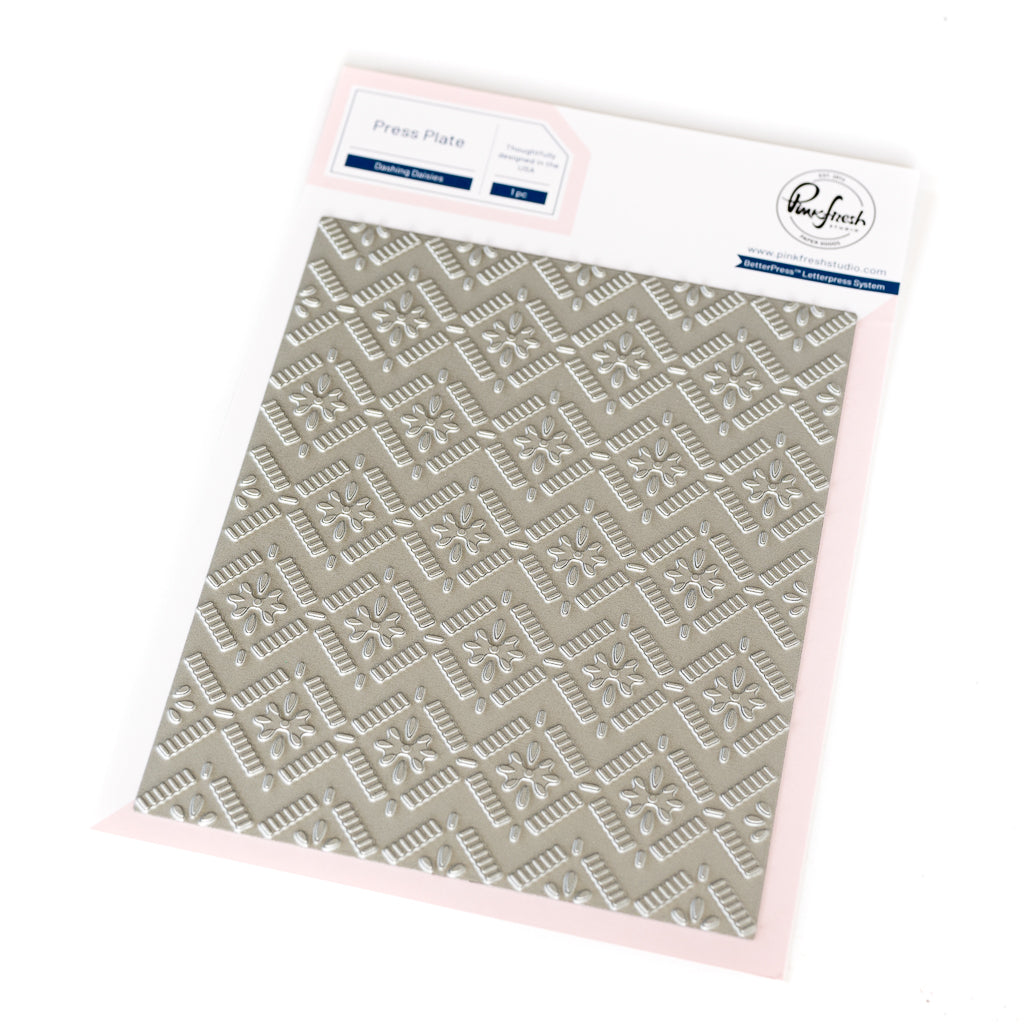
- Hot foil a white A2 sized panel in gold using the Dashing Daisies Press Plate.
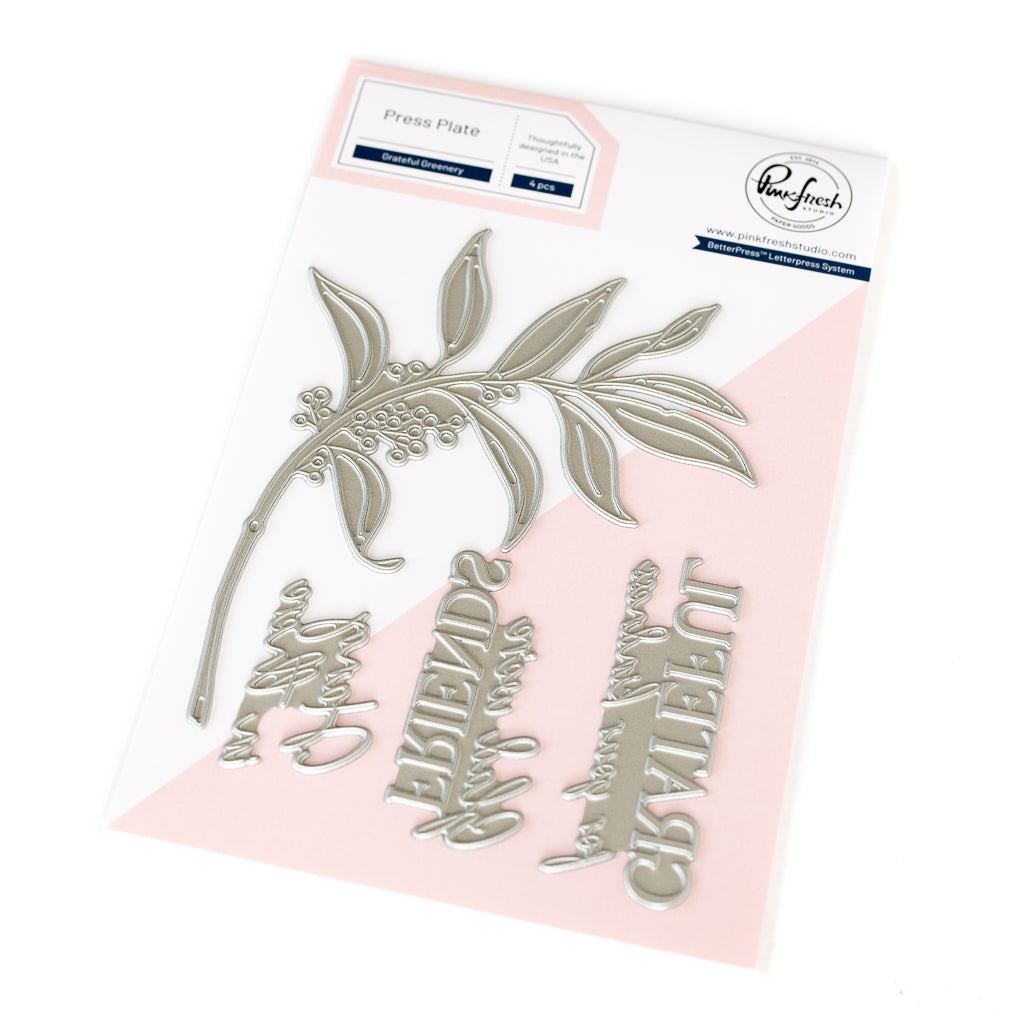
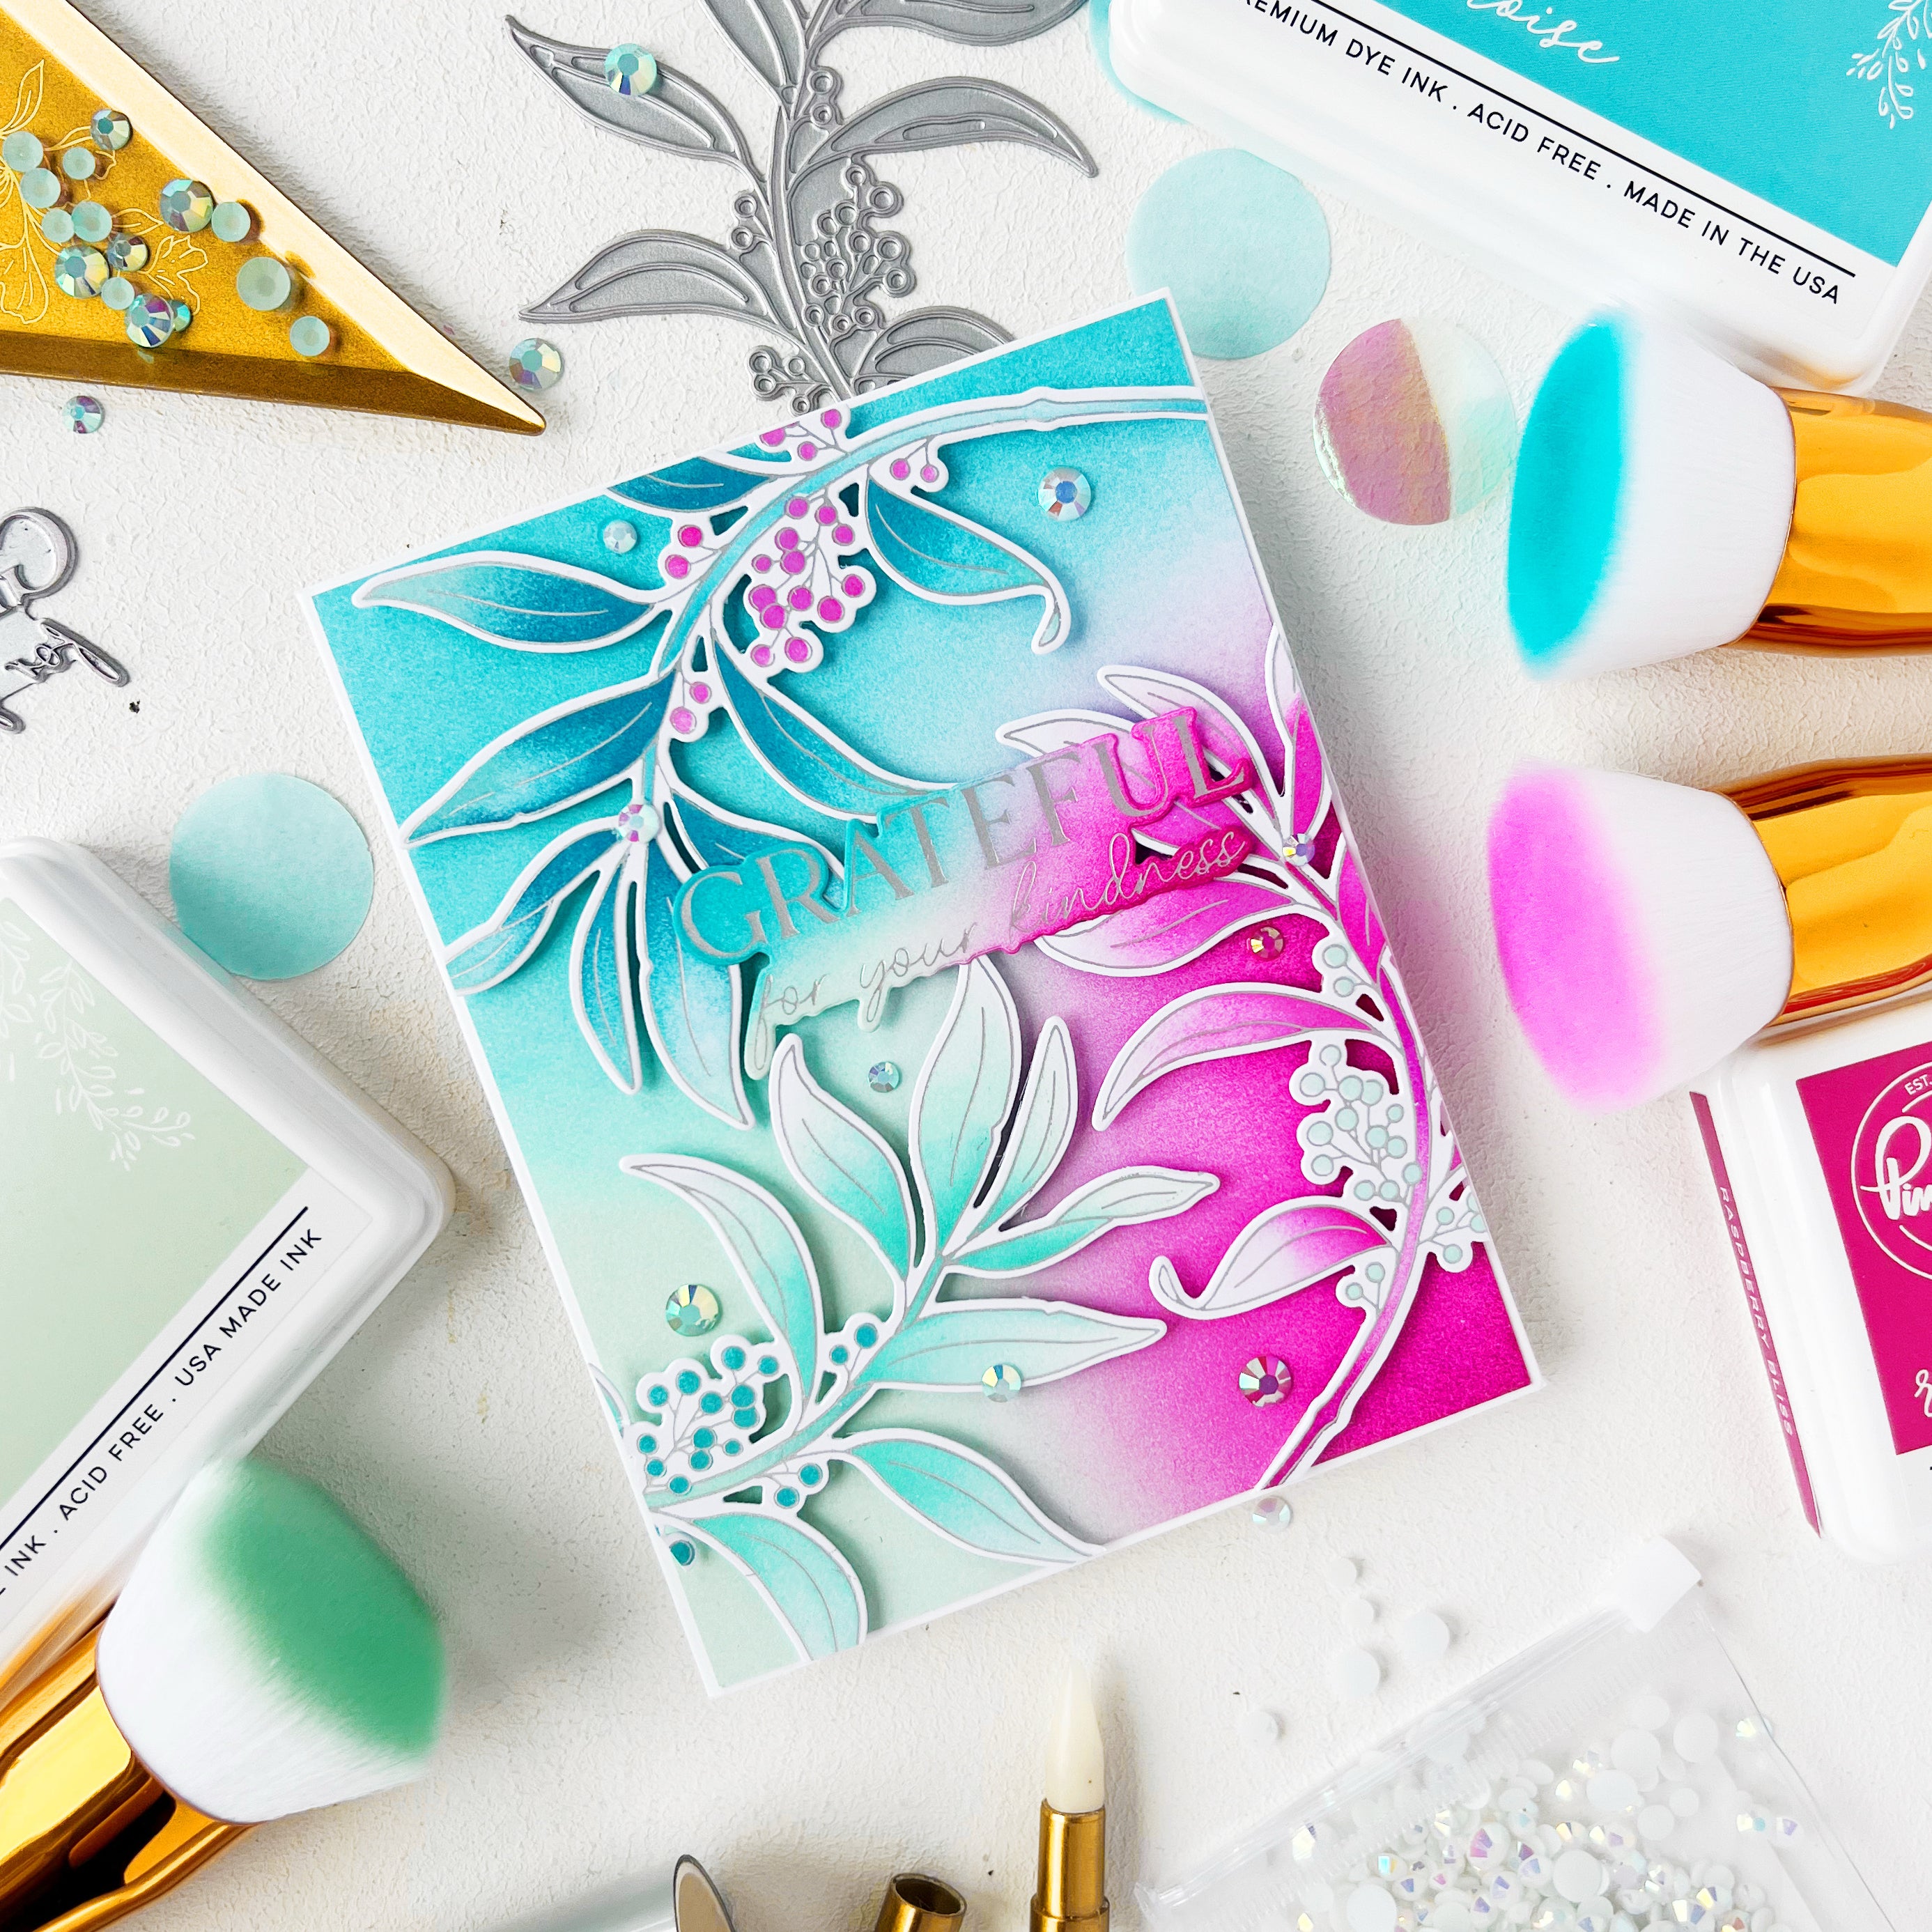
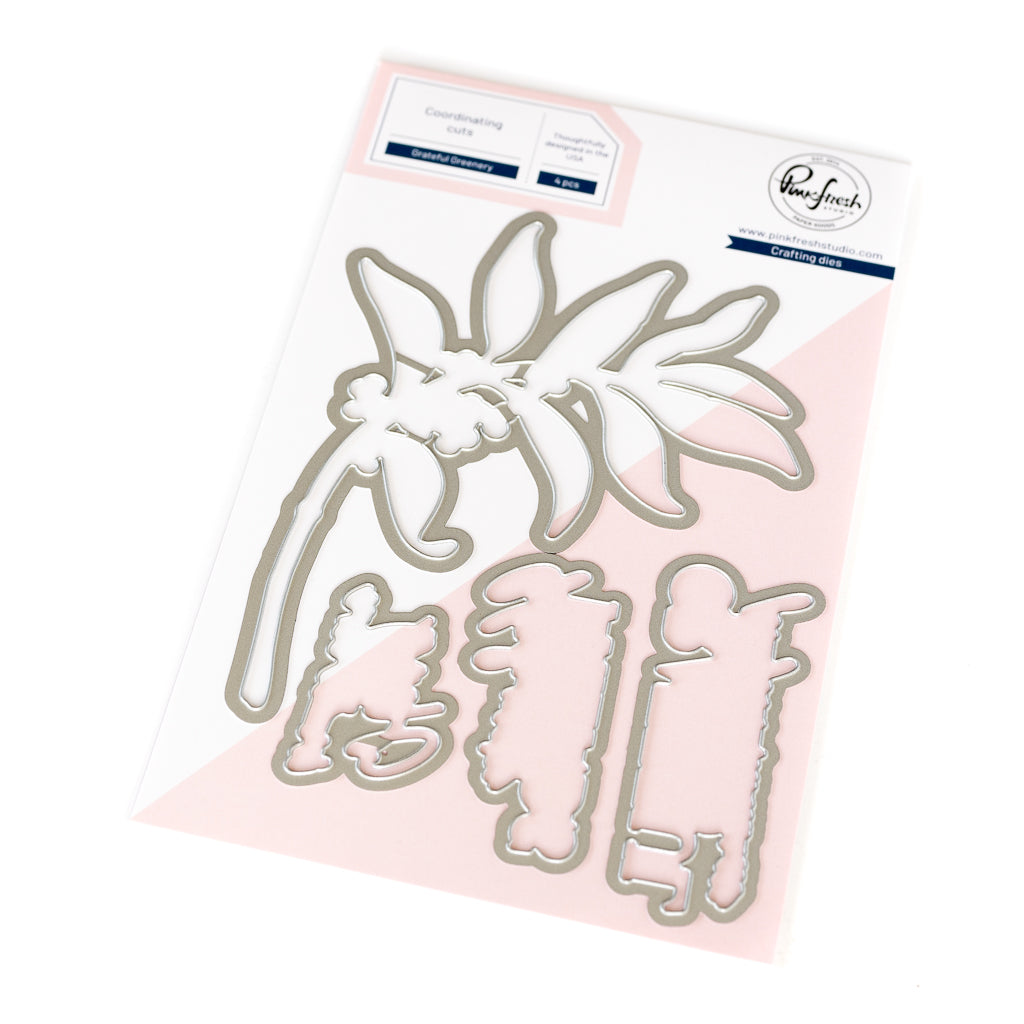
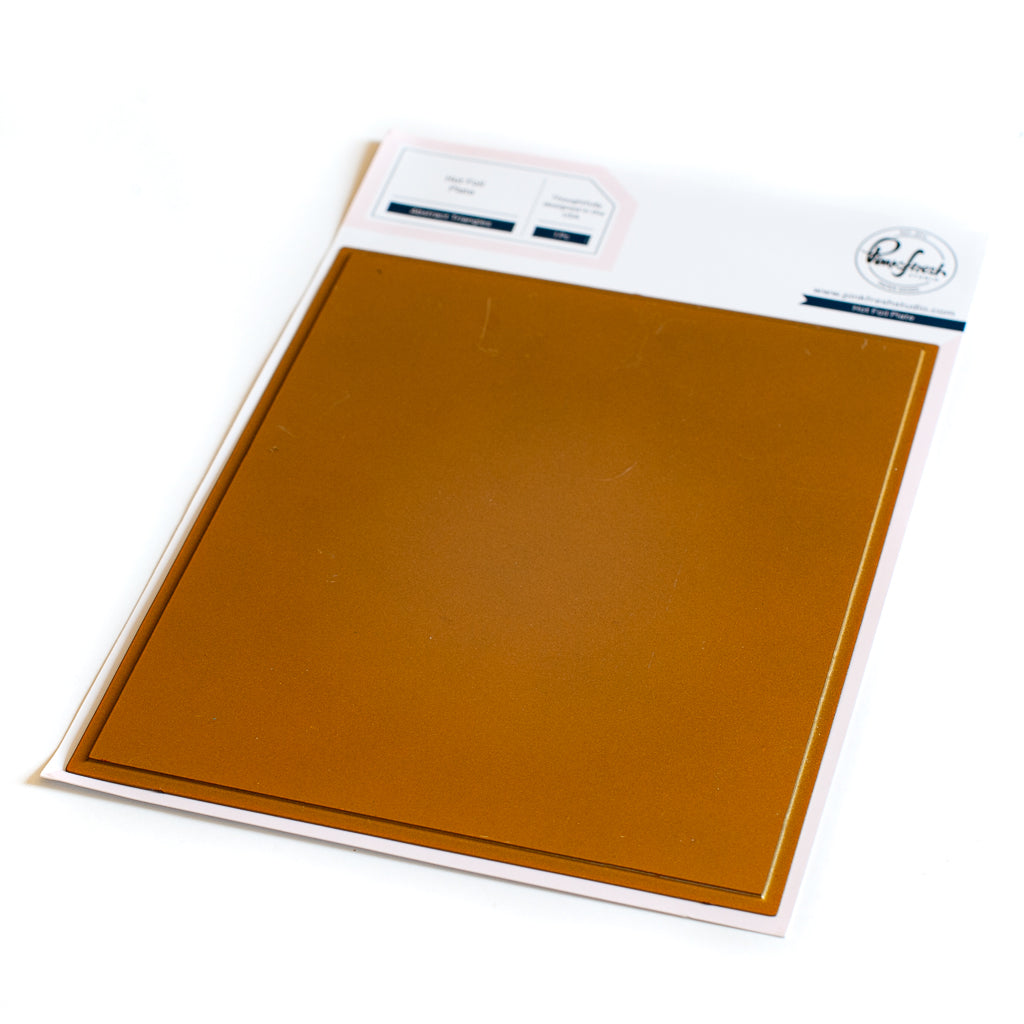
- Transfer the gold negative foil left after hot foiling the Grateful Greenery onto a white panel using the Solid Hot Foil Plate. Die cut the panel with the coordinating die and add it to the card using foam tape.
- Add the Fall scene framed by a Stitched Scallop Circle cut from gold mirror cardstock, adhering it with foam tape.
- Add the gold hot foiled sentiment from the Grateful Greenery suite.
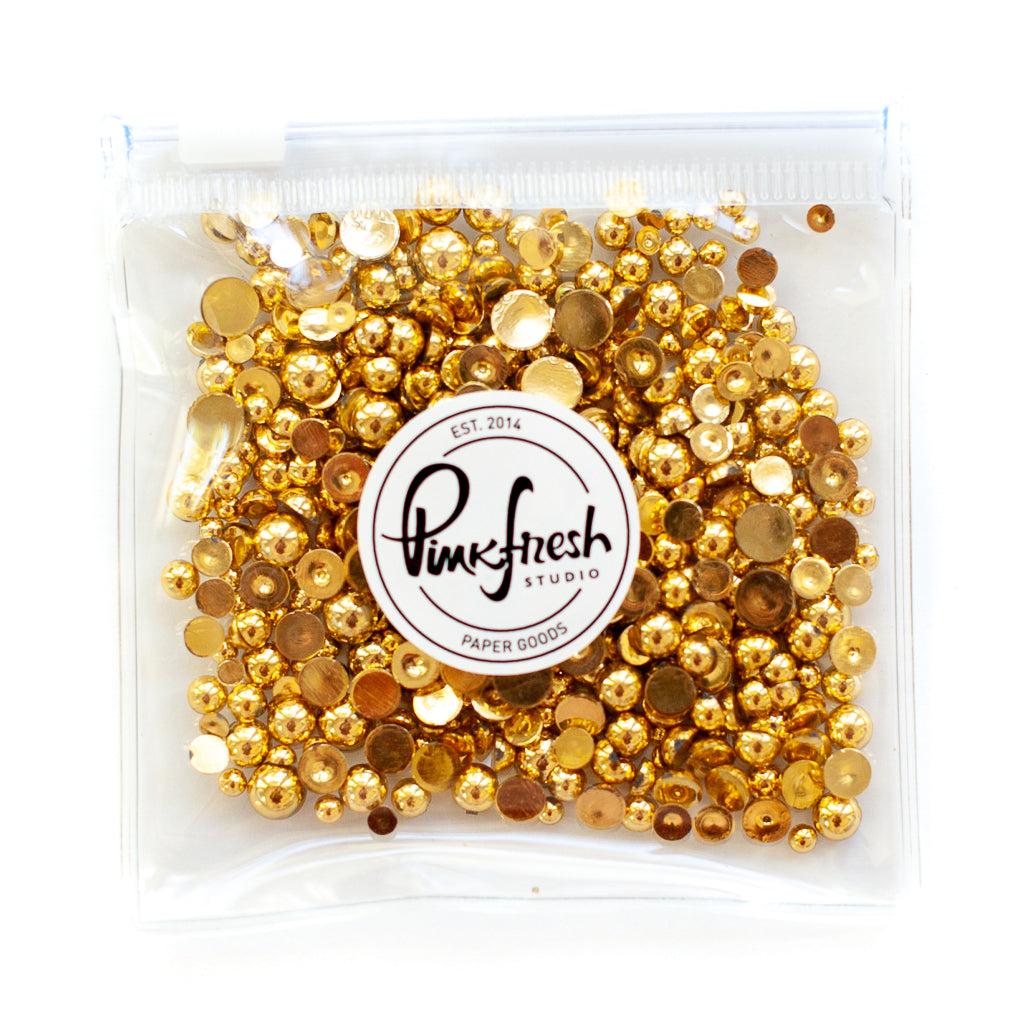
- Embellish the card with three Gold Metallic Pearls.

Winter Card

- Attach a 4.25” x 4.25“ piece of violet cardstock to a white cardbase.
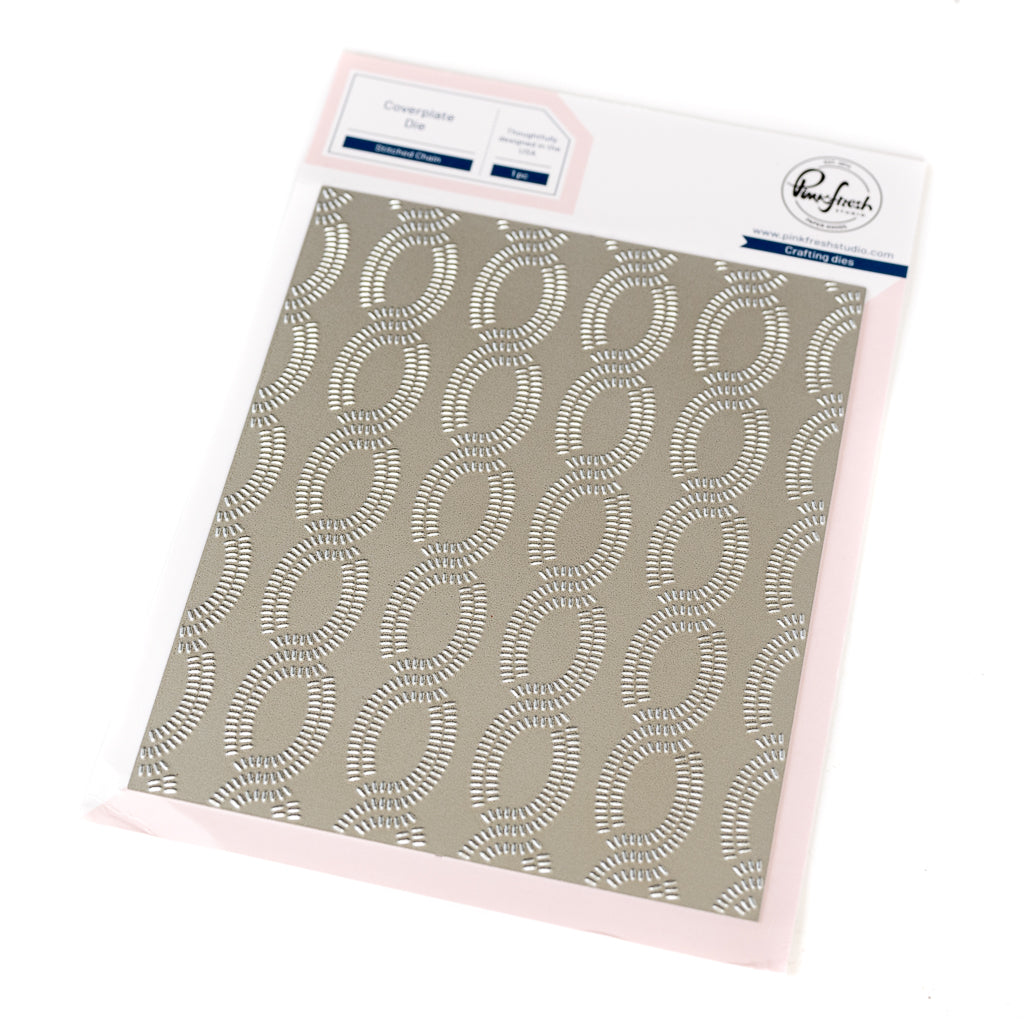
- Use the Stitched Chain coverplate die to press the pattern onto white cardstock with Lavender ink.
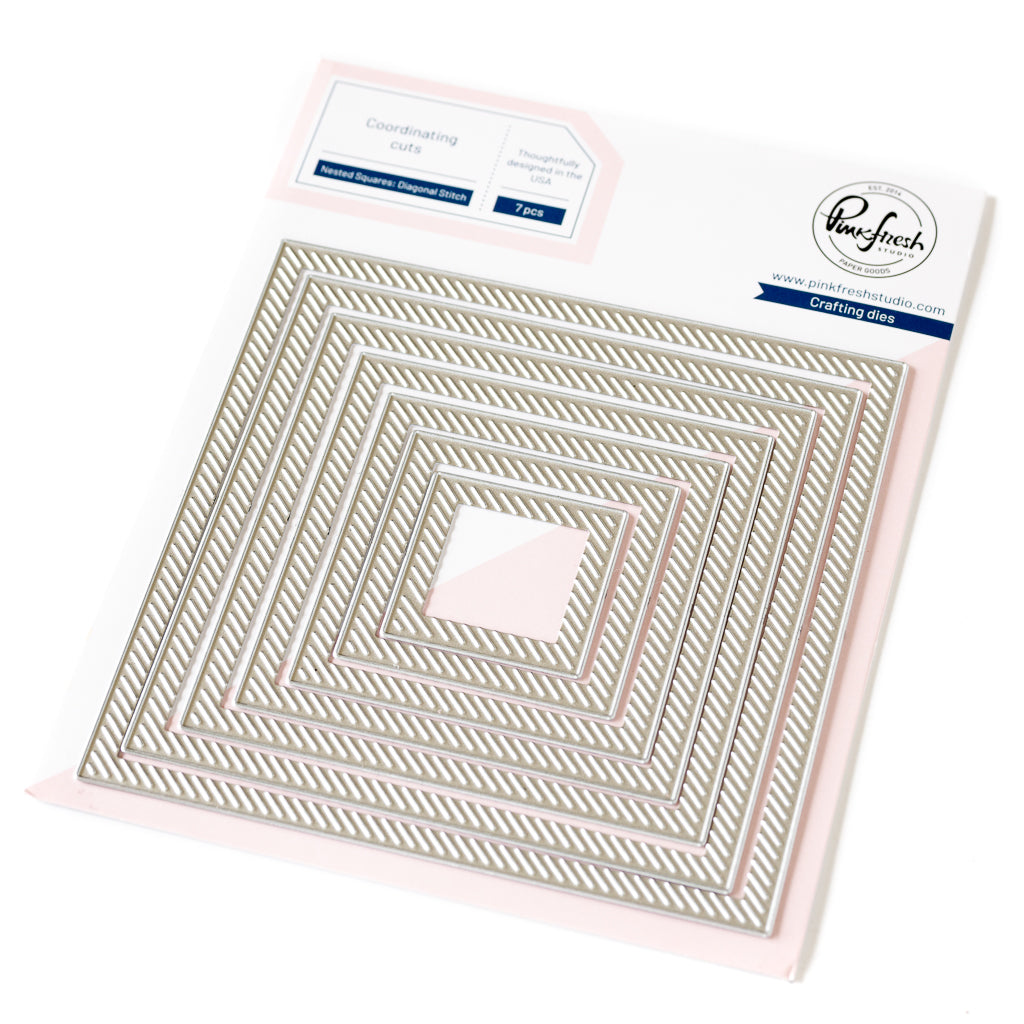
- Cut the panel using two Nested Squares: Diagonal Stitch dies to create a frame. Adhere the middle square flat onto the card and mount the frame with foam tape.
- Add the Winter scene to the center of the card.
- Cut the embroidery Hoop from Silver glitter cardstock and attach it using foam tape.
- Press the sentiment from the Favorite Things Sentiments Press Plate set in Opulence, cut it with the coordinating die, and adhere it to the card.
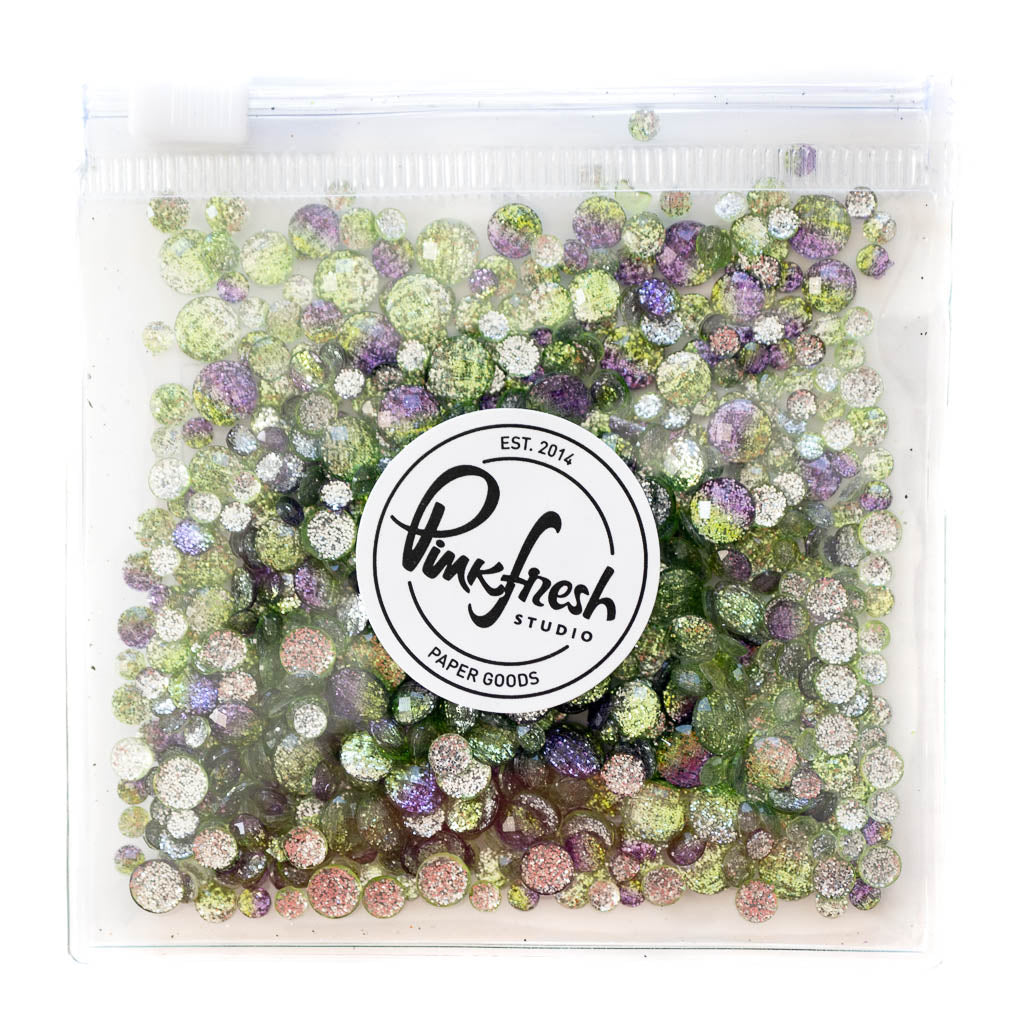
- Finish with a few Magic Potion Ombré Glitter Drop

That’s it! I tried to keep everything as simple as possible while showcasing the versatility of the Four Seasons suite. I hope you enjoyed following along with my process and feel inspired to try your own projects! Don’t be afraid to experiment with different color palettes and add your personal touch to make these designs truly yours.
Happy crafting !
TaeEun
Recommended Products

















































Leave a comment
All comments are moderated before being published.
This site is protected by hCaptcha and the hCaptcha Privacy Policy and Terms of Service apply.