Folk Garden 2 - Two for One Cards | Dilay Nacar
Hello, everyone! Dee here today sharing a pair of cards that I created with the beautiful new Folk Garden 2 hot foil plate, stencils, and coordinating die!
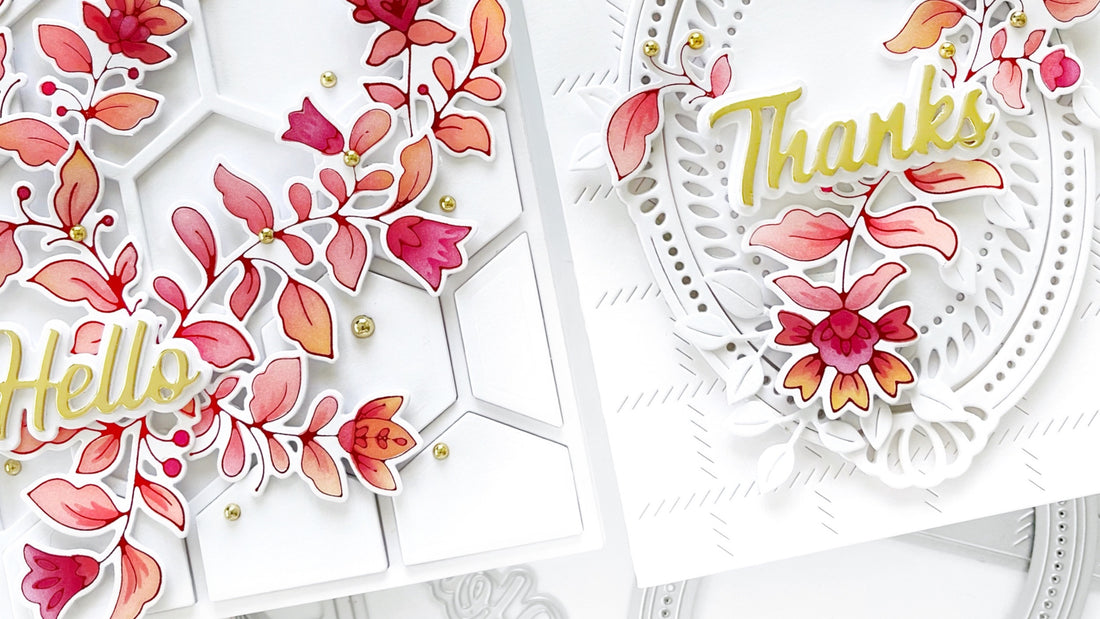
To begin, I hot foiled the Folk Garden 2 hot foil plate in red. Next, I lined up the coordinating stencils and ink blended, starting with Candy Apple and finishing with Peach Fuzz. With each stencil, instead of adding more ink to my brush, I only used what was left on it to achieve a lighter tone and to create a gradient effect. Once finished, I die cut using the coordinating die.

For the first card, I cut the Simply Hexagons die in white three times (setting aside the negative pieces for later) and adhered them together then onto an A2-sized, top-folding card base. Next, to add some extra dimension, I adhered the negative hexagon pieces to the lower half of the panel using foam adhesive squares.

I positioned the Folk Garden 2 florals onto the card, and once I was happy with the layout, I adhered them using foam squares. I cut the ‘hello’ from the Scripted Greetings die set twice in white and once in gold, then adhered them together. I cut the shadow in white, adhered it onto the center of the florals, then adhered the sentiment on top. As a finishing touch, I added metallic gold pearls throughout the card!

Since I had a few extra Folk Garden 2 die cuts leftover, I decided to make a second matching card! For this card, I began by cutting the base with the Diagonal Stitched Plaid die in white. Next, I cut the Fancy Oval Frame die twice, layered them, and adhered them to the center. To fill in the frame, I die cut the smallest of the Braided Oval dies and adhered it to the center of the frame with foam adhesive. For the sentiment, I die cut ‘thanks’ once in white and once in gold, then stacked and adhered them to the center of the oval. To finish, I adhered the remaining floral die cuts tucked in behind the sentiment and added some metallic gold pearls for some extra shine!

I hope that you enjoyed reading about how I created these cards today and are inspired by them! Thank you so much for stopping by, friends!
♡ Dee
3 Comments
Love, love, love this!!
Fabulous would love to be able to use these goodies.
Your cards are stunning