
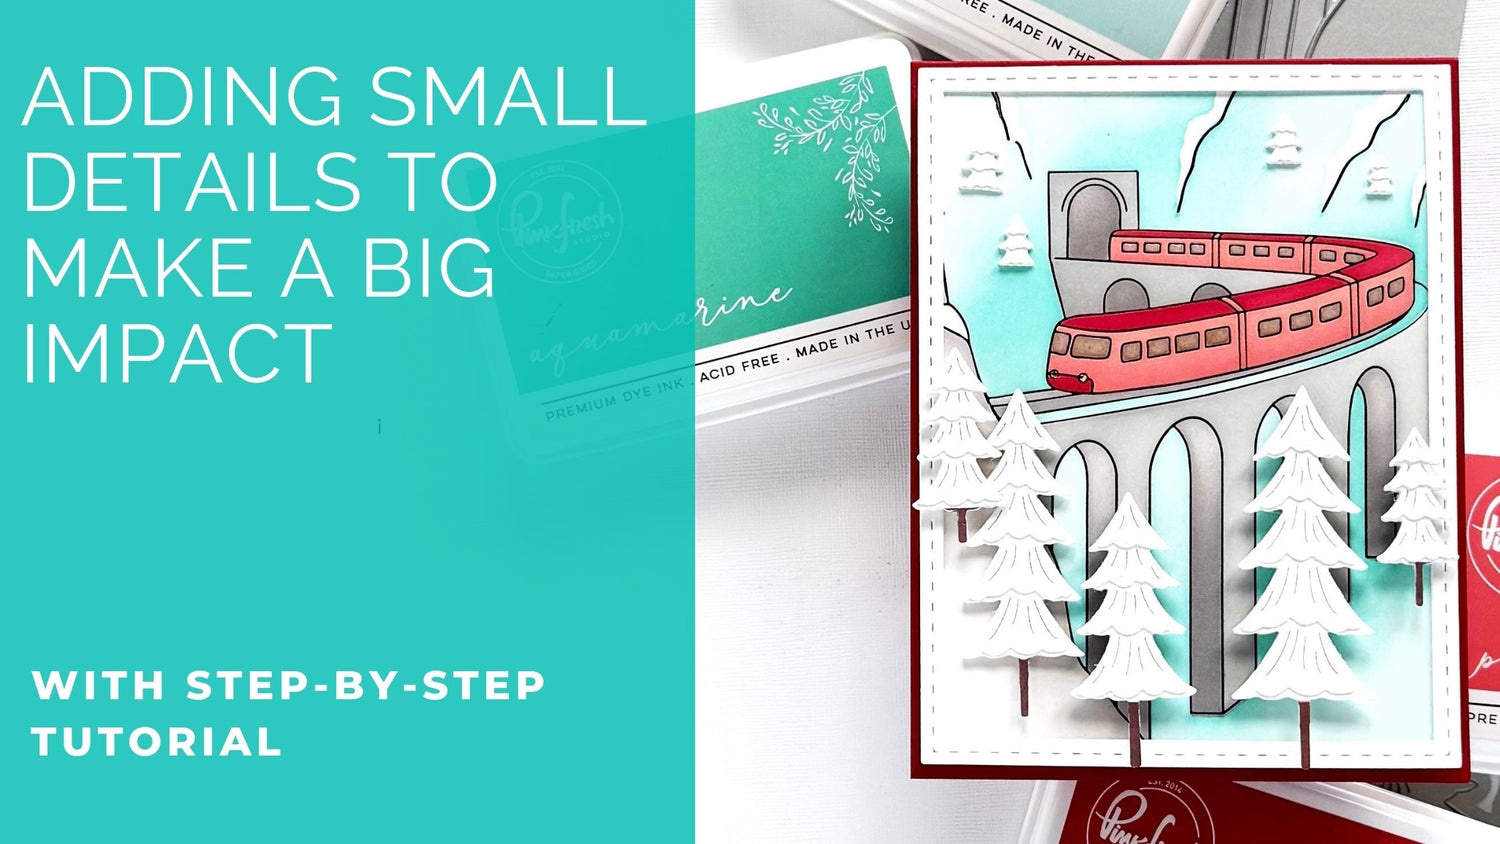
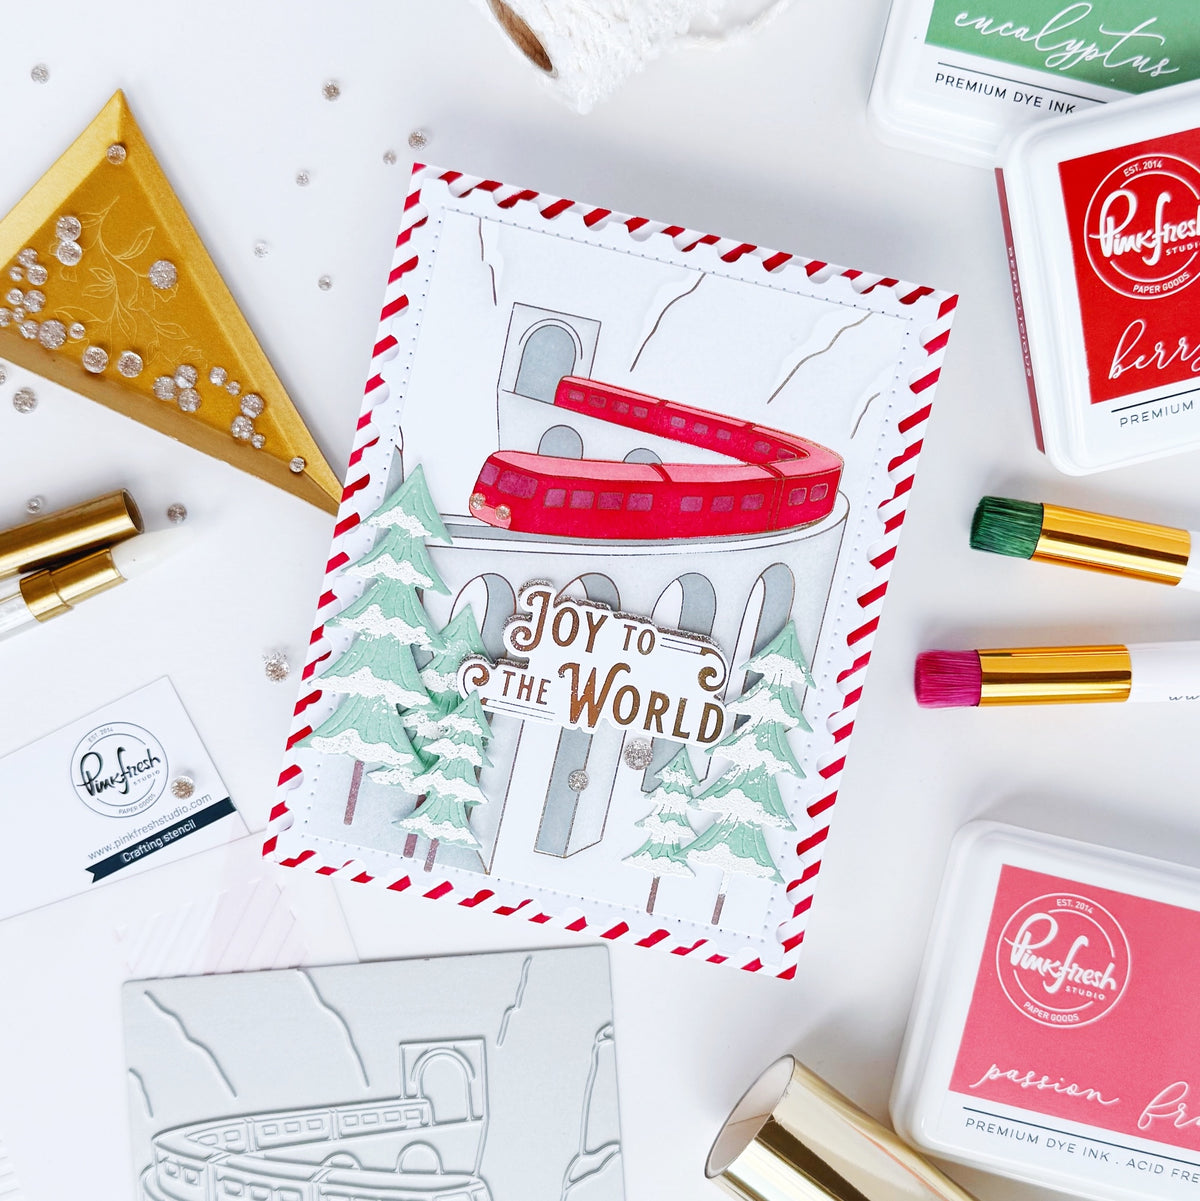
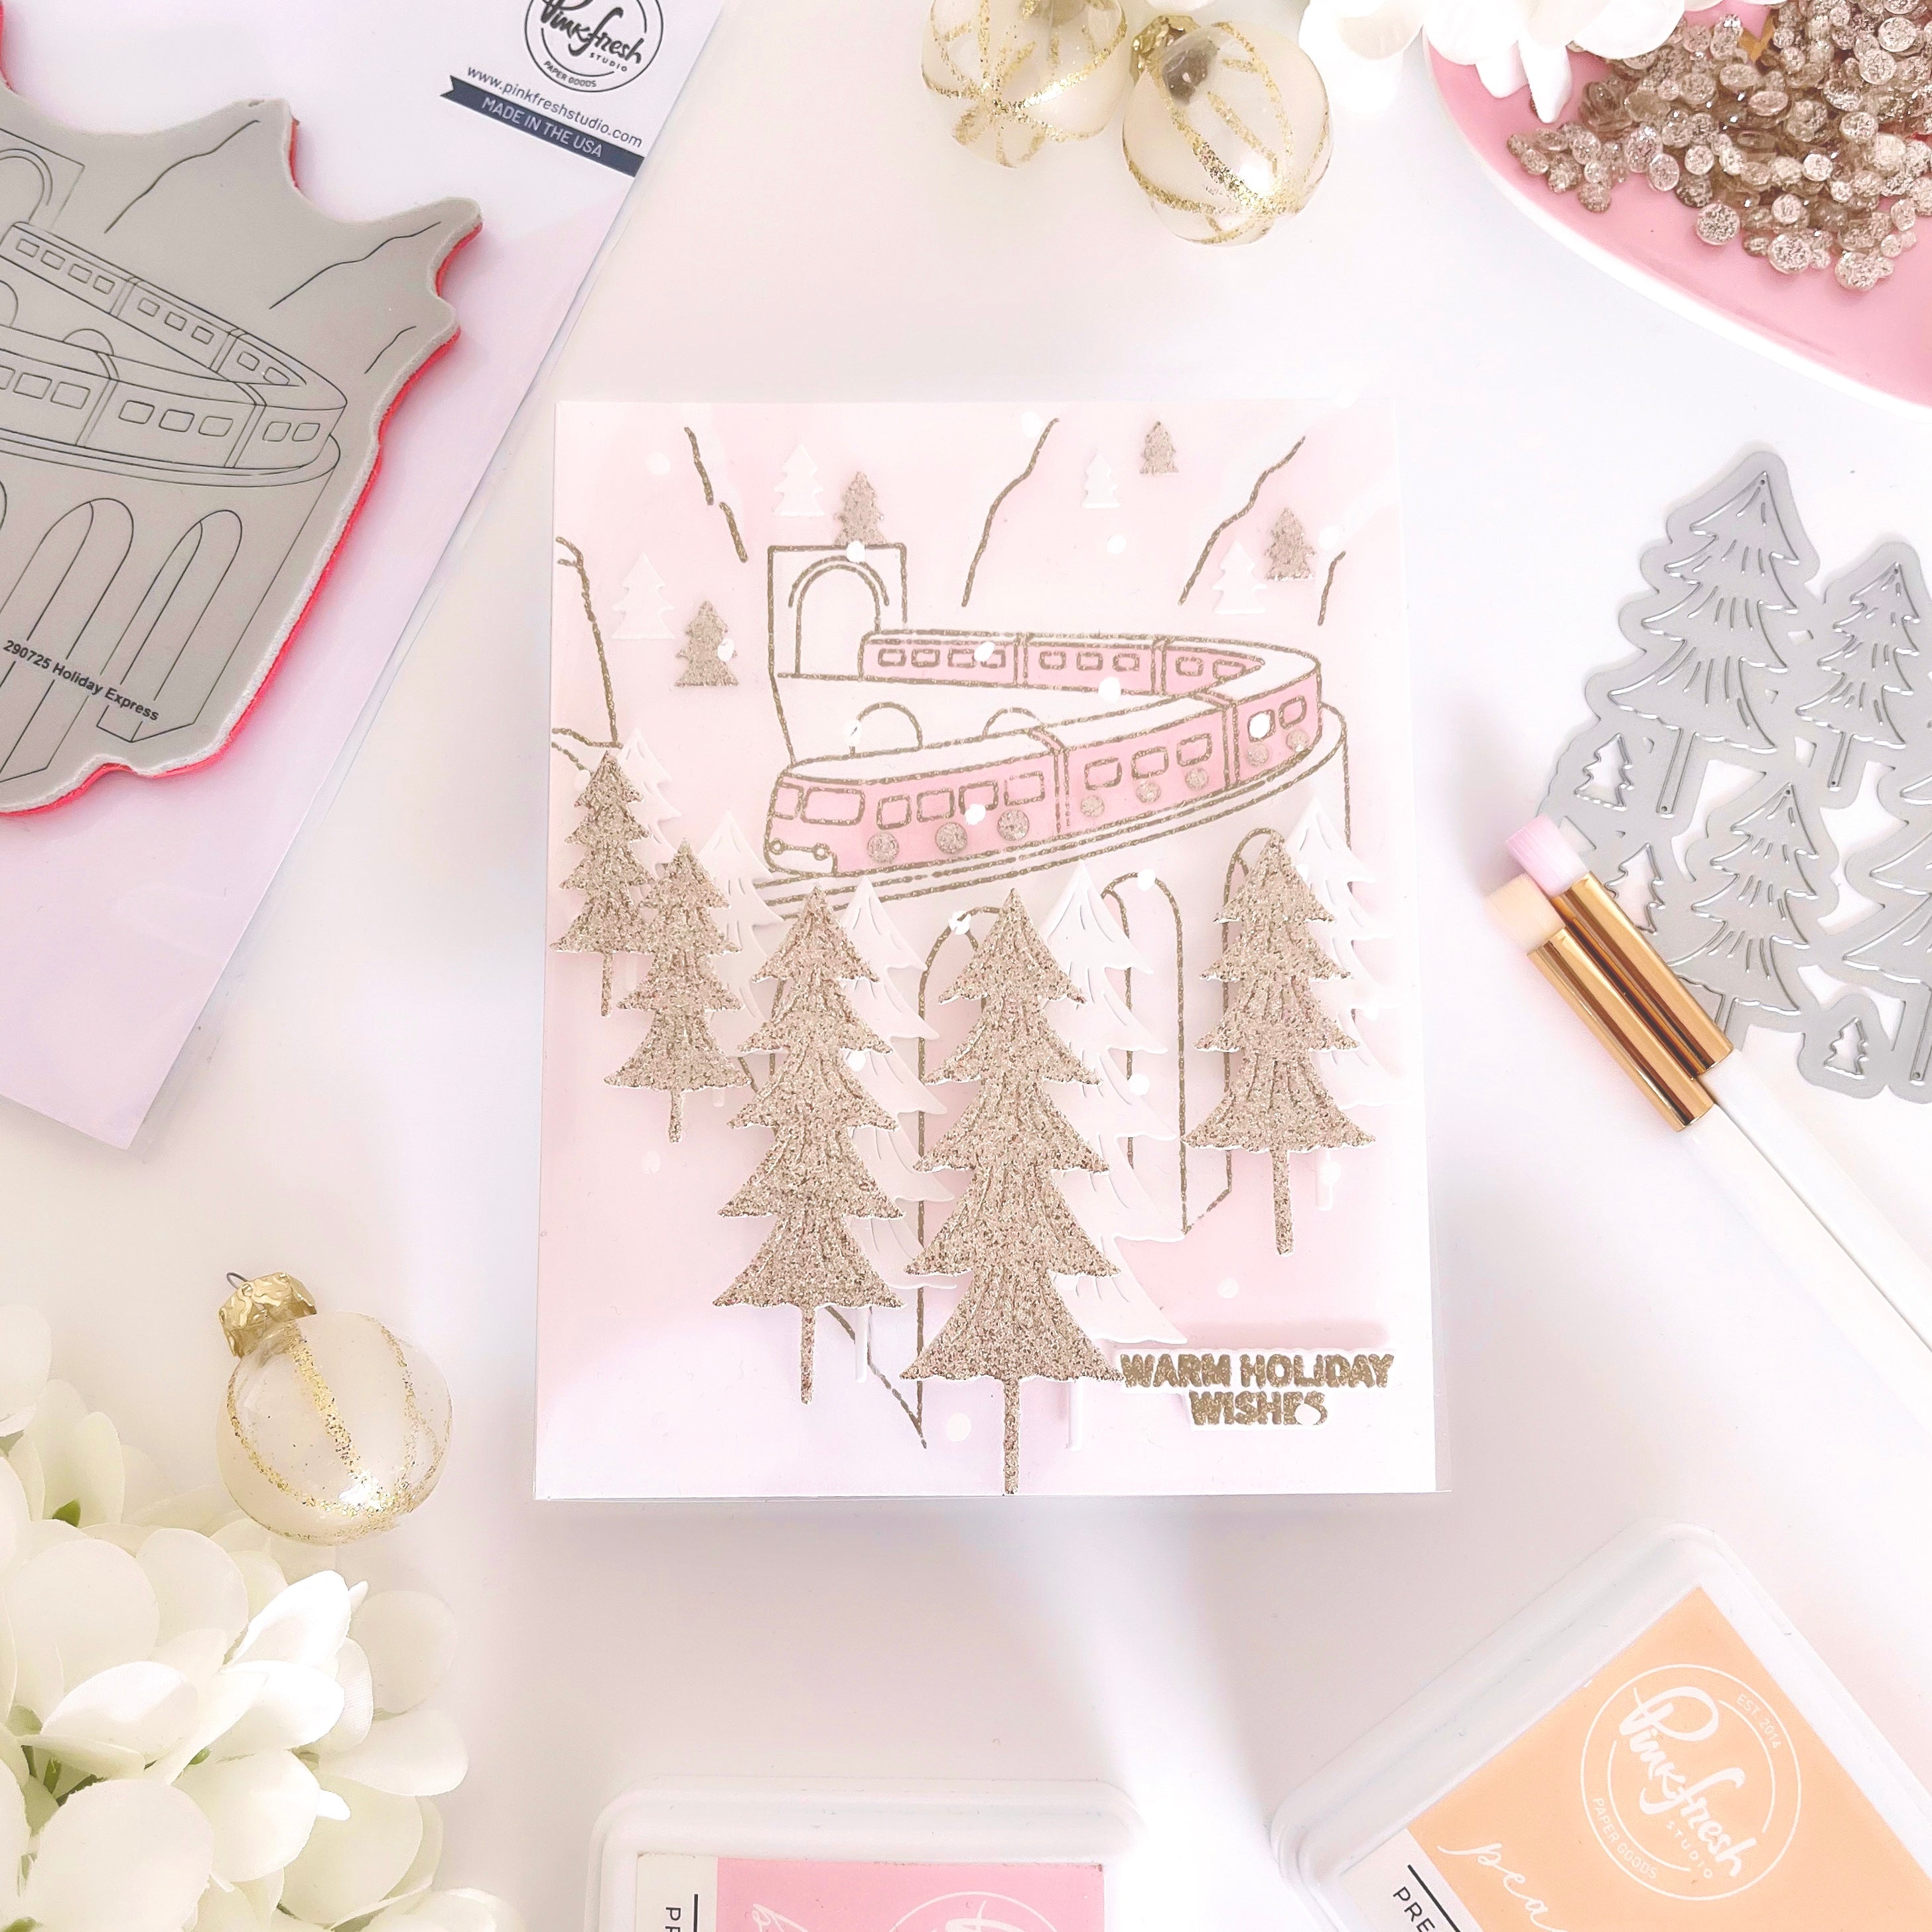
There’s something magical about a handmade card that feels interactive and full of life. In this tutorial, I’ll walk you through the process of creating a festive Holiday Express card using the press plate, stencil, and die set. We’ll add realistic touches like snowy trees with embossing paste, shiny windows with a glaze pen, and dimensional layers for extra depth. To take it even further, I’ll show you how to install lights from Pear Blossom Press so the train headlights actually glow when pressed—giving your design an unforgettable finishing touch.
*Disclaimer: All products used are linked below as clickable images. If a product isn’t listed, it’s been discontinued.


How to recreate this card:
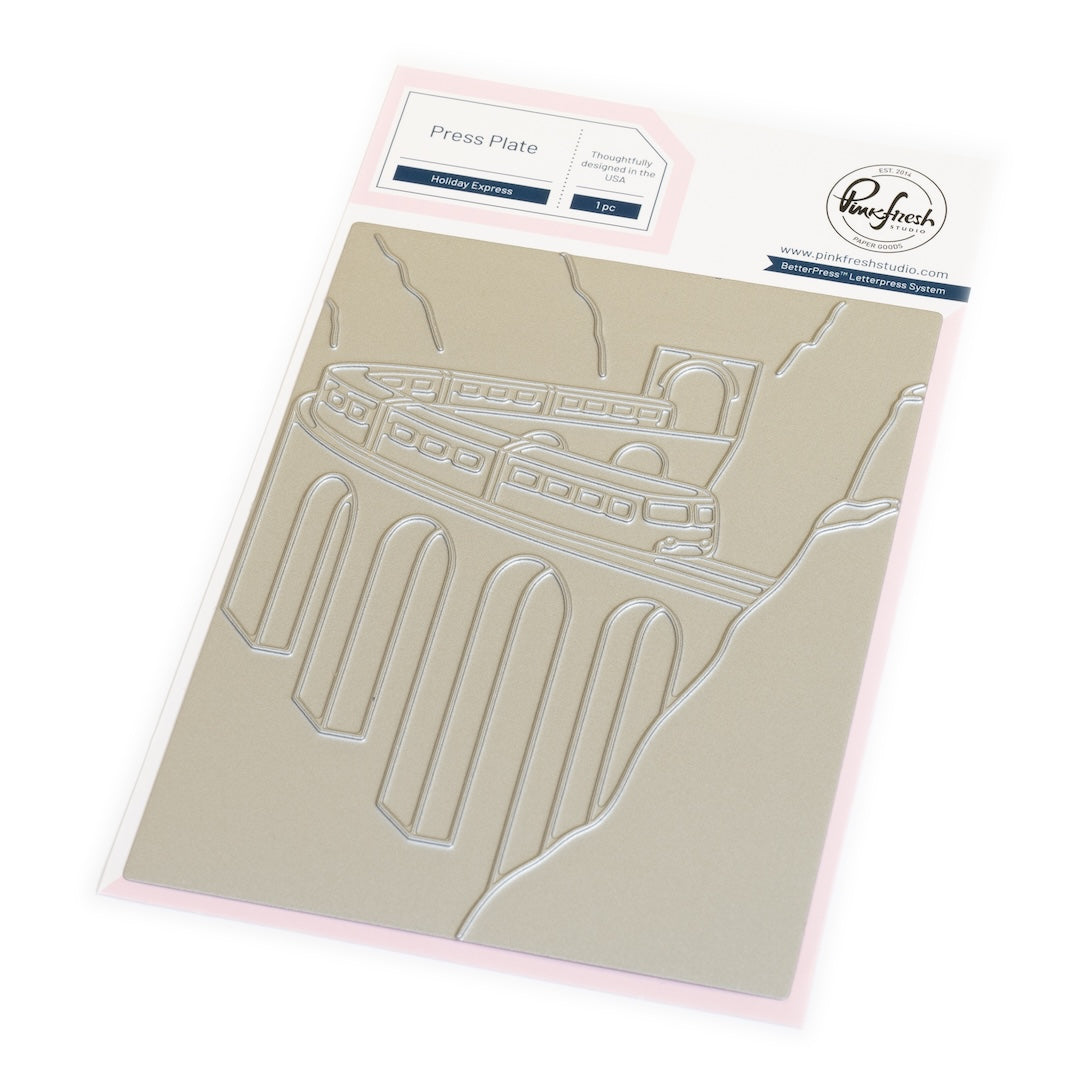
1. Use the Holiday Express press plate to hot foil the image onto a white A2 card panel using black foil.
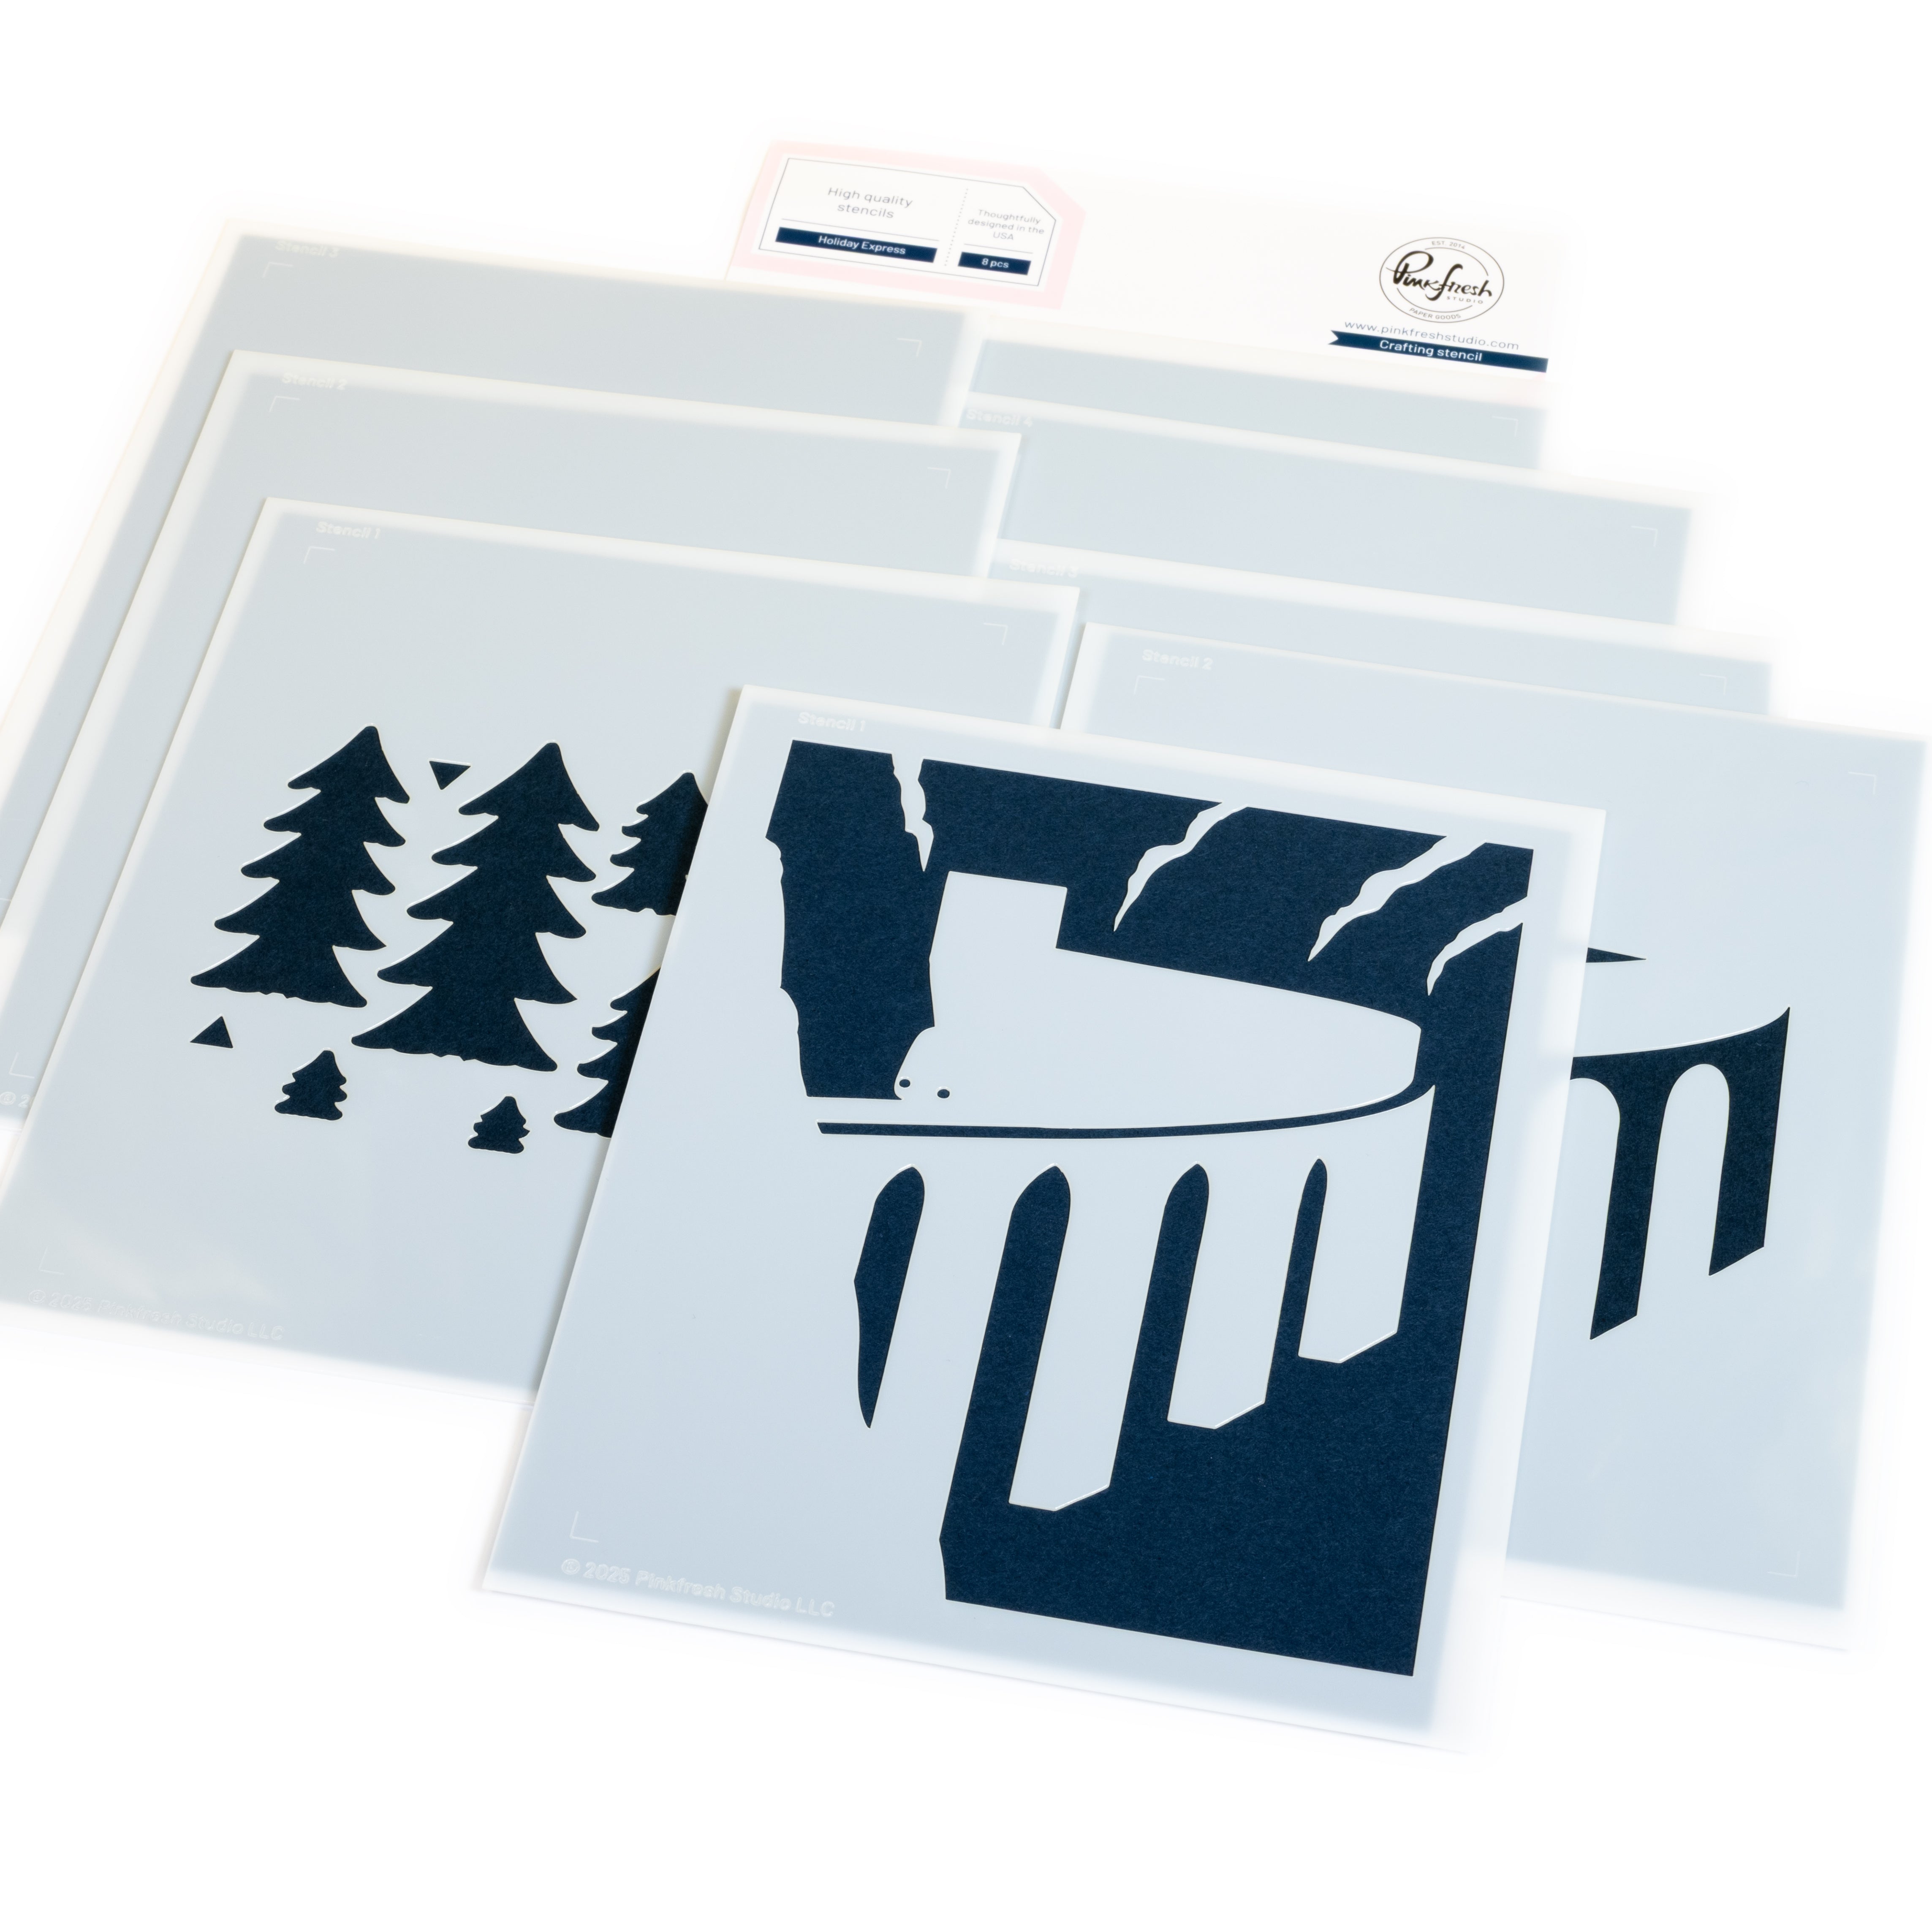
2. Use the Holiday Express stencils to add color to your scene.
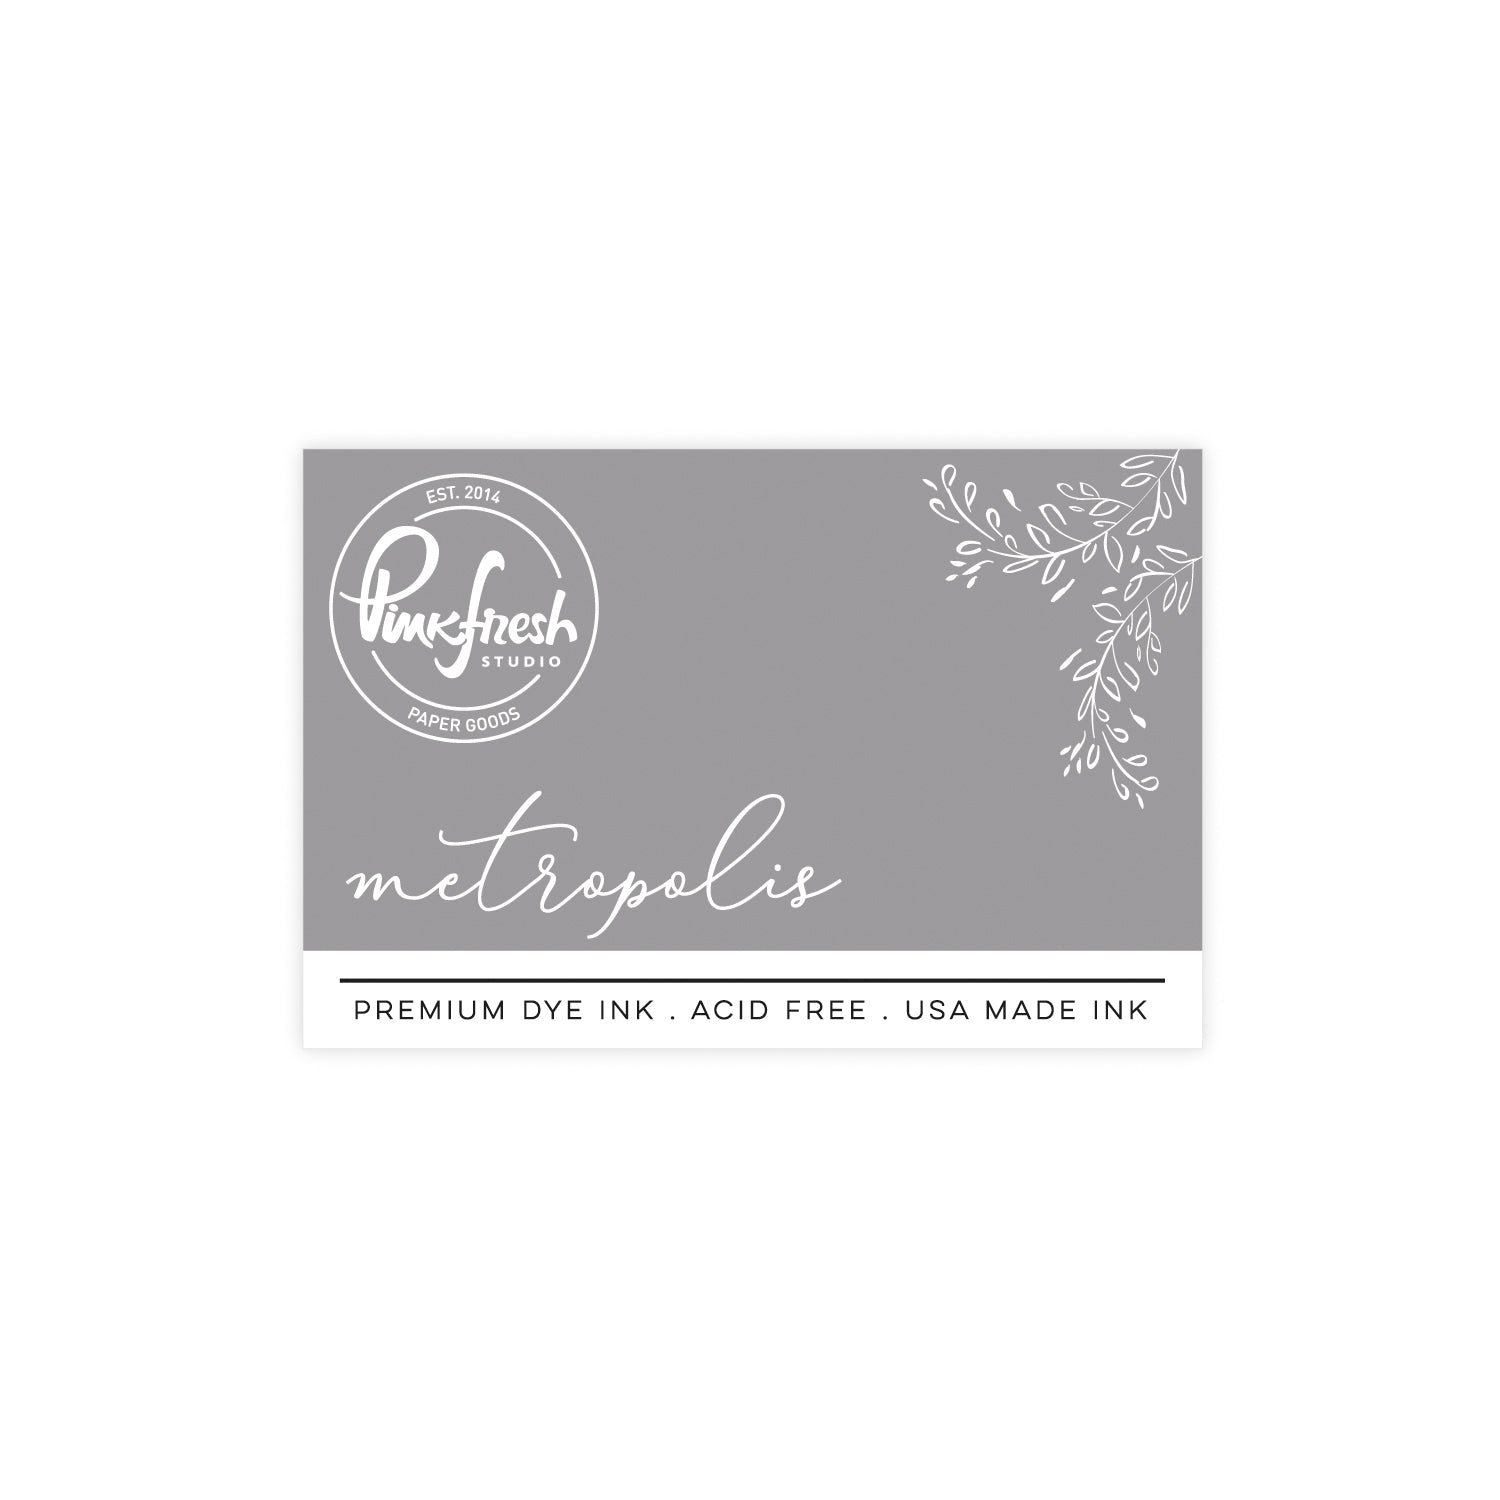
- Stencil 1: Ocean Breeze (light-hand), Aquamarine
- Stencil 2: Misty Coast, Rocky Slope
- Stencil 3: Coral Reef, Passion Fruit
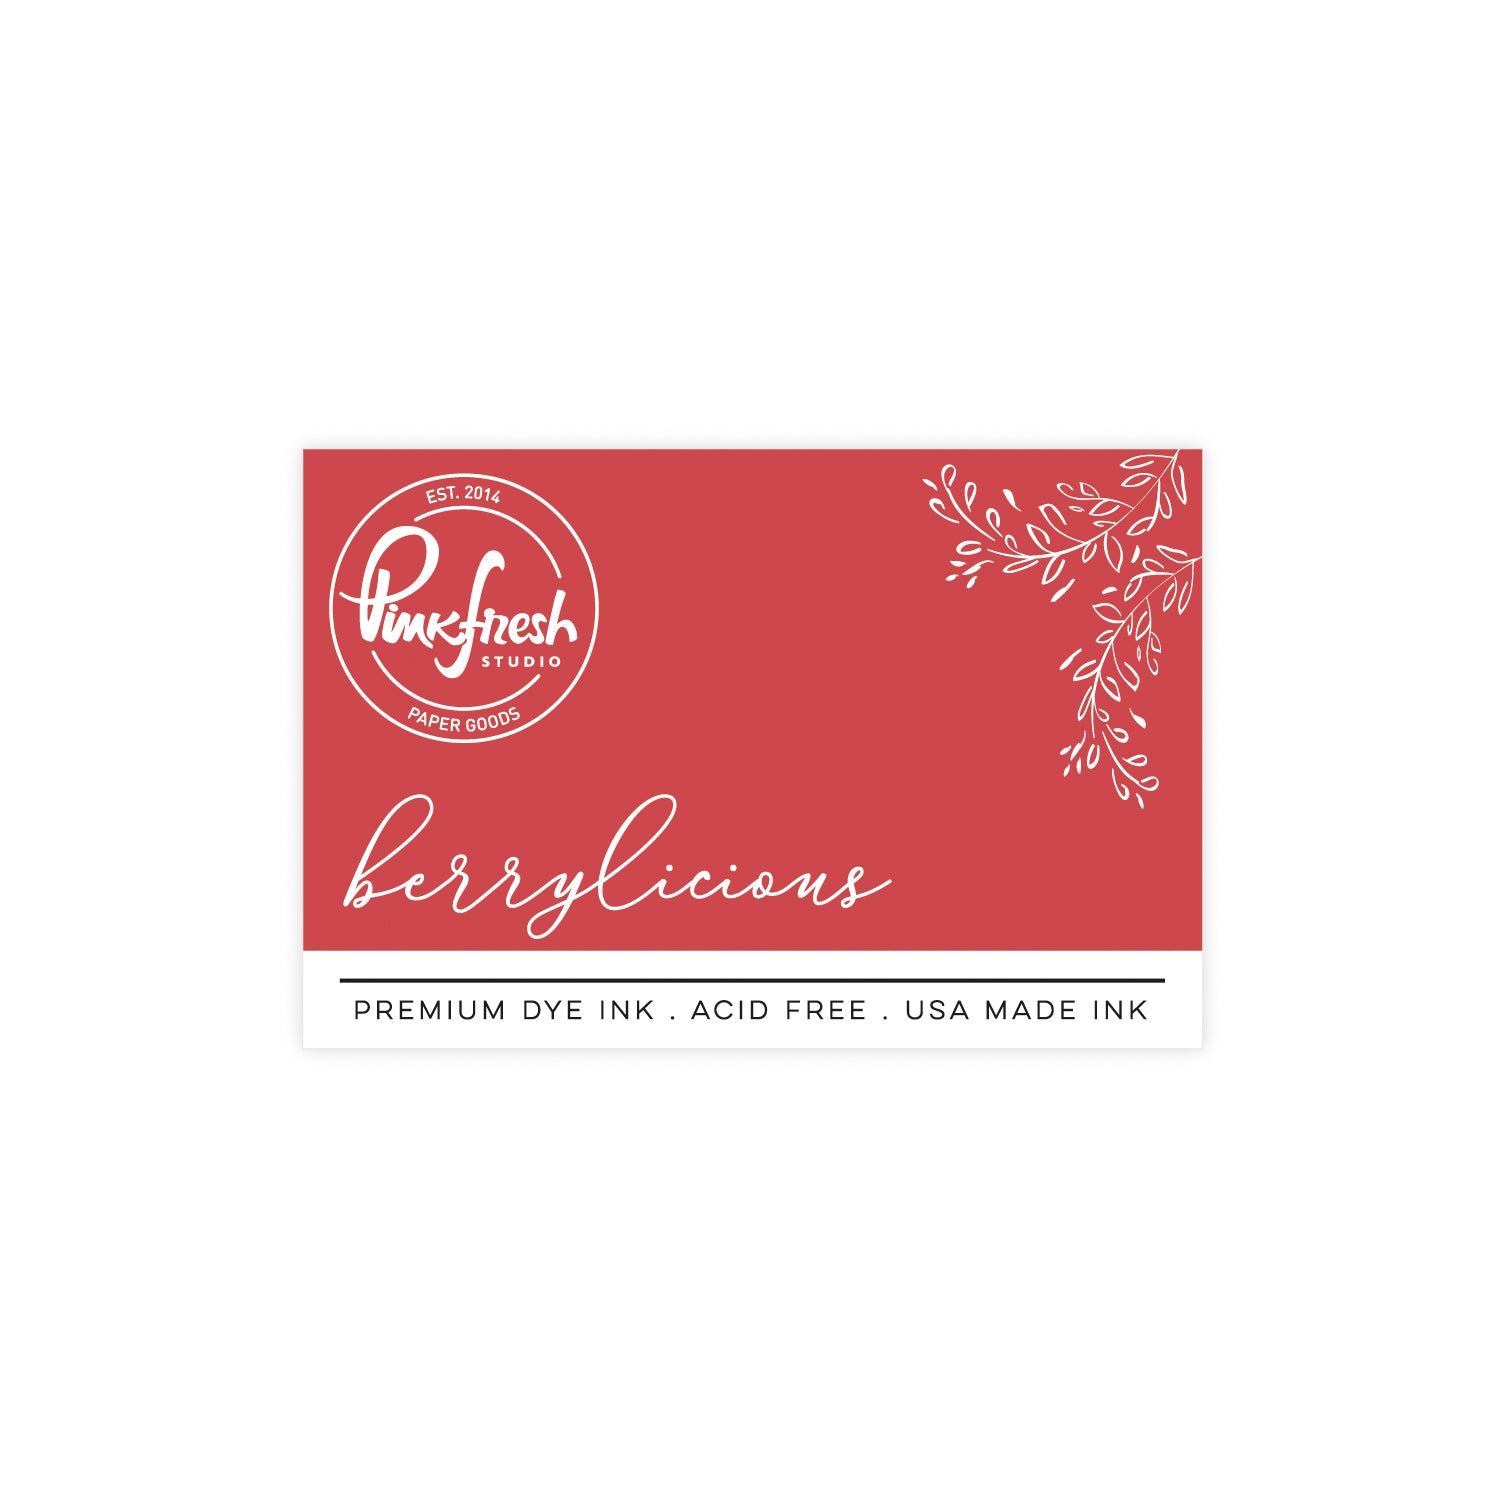
- Stencil 4: Berrylicious
- Stencils 5: Misty Coast (light-hand, fade to white)
3: Trim panel to 4" x 5 1/4".
4. Use a paper piercer to make holes inside the train headlights. Flip the panel over and add a double-high layer of foam tape around the exterior of the panel. Just inside the lower left-hand corner of the card, use red-line tape to adhere an EZ-Light, button side down. Cut off one of the lights with scissors at the base of the wire. Tape the other 2 lights in place over the holes you poked in your cardstock. Tape down the wires to wrangle them. Add more foam tape as needed to ensure your panel is well-supported on your card base.
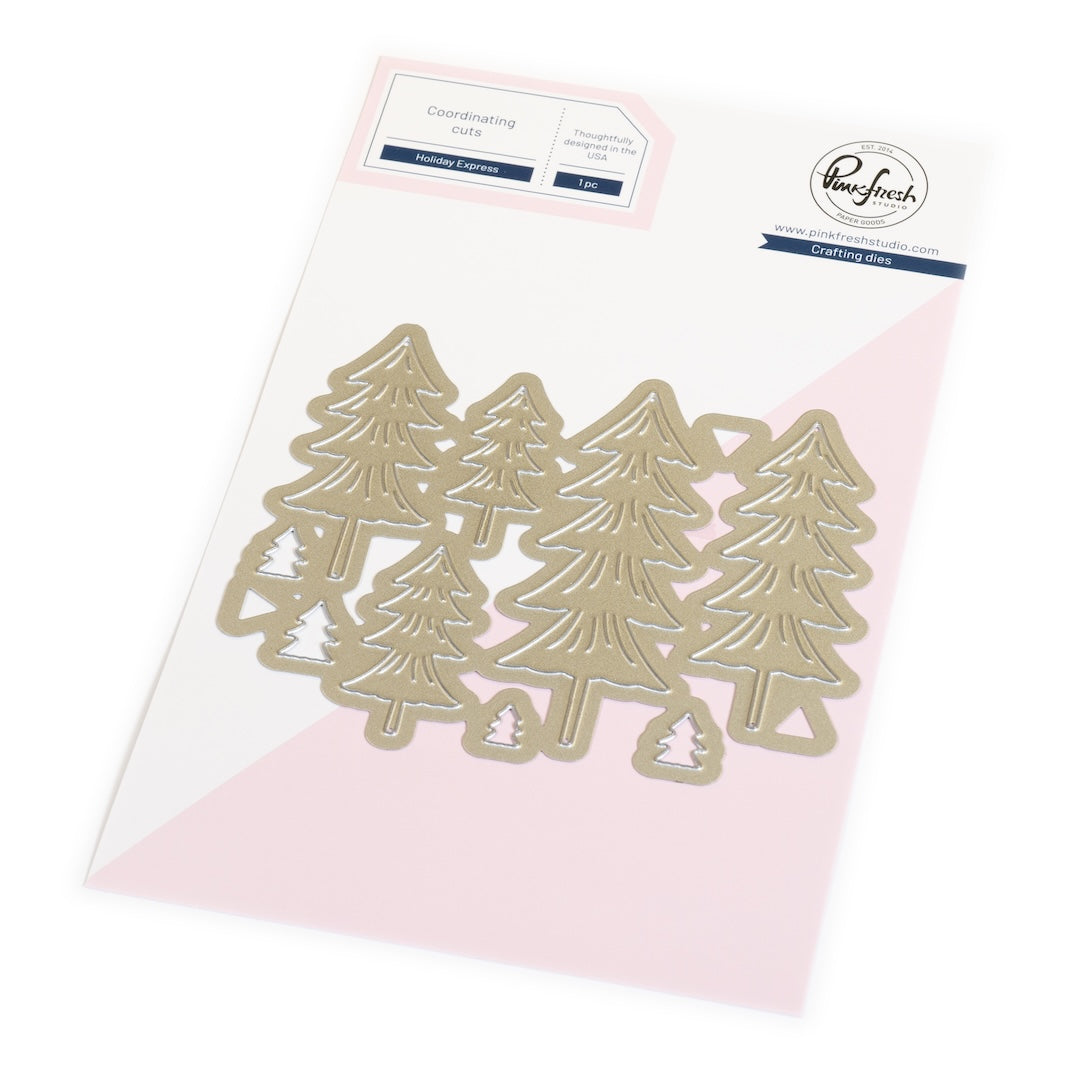
5. Use the Holiday Express dies to die cut the trees from white cardstock. Do not remove the die or the trees from the sheet of cardstock. Use a pen to trace inside the triangles. Remove the die, and use the following stencils:
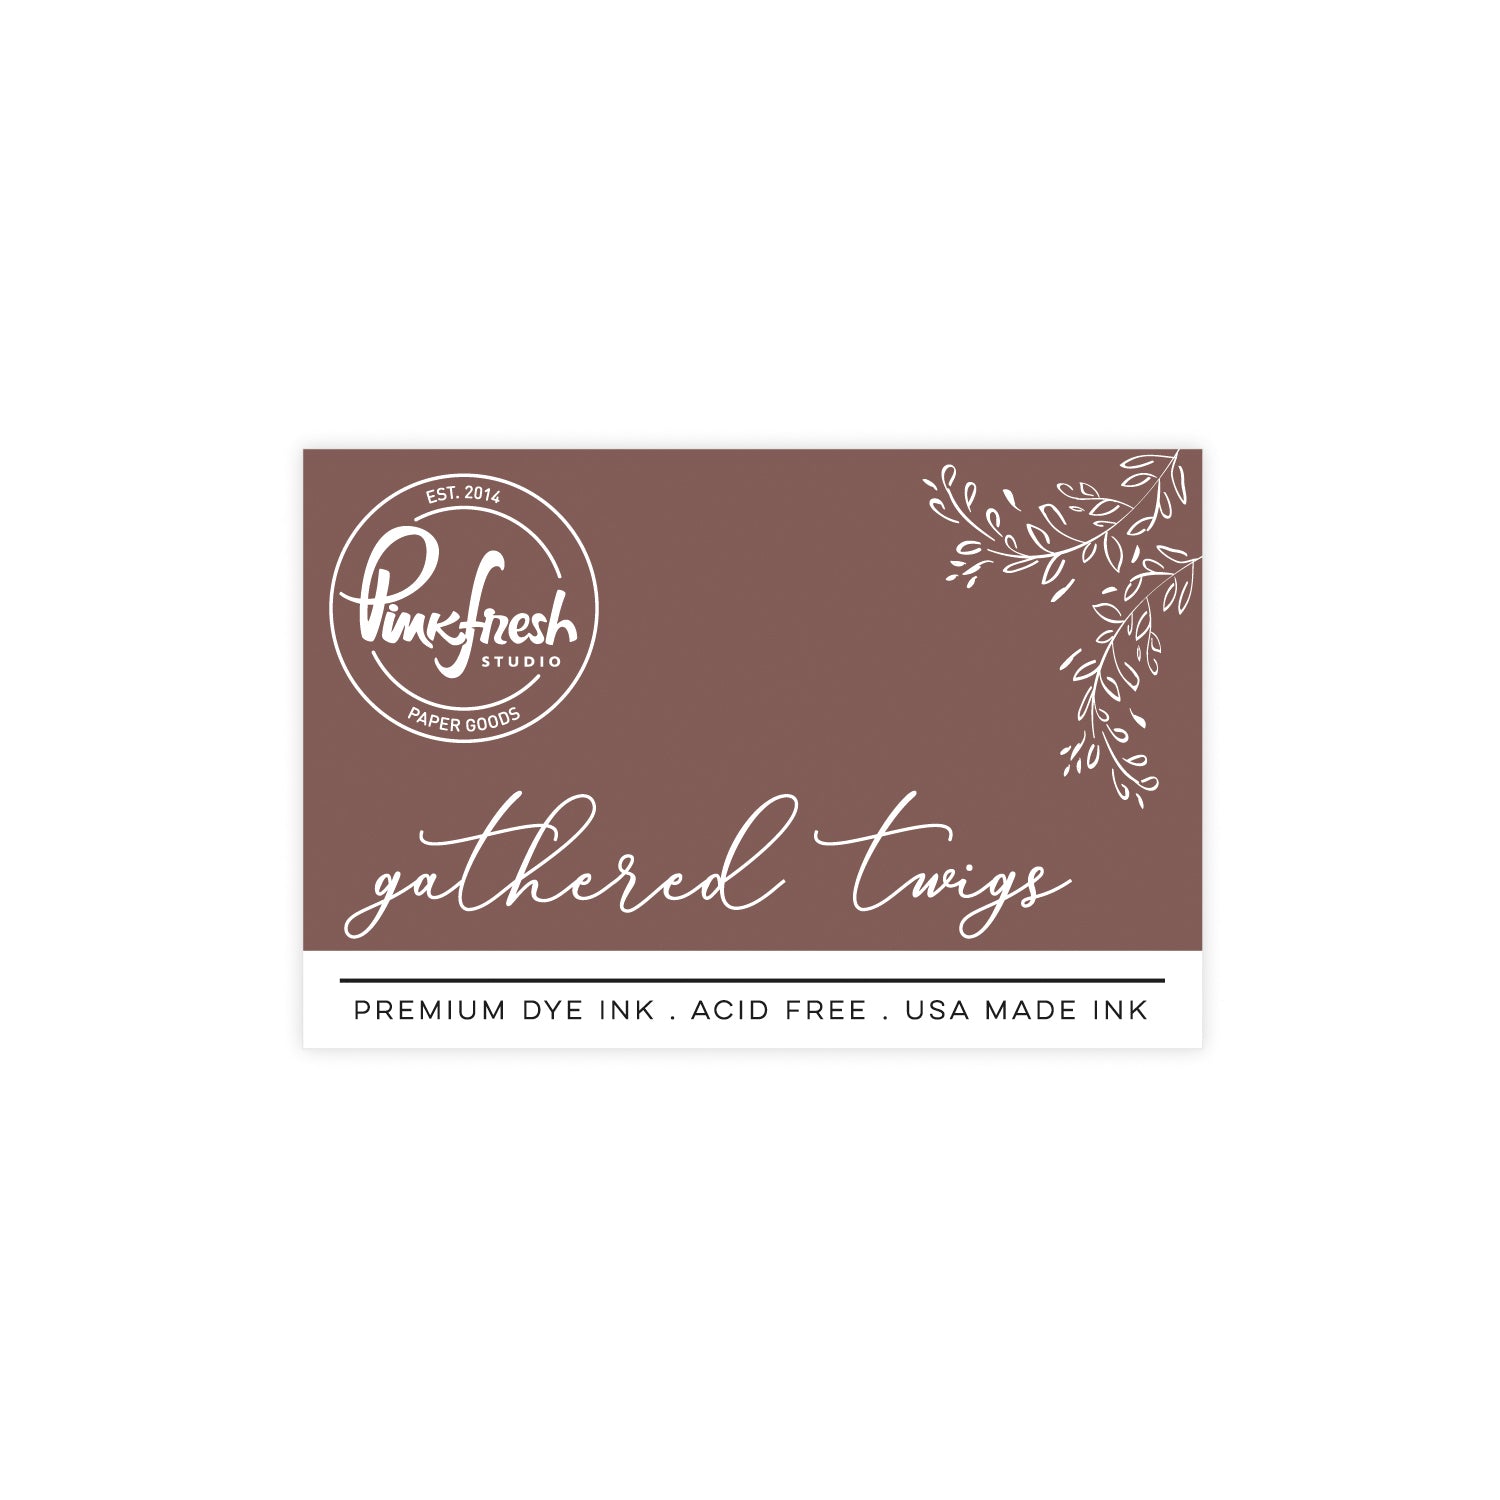
- Stencil 2: Gathered Twigs
- Stencil 3: Hero Arts white embossing paste (set aside to dry)
6. Cut 2 more sets of trees from white cardstock.
7. Create 2 frames from white cardstock using the 2 largest dies in the Stitched Rectangles die set; adhere together and then adhere to the outer edge of the train panel.
8. Create a top-folding A2 card using red cardstock. Adhere the decorated panel to the card base.
9. Use a glaze pen or glossy accents to coat the windows on the train.
10. Adhere the two blank trees behind the trees with the embossing paste on them; adhere in varying heights to the scene. All trees without a trunk are adhered with only liquid glue.
I hope this tutorial inspires you to try adding special details that make your handmade cards shine—literally! Interactive elements like light-up features, dimensional layers, and glossy highlights turn a simple card into something extraordinary.
Now it’s your turn! Tag us on Instagram with your version of this Holiday Express card—we’d love to see your creations. Don’t forget to leave a comment below with your favorite part of this project, or share how you might adapt the design for your own style.
With just a few creative tweaks, this Holiday Express card can become your go-to design for any season!
Recommended Products






























1 comment
Annette Gordon
Leave a comment
All comments are moderated before being published.
This site is protected by hCaptcha and the hCaptcha Privacy Policy and Terms of Service apply.