
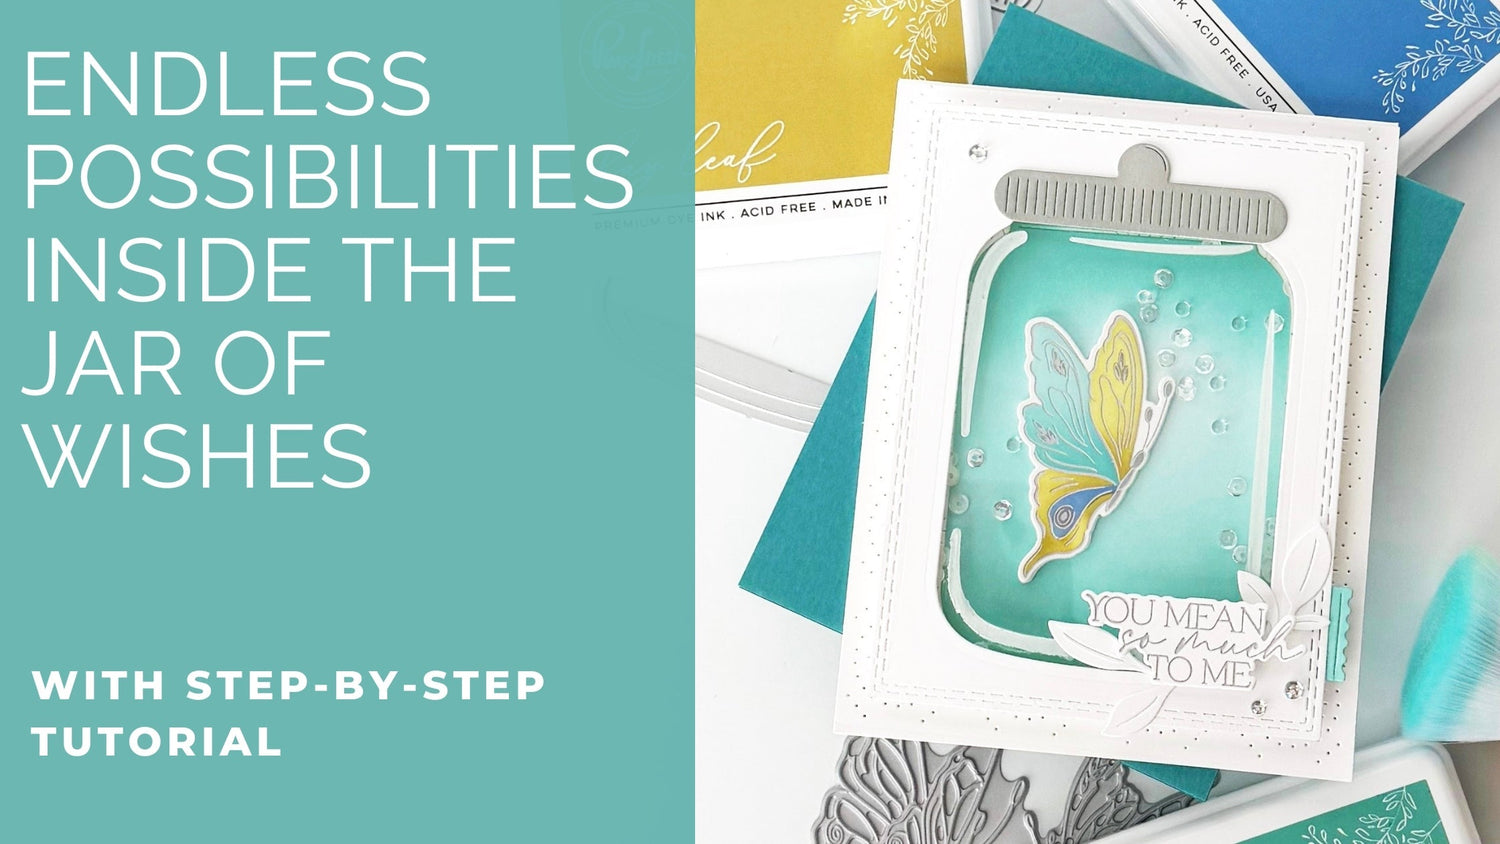
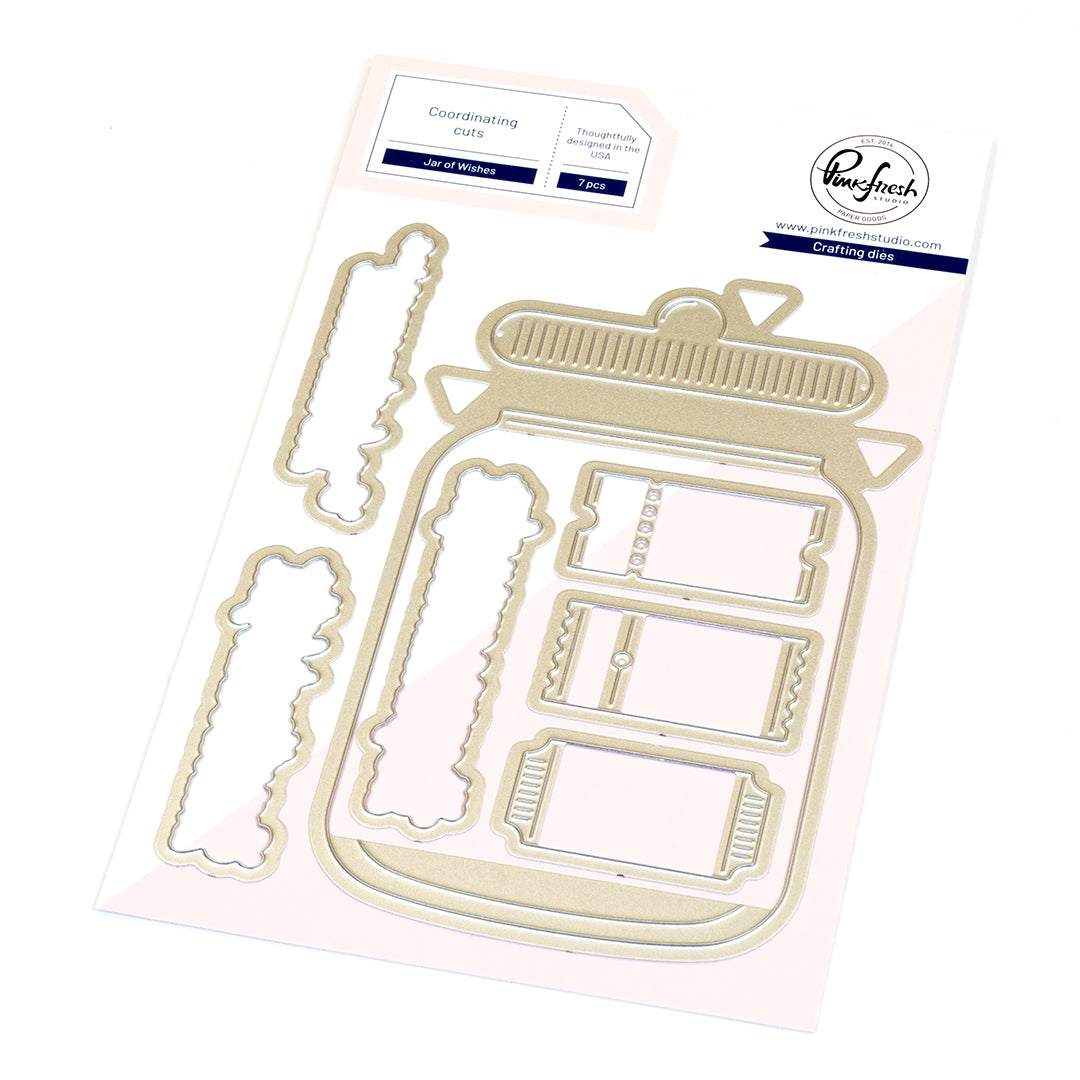
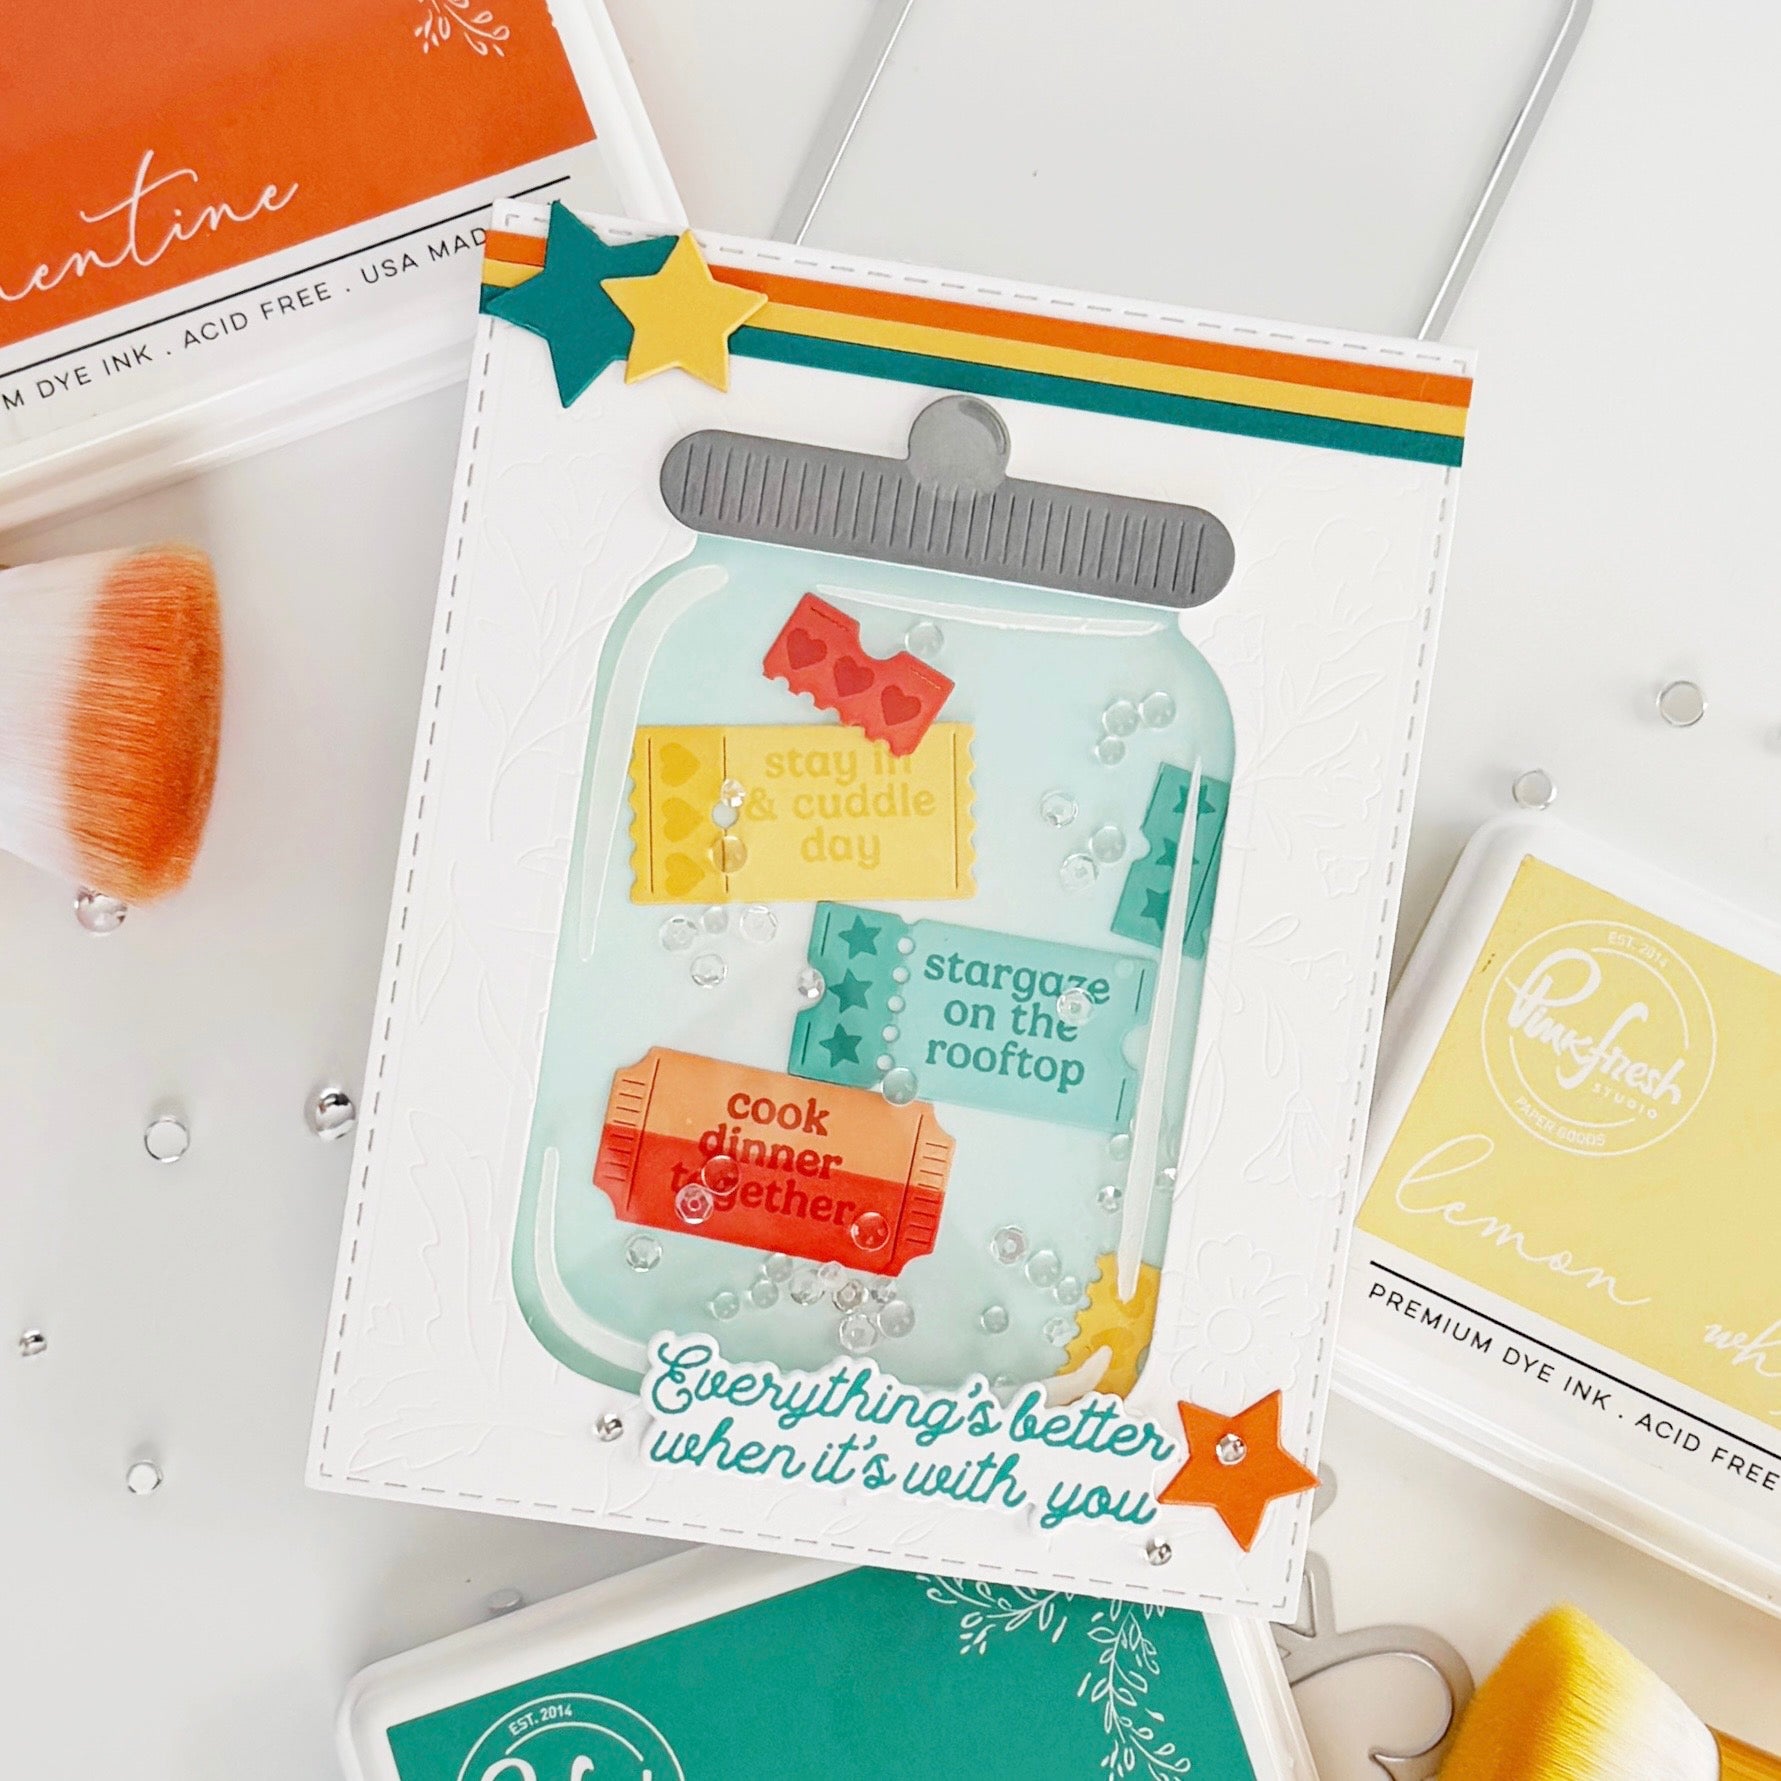
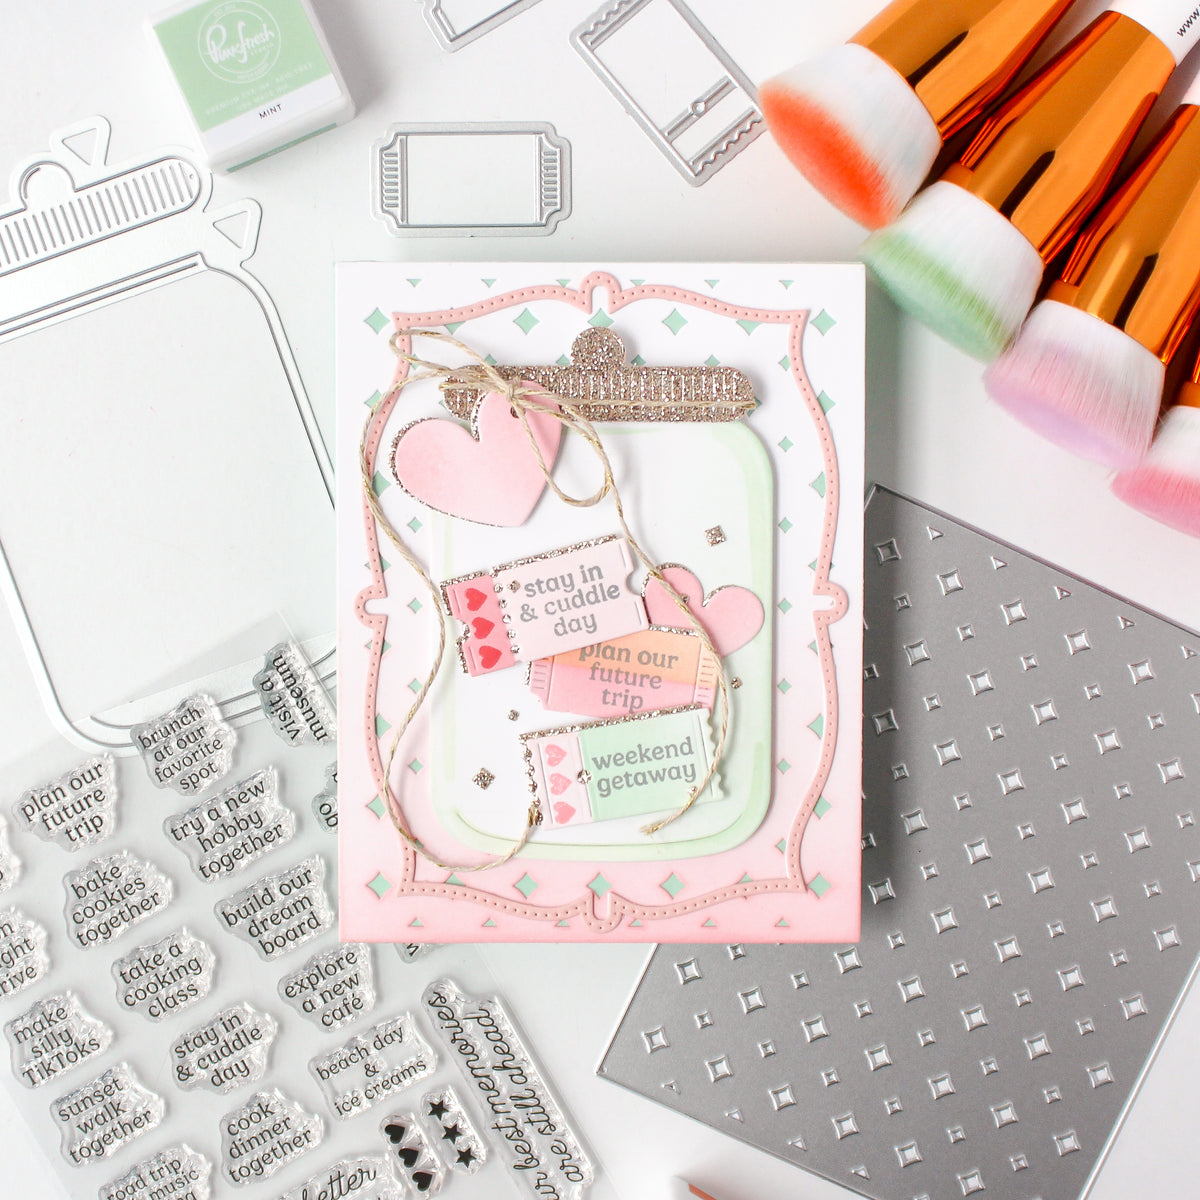
One of my favorite things about the Jar of Wishes die is how versatile it truly is. While it’s designed beautifully to hold stamped tickets, it doesn’t have to stop there. In today’s project, I’m showing how the jar can become a dimensional shaker that highlights any focal element you love — in this case, a softly ink-blended butterfly.
This card leans into clean white layers, subtle texture, and thoughtful dimension. By building the shaker independently and layering it over a stitched background, the jar feels intentional and sturdy while still allowing the color and movement inside to shine. Small details, like repurposing the end of a ticket as an accent cap, add personality and polish without overwhelming the design.
*Disclaimer: All products used are linked below as clickable images. If a product isn’t listed, it’s been discontinued.

How to recreate this card:
-
Create a top-folding A2 card base from white cardstock.
-
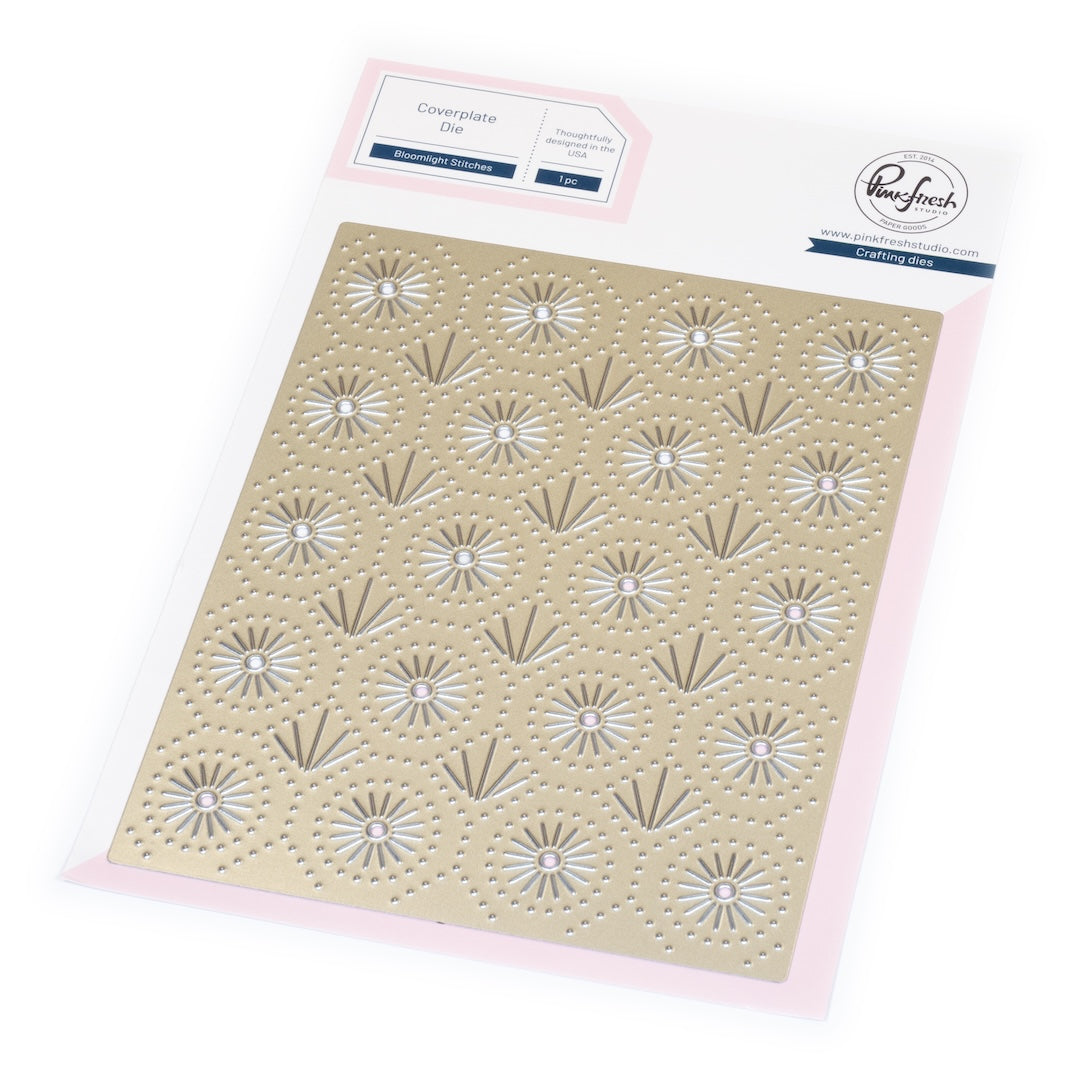
Die cut the Bloomlight Stitches coverplate die from white cardstock and adhere it directly to the card base.
-
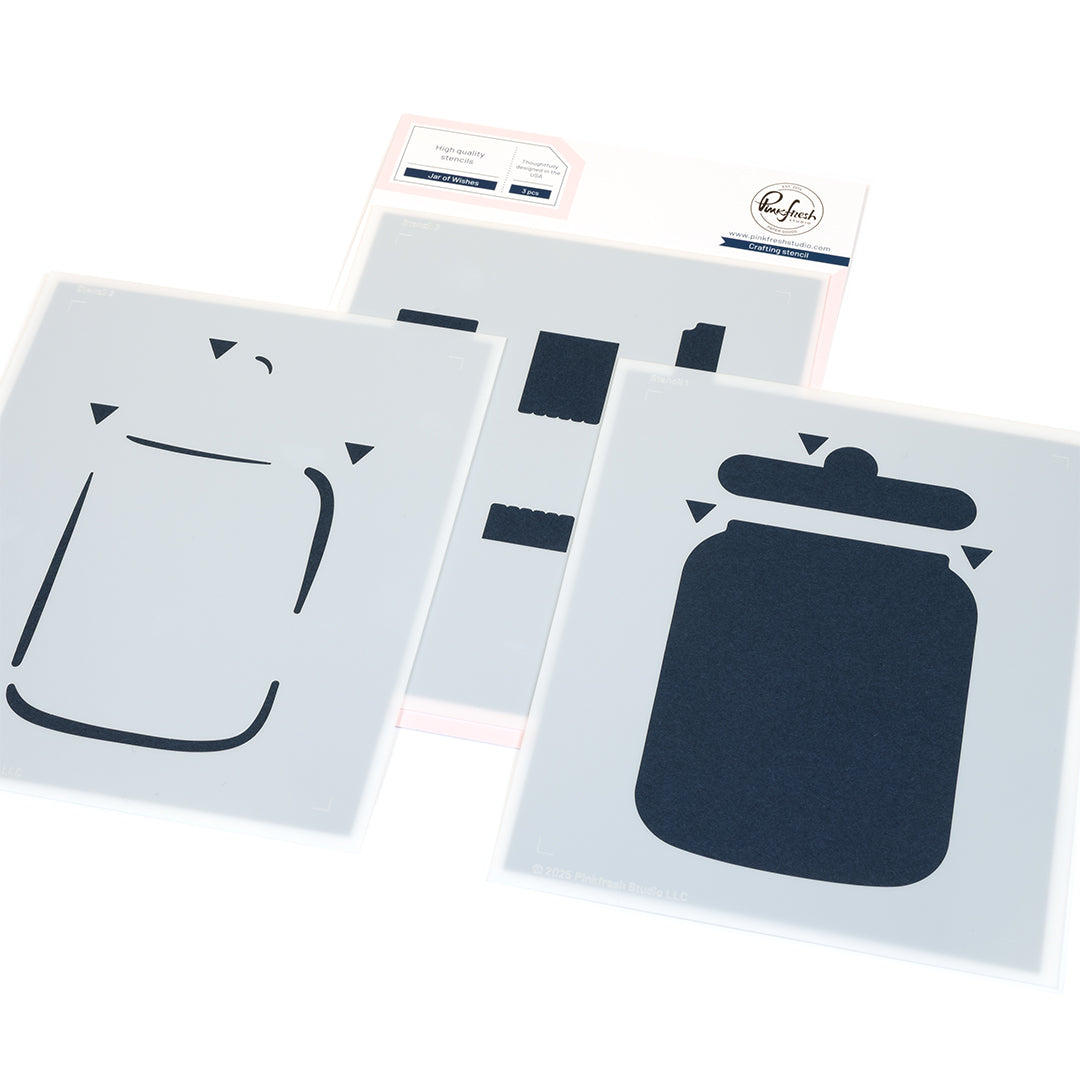
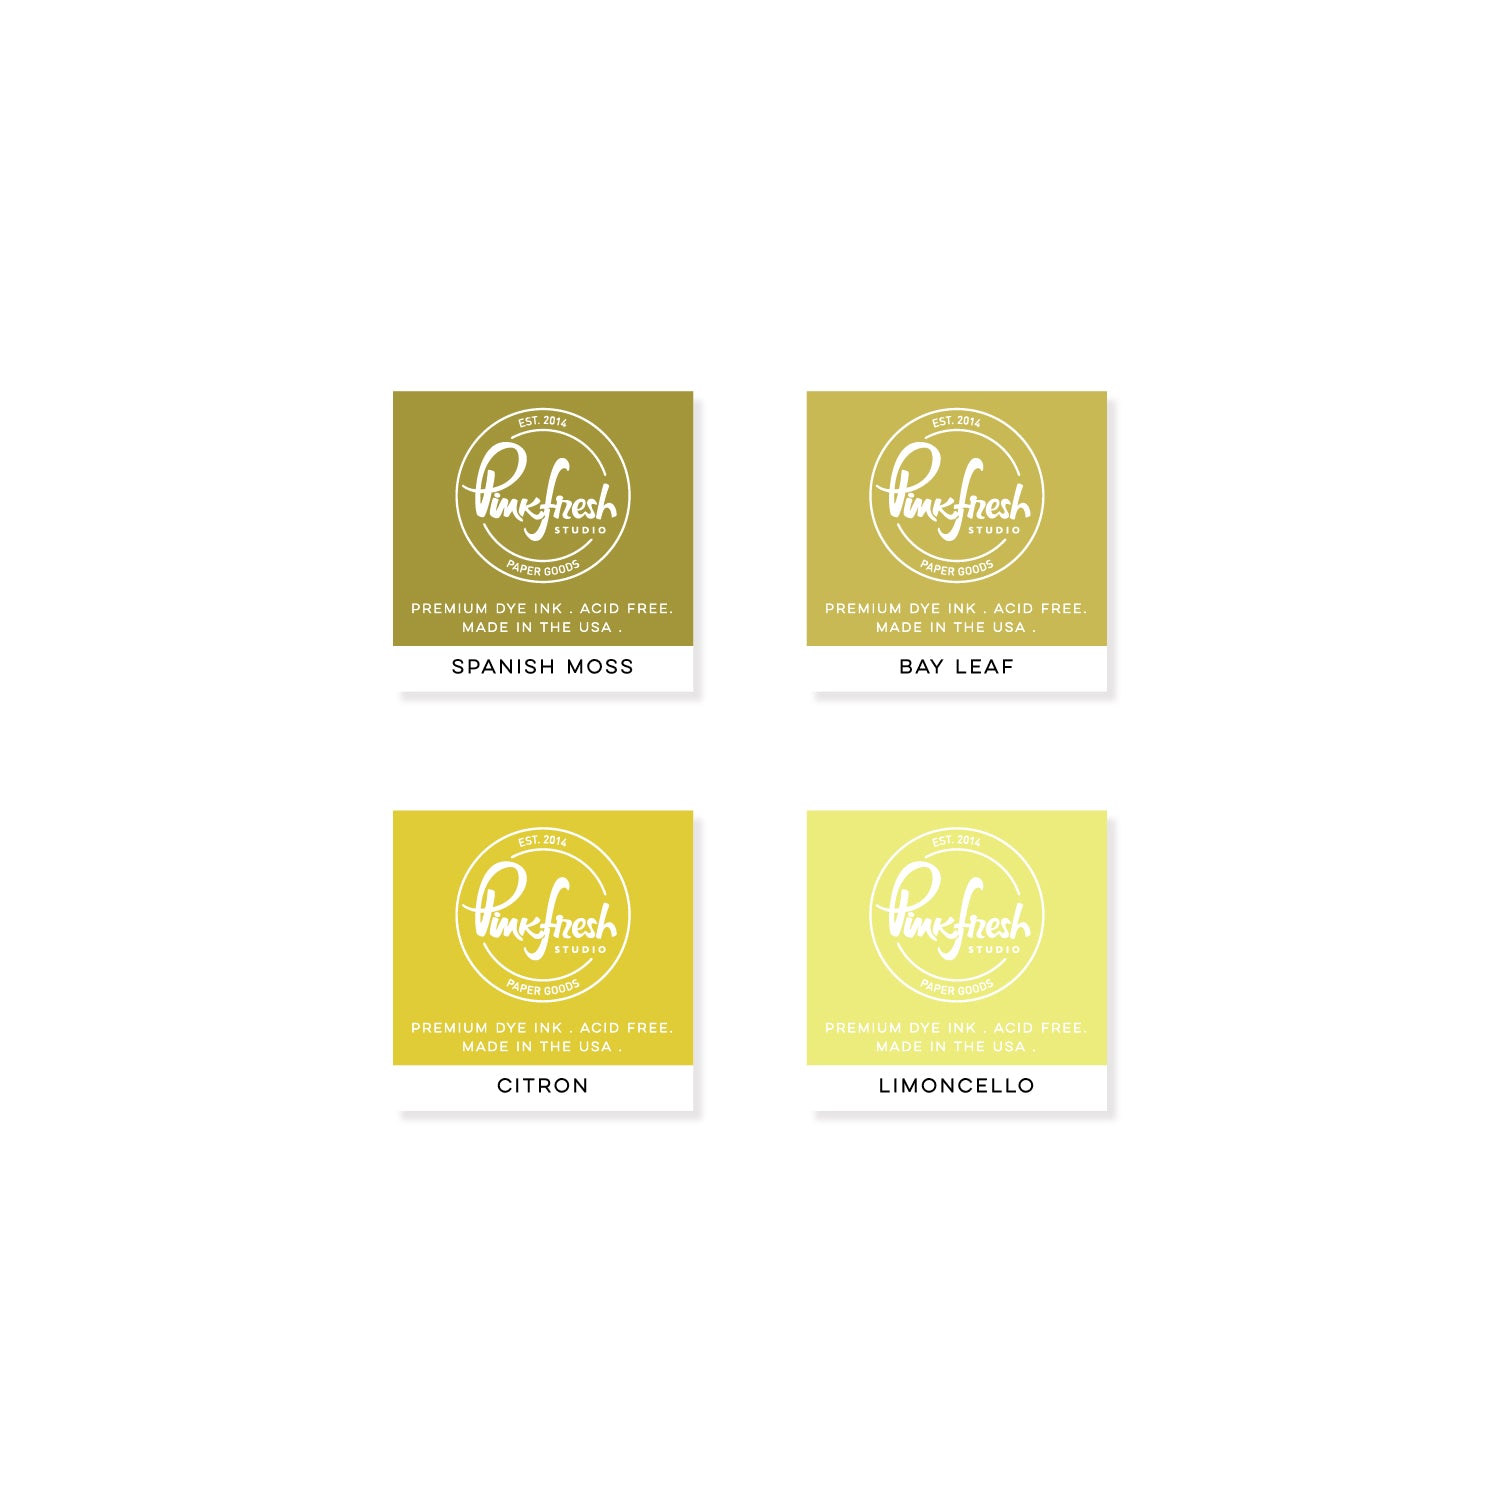
Using the Jar of Wishes stencil, ink blend only the jar shape onto white cardstock. Die cut the jar and set aside.
-
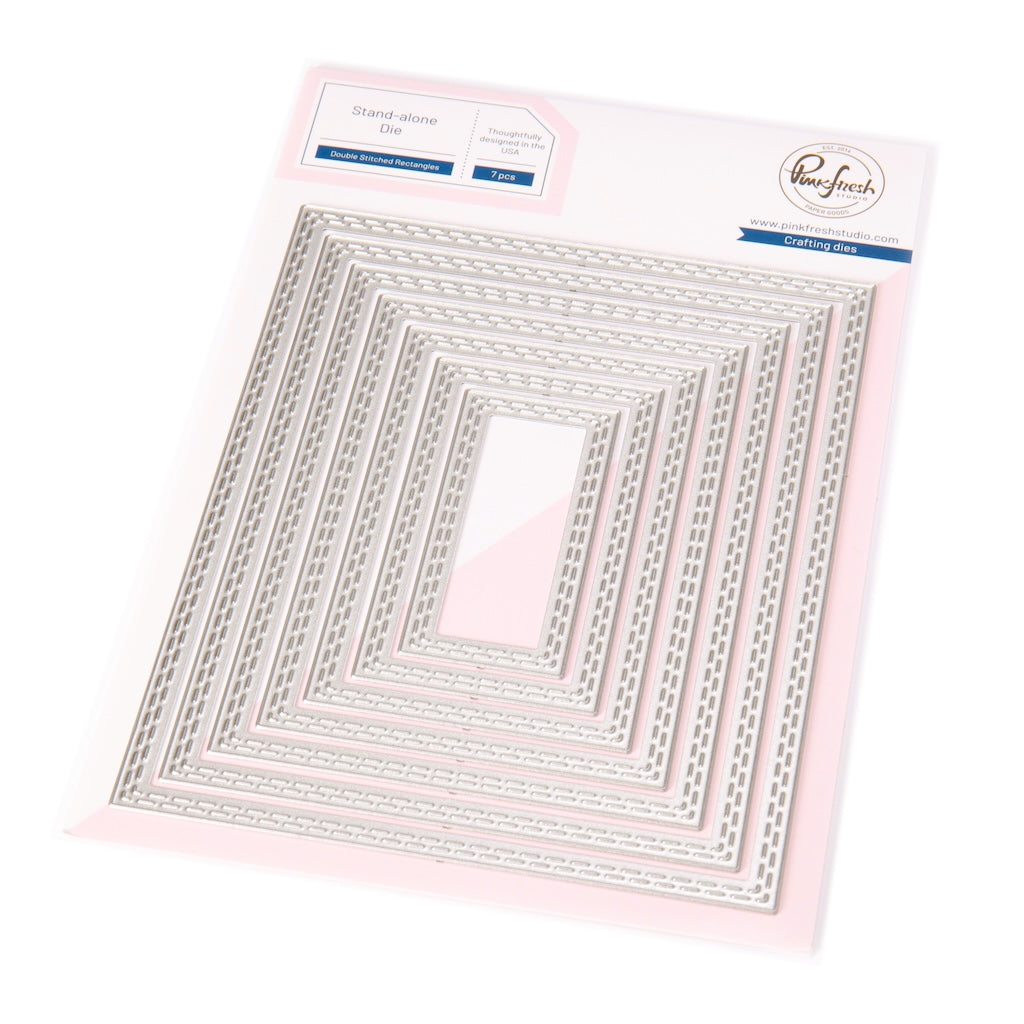
Die cut the second-largest Double Stitched Rectangle die from white cardstock.
-
Using partial die cutting, cut the bottom portion of the jar opening from the stitched rectangle panel.
-
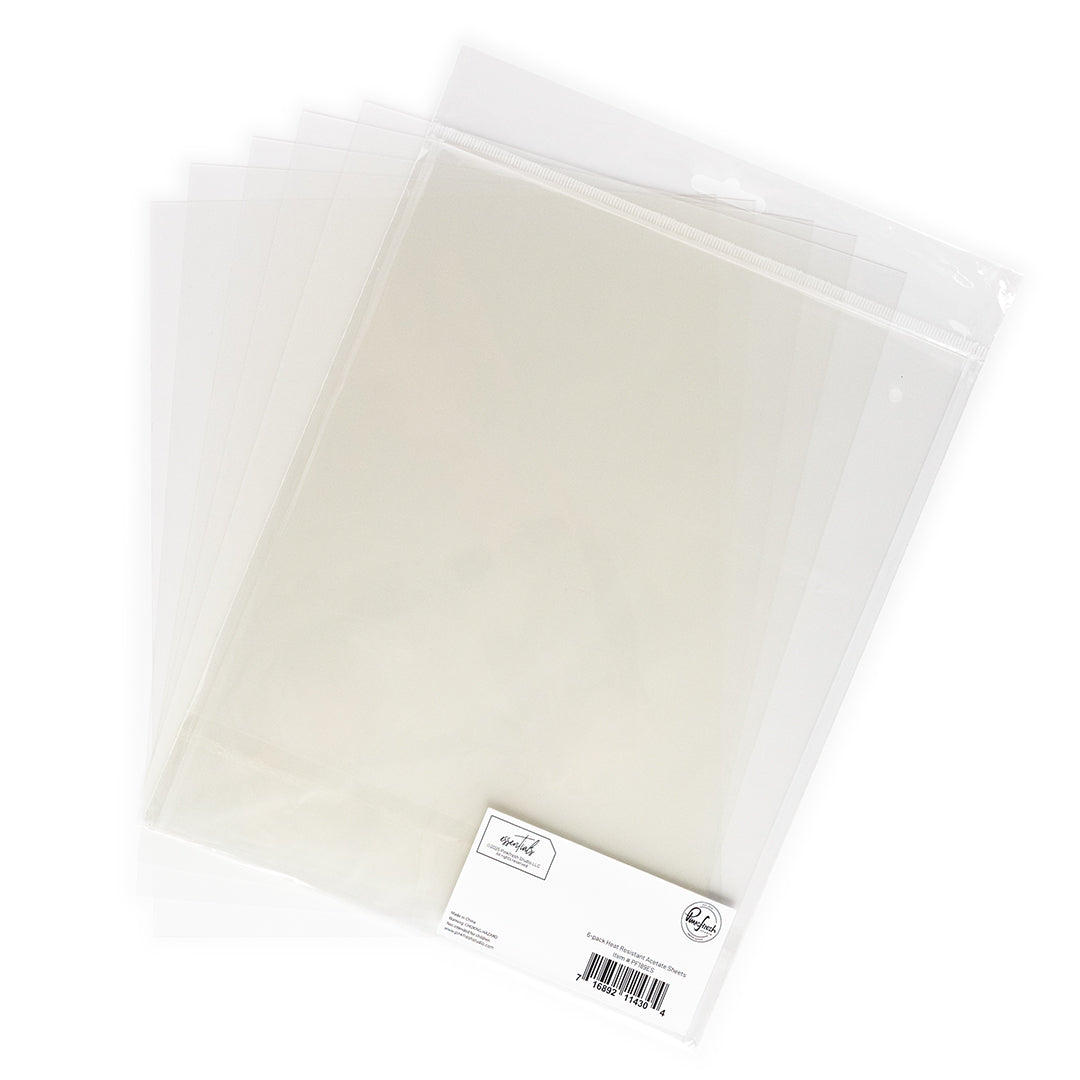
Cut a piece of heat-resistant acetate to 3 1/4" x 4". Put stencil 2 over the acetate and apply paste; remove the stencil carefully, and allow the paste to dry completely.
-
Adhere the acetate to the back of the stitched rectangle panel, covering the jar opening.
-
Apply foam tape around the perimeter of the jar opening to create the shaker well.
-
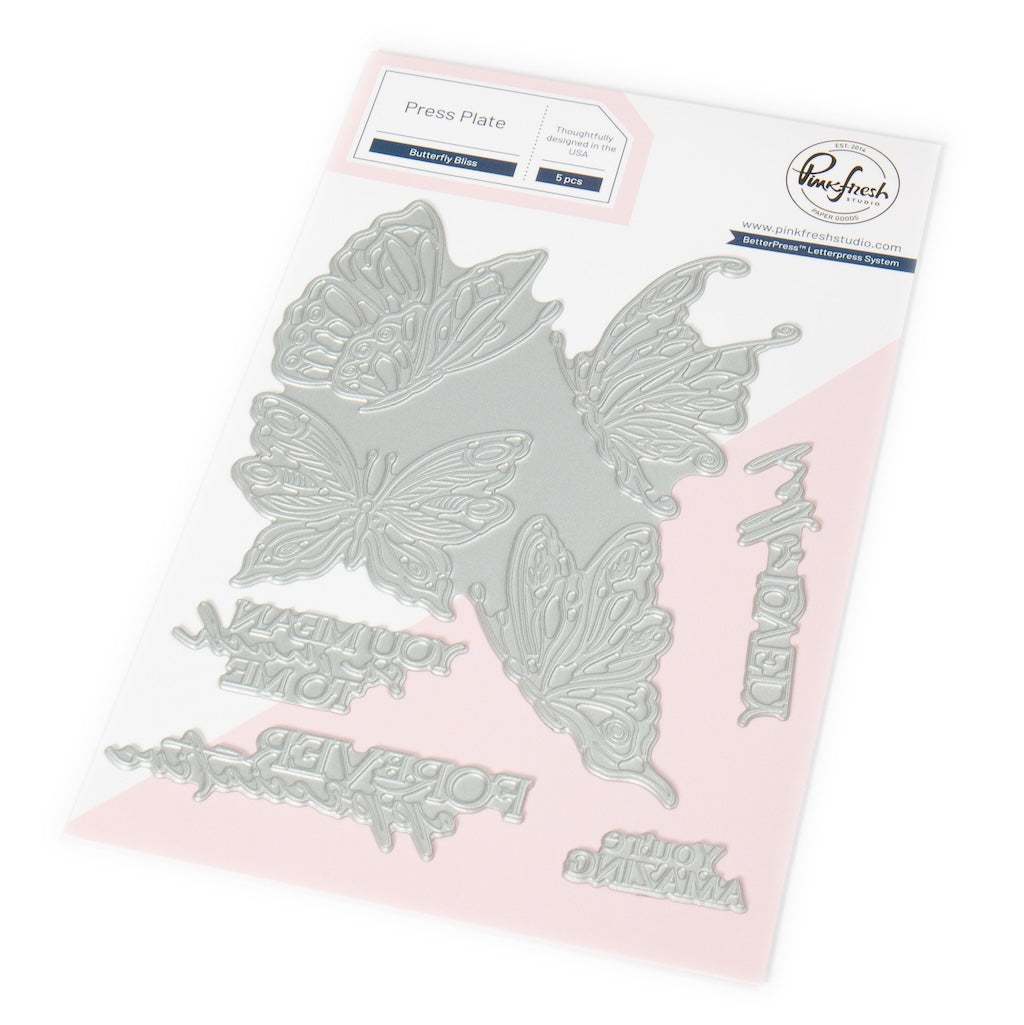
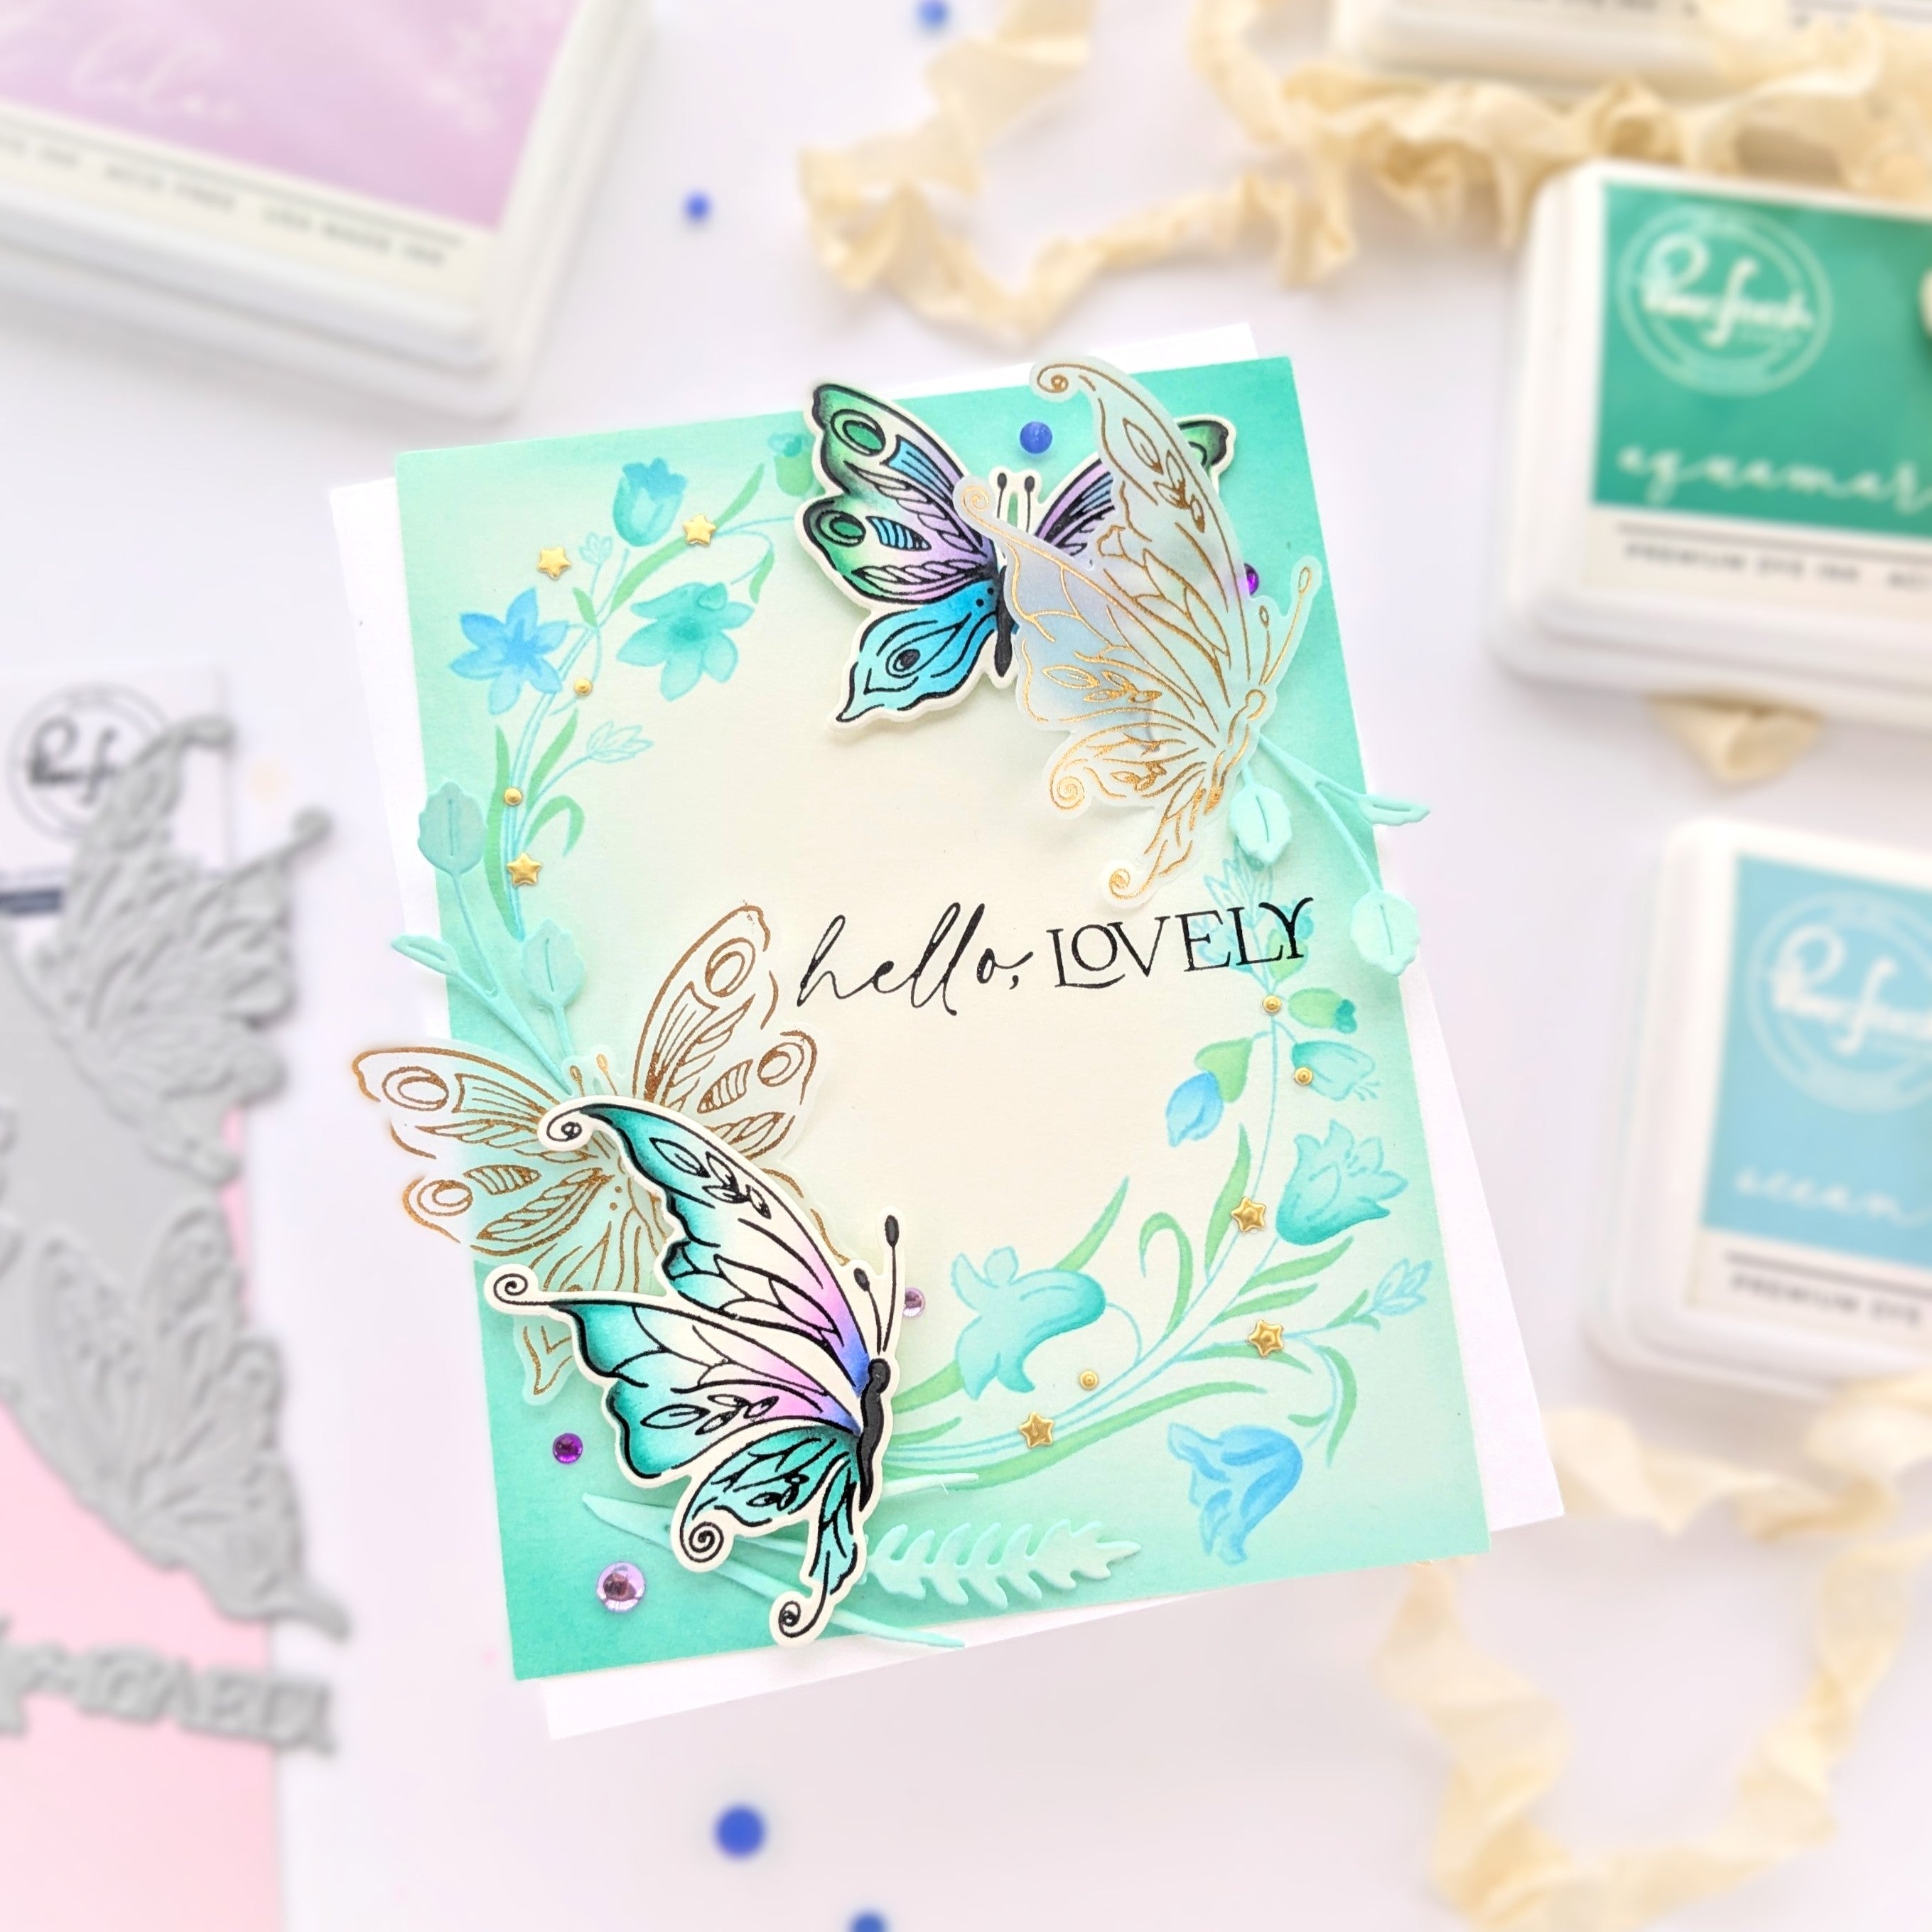
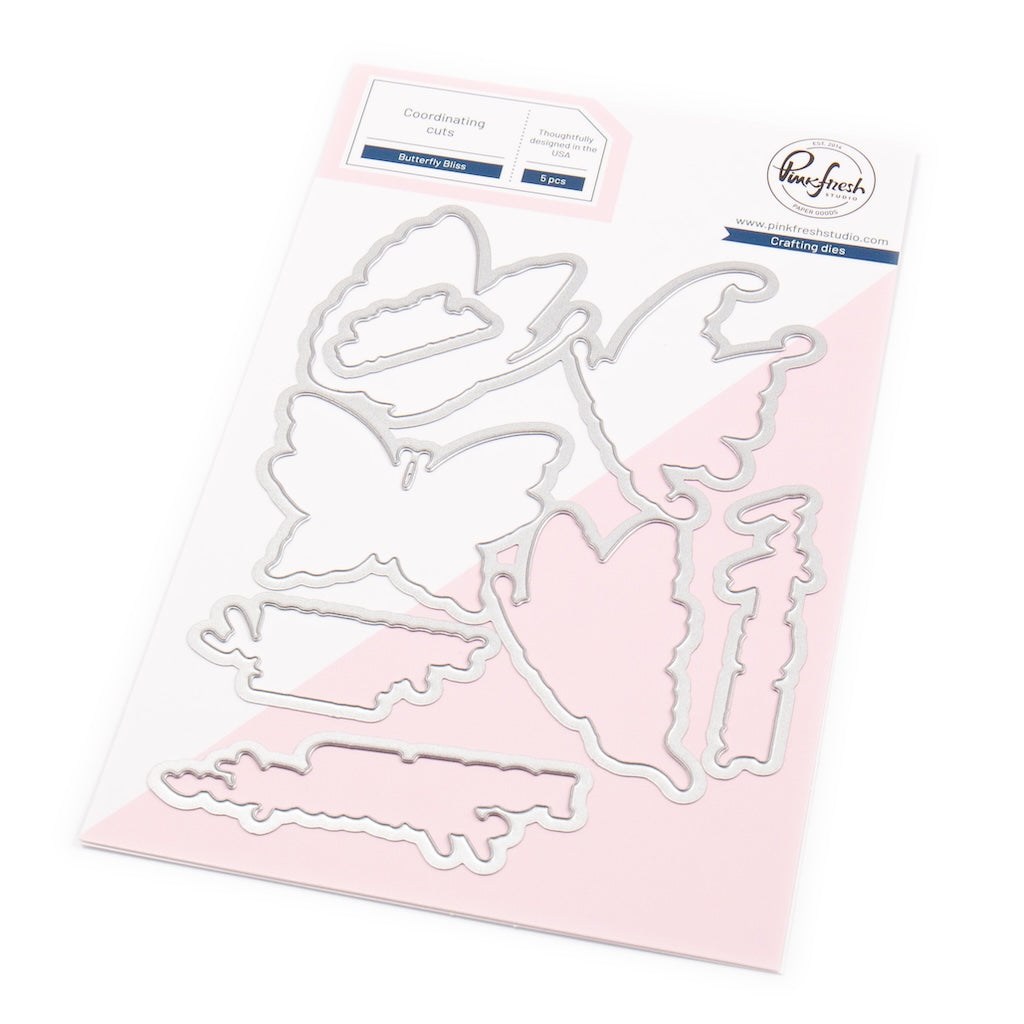
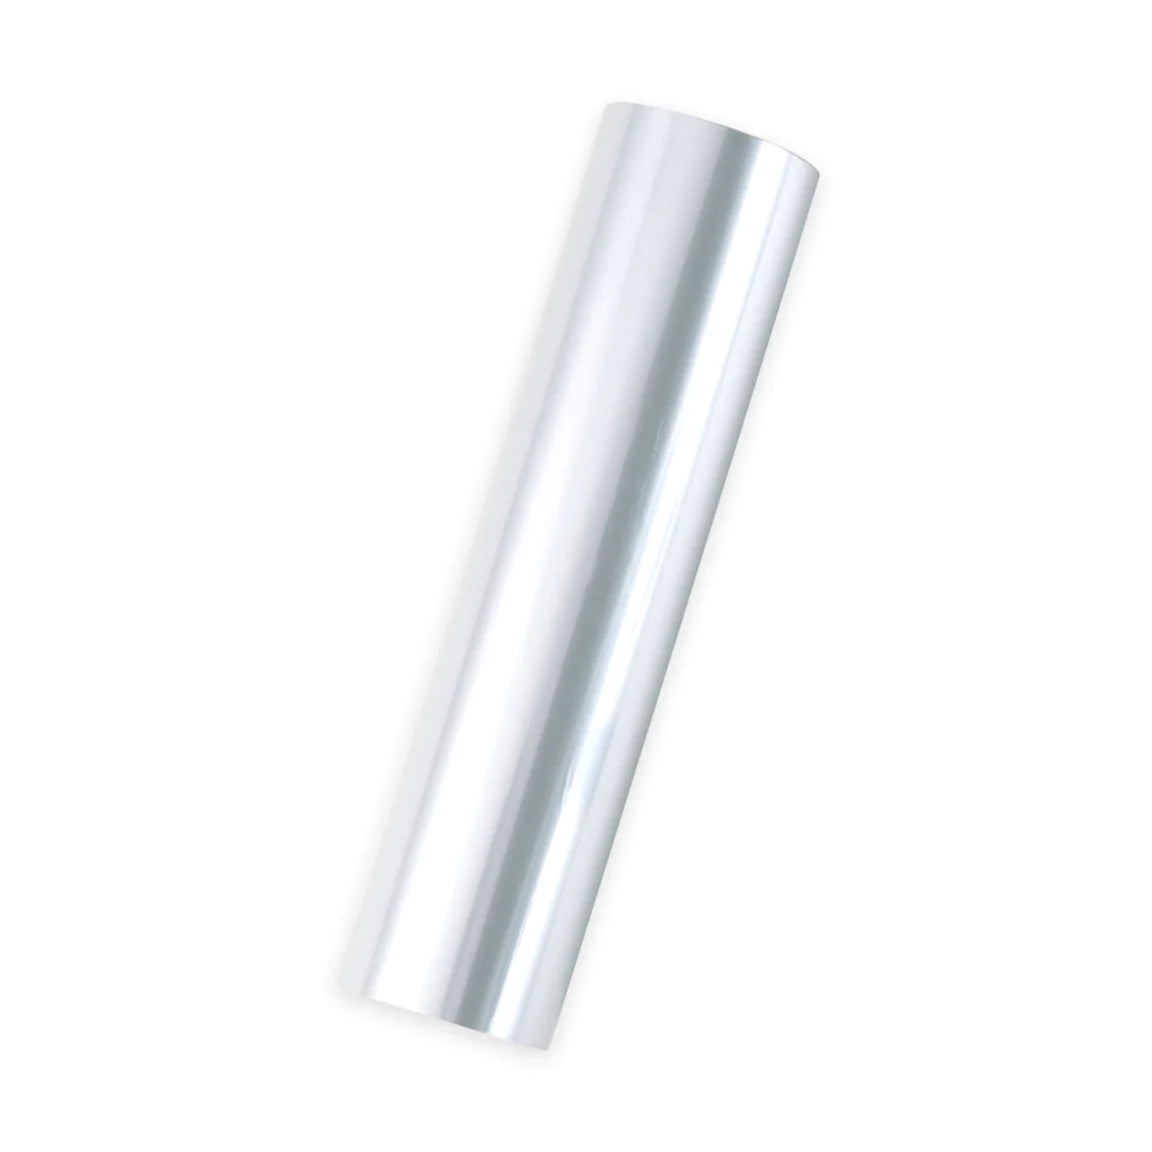
Hot foil the butterfly using matte silver foil. Ink blend the butterfly, then stack it with four blank die cuts to create a sturdy, chipboard-style embellishment.
-
Adhere the butterfly inside the stenciled jar using liquid glue.
-
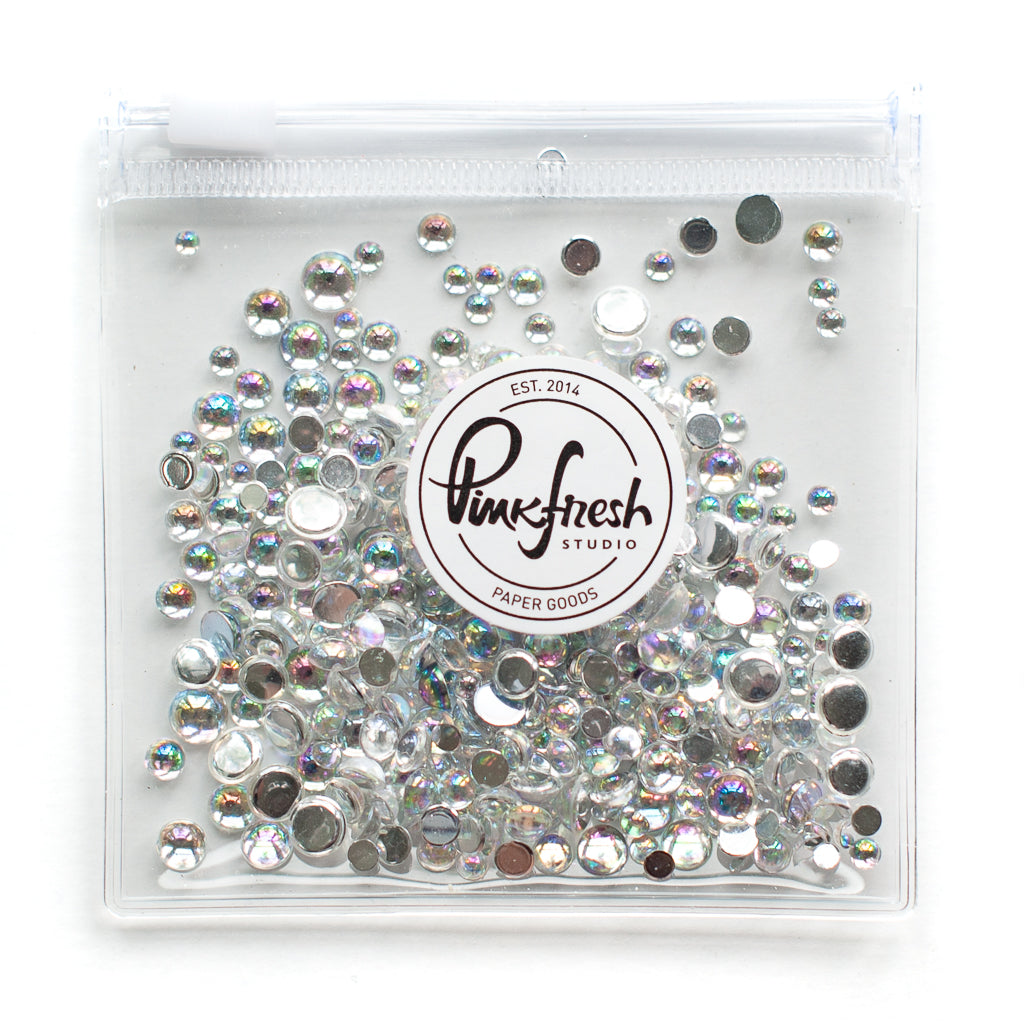
Add a mix of sequins and clear drops to the jar area.
-
Carefully adhere the stitched rectangle panel over the stenciled jar, sealing the shaker closed.
-
Add a trimmed ticket end to the lower right side of the card as a small accent detail.
-
Finish the card by adhering the sentiment and adding a few coordinating embellishments for balance.

Design notes:
This card highlights how the Jar of Wishes die can be used as a container for far more than tickets. By filling the jar with a dimensional butterfly, the shaker becomes a showcase rather than just an interactive element. Stacking the butterfly adds stability and weight, ensuring it moves beautifully without bending or shifting.
The trimmed ticket end serves as a subtle visual anchor, tying back to the original intent of the jar while adding an unexpected design detail. Clean white layers and stitched textures allow the soft color palette to remain the focal point.
The Jar of Wishes die is one of those tools that rewards experimentation. Whether you fill it with tickets, butterflies, sentiments, or sequins, the shape instantly creates a focal point that feels thoughtful and playful at the same time.
If you’ve only used this die one way, I encourage you to try reimagining what lives inside the jar. Small changes—like swapping the filler or adding stacked dimension — can completely transform the look and feel of your card while still keeping the design clean and cohesive.
Recommended Products


































Leave a comment
All comments are moderated before being published.
This site is protected by hCaptcha and the hCaptcha Privacy Policy and Terms of Service apply.