
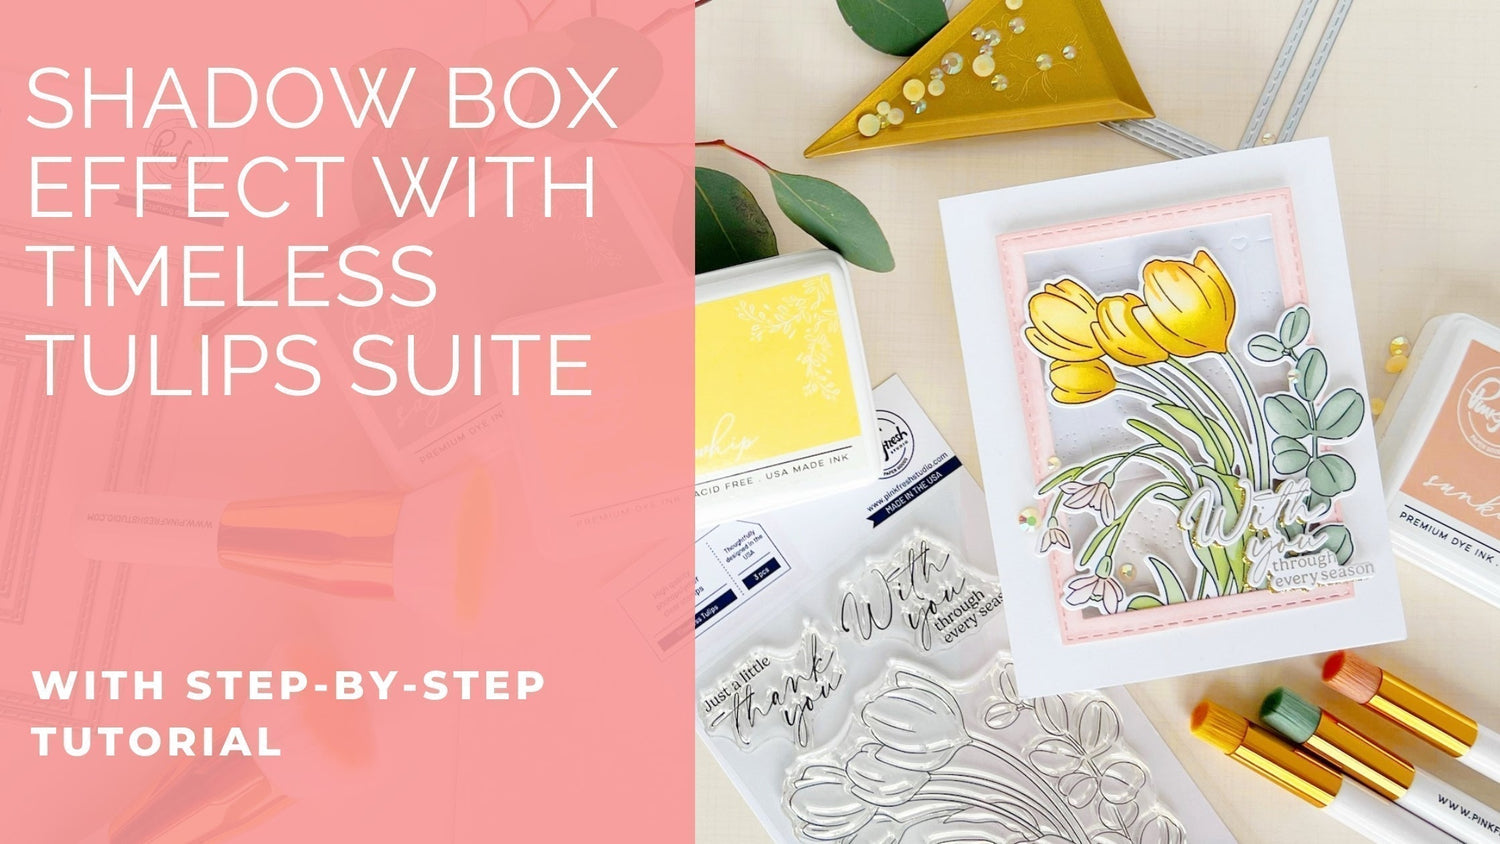
Happy Friday, Pinkfresh Studio fans! It's Kathleen back on the blog with a floral cardmaking tutorial for you. I'm sure you have seen all the adorable creations with our newest Delights & Doodles release (follow #pfdelightsanddoodles on Instagram!), but for today I decided to throw it back to last month's release.
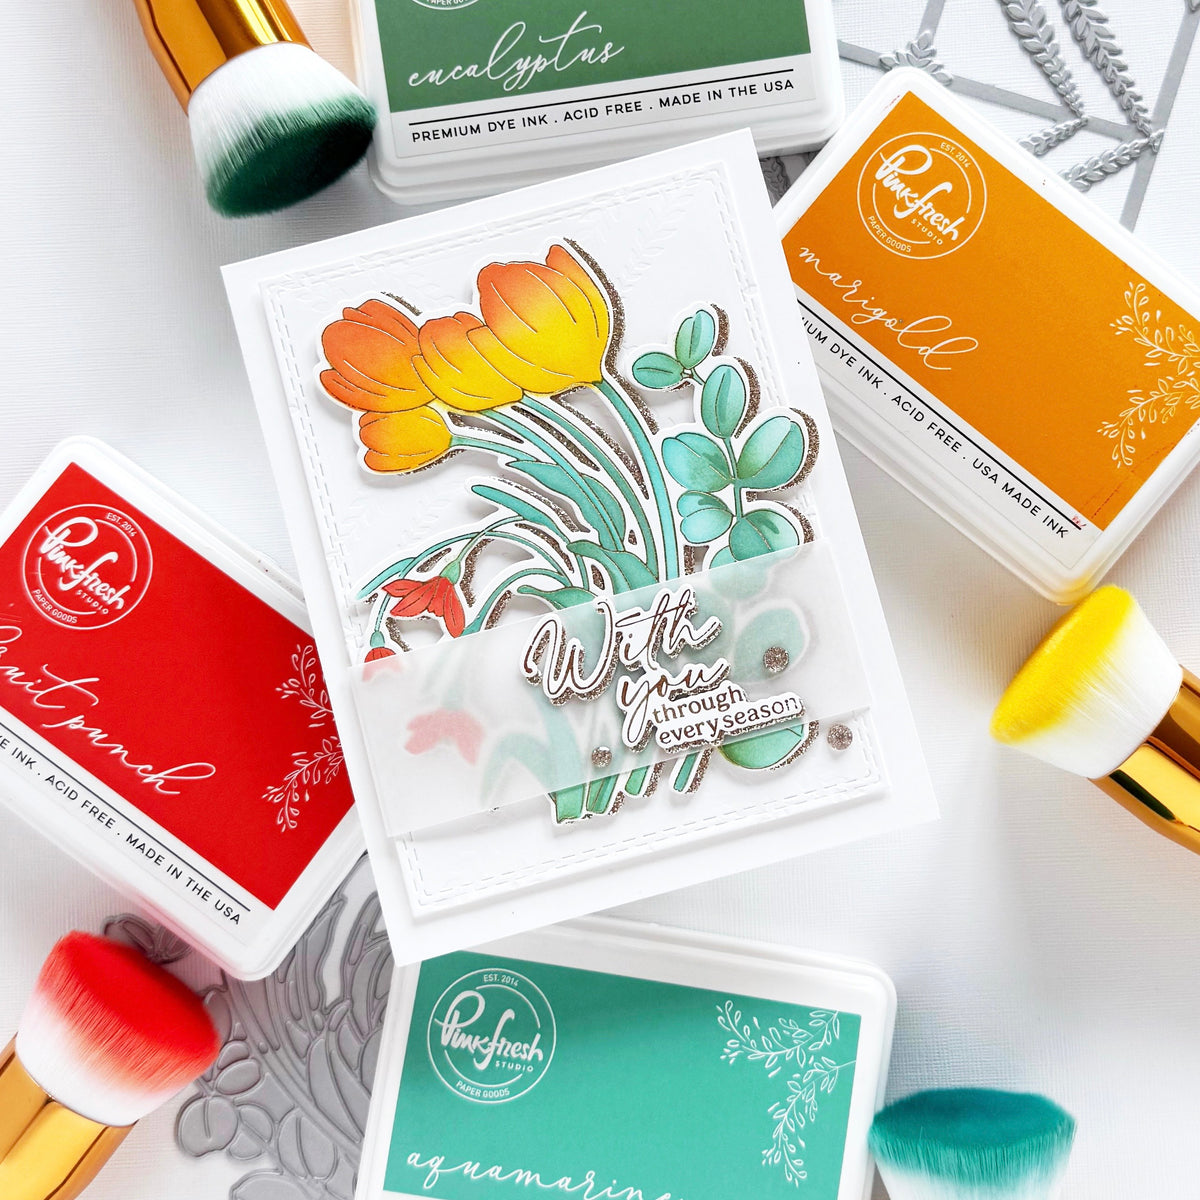
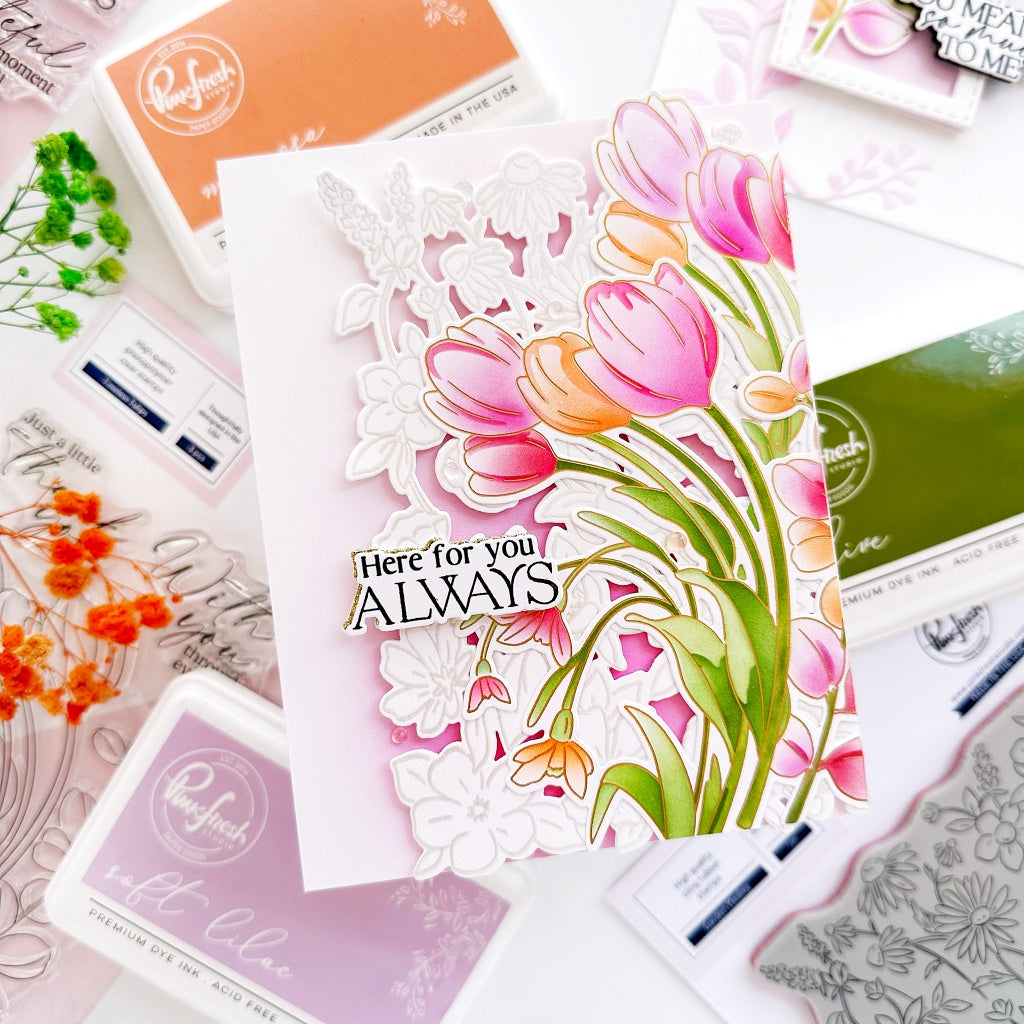
I wanted to share an idea for how you can easily create a shadow box effect on a card using Essentials dies and some beautiful florals.
*Disclaimer: All products used are linked below as clickable images. If a product isn’t listed, it’s been discontinued.

So, let's see how you can recreate this card:
- Cut an A2 card base from white cardstock (side-folding or top-folding).
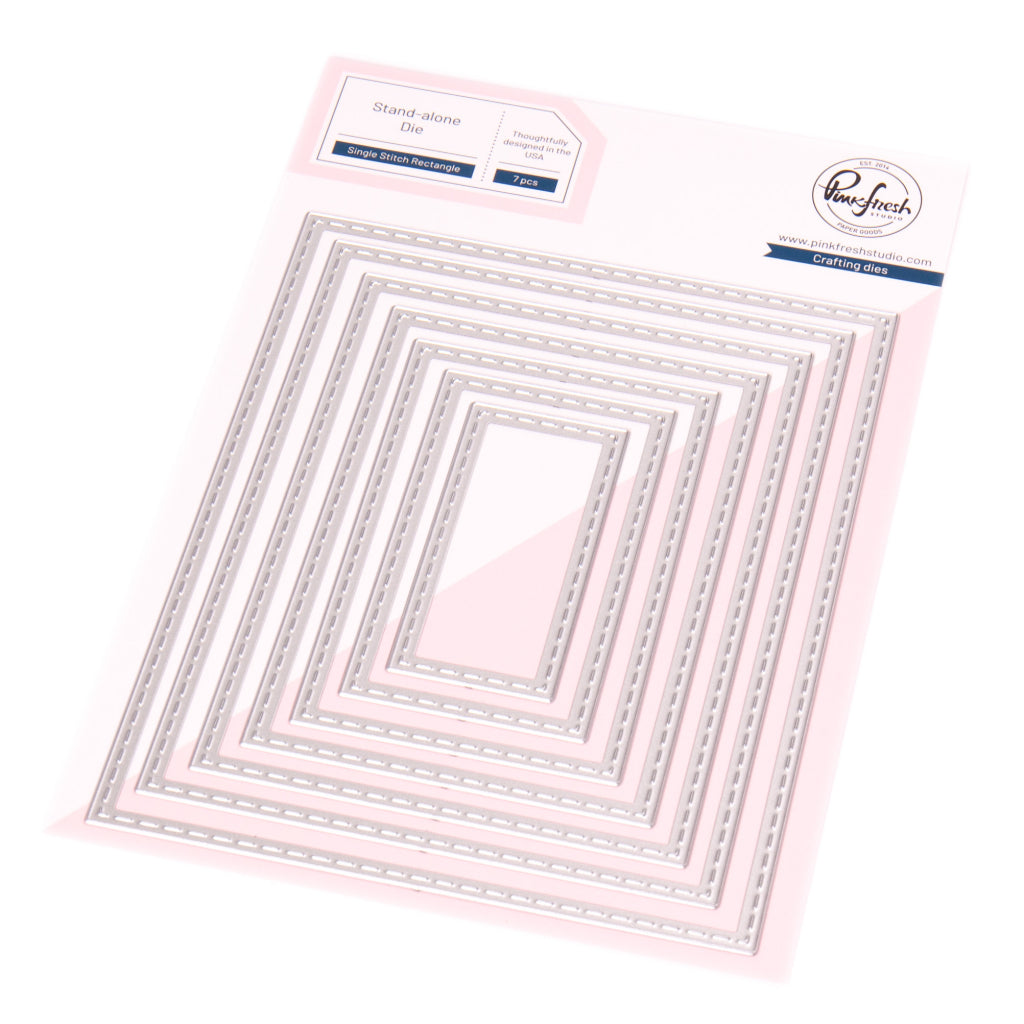
- Die cut the third- and fourth-largest Single Stitched Rectangles die from white cardstock, creating a frame. Ink blend with Coral Reef.
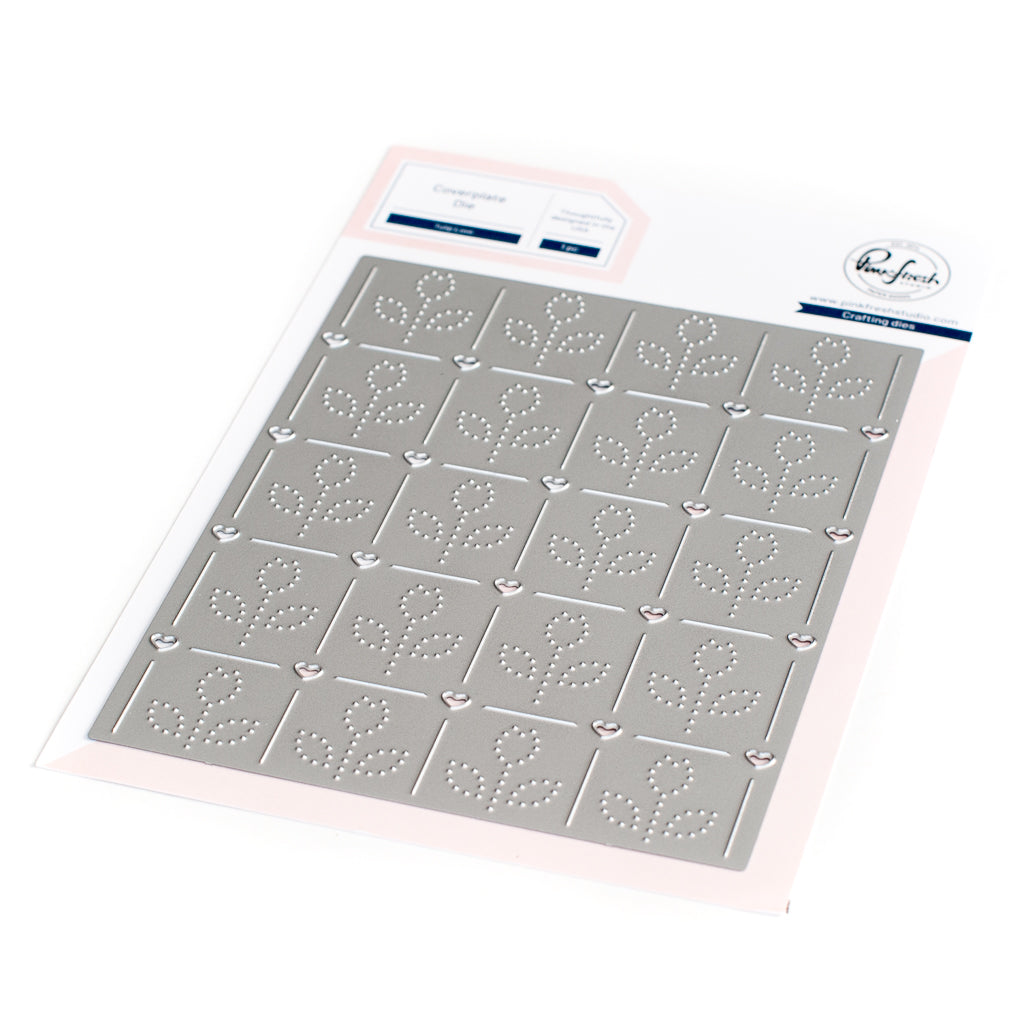
- Die cut a piece of white cardstock (min. 3 1/4" x 4 1/2") using the Tulip Love coverplate die. Ink blend the lower part lightly with Coral Reef.
- Adhere the frame from step 2 with foam adhesive onto the Tulip Love die cut. Trim off any excess.
- Adhere the framed panel centered onto the card base.
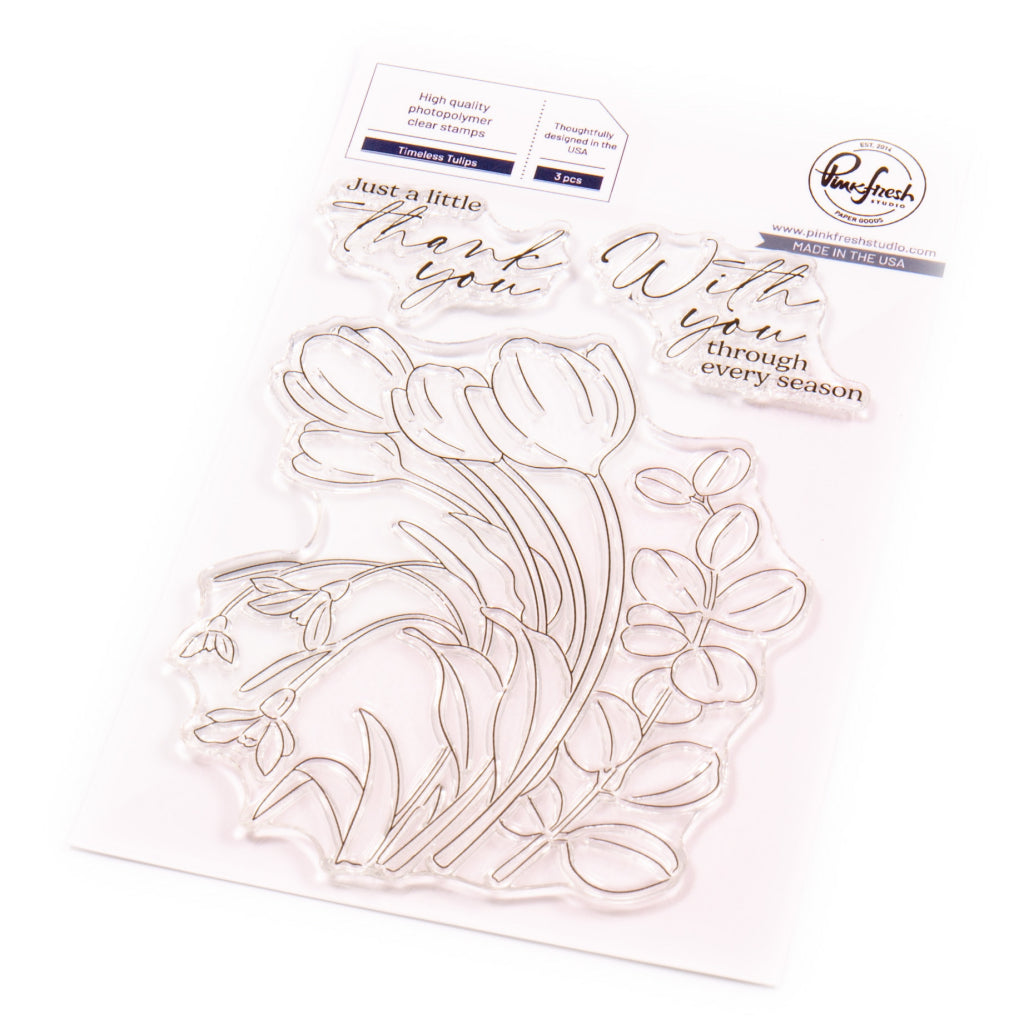
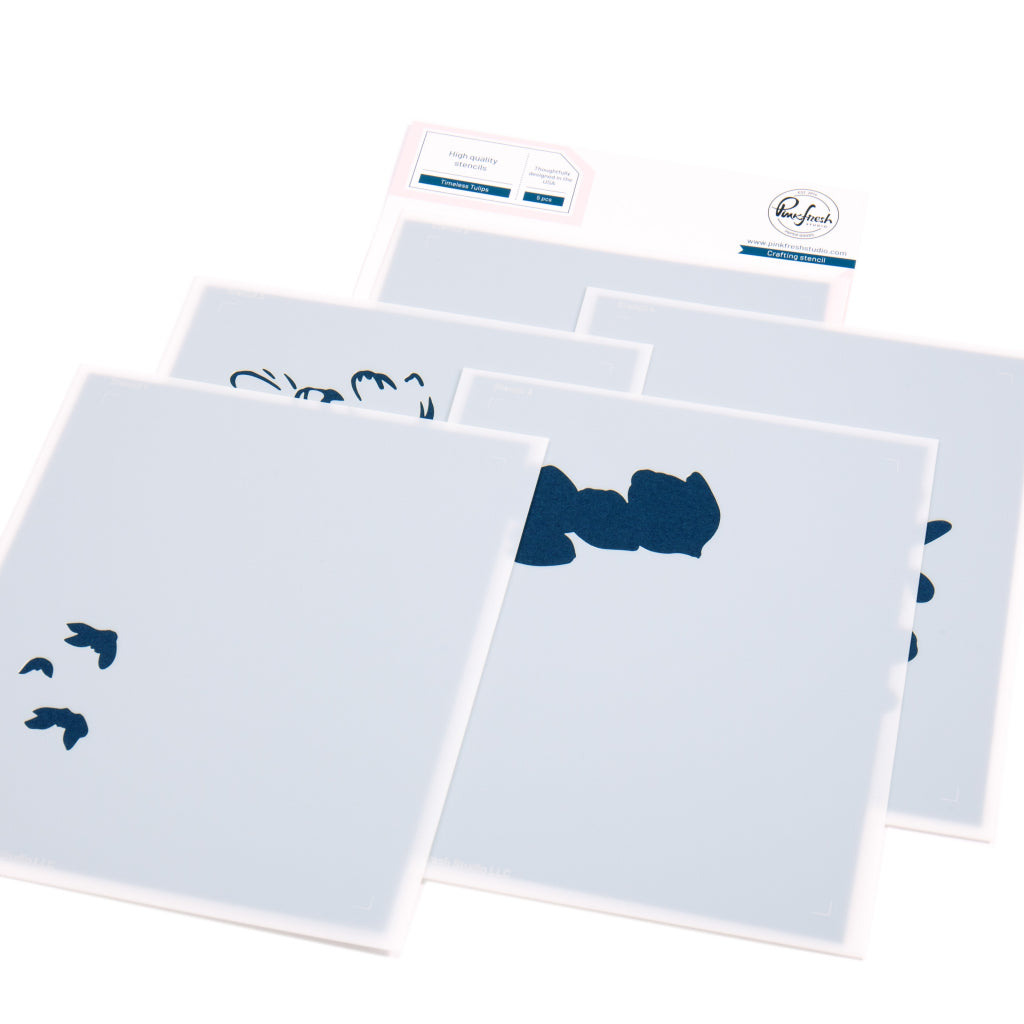
- Ink blend the stamped image using the Timeless Tulips layering stencils:
-
Stencil 1: Ballet Slipper
-
Stencil 2: Sweet Mustard
-
Stencil 3: Sweet Mustard (heavy) or Marigold
-
Stencil 4: Sage (Eucalyptus leaves), Fresh Pear (rest)
- Stencil 5: Eucalyptus (over Sage areas), Grassy Knoll (rest)
-
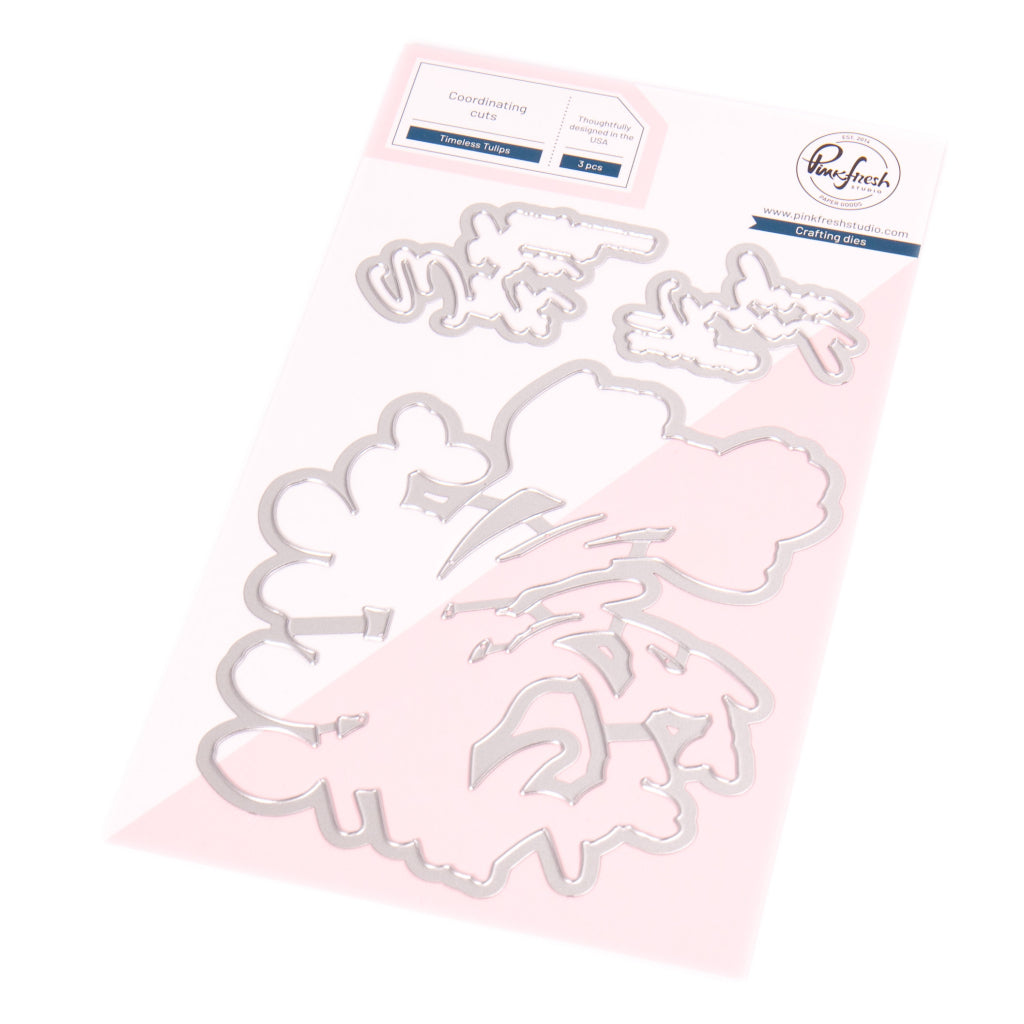
- Die cut using the coordinating die. Attach it to the frame with foam adhesive. Tuck the lower edge under the frame, letting the rest hang over for added dimension.
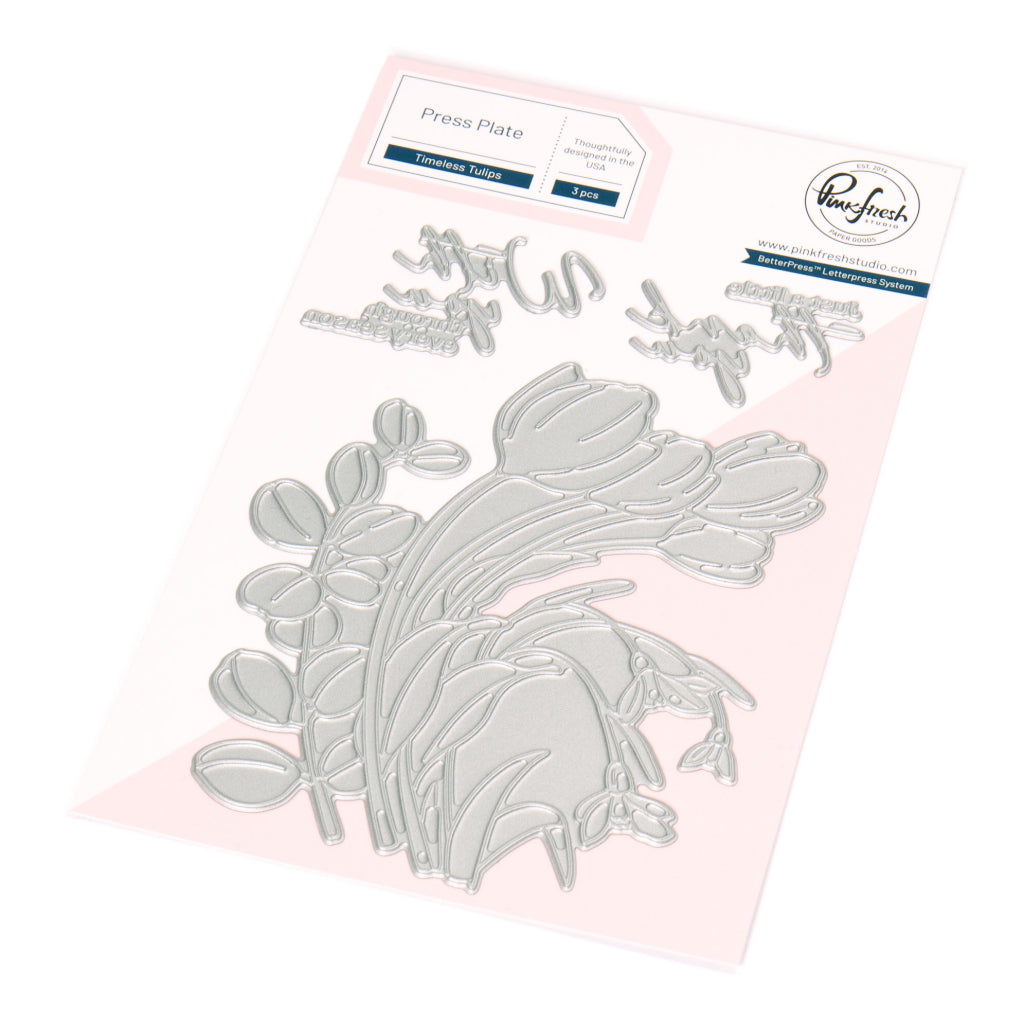
- Hot foil the "With you through..." sentiment from the Timeless Tulips press plate in gold on white cardstock & die cut using the coordinating die.
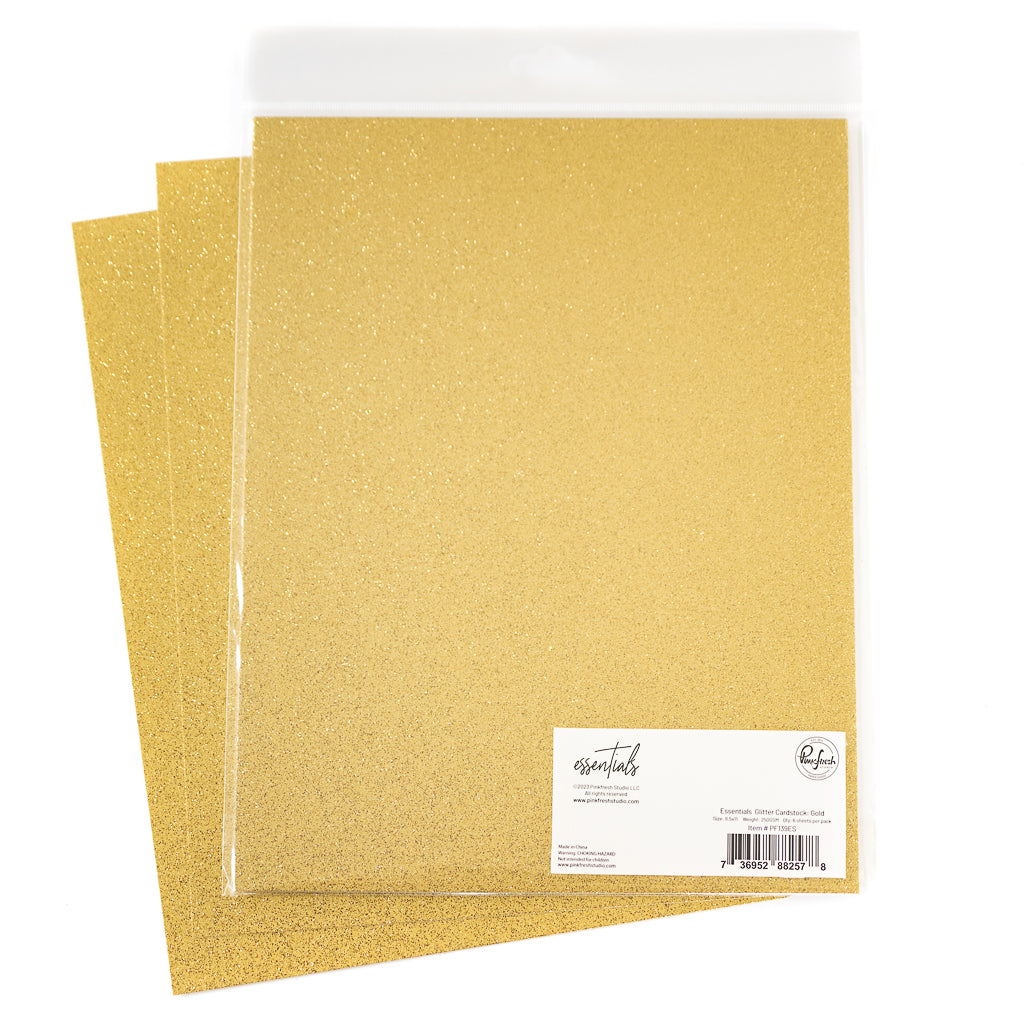
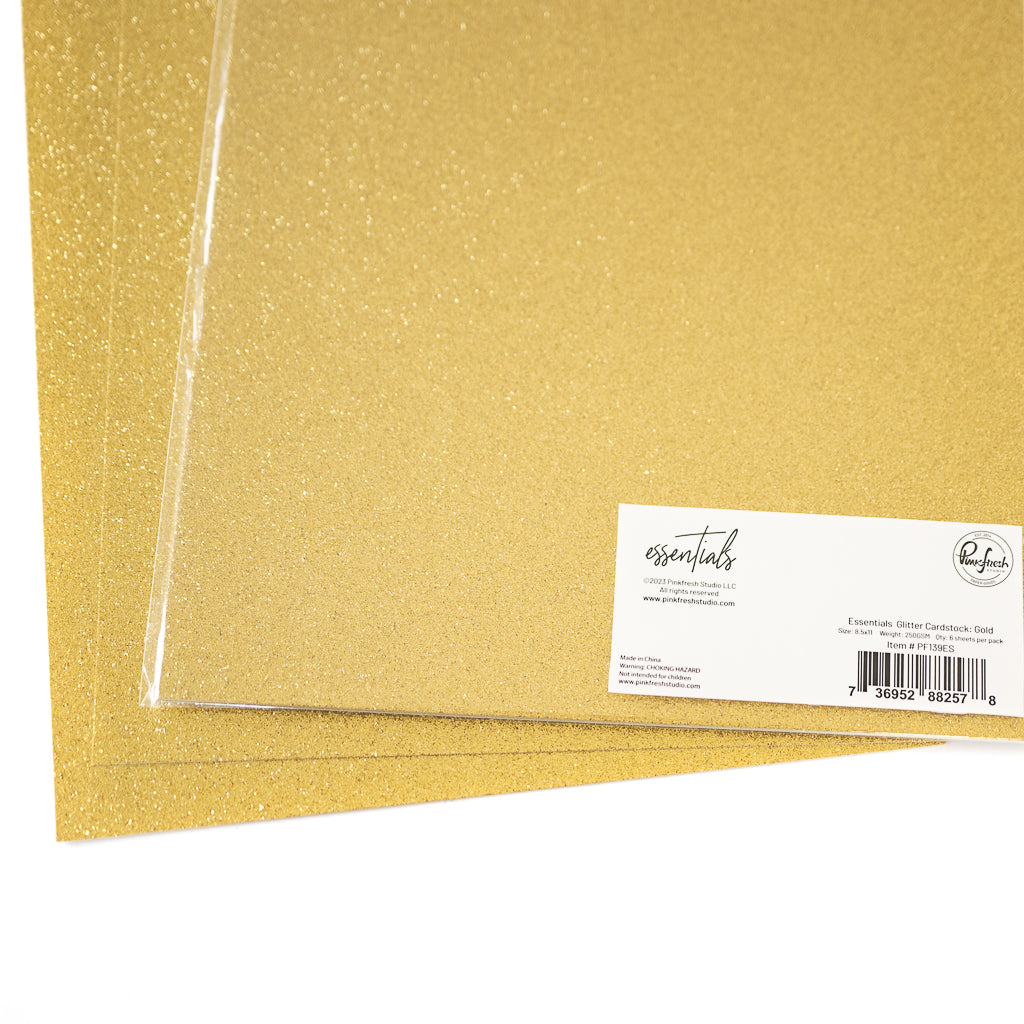
- Die cut three additional pieces: one from gold glitter cardstock and two from white cardstock. Stack and adhere the two white cardstock pieces together.
- Adhere the foiled sentiment on top, slightly offset onto the gold glitter die cut.
- Hot foil the "With you through..." sentiment from the Timeless Tulips press plate in Gold on white cardstock. Die cut using the coordinating die & die cut (3) more pieces: (1) from gold glitter cardstock and (2) blank pieces from white cardstock.
- Stack the white cardstock pieces & adhere the hot foiled sentiment slightly offset onto the gold glitter die cut. Adhere to lower right part of floral piece.
- Embellish to your liking using Jewels in Peach Fuzz.

Simply adding foam adhesive to the frame and die-cut layers creates a subtle shadow effect that enhances the sense of dimension. The light ink blending on the panel behind the floral elements further adds to this layered look. I hope this card inspires you to play with dimension!
We’d love to see what you create—don’t forget to tag us on social media so we can admire your amazing work. Thanks so much for stopping by, and happy crafting! ✨
Recommended Products






































Leave a comment
All comments are moderated before being published.
This site is protected by hCaptcha and the hCaptcha Privacy Policy and Terms of Service apply.