
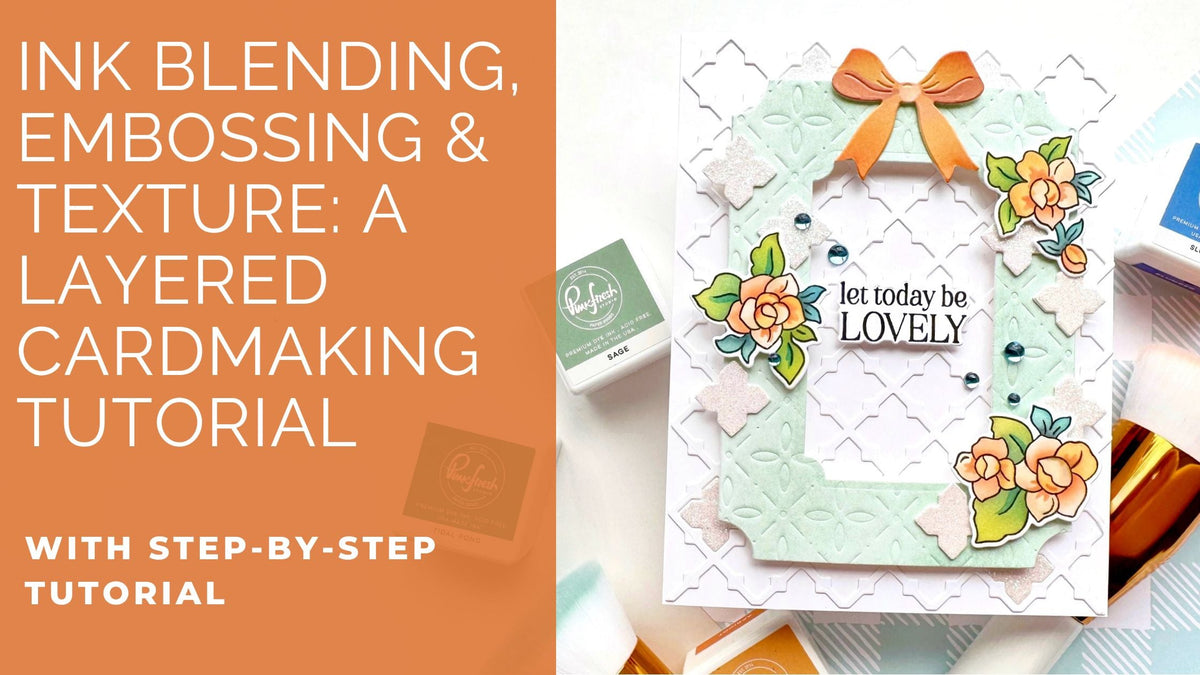
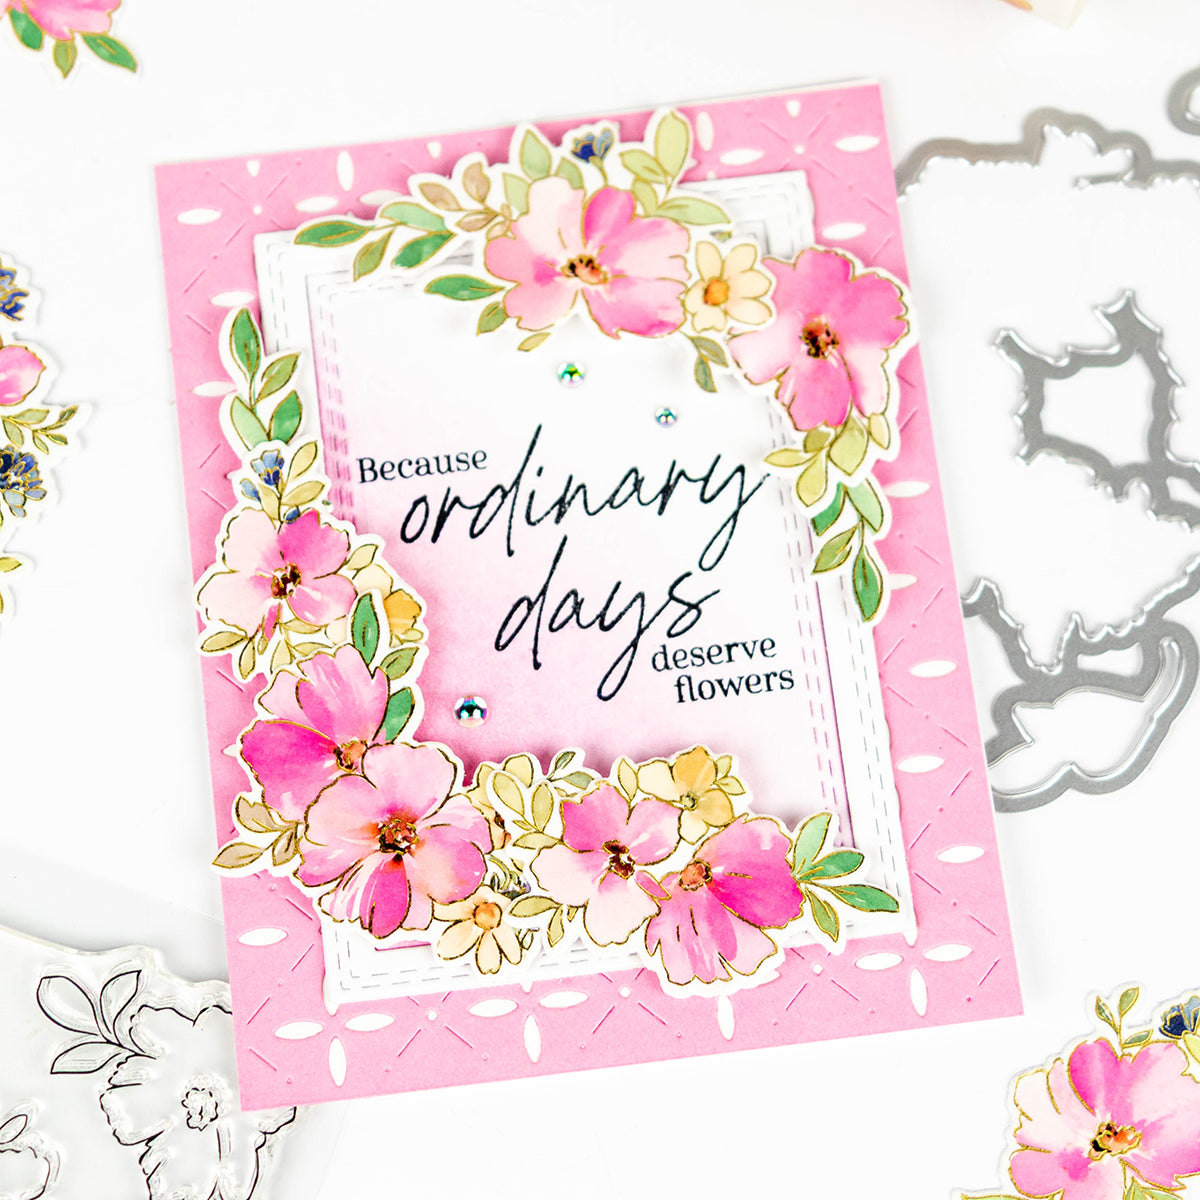
Hi crafters! It’s Steph back again with another card project for you. Today I’m focusing on building lots of lovely layers using different textures, patterns, and colour. I combined several new products from the Delicate Details release and experimented with a few techniques to create the final look.
Layered ink colours, white-on-white elements, matte paired with glitter, and a bit of dry embossing are just some of the ways you can add a layered look to your next card!
*Disclaimer: All products used are linked below as clickable images. If a product isn't listed, it's been discontinued

How to create this card:
1. Cut and fold an A2 side-folding card base from white cardstock.
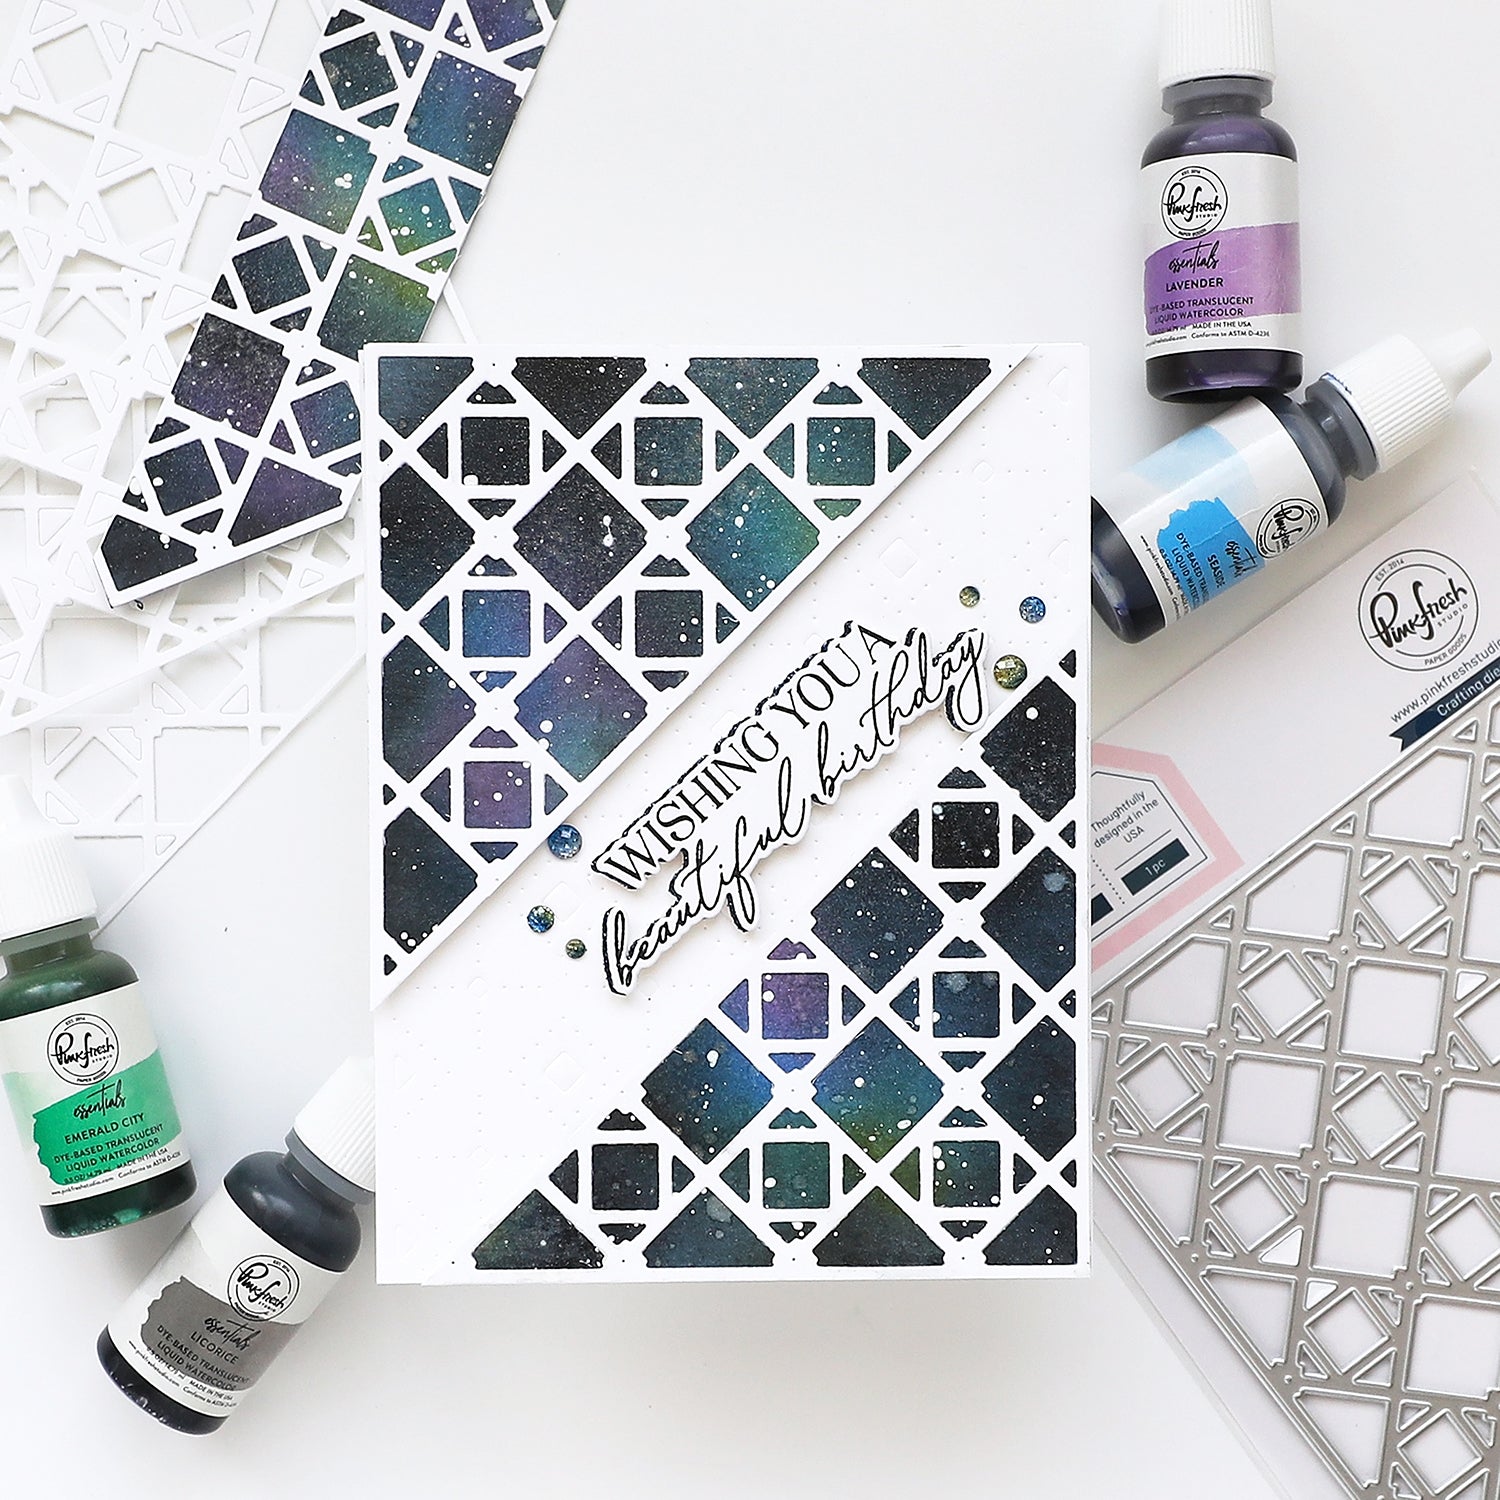
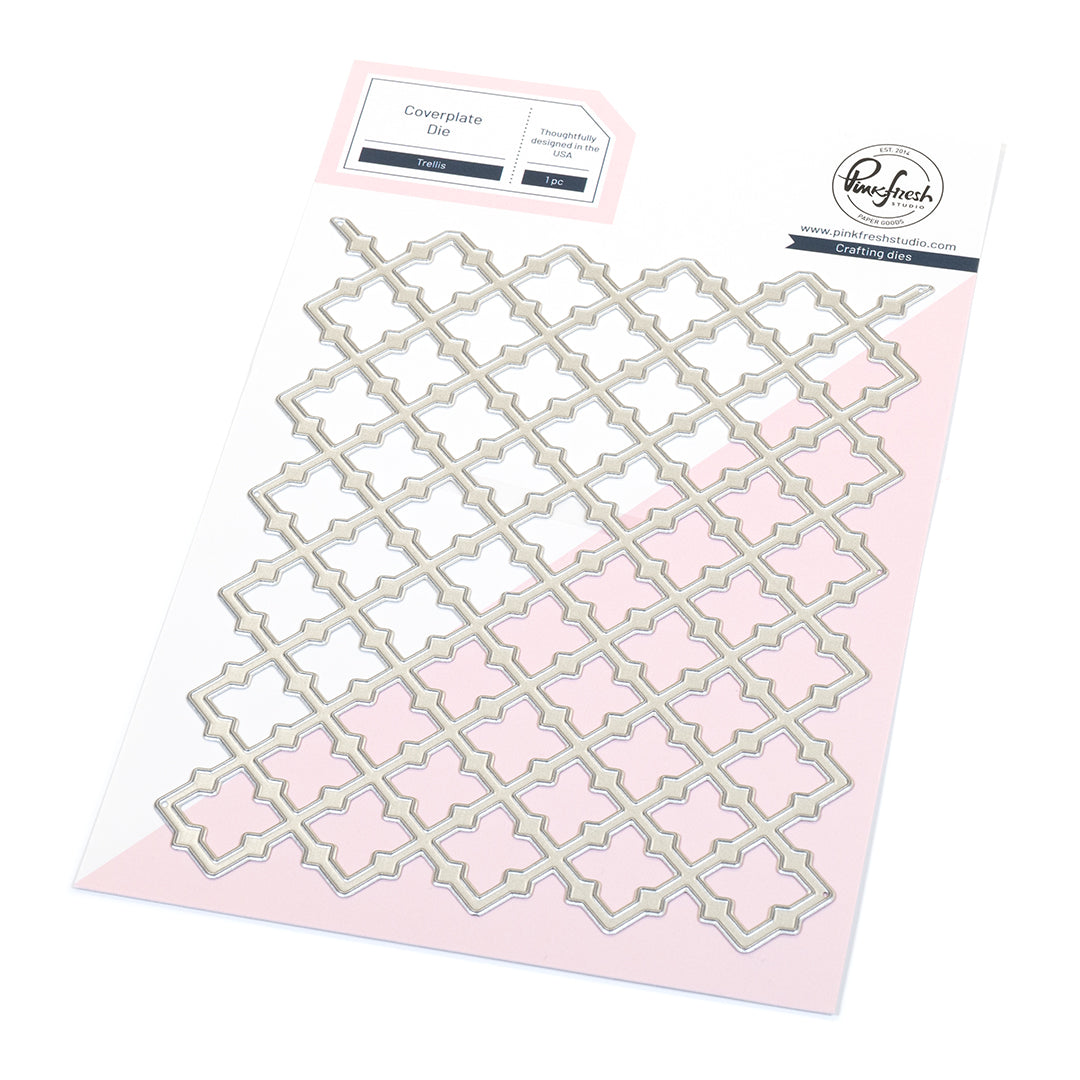
2. Use the Trellis Coverplate and die cut one A2 white cardstock panel, and one A2 Glacier Glitter Cardstock panel. Adhere the positive white cardstock die cut piece to the A2 card base. Reserve the negative pieces of the Glacier die cut panel for a later step.
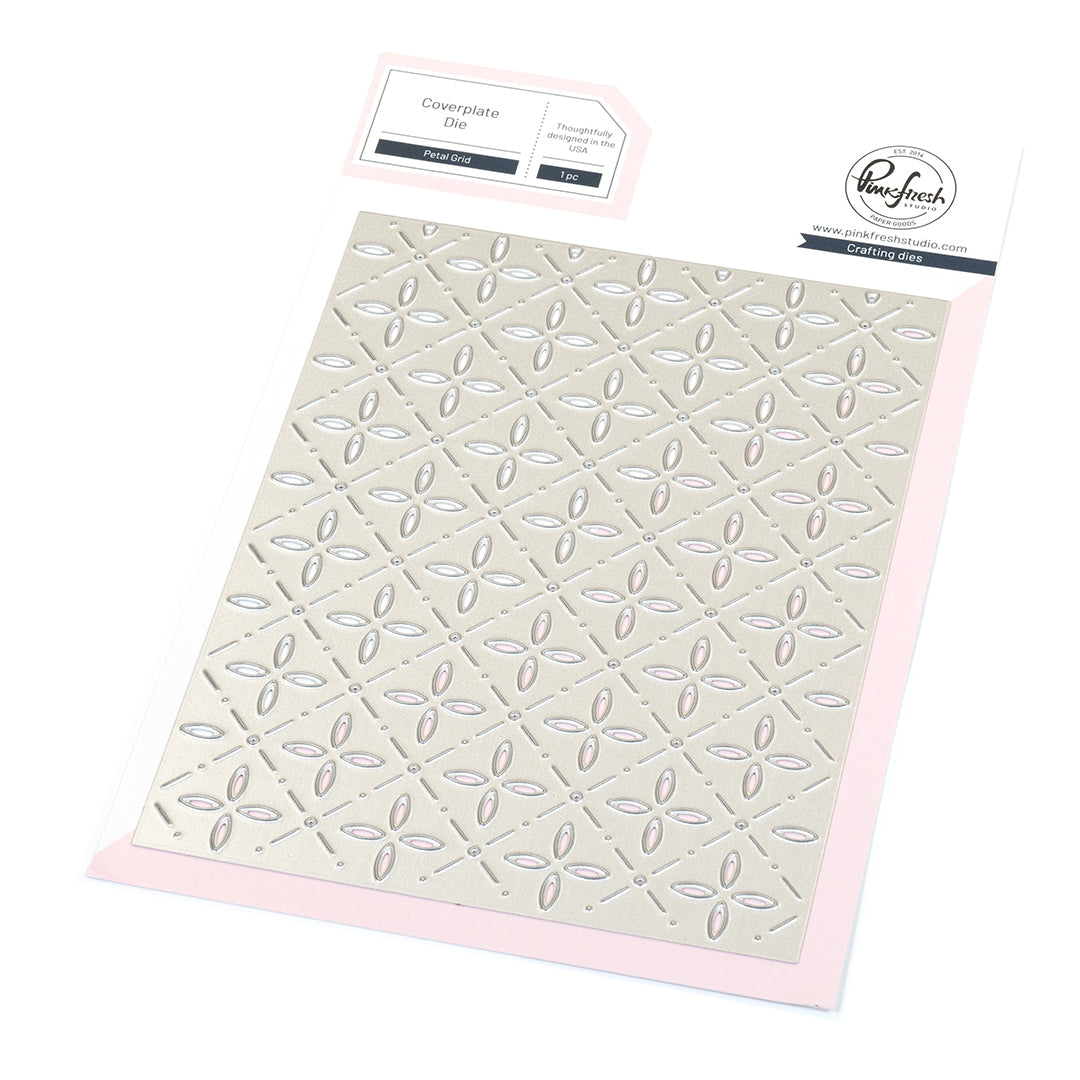
3. Ink-blend an A2 panel of white cardstock with Sage ink. Dry Embossing the entire panel with the Petal Grid Coverplate.
4. Use the Essentials: Notched Corner Frame Die to create a frame. Use the smallest, and second largest border dies from this set on the previously created Petal Grid panel to create your frame.
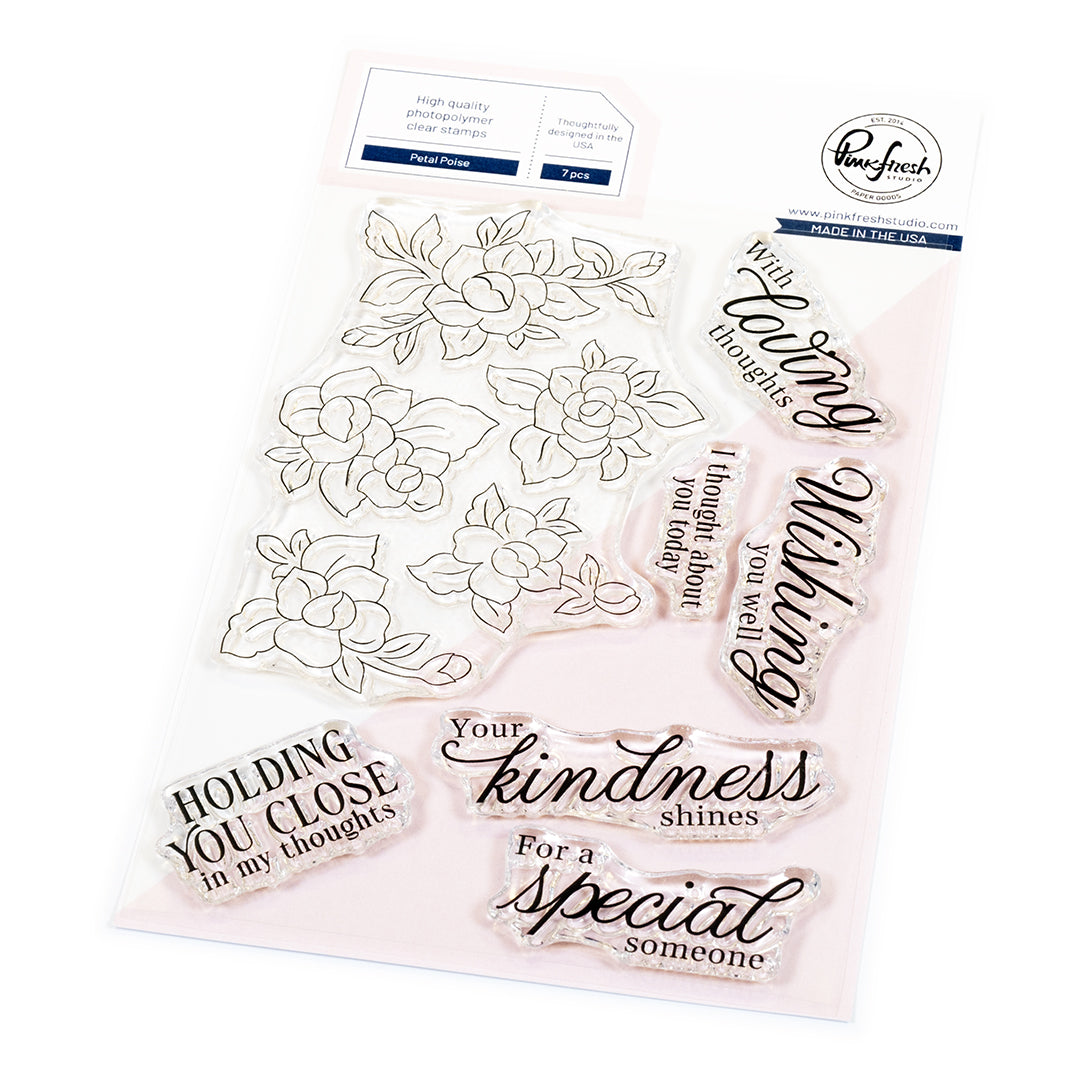
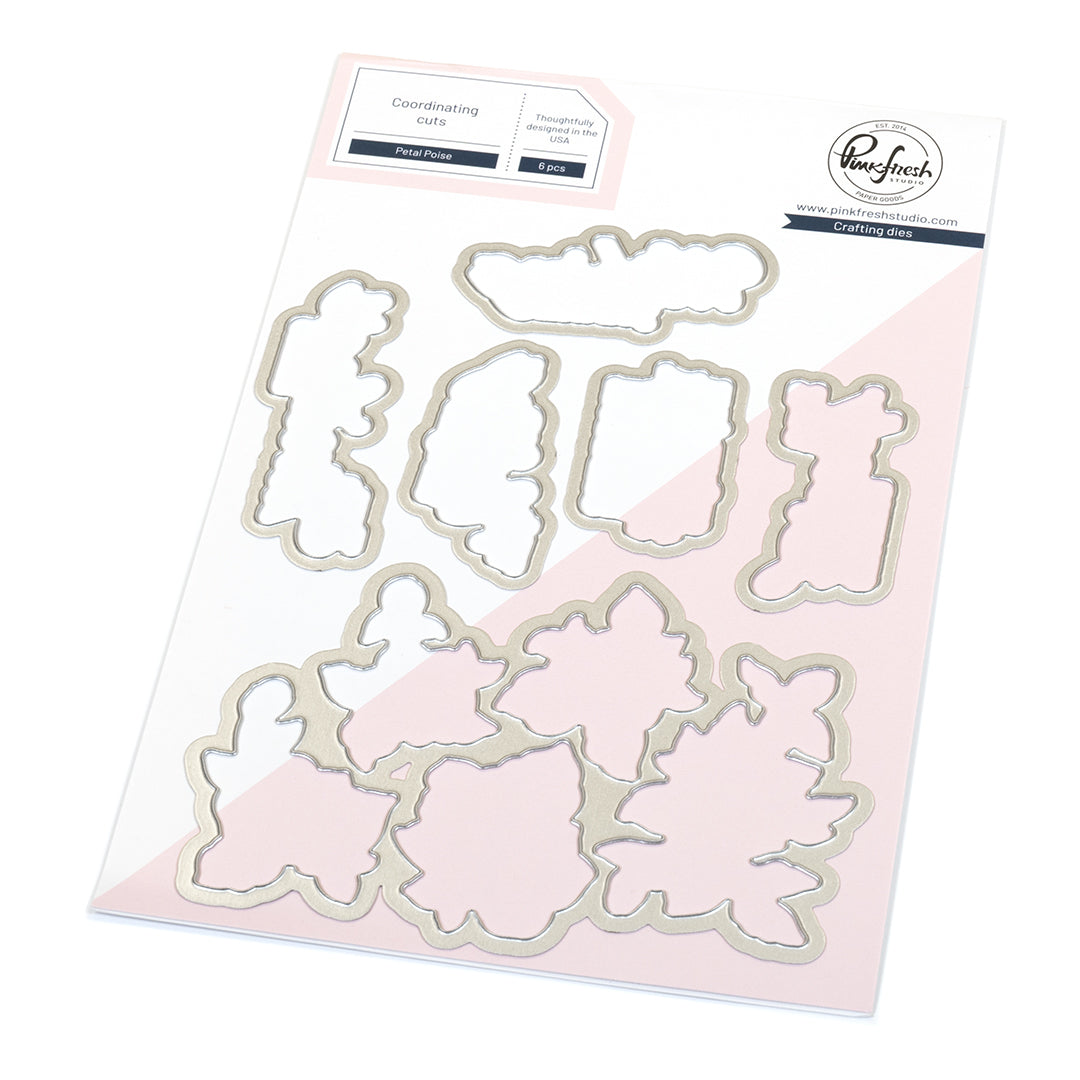
5. Stamp the Petal Poise florals with Detail Black on white cardstock.
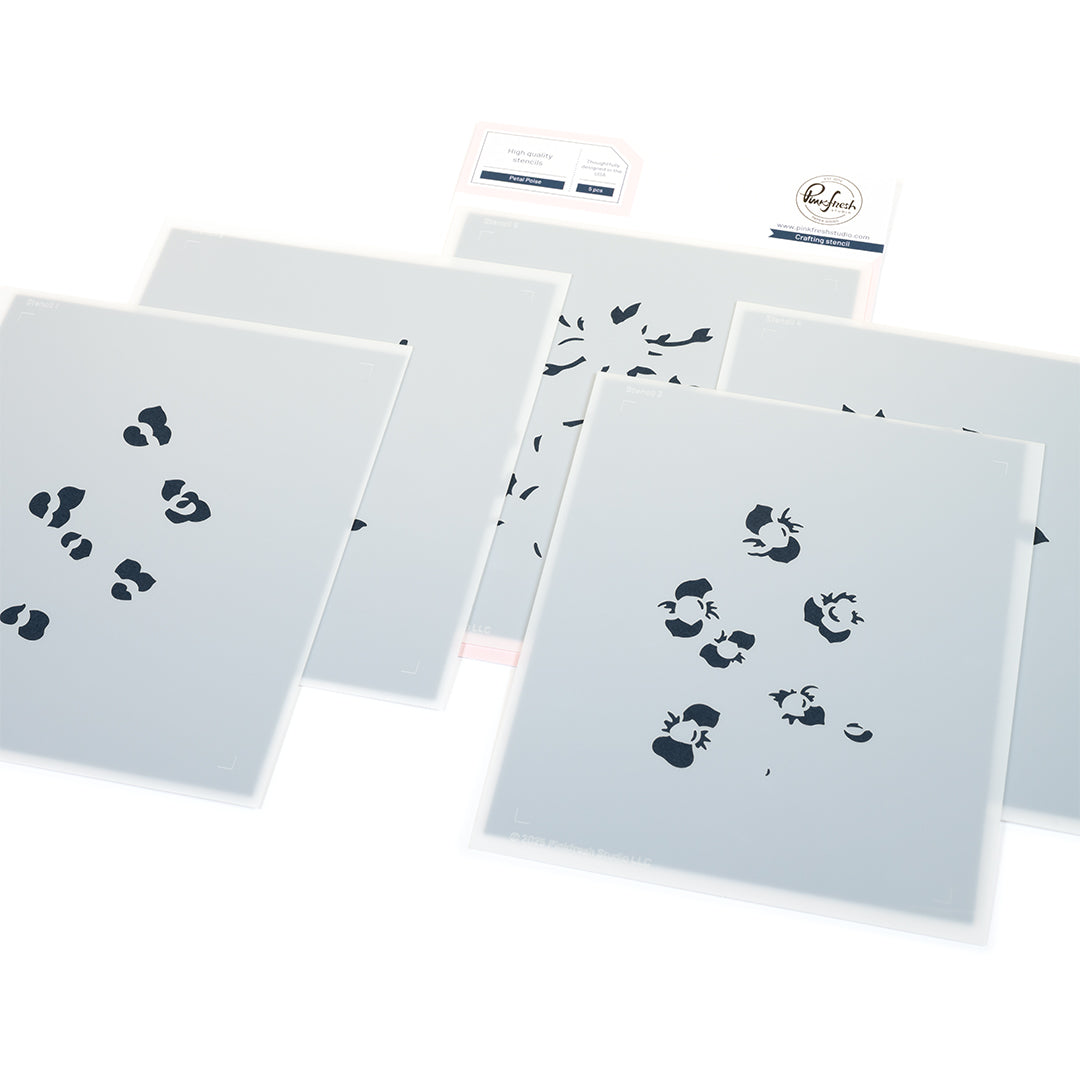
6. Use the coordinating stencils and ink-blend the following:
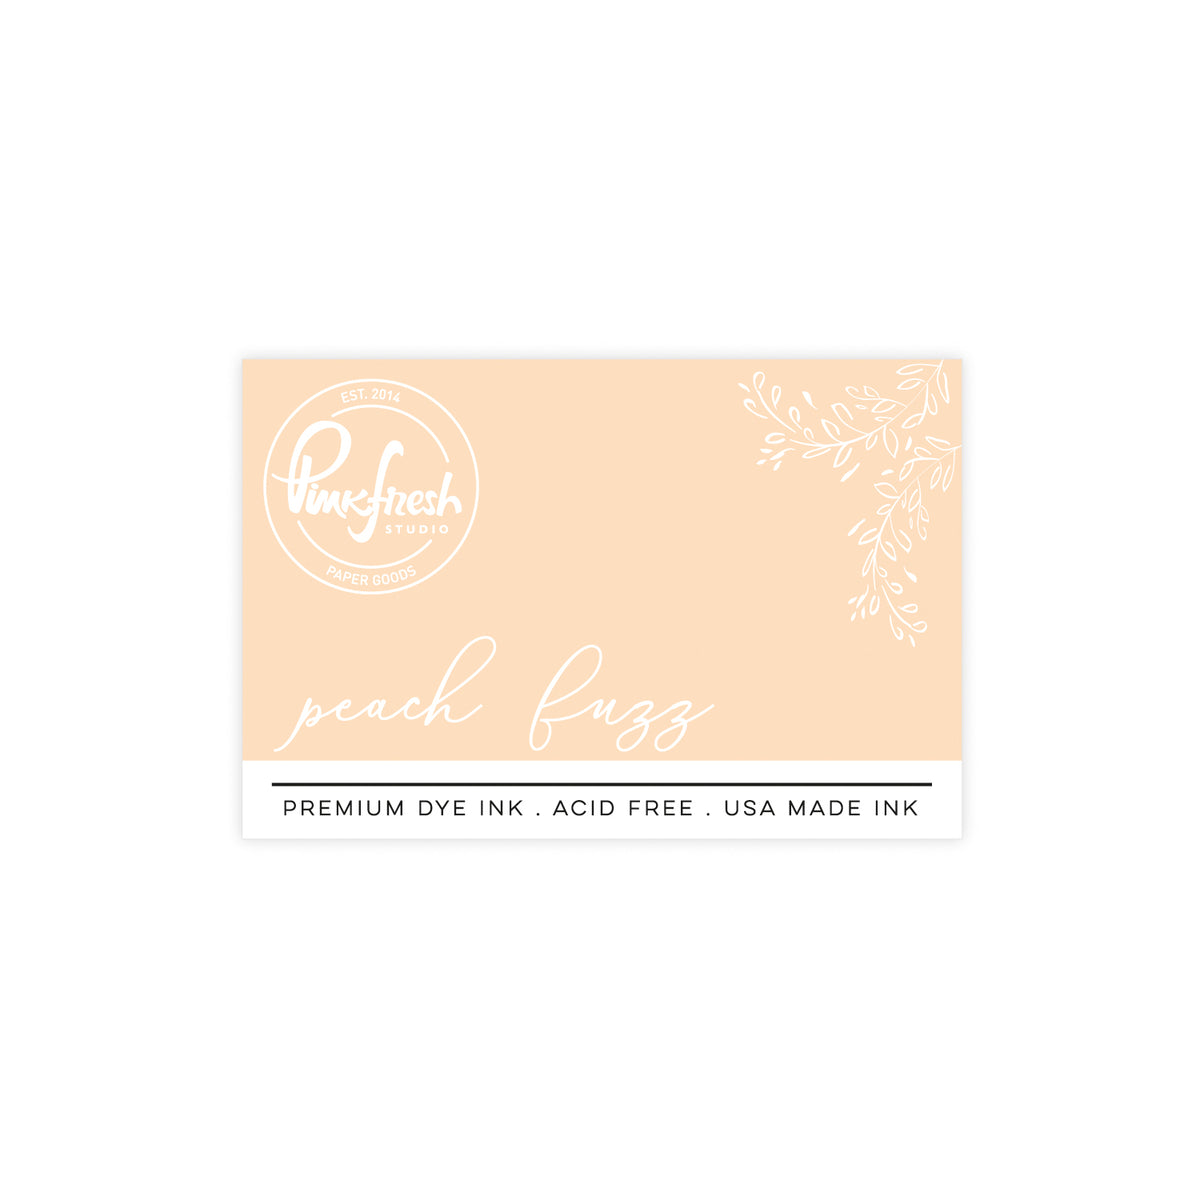
- Stencil 1: Peach Fuzz
- Stencil 2: Apricot
- Stencil 3: Mimosa
- Stencil 4: Grass Knoll (Darker at base and fade out)
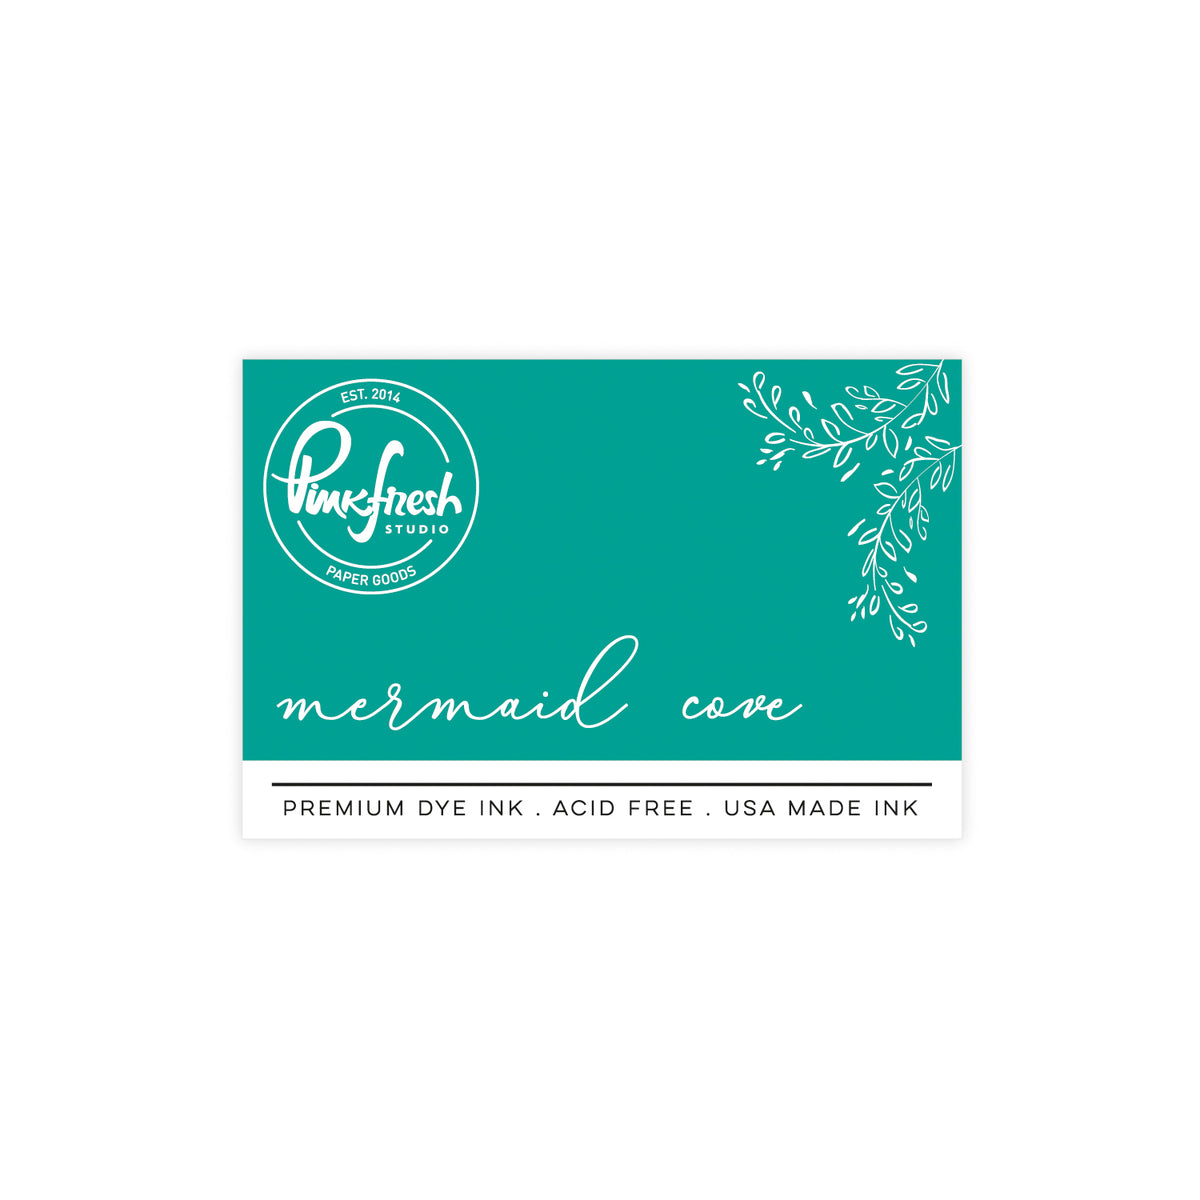
- Stencil 5: Mermaid Cove
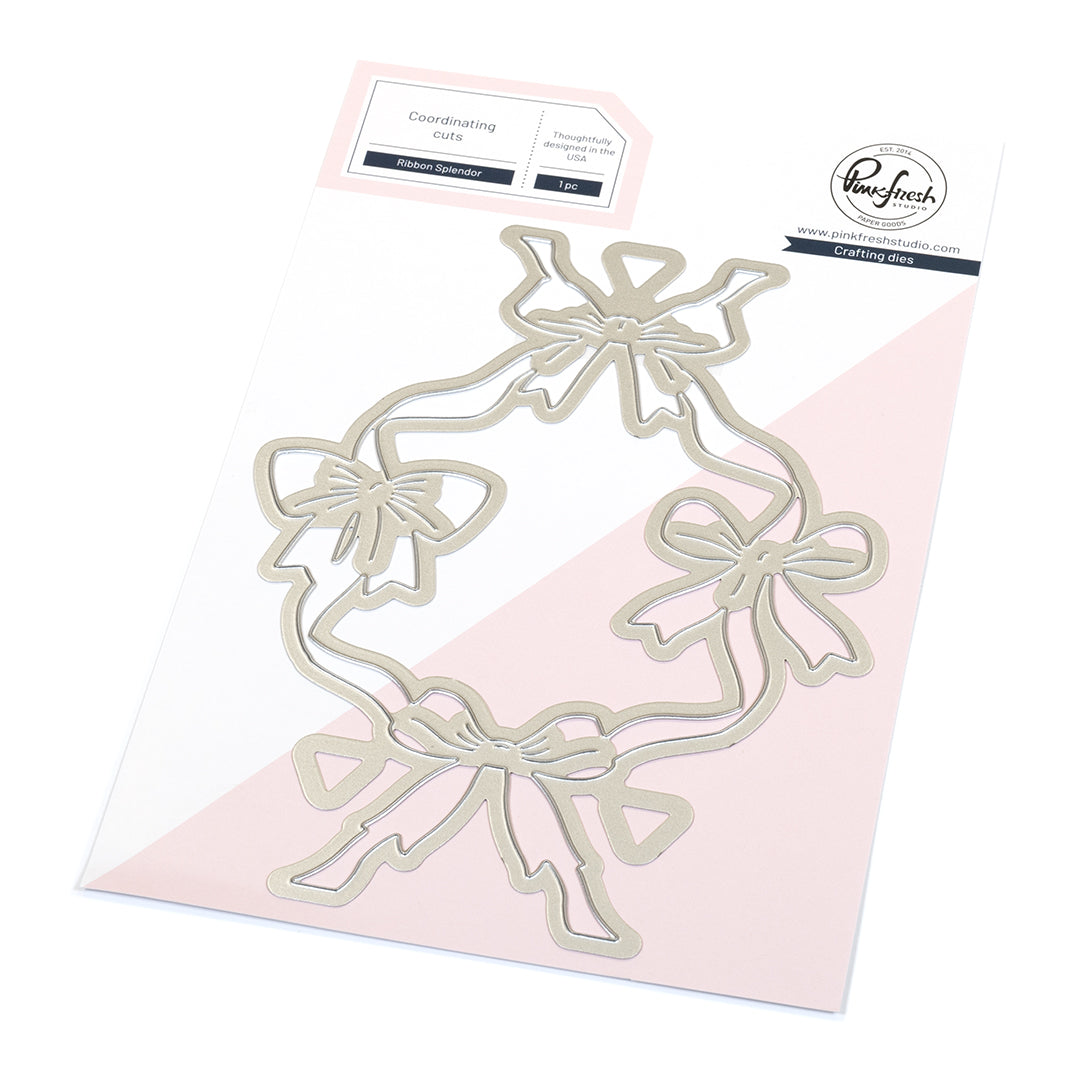
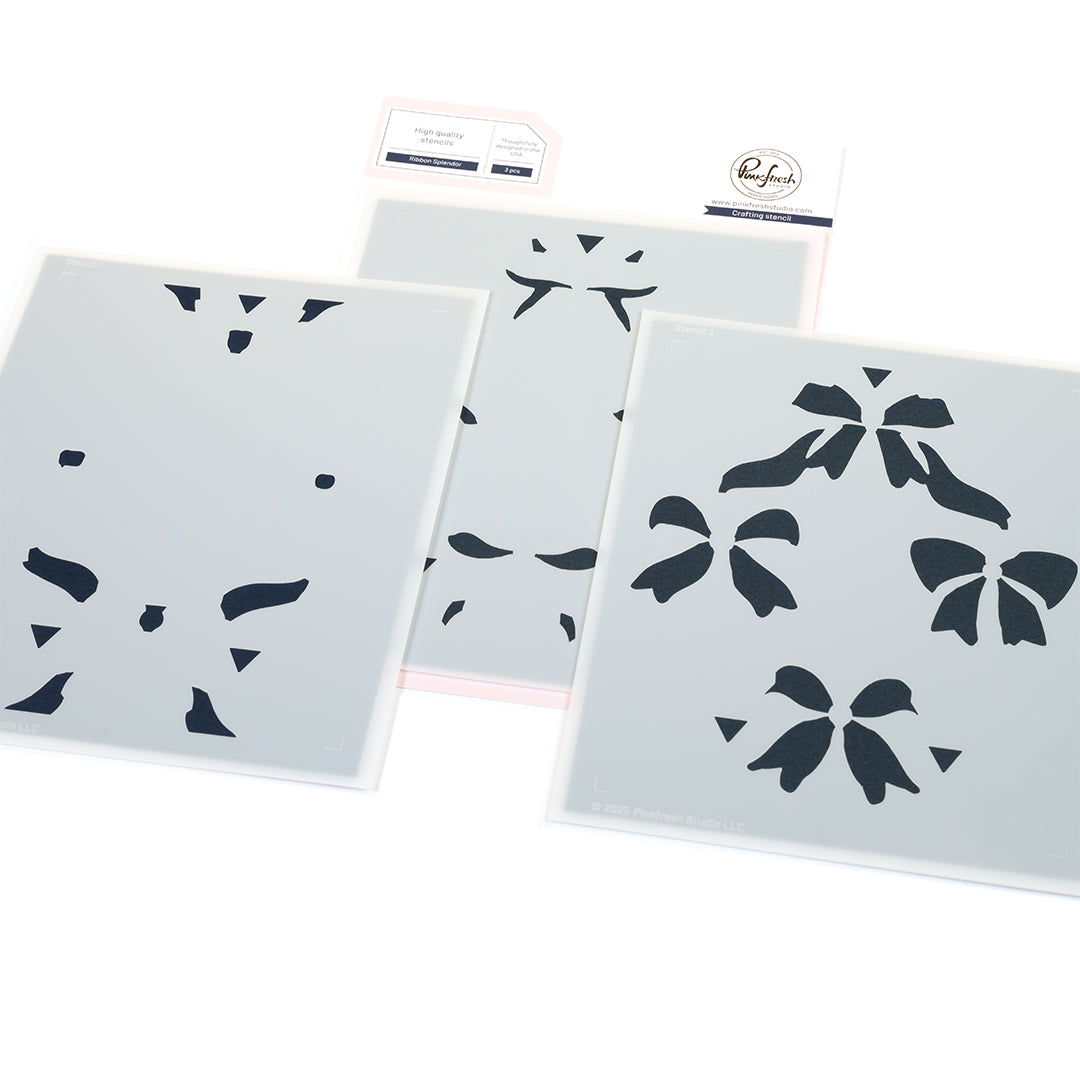
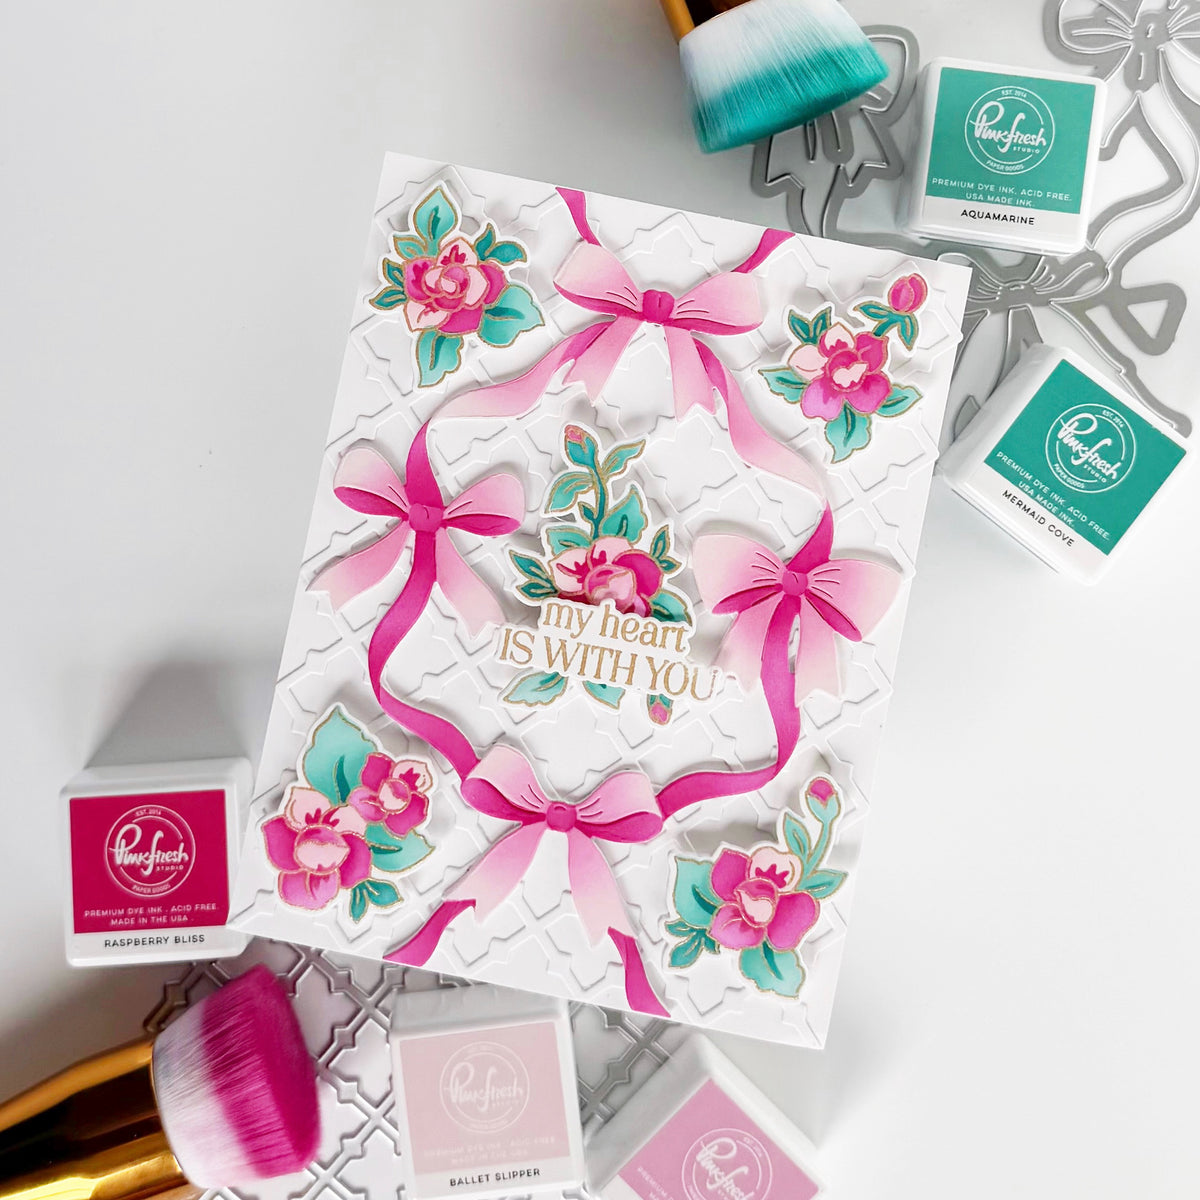
7. On white cardstock, use the Ribbon Splendor stencils and ink-blend the bottom bow only with the following:
- Stencil 1: Peach Fuzz layered over Warm Buff
- Stencil 2: Apricot layered over Warm Buff
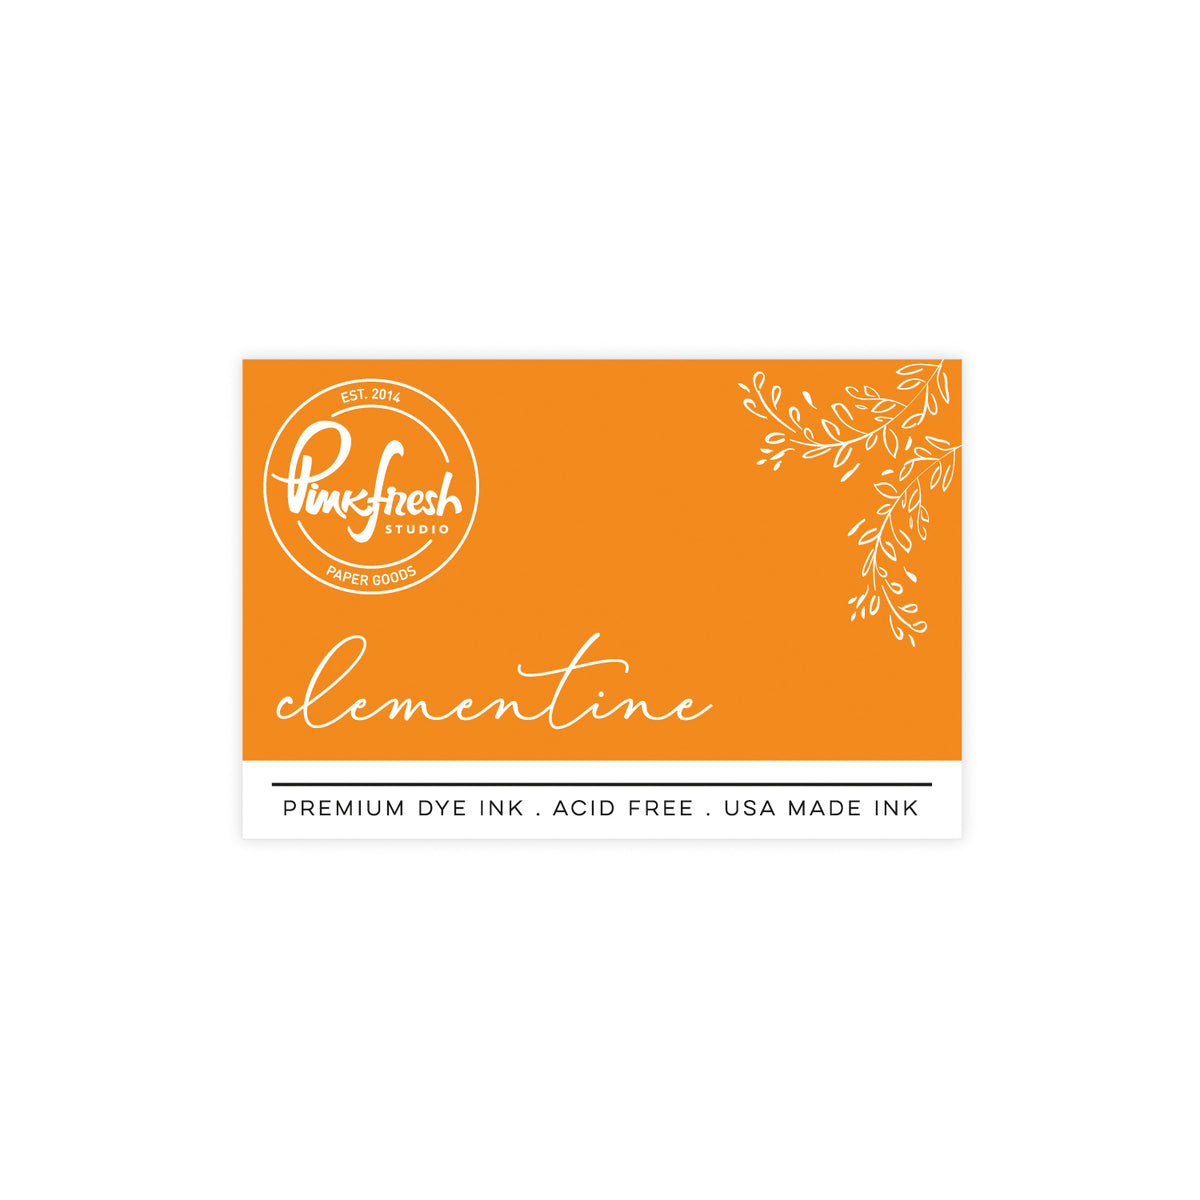
- Stencil 3: Clementine layered over Warm Buff
8. Die cut out the bow using the coordinating die.
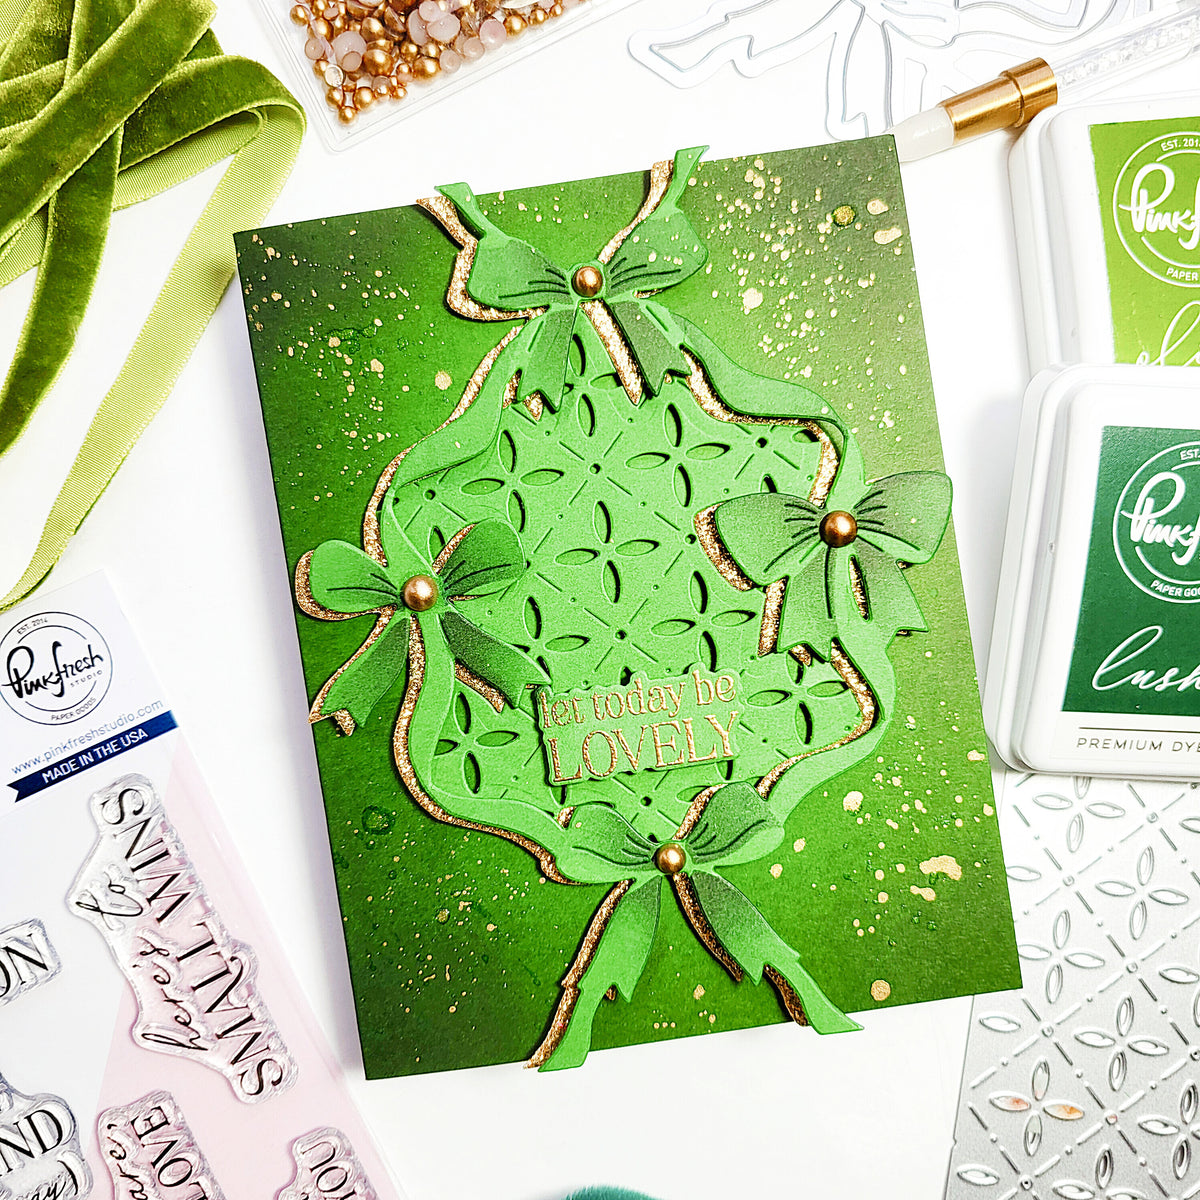
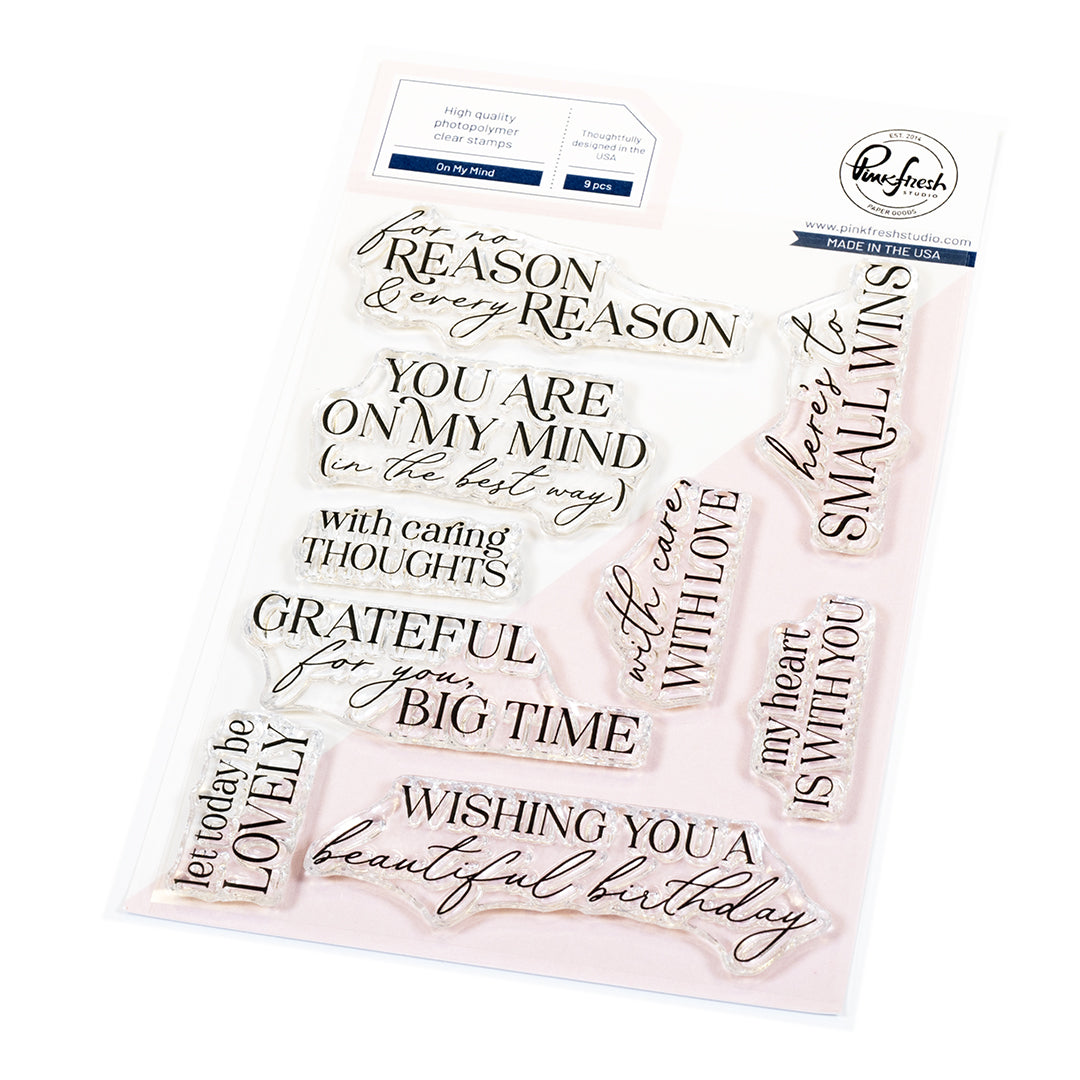
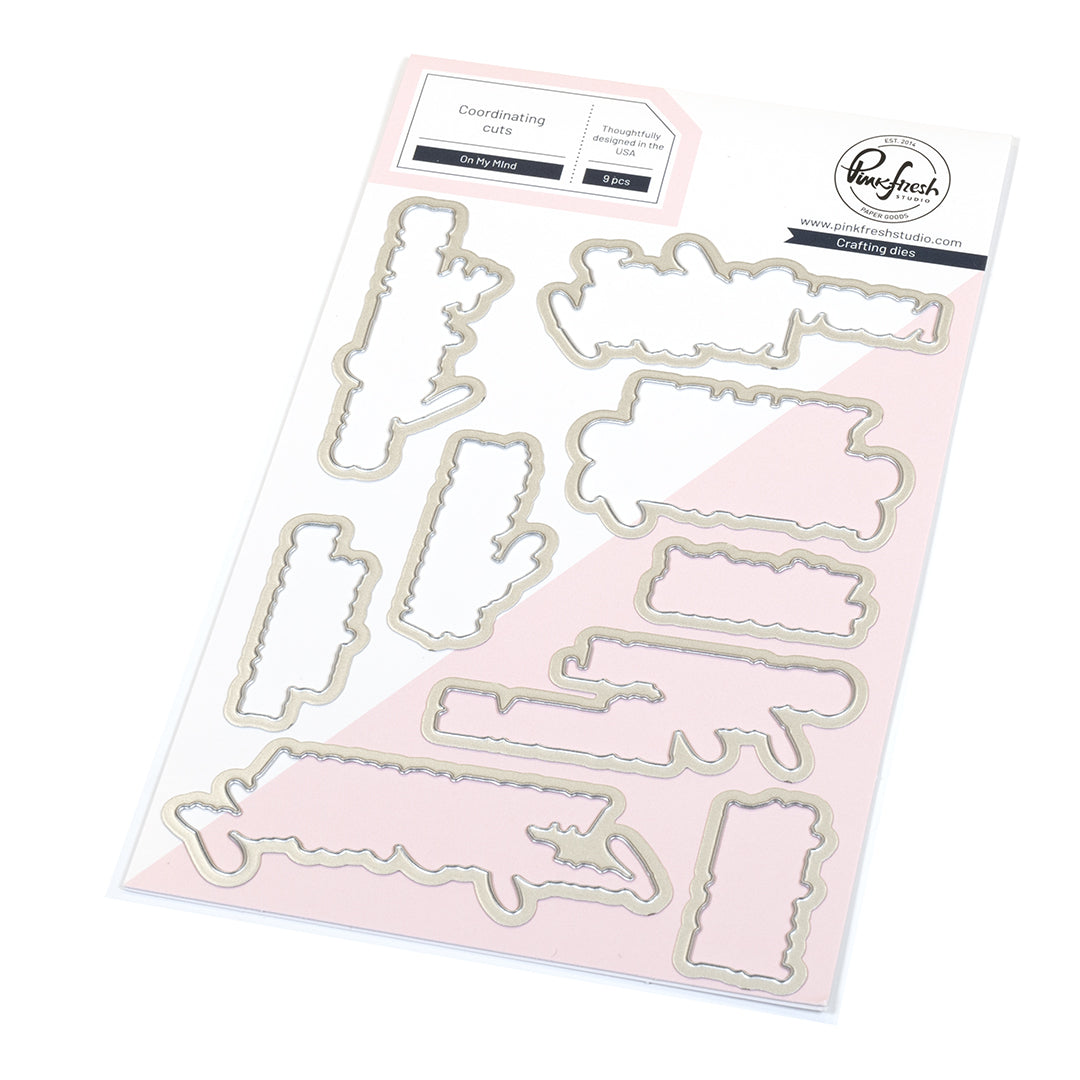
9. Stamp and die cut out the “let today be lovely” sentiment from the On My Mind stamp set with Detail Black ink on white cardstock.
10. Add foam adhesive to the Petal Grid frame and adhere it to the A2 card front.
11. Use liquid glue to adhere negative Glacier Glitter pieces to the card as shown in photos.
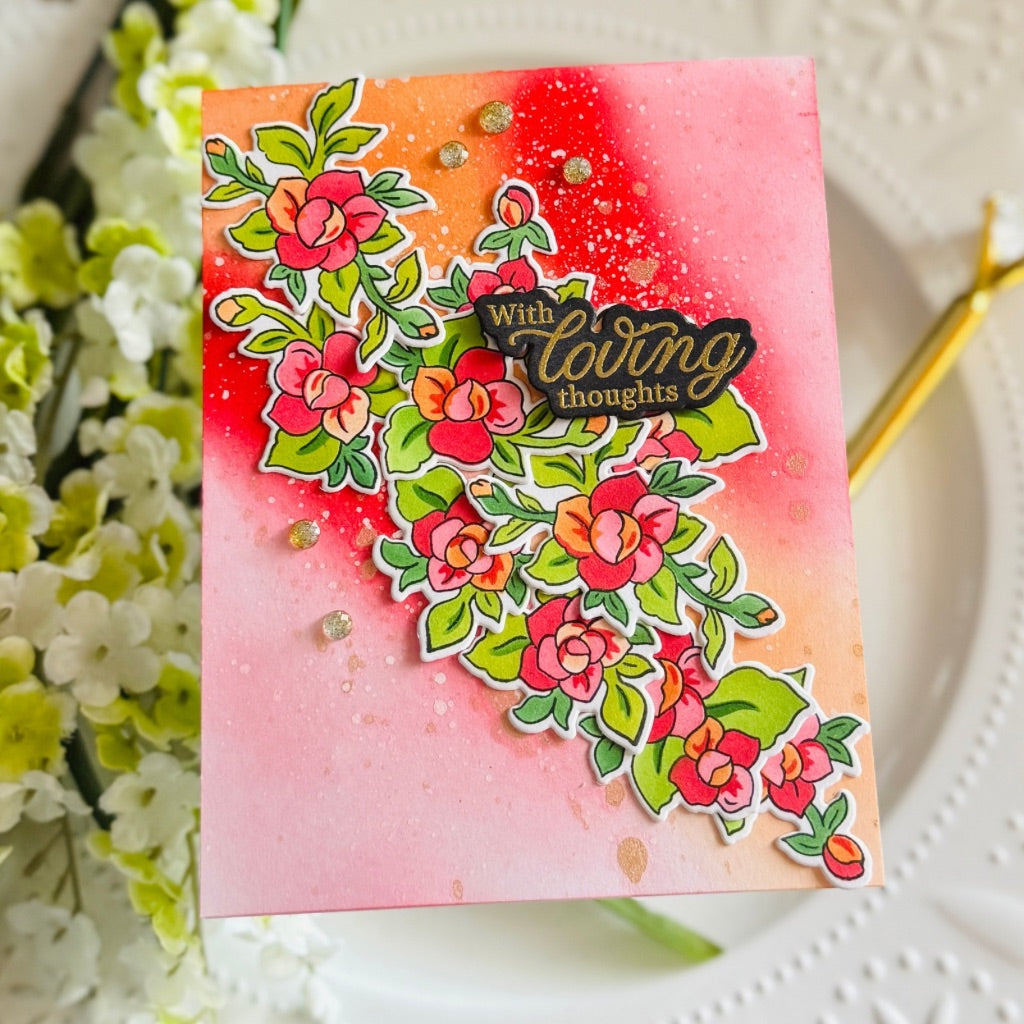
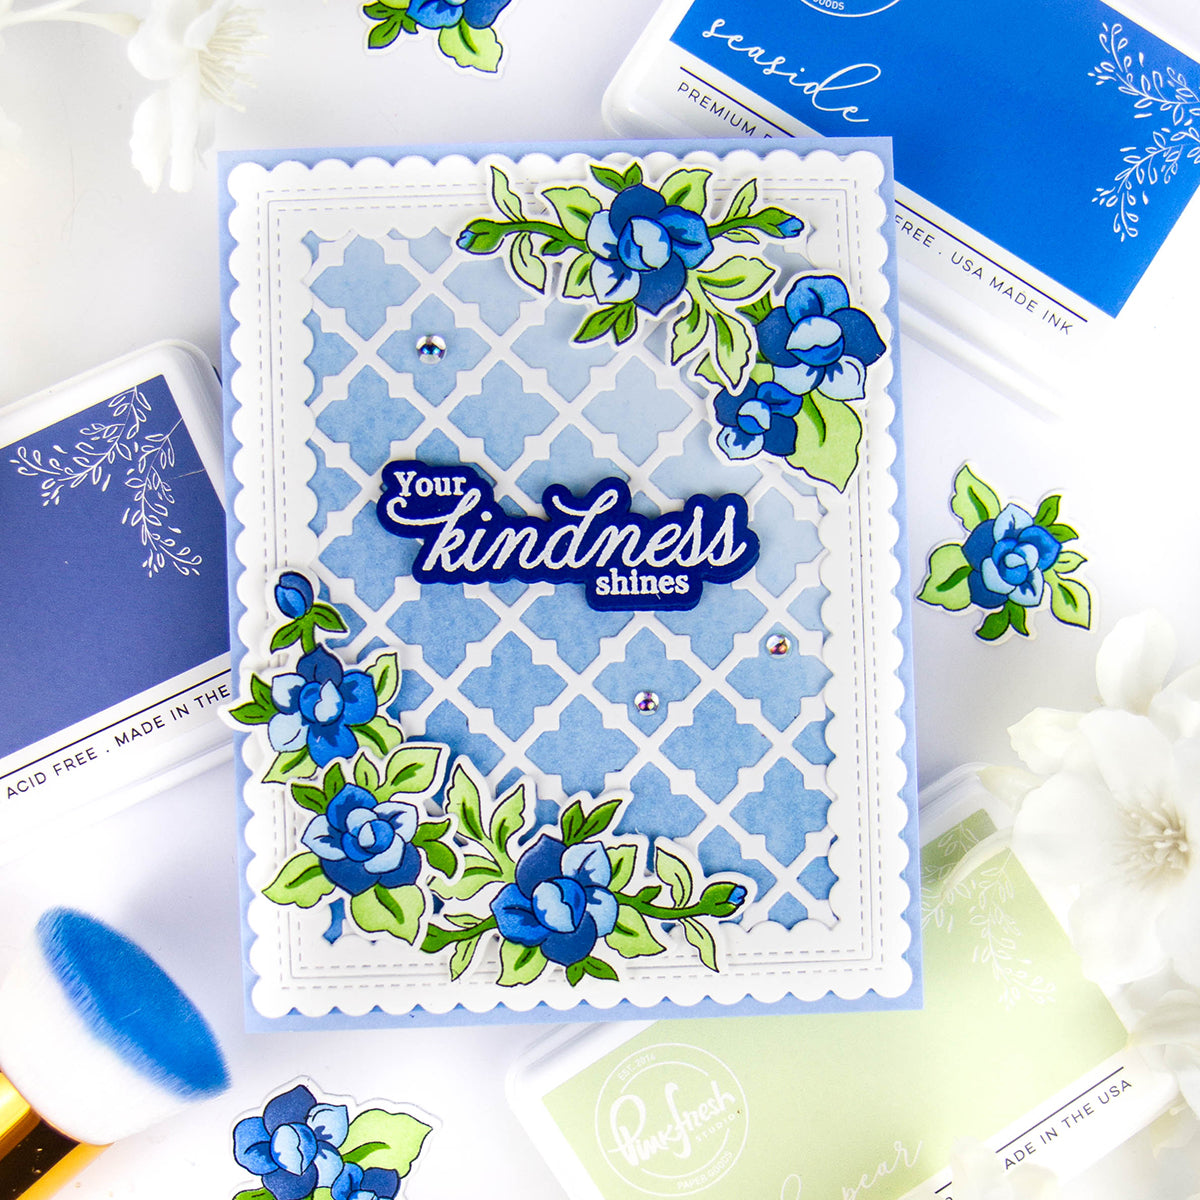
12. Use thin foam adhesive to adhere Petal Poise florals as shown in photos.
13. Use liquid glue to adhere Ribbon Splendor bow to top of die cut frame.
14. Use foam adhesive to adhere the sentiment to the center of the card.
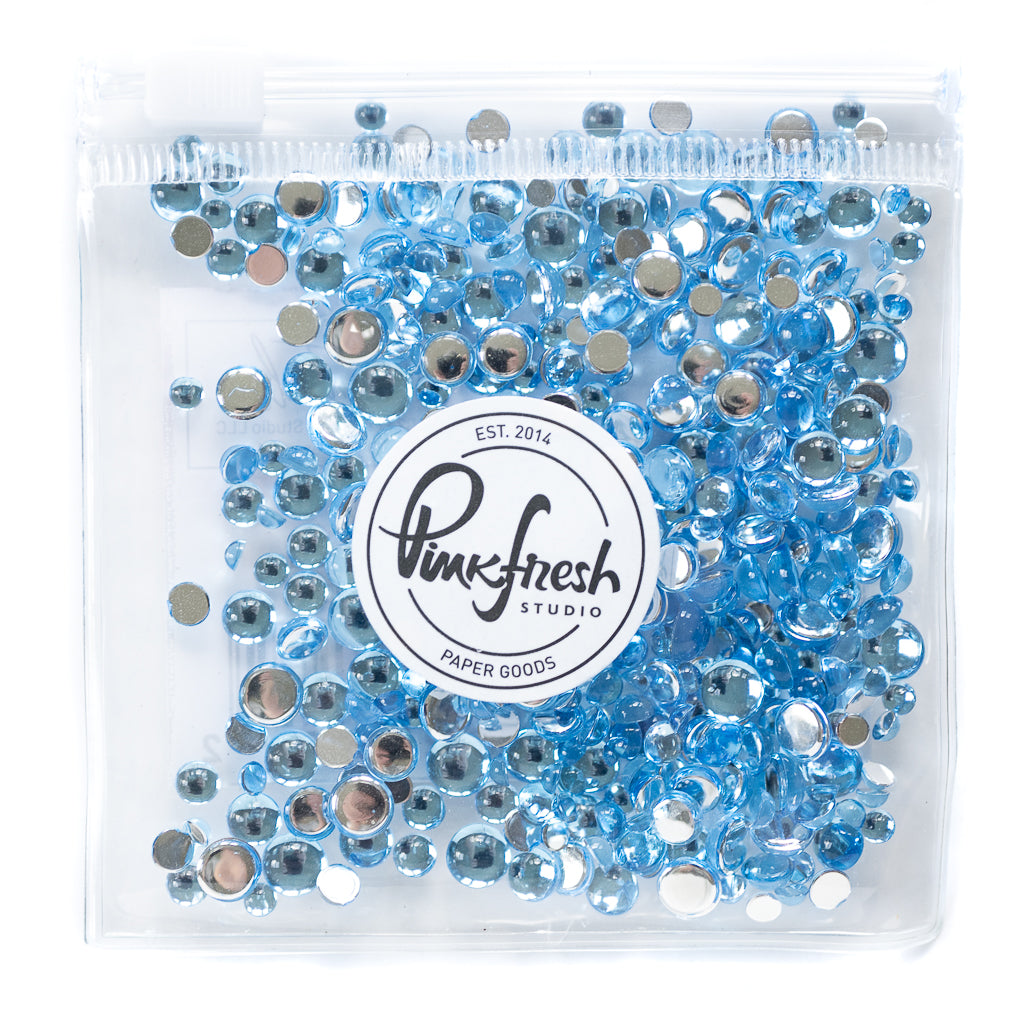
15. Adhere Sky Blue Clear Drops to complete the card.

I hope this project inspires you to play with layers, textures, and a mix of finishes on your next card. It’s amazing how a few simple techniques can come together to create something truly special. What layered technique are you excited to try next?
Thanks so much for stopping by, and happy crafting!
Steph
Recommended Products





























Leave a comment
All comments are moderated before being published.
This site is protected by hCaptcha and the hCaptcha Privacy Policy and Terms of Service apply.