
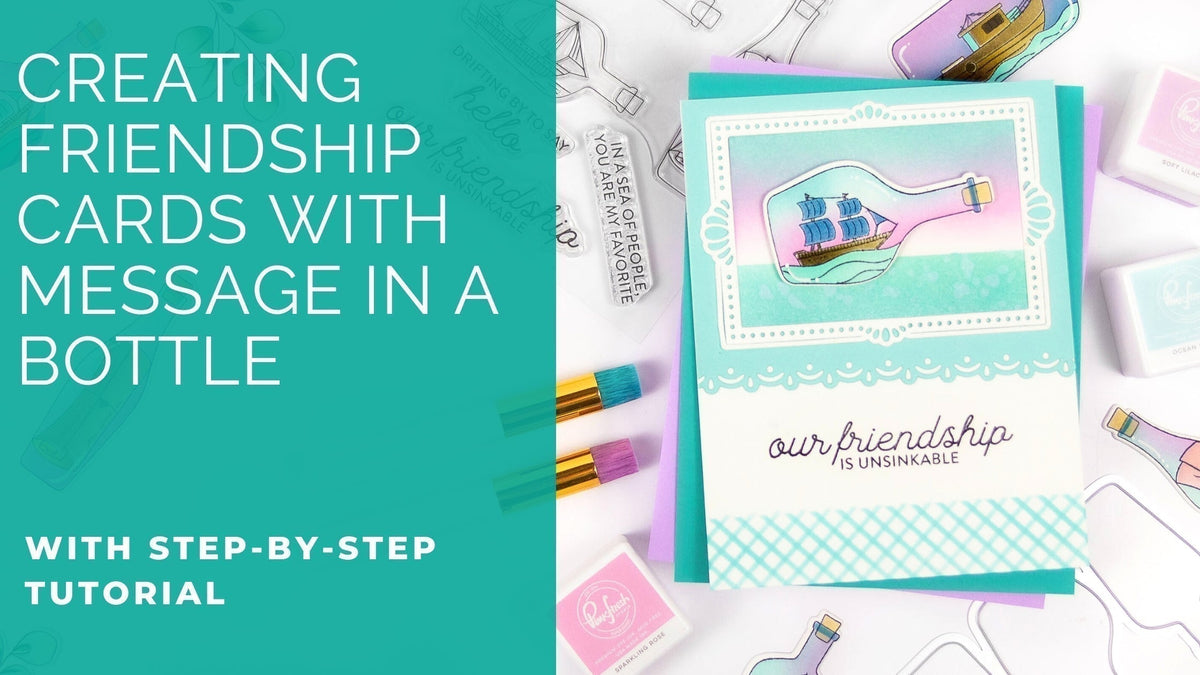
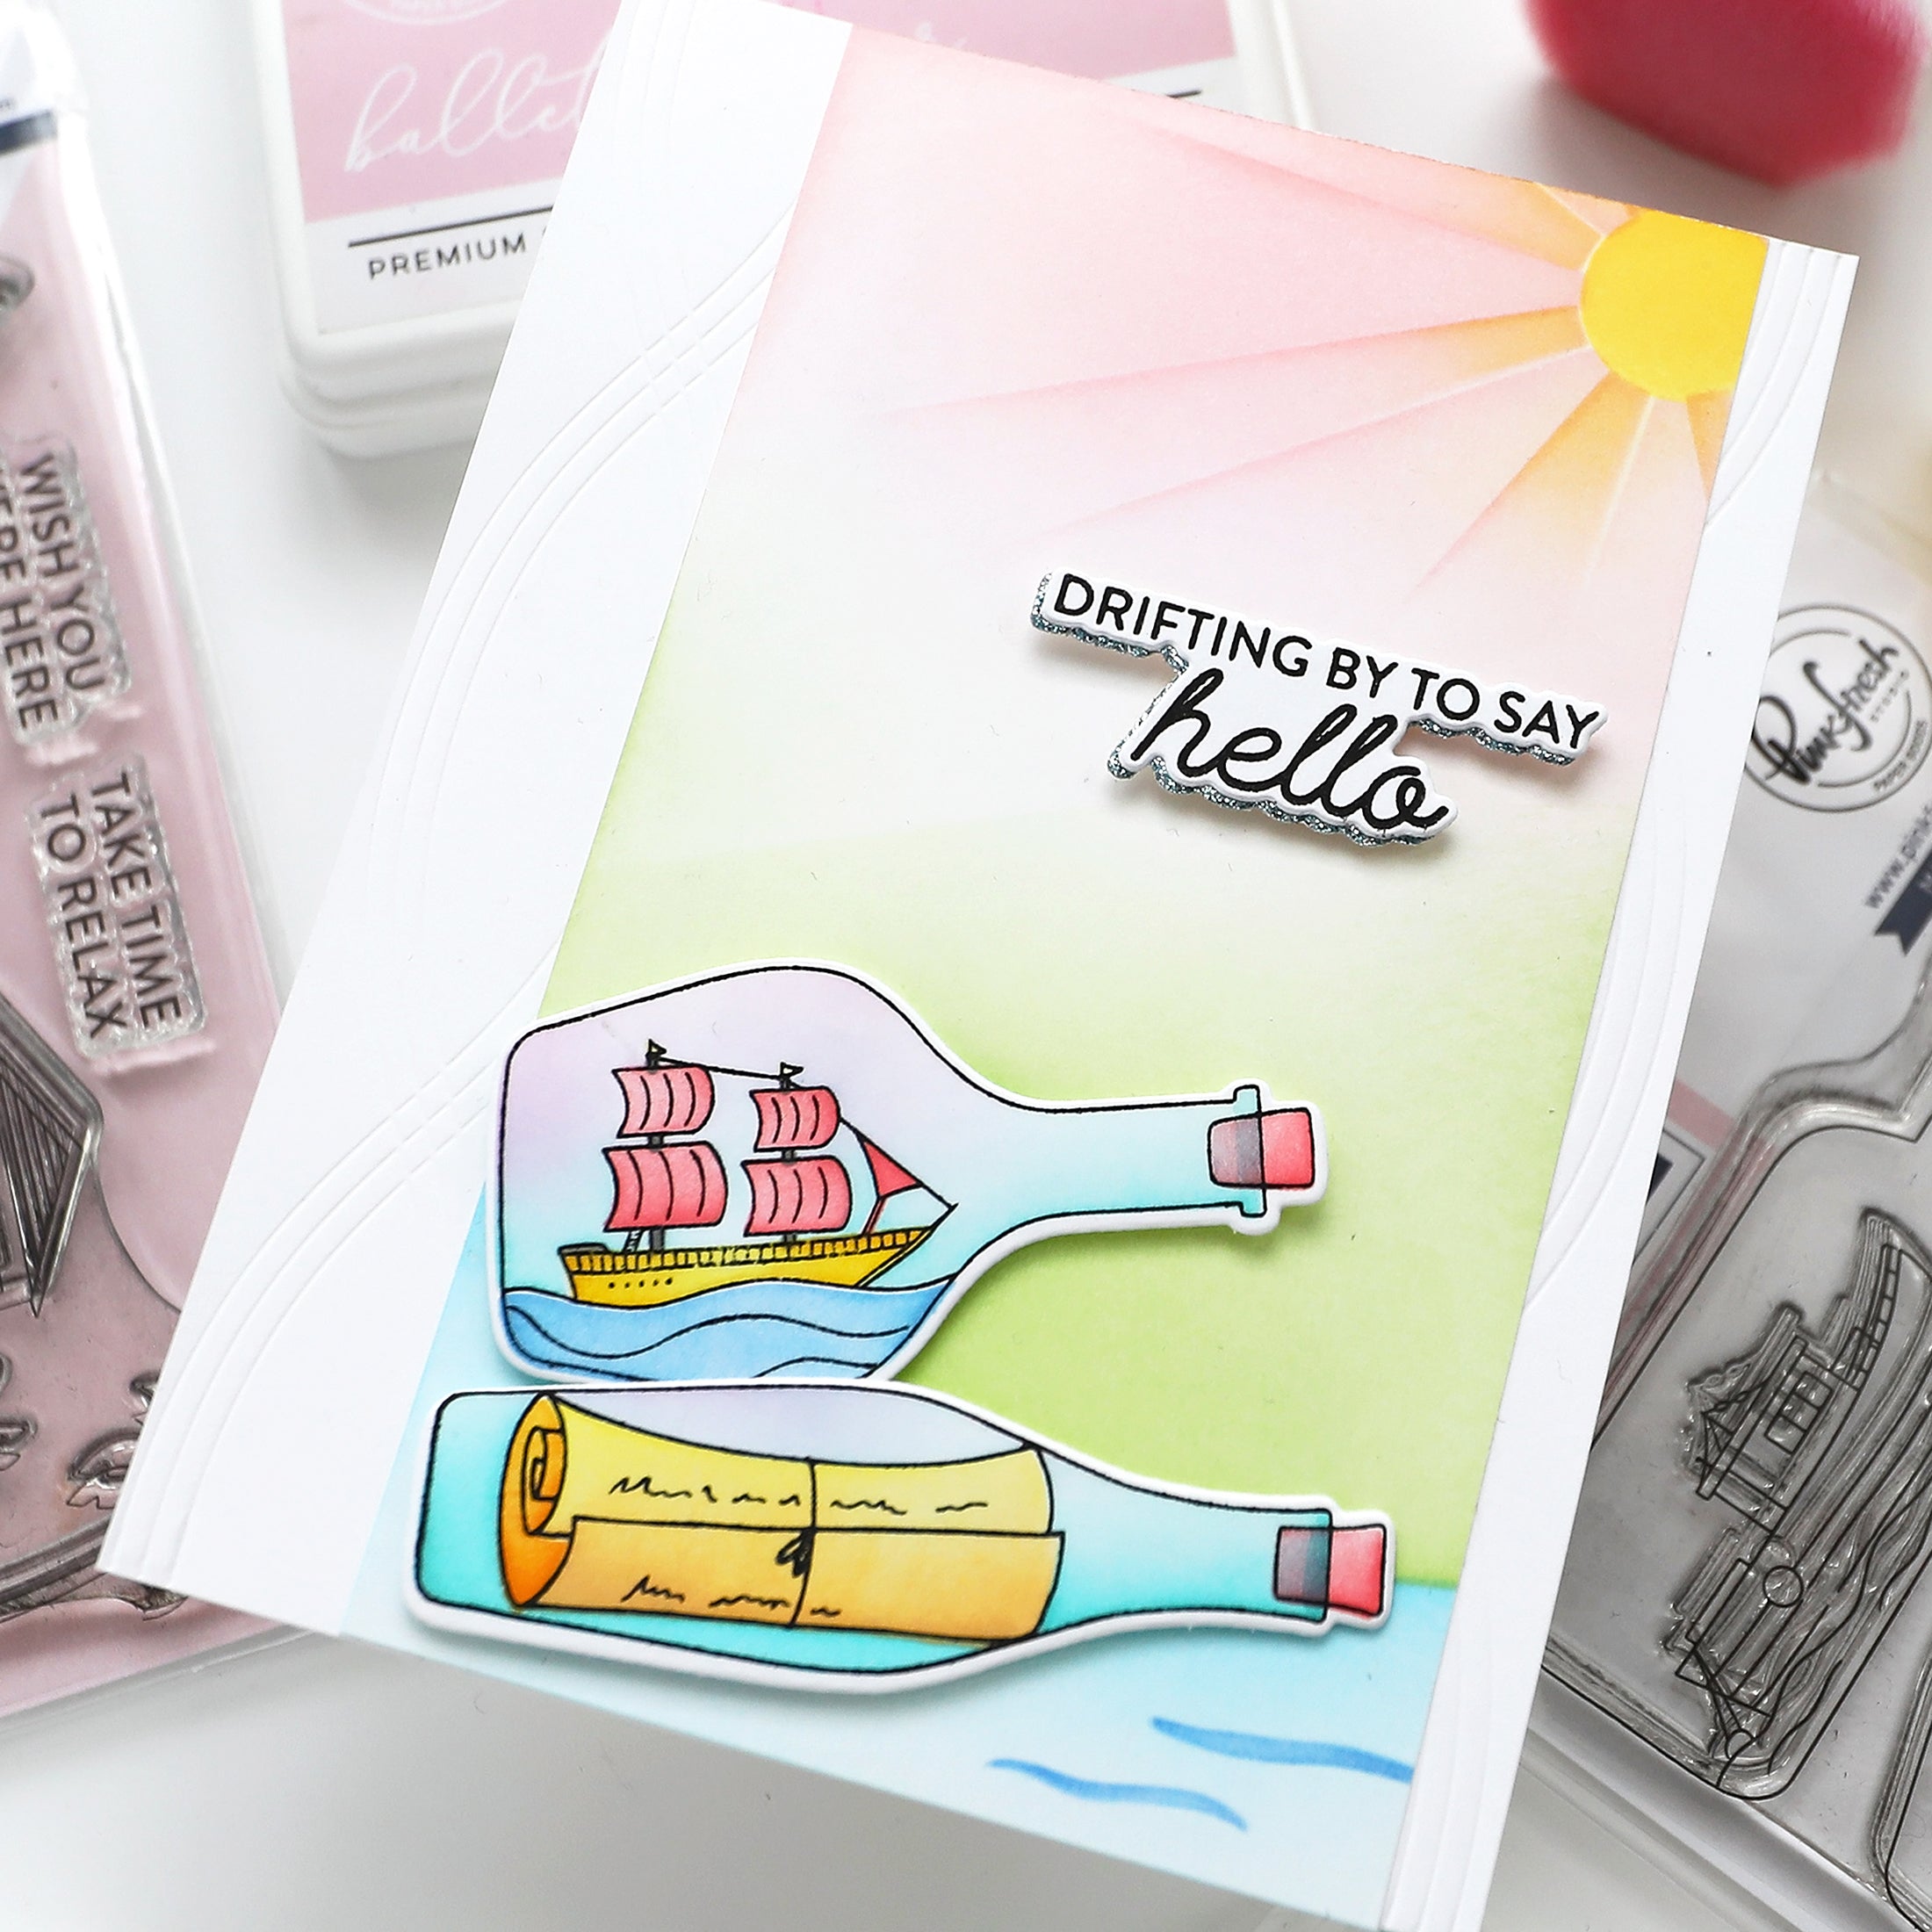
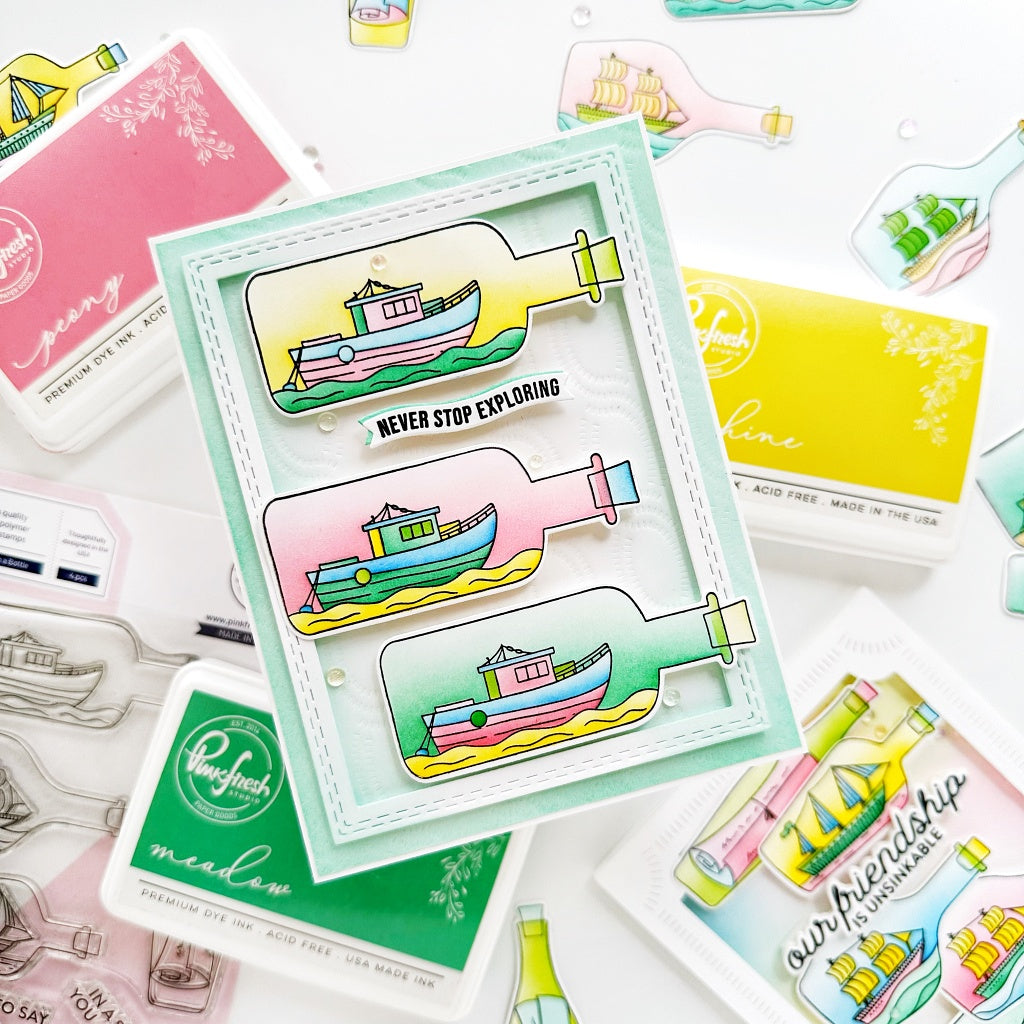
Hello everyone! It's Rachel here with a whimsical friendship card that features the gorgeous Message In A Bottle Product Suite.
If you haven't checked this set out yet, I highly encourage you to do so! It's perfect for creating unique and sentimental cards for those special people in your life.
*Disclaimer: All products used are linked below as clickable images. If a product isn’t listed, it’s been discontinued

How to recreate this card:
1. Stamp your images onto a sheet of smooth white card stock (I used Neenah Solar White 110lb) with Pinkfresh Detail Black Ink.
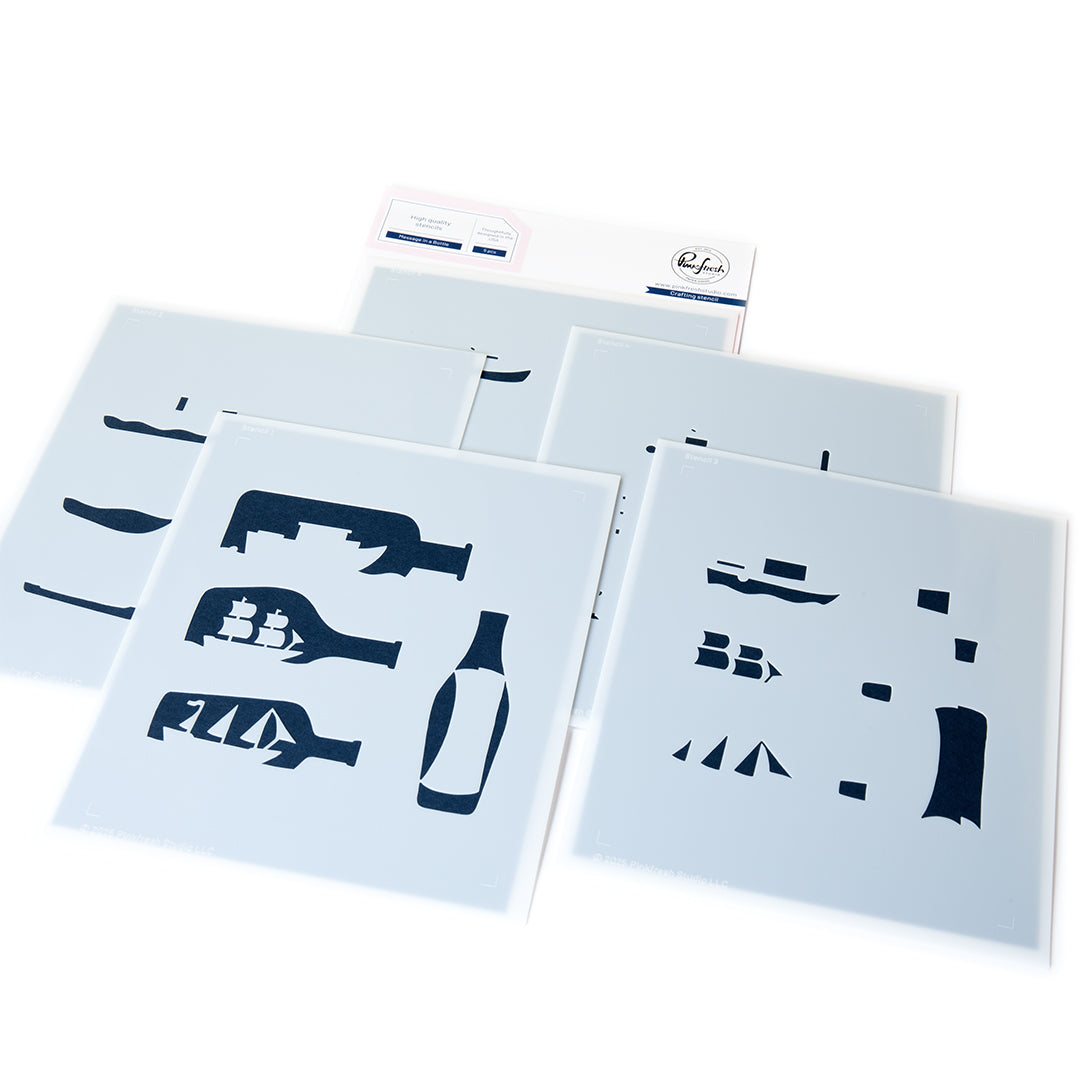
2. Use the coordinating Message In A Bottle Stencils and Pinkfresh Inks to add quick and easy color to your images.
- Stencil 1: Sparkling Rose, Ocean Breeze (I created an ombre ink-blended sky by using the Sparkling Rose where the sky touches the water and then adding Ocean Breeze to the top of the sky.)
- Stencil 2: Ocean Breeze
- Stencil 3: Blue Jay, Warm Buff
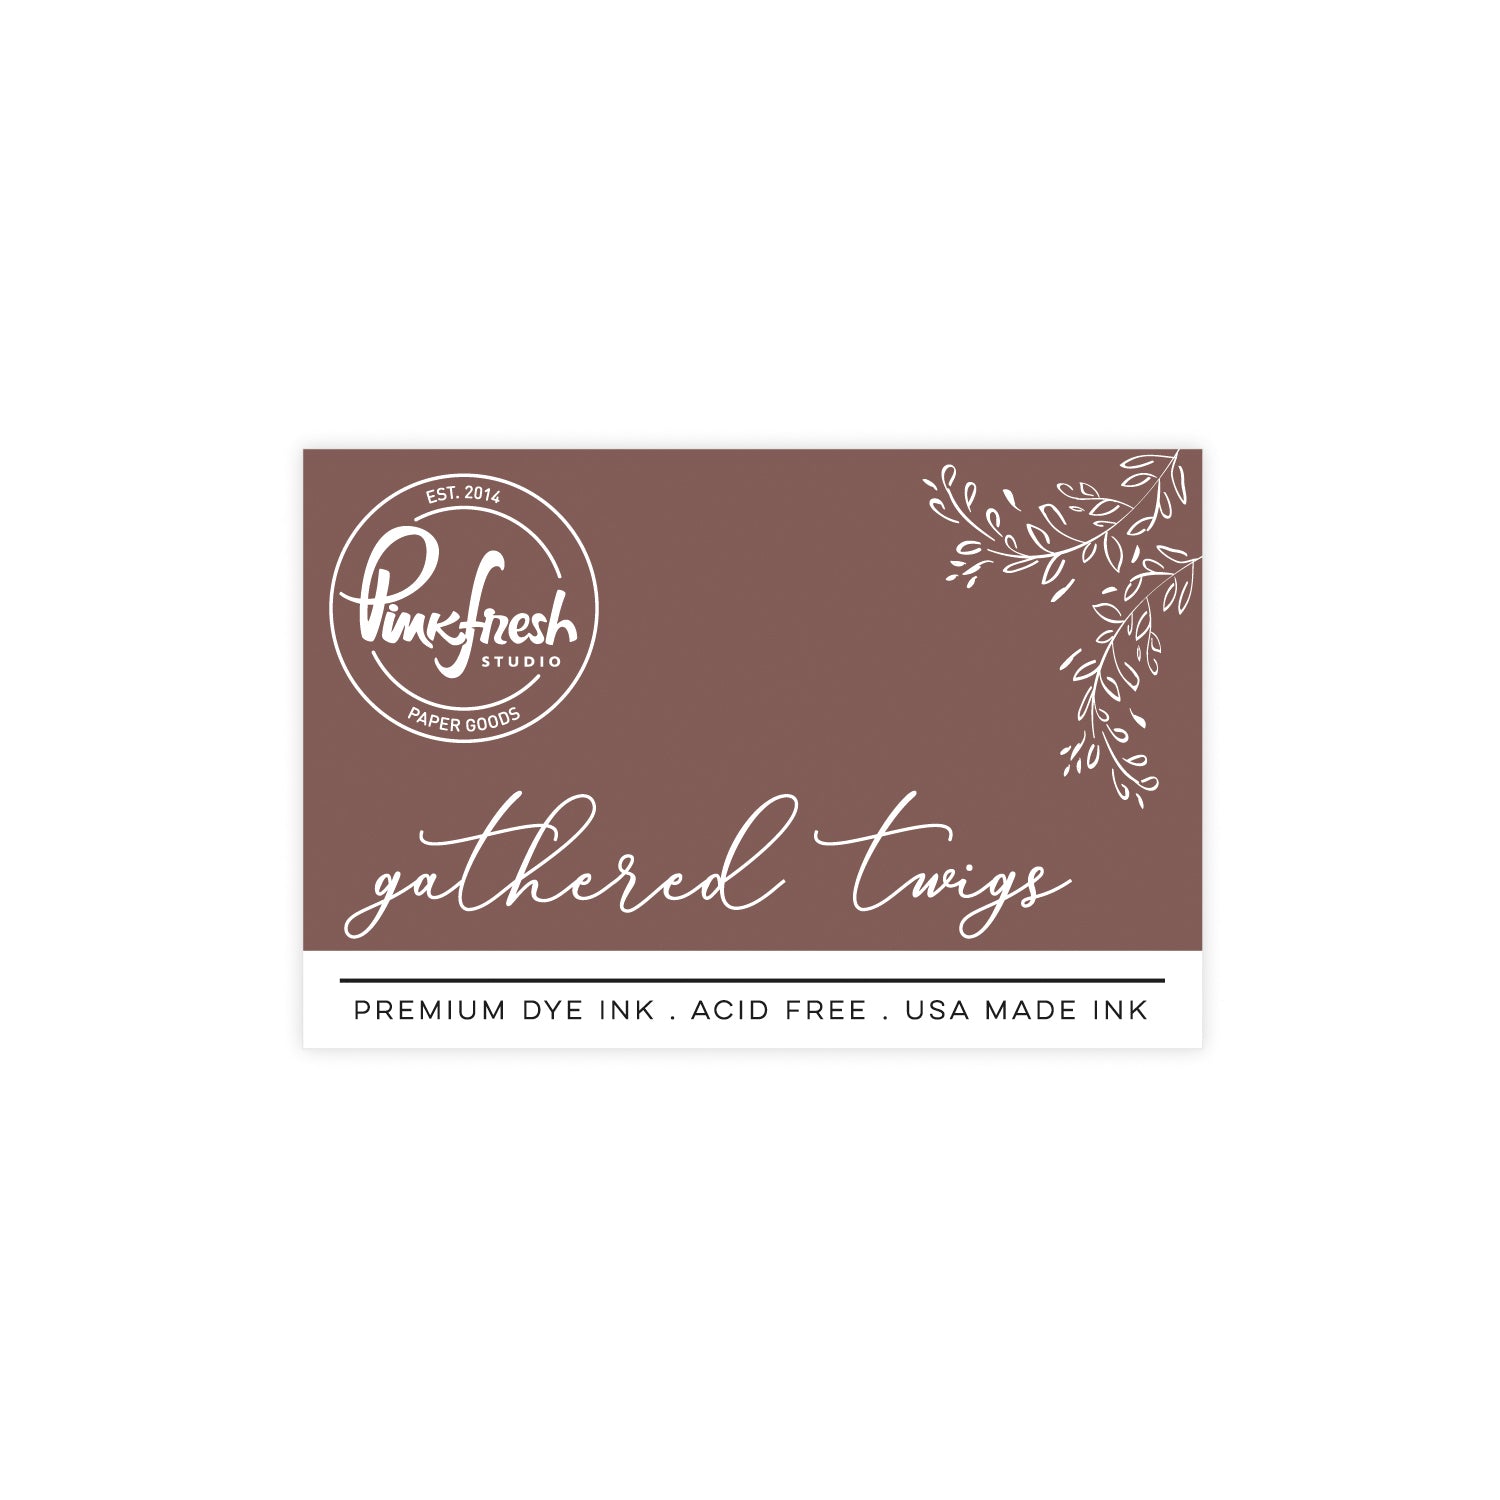
- Stencil 4: Blue Jay, Gathered Twigs
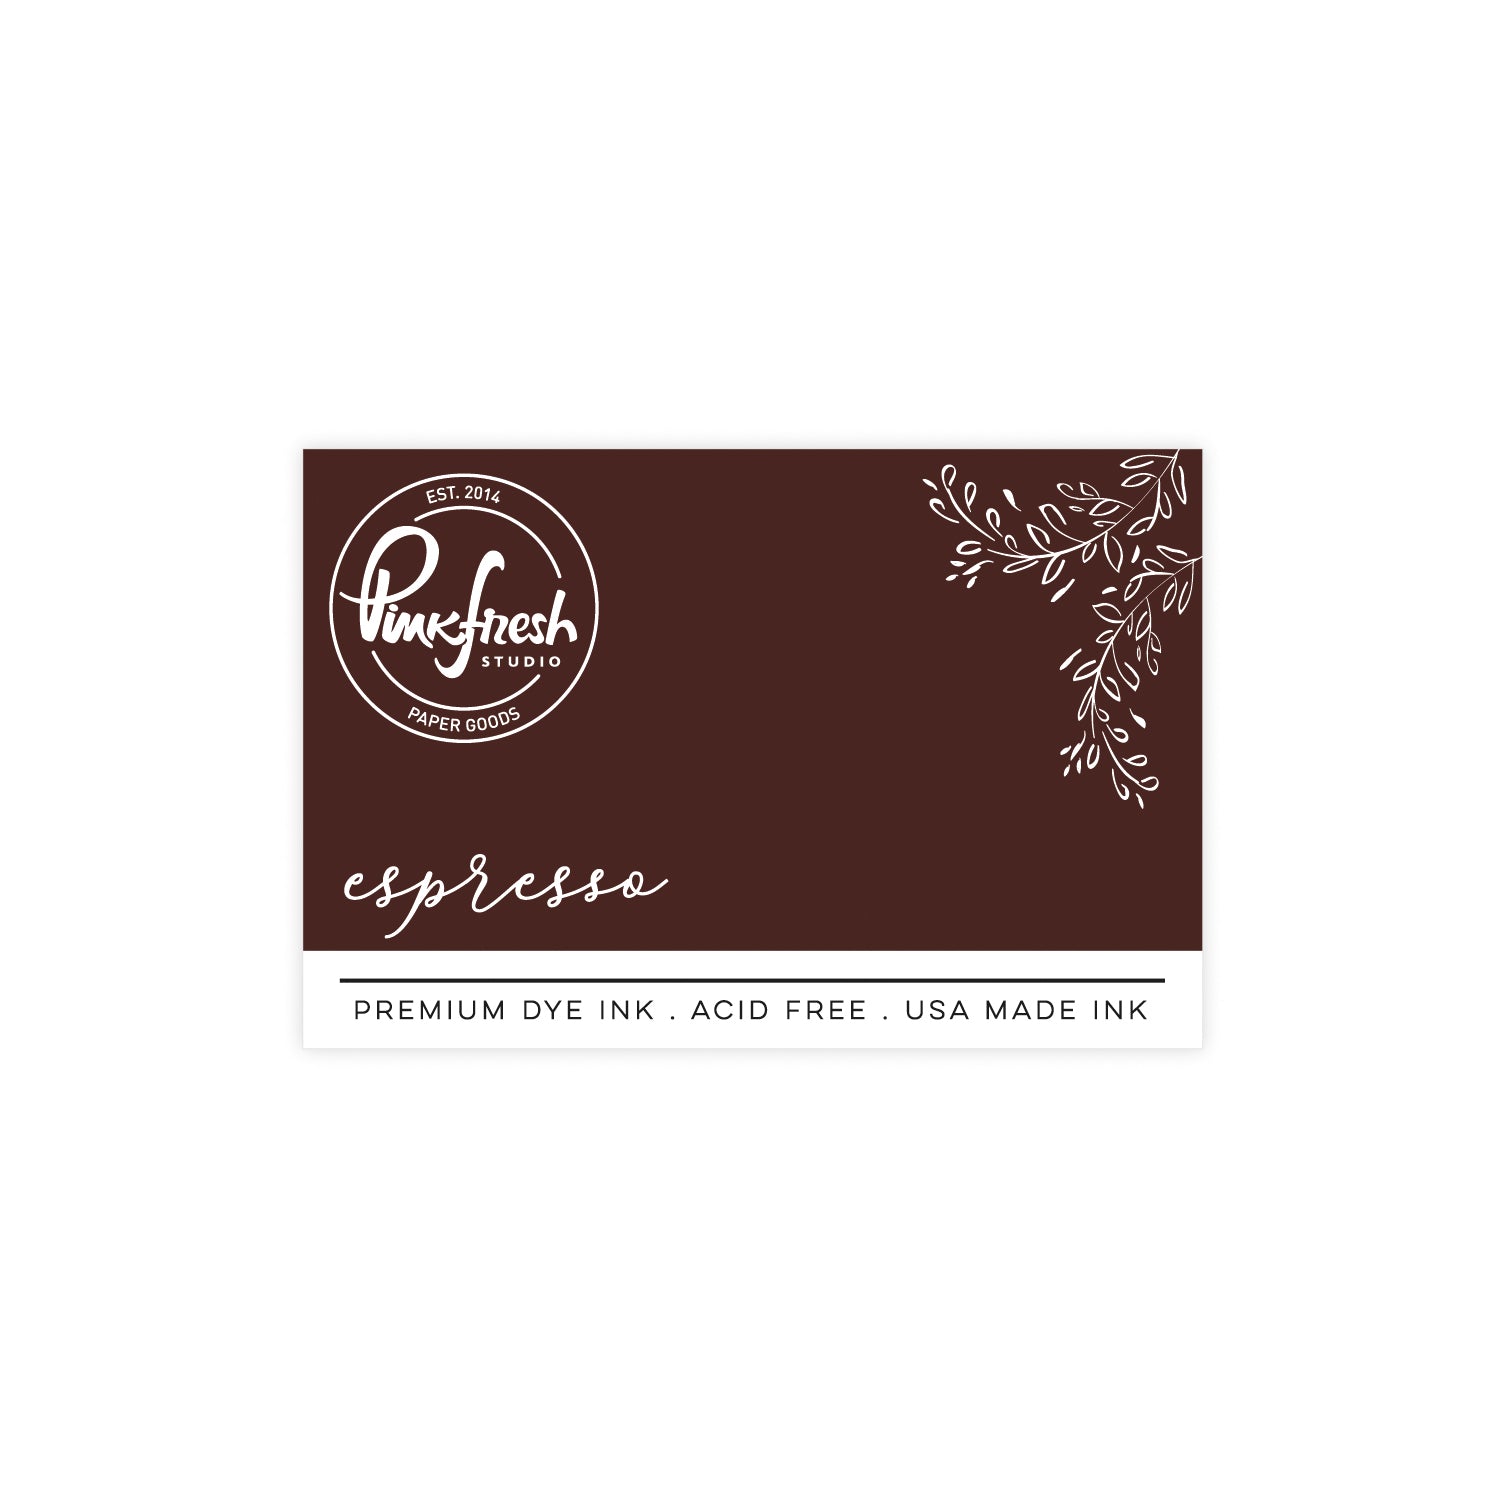
- Stencil 5: Gathered Twigs, Espresso
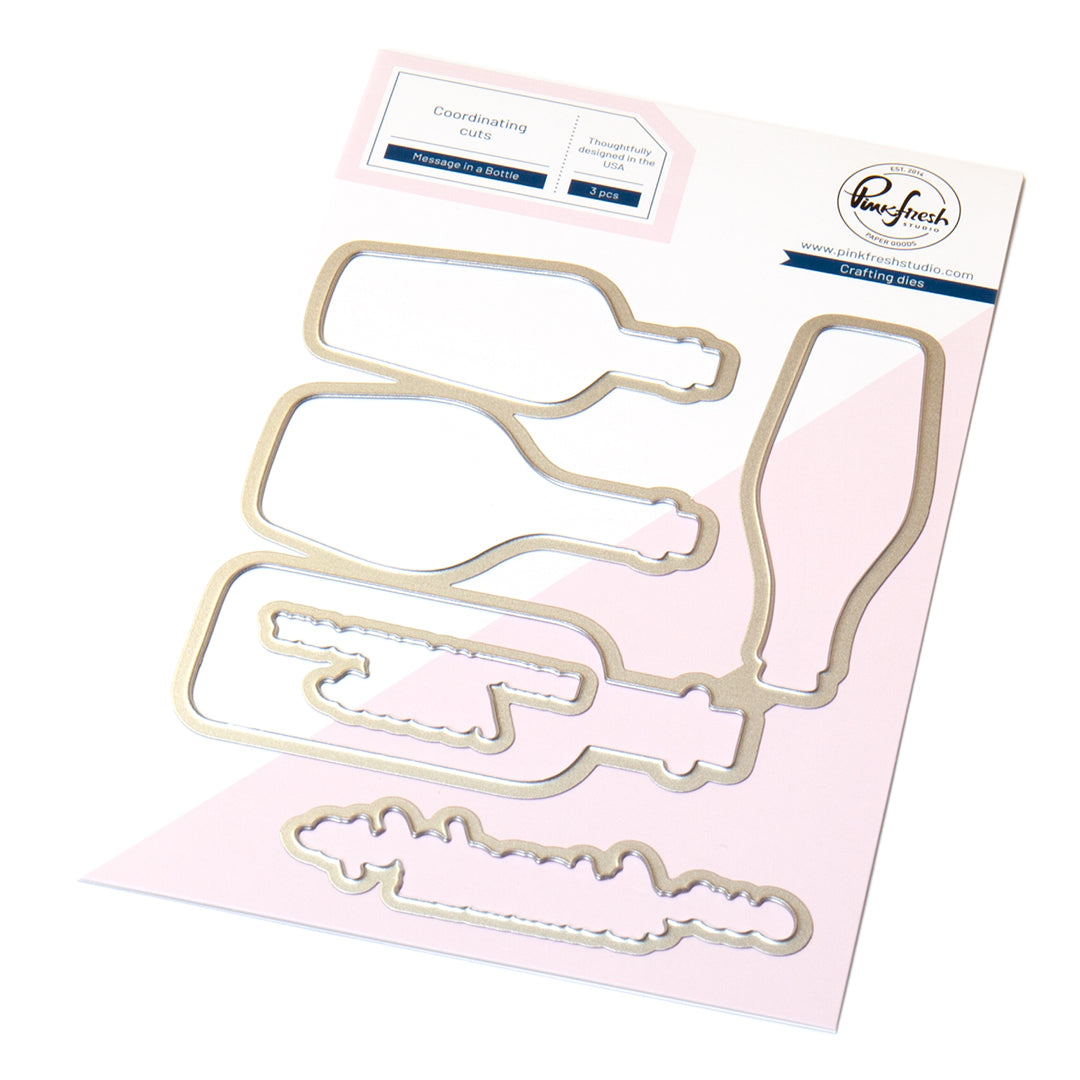
3. Use the coordinating Message In A Bottle Dies to cut out your images and set them aside to work on your card background.
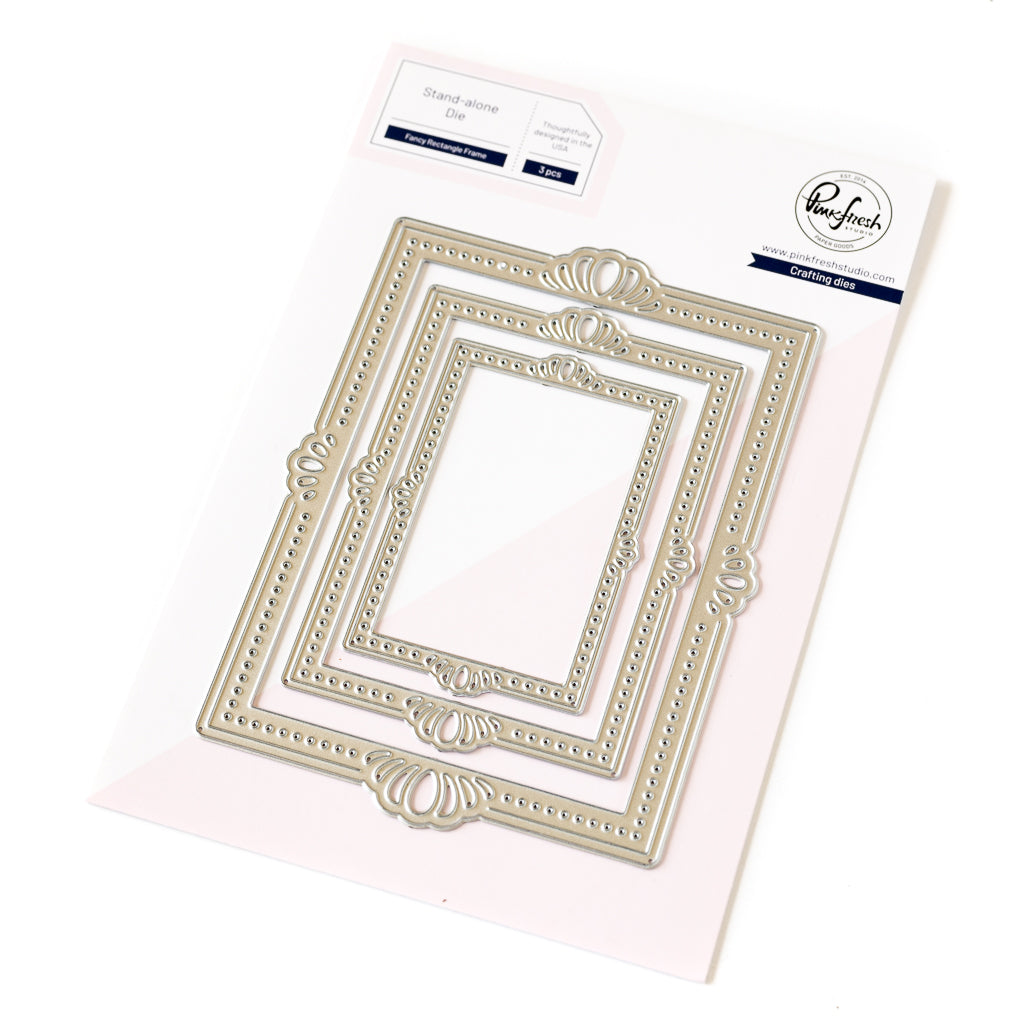
4. Use the second largest rectangle from the Essentials: Fancy Rectangle Frame Die Set and die cut it from a piece of white card stock. Take the inside rectangular piece to ink blend an ocean background by masking off the top portion and blending the bottom with Ocean Breeze to create the water. Then mask off the water and blend the sky with Sparkling Rose, Soft Lilac, and Ocean Breeze.
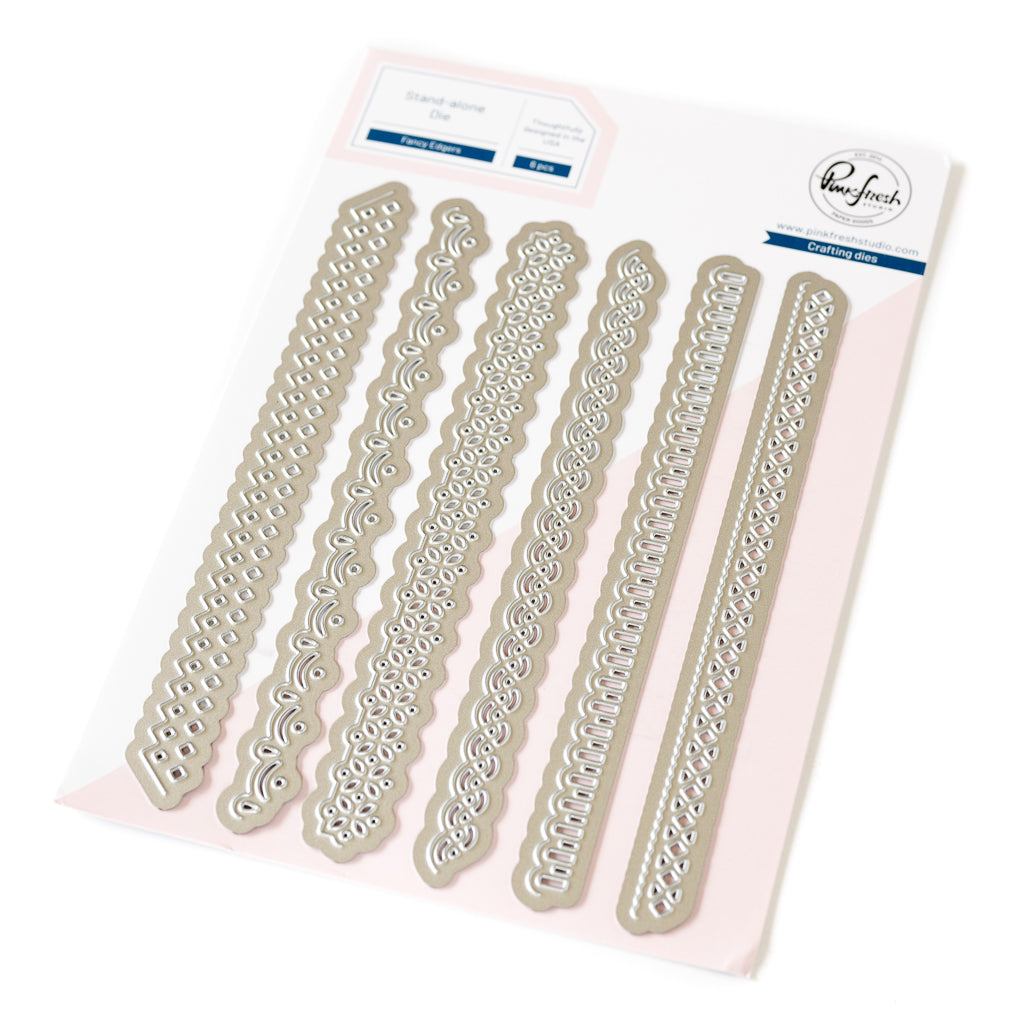
5. Trim a piece of 4.25" x 5.5" white card base and also trim a piece of teal card stock to 4.25" x 3.5". Die cut the teal piece along the 4.25" side with one of the Fancy Edgers Dies. Once done, adhere this piece to the top of your white card base with double sided adhesive. Once you're finished with your card front, you can then adhere it to a folding A2-sized card base.
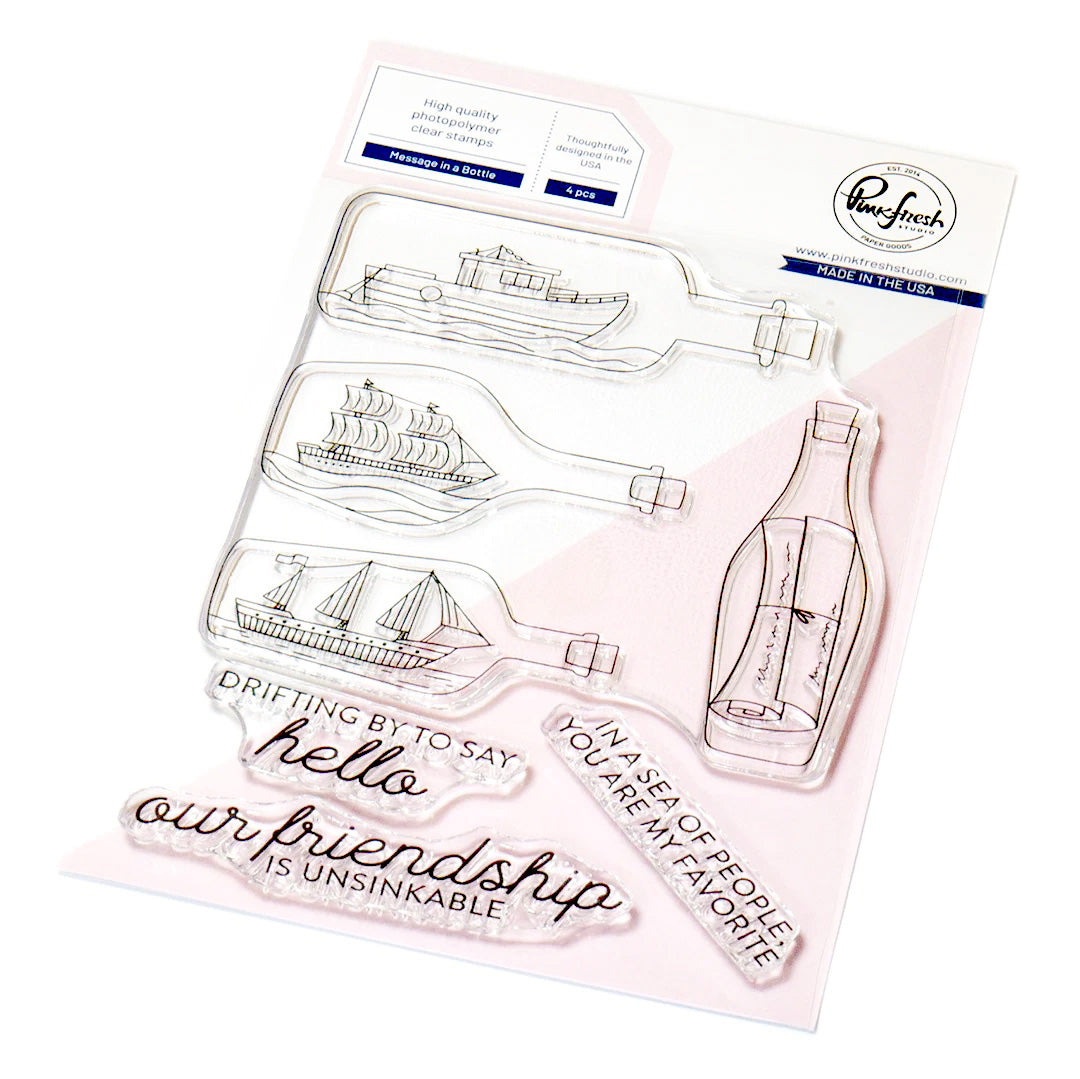
6. Using black ink, stamp your sentiment from the Message in a Bottle Stamp Set onto your white card base beneath your teal fancy border piece.
7. At the bottom of your card stock, use the stripes from the Border Stencils Set to blend a criss-cross pattern of Ocean Breeze Ink.
8. Adhere your white rectangular frame to the center of the teal piece of card stock with liquid adhesive and then add your ink-blended ocean piece inside of it.
9. Lastly, add your bottle image with 3D foam adhesive tape inside of the frame for a pop of dimension.

I hope you enjoyed my card today! I have always been fascinated by ships in a bottle, so this set was a lot of fun to use.
I would love to see what you create! Make sure to tag us on Instagram with your own creations using these products!
Please feel free to leave a comment below as well as any questions you may have.
- Rachel
Recommended Products
























Leave a comment
All comments are moderated before being published.
This site is protected by hCaptcha and the hCaptcha Privacy Policy and Terms of Service apply.