
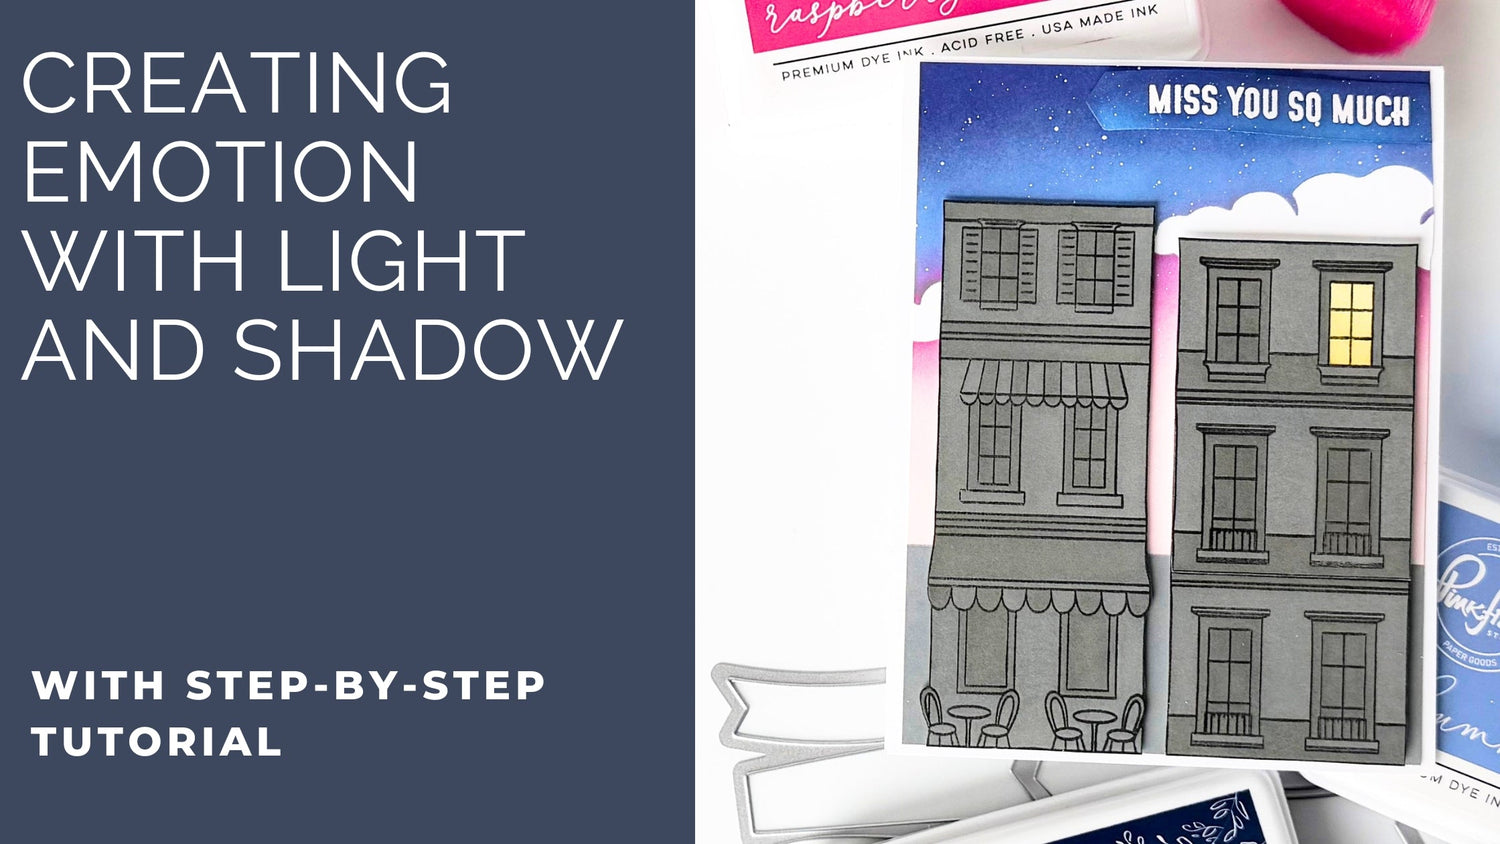
There is something so emotional about a single lit window in a dark city skyline. For this card, I wanted to create a scene that felt quiet, lonely, and full of longing. The buildings are shadowed and subdued, with only one warm light glowing from an apartment window. Paired with the “Miss You So Much” sentiment, it instantly tells a story.
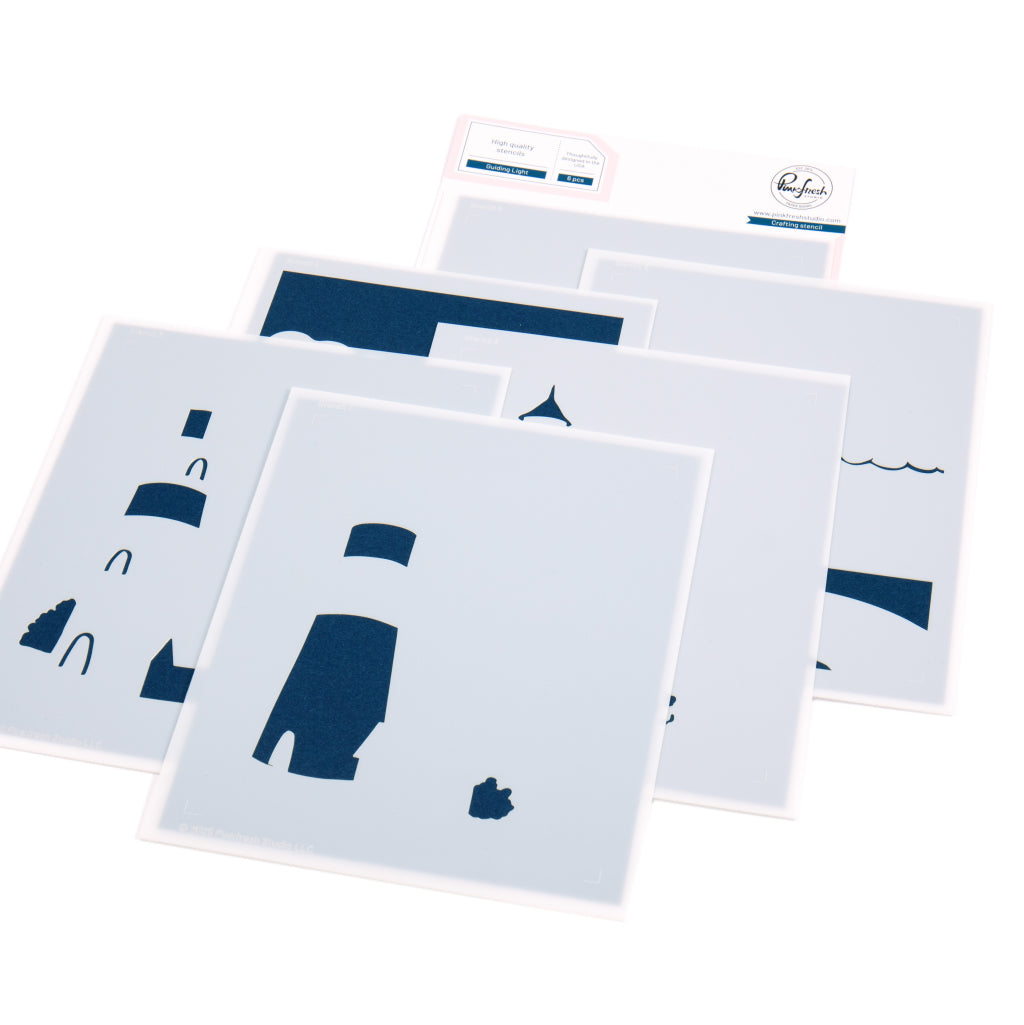
The dramatic night sky was created using a stencil from the Guiding Light stencil set. Inspired by Kathleen’s beautiful ink-blended skies, I blended deep blues and pinks for a dreamy evening backdrop and splattered the panel with watered-down white acrylic paint to create stars.
*Disclaimer: All products used are linked below as clickable images. If a product isn't listed, it's been discontinued.

How to re-create this card:
- Create a white A2 card base and set it aside.
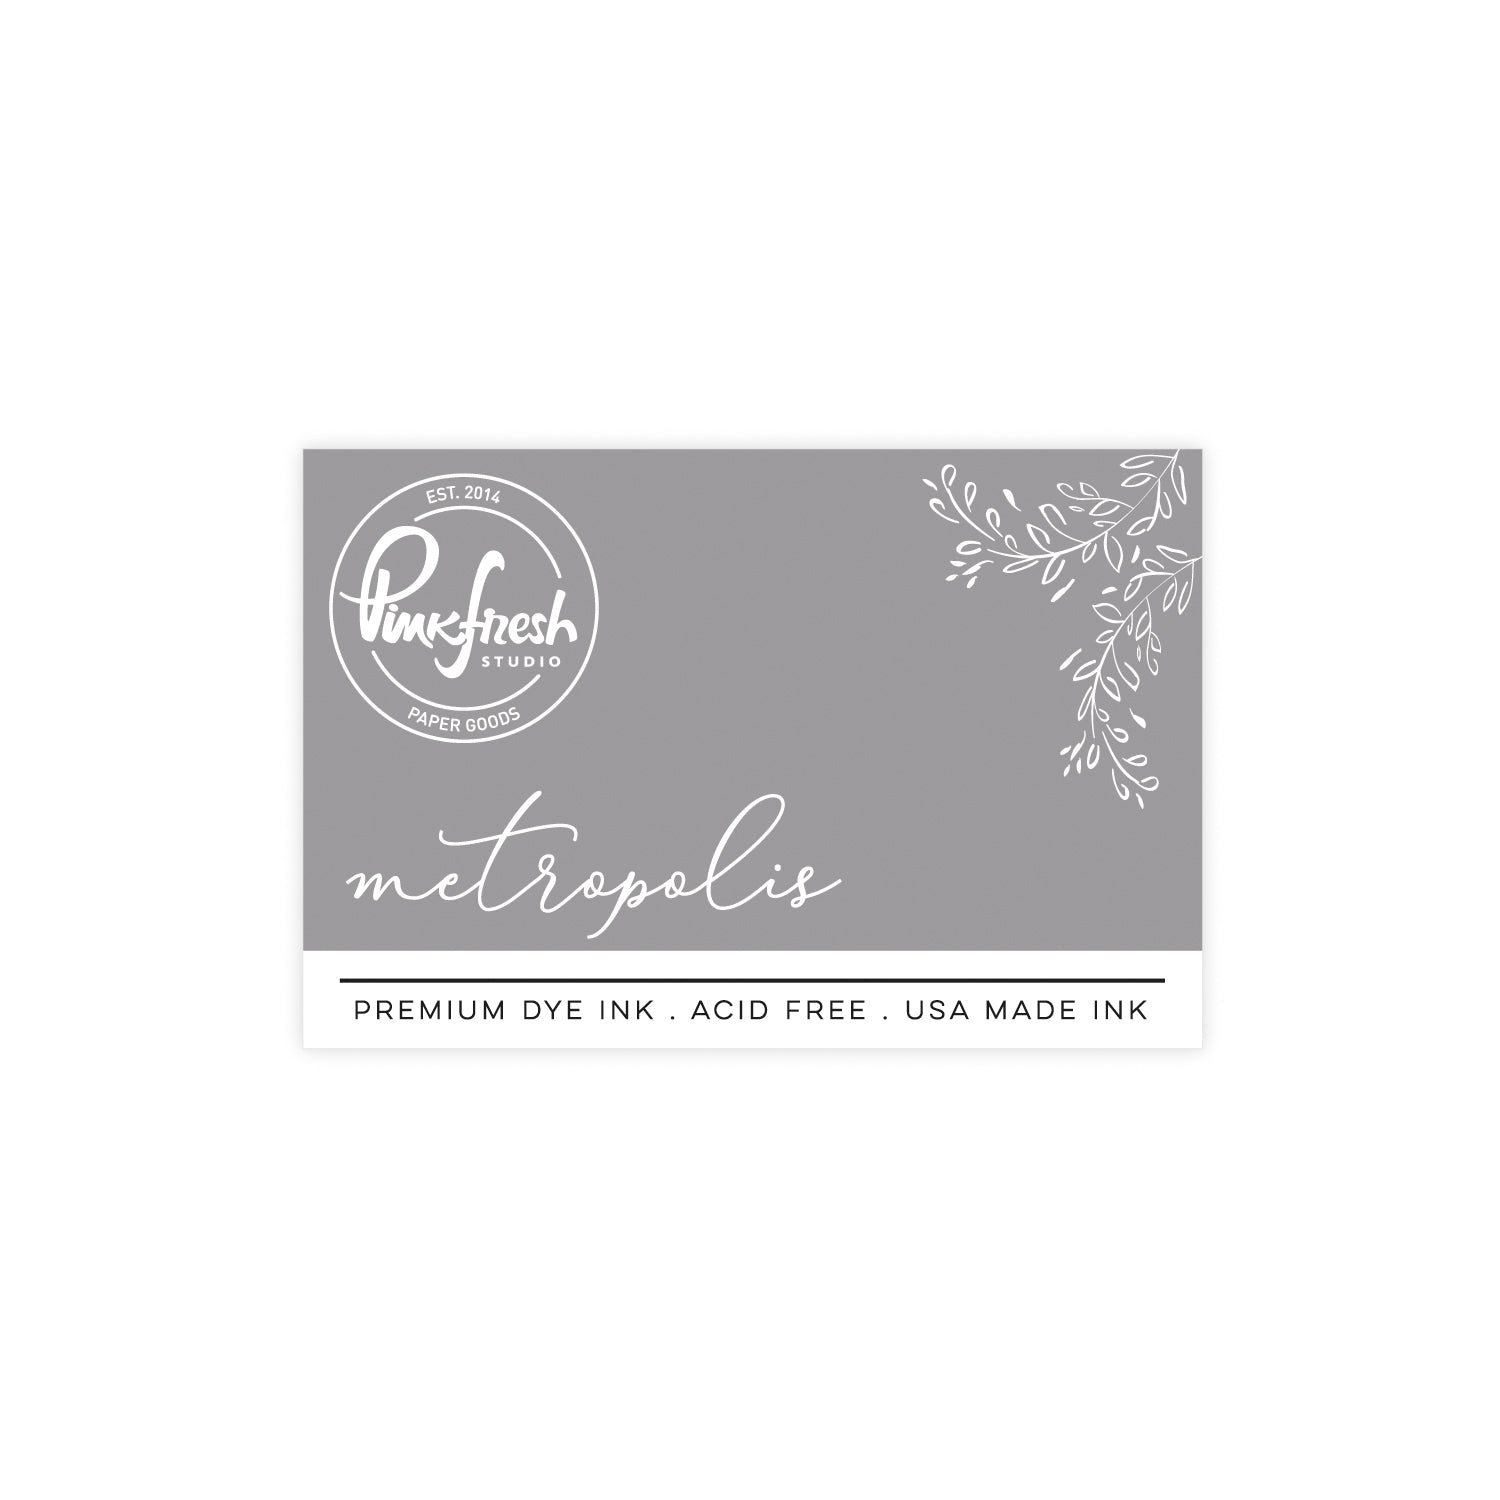
- Cut a panel to 4" x 5 1/4". Mask the top area, leaving about 1 1/2" along the bottom, and ink-blend with Metropolis to ground the scene.
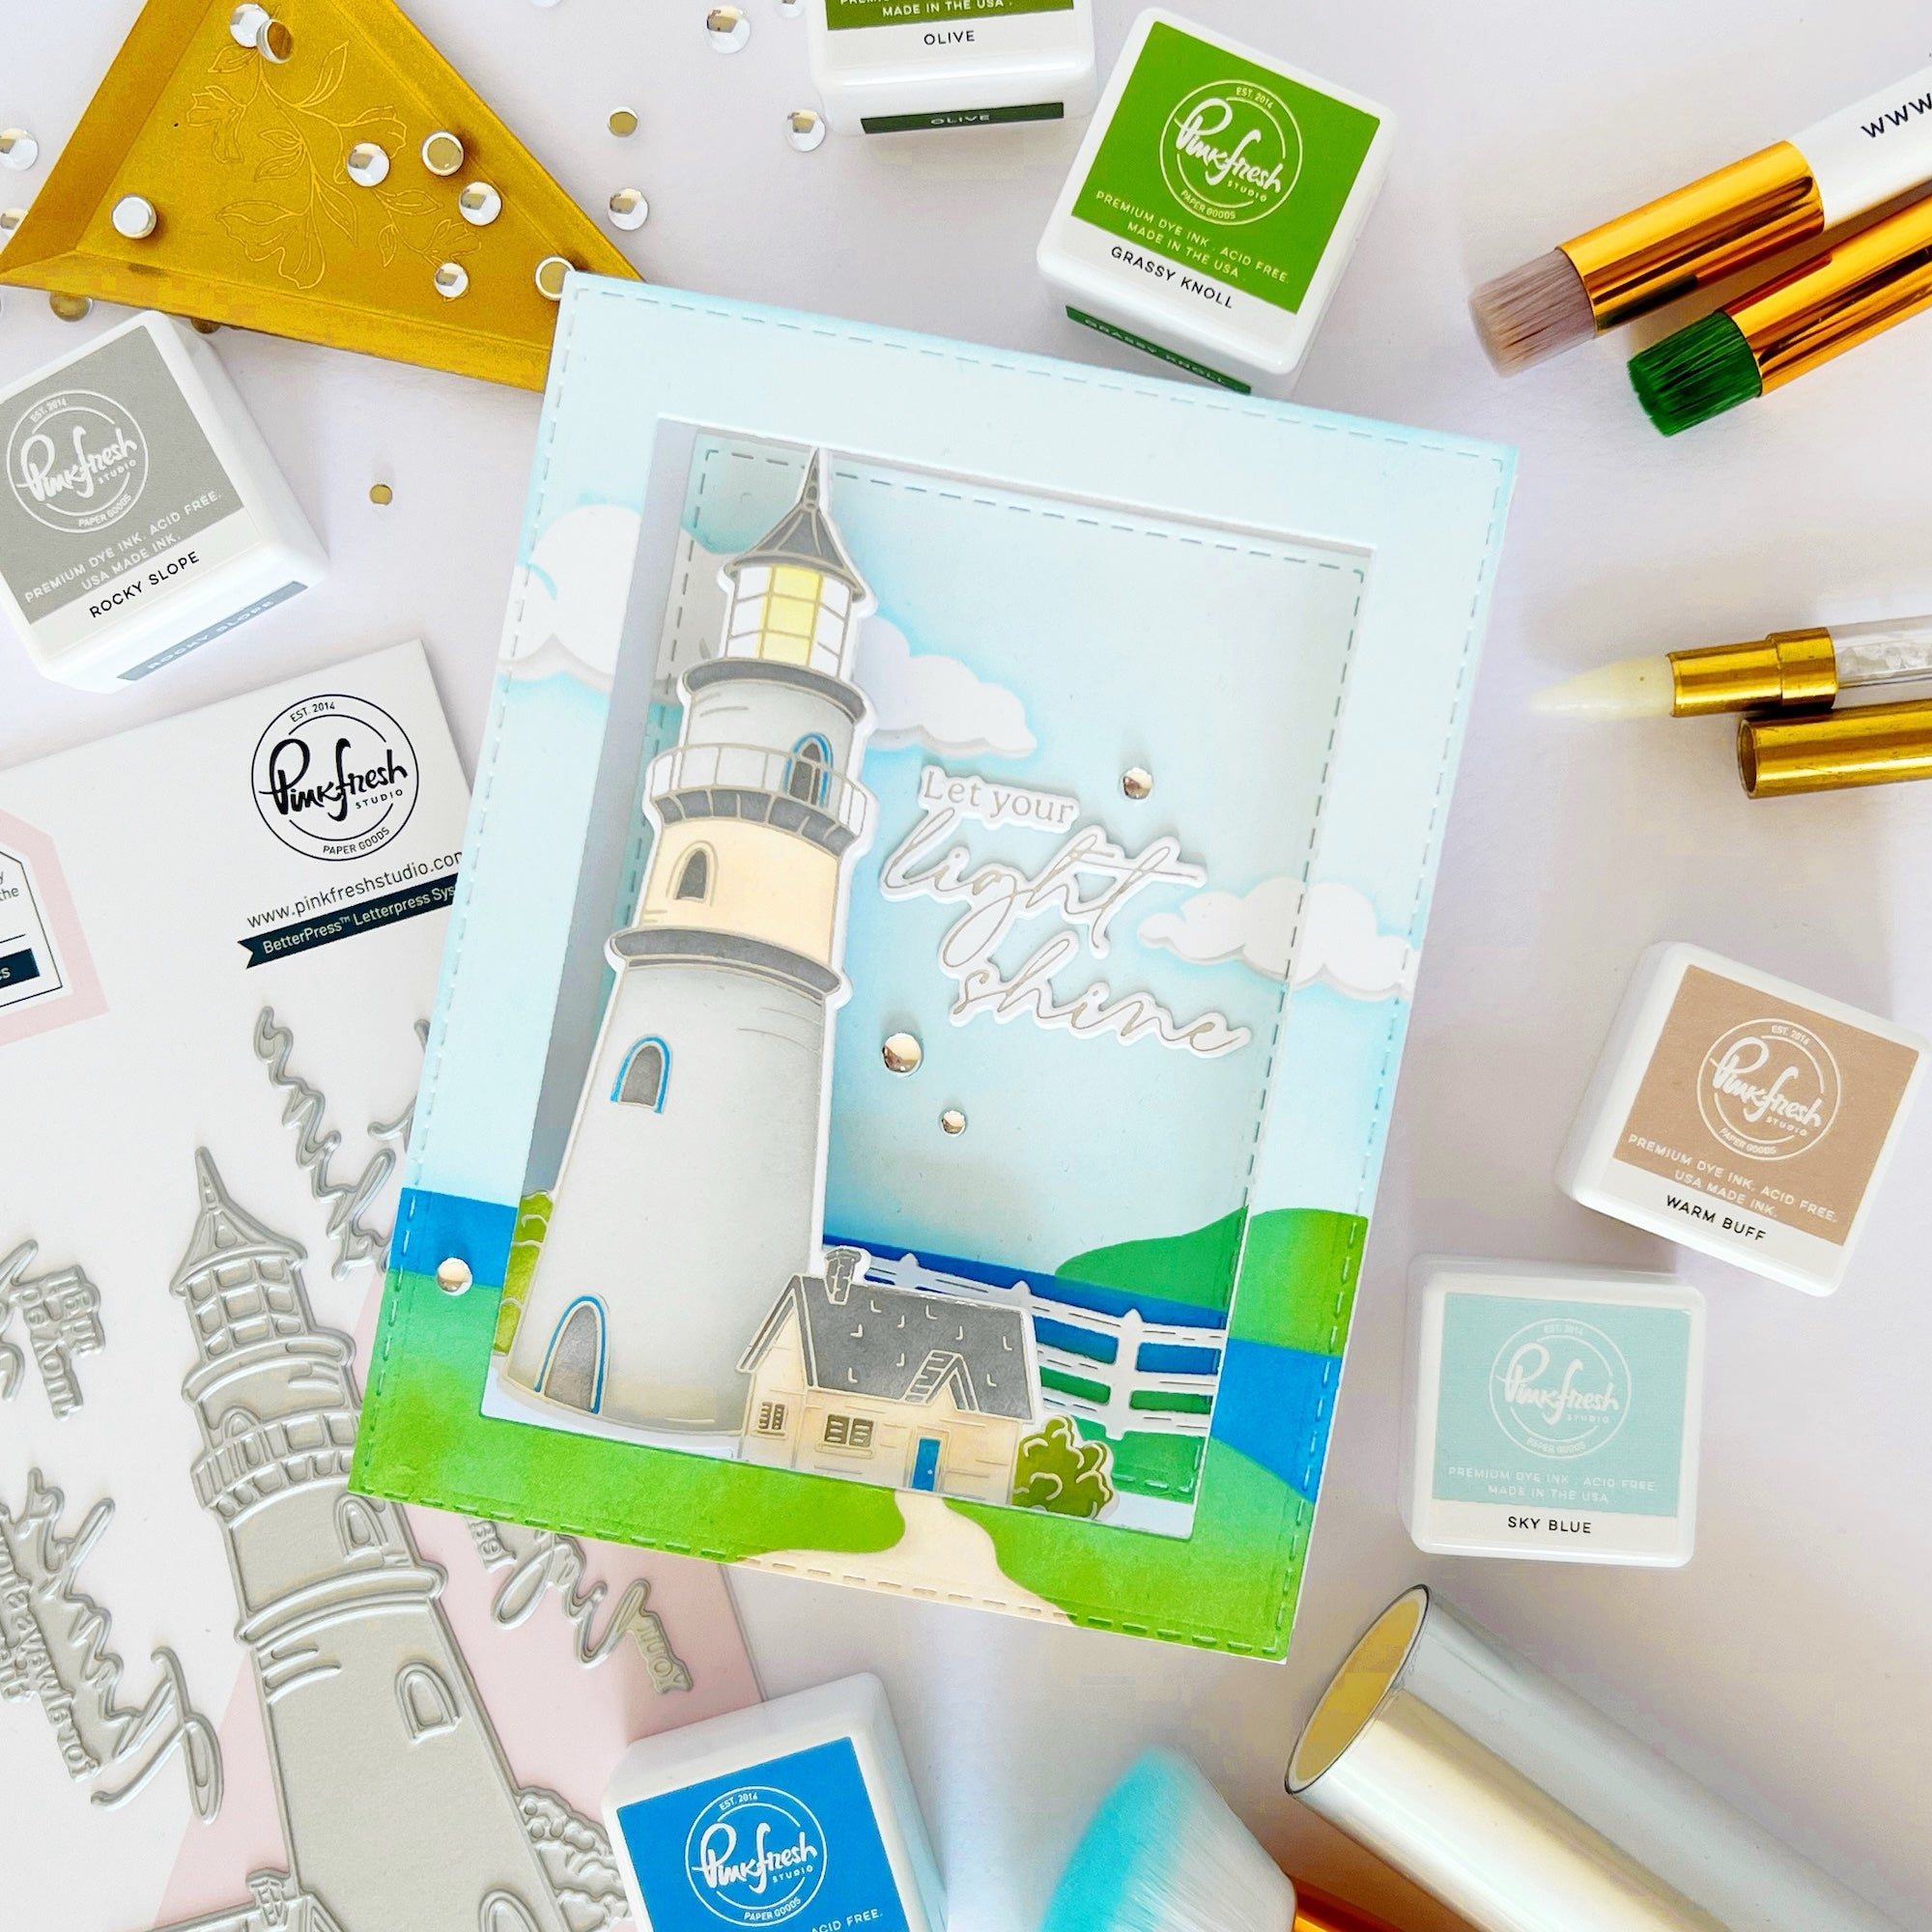
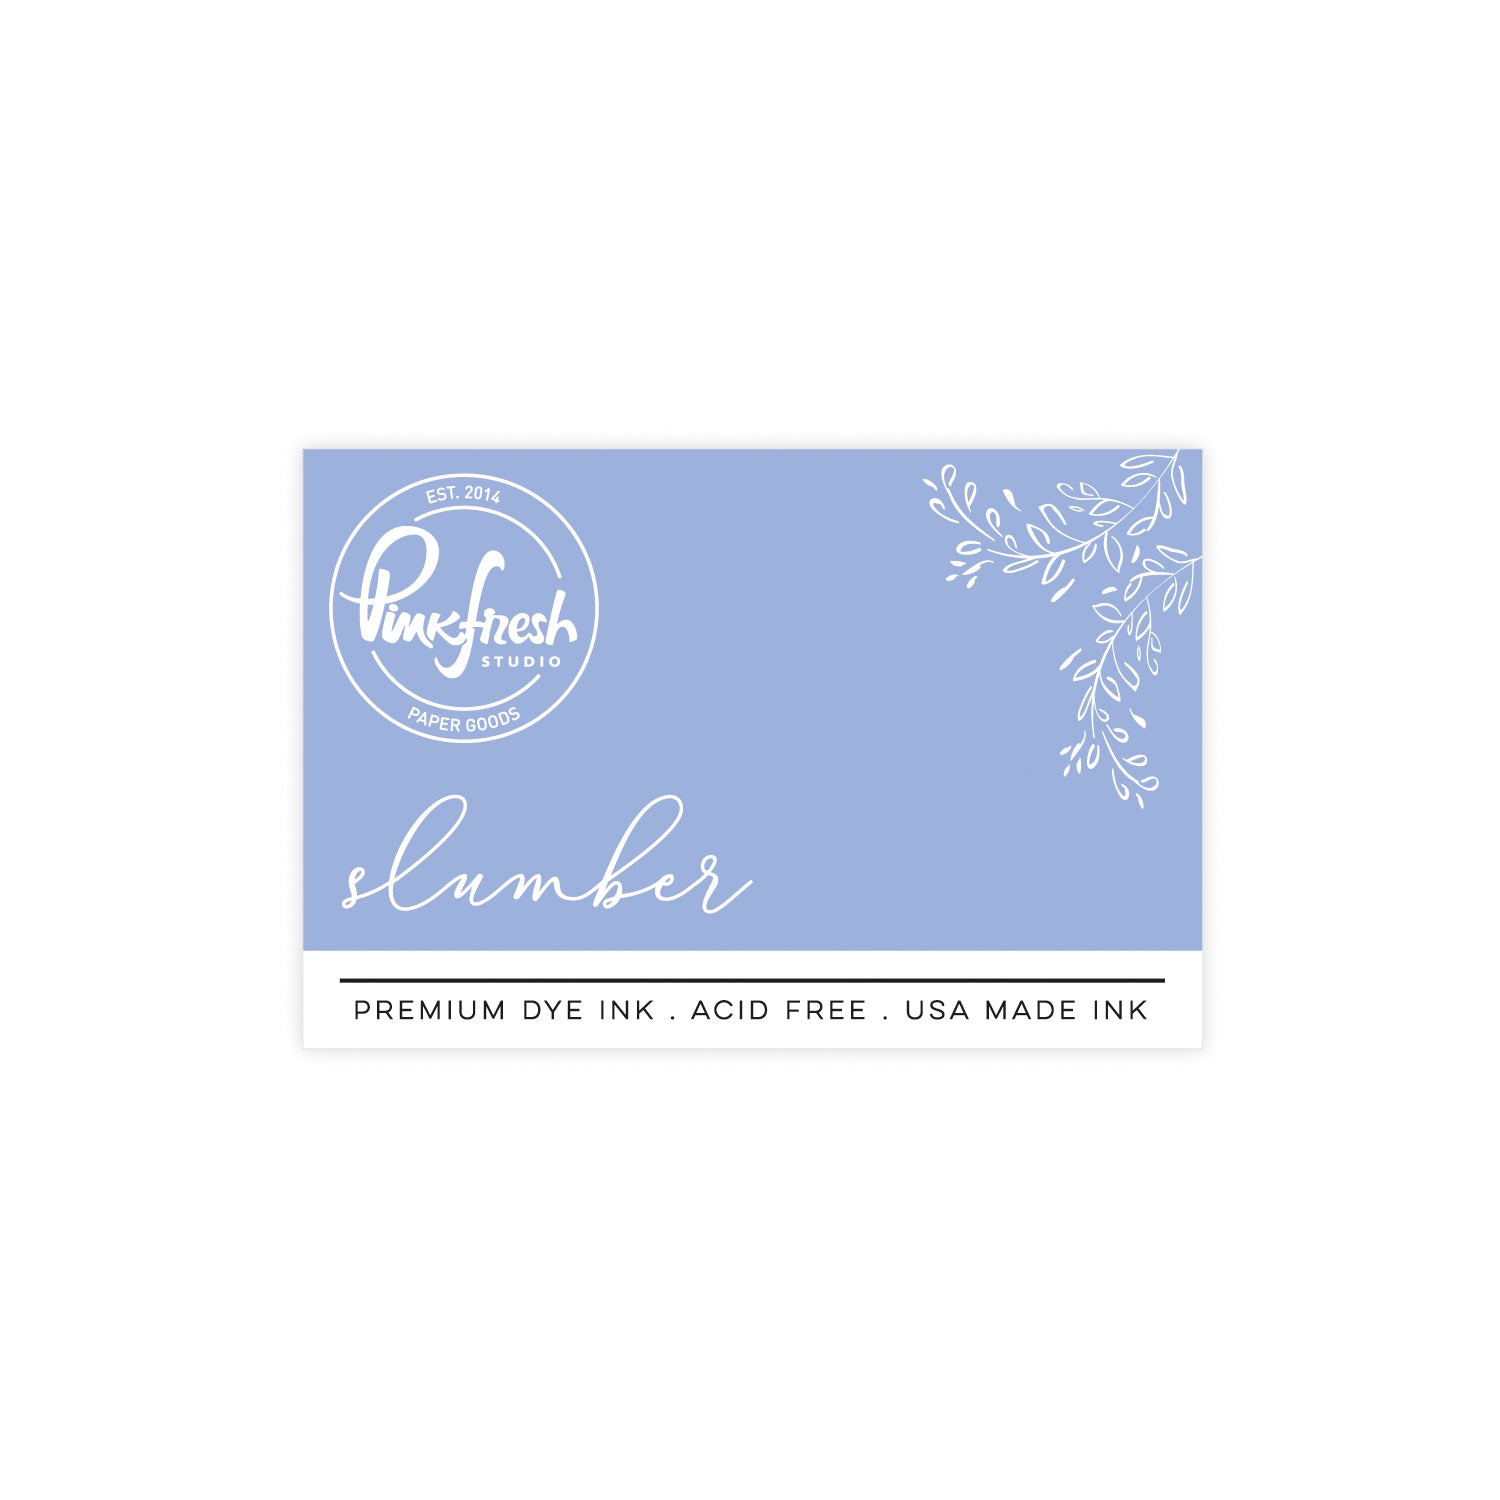
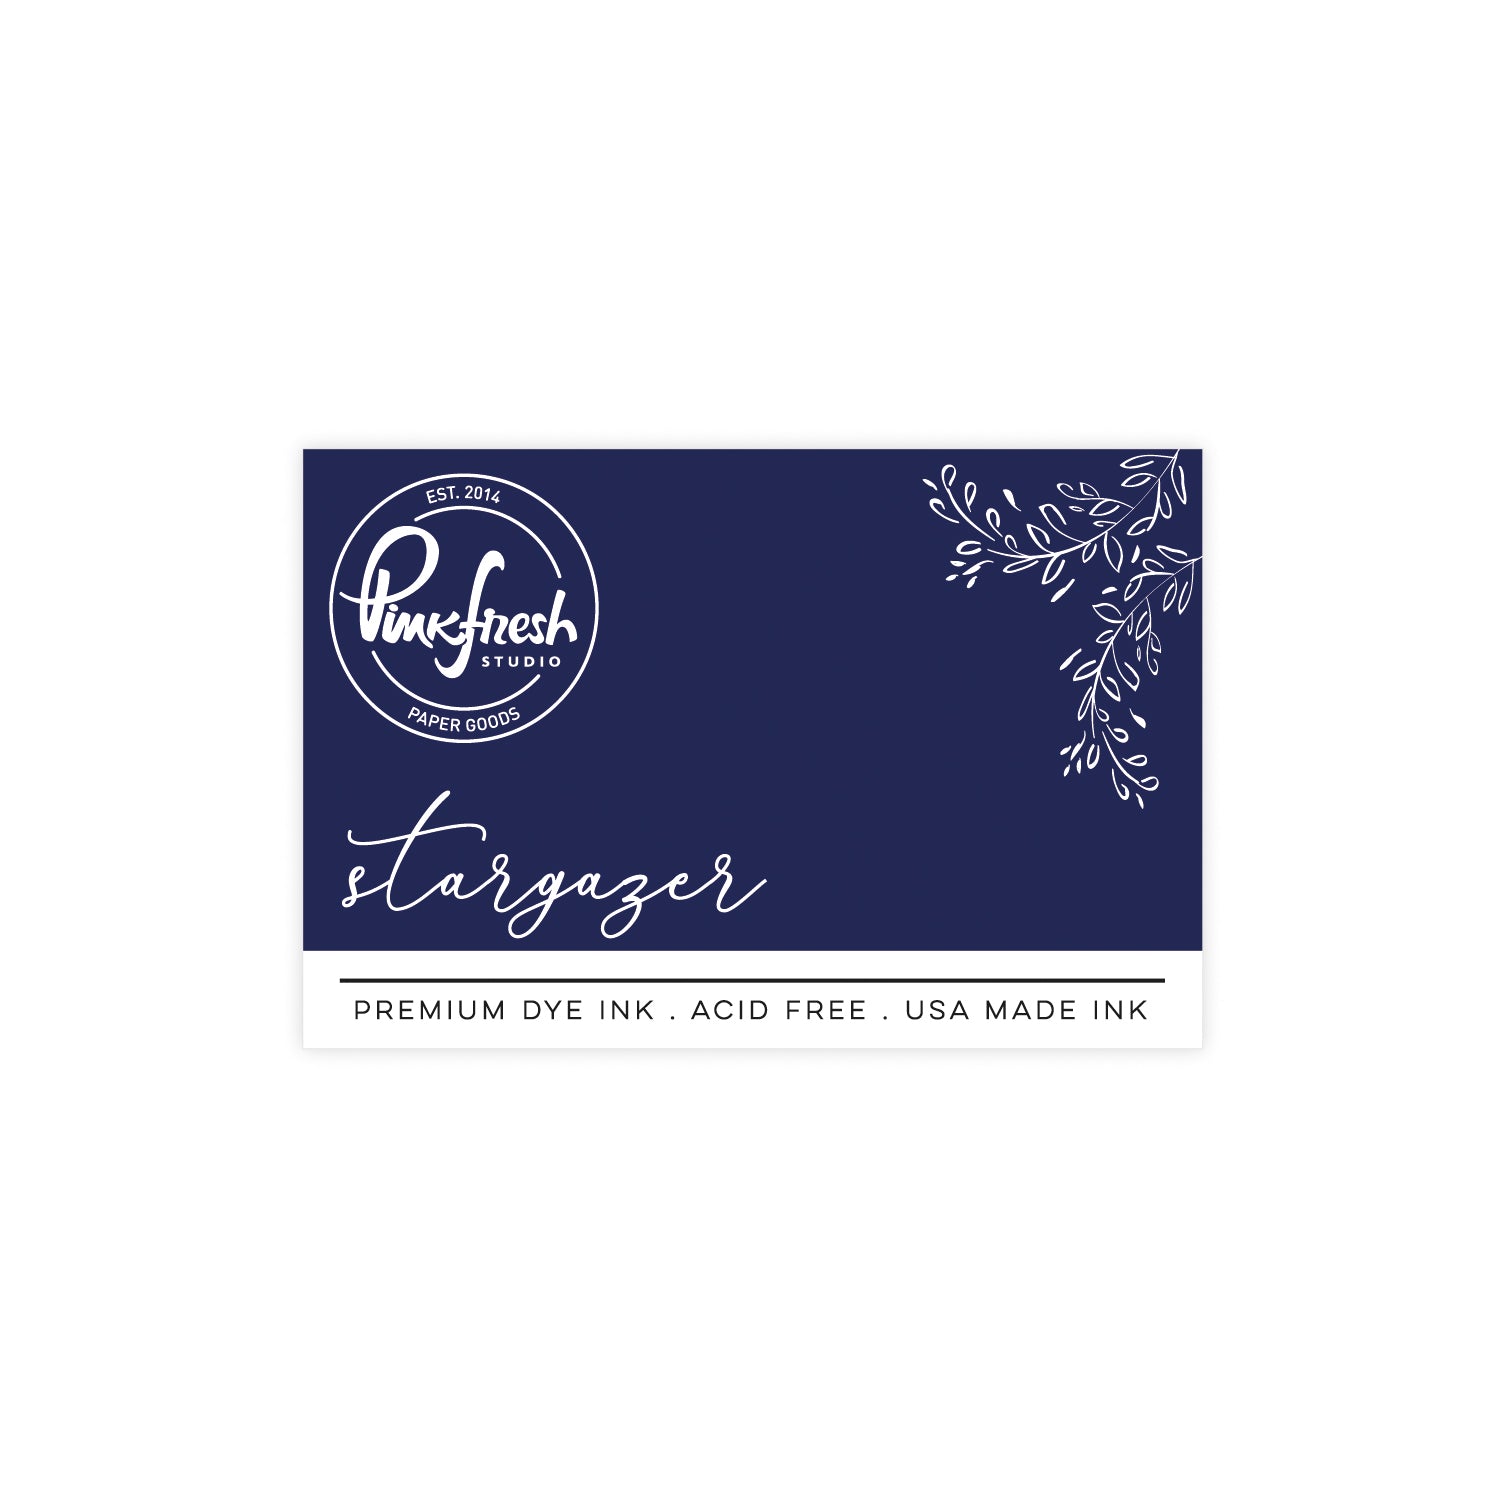
- Then, mask off the ground area and create the sky using the stencil from the Guiding Light stencil set. Ink-blend the sky for a dramatic nighttime look using (from bottom to top): Ballet Slipper, Raspberry Bliss, Slumber, and Stargazer.
- Spatter the ink-blended panel with watered-down white acrylic paint to create the look of stars. Set the panel aside to dry.
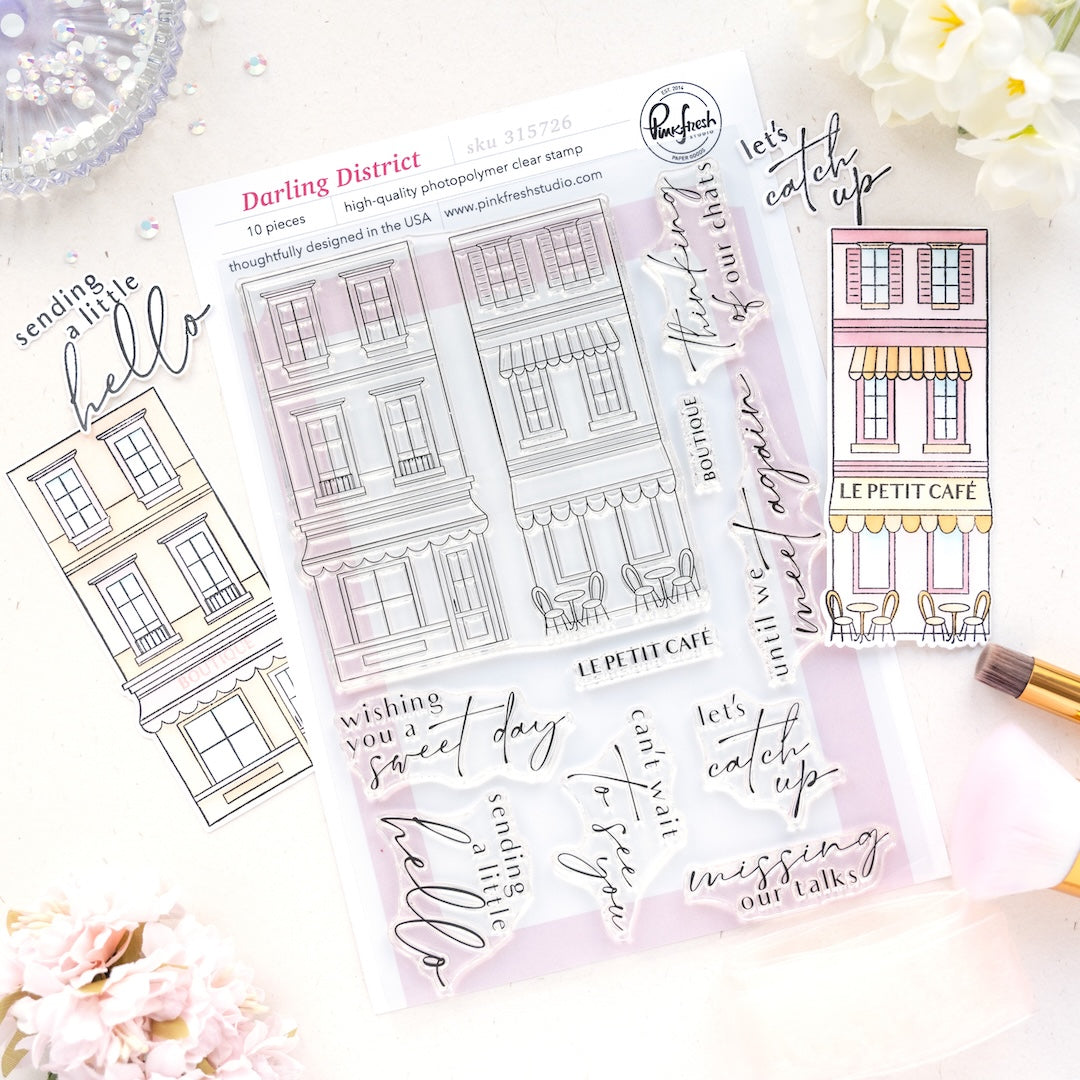
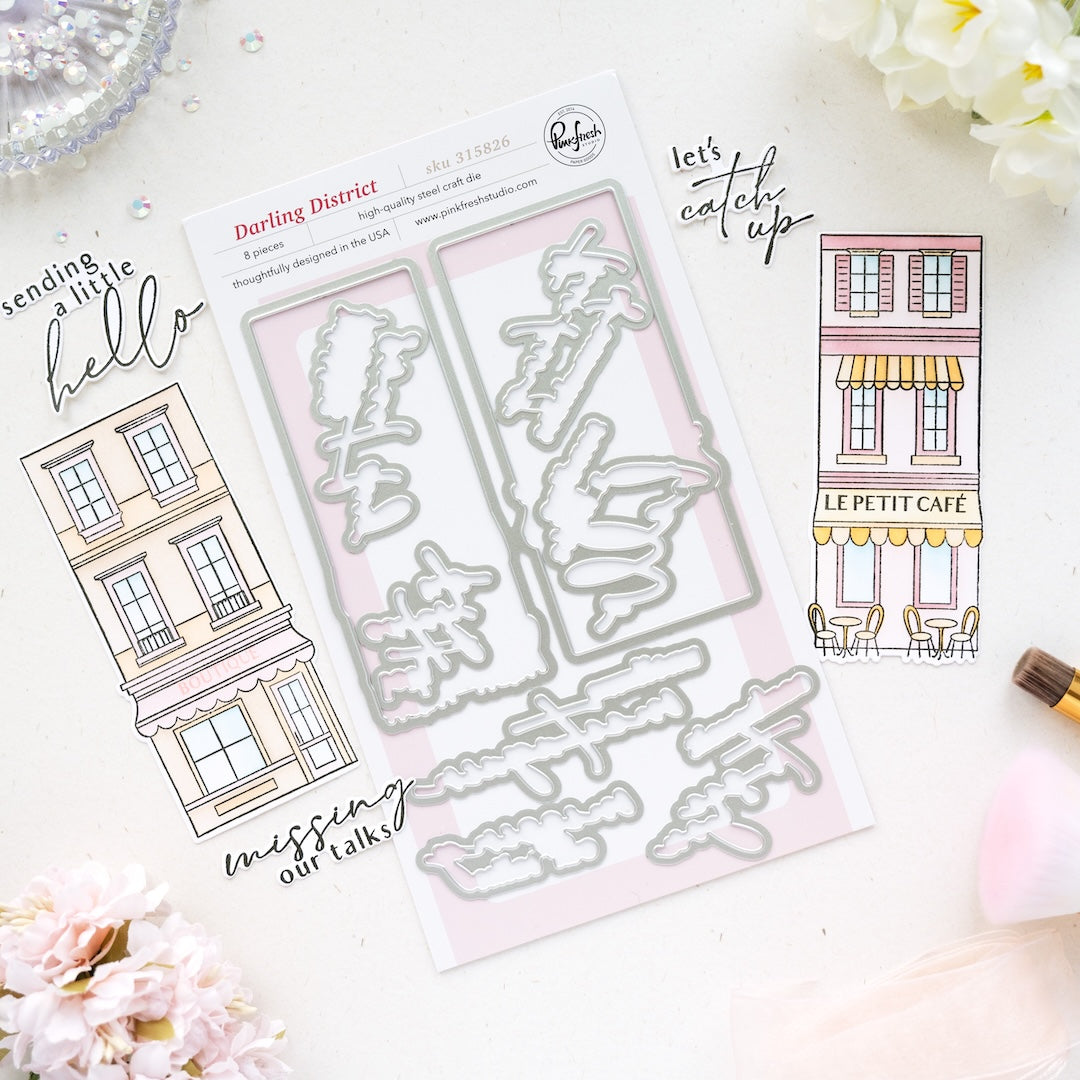
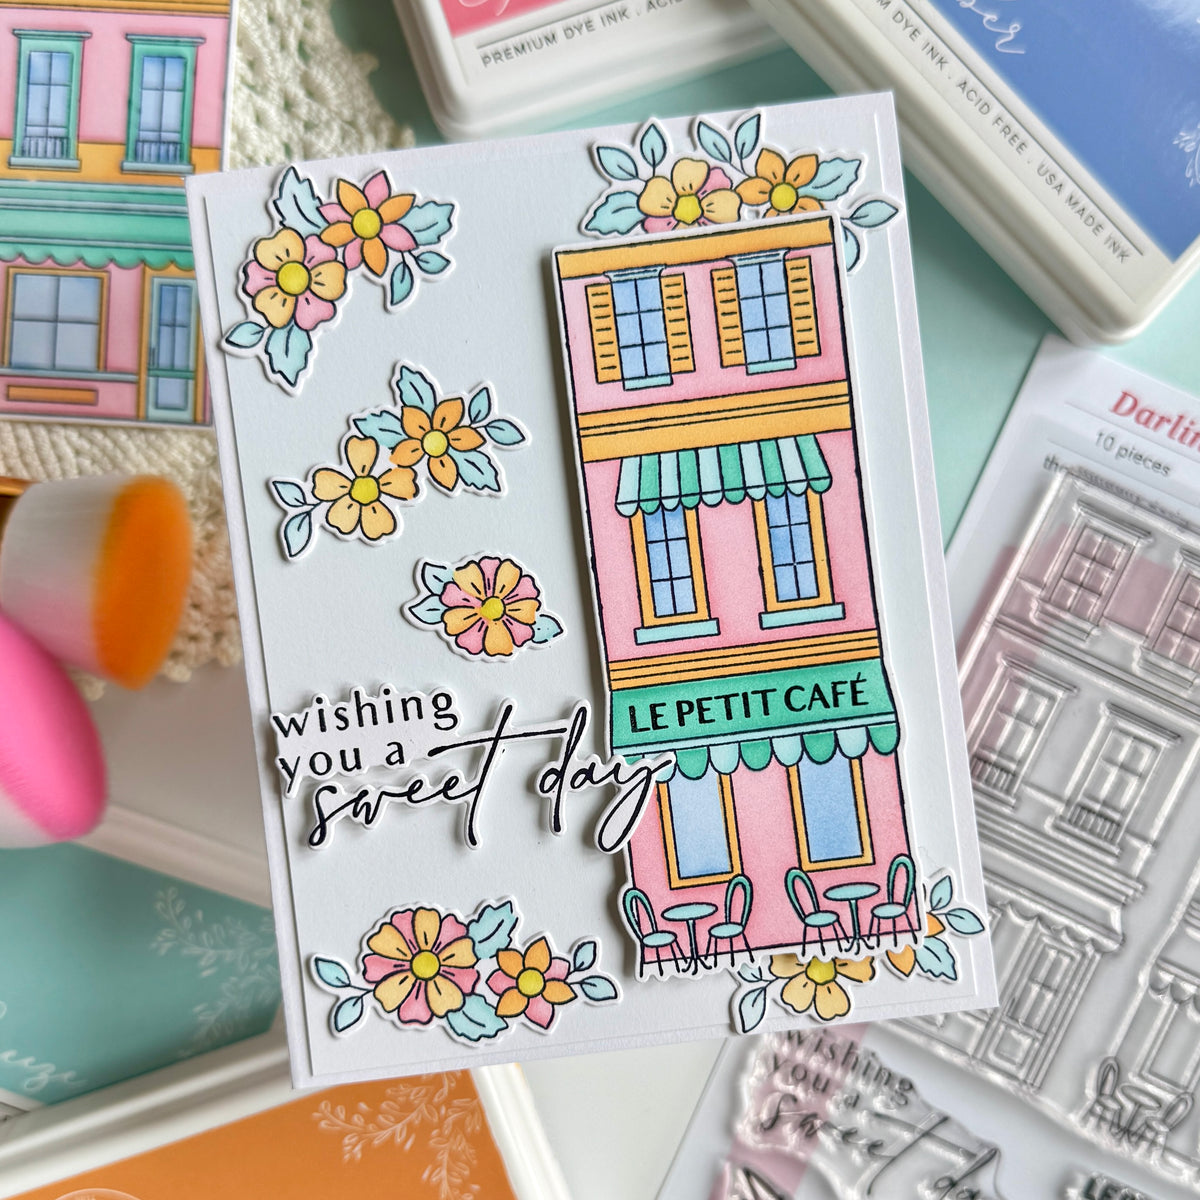
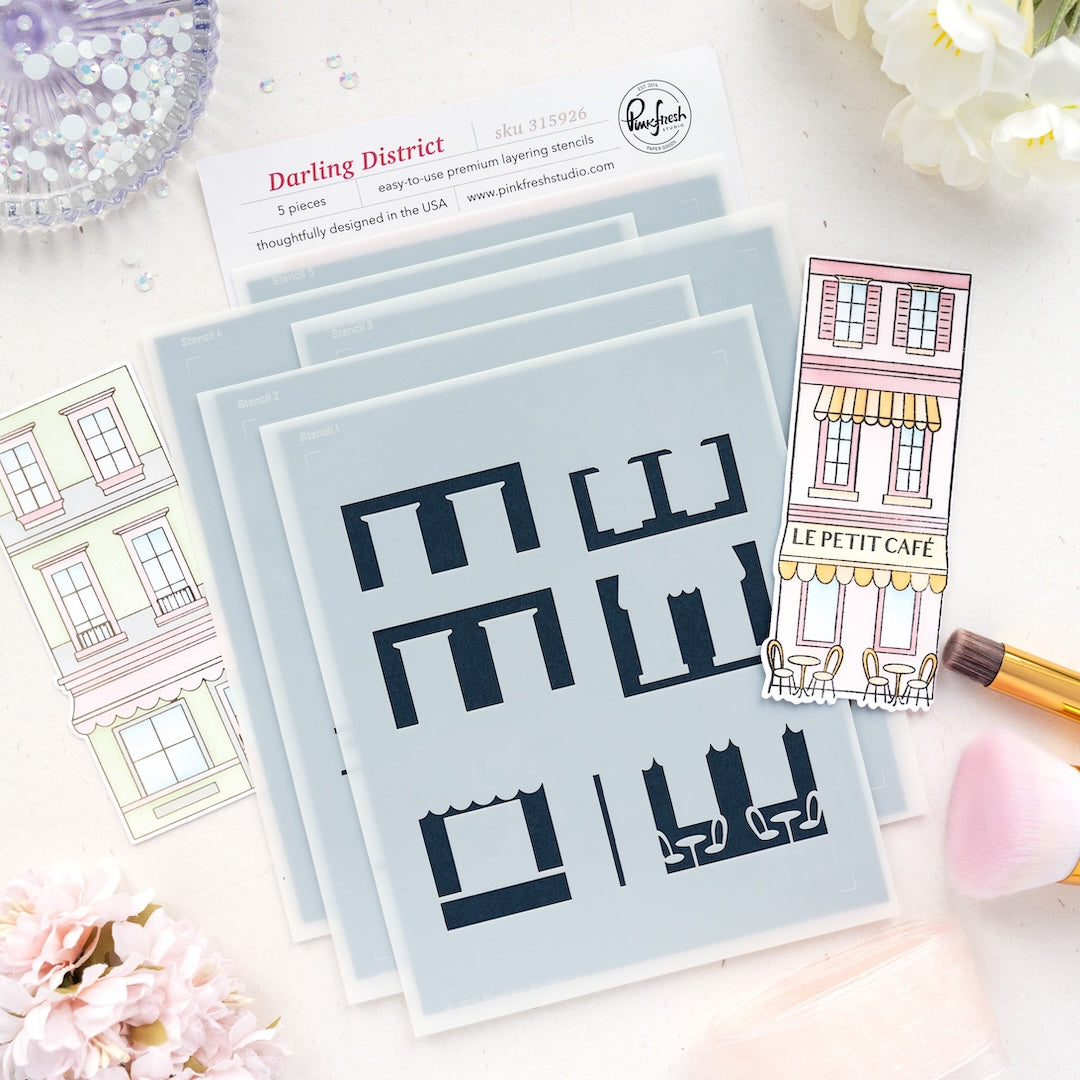
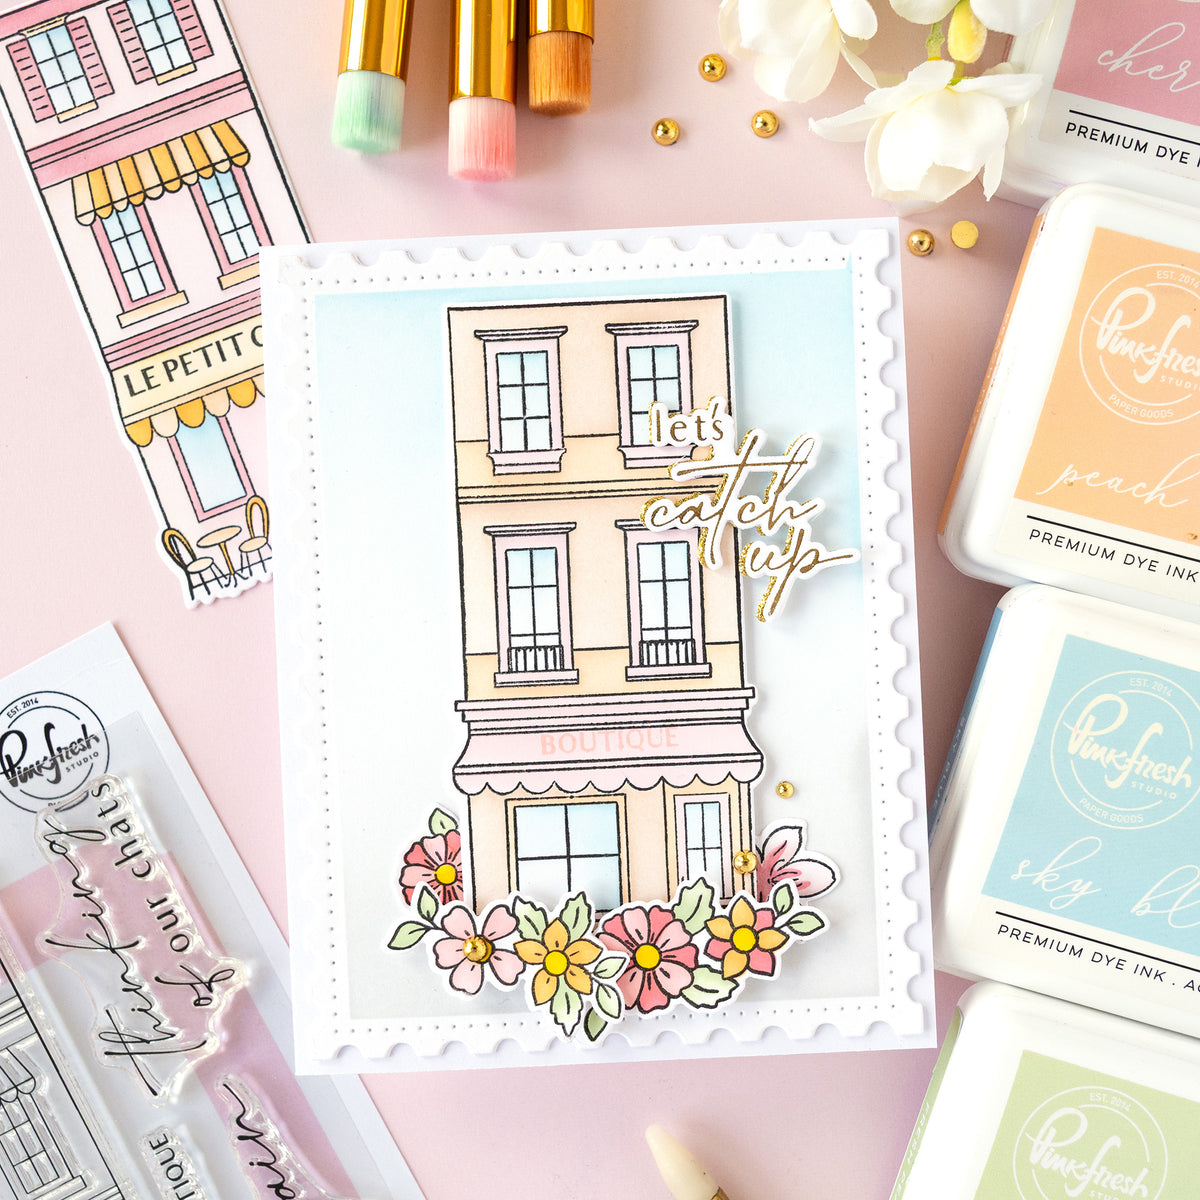
- Stamp the buildings twice from the Darling District suite and use the coordinating stencils:
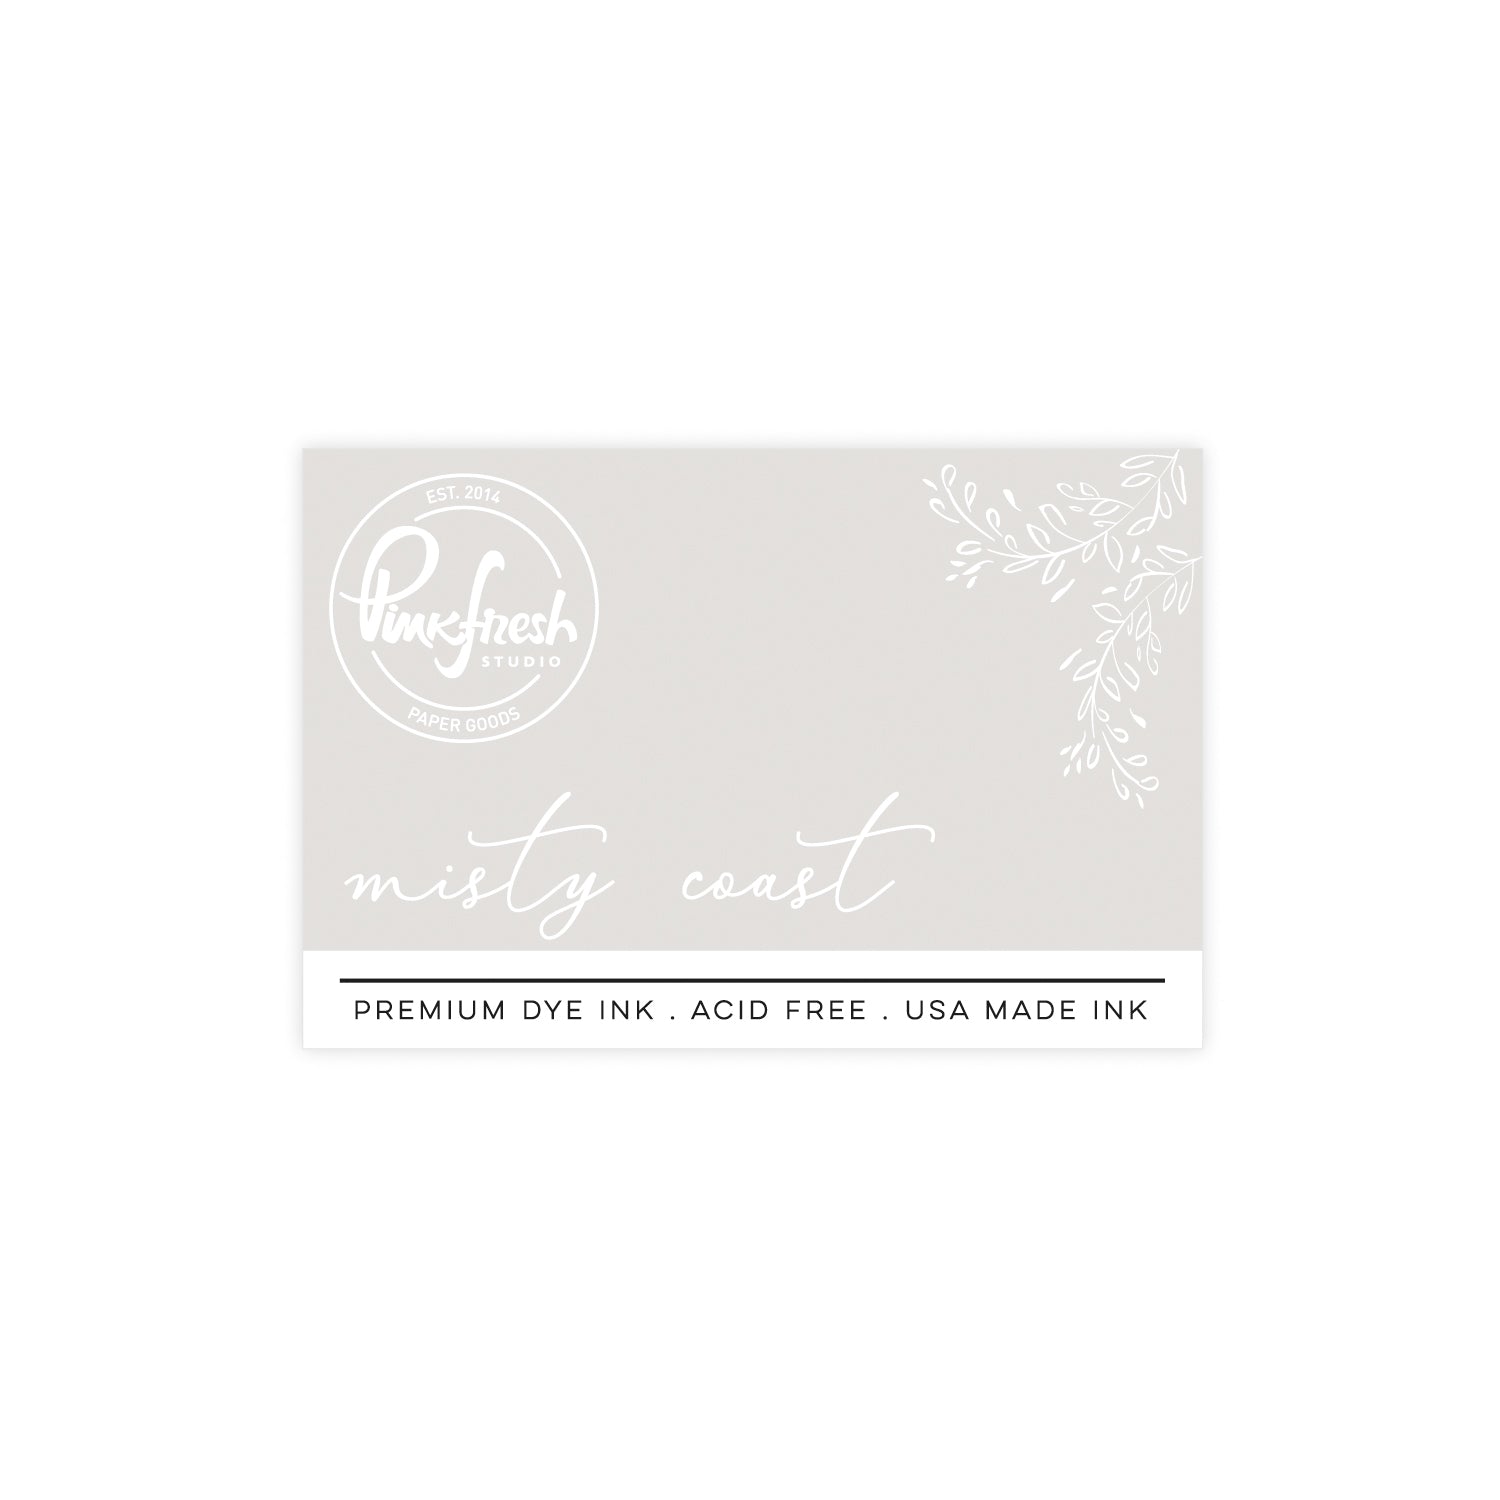
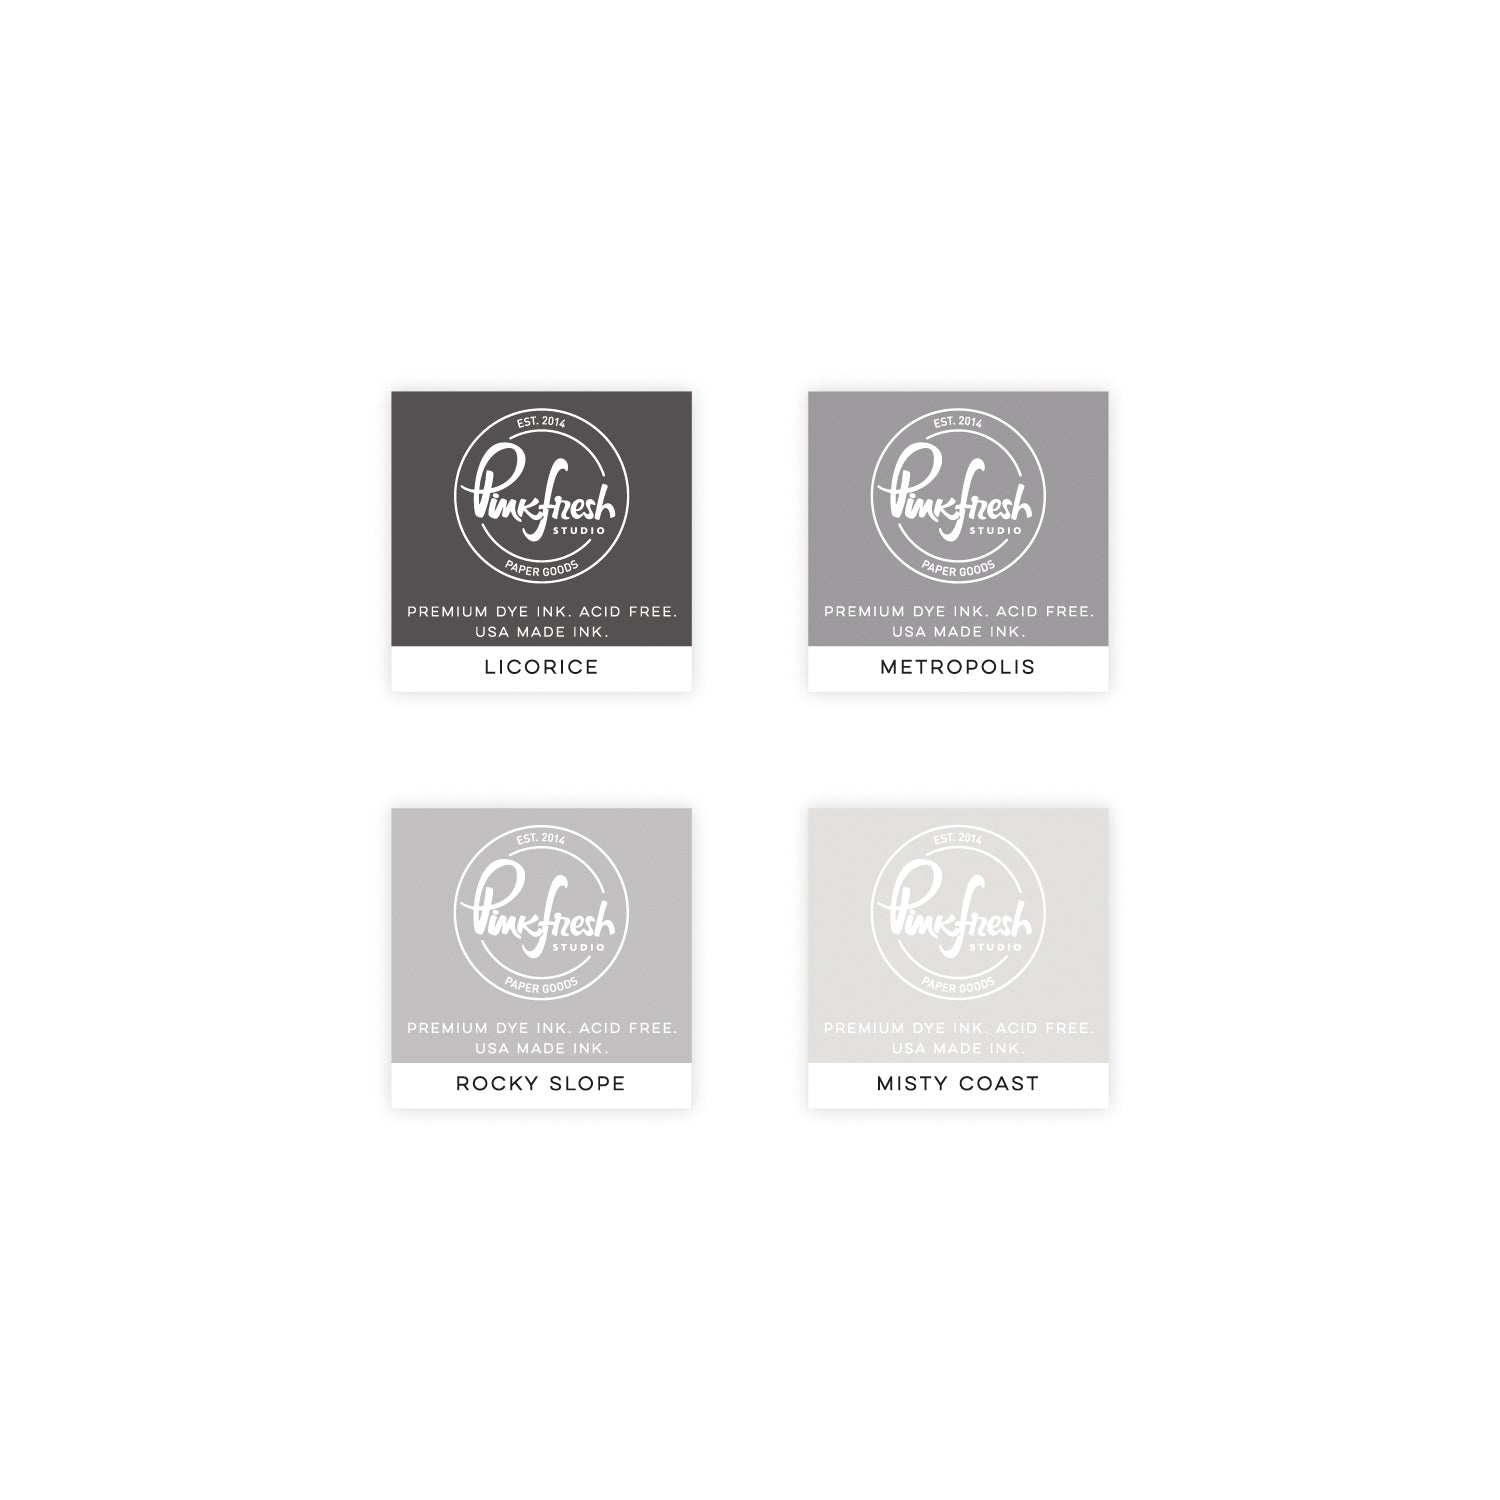
- Stencil 1: Misty Coast
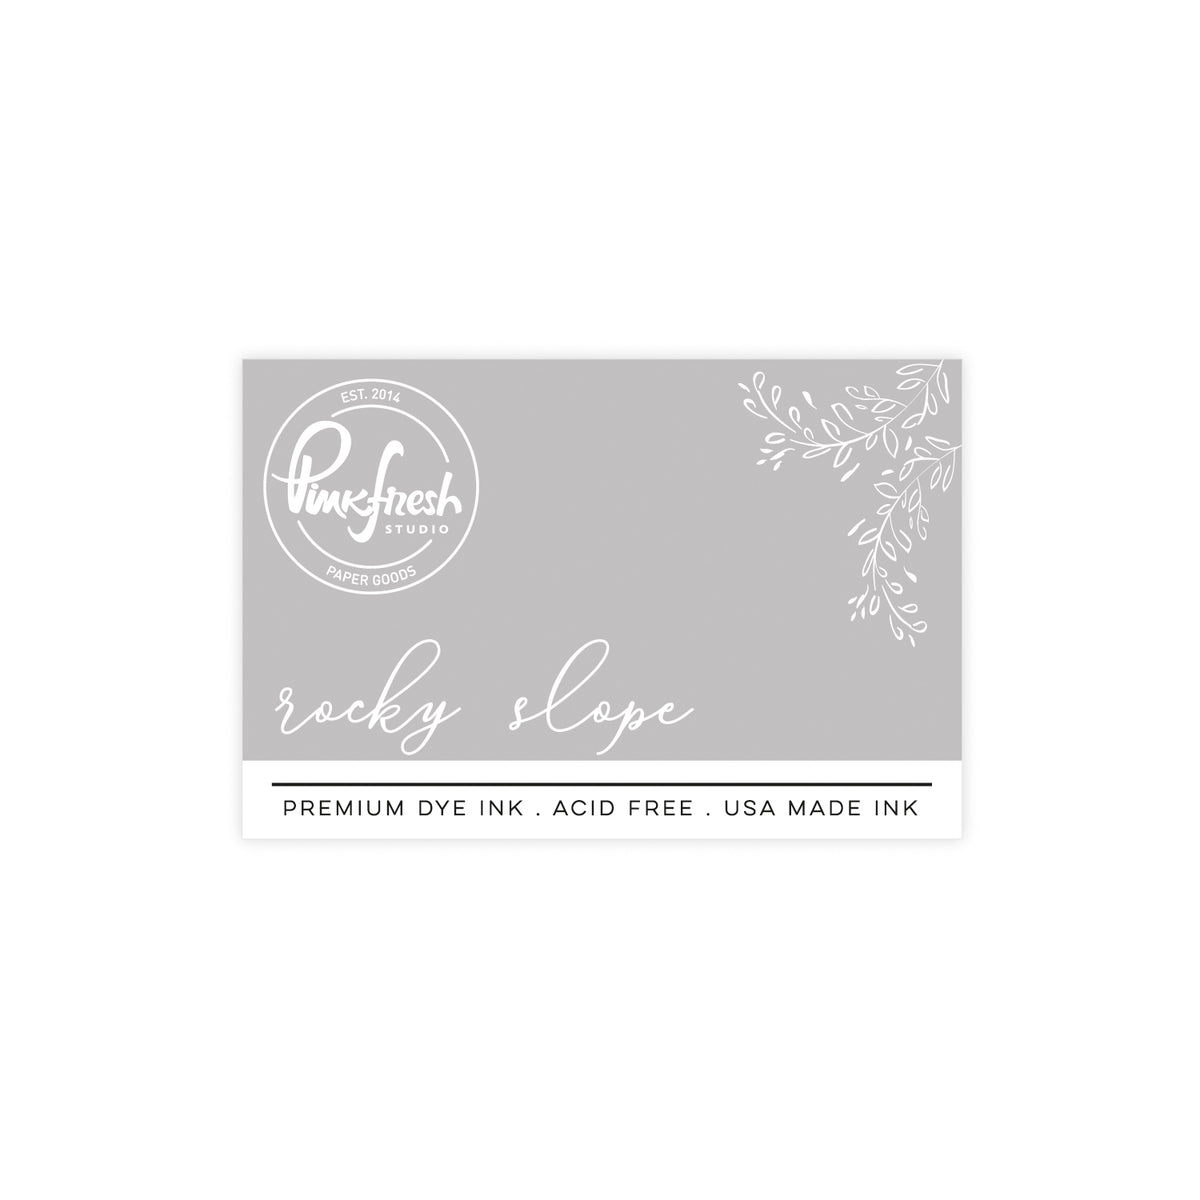
- Stencil 2:Rocky Slope
- Stencil 3: Metropolis
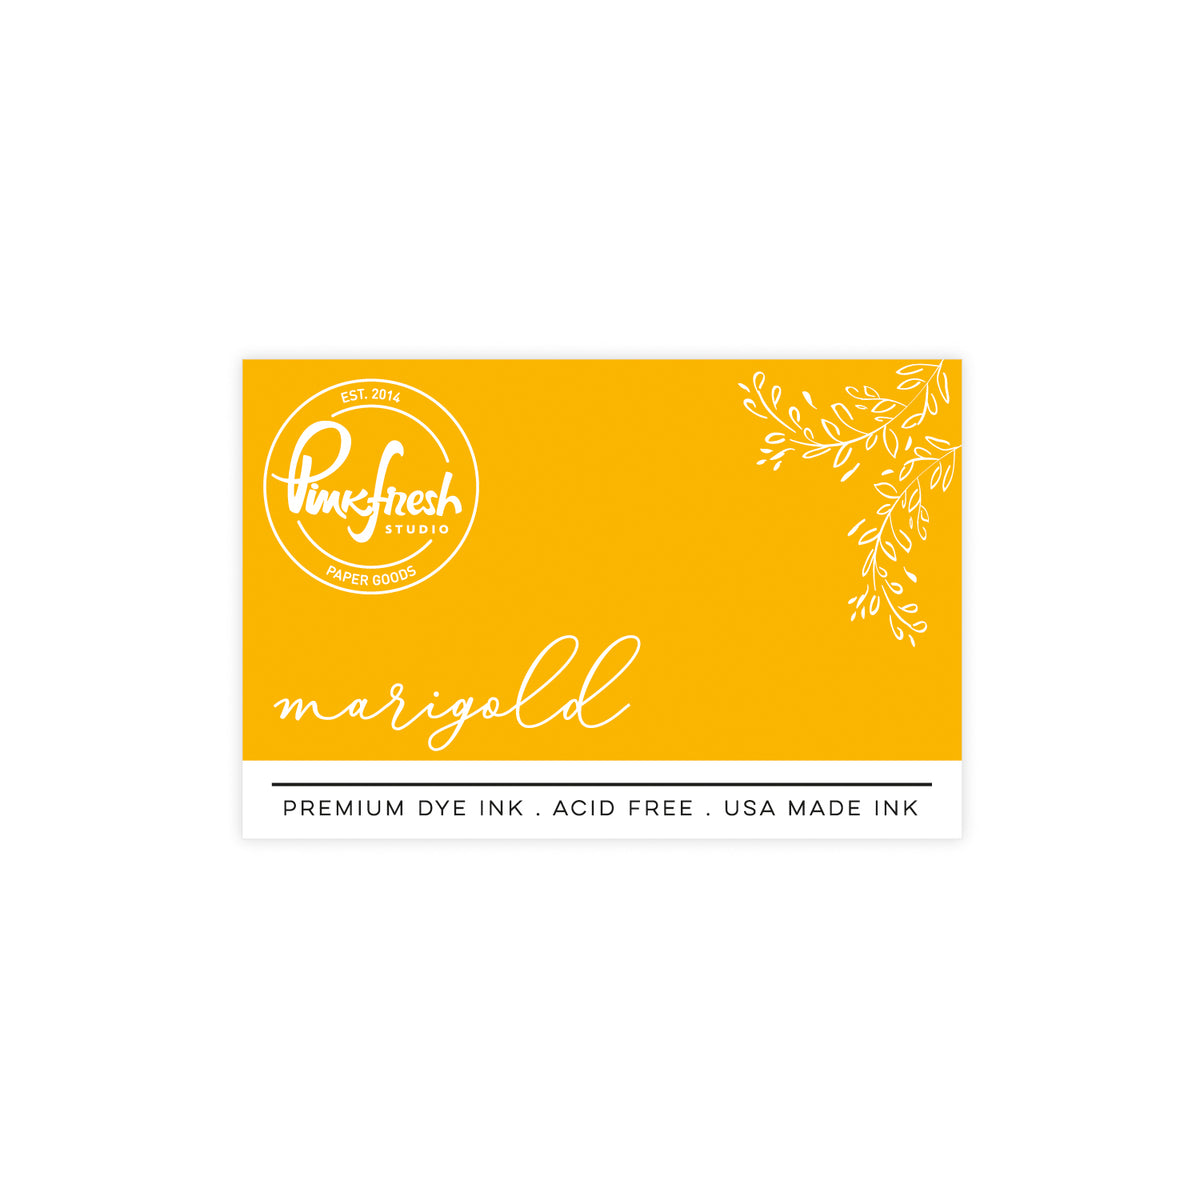
- Stencil 4: Only the upper right window: Lemon Whip + Marigold; Metropolis (rest)
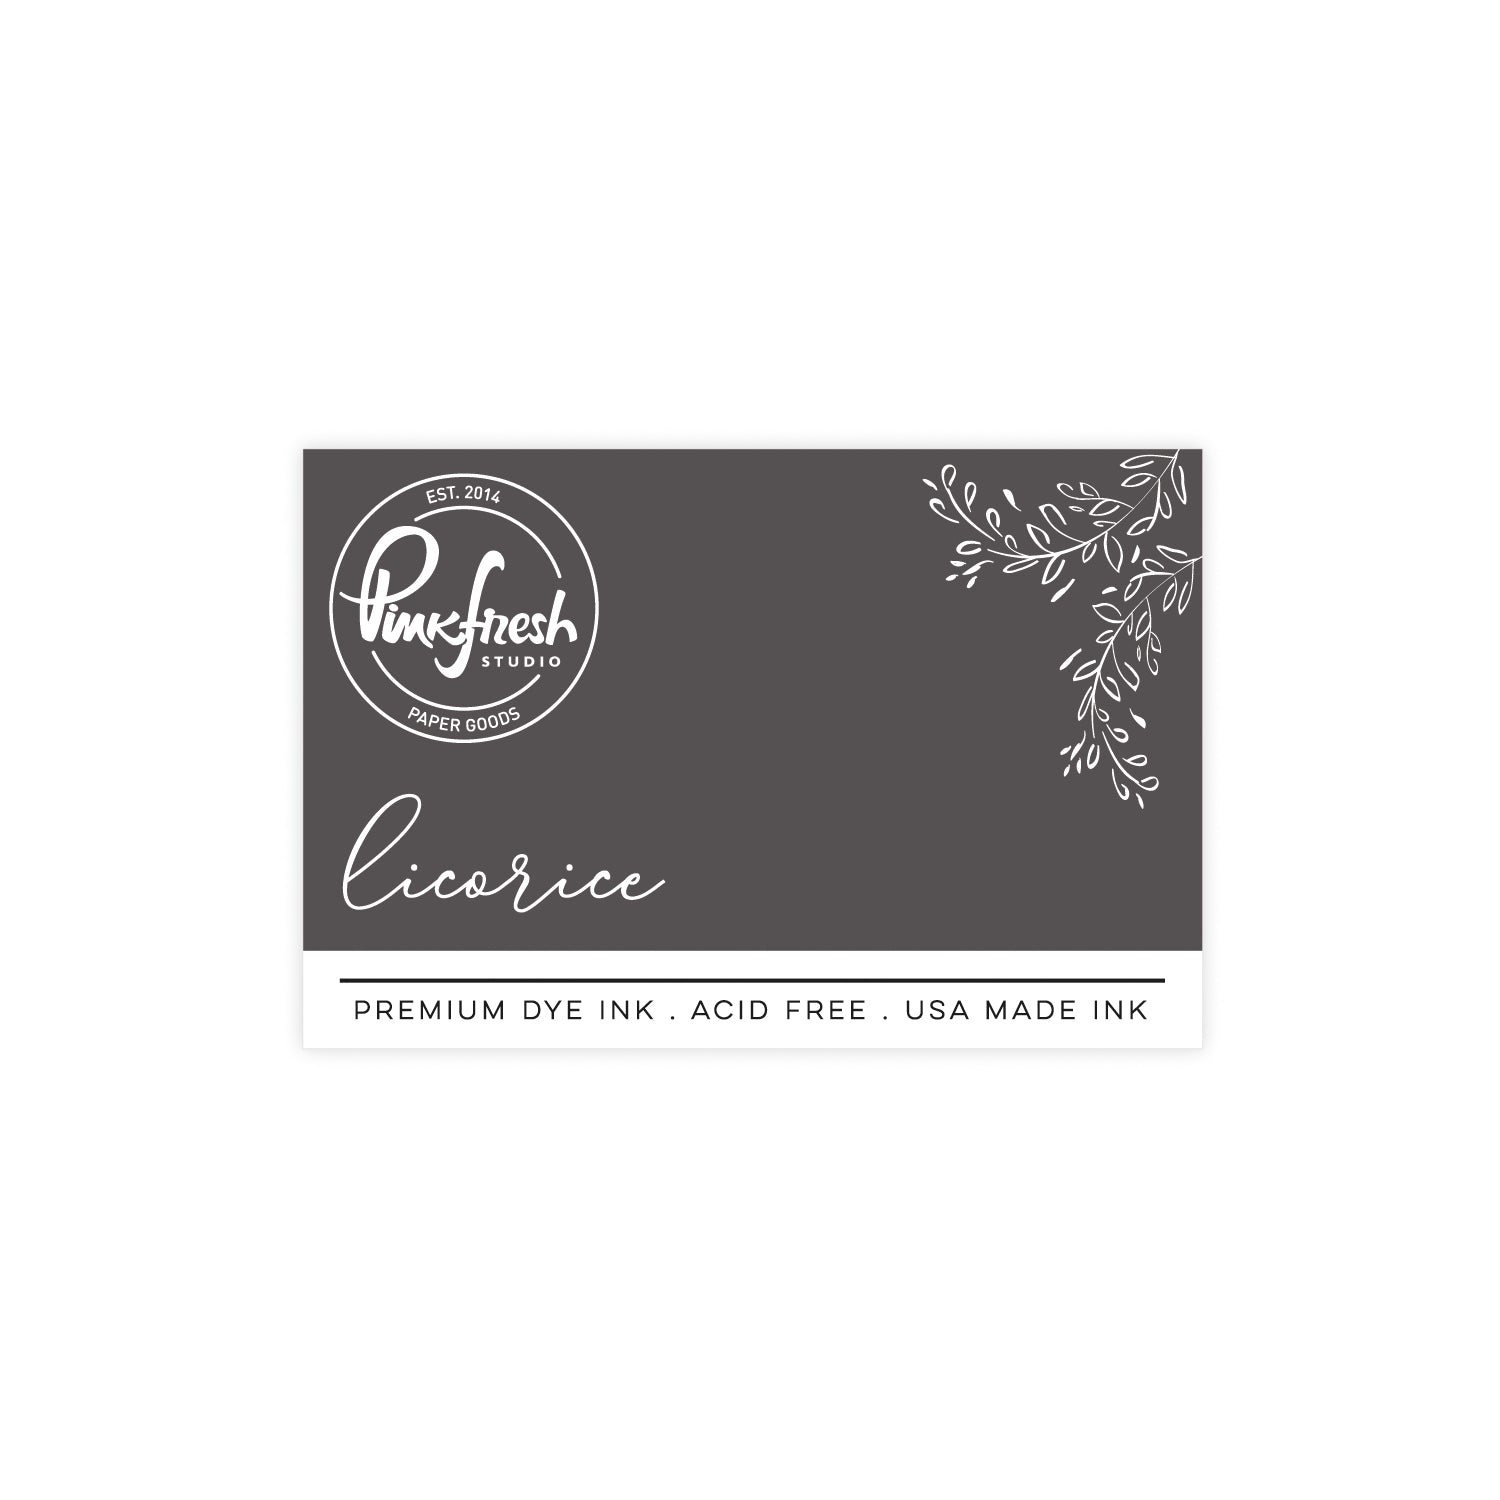
- Stencil 5: Licorice
- Once the stencil blending is complete, lightly blend Metropolis ink over both buildings to subdue the details and push them further into the shadows. (Mask off the lit window when you do this.)
- Fussy-cut both buildings, trimming closely along the edges so there is no white border left around the images.
- Modify one of the buildings to look more like an apartment building by piecing together sections you fussy cut from the stamped images.
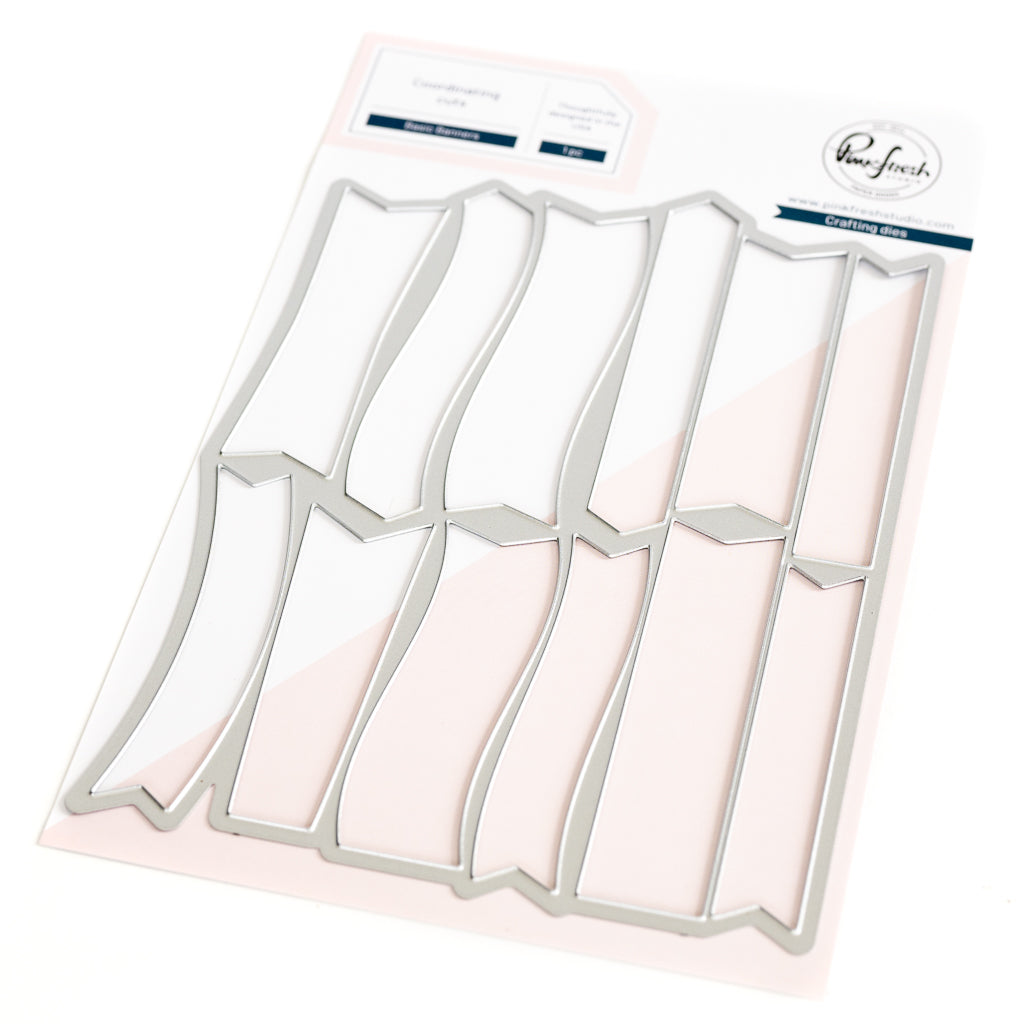
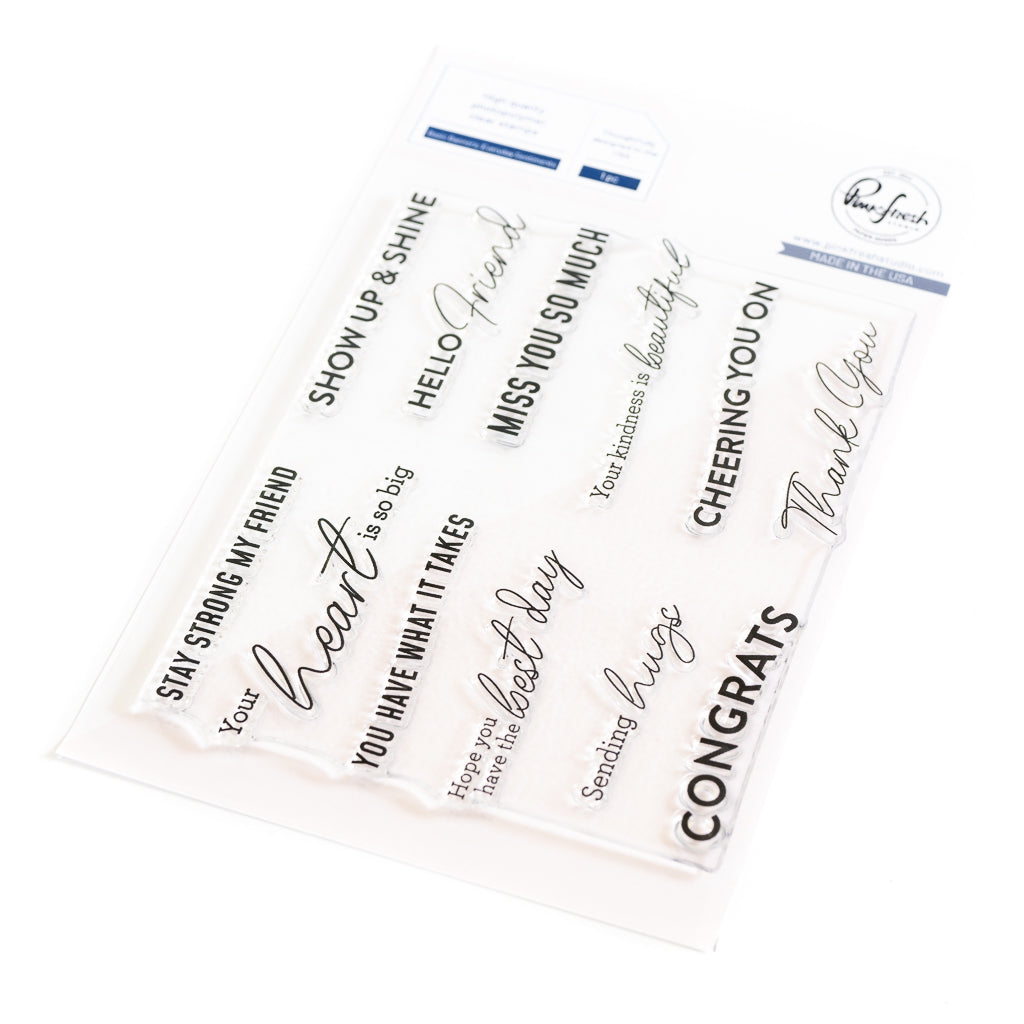
- Stamp the sentiment from the Basic Banners stamp set using VersaMark ink, then heat emboss it with white embossing powder.
- Ink blend over the embossed sentiment to create an embossed-resist effect, matching the colors to the dramatic night sky.
- Cut out the sentiment banner and adhere only the right side so it has a soft curve and a bit of dimension.
- Adhere the dry background panel to the front of the A2 card base.
- Add the buildings to the card front with thin foam tape.

Even though this card did not turn out exactly as I imagined, I still love the emotion behind it. Sometimes a card is less about perfection and more about telling a story, and this one feels full of heart.
Recommended Products




































1 comment
Kathy St Lawrence
Leave a comment
All comments are moderated before being published.
This site is protected by hCaptcha and the hCaptcha Privacy Policy and Terms of Service apply.